You do not need a time machine to capture a spring bloom at its peak. A few heavy books, some Mod Podge, and a little patience will do the job. Pressing flowers preserves garden blossoms into pieces you can display anywhere in your home. Whether you want to update your living space or craft personalized gifts, these projects offer practical ways to preserve real flowers.
Before starting any project, remember one core rule: moisture ruins pressed flowers. Pick your blooms on a dry afternoon after morning dew evaporates. Place them inside a standard flower press or under a stack of heavy books for two to three weeks. Read the Royal Horticultural Society guide on plant preservation for detailed harvesting techniques.
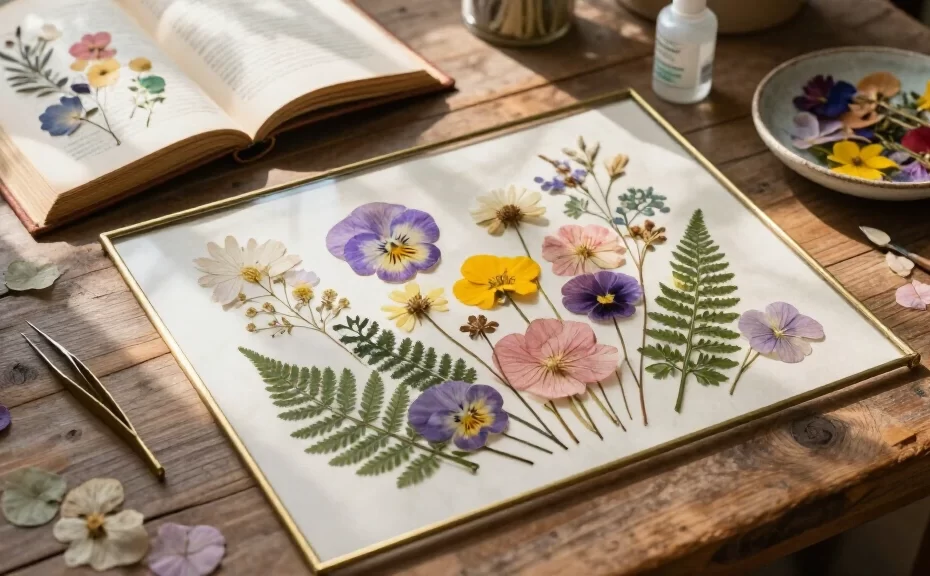
1. Double-glass floating frames

Floating glass frames offer a clean display for dried plants. Arrange dried pansies, ferns, and thin petals between two panes of glass before securing the frame sides.
Pro Tip: Place microscopic dots of clear craft glue onto the back of each stem so the plants stay put inside the frame.
- Best flowers: Pansies, wild violas, Japanese maple leaves, ferns.
- Style: Minimalist botanical display.
2. Crystal-clear resin coasters
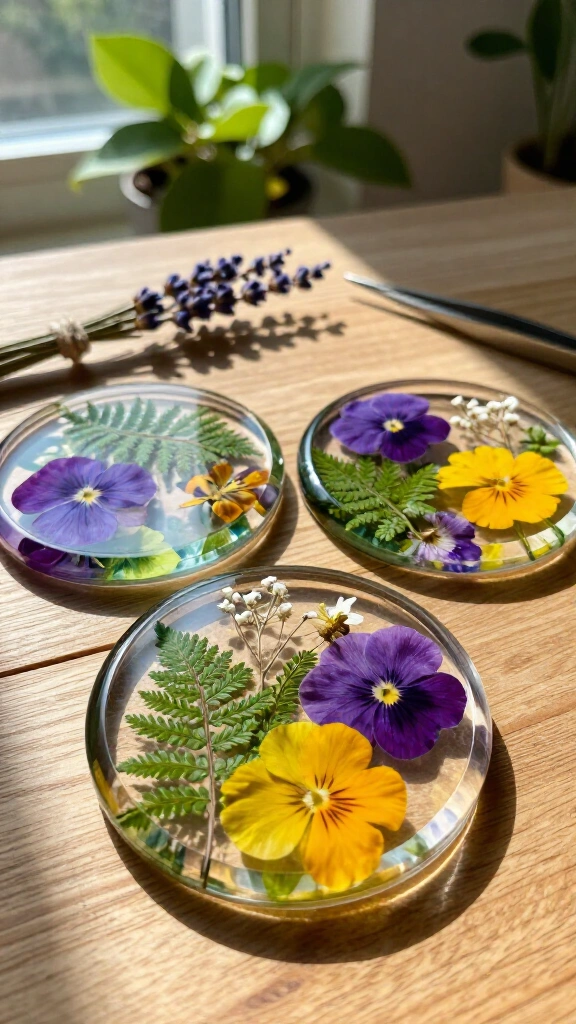
Epoxy resin coasters hold dried flowers inside clear, durable disks. Mix two-part epoxy resin, pour a base layer into round silicone molds, place your dried plants, and cover everything with a topcoat.
These items make practical housewarming gifts that cost only a few dollars to build. If you want related project ideas, check out our guide to creative garden crafts to expand your workspace.
3. Transparent floral bookmarks

Laminate flat pressed flowers between self-adhesive clear sheets, trim the plastic edges, and punch a hole near the top for a ribbon.
These flat markers keep your place without bulk. Keep your arrangements thin so the plastic fits easily between pages without straining book spines.
4. Botanical soy wax candles

Apply dried petals to pillar candles using heat. Press small dried flowers into the outer surface of a soy candle with the back of a warm metal spoon.
Safety first
Keep dried plant material away from the candle wick to avoid fire hazards. Place petals only along the outer bottom edge, or review wax decoupage steps on Martha Stewart Crafts.
5. Pressed flower phone cases

Arrange dried buttercups and lace flowers on a plain clear phone case, then pour a thin layer of UV resin over the surface to seal them.
Avoid thick or curved petals for this project. Choose flat blooms so the finished case sits smooth in your hand.
6. Decoupage wooden serving trays

Paint a plain wooden tray soft white or cream, arrange pressed leaves across the inner base, and brush on three coats of Mod Podge sealer.
Pour a layer of food-safe epoxy resin over the bottom if you plan to carry drinks or food on the tray. Resin seals the wood from spills and prevents scratches.
7. Pressed floral clay trinket dishes
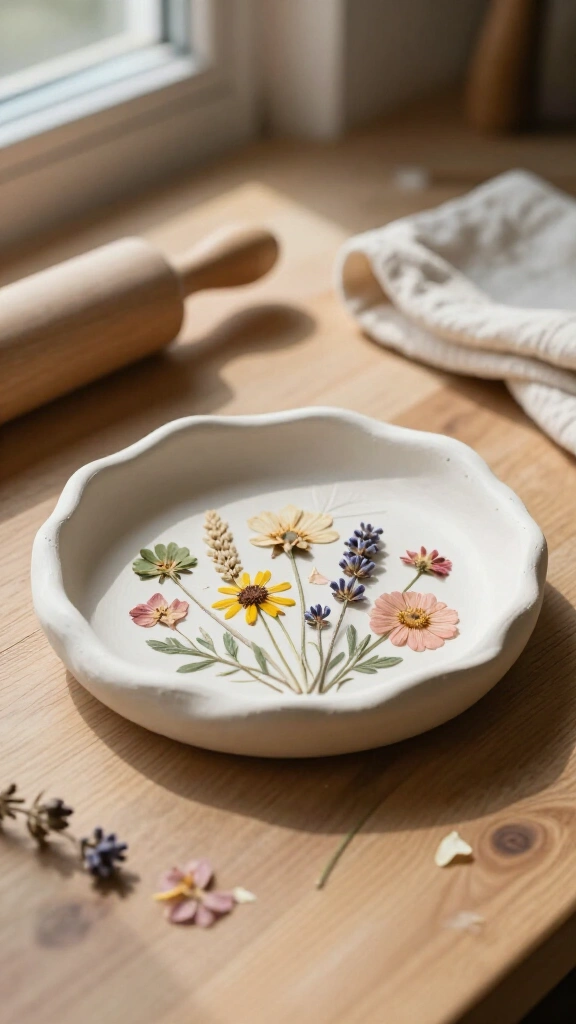
Roll out white air-dry clay with a smooth rolling pin. Press stems lightly into the surface to imprint details, shape the clay into a shallow bowl, and set it aside to dry before attaching flat dried petals to the interior.
8. Botanical resin pendants and jewelry
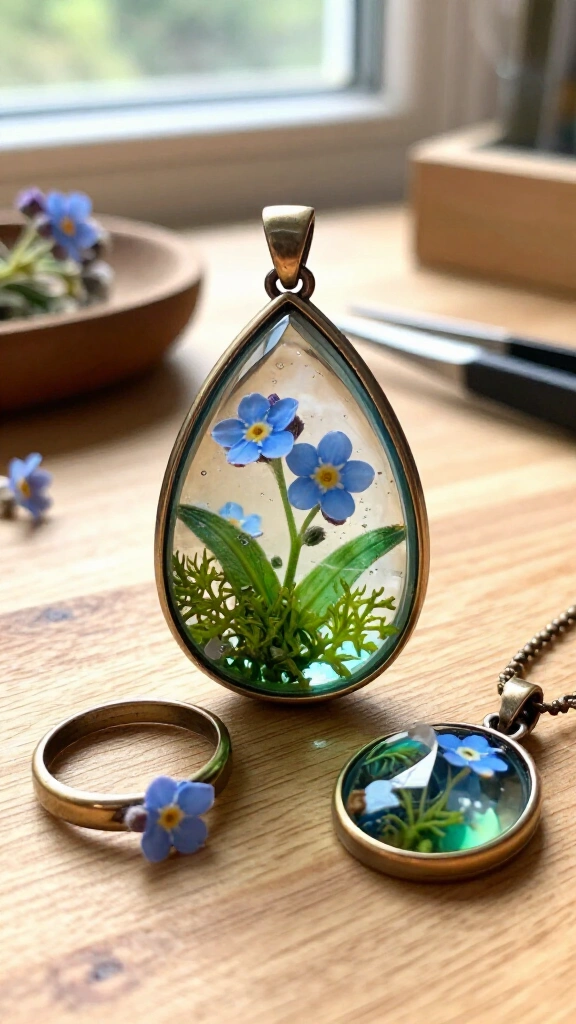
Open-back metal bezels allow you to set small blossoms into clear jewelry resin for necklaces and rings.
Small plants fit these spaces best. Select miniature forget-me-nots, small moss sprigs, or tiny petals that rest completely inside the metal border.
9. Dried flower bath salt jars

Layer Epsom salt, coarse pink salt, and dried rose petals inside clear glass jars with cork stoppers.
Wrap jute twine around the jar neck and attach a paper tag if you plan to give the jar as a gift.
10. Pressed flower wall hangings on linen
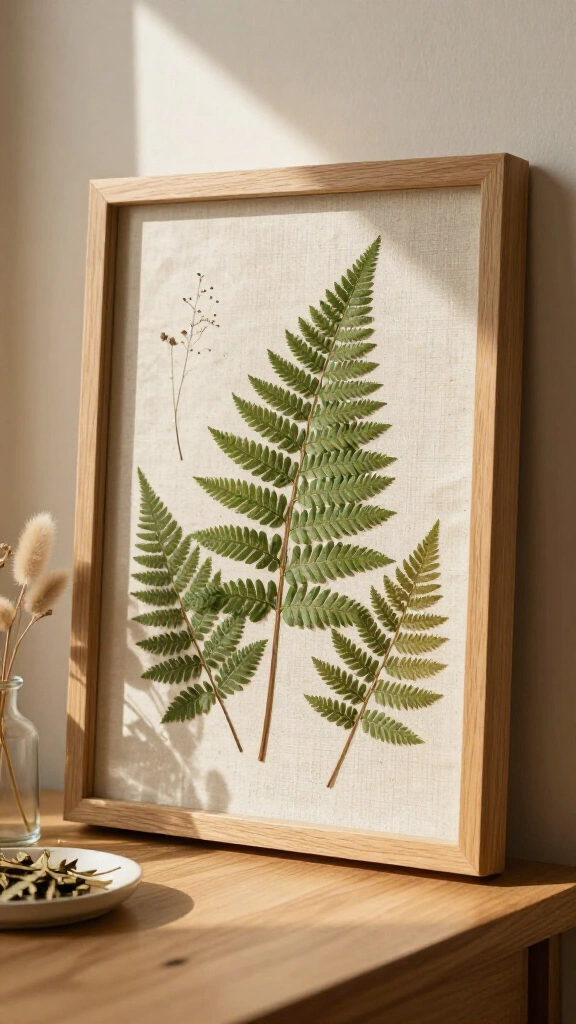
Mount dried fern fronds and stems directly onto unbleached linen fabric using fabric glue. Secure the stretched linen inside a natural wood frame for hanging.
11. Custom botanical greeting cards

Glue pressed lavender, hydrangea florets, or cosmos onto heavy watercolor paper to make handmade stationery.
Pair your notes with wax seals on the envelopes to complete the package.
12. Glass Christmas ornaments with preserved petals

Insert pressed poinsettia petals or evergreen leaves through the top opening of clear glass ornaments. Find additional seasonal craft ideas on HGTV Home Decor.
13. Framed floral suncatchers
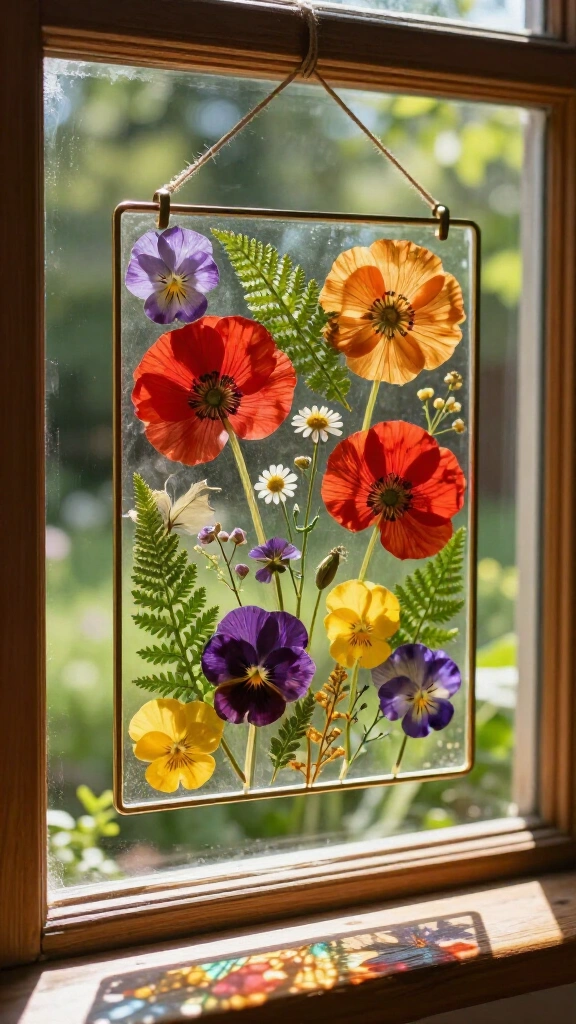
Hang a small double-pane glass frame in a sunny window sash. Thin, translucent petals like poppies and pansies allow sunlight to shine directly through the display.
14. Pressed flower resin keychains

Cast resin initial letters filled with small dried flowers to attach to key rings, backpacks, or zipper pulls.
15. Pressed flower paper lanterns
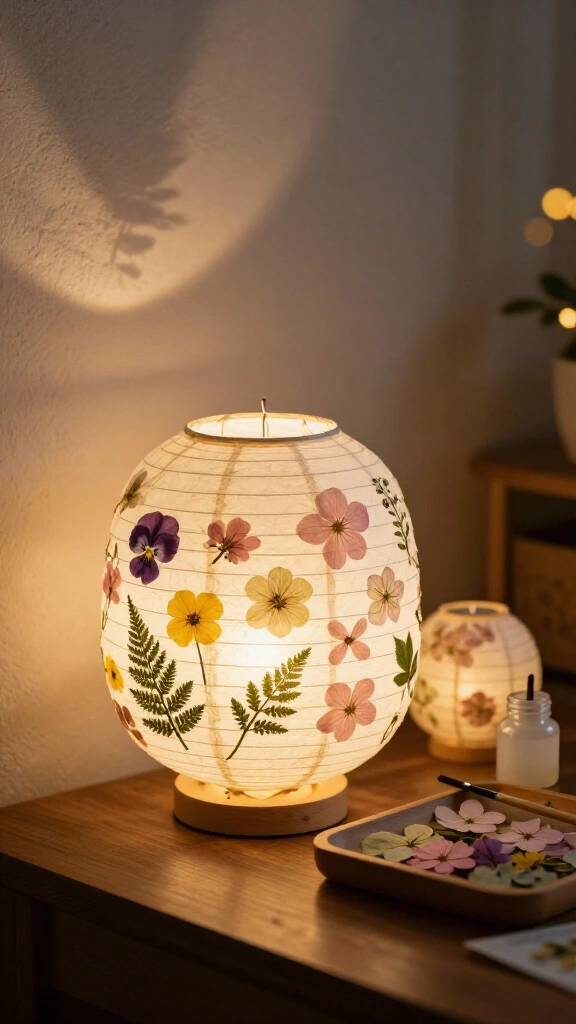
Adhere thin pressed blossoms to collapsible white paper lanterns using diluted craft glue. When lit from inside, the plant shapes cast clear outlines on nearby walls.
16. Botanical monogram wall art
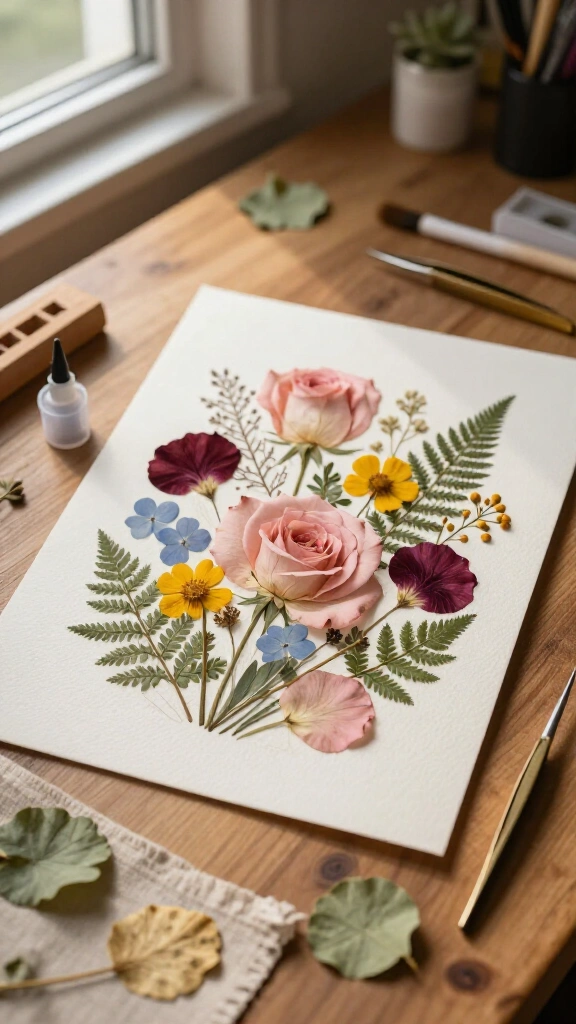
Trace a letter outline onto thick paper, then glue overlapping pressed leaves and petals inside the lines to complete the monogram.
If you want more detailed DIY display projects, read our guide to fairy house crafts for step-by-step room decoration ideas.
17. Pressed flower decorative clocks

Take apart a basic wooden wall clock, decoupage twelve small dried flowers around the face to mark each hour position, then reassemble the hands and glass cover.
18. Floral decoupage pillar candles
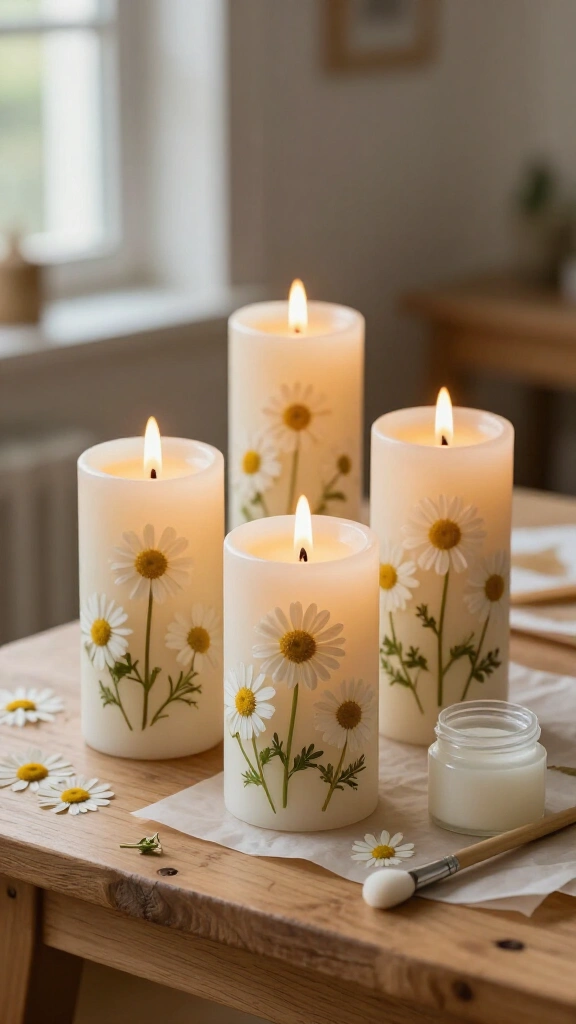
Brush a thin layer of Mod Podge onto plastic LED flameless candles, attach pressed daisies around the sides, and seal everything with a second coat of glue.
19. Pressed flower glass jar votives
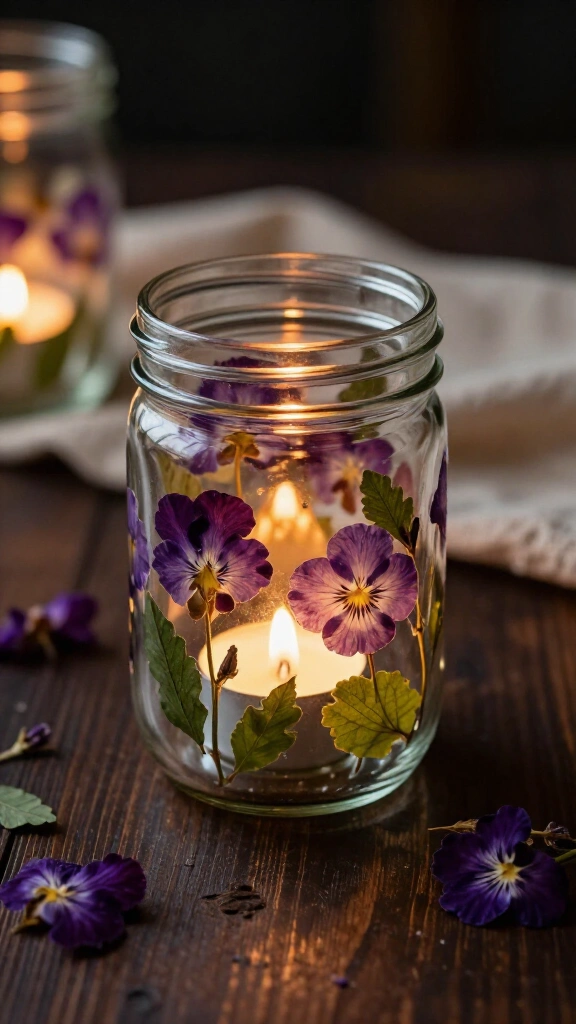
Clean empty glass mason jars and glue pressed wild violet leaves and petals around the exterior walls. Place a small battery-operated tea light inside to illuminate the greenery.
20. Pressed flower decorative magnets

Glue clear glass cabochons directly over small pressed rose petals. Attach a strong neodymium magnet to the flat back of each glass piece to create functional refrigerator magnets.
21. Botanical phone grip sockets

Place a small arrangement of dried stems onto the flat surface of a white phone grip socket. Pour a single drop of quick-curing UV resin over the design and cure under a UV light.
22. Pressed flower wooden cheeseboard accent
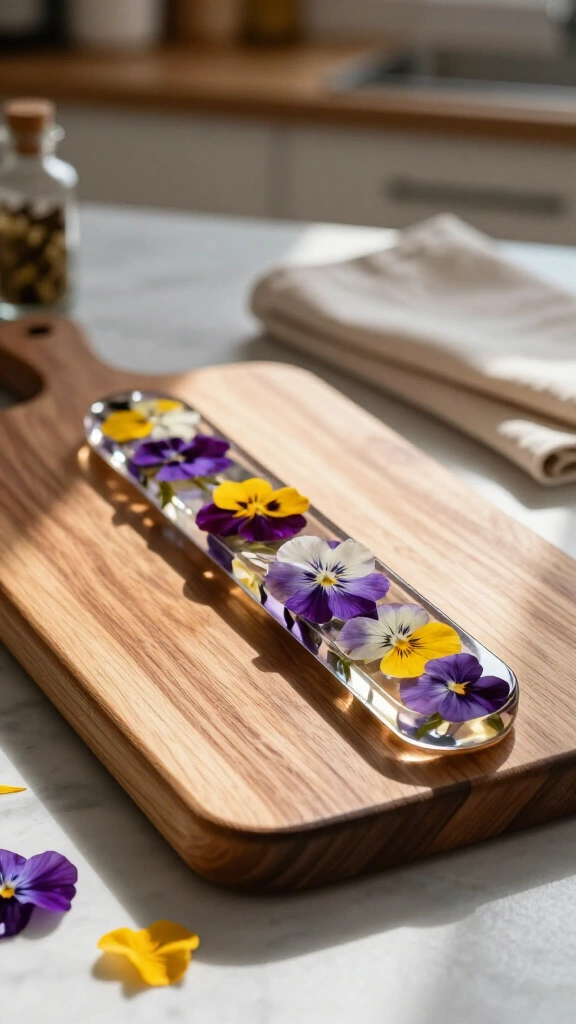
Embed pressed violas or other edible blooms along the outer wooden handle of a serving board using food-safe resin. Keep resin away from the main cutting surface where knives make contact.
23. Preserved botanical terrarium frames

Arrange dried moss, thin bark strips, and pressed wildflowers inside deep shadowbox frames to build a flat display that resembles a forest floor.
24. Pressed flower glass straw toppers and coasters
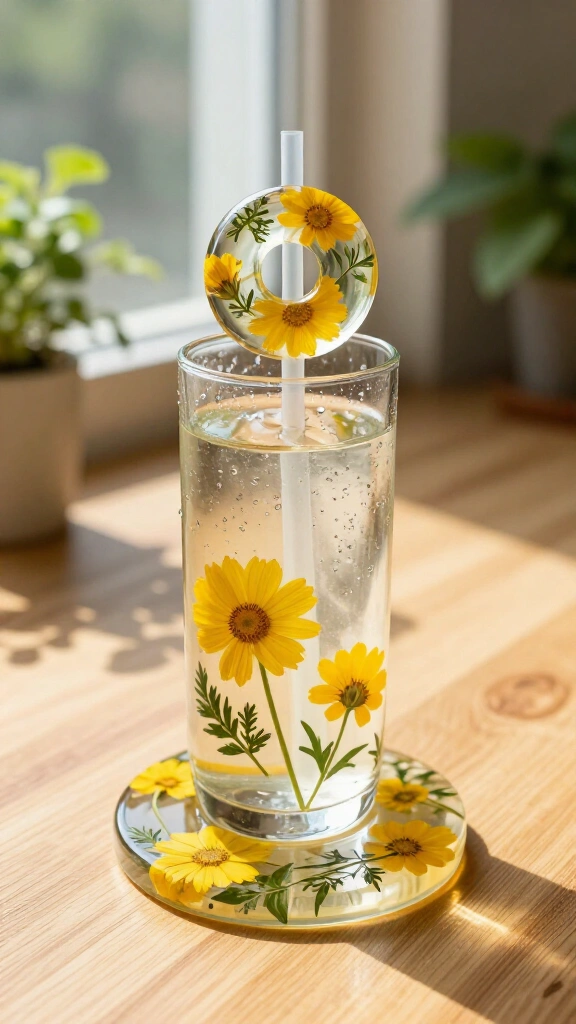
Cast small resin rings containing buttercups to fit over reusable glass straws, or pour matching flat resin coasters for cold drinks.
25. Framed herbarium specimens
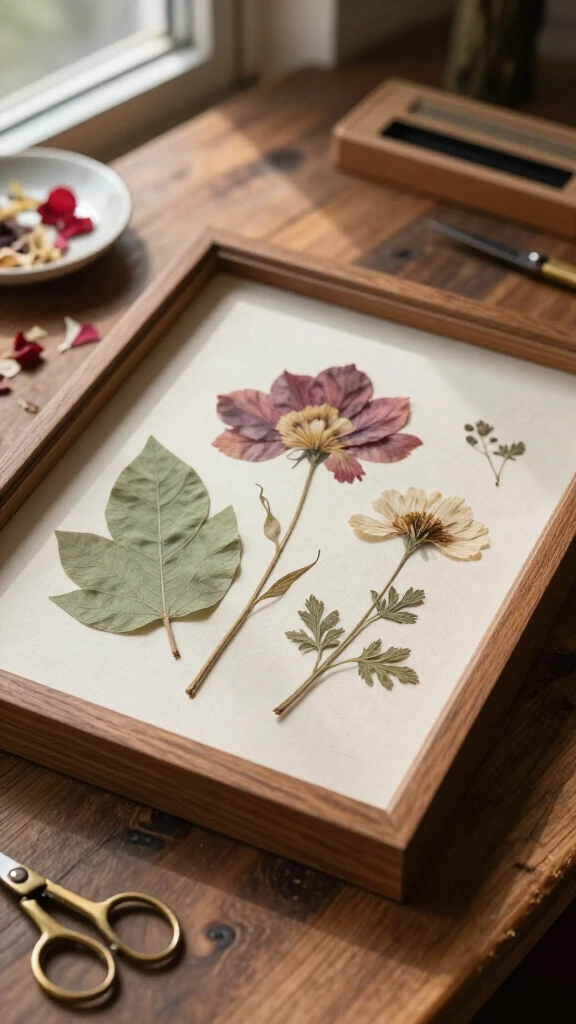
Glue fully dried plant samples onto heavy linen paper. Write the botanical name, harvest location, and date in ink near the bottom corner, following historical museum archiving formats.
See our main collection of pressed flower crafts for step-by-step guides on pressing delicate petals and preparing stems.
Preserve your plant collections
Pressing flowers offers a straightforward way to save seasonal blossoms. Which project will you try first? Simple tasks like bookmarks or floating frames require few tools, while resin casting takes a bit more preparation. Gather a few blossoms, grab heavy books, and start pressing your current blooms.