
You know that feeling when you see an amazing polymer clay craft online, and your brain immediately goes, “I could never do that”? Yeah, we need to shut that voice down right now. The truth is, polymer clay is the most forgiving, fun, and addictive craft medium out there. It’s like play-doh for grown-ups, but it actually hardens into something you can keep. Let’s skip the intimidation and jump straight into 27 polymer clay crafts that range from “my first project” to “I am now a clay wizard.”
1. Geode-Inspired Trinket Dishes

This project gives you instant, dazzling results. Start by forming a simple clay pinch pot. Now, take thin slices of “jewel-toned” clay—think deep purples, blues, and sparkly gold—and layer them around the rim. Use a blade to create a jagged, crystal-like edge. Bake it, then fill the “geode” crevices with a glossy resin or even just a thick layer of clear nail polish for that wet, mineral shine. You just made a gorgeous catch-all for your rings and earrings.
2. Personalized Statement Earrings
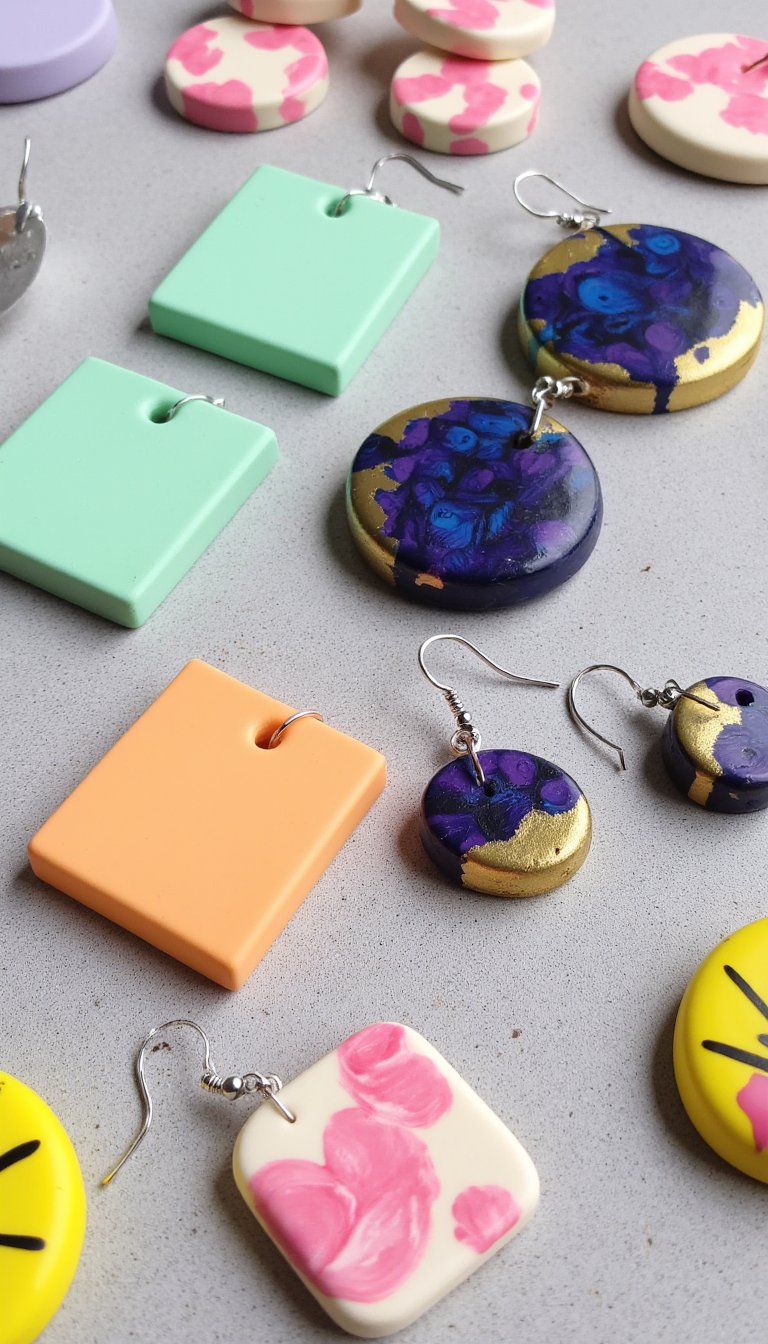
Lightweight polymer clay is perfect for earrings. Roll out a slab to about 1/8 inch thick. Use a small cutter (or a craft knife) to create your shapes: abstract blobs, miniature fruits, or simple geometrics. Before baking, poke a hole for the earring post or jump ring with a toothpick. The magic happens after baking. Paint them with acrylics, or try the alcohol ink technique for a marbled effect. A coat of varnish makes them durable and professional.
3. Miniature Succulent Garden

Can’t keep a real plant alive? Make a permanent one. Create a tiny terracotta pot from brown clay. For the succulents, mix greens and blues, then roll small teardrop shapes. Flatten the wide end and use a needle tool to etch tiny lines for texture. Layer them in a rosette pattern. For “echeverria,” use a circle cutter on a green slab and pinch the edges. This is a satisfying, low-pressure way to practice shaping and assembly.
4. “Stained Glass” Sun Catchers

This craft uses translucent polymer clay. Condition translucent clay and roll it thin. Cut out a shape like a feather, butterfly, or abstract form. Now, the fun part: press tiny balls and snakes of opaque colored clay into the translucent base to create your design. The key is to bake it according to the translucent clay’s instructions (often at a lower temp/longer time) to avoid yellowing. Hold it up to a window after it cools—pure magic.
5. Custom Keyboard Keycaps

For the crafter-gamer hybrid. This requires a keycap mold (easily found online) for the perfect fit. Press a base layer of clay into the mold. Then, let your imagination run wild on top: sculpt a tiny cactus, a cartoon character’s face, or a marbleized pattern. You must be meticulous about the stem dimensions, but the creative payoff is massive. Imagine having a “Ctrl” key that’s actually a tiny pizza. Worth the effort.
6. Embossed Clay Coasters
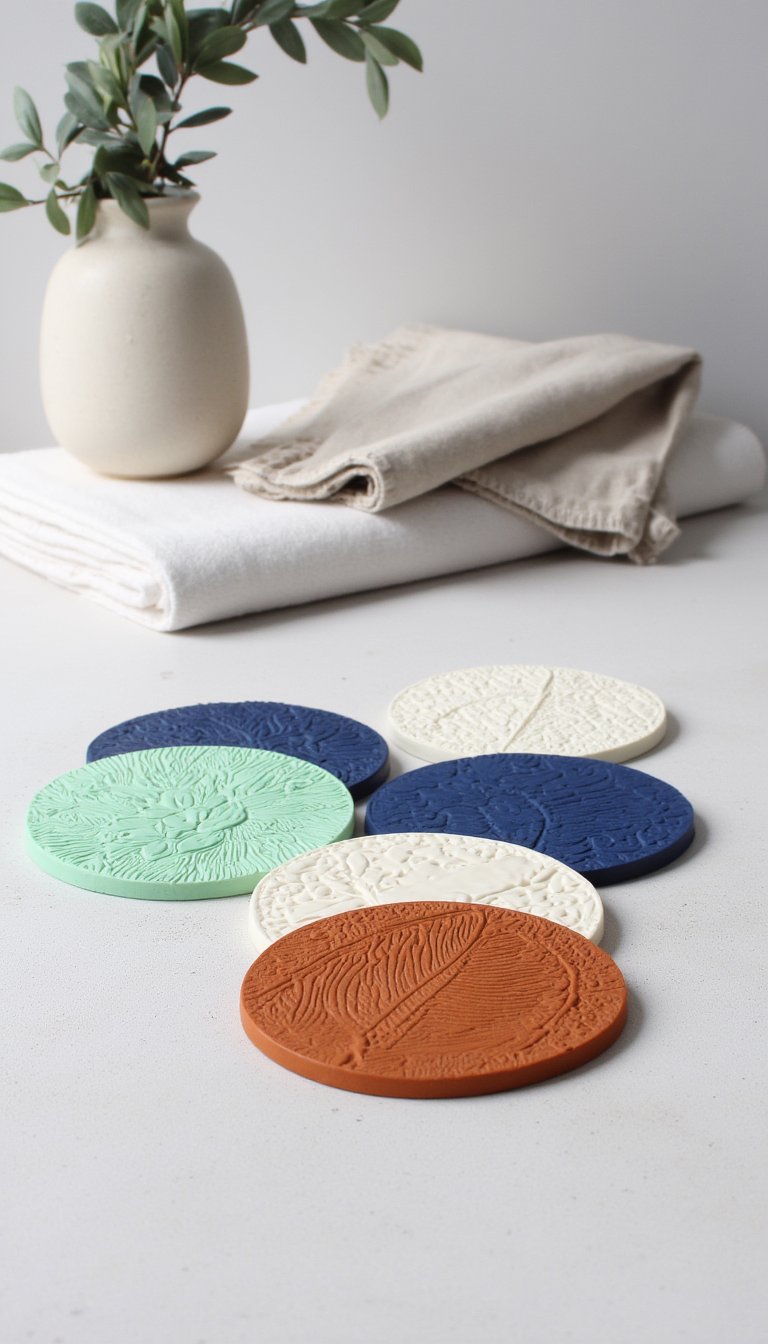
Functional and chic. Roll out clay to about 1/4 inch thick. Use cookie cutters for perfect circles or squares. Now, find textures! Press the clay onto lace, a textured napkin, or even a leaf to create a beautiful impression. You can also use rubber stamps for a more precise design. Bake, then seal with a waterproof varnish if you plan to use them for cold drinks. They make incredible personalized gifts.
7. Chunky Bead Necklace

Forget uniform round beads. Make organic, one-of-a-kind shapes. Roll clay into uneven ovals, cubes with softened edges, or twisted ropes. Before baking, ensure the hole is large enough for your chosen cord by rotating a skewer or thick needle. After baking, sand the edges smooth for a polished look. String them on a leather cord, mixing your handmade beads with a few wooden ones for contrast. It’s a statement piece with a story.
8. Faux Sea Glass Charms

Craving that beachy vibe? Mix translucent clay with a tiny speck of white, blue, or green clay for a milky, sea glass effect. Roll into irregular, flattened pebble shapes. To get the authentic frosted texture, sand the baked pieces with fine-grit sandpaper (wet sanding works best). Drill a small hole or glue on a bail, and you have a charm for a bracelet or necklace that looks like it washed ashore.
9. Animal Portrait Magnets
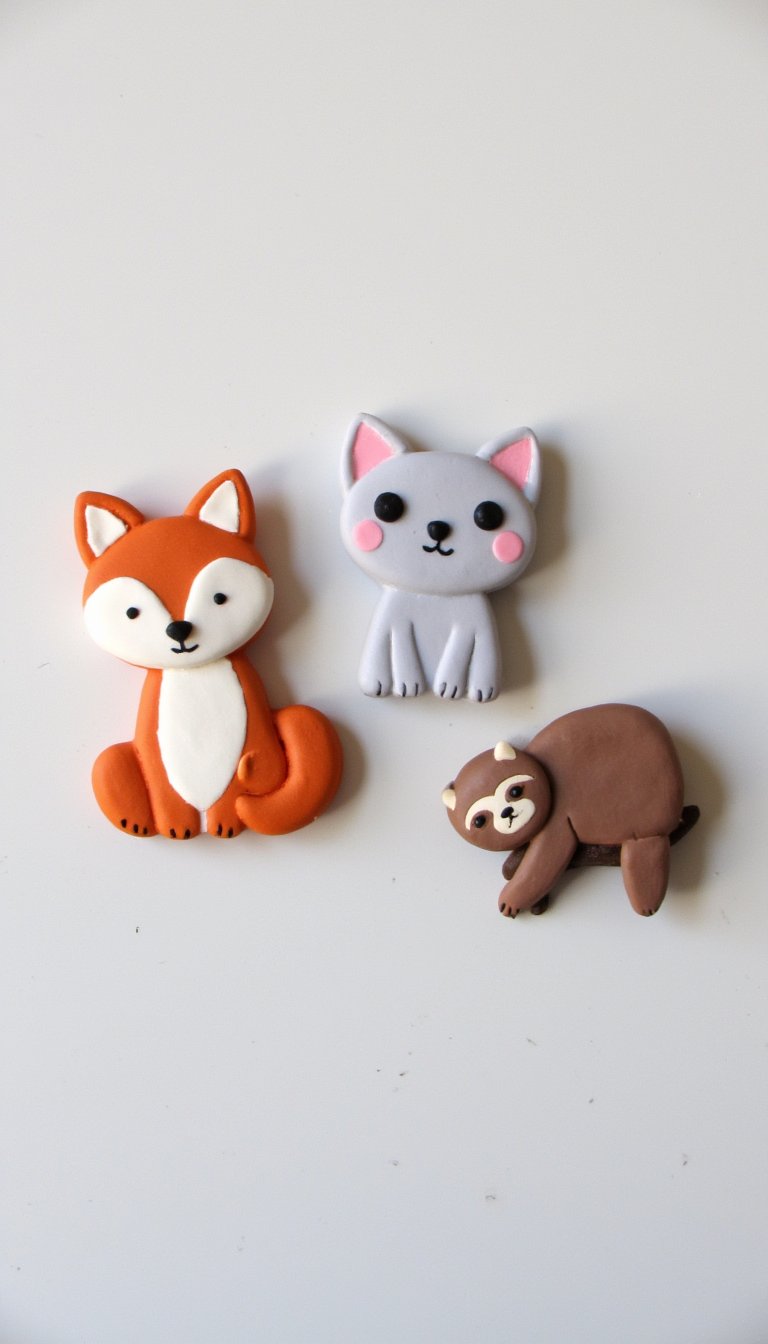
Your fridge needs more personality. Roll out a slab of clay and cut small circles or ovals. Using a photo for reference, build up a simple animal face: a fox, a cat, a sloth. Use tiny balls of clay for eyes and a needle for fine details. After baking and painting, glue a strong magnet to the back. Pro tip: Start with side-profile portraits—they’re often easier than a full-face view.
10. Polymer Clay “Knife Handle” Wrap
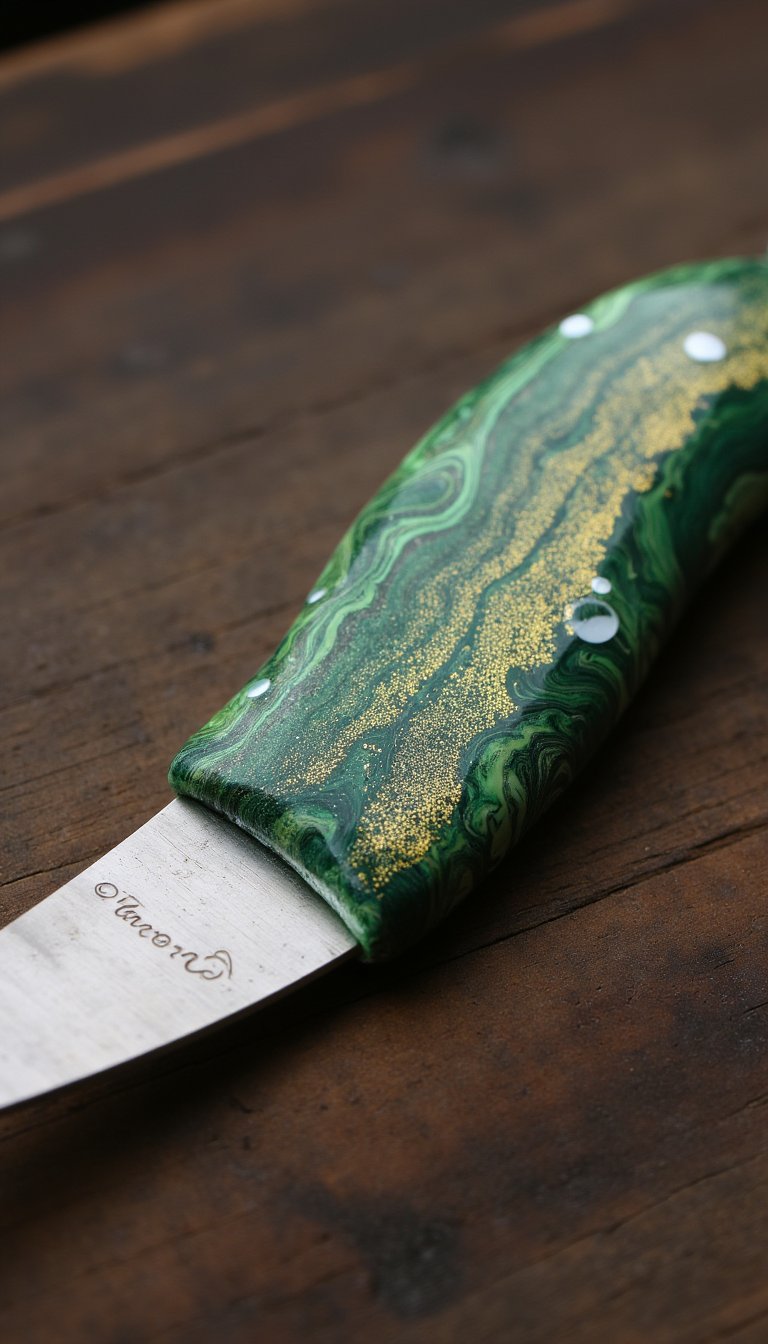
Give an old thrift store knife or a plain cheese spreader a stunning makeover. Condition your clay and roll it into two thin sheets. Sandwich the knife’s tang (the metal part of the handle) between them and smooth the clay around it, sculpting your desired handle shape. Embed small pieces of contrasting clay or mica powder for a sparkly effect. This is a more advanced project but transforms a basic tool into art.
11. Dangling Bookmark Charm
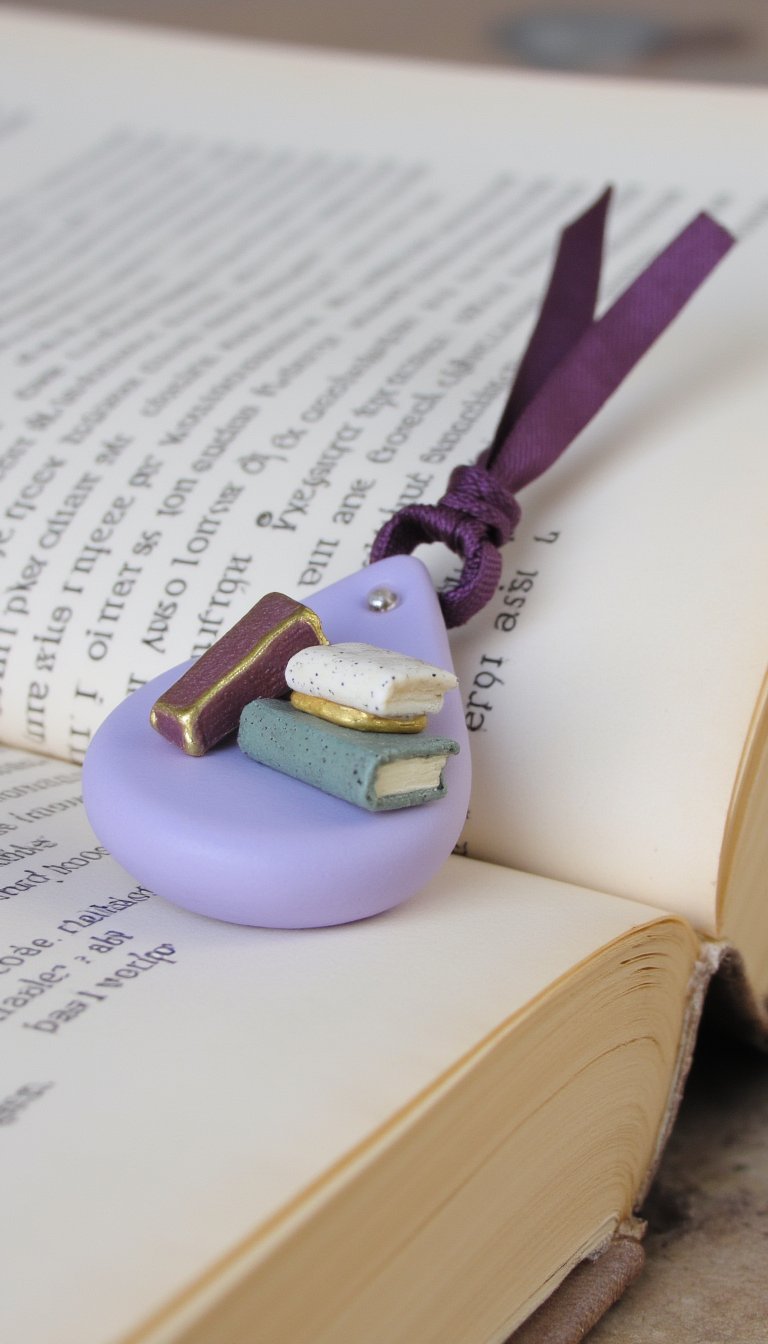
For the book lovers. Create a charm that hangs over the page. A simple teardrop shape is a great start. Embellish it: make a tiny stacked book, a moon and star, or a cute ghost. At the top, embed a loop or a large jump ring before baking. After baking, attach it to a ribbon or a tassel. It’s a functional little piece of art that makes reading even more enjoyable.
12. Marbled Rolling Pin

Polymer clay, but make it fancy. Take two or three colors of clay that complement your kitchen. Twist and fold them together just until you get a marbled effect—don’t overmix! Wrap this marbled sheet around a simple wooden dowel or an old rolling pin, smoothing the seam. Bake (with the core inside if it’s oven-safe, or remove it first). You now have a stunning tool for real dough or just for display.
13. Fairy House Door Wall Hanging

Whimsical and surprisingly simple. Sculpt a small, rustic door shape. Use a textured tool to create “wood grain.” Add a tiny clay doorknob, a little “stone” path at the bottom from pebbles of clay, and a faux mushroom or two. Bake it, then glue the entire scene onto a slice of wood or inside a small shadow box. It’s a tiny escape that sparks the imagination.
14. Bandana-Inspired Earrings
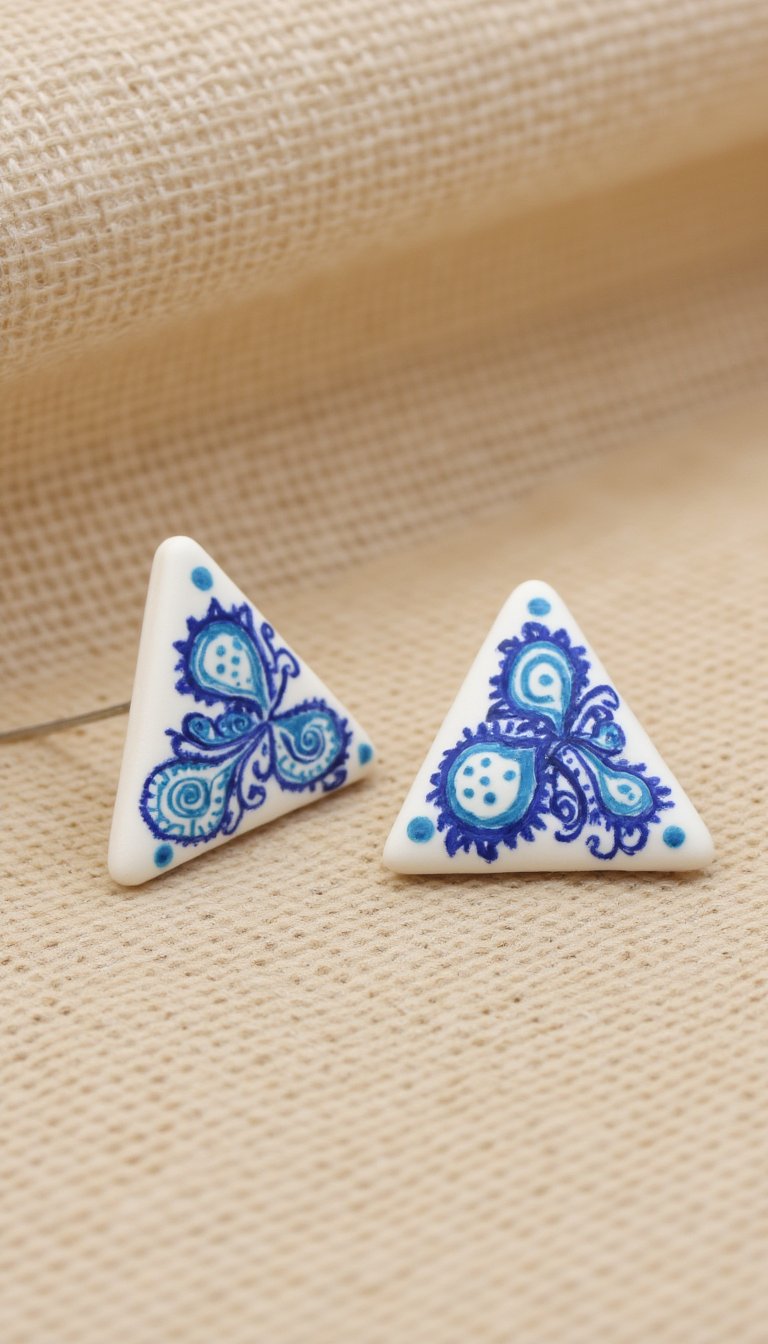
This trend translates perfectly to clay. Start with a white or cream clay base. Using a very fine brush or even a toothpick, paint on tiny red or blue paisley patterns with acrylic paint. Let it dry completely, then seal with a matte varnish. The handmade, slightly imperfect dots and swirls are what give these their charm. Cut them into triangles or small squares for the full bandana effect.
15. Pie Slice Pin Cushion

Because why have a boring pin cushion? Sculpt a wedge of pie from beige clay for the crust. For the “filling,” use a pink or golden clay, texturing it to look like berries or apples. Bake it, then glue a small piece of upholstery foam to the top of the “filling.” Cover the foam with a scrap of felt, gluing it underneath the clay crust. It’s functional, adorable, and a great conversation starter in your craft room.
16. Constellation Night Light Cover
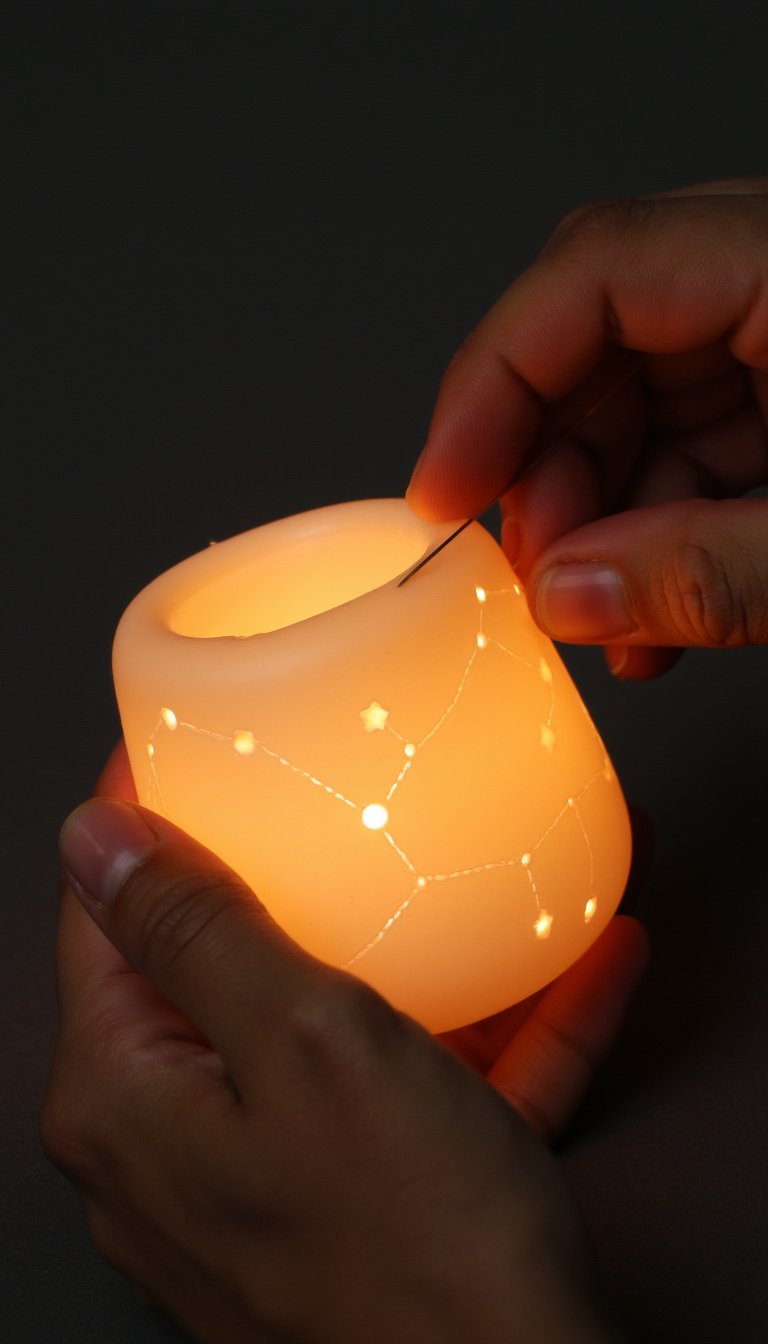
Transform a basic LED tea light or a small jar. Roll translucent clay into a sheet and shape it into a cylinder or a dome that will fit over your light source. While the clay is soft, use a thick needle to poke holes in the pattern of your favorite constellation. When the light shines through, the stars will glow beautifully. Baking translucent clay properly is key to a clear, non-brittle result.
17. Faux Lapis Lazuli Paperweight
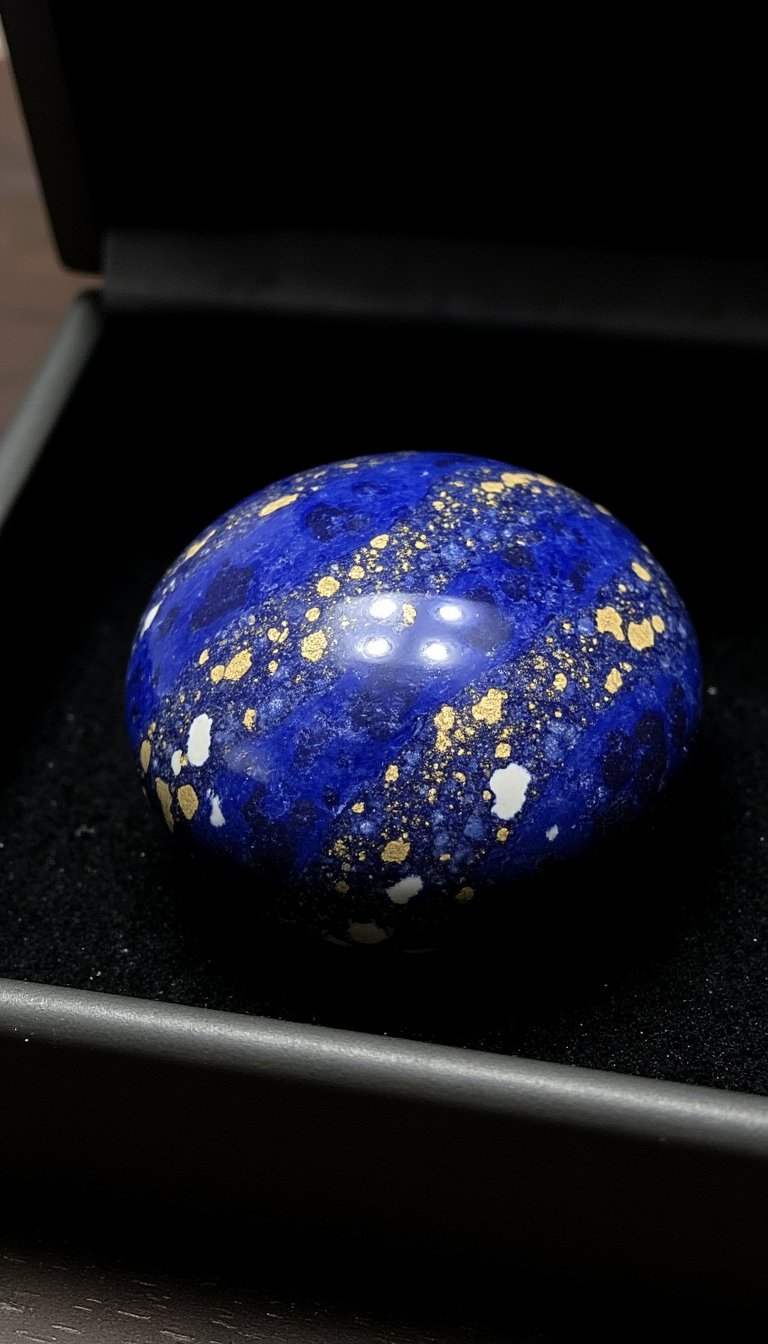
Imitate luxurious stone. Mix a deep blue clay with tiny specks of gold and white clay. Don’t blend it fully—you want a speckled, heterogeneous look. Form it into an organic, chunky rock shape. After baking, give it a high-gloss polish with successive layers of sanding and buffing or a gloss varnish. It looks incredibly expensive and is just a joy to hold.
18. Miniature Picture Frames
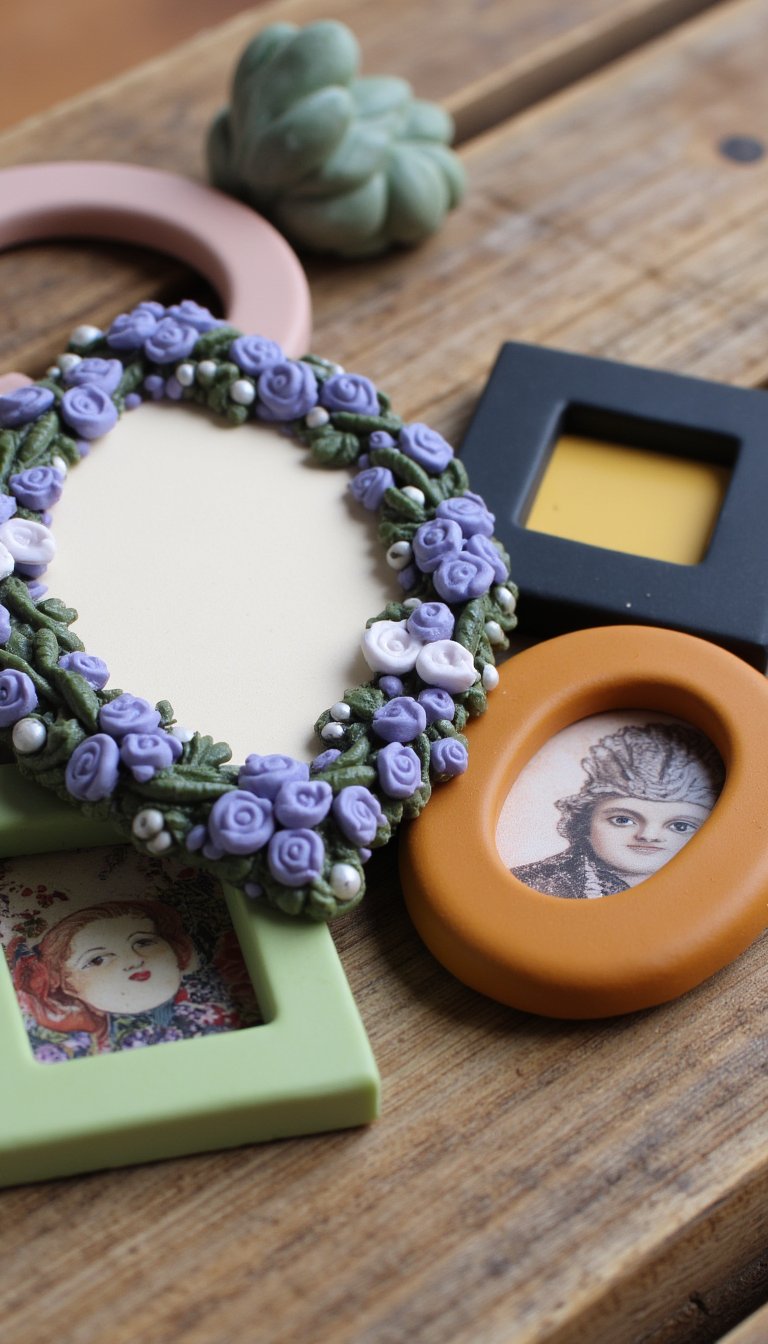
For tiny photos, lockets, or just as dollhouse decor. Create a flat clay rectangle or oval with the center cut out. Sculpt tiny florals, vines, or geometric patterns around the border. Bake it flat. You can glue a small piece of glass or clear plastic behind the opening and a tiny photo behind that. Add a stand or a loop on the back to complete it.
19. “Dichroic” Style Pendant
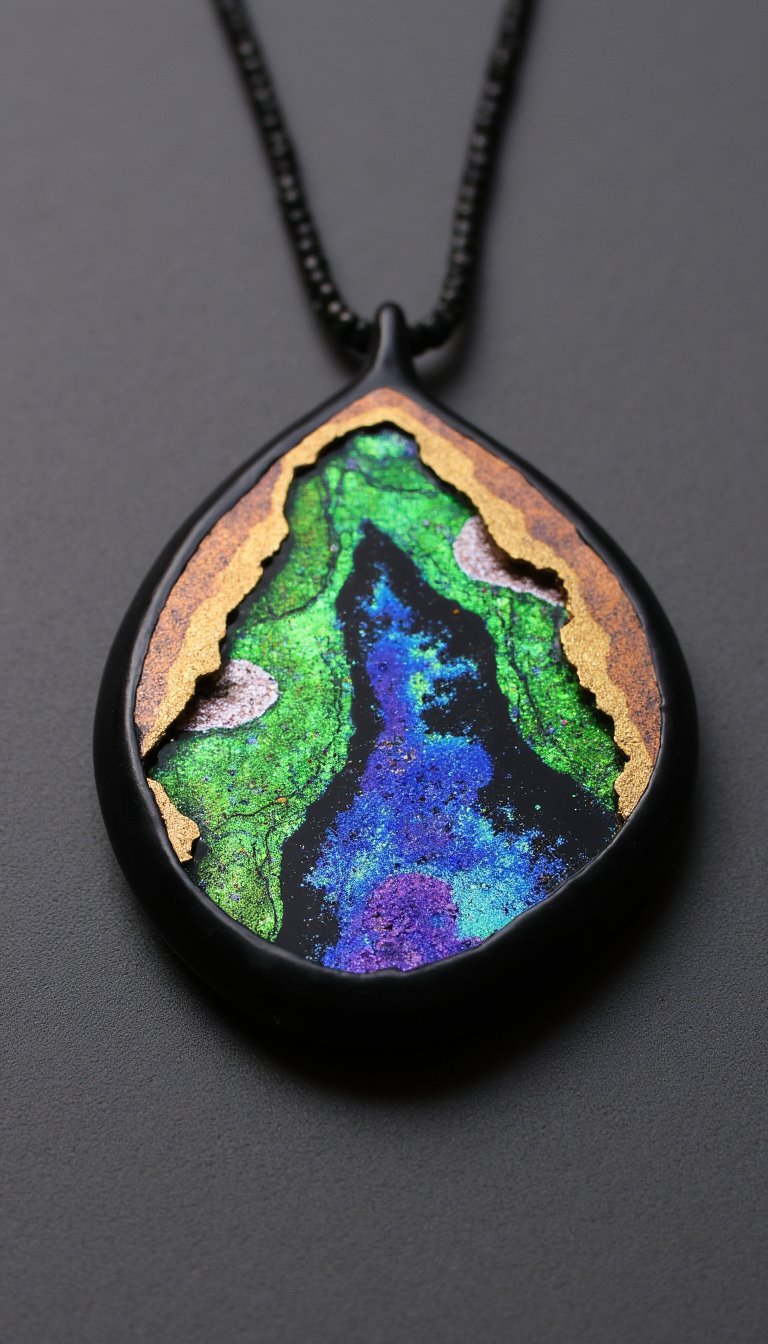
This mimics the look of expensive fused glass. Start with a black clay base. Layer incredibly thin sheets of metallic and translucent colored clays on top in an abstract pattern. Slice through the stack vertically with a blade to reveal the colorful layers underneath. Flatten this slice onto your pendant base. The result is a stunning, jewel-like focal piece that’s easier than it looks.
20. Textured Ring Dish with a Twist

Go beyond a simple dish. Make a dish that looks like a curled leaf, a seashell, or even a tiny hammock. Use real leaves for texture on the outside. The inside should remain smooth to hold jewelry. You can accentuate the textures with a light rub of metallic wax after baking, which highlights the high points. It’s a two-minute technique with a ten-out-of-ten result.
21. Game Piece Upgrades
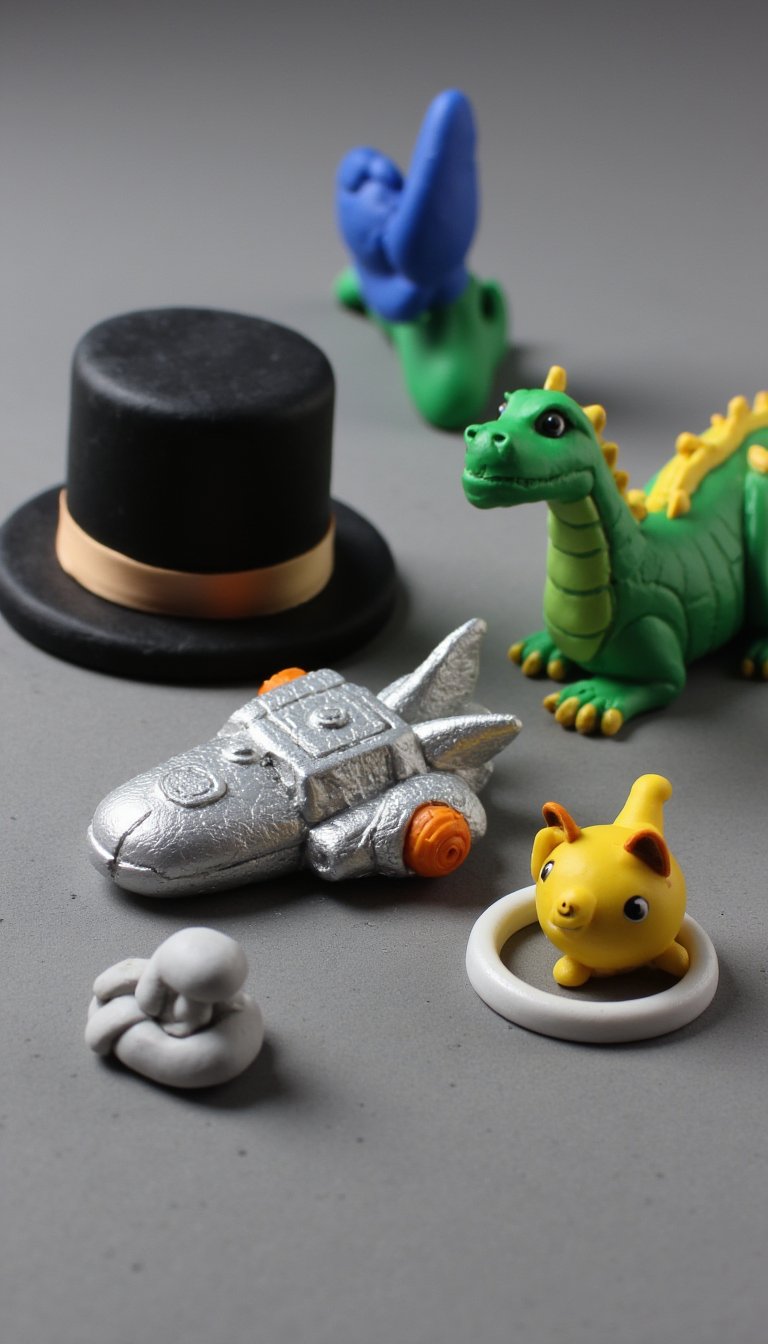
Tired of boring plastic tokens? Sculpt custom player pieces for your favorite board games. Think tiny top hats for Monopoly, detailed space ships for Settlers of Catan, or thematic creatures for Dungeons & Dragons. Keep them small and ensure the base is flat so they don’t tip over. This personal touch makes game night even more special.
22. Pressed Flower Keepsakes

Preserve real flowers forever. Roll out a slab of translucent or very light clay. Gently press a small, flat dried flower (like a pansy or baby’s breath) into the surface. Carefully roll over it once to embed it, then cut around it with a cutter. The flower will become part of the clay. Bake it, and you have a permanent, delicate botanical pendant or ornament.
23. Cable Management Clips
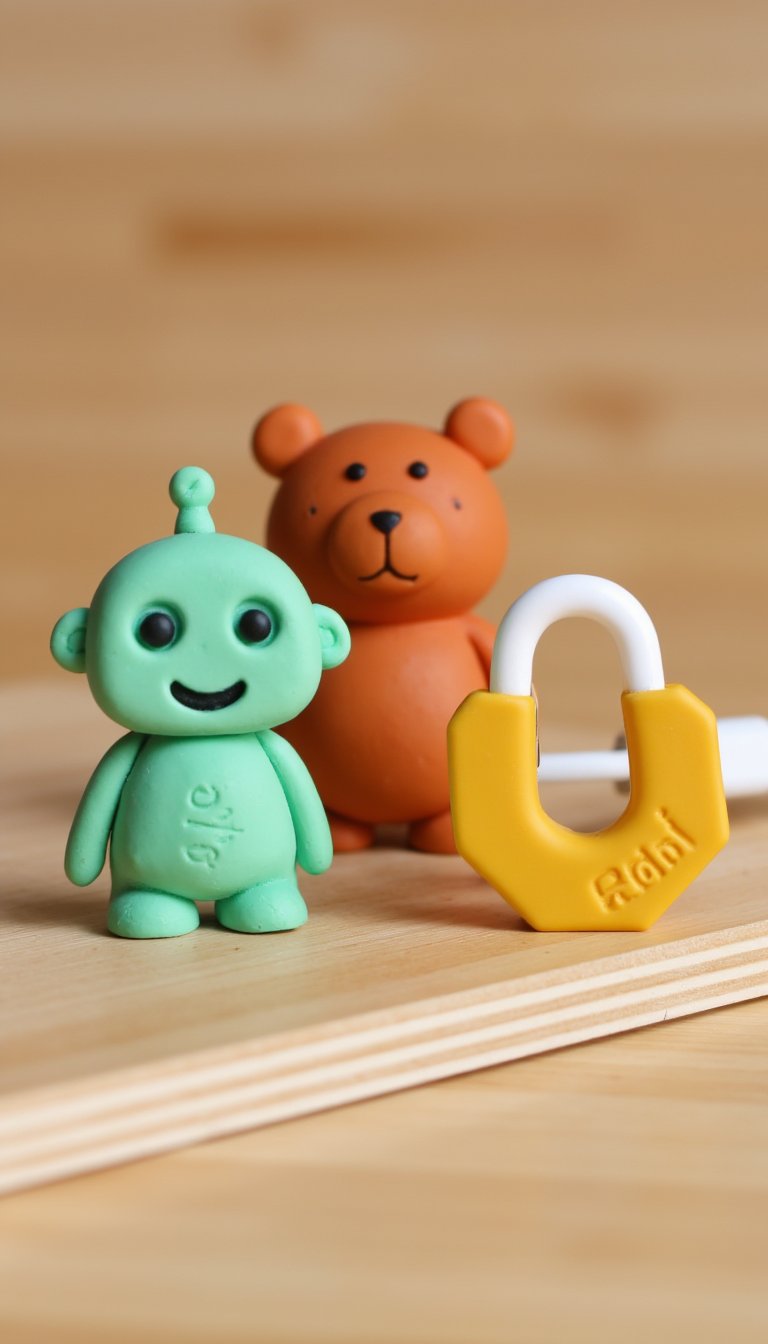
Organize with style. Sculpt cute clips that hold charging cables on your desk. A simple design is a flat back with a “C” or “U” shaped clip on the back (make sure it has spring!). Sculpt the front to look like a robot, a bear hugging the cord, or a simple geometric shape. Bake and stick it to your desk—function meets fun.
24. Boho-Inspired Wall Tassels
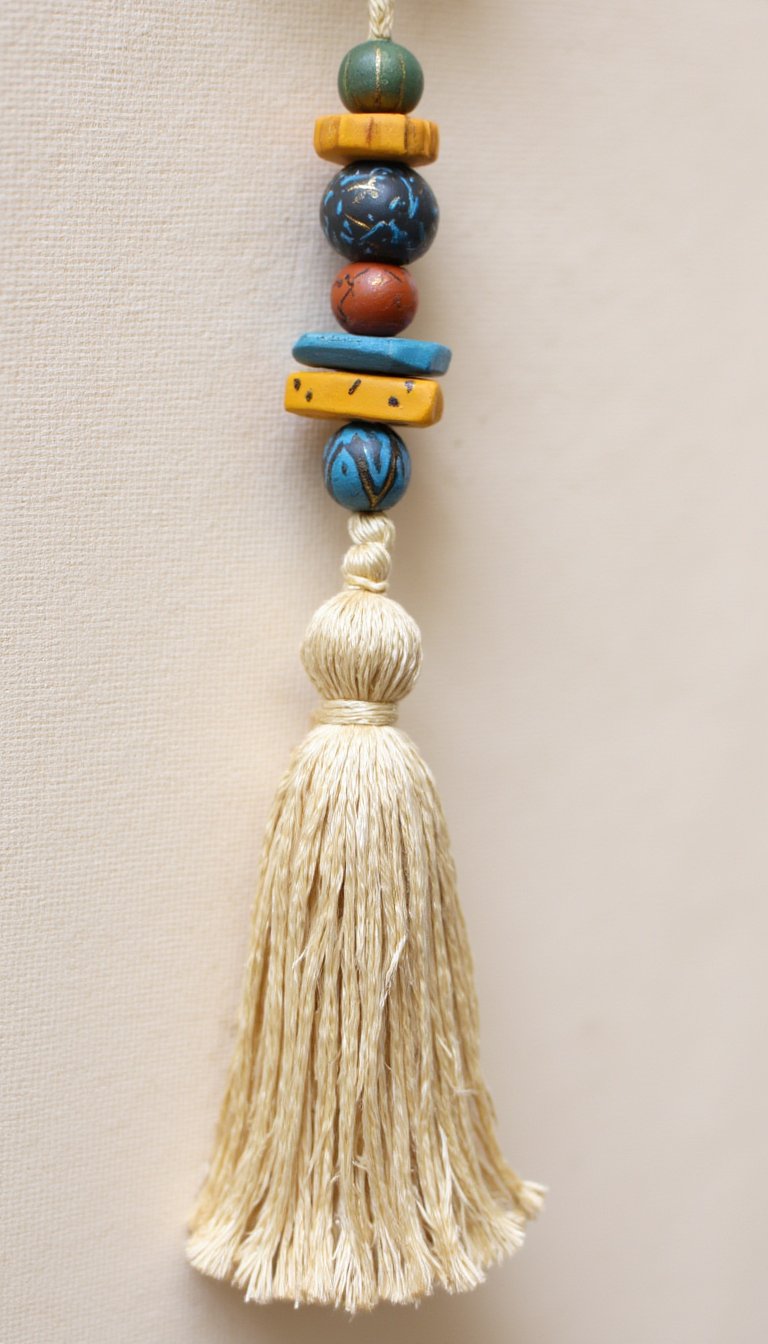
Add a boho flair to your wall or keychain. Create several small, flat clay beads in complementary shapes: rounds, rectangles, triangles. Decorate them with metallic paint dots or fine lines. After baking and stringing, combine them with yarn tassels at the bottom. The weight of the clay beads makes the tassel hang beautifully.
25. Miniature Food Charms
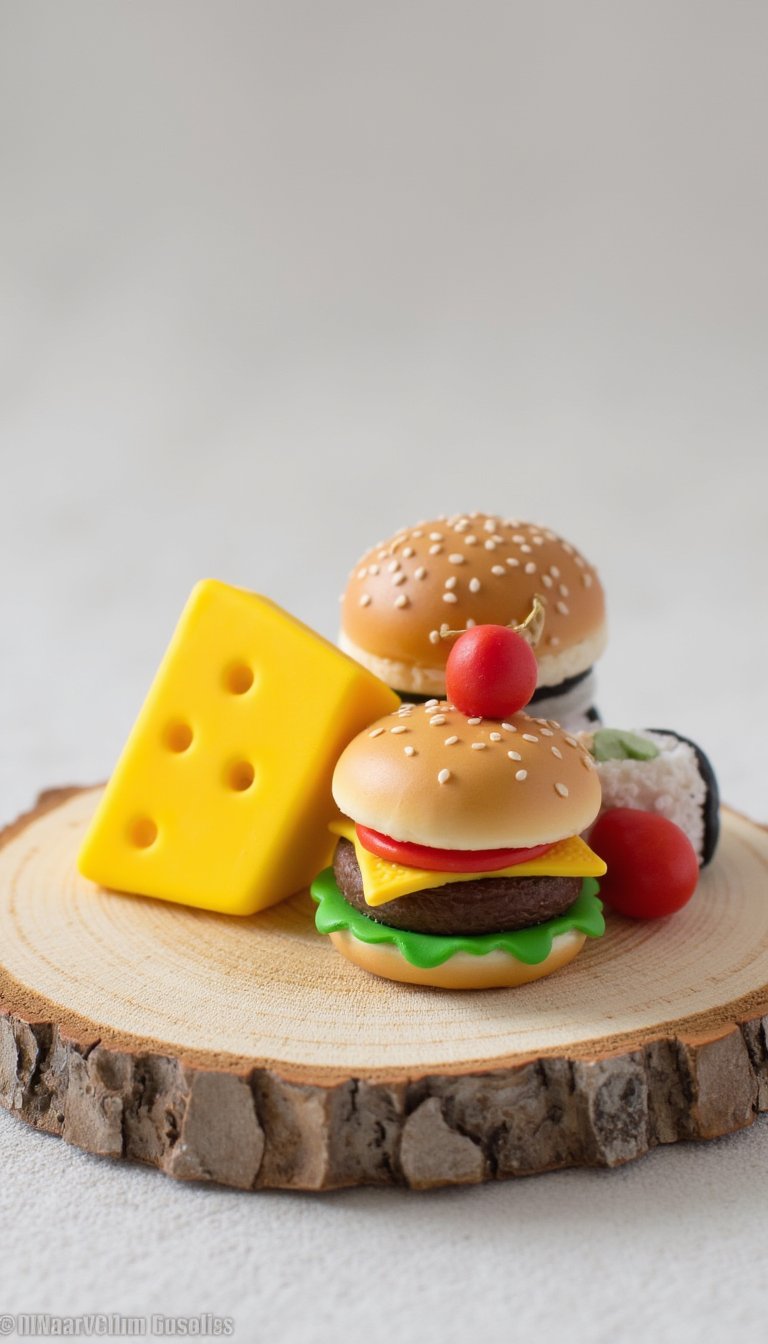
The cutest polymer clay craft of all time? Possibly. Create hyper-realistic tiny foods: a wedge of cheese with holes poked by a needle, a burger with layers, a sushi roll with sesame seeds. Use chalk pastels to add “toasting” or shading. These are incredibly satisfying to make and are perfect for charm bracelets or as decorative pins.
26. Stamped and Inked Coasters

A different take on the coaster. Stamp an image or word into the raw clay with a deep impression. Let the clay firm up slightly. Then, take an ink pad (pigment ink works best) and lightly dab ink over the raised, unstamped surface, leaving the stamped area clean. Wipe any excess. The contrast is stunning and looks professionally printed.
27. Hollow Bead “Locket” Necklace

Your final boss project. Create two identical, slightly domed shapes for the front and back. Before assembling, place a tiny, meaningful object inside: a sprinkle of sand, a mini word cut from paper, a single seed bead. Use liquid clay as “glue” to seal the edges together and bake. You’ve just created a wearable secret, a true personal treasure.
So, there you have it—27 polymer clay crafts that prove this medium is about as limitless as your imagination. The best part? You don’t need to be a master sculptor. You just need to start. Grab a couple of colors, condition that clay until it’s soft, and try one of the simpler projects. Before you know it, you’ll be eyepping every object in your house and thinking, “Hmm, could I make a clay version of that?” Spoiler: you probably can. Happy crafting!