
Need a burst of bright color for a lazy afternoon? Butterflies make wonderful craft subjects because their shapes and colors fit almost any medium. Whether you want a quick project for your kids or a new piece of handmade decor for your living room, these winged designs offer plenty of room for experimentation. Grab your craft supplies, sort through your recycling bin, and try these 29 butterfly craft ideas for creative DIY fun.
1. Colorful coffee filter butterflies
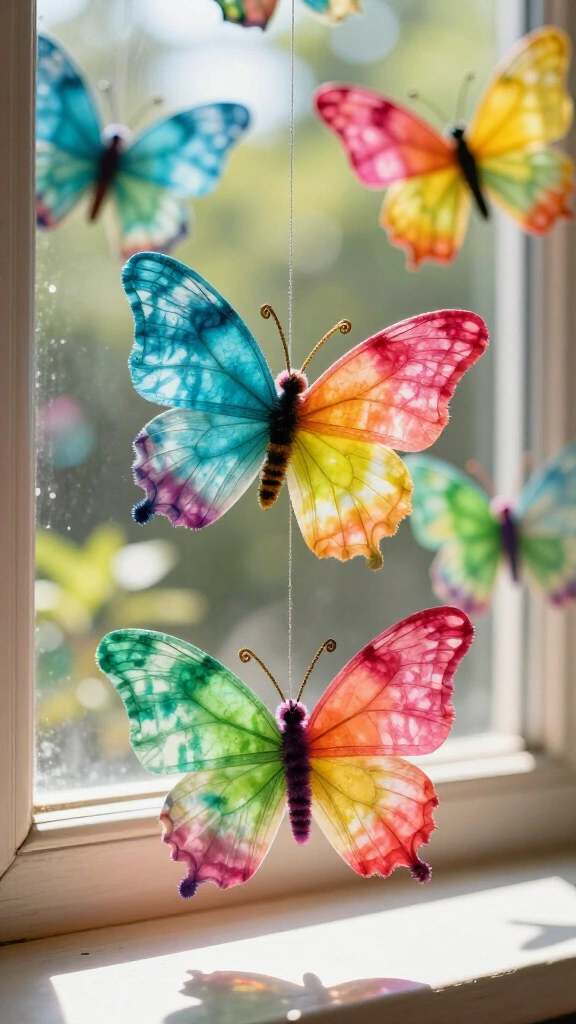
Turn basic kitchen staples into delicate paper wings with washable markers and a water spray bottle. Kids can scribble bright patterns across round coffee filters, then spray them with water to let the pigments bleed together. Once the paper dries, pinch the middle with a pipe cleaner to form the body and antennae. Hang these finished pieces against a sunny window where natural daylight illuminates the colors.
2. Classic origami folded butterflies
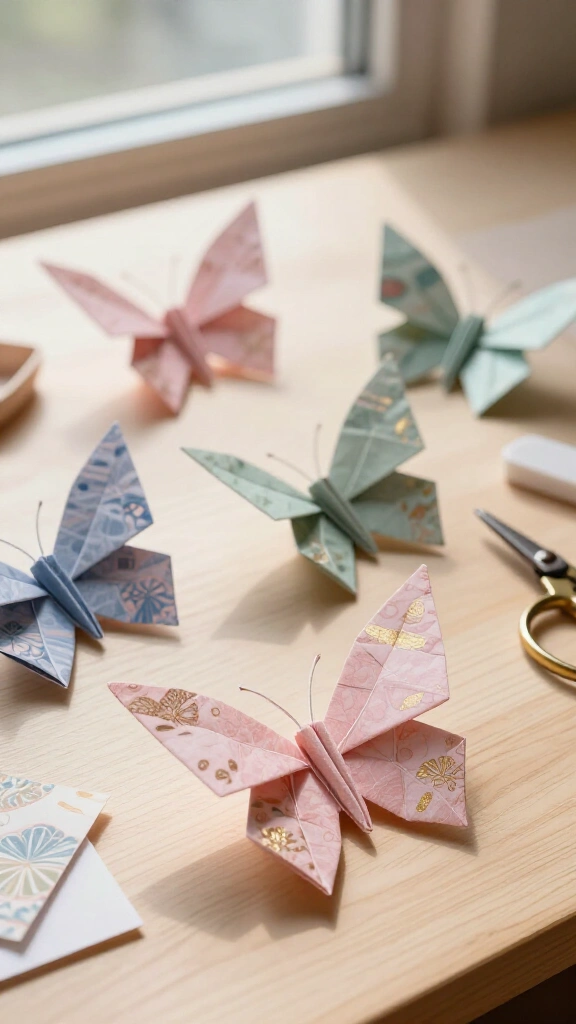
Fold Japanese washi paper into crisp, geometric butterflies in just a few minutes. Paper folding builds dexterity while creating clean accents for scrapbooks, place cards, and gift toppers. Follow the step-by-step techniques in our guide to paper butterflies DIY. Once you master the initial valley and mountain folds, you can fold a dozen of these paper insects in one sitting.
3. Upcycled cardboard tube monarchs

Rescue empty toilet paper rolls from the recycling bin and turn them into playful monarch figures. Coat the cardboard tubes in bright acrylic paint, then glue patterned cardstock wings directly to the back. Add googly eyes and curled craft wire antennae to finish the faces. This quick project keeps children entertained during indoor craft afternoons.
4. Stamped air-dry clay charms

Roll out a slab of white air-dry clay and cut butterfly shapes using small metal cookie cutters. Press botanical leaves, stamps, or lace scraps into the damp clay to leave distinct textures on the wing surfaces. If you want to make smaller accessories, check out our guide on DIY clay charms to expand your jewelry skills. Paint the cured charms with metallic accents to give them a finished look.
5. Crystal bead and wire butterflies
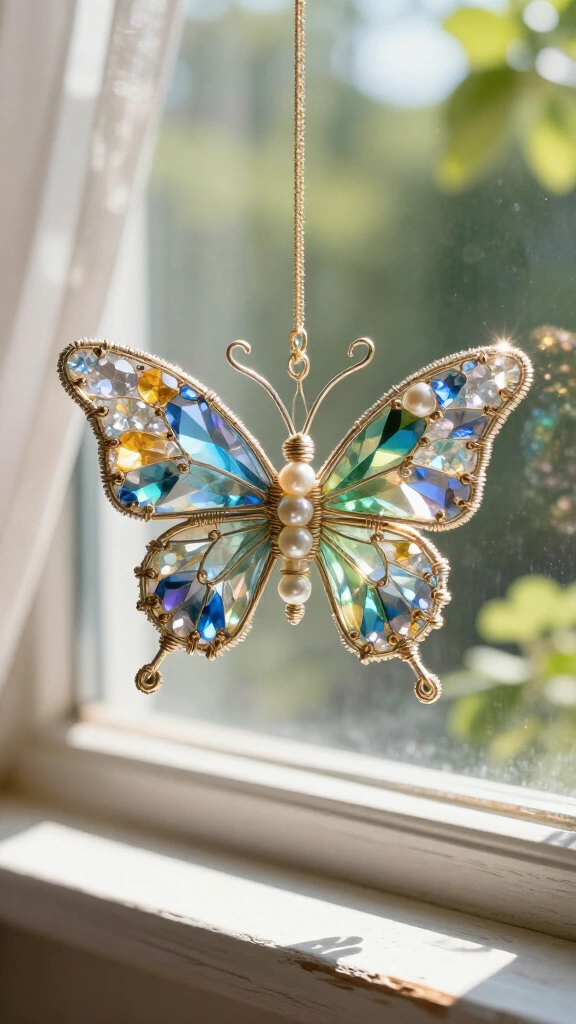
Thread glass seed beads and faux pearls onto flexible 24-gauge craft wire. Bend the wire into upper and lower wing loops, then twist the ends tightly around a central bead column to anchor the body. Study authentic wing markings through the Smithsonian’s butterfly index for color scheme ideas. These finished wire ornaments work wonderfully as light-catching window hangers.
6. Wooden clothespin flutterers
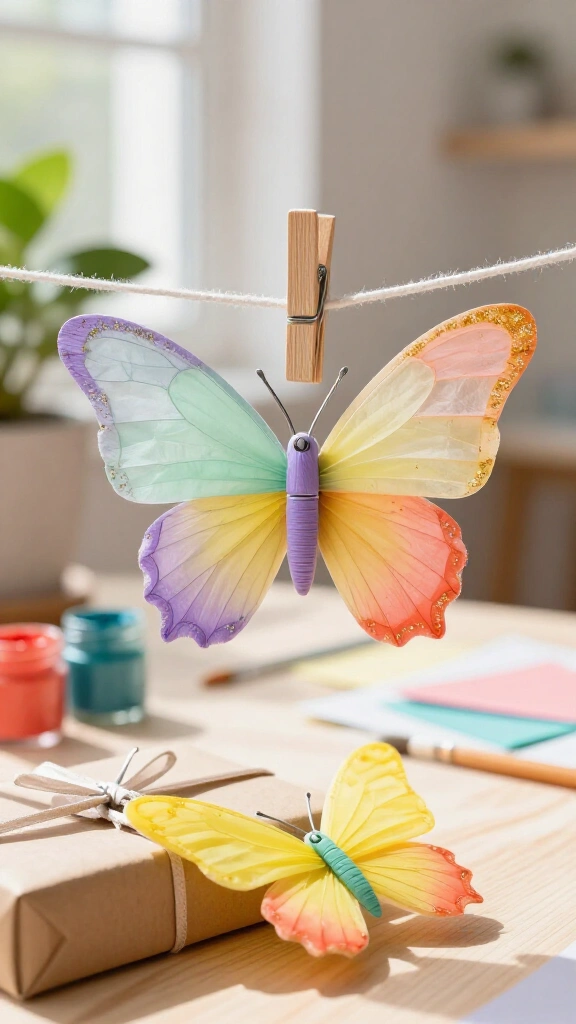
Slide accordion-folded tissue paper squares directly through the metal spring of a wooden clothespin. Paint the wooden clip with gouache or acrylic paint, then dust fine glitter over the outer wing edges. Clip these finished butterflies onto curtains, potted houseplant stems, or wrapped gift boxes. This project offers an easy, affordable craft for large group activities.
7. Resin-dipped real pressed flower wings
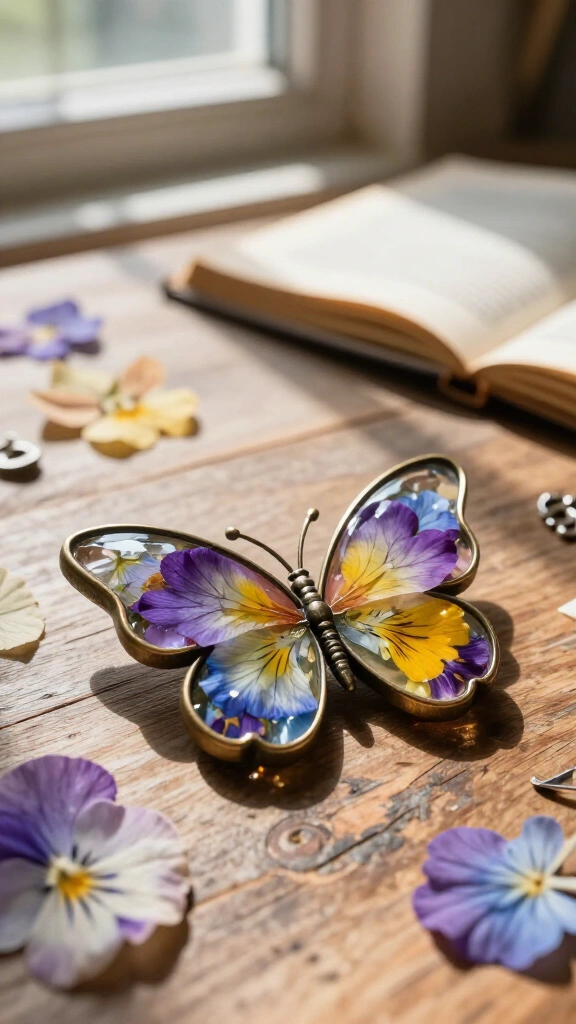
Press fresh pansy petals or hydrangea florets between heavy book pages until flat and dry. Arrange the dried petals inside open-back metal butterfly bezels, then fill the cavities with clear UV resin. Cure the resin under a UV lamp for two minutes to seal the botanical materials under a crystal-clear coat. These durable pieces make distinctive pendants and charm accents.
8. Popsicle stick garden stakes

Glue four wooden craft sticks together into an angular wing frame, then wrap the structure in colorful embroidery thread. Apply a coat of clear outdoor varnish over the wood and thread to protect the materials from moisture. Glue the insect onto a long wooden dowel and push it into outdoor flower pots or herb planters to add color to your garden beds.
9. Stained glass contact paper suncatchers

Cut butterfly silhouettes out of black cardstock to create bold outlines reminiscent of leaded window frames. Place the cardstock cutout onto clear adhesive contact paper, then fill the open wing panels with small scraps of colorful tissue paper. Seal the design with a second sheet of contact paper, trim around the borders, and stick the suncatcher to your window glass.
10. Chunky yarn-wrapped butterfly garland

Cut flat butterfly bases out of heavy corrugated cardboard from shipping boxes. Wrap scrap wool yarn around the cardboard wings until you build a thick, soft surface. Tie ten to twelve finished yarn butterflies along a length of jute twine to create a rustic garland for a playroom wall or reading nook.
11. Polymer clay hair barrette embellishments

Condition colorful polymer clay and build a simple cane to create gradient wing patterns. Slice thin slabs from your cane, assemble the wings and body, and bake the clay according to the package instructions. Attach the cooled clay pieces onto metal alligator hair clips with high-strength craft adhesive to make custom hair accessories.
12. Hand-painted coastal seashell butterflies
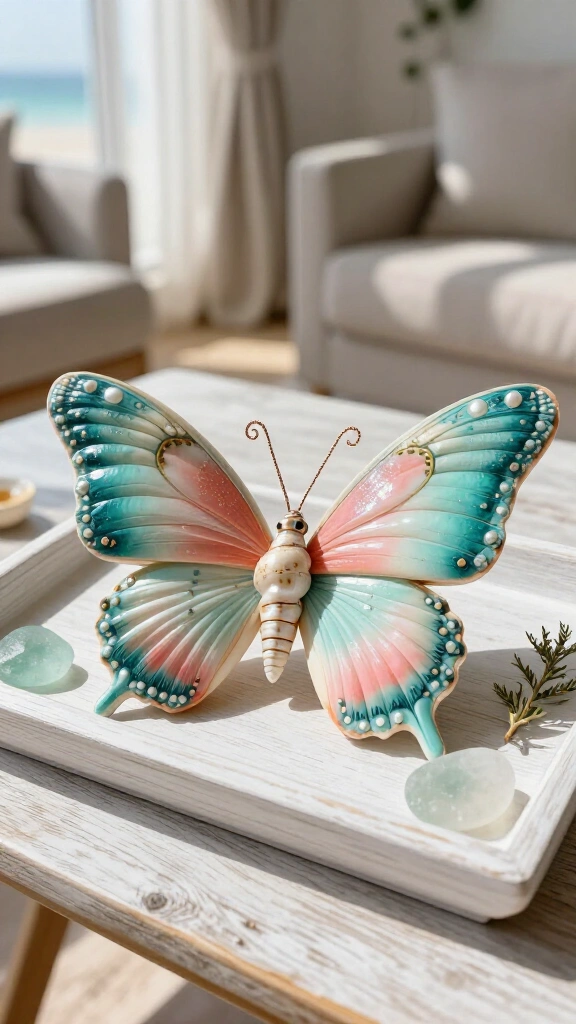
Match two clam or cockle shells for the wings, then glue a slender auger shell down the center to form the insect body. Paint fine lines, dots, and color gradients across the shell ridges using fine-tip acrylic paint pens. If beach crafts interest you, explore our collection of seashell crafts for more seaside projects. Place the finished shell insects on a coffee table tray or bookshelf.
13. Hand-stitched felt corner bookmarks
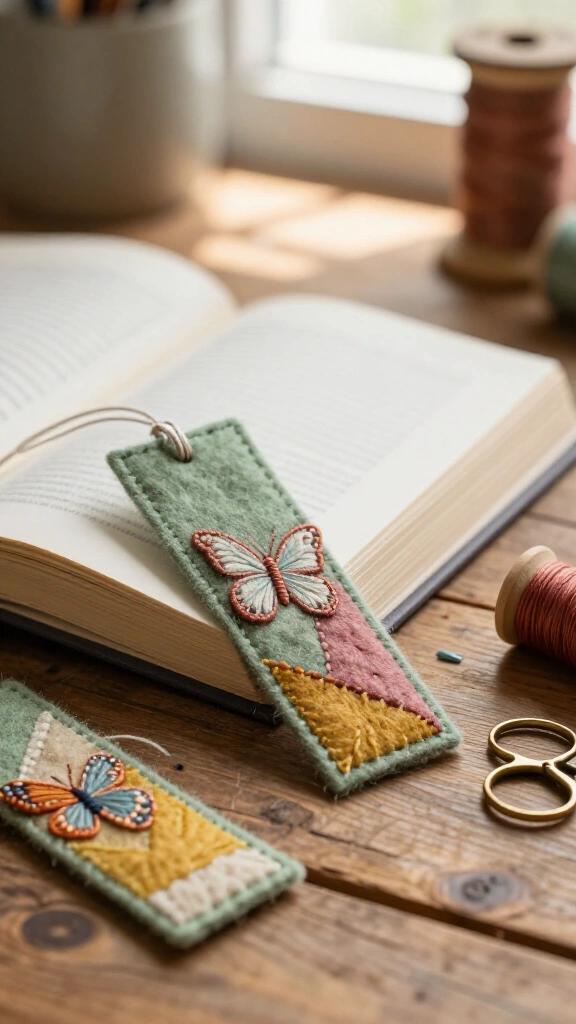
Cut wool felt into right-angled triangles that fit over the corner of a book page. Stitch small butterfly silhouettes onto the outer felt layer using contrasting embroidery floss and basic backstitches. Join two felt triangles along their outer edges to form the corner pocket. Book lovers will welcome this practical, handmade reading accessory.
14. 3D washi tape wall art mural

Score cardstock butterfly cutouts along their center lines and bend the wings upward at a 45-degree angle. Apply patterned Japanese washi tape across the wings, trimming away the overhang with craft scissors. Stick dozens of these lightweight cardstock butterflies across an accent wall using removable poster putty to build a dimensional flight pattern.
15. Ruffled cupcake liner insects
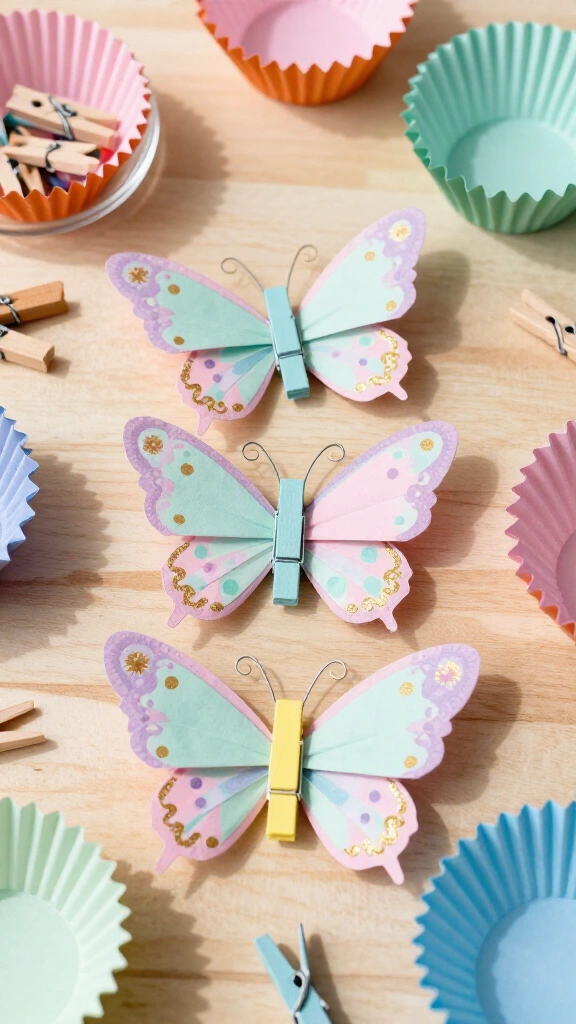
Flatten decorative paper or foil baking cups, fold them into triangles, and overlap four liners to create layered wings. Secure the center fold with a painted wooden mini clothespin or a craft stick. This project requires no complex tools, which makes it ideal for young children who want instant craft results without messy glue.
16. Paper quilling wall canvas

Roll narrow paper strips around a slotted quilling tool to form tight coils, teardrop shapes, and curved marquises. Glue the paper coils on their edges across a blank stretched canvas, following a penciled butterfly outline. Quilling requires steady hands and patience, but the resulting raised paper relief creates striking wall art.
17. Glowing mason jar butterfly lanterns
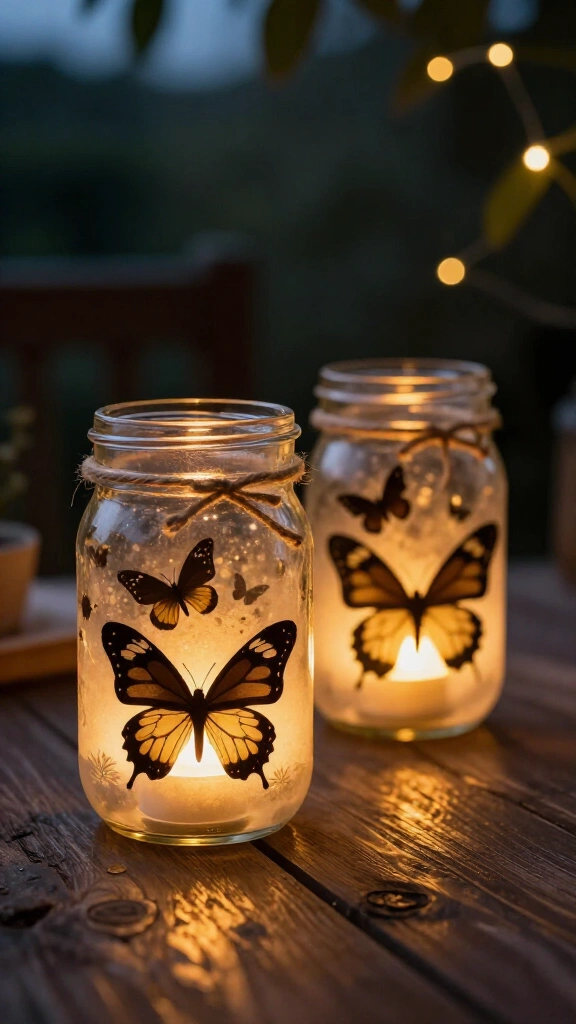
Adhere black paper butterfly cutouts to the inside wall of a clean glass jar with decoupage glue. Spray the outside of the jar with a light coat of frosted glass finish or sheer glass paint. Drop a battery-powered LED tea light into the base so the butterfly shapes stand out against the glowing background at night.
18. Floating cardstock nursery mobile

Cut thirty cardstock butterflies in varying pastel tones with a craft punch or cutting machine. Tie clear monofilament fishing line to each piece and suspend them at different lengths from a wooden embroidery hoop. Hang the mobile from the ceiling where gentle air currents can spin the paper shapes.
19. Butterfly handprint keepsake canvas

Brush washable tempera paint from Crayola across your child’s palms. Press their hands onto a stretched canvas with thumbs pointing inward, allowing their splayed fingers to form the upper and lower wings. Paint a slim body down the middle and write the date along the bottom to complete the keepsake.
20. Upcycled denim butterfly brooches

Cut butterfly wings from old denim jeans and run a stiff wire brush along the edges to create a soft, frayed fringe. Layer contrasting washes of light and dark denim, then secure the center with vintage buttons and a safety pin back. Fasten this casual accessory to a canvas tote, denim jacket, or winter scarf.
21. Wooden spoon garden markers
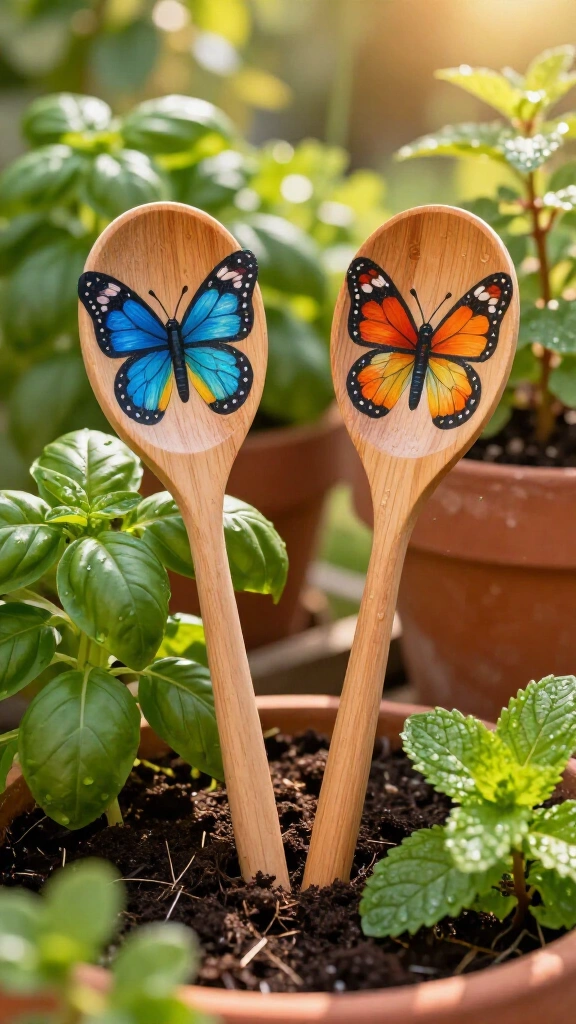
Turn basic wooden kitchen spoons upside down and paint colorful butterfly wing designs across the oval backs. Write plant names such as “Basil,” “Mint,” or “Parsley” down the wooden handles with waterproof paint pens. Push the spoon handles directly into garden soil to label your herbs and vegetables.
22. Perler bead mosaic suncatchers

Place plastic fuse beads onto a pegboard grid to build geometric butterfly patterns. Cover the bead layout with ironing paper and fuse the pieces together with a household iron on medium heat. Thread clear thread through an outer bead hole to hang the completed mosaic piece in a kitchen window.
23. Floating butterfly shadow box
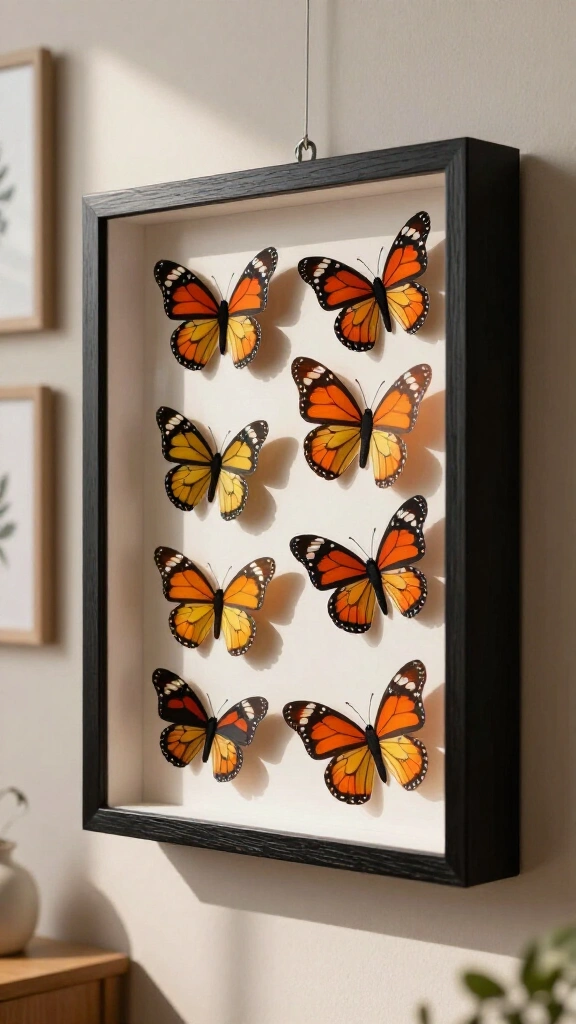
Print high-resolution monarch and swallowtail graphics onto heavy matte photo paper, then carefully cut out each shape. Fold the wings upward and mount the body sections onto foam spacers inside a deep black shadow box. Find templates and craft guides through Martha Stewart for inspiration. Hang the finished frame on a gallery wall for an attractive display.
24. Crocheted wing appliques

Work double crochet and chain stitches in the round using mercerized cotton yarn to form compact four-wing butterfly shapes. Sew these small yarn embellishments onto baby blankets, plain cardigans, or canvas bags. Experienced crocheters can complete one of these small motifs in about ten minutes.
25. Vintage lace ribbon window hangings
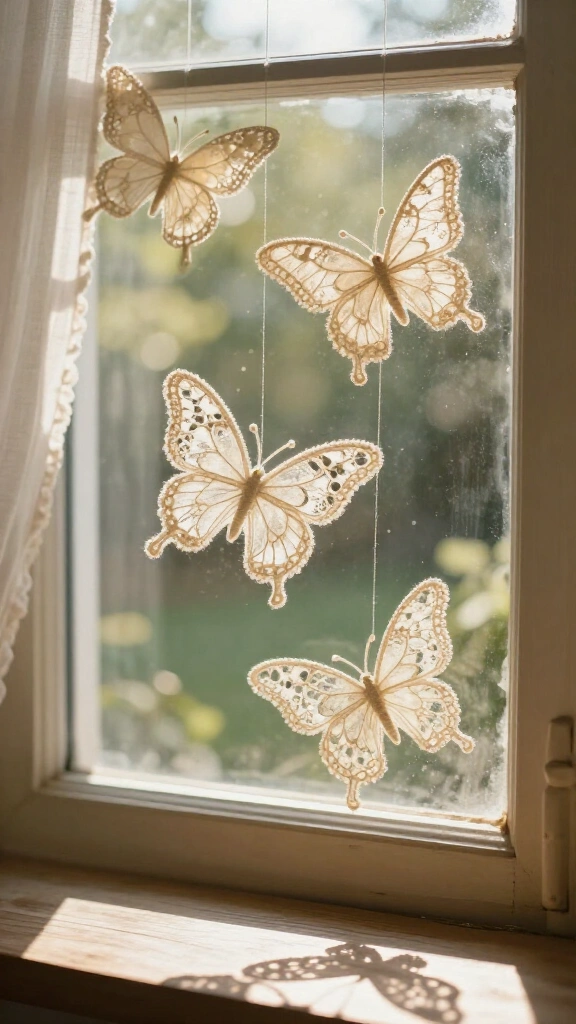
Cut butterfly silhouettes from scrap cotton lace or crocheted ribbon trims. Submerge the lace cutouts in fabric stiffener, shape them on wax paper, and let them dry into rigid forms. Hang these semi-sheer lace decorations from curtain rods or window frames to catch the morning sun.
26. Foraged fall leaf butterfly collages
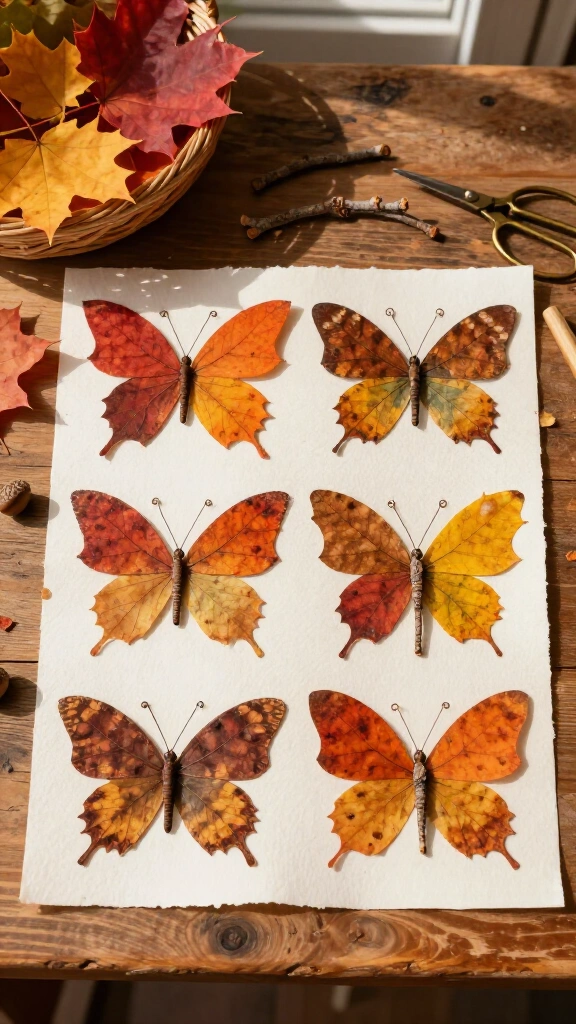
Collect fallen maple, oak, and birch leaves in shades of orange, yellow, and red. Pair similarly sized leaves side by side on heavy watercolor paper to form wings, then place a small twig between them for the body. Secure the materials with craft glue to make a seasonal nature collage.
27. Watercolor wax-resist butterfly cards
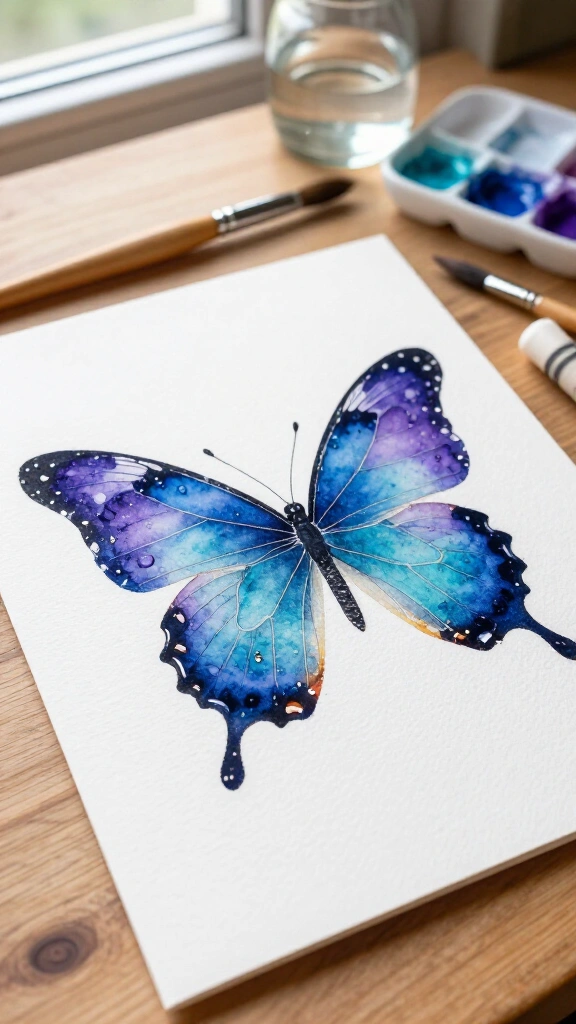
Draw wing outlines and vein patterns onto heavy watercolor paper using a white wax crayon. Brush wet watercolor washes of cobalt blue, violet, and turquoise directly across the paper surface. The wax repels the water, revealing clean white lines beneath the spreading pigments.
28. Mica resin coasters

Mix two-part epoxy resin with pearlescent mica powder and pour the mixture into round silicone coaster molds. Place metallic butterfly foil cutouts into the liquid resin before it begins to set. Unmold the coasters after twenty-four hours to produce smooth, heat-resistant surfaces for your drinkware.
29. Mosaic vintage button wall art
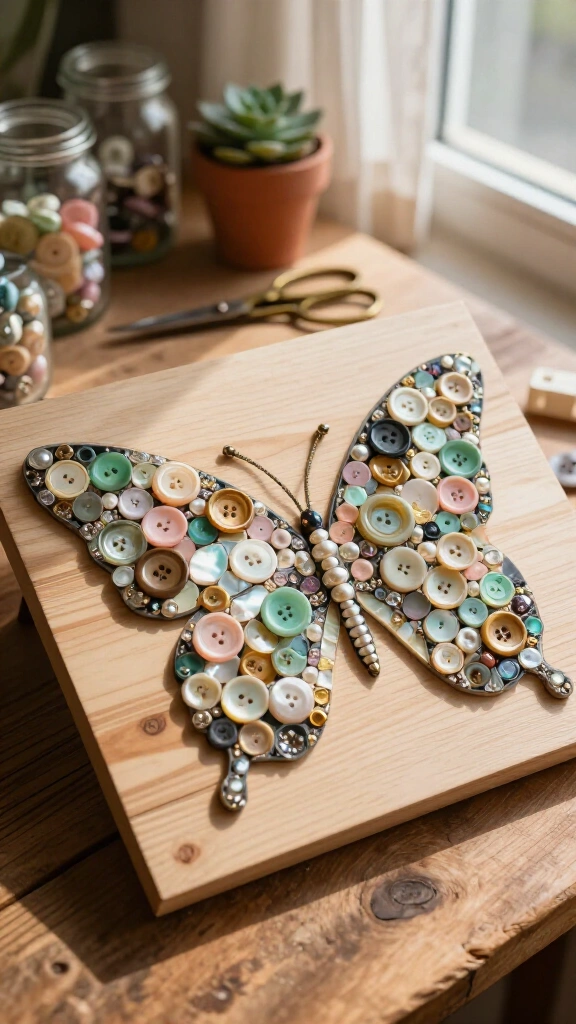
Draw a large butterfly outline across a wooden craft plaque with a pencil. Sort assorted vintage buttons by shade, then glue them inside the outline with clear craft adhesive. Layer different button sizes, flat-backed pearls, and rhinestones over each other to create a textured mosaic surface.
Start your next butterfly project
Making butterfly crafts gives you a fun reason to experiment with colors, textures, and recycled supplies. Pick a project that fits your available materials, set up your workspace, and start crafting today.