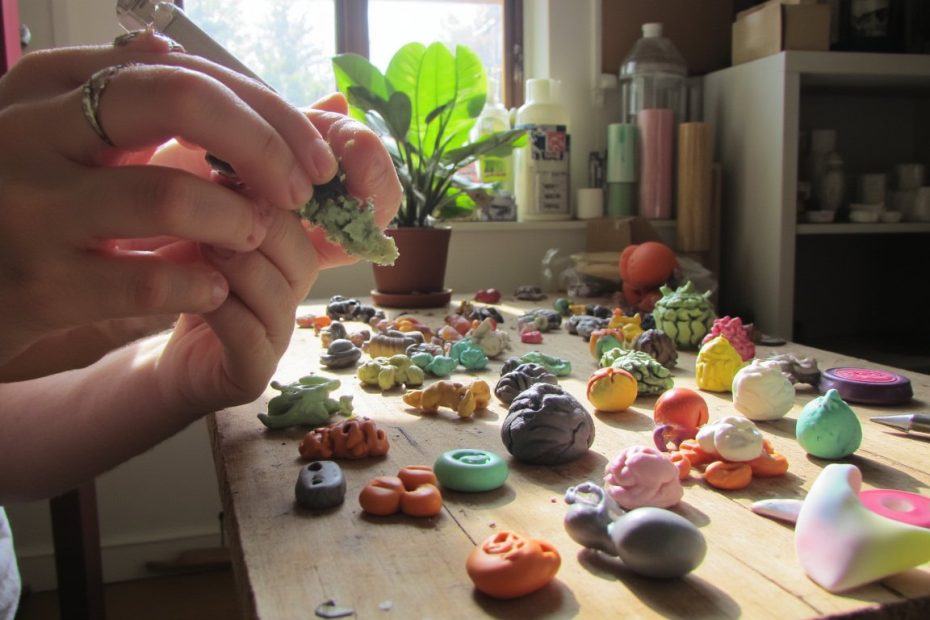
You know that feeling when you open your jewelry box, and everything just feels… samey? Yeah, me too. That’s exactly why I raided my craft drawer, pulled out a block of polymer clay, and fell headfirst into the wonderfully addictive world of DIY clay charms. And let me tell you, the satisfaction of making your own tiny, wearable art is unbeatable. So, grab your clay tools and let’s get squishy. Here are 19 ideas to turn your keychains, necklaces, and zipper pulls into a showcase of your personality.
1. The Classic Kawaii Donut

Every charm collection needs a classic, and a donut charm is the perfect place to start. It’s forgiving, fun, and endlessly customizable. Roll a ball of tan or pink clay, gently poke a hole in the center, and then flatten it into that iconic ring shape.
The real magic happens with the “icing” and sprinkles. Use a contrasting color to drape over one side, and then add tiny, rolled balls of clay for sprinkles. Pro tip? A toothpick is your best friend for texture and placing those microscopic sprinkles. Bake it, and you’ve got a charm that’s good enough to eat (but please don’t).
2. A Tiny, Grumpy Cat Face

Channel your inner internet meme with this iconic charm. Start with a simple flat circle or oval for the face. Then, add two pointed triangles for ears at the top. The expression is everything here.
Use a dotting tool or the end of a paintbrush to create two large, disapproving eyes. A tiny upside-down ‘v’ makes the perfect grumpy mouth. This is one of those easy clay charms that gets a huge reaction. Who wouldn’t want a perpetually unimpressed feline dangling from their bag?
3. A Glimmering Crescent Moon

For a dash of celestial magic, a crescent moon charm is stunningly simple. Roll a small sausage of clay and gently curve it into that graceful C-shape. You can keep it smooth or use a tool to add craters and texture for a more realistic feel.
Before baking, consider pressing in a tiny star or dot sequins for a starry effect. After baking and cooling, a coat of iridescent or glow-in-the-dark paint takes this charm to the next level. It’s dreamy, elegant, and goes with everything.
4. A Perfect Miniature Avocado

Is it even a DIY charm list without an avocado? Create an uneven oval shape from a mix of green and black clay to mimic the skin. Then, form a perfect, smooth pale green sphere for the pit.
Slice a wedge out of the main body and nestle the pit inside. The key is that satisfying cross-section look. A little gloss varnish on the pit after baking makes it look deliciously ripe.
5. A Lucky Four-Leaf Clover

Who couldn’t use a little extra luck? This charm is easier than it looks. Roll four tiny, teardrop-shaped balls of green clay. Arrange them in a circle with the pointed ends meeting in the center.
Gently press them together, then use a blade or tool to etch delicate vein lines into each leaf. Add a super-thin snake of clay for the stem. It’s a dainty, meaningful charm idea that’s perfect for a bracelet or a gift for a friend.
6. A Funky Abstract Swirl

Not feeling representational? Go abstract! Take two or three colors of clay that look good together. Roll them into long, thin snakes, then twist them together like a candy cane.
Coil the twisted rope into a spiral, a knot, or a free-form shape. The beauty is in the unpredictable color blend. No two will ever be alike, making this a truly unique piece of wearable art.
7. A Realistic Strawberry with Seeds

Level up your food charm game with a detailed strawberry. Shape a red clay teardrop. For the seeds, use a contrasting method: either press tiny black clay dots into the surface or, for a more advanced look, use a needle tool to create indentations you can fill with paint later.
Don’t forget the leafy crown! Use green clay and a blade to cut a small, star-shaped topper with jagged edges. This polymer clay charm showcases impressive detail.
8. A Cozy, Mini Mug of Coffee

Craft a charm for your fellow caffeine addicts. Form a small cylinder of clay for the mug. Pinch one side to create the handle. Now, fill it! Add a coil of cream-colored clay for the drink itself.
Top it with a wisp of white clay for steam and a tiny brown dot for a coffee bean. It’s a charming and relatable little piece that celebrates life’s simple pleasures.
9. A Sparkly Gemstone or Crystal
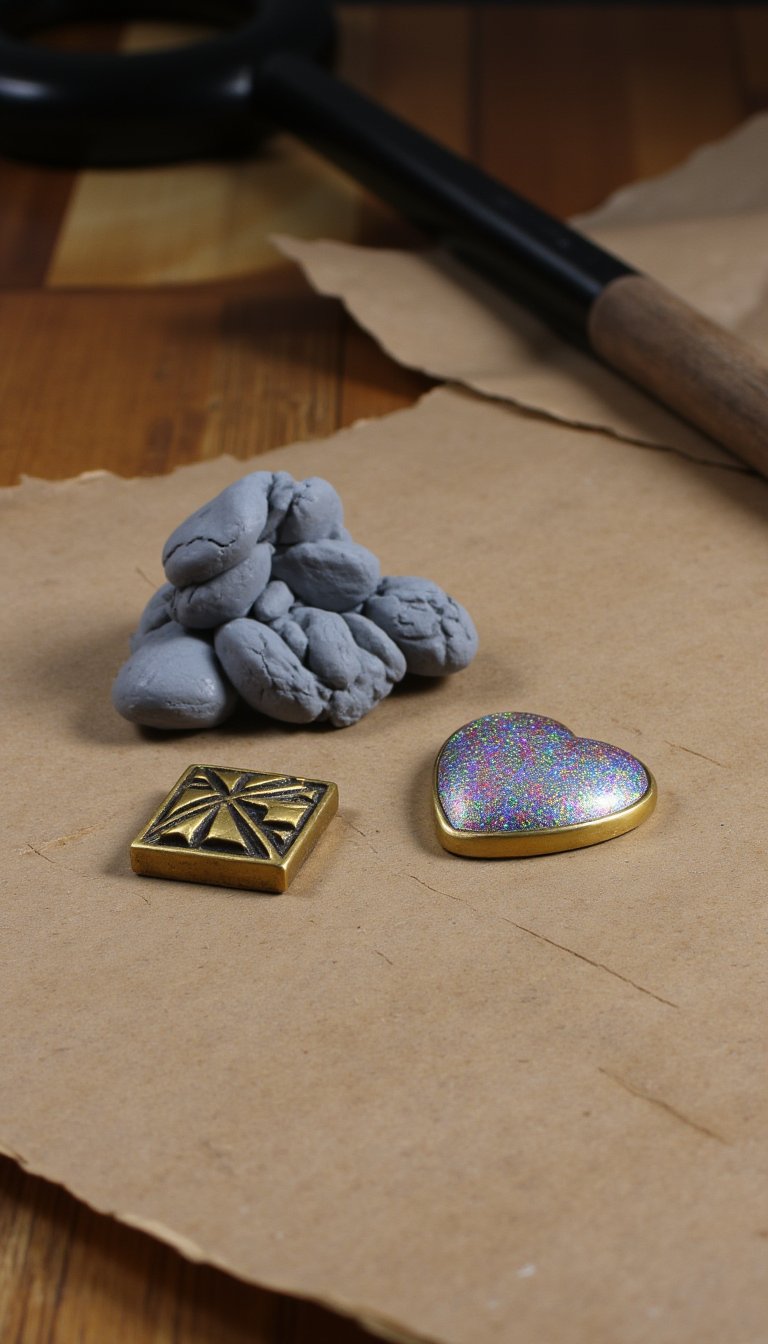
Create your own fantasy jewelry component. Shape a lump of clay into a rough, organic gemstone shape—think a flattened diamond or a cluster. Use a blade to carve faceted lines onto the surface.
After baking, the fun begins. Dry brush with metallic paint to highlight the edges, or coat it in a thick layer of UV resin mixed with glitter for a magical, cabochon look.
10. A Delicate Butterfly
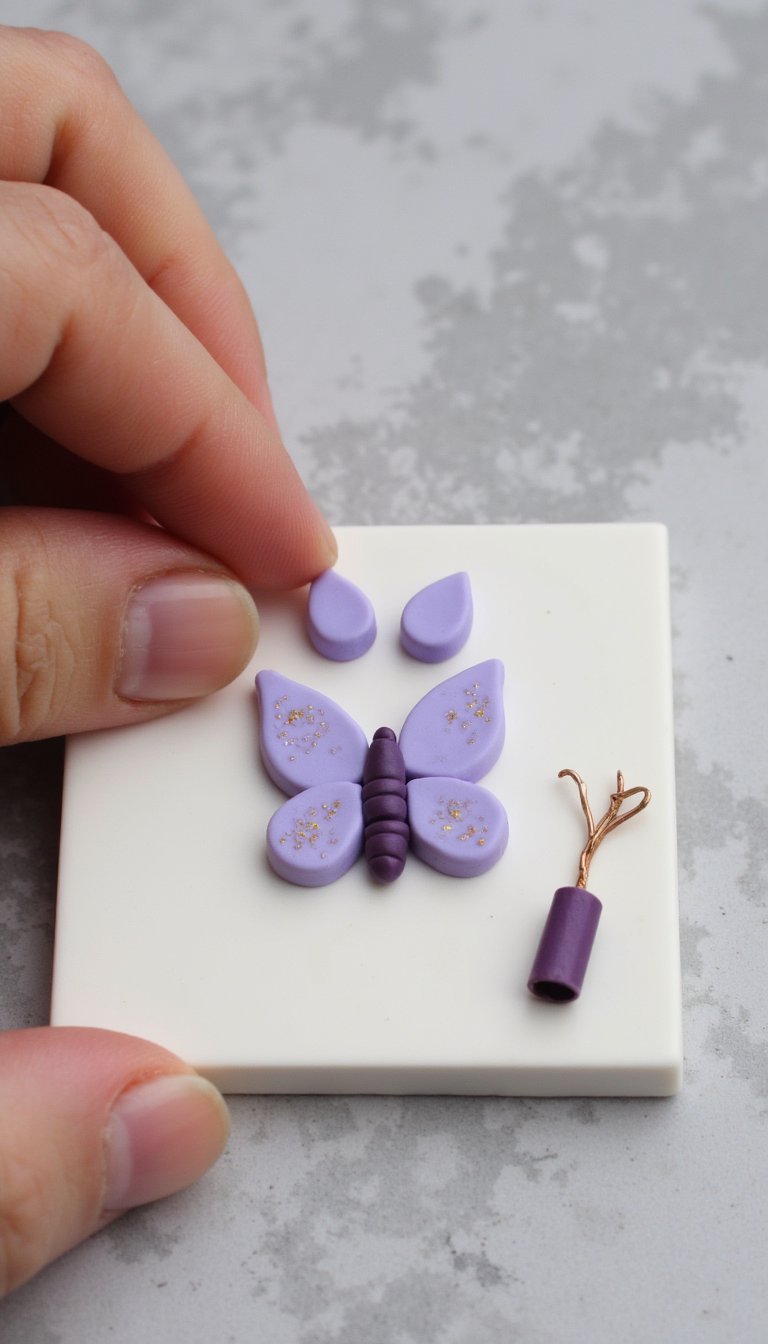
Butterfly charms symbolize transformation, and they’re surprisingly straightforward. Create two identical teardrop shapes for the top wings and two smaller ones for the bottom wings. Arrange them in a butterfly shape on your work surface.
Add a small body in the center and antennae made from the finest clay snakes you can roll. Embellish with tiny dot patterns or metallic powder before baking for a fairy-like effect.
11. A “Stained Glass” Window Charm

This one is a showstopper. Start with a flat, black clay base cut into a simple shape like a circle or diamond. This is your “leading.” Then, fill the open spaces inside with tiny, rolled bits of brightly colored translucent clay.
The translucent clay will glow when held to the light after baking. It’s a meticulous process, but the result is a stunning, jewel-toned masterpiece.
12. A Friendly Ghost (Boo!)

Perfect for Halloween or just because you’re spooky-cool. Form a simple ghost shape—a wavy, flowing bottom with a roundish top. You can’t mess this up; imperfect is more charming.
Add two sweet, sleepy eyes and a little ‘o’ of a mouth. For an extra touch, give him a tiny black bowtie or a blushing cheek. See? Not all ghosts are scary. This is one of the most adorable clay charms you’ll ever make.
13. A Detailed Slice of Pizza

Because why not? Craft a triangle of beige clay for the crust. Layer on a sheet of red for sauce, then a lighter color for cheese. Now for the toppings: minuscule pepperoni circles, green clay confetti for peppers, and brown bits for sausage.
The more chaotic and loaded, the better. This charm is pure joy and a testament to your clay sculpting patience.
14. A Tiny Planet Earth

Carry the world with you. Form a perfect sphere of blue clay. Now, using a photo for reference, add tiny continents from green clay. You don’t need geographic precision—suggestive shapes work perfectly.
A thin layer of translucent clay rolled over the top can give a glossy, atmospheric effect. Add a jump ring at the North Pole, and you have a thought-provoking conversation starter.
15. A Simple Heart with a Twist

Hearts are a charm staple, but let’s personalize it. Make a standard heart shape. Now, impress it with texture: lace, a leaf, or a piece of mesh fabric. Or, slice it in half with a blade and fill the gap with a different color.
You can also inlay a initial or a constellation of dots. This takes a basic shape and makes it uniquely yours.
16. A Cactus in a Mini Pot

Create a miniature succulent that you can’t kill. Shape a small pot from brown clay, even adding a rim. For the cactus, use green clay to form a simple paddle or barrel shape.
Use a needle to poke the characteristic spine holes in rows. A few tiny pink or yellow clay flowers on top add the perfect pop. It’s a quirky and cute nod to your plant parent dreams.
17. A Shimmery Mermaid Scale

Dive into fantasy with this elegant scale. Cut a teardrop or scale shape from a sheet of clay. Now, use the end of a straw, a cap, or a scale-texture tool to press overlapping half-circle patterns across it.
Before baking, dust it heavily with pearlescent or mica powder to catch the light like a real scale. It’s simple, effective, and utterly magical.
18. A Mini Notebook or Book Charm

For the writers and readers. Form a small rectangular block of clay to look like a closed book. Use a blade to etch in the spine and a line for the pages.
For an open book, create two thinner rectangles angled like an open ‘V’ and scratch tiny text lines onto the “pages.” This literary-inspired charm is wonderfully clever.
19. A Custom Initial or Letter

End your charm-making session with something personal. Roll a snake of clay and shape it into your initial. You can go for a simple block letter or a fancy script.
Embellish it by wrapping a thinner snake of a contrasting color around it, or pressing tiny flowers or stars into the surface. It’s the ultimate personalized accessory and a perfect gift.
So, there you have it—19 DIY clay charm ideas to kickstart a seriously fun hobby. The best part? You only need some basic clay, a few tools, and your imagination. Each tiny charm you create carries a bit of your creativity into the world. They make incredible gifts, tell a story on your backpack, or simply serve as a bright spot in your day. Honestly, what are you waiting for? Your first block of clay is calling. Now go make something tiny and wonderful.