Grab your favorite flannel and brew a massive cup of spiced cider. Autumn arrived, bringing that undeniable itch to decorate every flat surface in your house. Who actually enjoys paying fifty bucks for flimsy plastic decor at the big box stores? You certainly do not have to settle for mass-produced junk.
Crafting your own rustic decorations breathes genuine soul into your space. Wood possesses a warmth and texture that perfectly captures the essence of crisp autumn days. Whether you consider yourself a seasoned woodworker or someone who just bought their first jigsaw, you will find a project here that fits your skills.
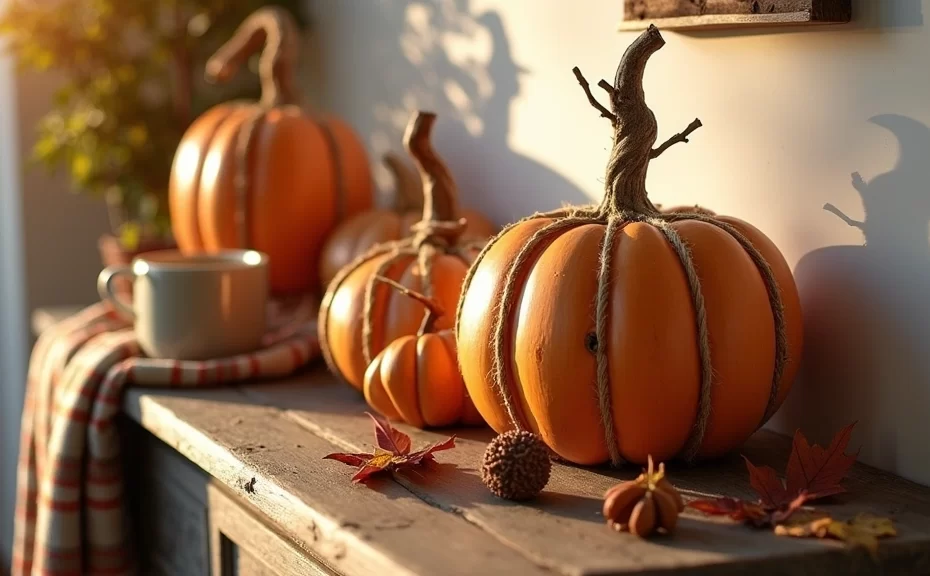
These 15 wood pumpkins DIY fall crafts to transform your home offer the perfect weekend creative outlet. You get to clear out your scrap wood pile, save money, and create heirloom-quality decor. Grab your safety glasses and fire up the miter saw. We have some serious crafting to accomplish!
1. Rustic Reclaimed Pallet Pumpkins

Pallet wood holds the ultimate crown for rustic crafting. You simply dismantle an old, weathered shipping pallet and align the slats side-by-side. Trace a plump, organic gourd shape directly onto the rough surface using a pencil.
Cut along your traced line using a jigsaw to reveal your basic pumpkin shape. Secure the boards together from the back using two horizontal scrap pieces and some wood screws. Finish the piece by attaching a real dried pumpkin stem to the top for unmatched authenticity.
Pro Crafting Tip
Leave those rusty nails right where you find them. Those little metallic imperfections add massive character to your final farmhouse centerpiece.
2. Chunky 2×4 Scrap Block Pumpkins
Do you have a pile of leftover 2x4s cluttering your garage? Cut them down into varying lengths ranging from four to eight inches. Sand the harsh edges until they feel completely smooth and rounded to the touch.
Paint these chunky blocks in vibrant shades of burnt orange, mustard yellow, and sage green. Distress the edges heavily with rough sandpaper to expose the raw pine underneath. Glue a small twig to the top center of each block to serve as the stem.
Quick Styling Idea
Group these blocks in clusters of three on your mantel. Contrasting heights create visual interest and draw the eye naturally across your display.
3. Elegant Sliced Log Pumpkins
Nature provides the absolute best crafting materials. Grab a chainsaw or a large miter saw and cut thick diagonal slices from a fallen tree branch. The oval shape of a diagonal cut perfectly mimics a tall, elegant pumpkin.
Leave the natural bark completely intact around the edges to frame your piece. Paint the smooth inner face with a light wash of orange watercolor or thinned acrylic paint. This technique allows the beautiful natural wood grain to show right through the color.
4. Upcycled Beadboard Vintage Pumpkins
Vintage beadboard offers incredible vertical texture that mimics the natural ribs of a real pumpkin. Scavenge architectural salvage yards to find authentic, peeling beadboard panels. Cut your pumpkin silhouettes out of these textured panels.
Seal the peeling paint with a clear matte spray to preserve that beautifully distressed history safely. Add a twist of thick jute twine around the stem to complete the vintage farmhouse aesthetic. IMO, nothing beats the charm of genuine historical building materials.
5. Tall and Skinny Plywood Cutouts
Sometimes you need decor that fits into tight spaces, like a narrow entryway table or a crowded hearth. Draw dramatically tall and skinny pumpkin shapes onto a sheet of half-inch plywood. Cut them out carefully with a scroll saw for maximum precision.
Paint these slender beauties in modern, muted tones like charcoal gray, creamy white, and soft navy. These non-traditional colors blend flawlessly with contemporary interior design schemes. Add elegant wire vines curling down from the wooden stem.
6. Weathered Fence Board Pumpkins
Old cedar fence pickets naturally weather to a stunning silvery-gray color outdoors. Salvage a few broken pickets from a neighbor’s yard waste pile to create rugged porch decorations. The sun-baked wood instantly gives your project an antique, heirloom feel.
Nail three picket sections together and cut your pumpkin shape out of the group. Lightly dry-brush some chalk paint over the surface to highlight the deep grooves in the cedar. These durable pumpkins easily survive rain and wind when displayed on your front steps.
7. Coastal Whitewashed Driftwood Pumpkins
Who says autumn decor requires dark, heavy colors? Bring a breezy, coastal vibe to your fall crafting by utilizing pieces of smooth driftwood collected from your local beach. Arrange the driftwood vertically to form a rounded pumpkin shape.
Secure the pieces to a plywood backing using strong construction adhesive. Apply a heavy whitewash to the entire piece to unify the different shades of wood. Top it off with a large piece of sea glass instead of a traditional leaf.
Whitewashing Technique
Mix one part white latex paint with two parts water. Brush the mixture on, wait thirty seconds, and wipe the excess off with a clean rag.
8. Boho Wood Bead Pumpkins
Thick wooden beads offer a completely unique, three-dimensional approach to pumpkin crafting. Buy a large bulk pack of raw, unfinished wooden craft beads. String hundreds of these beads onto thick, bendable armature wire.
Shape the beaded wire into six or eight semi-circles, connecting them all at a central top and bottom point. This creates a hollow, globe-like pumpkin structure. Leave the wood raw for a minimalist Scandinavian look, or dye the beads using watered-down food coloring.
9. Architectural Scrap Molding Pumpkins
Contractors always leave behind small scraps of baseboards, crown molding, and decorative trim after home renovations. Gather these odd pieces and glue them edge-to-edge on a flat board. The varying profiles of the molding create an incredibly dynamic, textured surface.
Cut your pumpkin outline from this newly formed textured board. Paint the entire piece a solid, glossy color to unify the different trim styles. The dramatic shadows cast by the molding profiles look spectacular under warm ambient lighting.
10. Reversible Fall-to-Winter Wood Pumpkins
Smart crafters love projects that work double duty throughout the holiday season. Cut a simple, symmetrical circle with a blocky stem out of thick medium-density fiberboard (MDF). Paint one side to resemble a bright, festive orange pumpkin for autumn.
Flip the board over and paint the exact same shape as a frosty, smiling snowman face for winter. You simply turn the decoration around the day after Thanksgiving. You save valuable storage space in your attic while keeping your porch festive for months.
11. Spindle and Table Leg Pumpkins
Broken chairs and wobbly tables provide excellent raw materials for creative minds. Remove the decorative, turned wooden legs from old thrift store furniture. Cut these spindles down to various heights using a hand saw.
Group four or five different spindle pieces together, standing them straight up, and wrap them tightly with thick burlap ribbon. The turned details of the wood legs create an abstract, architectural representation of a pumpkin. This clever upcycling keeps discarded furniture completely out of the local landfill.
12. Minimalist Raw Pine Pumpkins
Some interiors demand a subtle, refined approach to seasonal decorating. Purchase high-quality, clear pine boards completely free of knots or blemishes. Cut perfectly symmetrical pumpkin shapes and sand them through multiple grits until they feel like glass.
Do not apply any stain or paint to these elegant pieces. Simply rub a generous coat of natural beeswax or tung oil into the grain to protect the wood. The pale golden color of the oiled pine adds quiet warmth to a minimalist, modern home.
13. Plaid Painted Plywood Pumpkins
Buffalo check patterns scream cozy autumn vibes. Cut a large pumpkin shape from standard plywood and paint the entire surface a solid base color, like antique white. Map out a grid pattern using high-quality blue painter’s tape.
Apply your secondary color over the tape, let it dry, and then tape off the intersecting lines to apply your darkest color. Peel the tape away carefully to reveal a perfectly crisp, professional-looking plaid pattern. Patience equals perfection when executing this taping technique.
14. 3D Interlocking Wood Pumpkins
Flat storage represents the holy grail of seasonal holiday decor. Design a pumpkin shape that features two identical slotted halves. Cut a slit from the top to the center on one piece, and from the bottom to the center on the other piece.
Slide the two pieces together to form a freestanding, three-dimensional wooden pumpkin. FYI, you simply slide them apart when January arrives and lay them completely flat in a storage bin. You combine brilliant engineering with beautiful aesthetics.
15. Giant Porch-Commanding Plywood Pumpkins
Ditch those loud, obnoxious plastic inflatables dominating your neighborhood. Buy a full four-by-eight sheet of exterior-grade plywood. Draw a massive, yard-dominating pumpkin that takes up the entire sheet of wood.
Cut it out, prime it heavily, and paint a bold, classic jack-o-lantern face using exterior acrylics. Stake this giant masterpiece securely into your front lawn using heavy-duty steel rebar. You instantly win the unofficial neighborhood fall decorating contest with this statement piece.
Embrace the Sawdust This Season
Creating your own seasonal decor changes the way you experience the holidays. You pour your own energy, time, and creativity into items that completely transform your living space. These 15 wood pumpkins DIY fall crafts to transform your home give you endless inspiration to ditch the store-bought plastic.
Which project grabs your attention first? Grab those scrap 2x4s, dust off the jigsaw, and start making your home feel incredibly warm and inviting for the autumn months. Get out there and make some sawdust today 😉