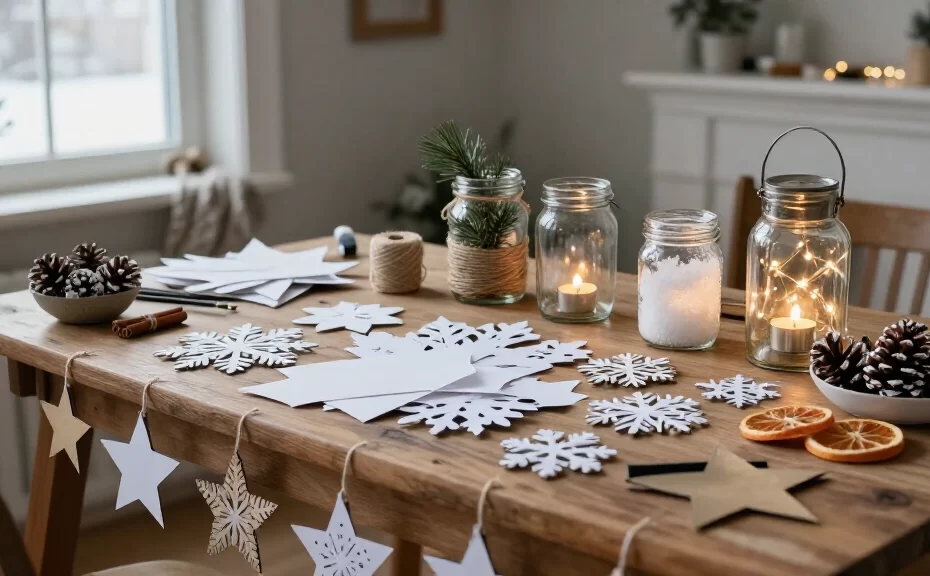
You don’t need a shopping spree to make your home feel cozy in winter. A few cardboard scraps, empty jars, and supplies tucked away in a drawer can turn into decorations that cost very little.
These 19 winter decorations DIY projects use inexpensive or reused materials, and most can stay up long after you put away the holiday decorations. Grab your scissors and take a look through the recycling bin for a place to start.
1. Folded paper snowflakes
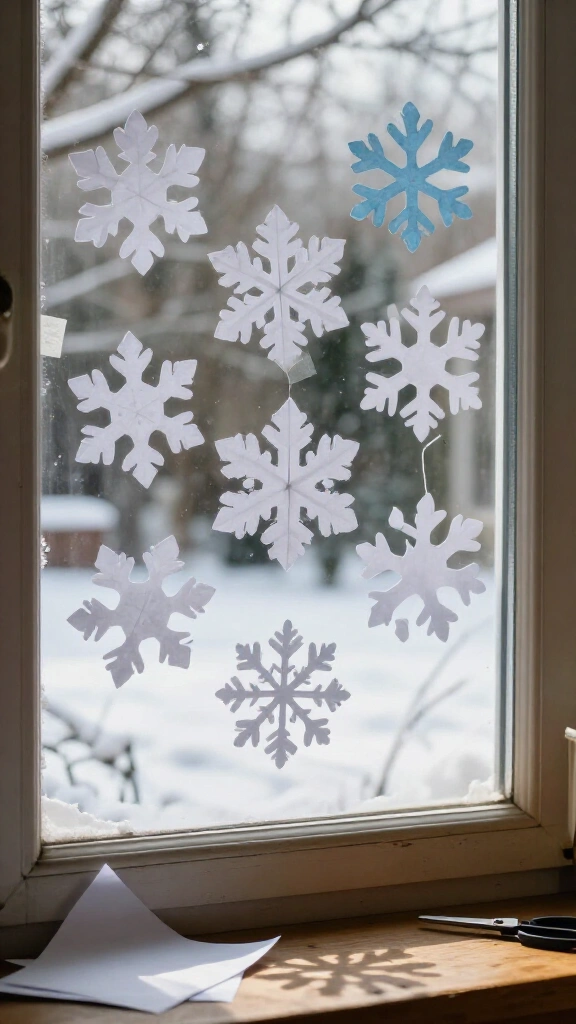
Turn scrap paper into a flurry of DIY winter window decorations. Fold a square diagonally, fold it again into a smaller triangle, and snip tiny shapes along the edges. Open it carefully to see your design. Each snowflake will look a little different, even if it comes out lopsided.
Arrange a cluster on a window with removable tape, or hang individual flakes with thread. Thin paper folds more easily than cardstock, so put those old printer paper sheets to use.
2. Frosted glass jars
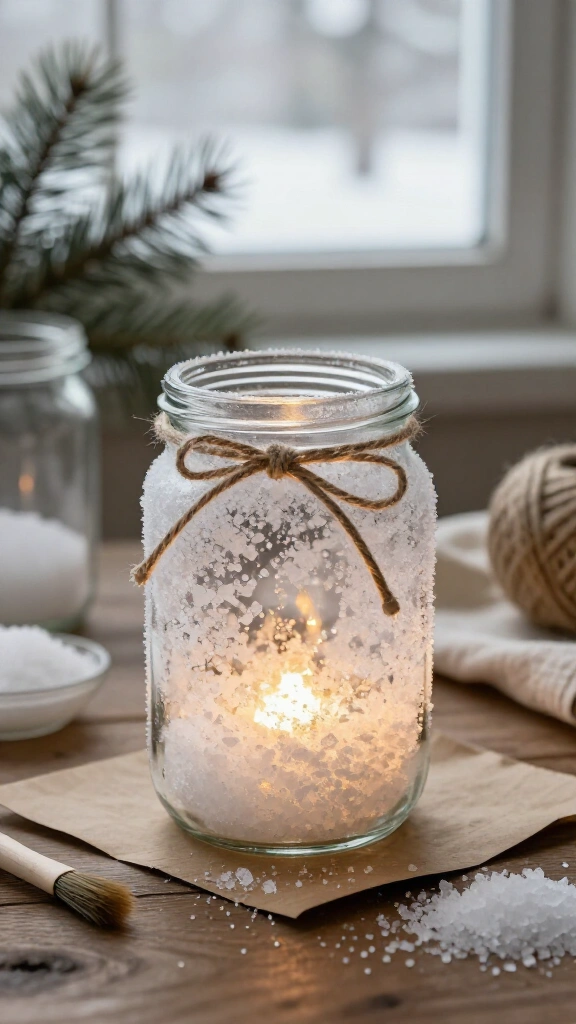
Wash and dry an empty jar, then brush a thin layer of craft glue over the outside. Roll it in Epsom salt to give it a snowy texture, and let it dry on a protected surface. Tie leftover twine around the rim for a rustic touch.
Pop a battery-operated LED light inside for a gentle glow. Keep the jar away from damp windowsills, since moisture can spoil the frosty coating.
3. Cardboard evergreen trees
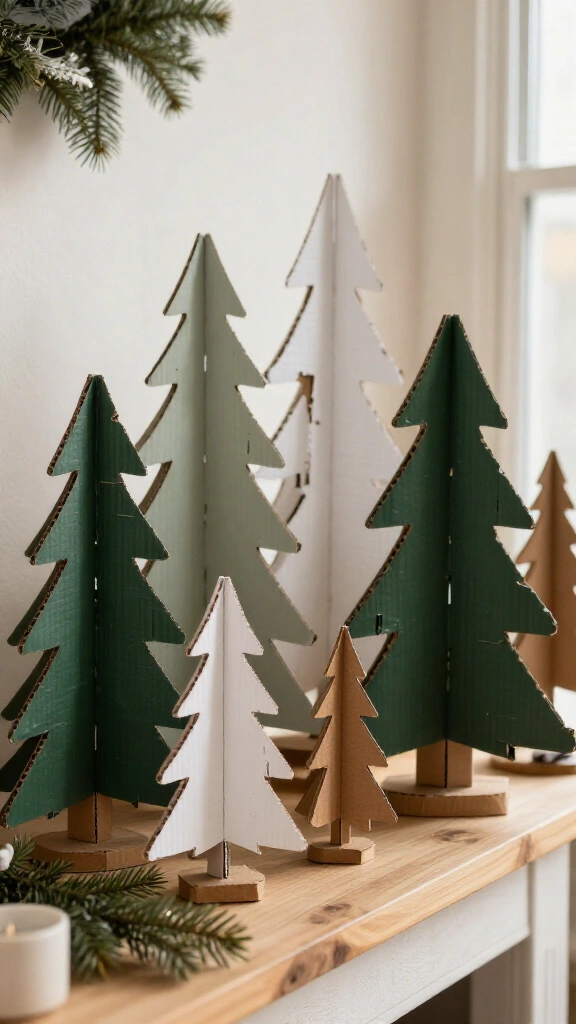
Pull a shipping box from the recycling pile and draw simple evergreen shapes on the flat panels. Cut them out with sturdy scissors, then use leftover green or white paint to decorate them. If the cardboard is too thick for scissors, an adult should handle the craft knife.
To make a tree that stands, cut two matching shapes. Cut a slit halfway down from the top of one and halfway up from the bottom of the other. Slide the pieces together, then make a few more for a tiny forest on a shelf or mantel.
4. Pinecone bowl centerpiece
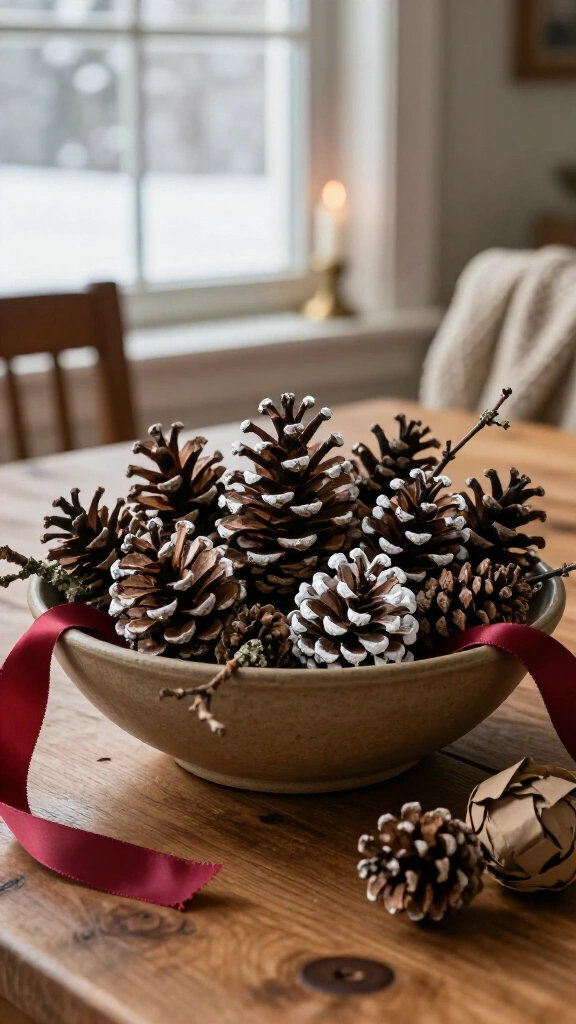
Gather fallen pinecones from your yard or another place that allows collecting, and brush off loose dirt outdoors. Let damp cones dry completely, then arrange them in a bowl with twigs and leftover ribbon. Dab a little white paint on the tips to suggest fresh snow.
Check each cone for insects before you bring it inside, and skip any with visible mold. If you can’t find pinecones nearby, crumple brown paper to give the centerpiece a similar woodsy texture.
5. Sweater-wrapped vases
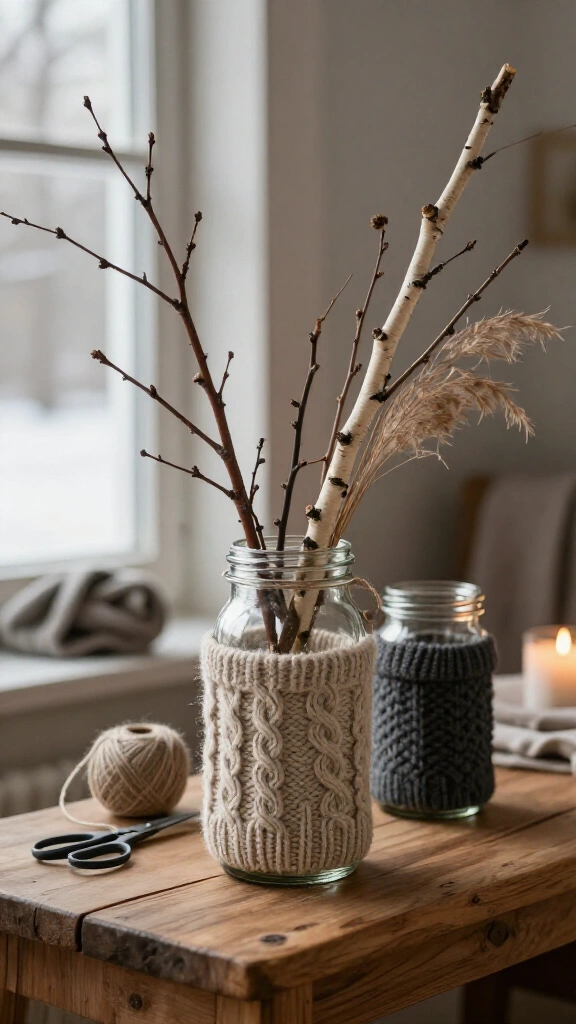
Give a worn-out sweater one last job. Cut a section of sleeve to fit around a clean jar or straight-sided vase, then fold the raw edges underneath. Hold the fabric in place with a little glue or a snug loop of twine.
Fill the vase with bare branches or dried stems for a budget-friendly winter centerpiece. Keep the fabric dry, and use a separate inner container if you add water.
6. Twig star ornaments
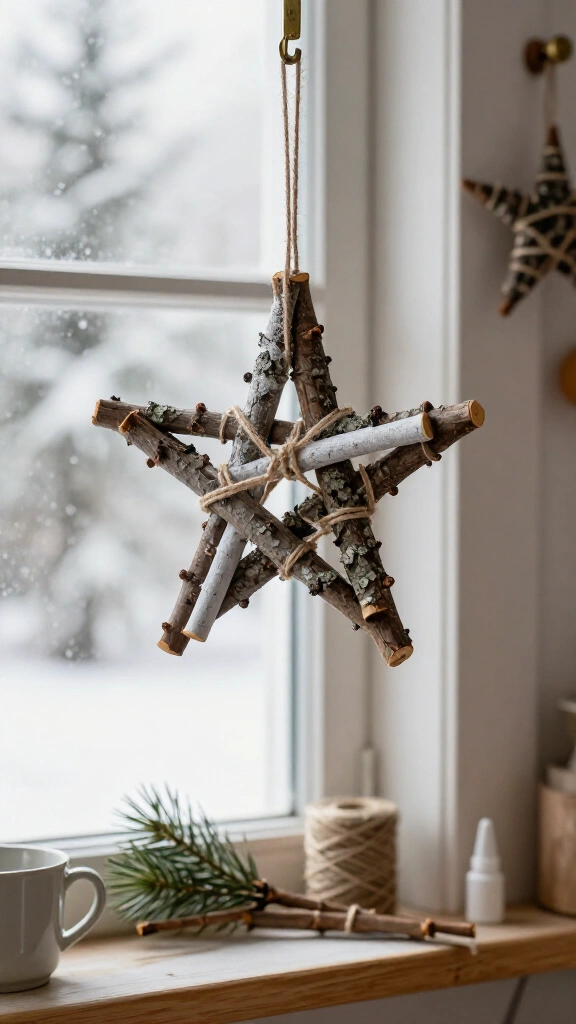
Collect five fairly straight twigs of similar length and arrange them into a star. Tie the overlapping points with string, or put a dab of craft glue at each join. Add a thread loop and hang your star from a hook, branch, or cabinet knob.
Leave the twigs natural for a woodland look, or brush on a little white paint. Pick up branches that have already fallen rather than taking them from living trees.
7. Scrap fabric garland
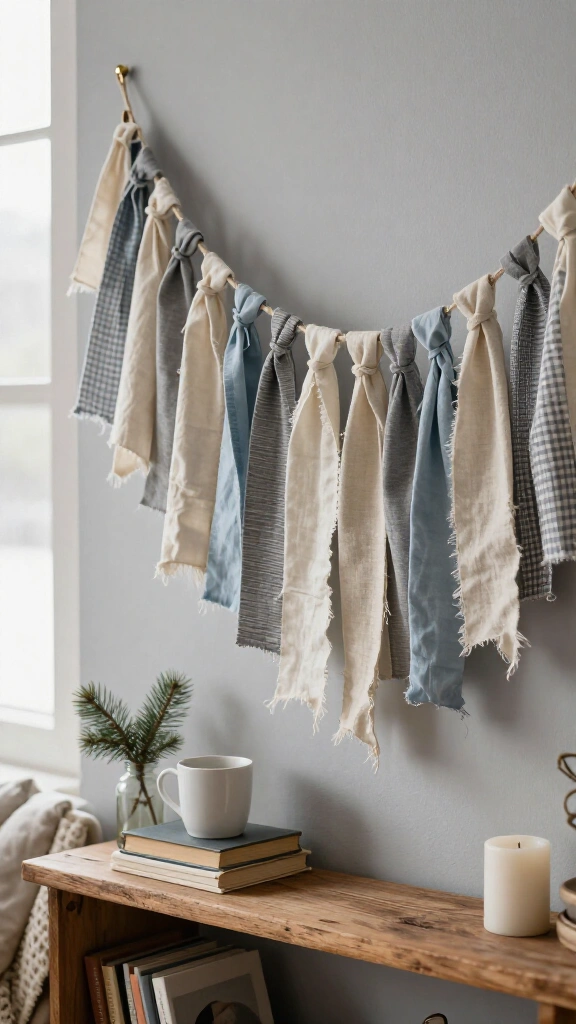
Cut old shirts, fabric offcuts, or retired pillowcases into narrow strips. Tie each strip around a length of string, pushing the knots together as you go. Mix cream, gray, and blue for a winter palette, or use whatever colors you find in your scrap pile.
Drape the garland across a shelf or doorway. If you want it to look fuller, cut and tie on more strips instead of buying new fabric.
8. Paper bag snowflake medallions
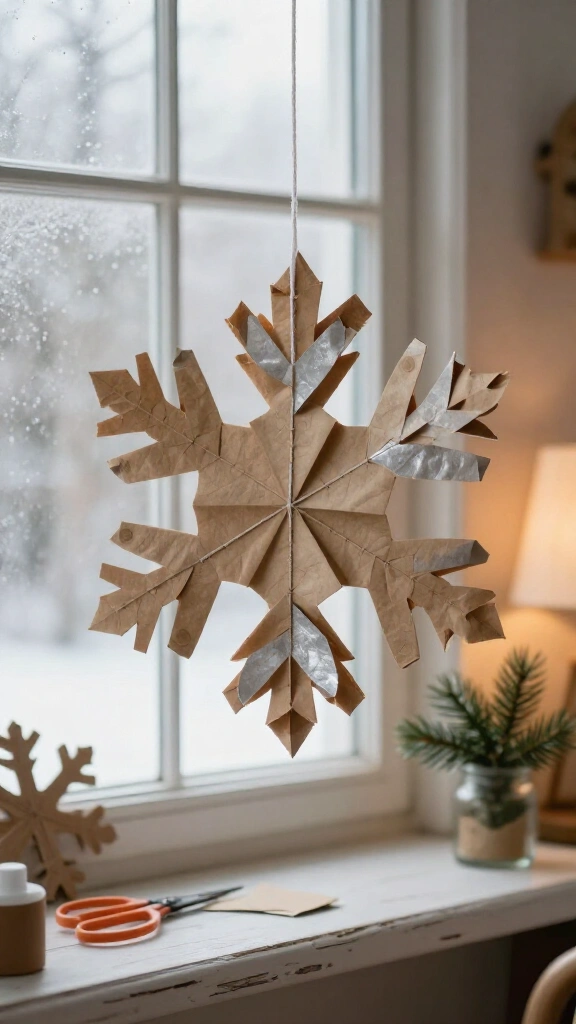
Stack several identical paper lunch bags and glue each bag to the next along the center and bottom edge. Cut a point at the open end, add small notches along the sides, and let the glue dry. Fan the stack open and fasten the first and last bags together to form a dimensional snowflake.
Hang it with thread or prop it against a wall. If you have more lunch bags tucked away, try these creative paper bag crafts too.
9. Dried orange slice garland

Slice an orange thinly and blot the pieces with a towel. Place them on a lined baking sheet and dry them slowly at a low oven setting, turning them occasionally until they feel dry rather than sticky. The time will vary with the slice thickness and oven temperature. Let the slices cool, then use a needle to thread them onto string.
Hang the garland in a dry indoor spot and check it regularly for moisture or mold. Discard any slices that soften or develop mold, and keep decorative slices away from pets and small children.
10. Book page paper trees
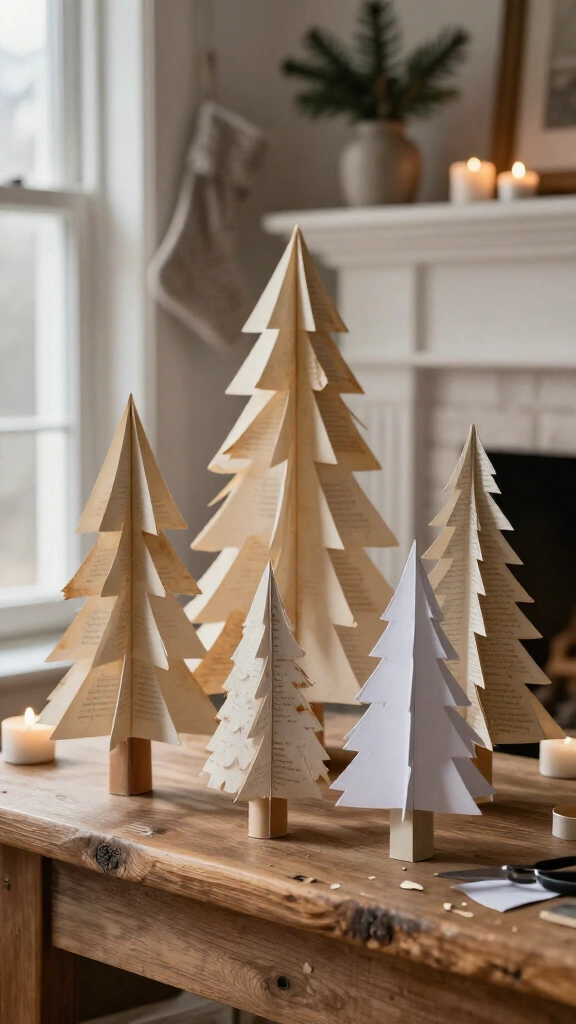
Find a damaged book that no one plans to read, or use scrap printer paper instead. Roll a sheet into a cone, secure the edge with tape, and trim the bottom so the cone stands. Layer small paper triangles around it if you want a fuller tree.
Group trees of several heights together for an easy winter mantel display. Old homework works too, though you might spot a few math problems among the branches.
11. Snowy branch arrangement
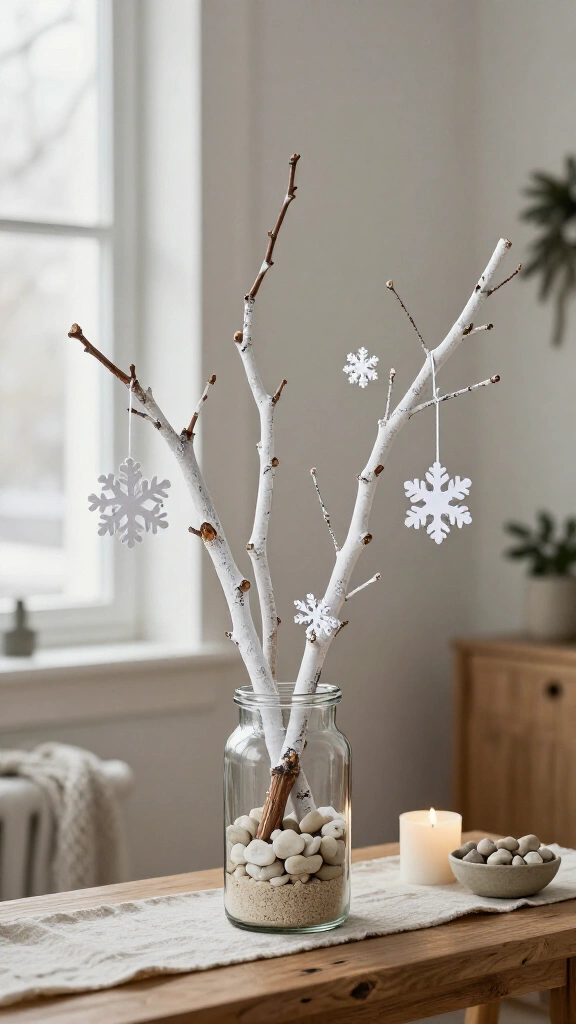
Collect a few fallen branches, wipe away dirt, and let them dry. Brush the tips with leftover white paint, then stand the branches in a jar filled with pebbles or dry sand. The weight helps keep taller branches upright.
Hang a few paper snowflakes from the smaller twigs, or leave the branches bare for a simpler look. Check the branches for sharp ends and keep them out of busy walkways.
12. No-sew fleece pillow cover
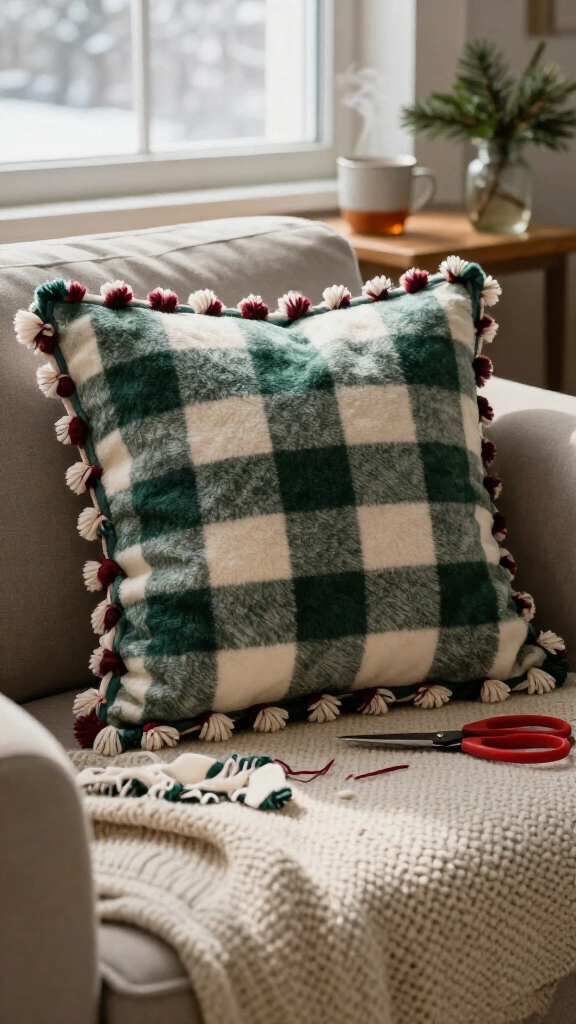
Cut two squares from an old fleece blanket, making each one several inches wider than your pillow insert. Cut matching fringe around all four sides, leaving enough solid fabric in the middle to cover the pillow. Place the pieces together, insert the pillow, and knot matching fringe strips around the edges.
Fleece doesn’t need a hem, so you can make this cover even if you don’t sew. Choose a washable insert so you can freshen up the pillow when it needs a wash.
13. Salt dough winter ornaments

Mix one cup of flour, half a cup of salt, and roughly half a cup of water. Add the water gradually until the dough holds together. Roll it out, cut stars or mittens, and make a hanging hole near the top of each shape. Let the ornaments air-dry thoroughly, turning them occasionally, before you paint them and thread them with string.
Drying can take several days, depending on thickness and humidity. Keep salt dough away from children who might eat it and from pets; its high salt content can be dangerous if they swallow it. The ASPCA Animal Poison Control Center offers guidance if you suspect a pet has eaten a hazardous substance.
14. Clothespin snowflakes
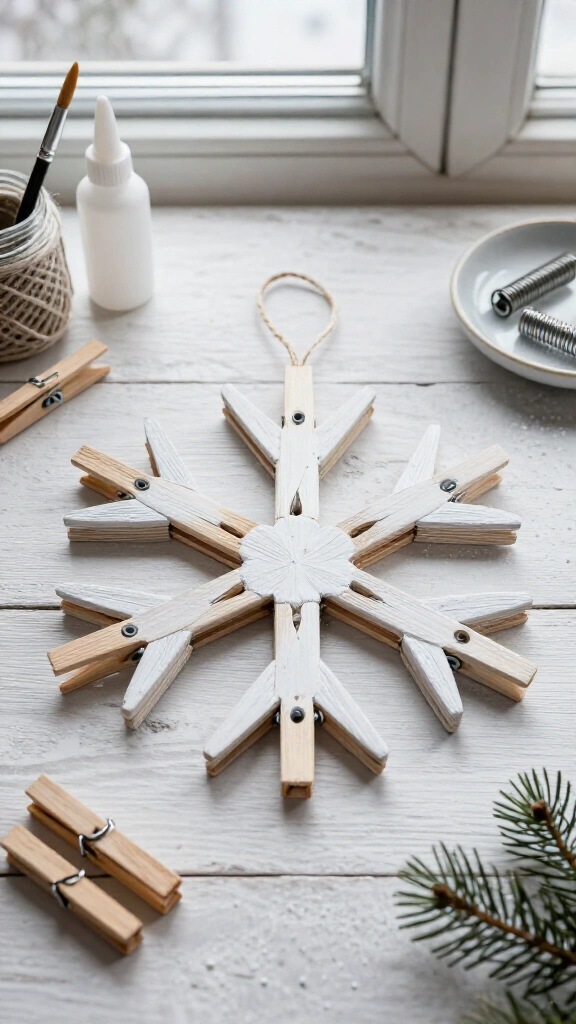
Take apart eight wooden clothespins and glue the flat backs of each pair together to make eight pointed pieces. Arrange the pieces in a circle with the narrow ends meeting at the center, then glue them in place. Add a loop of string after the glue dries.
Paint the snowflake white or leave the wood natural. Save the metal springs for another craft, but store them away from young children and pets.
15. Scrap paper winter village

Draw small houses on cereal-box cardboard and cut them out. Add doors, windows, and snowy rooflines with a white pencil or leftover paint. Fold a narrow cardboard tab behind each house so it can stand on a shelf.
Arrange the buildings at different heights and tuck in a few paper trees. For another way to reuse an empty box, try these cardboard crafts for kids.
16. Tin can luminaries

Remove the label from a clean tin can and check the rim for sharp edges before you start. Paint simple stars or snowy dots on the outside, then place a battery-operated LED light inside. Group several cans together for an inexpensive windowsill display.
Skip cans with sharp or damaged rims, especially when children are helping. The National Fire Protection Association’s candle safety guidance recommends considering flameless candles as a safer alternative to open flames.
17. Cinnamon stick bundles

Tie three or four cinnamon sticks together with a short piece of twine, then add a fabric scrap or a small paper tag. Arrange the bundles in a bowl or tie them onto napkins for a winter dinner. If you have older sticks in your spice cupboard, you can use them for this project.
Keep the bundles away from curious pets and small children, and don’t place them near flames. Their warm brown color still looks nice after their scent fades.
18. Cardboard snowflake wall art
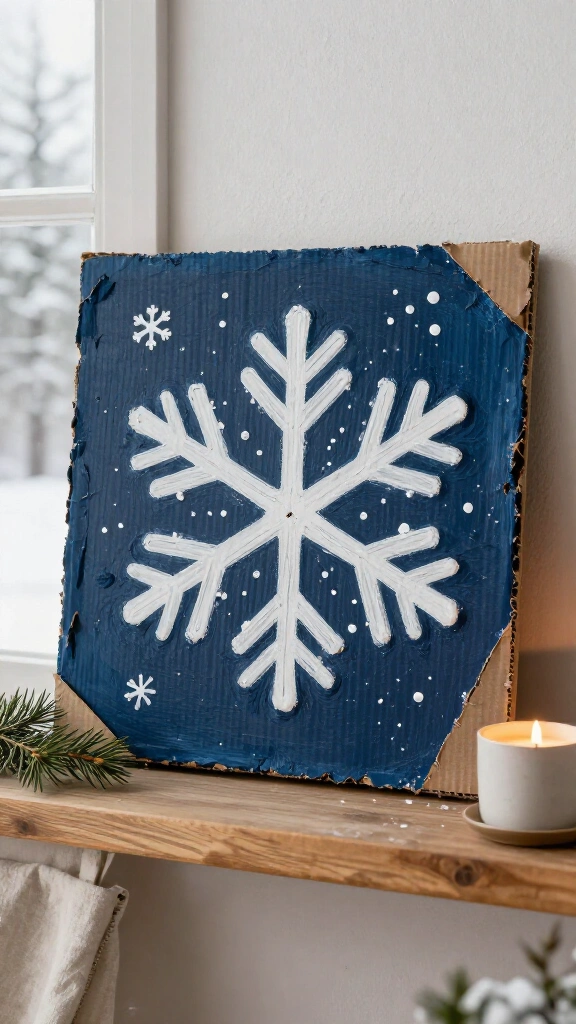
Cut a large square from a cardboard box and cover it with leftover dark blue, gray, or black paint. Once the background dries, draw a snowflake with a pencil and trace the lines with white paint. Use a cotton swab to dot on smaller snowflakes.
Prop the artwork on a shelf or attach a lightweight hanging loop to the back. For more seasonal ideas, browse these DIY winter decorations for a cozy home.
19. Mitten garland from old socks

Cut mitten shapes from clean socks that have lost their partners. Use each sock’s existing cuff as the mitten opening, then glue or stitch the cut edges together. Clip the mittens to a string with clothespins or tie them on with yarn.
Mix patterns for a playful display, or stick to one color family for a quieter look. Either way, you can finally put those single socks to use.
Make winter cozy for less
Paper snowflakes, sweater-covered jars, and cardboard trees can give a room plenty of personality. For these cheap winter decorations, start with materials you already own and choose a project that suits your space. You can always make more when an idea catches your eye.
You’ll have a handmade winter display without hunting for matching decor or explaining another craft store receipt.