
Spring is finally here, and you know what that means: your kids have a fresh batch of energy, and you’re staring at a blank afternoon wondering how to channel it. Been there. The solution? Art projects that don’t require a PhD in Pinterest or a trip to a fancy craft store. I’ve rounded up 29 spring art for kids ideas that are genuinely fun, surprisingly simple, and guaranteed to fill your home with color instead of chaos. Let’s make a mess that’s actually worth it.
1. Blossoming Cherry Tree Prints

No need to paint every single petal! This project is all about the magic of found object printing. Grab an empty plastic bottle—the bottom makes a perfect, textured flower stamp. Dip it in pink or white paint and stamp away on a branch you’ve painted or drawn with brown. It’s instant, beautiful, and deeply satisfying for little hands.
2. Coffee Filter Butterflies
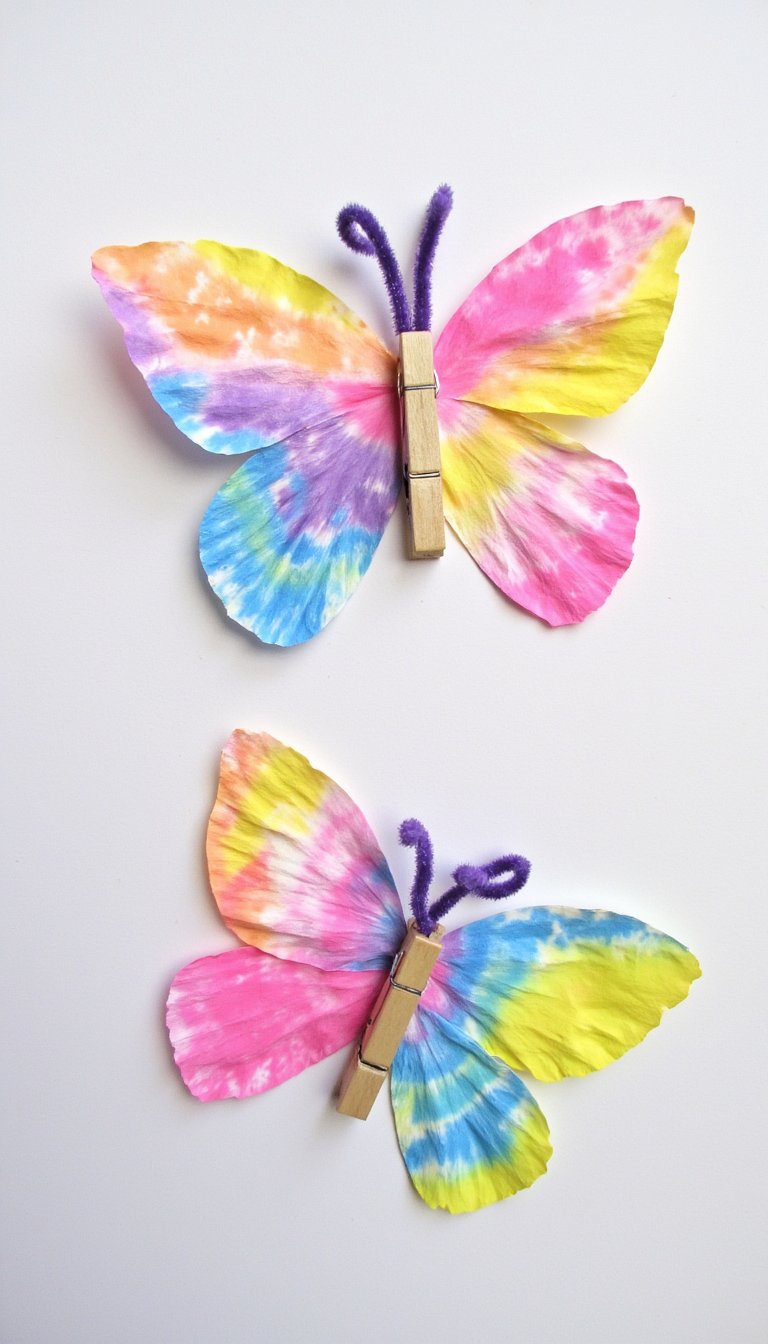
A classic for a reason. Let your kids turn plain coffee filters into vibrant wings using washable markers. Then, watch their eyes light up as they spray the filters with water and the colors bleed and blend in a magical tie-dye effect. Once dry, pinch the center with a clothespin and add pipe cleaner antennae. Hello, spring!
3. Fork-Tulip Painting

Who knew your utensil drawer held such artistic potential? Dip the back of a plastic fork into paint and press it onto paper to create perfect, textured tulip heads. Add stems and leaves with a brush or even a finger. It’s a fantastic way for toddlers to paint without the frustration of holding a brush “correctly.”
4. Rainy Day Splatter Art

Embrace the April showers! Lay a large sheet of paper outside (or protect your floor with a tarp). Give kids watered-down blue and grey paints and let them flick their brushes to create a rainy sky effect. You can even cut out a simple umbrella shape from construction paper and glue it on top for a cute resist effect.
5. Textured Caterpillar Pom-Poms
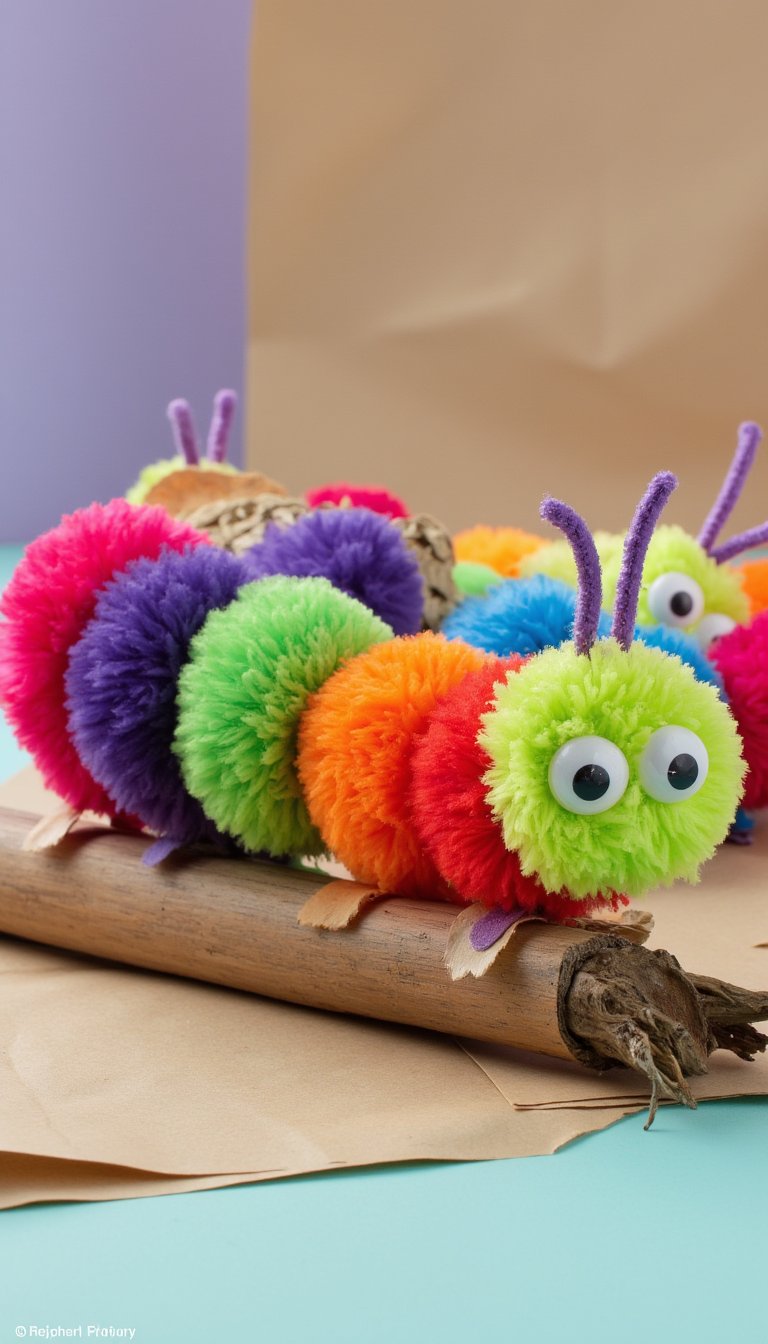
This is more craft than painting, and it’s perfect for building fine motor skills. Grab a handful of colorful pom-poms and let your child glue them in a curvy line onto paper or a stick from the yard. Googly eyes and pipe cleaner antennae give it instant personality. So fuzzy!
6. Bubble Wrap Beehives

That packaging material isn’t trash—it’s a masterpiece waiting to happen! Cut a beehive shape from cardboard and let kids paint a layer of yellow on it. Then, press a piece of bubble wrap onto the wet paint to create that iconic honeycomb texture. Add some thumbprint bees buzzing around it for the full scene.
7. Q-Tip Pointillism Dandelions

Teach a little art history while you craft! Show kids a picture of a Seurat painting, then give them q-tips and yellow and white paint. They can dot-paint the fluffy head of a dandelion, then use a green marker for the stem. It’s a wonderfully focused and calm activity with stunning results.
8. Paper Plate Sun Weaving

This one builds skills and looks brilliant. Cut notches around a paper plate and paint it yellow. Then, let kids weave long, thin strips of yellow, orange, and red paper or ribbon through the notches to create the sun’s rays. It’s a fantastic introduction to weaving patterns.
9. Nature Suncatchers
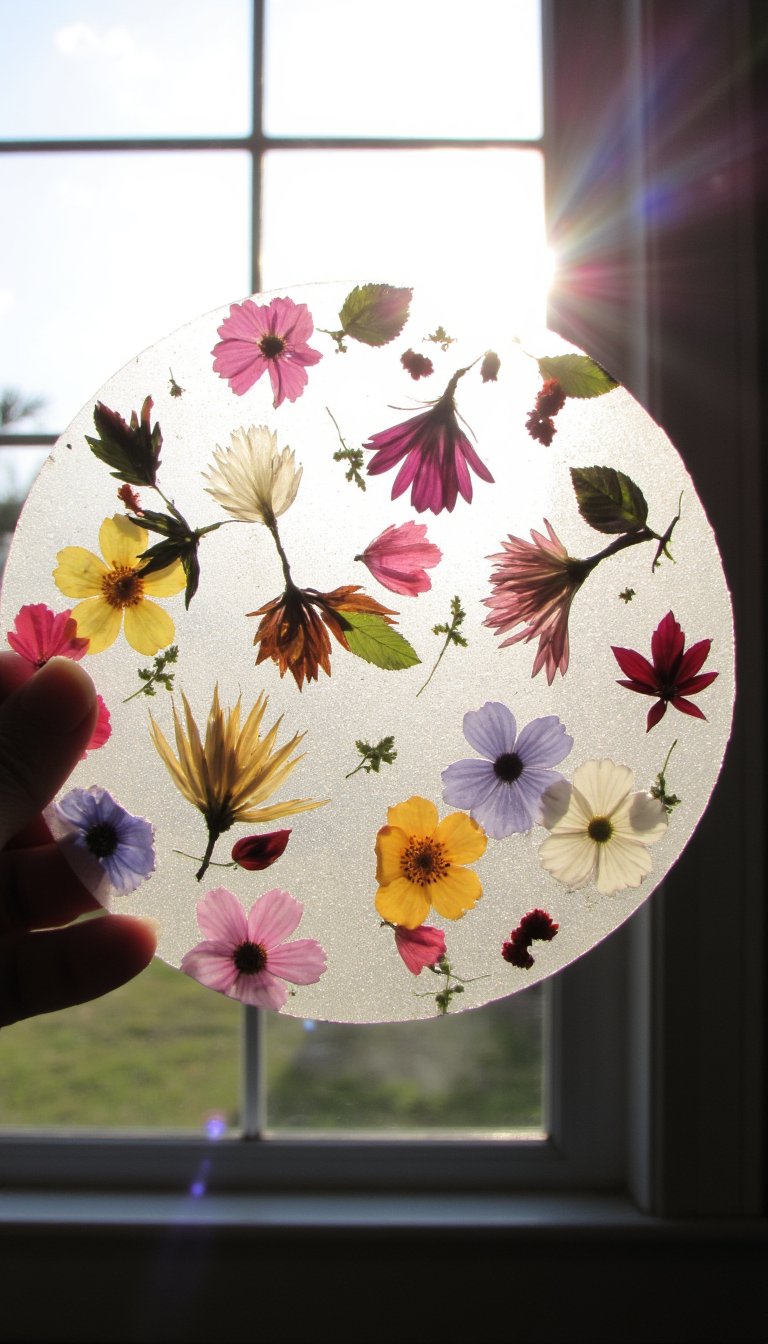
Take a walk and collect small, flat treasures: flower petals, tiny leaves, blades of grass. Sandwich them between two layers of clear contact paper. Cut the finished sheet into a shape like a flower or a circle, punch a hole, and hang it in a sunny window. The light shining through the natural materials is breathtaking.
10. Thumbprint Ladybugs on a Leaf

Simple, cute, and a great way to make a keepsake. Paint a big green leaf shape on paper. Then, have kids press their thumbs into red paint and make prints on the leaf. Once dry, add black dots and little antennae with a marker. You’ve just captured their tiny thumbprint in the cutest way possible.
11. Cardboard Tube Rainbow Stamp

Flatten one end of a cardboard tube (like from paper towels) into a rainbow arch shape. Secure it with tape. Dip it into different paint colors and stamp overlapping arches to create a quick, textured rainbow. It’s big, bold, and uses something you were going to recycle anyway. Win-win.
12. Sponge-Painted Sheep
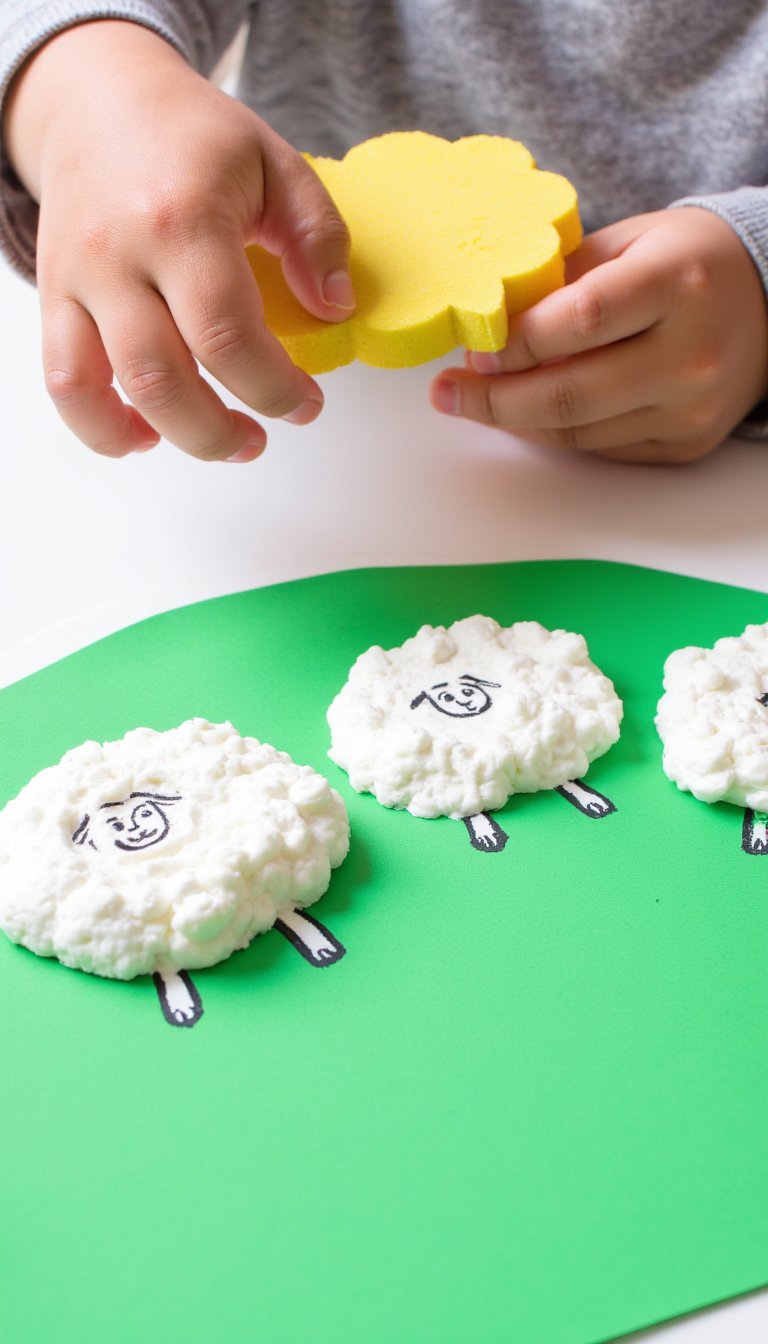
Cut a simple sheep body shape from a sponge. Kids can dip it in white paint and stamp away to create a flock of fluffy sheep on a green hill. Draw on legs and faces with marker afterward. So soft and springy!
13. Symmetrical Butterfly Paint Blobs

Fold a piece of paper in half, then open it back up. On one side of the crease, let kids blob a few colors of paint. Refold the paper and press down. When they open it… voilà! A perfectly symmetrical, abstract butterfly. Add a body when it dries.
14. Pasta Butterfly Lifecycle
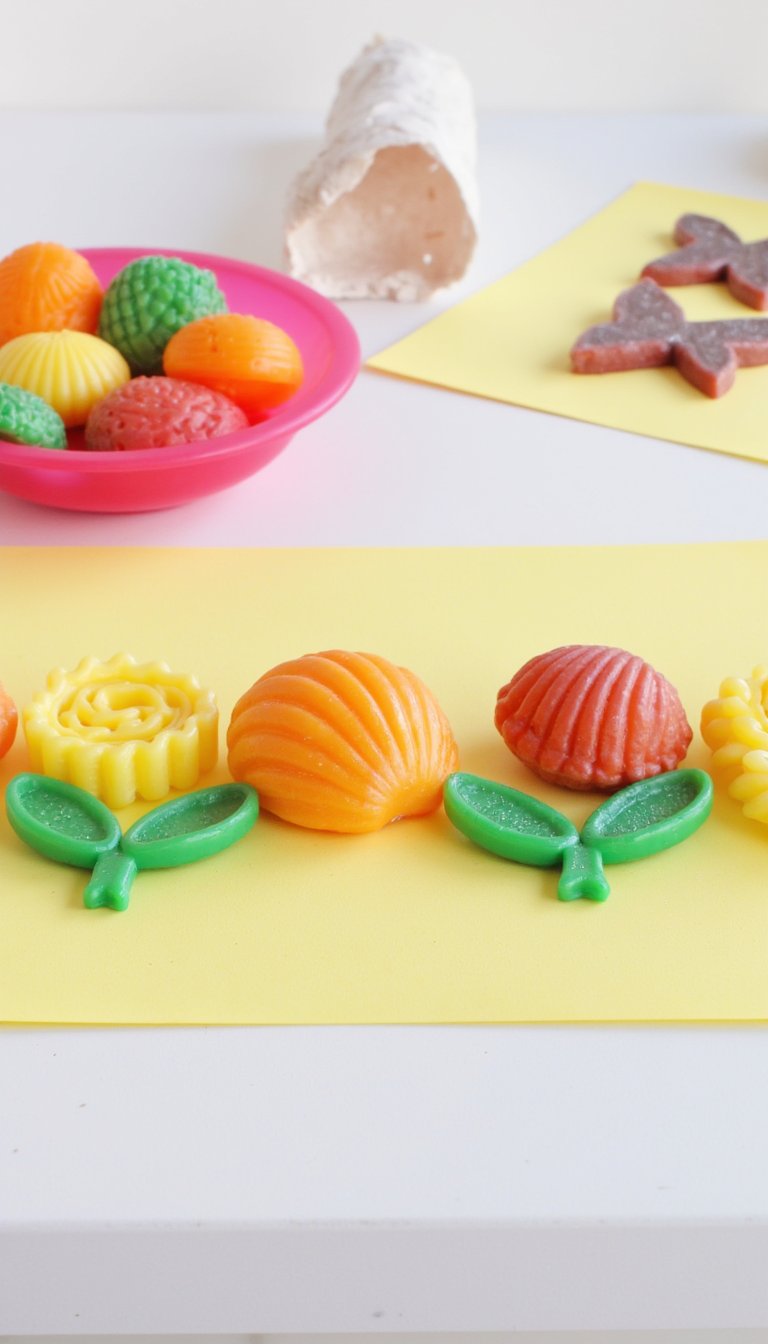
Combine art and science! Use different pasta shapes to represent the stages: a small pasta shell for the egg on a leaf, rotini for the caterpillar, a small shell for the chrysalis, and bowtie pasta for the butterfly. Glue them in order on paper and label each stage.
15. Bleeding Tissue Paper Rainbows
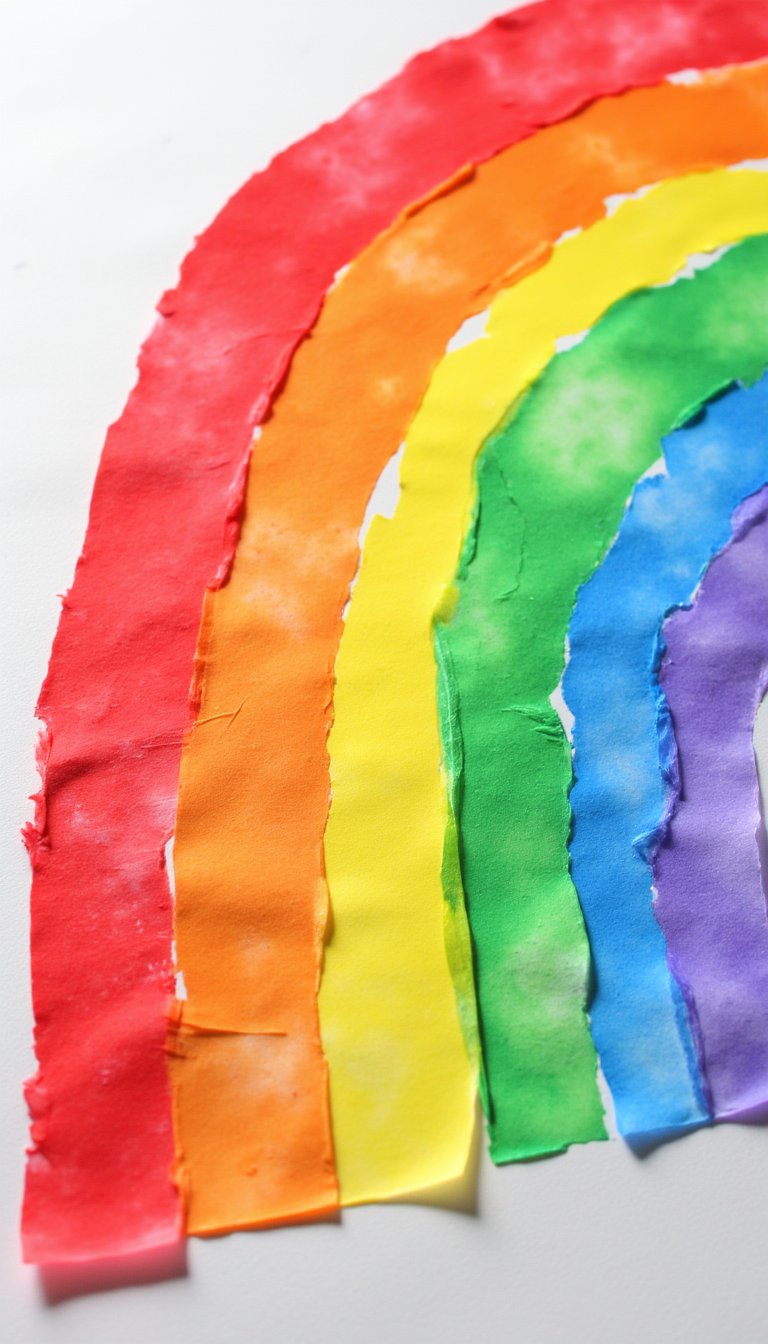
Cut or tear bleeding tissue paper into strips of rainbow colors. Arrange them in order on watercolor paper or thick paper, slightly overlapping. Use a spray bottle to mist them with water until the colors start to bleed. Once dry, peel the tissue away to reveal a stunning, watercolor-like rainbow.
16. Rocking Snail Sculptures

Grab a rock from the yard—that’s the snail’s shell. Paint it in a swirly, colorful pattern. Then, form the snail’s body from modeling clay or air-dry clay and attach it to the rock. It’s a 3D art project that they can actually play with when it’s done.
17. Egg Carton Caterpillars

Cut a line of cups from a cardboard egg carton. Let the kids go wild painting it. Pipe cleaners become antennae, and googly eyes bring it to life. You can even poke holes and thread a string through to make a wiggly puppet.
18. Wind Sock with Streamers
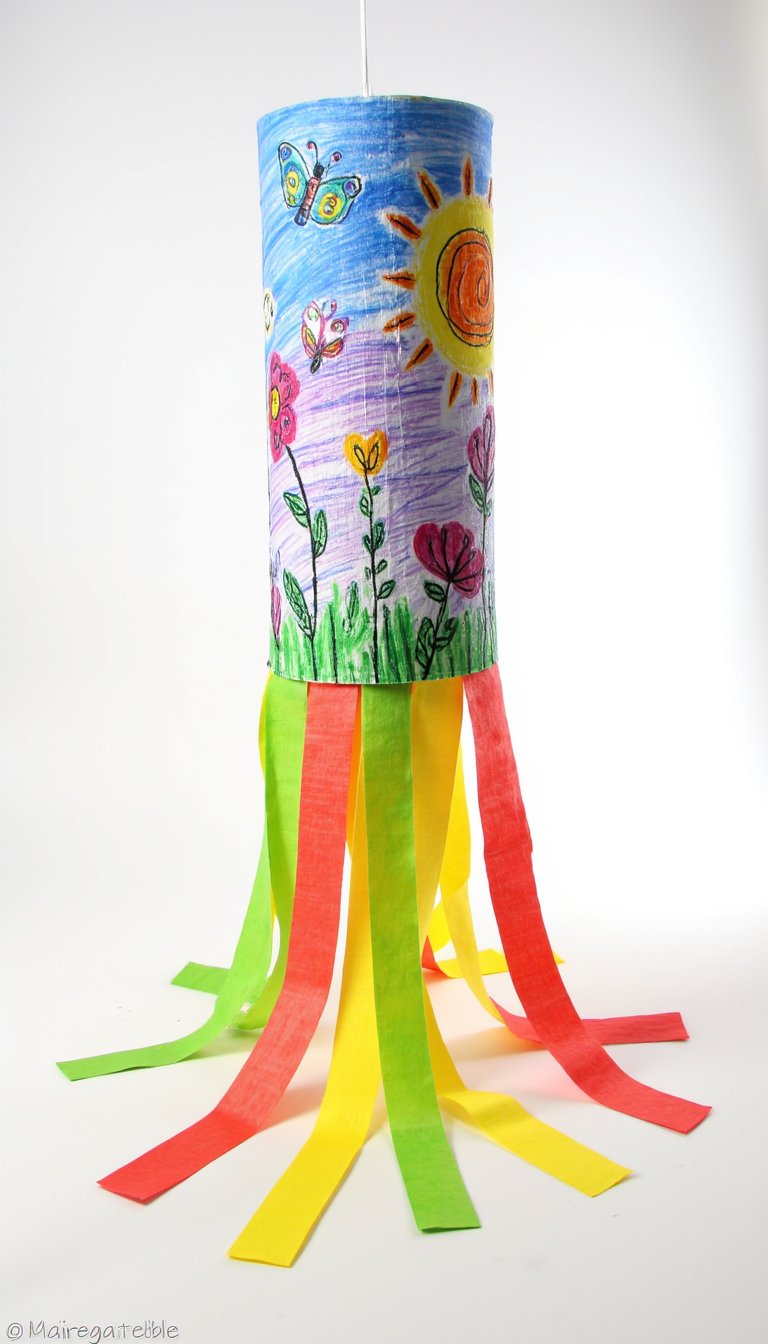
Decorate a large piece of construction paper with spring drawings. Staple it into a cylinder and attach long, flowing streamers to the bottom. Add a handle from yarn and hang it outside to dance in the spring breeze. A moving piece of art!
19. Fork-Painted Baby Chicks

Another brilliant use for the fork! Use yellow paint to make the fluffy body of a chick with the same stamping technique as the tulips. Add orange triangle beaks and feet, and dot on eyes. Suddenly, you have a whole brood of adorable, fuzzy chicks.
20. Suncatcher Wind Chimes
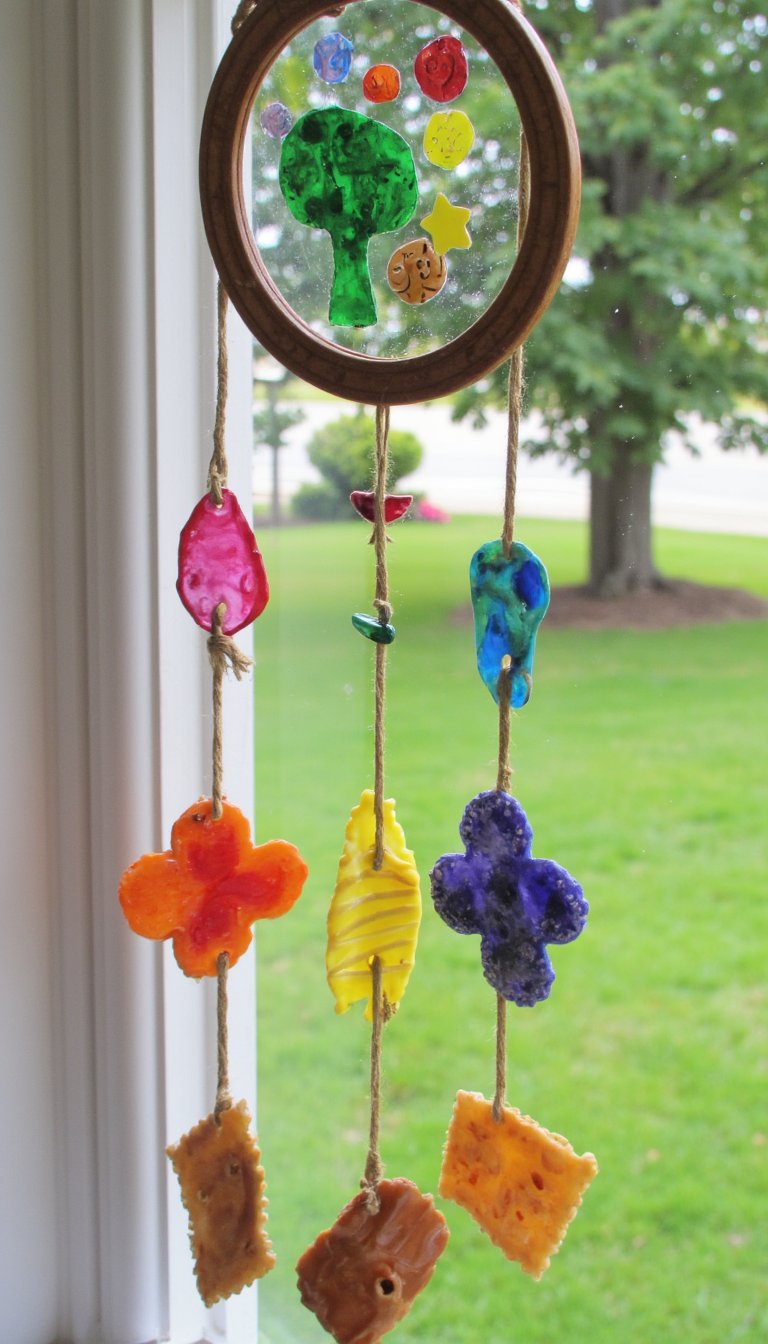
Combine a few projects here! Make several nature suncatchers (from idea #9) or painted pasta shapes. Tie them at different lengths from a stick or an embroidery hoop. Hang it up, and you’ve got a beautiful, kid-made wind chime that tinkles in the wind.
21. Leaf Rubbing Bouquet
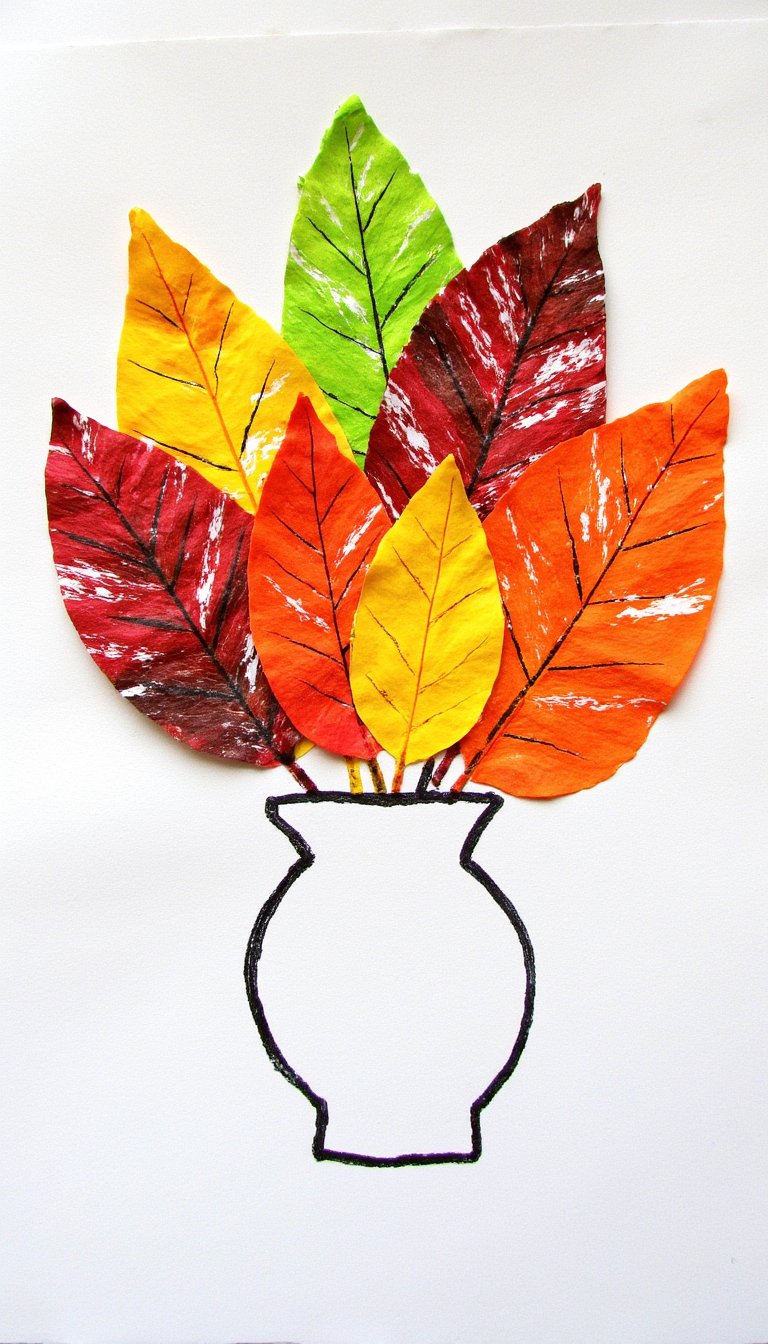
Gather leaves with strong veins. Place them under a thin piece of paper and use the side of a peeled crayon to rub over them, revealing the intricate patterns. Cut out the leaf rubbings and glue them onto a paper as a “bouquet” in a drawn vase.
22. Paper Bag Bird’s Nest

Crumple and twist a brown paper lunch bag to form a nest shape. Glue it onto paper. Fill it with shredded paper, yarn scraps, or real twigs. Then, add a few painted paper eggs or pom-pom birds. It’s wonderfully tactile.
23. Celery Stamp Roses

Cut the base off a bunch of celery—it looks just like a rose when you stamp it! Dip it in red, pink, or purple paint and stamp away on paper to create a beautiful bouquet of roses. Paint on green stems and leaves. So elegant and easy.
24. Puddle Jumping Footprint Art
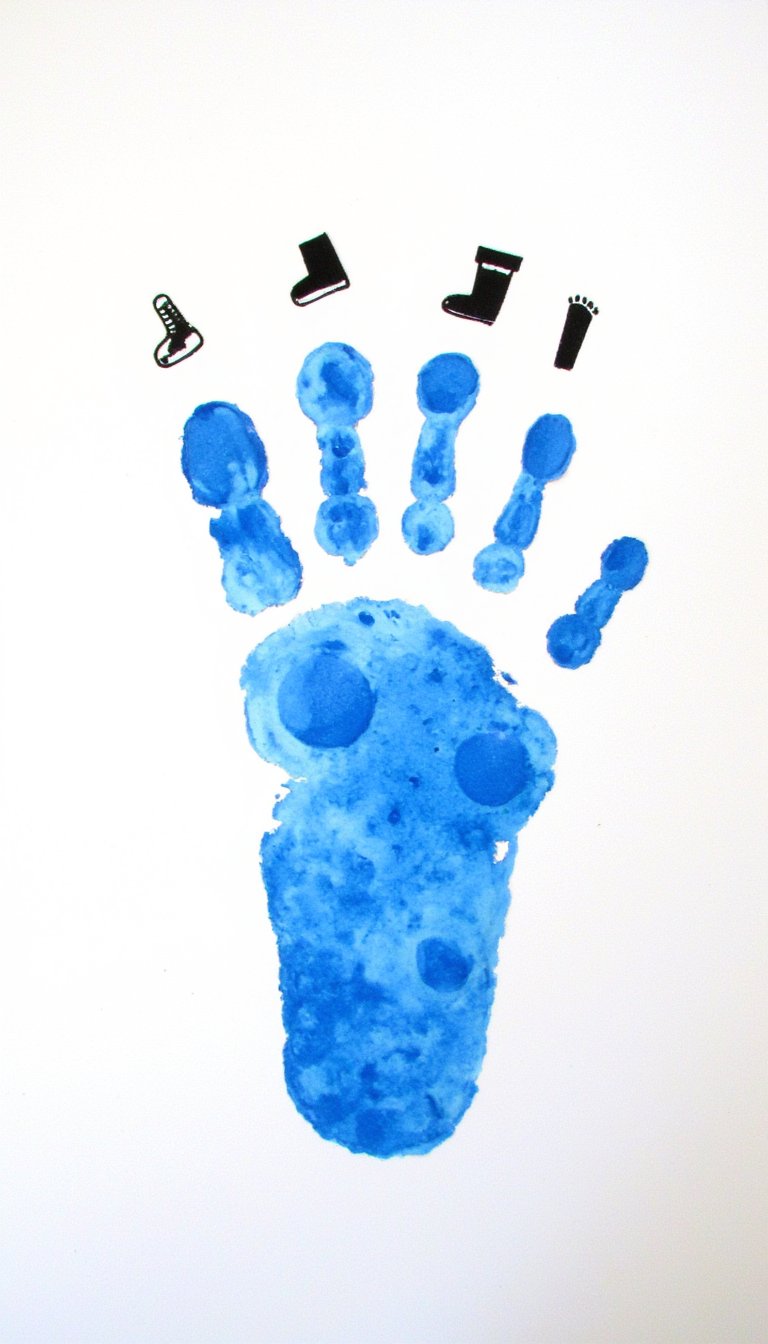
Get a little messy! Paint the bottom of your child’s foot with blue paint and have them step onto paper to make a “puddle.” After it dries, they can draw little boots on top, as if they’re jumping in. It’s a hilarious and personal piece of art.
25. Paper Rainbow Chain

Cut strips of colored paper in rainbow order. Help your child glue or staple them into interlocking loops to form a chain. Hang it across a window or mantle for a festive, 3D decoration they helped build from start to finish.
26. Pinecone Peeps

Grab a pinecone from the yard—it’s the perfect body for a little bird. Let kids paint it, then add felt wings, a yellow felt beak, and googly eyes. You can even glue on some craft feathers for extra fluff. Perch it on a painted branch for display.
27. Marble-Painted Planets & Flowers
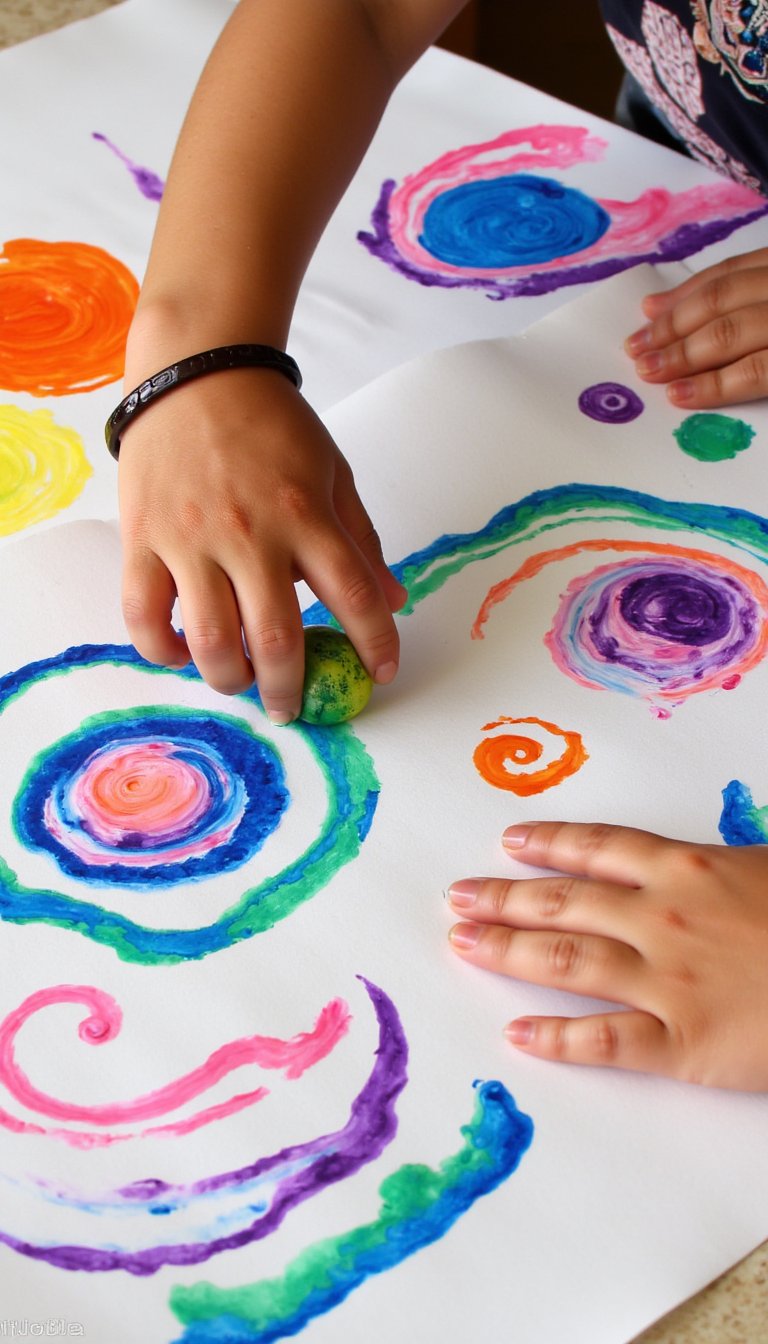
Drop a piece of paper into a shallow box. Place a few blobs of paint on the paper, add a marble or two, and let your child tilt the box to roll the marble around. The swirling, marbled patterns make amazing abstract flowers or even planets.
28. Handprint Lilies

Trace and cut out your child’s handprint on white paper. Roll it into a cone shape, gluing the edges, to form the lily’s trumpet. Attach it to a green pipe cleaner stem and add a leaf. A beautiful keepsake flower that captures the size of their hand right now.
29. DIY Seed Bombs

This is art you can plant! Mix air-dry clay, potting soil, and wildflower seeds. Let kids form the mixture into small balls. Once dry, they can paint them or leave them natural. Then, go on a family walk and gently toss them into a bare spot (with permission!) to spread some flowers.
And there you have it—29 spring art for kids projects that are more about the experience than the perfection. The real magic isn’t in a Pinterest-perfect result; it’s in the paint-smeared hands, the focused silence of a cutting project, and the proud grin when they show you their masterpiece. This spring, don’t just watch the world wake up—grab some supplies and create it alongside your kids. Your fridge door will never look better. Now, which one are you trying first? 😉