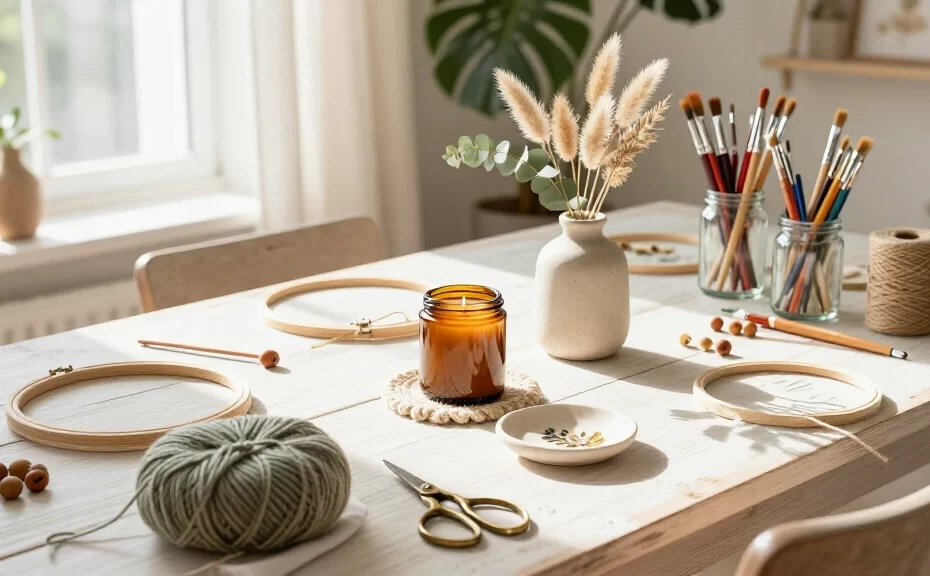
You opened Pinterest for five minutes to find a dinner recipe, and suddenly you saved 47 craft boards with plans to hot-glue everything in your house. Most people know that rabbit hole well. The hard part is separating the overcomplicated pins from projects you can finish on a Sunday afternoon.
If you want to update your home decor on a budget or clean out your craft closet, these project ideas give you great results with minimal fuss. Pick up your supplies, find a comfortable workspace, and start making things by hand.
1. Textured Baking Soda Canvas Art
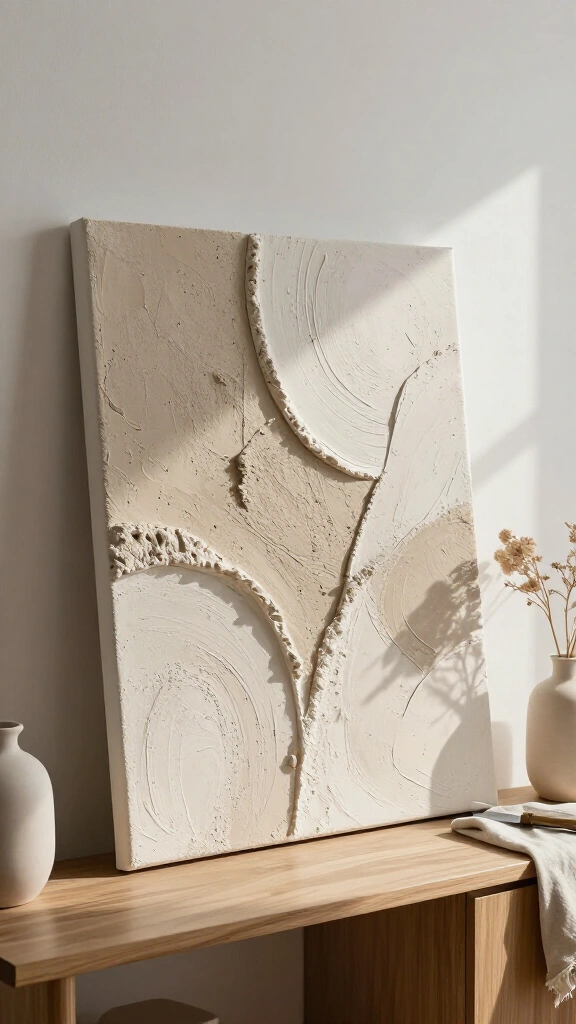
You can turn an inexpensive blank canvas into minimalist wall art with just acrylic paint and baking soda. Mix equal parts of each until you get a thick paste with the consistency of cake batter. Spread it across the canvas with a spackle knife or a notched piece of cardboard. Once dry, the paint takes on a chalky, stone-like texture reminiscent of custom gallery work.
2. Marbled Air-Dry Clay Trinket Dishes

Air-dry clay lets you make custom ceramics at home without a pottery kiln. Roll two or three contrasting clay colors into thin ropes, twist them together, and fold them over several times to create a marbled pattern. Roll the clay flat with a rolling pin, cut out a circle, and press it into a small kitchen bowl so it dries with a curved rim. Add gold gilding paint along the edges after it sets.
3. Pressed Botanical Glass Frames
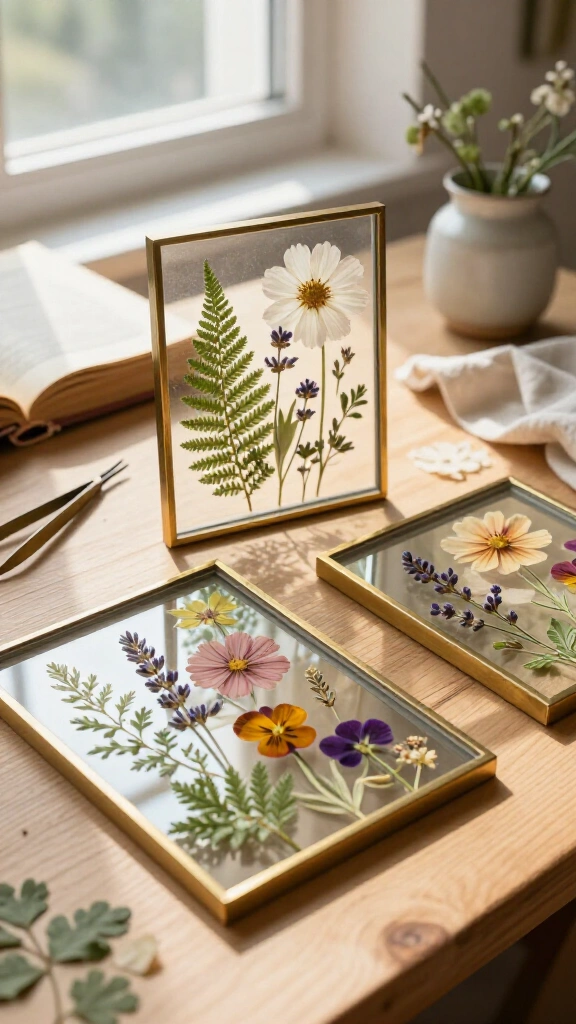
You can display garden flowers between two clear glass panes for an airy look. Pick fresh blooms, flatten them inside heavy books between parchment sheets for two weeks, and place them inside floating glass frames. If you enjoy this style, explore our list of pressed flower DIY projects for more ideas to preserve clippings from your yard.
4. Chunky Hand-Knit Chenille Blanket
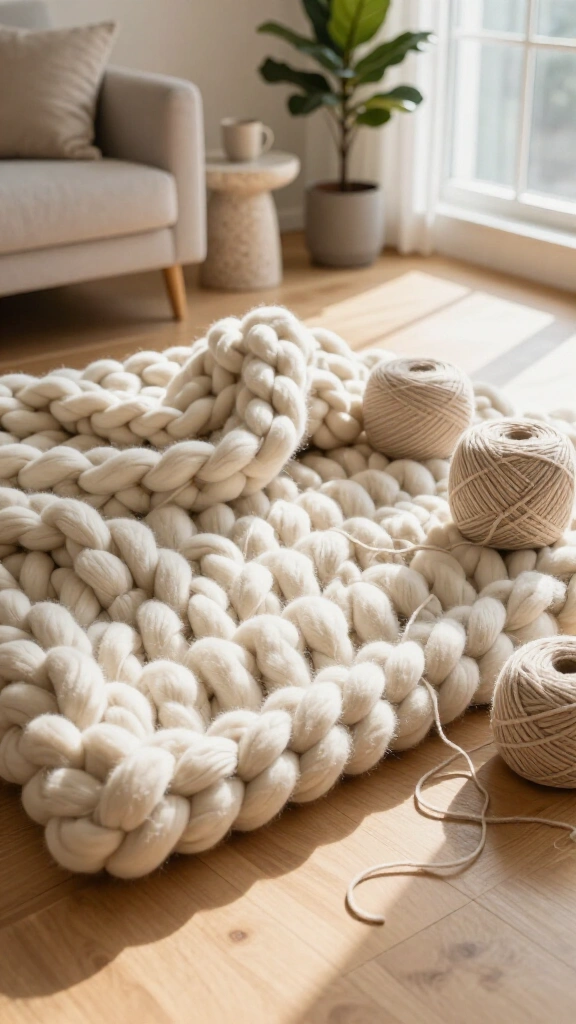
You do not need giant knitting needles for this project: you only need your hands and six to eight skeins of jumbo chenille yarn. Work on a flat floor, pulling yarn loops through each chain stitch by hand. You can finish a thick throw blanket in under three hours, saving a substantial amount compared to store-bought versions.
5. Faux Ceramic Thrift Flip Vases
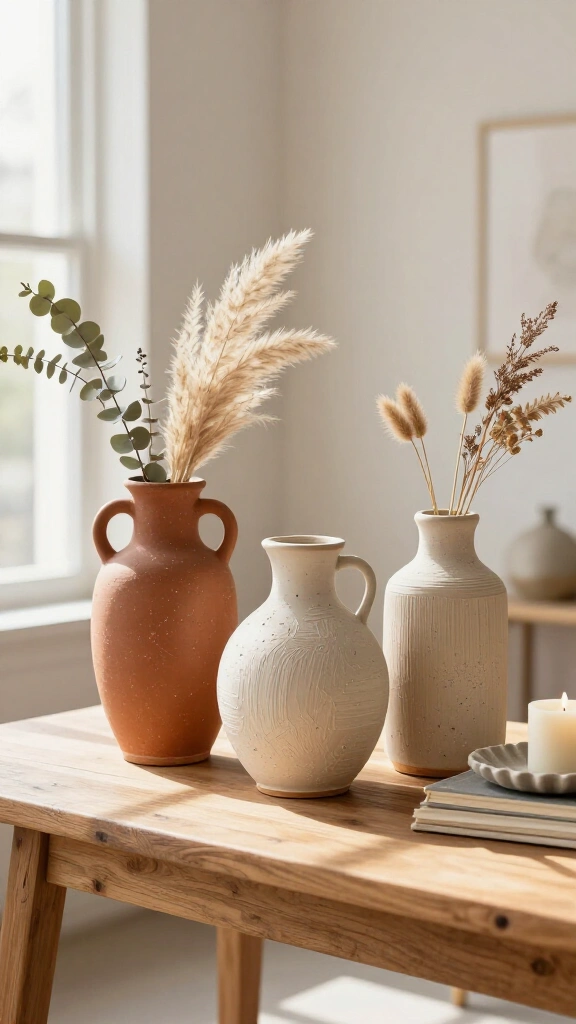
Pick up secondhand glass vases from a local thrift shop and give them an earthy terracotta finish. Mix warm neutral latex paint with baking powder, then brush the thick coat directly onto the glass. You can find more home decor styling inspiration at Better Homes & Gardens to help you style your finished pieces.
6. Modern Macramé Plant Hanger
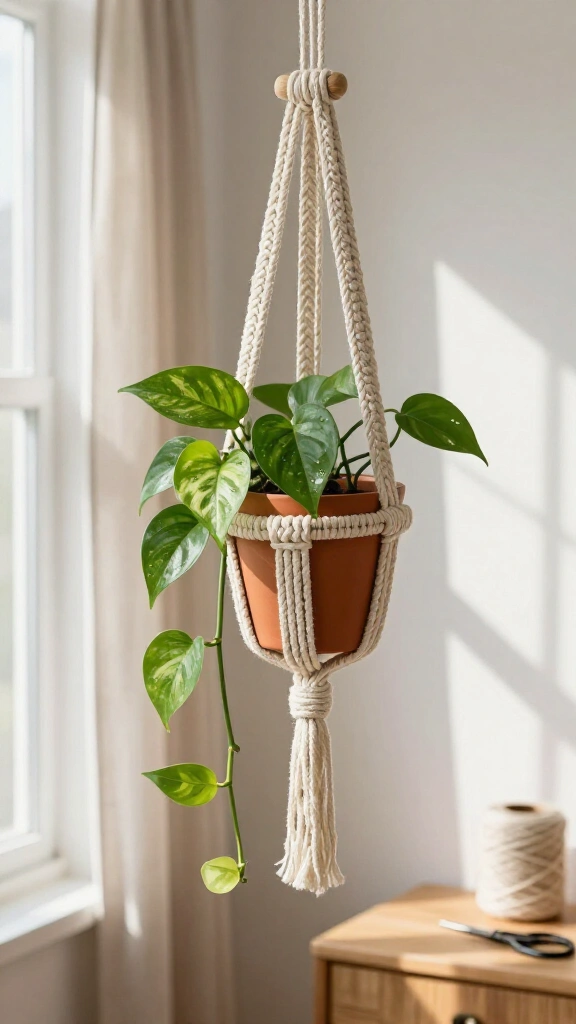
Build your own hanging planter using basic cotton cord. You only need to learn two knots (the square knot and the gathering knot) to assemble a strong, reliable hanger. Place a trailing pothos or philodendron inside and hang it near a window to add greenery at eye level.
7. Pressed Flower Resin Coasters

Epoxy resin lets you preserve small dried blossoms in clear, durable disks. Pour a thin base layer of mixed resin into silicone coaster molds, arrange your dried petals with tweezers, and let it firm up before pouring a clear topcoat. These smooth coasters protect wood tables and keep colorful petals looking fresh for years.
8. Cozy Wool Felt Ball Garlands
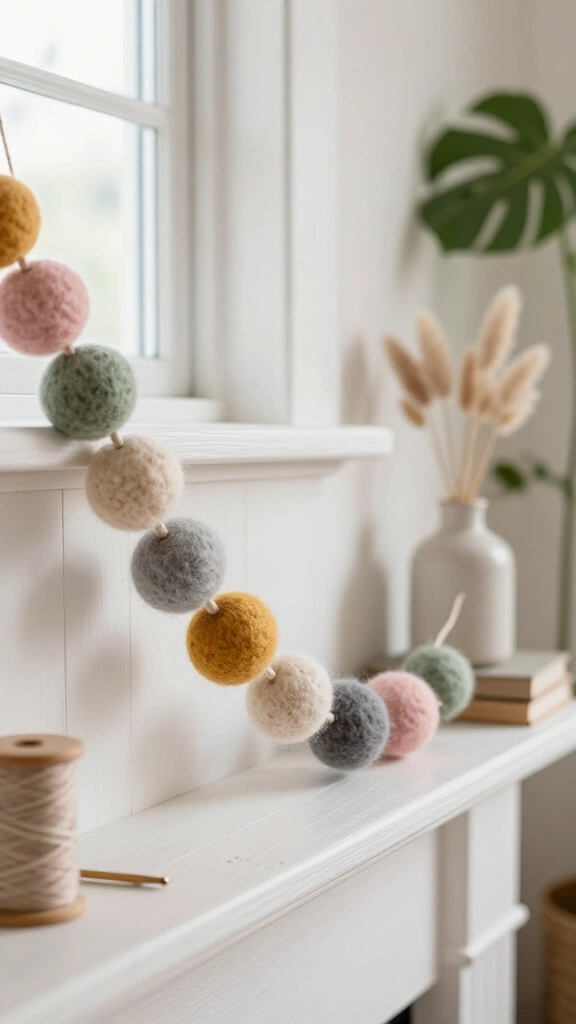
Stringing felt balls together creates an understated accent for mantels, nursery shelves, or seasonal displays. Push a sharp tapestry needle threaded with embroidery floss through one-inch wool felt balls, sliding them along the cord until you achieve even spacing. Check out our collection of felt craft ideas for more ways to decorate with wool felt.
9. Sculptural Soy Bubble Candles

Geometric bubble candles make clean decorative accents for side tables and shelves. Melt soy pillar wax, stir in fragrance oil at 185 degrees Fahrenheit, and pour the liquid into a silicone bubble mold with a centered wick. Once the wax hardens completely, peel the flexible mold away.
10. Boho Raffia Sunburst Mirror
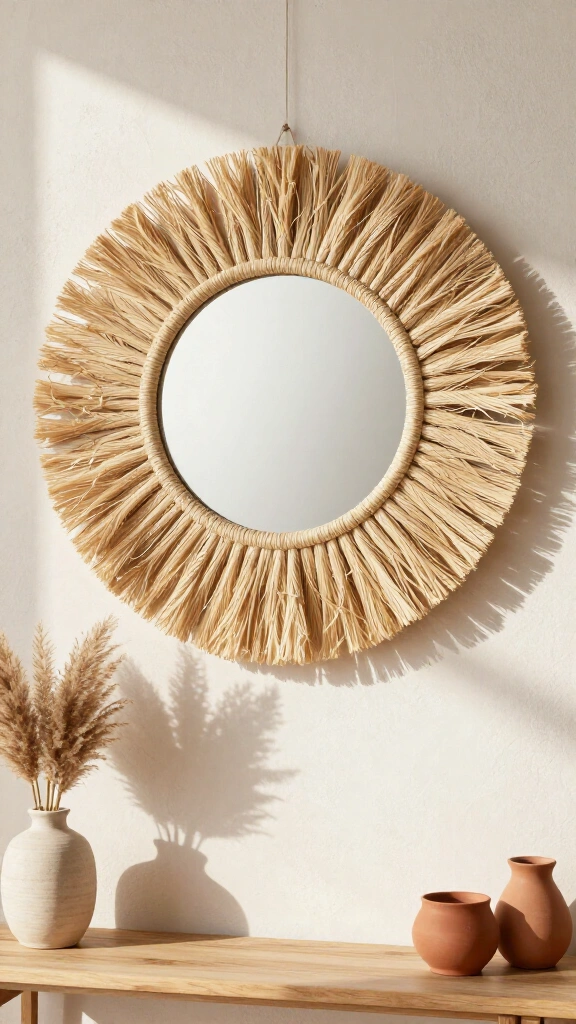
You can make a textured wall mirror using natural raffia ribbon and a round craft mirror. Glue loops of raffia along the edge of a flat wooden backing disc, layer multiple lengths for volume, and secure the round mirror in the center. Run a wide-tooth comb through the raffia fibers to separate them evenly.
11. Polymer Clay Checkerboard Earrings

Make lightweight geometric jewelry by building simple polymer clay patterns. Stack alternating strips of colored clay into a grid cane, slice thin cross-sections, and roll them onto a flat clay backing sheet. Cut out arch or oval shapes with miniature cutters, bake them in your kitchen oven, and attach jump rings with earring hooks.
12. Floating Botanical Hanging Mobile
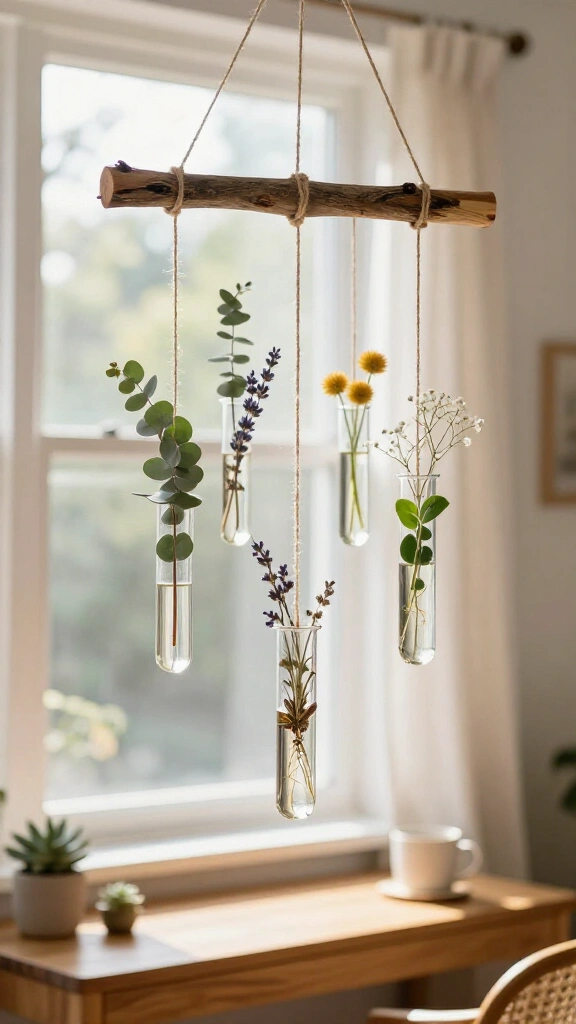
Combine a fallen tree branch with hanging glass vials to create a botanical display. Fasten lengths of clear monofilament or jute twine along a sturdy piece of wood, attach small glass test tubes to the ends, and place fresh plant cuttings or dried wildflowers inside. Mount the branch above a window frame or desk.
13. Hand-Embroidered Canvas Tote Bags
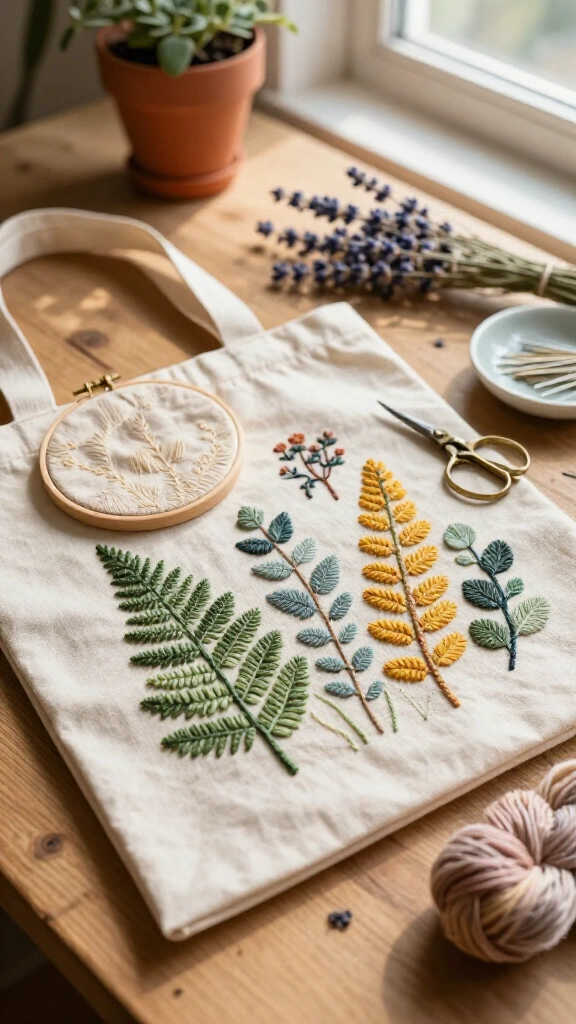
Give a plain cotton grocery bag a custom look with simple needlework. Draw a simple botanical sketch or line pattern onto the canvas with a water-soluble marking pen. Stitch along your outline using a standard backstitch and cotton embroidery floss, then rinse away the pen markings with cold water.
14. Jesmonite Terrazzo Coasters

Jesmonite cures into a smooth, stone-like material without requiring toxic solvents. Break pre-cast colored pieces into small chips, stir them into a fresh batch of liquid Jesmonite, and pour the mix into silicone coaster molds. Once the coasters harden, wet-sand the top surface to expose the embedded chips.
15. Gilded Oyster Shell Ring Dishes

You can turn cleaned oyster shells into small trinket dishes for rings and earrings. Scrub and dry the shells, apply patterned decorative paper to the inner surface with decoupage glue, and seal the design with clear acrylic. Paint the rough outer rim with gold liquid leaf to finish the edges.
16. Cast Concrete Planters with Gold Accents

Mix quick-setting cement with water and pour it between two nesting plastic food containers to form small planter pots. After the concrete cures for 24 hours, sand the rough edges smooth. Tape off clean lines across the base and apply acrylic paint to add contrast before potting your succulents.
17. DIY Rattan Cane Catchall Box

Fit woven cane webbing into the lid of an unfinished wooden storage box to give it texture. Soak the rattan sheet in warm water for 30 minutes so it bends easily, cut it to match the lid opening, and staple it tightly along the inner edge. As the cane dries, it tightens naturally into a crisp, flat panel.
18. Wooden Bead Doorway Garland
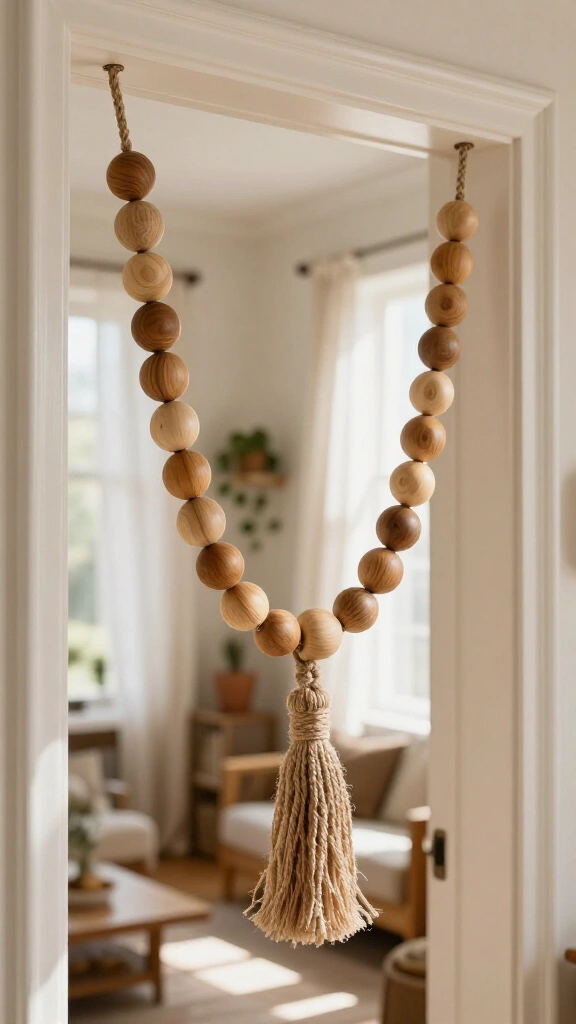
Thread unfinished wooden beads in alternating diameters onto heavy twine to make a decorative strand. Attach handmade jute tassels to both ends, then drape the string across a mantel, over a doorway, or across stacked books. You can leave the wood raw or stain the beads with brewed coffee for an aged tone.
19. Dip-Dyed Macramé Feather Wall Hanging

Knot lengths of cotton macramé cord onto a central hanging string, brush the fibers flat with a wire pet comb, and trim the fringe into clean leaf shapes with sharp scissors. Dip the lower portions into fabric dye for a gradient look, then mist the backs with stiffening spray so the fibers hold their shape on your wall.
20. Painted Checkerboard Wooden Tray

Mark a grid across a plain wooden tray using low-tack painter’s tape. Brush a thin layer of clear matte medium along the tape edges to block paint bleed, then paint alternating squares with acrylic paint. Peel the tape away while the topcoat is still damp to ensure sharp, clean grid lines.
21. Minimalist Brass Ring Eucalyptus Wreath
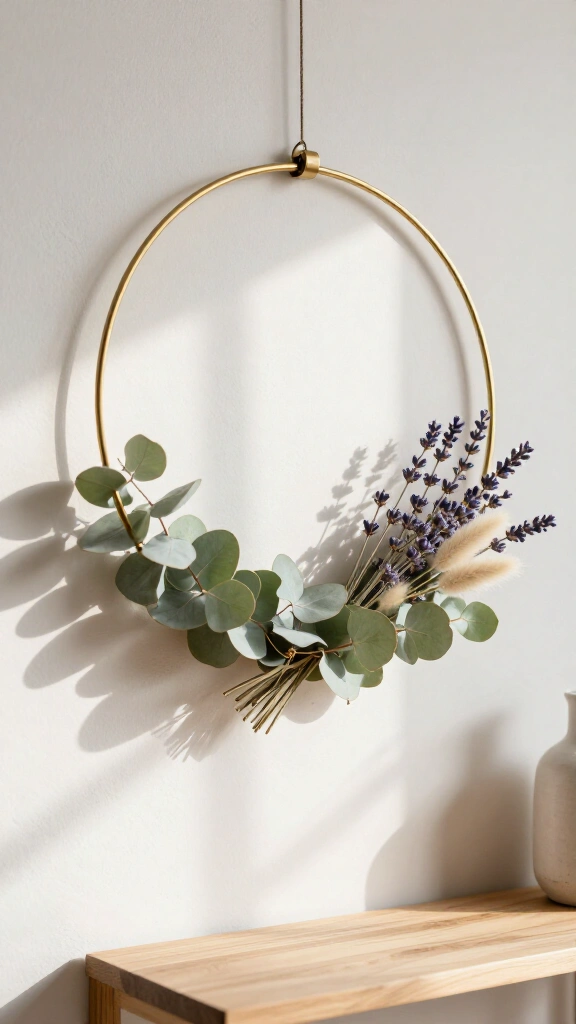
Fasten sprigs of silver dollar eucalyptus, dried lavender, and bunny tails to the lower third of a 14-inch brass ring using thin floral wire. Keep the top of the metal hoop bare. The greenery dries cleanly over several weeks while retaining its shape and scent.
22. Upcycled Book Page Paper Roses

Reuse damaged vintage books by cutting their pages into paper flower petals. Cut several sets of petals in graduated sizes, curl the outer edges around a wooden skewer, and hot-glue each layer around a floral wire stem. Arrange several finished stems in a ceramic vase for a long-lasting display.
23. Hanging Disco Ball Planter
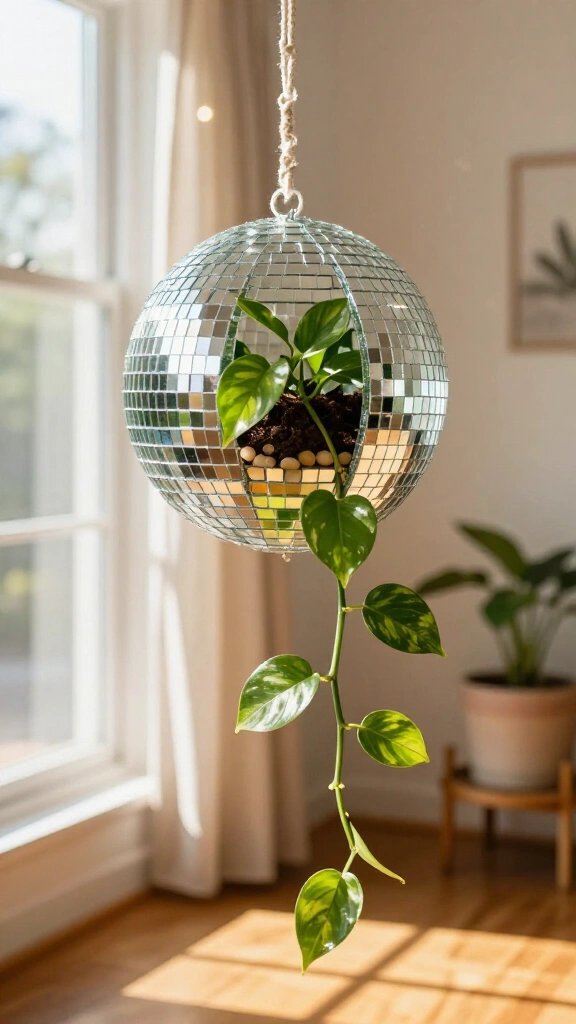
Convert a hollow mirror ball into a hanging planter with a utility knife. Cut open the top third of the sphere, line the base with small pebbles for drainage, and set a potted trailing plant inside. When sunlight strikes the mirrored tiles, it casts moving light patterns across the room.
24. Faux Stained Glass Suncatcher

You can make faux stained glass without using glass cutters or soldering irons. Draw your pattern lines onto a clear acrylic sheet using dimensional liquid lead, let the raised lines dry overnight, and paint each section with transparent glass paint. Hang the sheet in a sunny window to catch passing daylight.
25. Framed Preserved Moss Wall Art

Build a maintenance-free green wall panel using preserved reindeer moss, sheet moss, and small bark fragments. Hot-glue the different botanical textures inside a wooden shadowbox frame to create natural depth and variation. Preserved moss needs no water or sunlight, allowing it to keep its green color for years.
26. DIY Clay Match Striker Pot

Shape a small match holder out of oven-bake polymer clay, keeping the outer surface unglazed. Glue a disc of strike-on-box paper or fine sandpaper to the underside of the base. Fill the cup with strike-anywhere matches to keep beside your candles.
27. Upcycled Tin Can Desk Organizers

Save clean food tins to organize your work table. Wrap each metal can with fluted wood dowels, contact paper, or jute cord secured with hot glue. Use them to hold scissors, markers, and paintbrushes in your shabby chic craft room setup.
28. Hand-Poured Scented Wax Melts

Wax melts provide a flame-free way to scent a room. Melt soy wax flakes in a double boiler, stir in fragrance oil along with dried flower petals, and pour the liquid into small silicone candy molds. Place one or two cooled wax shapes into an electric wax warmer to release the scent.
29. Botanical Cyanotype Sun Prints
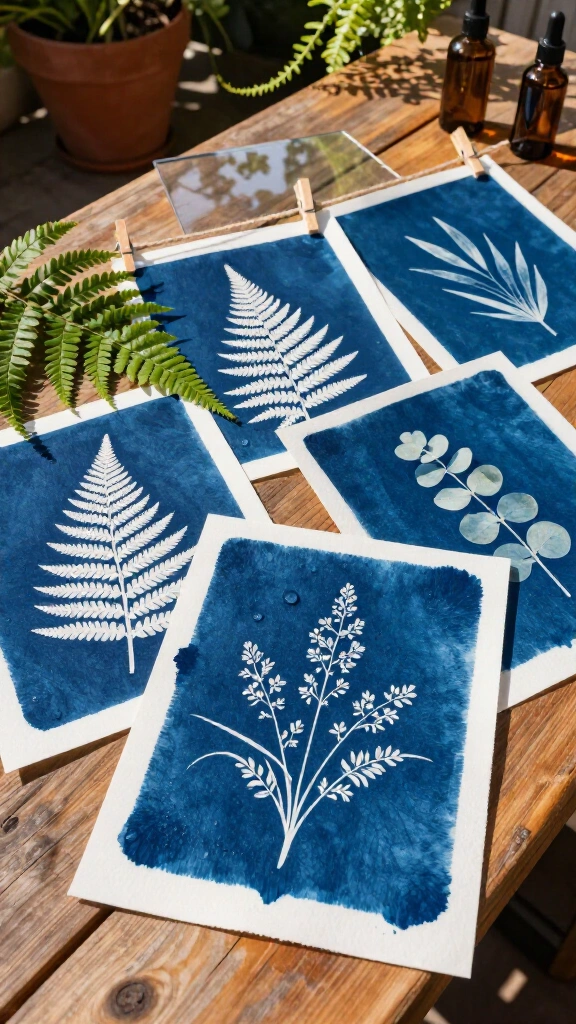
Cyanotype printing uses sunlight and light-sensitive chemicals to create blue botanical prints. Coat watercolor paper with cyanotype solution in a dim room, place fresh leaves or pressed ferns on the surface, and expose the paper to direct sunlight for five minutes. Rinse the sheet in cold water to fix the image, leaving sharp white plant silhouettes on a dark navy background.
Start Crafting Your Favorites Today
Pick one project from this list, gather your materials, and spend an afternoon building something by hand. You do not need an expensive workspace or specialty tools to get good results. Once you finish your piece, share it with friends or post it online to pass the idea along.