You know that feeling. You have a beautifully wrapped gift, but it’s missing that final, show-stopping flourish. The store-bought bows look a little… sad. Or maybe you’re decorating for a party and want a centerpiece that truly wows. If you’ve ever stared at a spool of gorgeous wired ribbon and thought, “I wish I could turn this into something magical,” you’ve come to the right place. Forget floppy, forget frustrating. Wired ribbon is your secret weapon, and I’m about to show you exactly how to wield it.
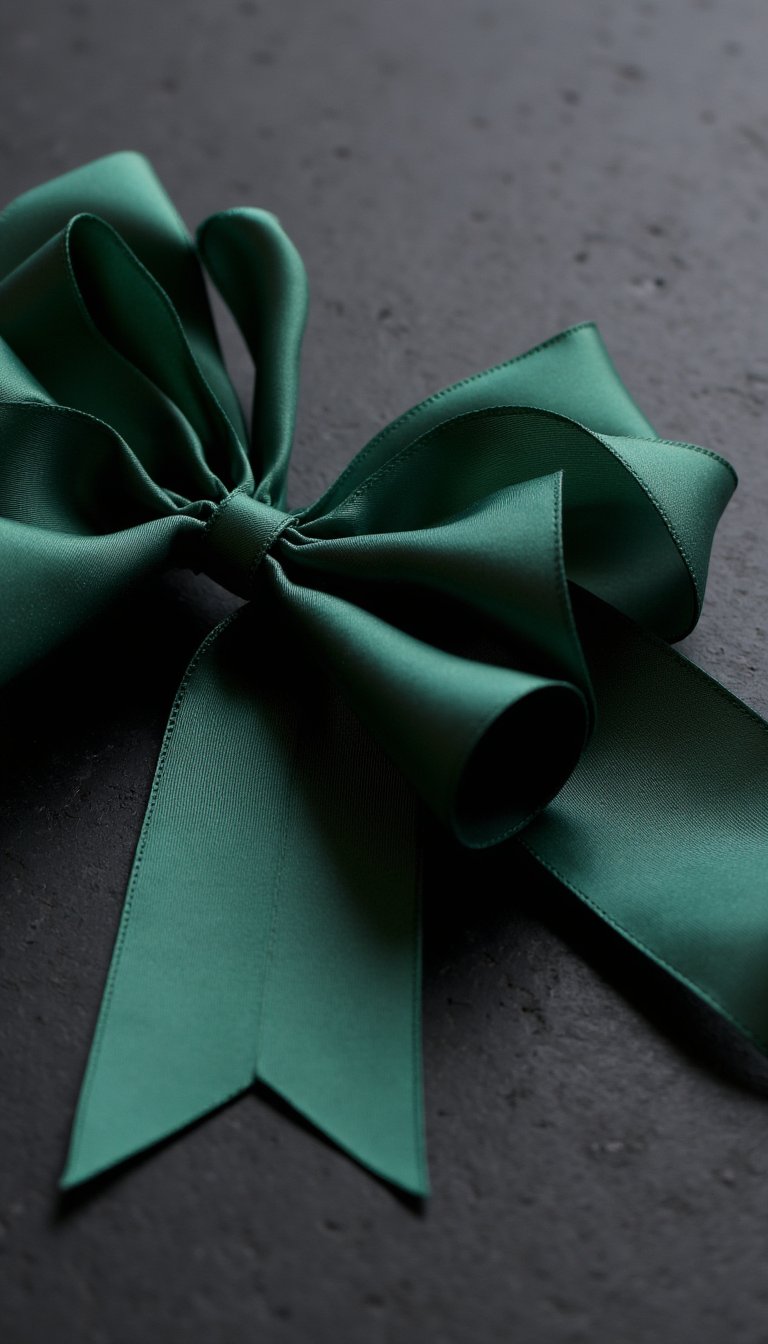
1. The Classic Double-Loop Bow
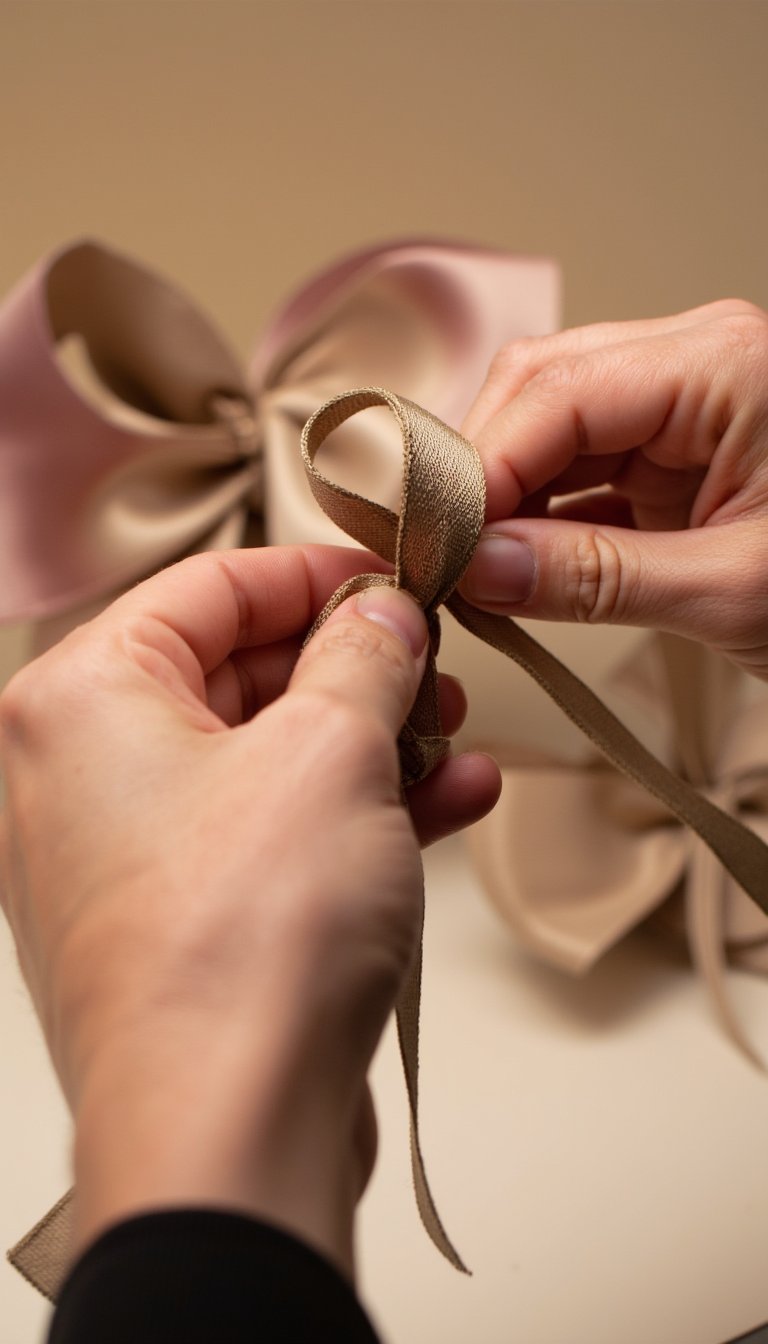
This is the foundational bow, the one that all others build upon. It’s perfect for gift toppers and simple wreath accents. Start by creating two loops of equal size, one on each side of your thumb and forefinger, which are pinching the ribbon’s center. Cross the right loop over the left, tuck it through the opening from behind, and pull it tight to form a knot. Fluff and adjust the loops to perfection. It’s the little black dress of bows—always appropriate and effortlessly chic.
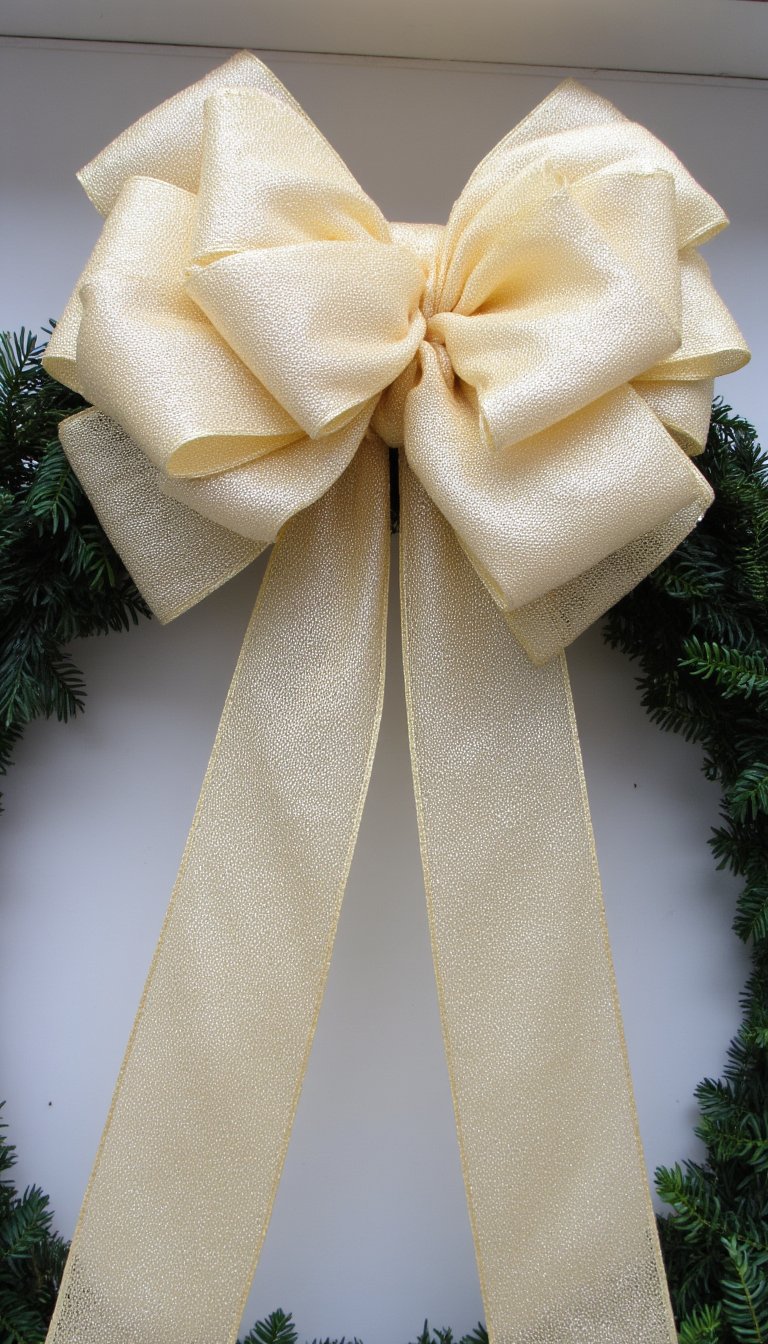
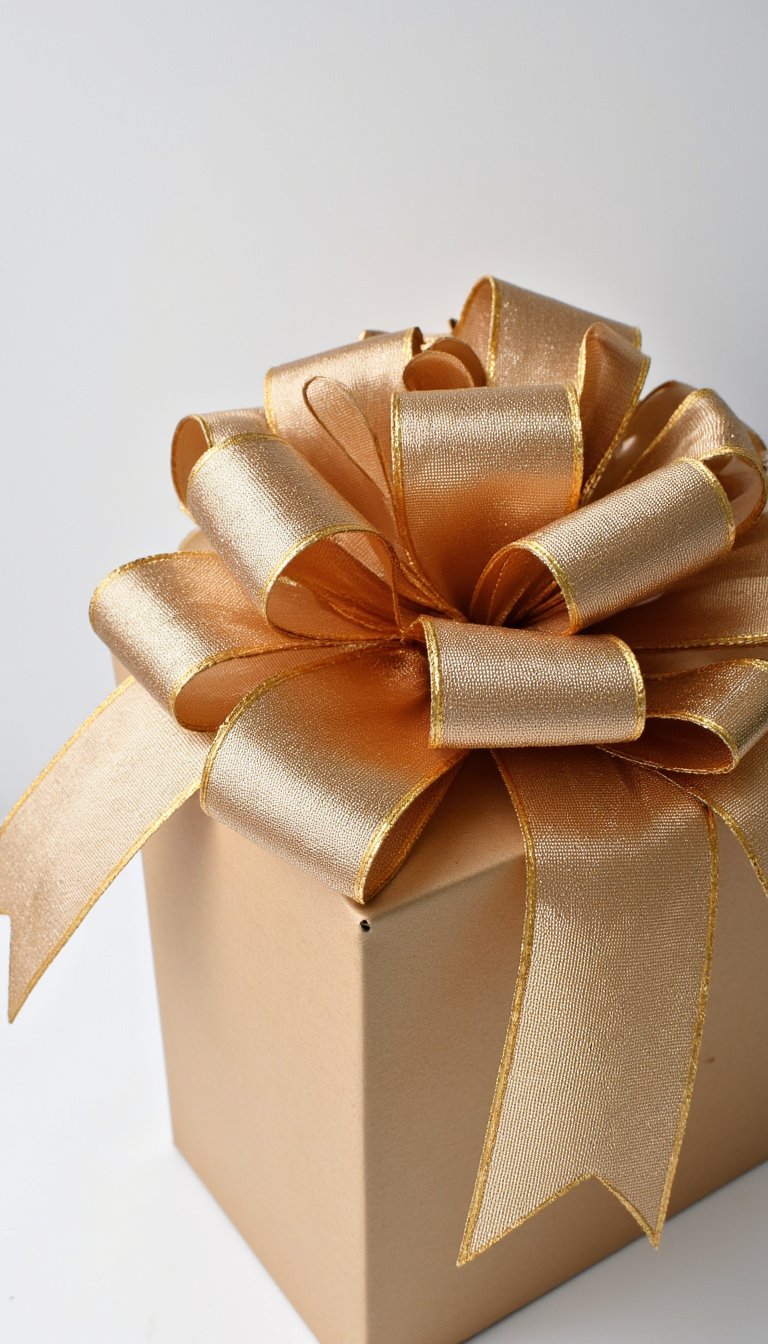
2. The Multi-Loop “Pouf” Bow
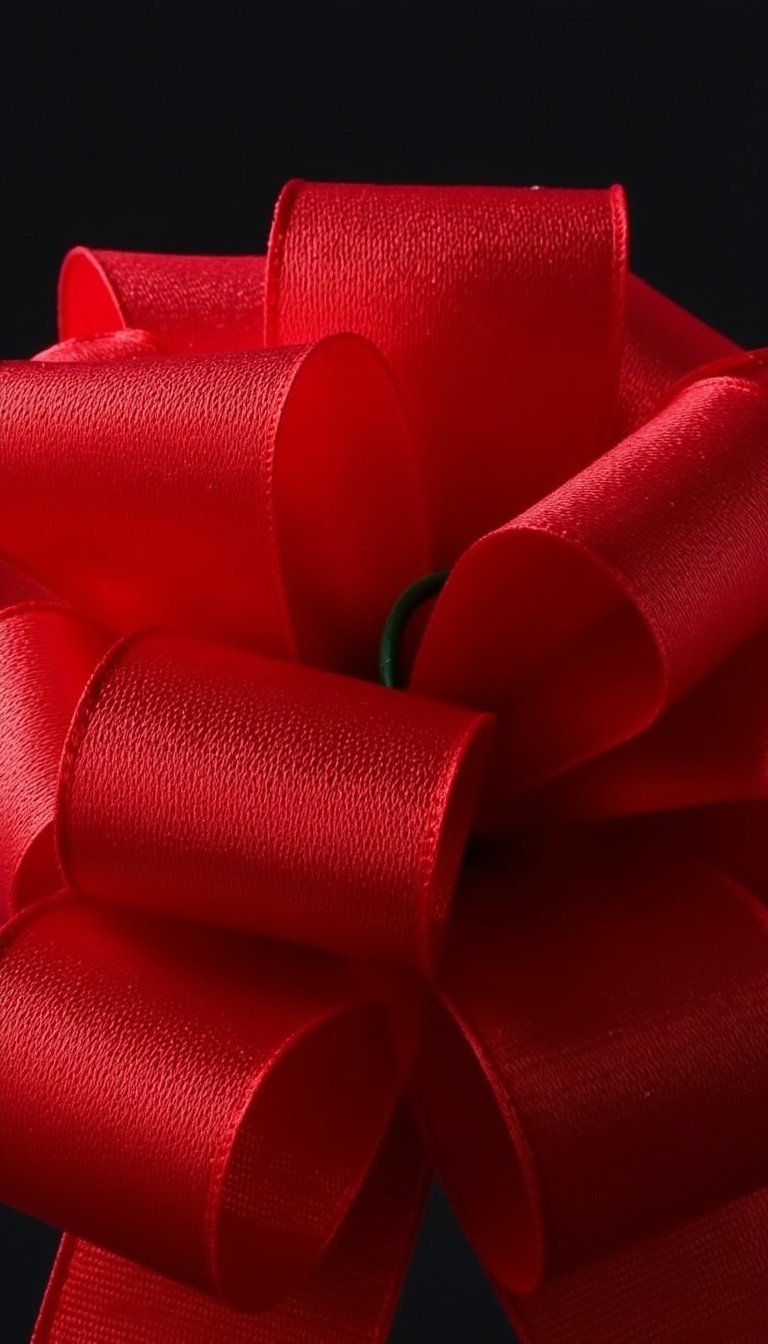
Want maximum volume and impact? The multi-loop pouf is your go-to. Instead of making one loop per side, you’ll create several smaller loops, stacking them in your hand. Keep pinching the center as you add more loops; the wire inside the ribbon will hold everything in place. Once you have a satisfying handful, secure the center with a pipe cleaner or a separate piece of ribbon. Spread out the loops to create a full, cloud-like effect. This is your power move for Christmas trees and statement gift boxes.
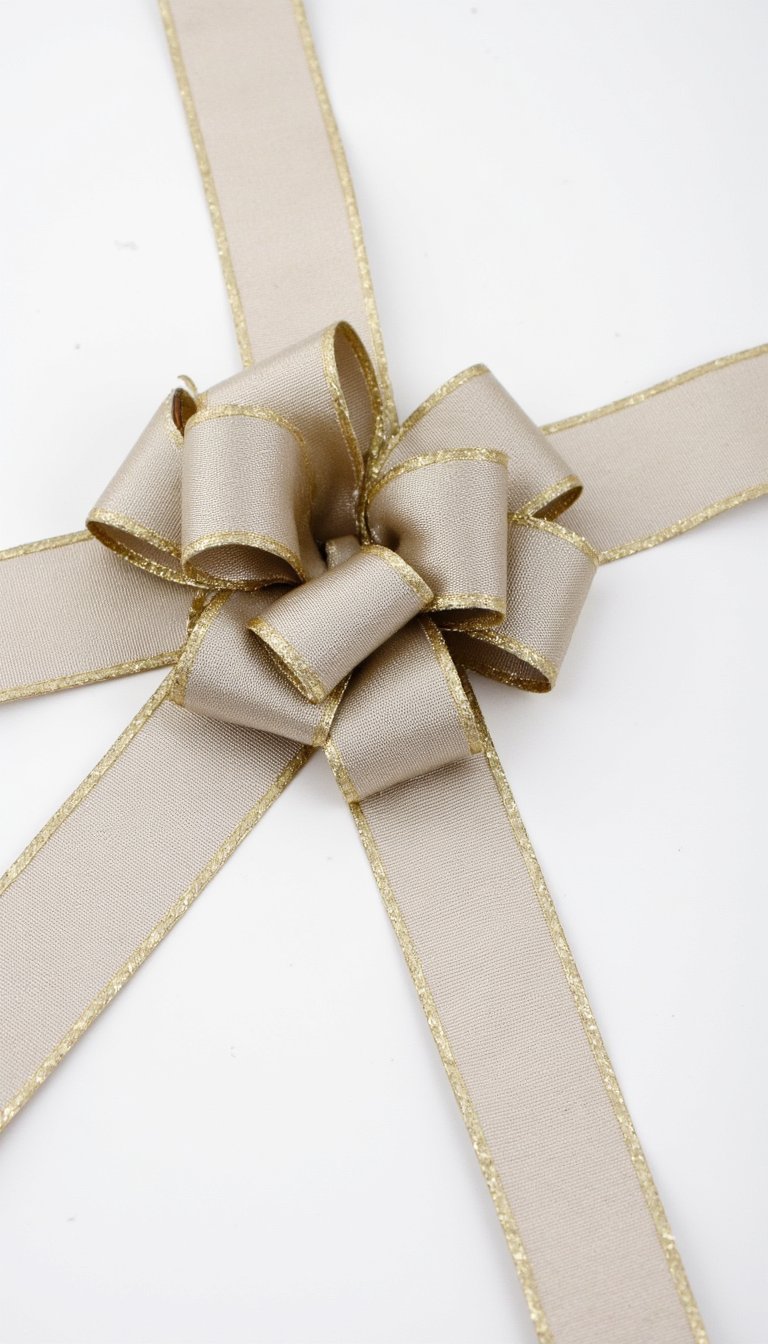
3. The Elegant Florist-Style Bow
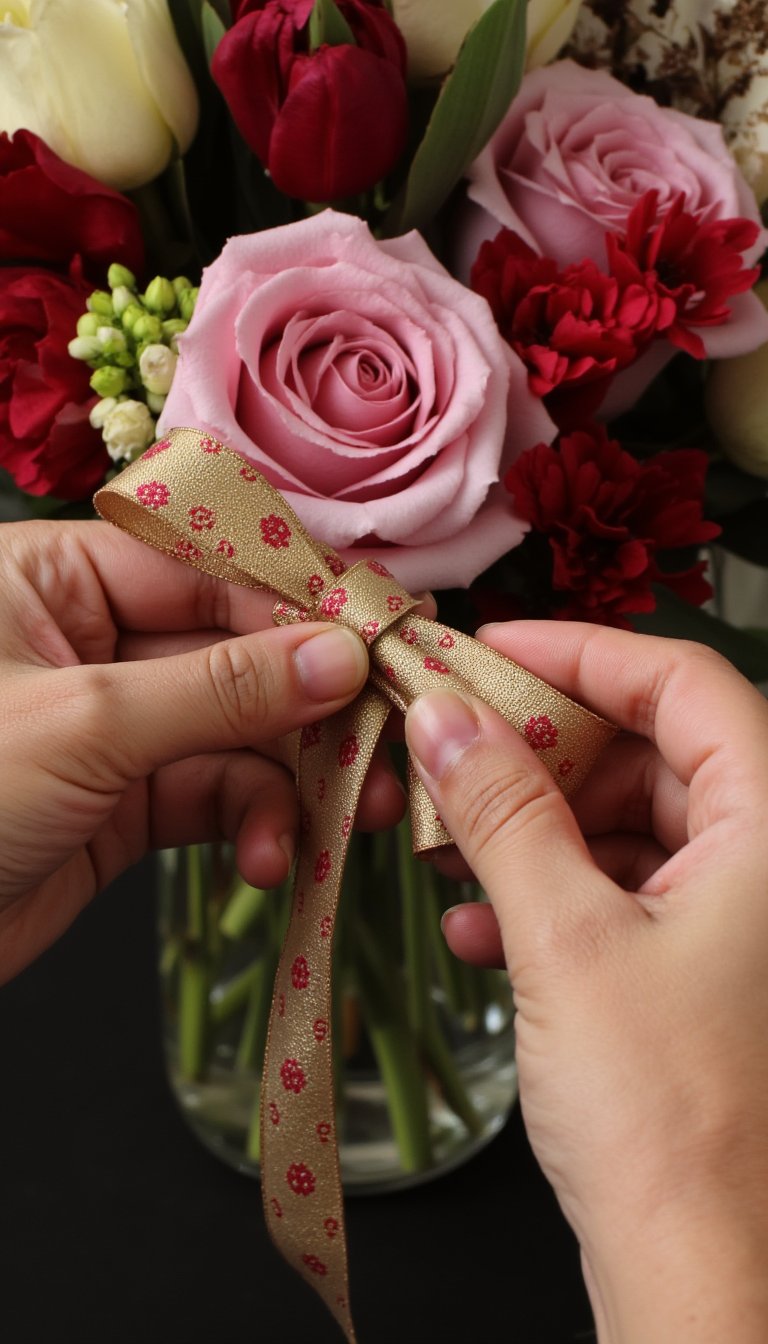
Ever wonder how florists get those bows to look so perfectly imperfect? The secret is in the twisting. As you form each loop, you give the ribbon a subtle twist so the “right” side of the ribbon always faces out. This technique adds professional polish and showcases a patterned ribbon beautifully. It takes a bit of practice, but once you get the hang of the twist-and-loop motion, you’ll never go back. This method elevates any arrangement from “nice” to “did you hire a professional?”
4. The Layered Two-Tone Bow

Why use one ribbon when you can use two? Take two different colors or patterns of wired ribbon and hold them together as if they were a single strand. Now, make your bow using the multi-loop method. The result is a stunning, dimensional bow with incredible visual interest. Try a classic combo like red and gold for the holidays, or blush and navy for a baby shower. This is a pro-tier trick that requires zero extra skill, just an eye for color.
5. The Simple Fork Bow
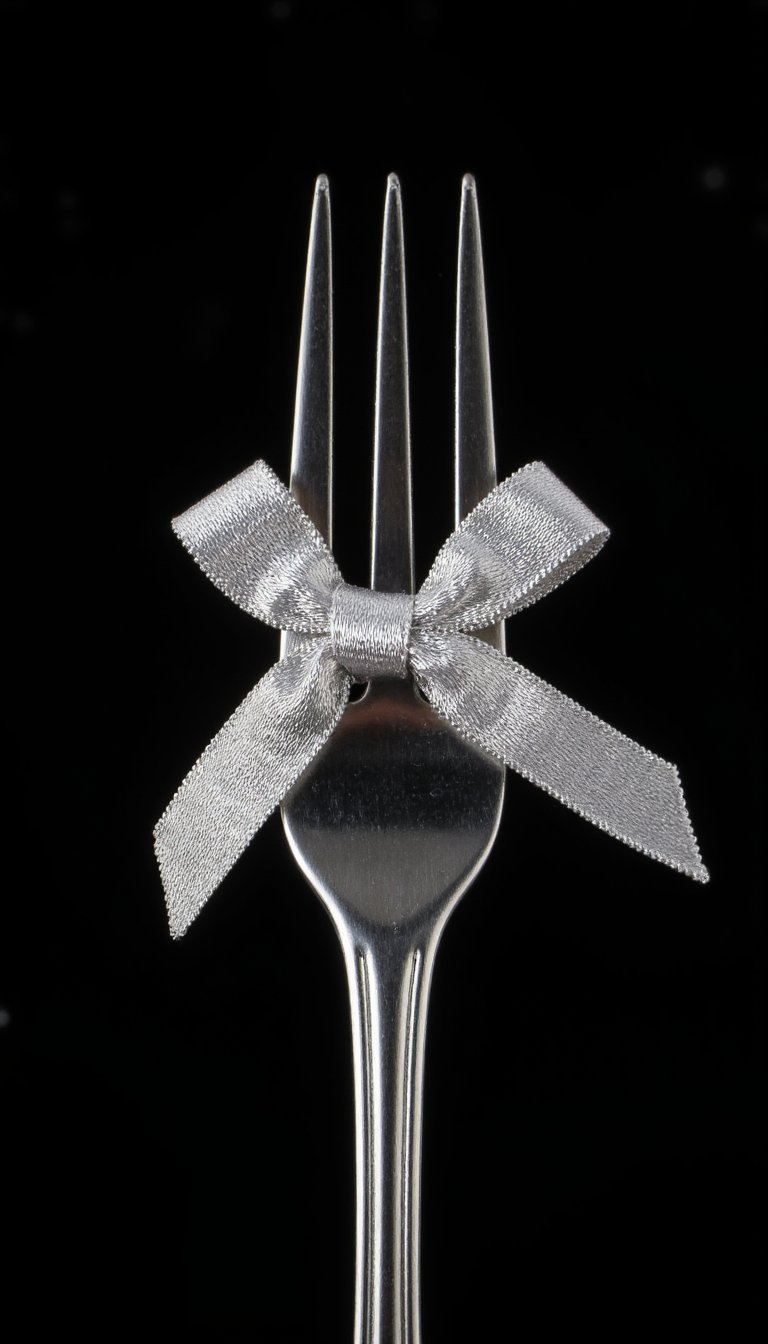
Yes, you read that right. If you struggle with making small, consistent loops, your kitchen utensil drawer holds the key. Wrap the ribbon around the tines of a fork, create a small knot in the center, and then slide it off. You get a perfectly petite bow ideal for ornaments, jewelry, or scrapbooking. It’s the ultimate hack for when your fingers feel like thumbs. Who knew gourmet cooking and bow-making shared a common tool?
6. The Showstopping Loopy Bow
This bow is all about drama. You create a series of large, loose loops and secure them at the center, letting the ends stream down long and gracefully. The key is to not overthink it—let the wired ribbon do its thing and hold the shape. It’s fantastic for decorating stair banisters, mantels, or even as a hair accessory for a special event. This style whispers “elegance” without even trying.
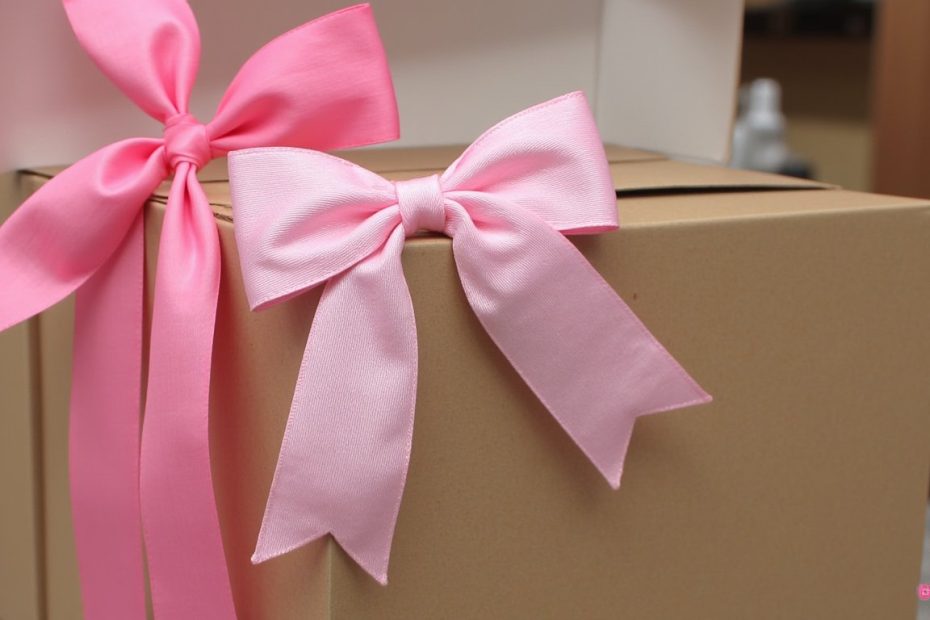
7. The “No-Tie” Gift Wrap Bow
Hate tying knots? This method is for you. Cut several lengths of ribbon and simply fold them into loop bundles. Secure each bundle in the middle with wire or string, and then attach these pre-made loops directly to your wrapped gift using double-sided tape or a glue dot. You can cluster a few together for a custom, high-end look without any of the tying frustration. It’s basically bow-making on easy mode.
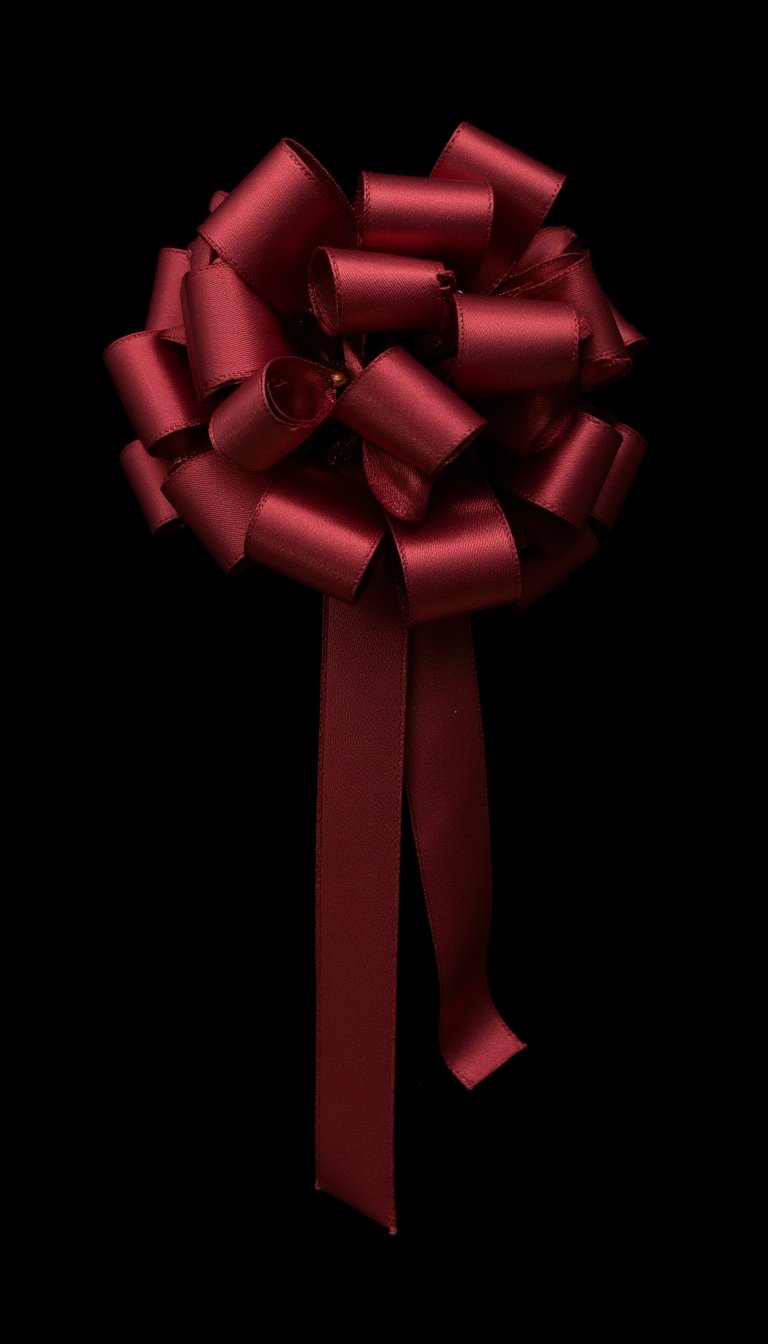
8. The Perfect Pomander Bow

A pomander is a full, spherical bow that looks amazing hanging from a ribbon. To make one, you’ll form loops in a circle around your fingers, working your way around until you’ve created a ball shape. It requires more ribbon than a flat bow, but the 3D effect is absolutely worth it. These are stunning on wedding aisles, as party décor, or as a lush addition to a wreath. It’s a cloud of ribbon, and who doesn’t want that?
9. The Rustic Burlap Bow
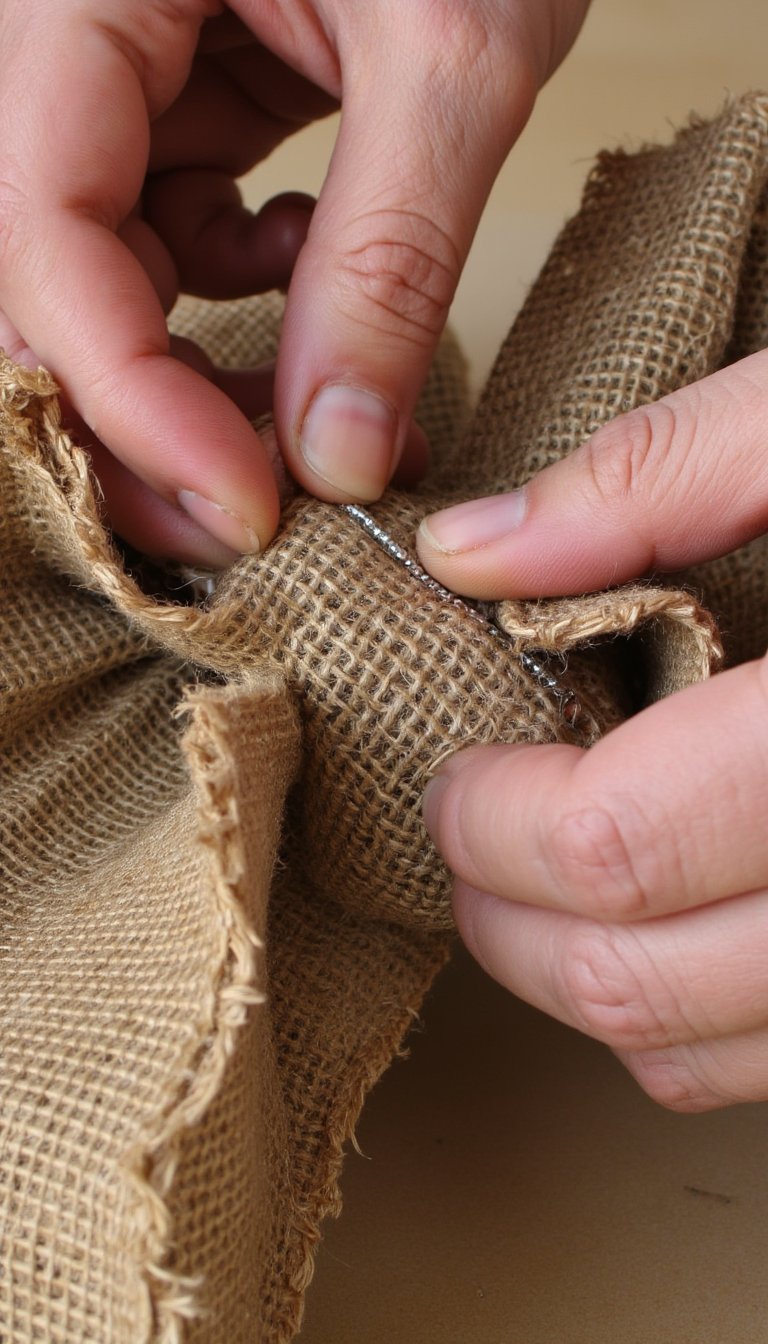
Wired burlap ribbon has a mind of its own, and that’s the beauty of it. Embrace the texture! Use a multi-loop technique, but don’t worry about perfection. The frayed edges and stiff loops create a wonderfully rustic, farmhouse-chic vibe. Perfect for autumn wreaths, rustic wedding centerpieces, or gifting a nice bottle of wine. It’s the bow that says, “I’m cozy and I know it.”
10. The Glamourous Sheer Bow
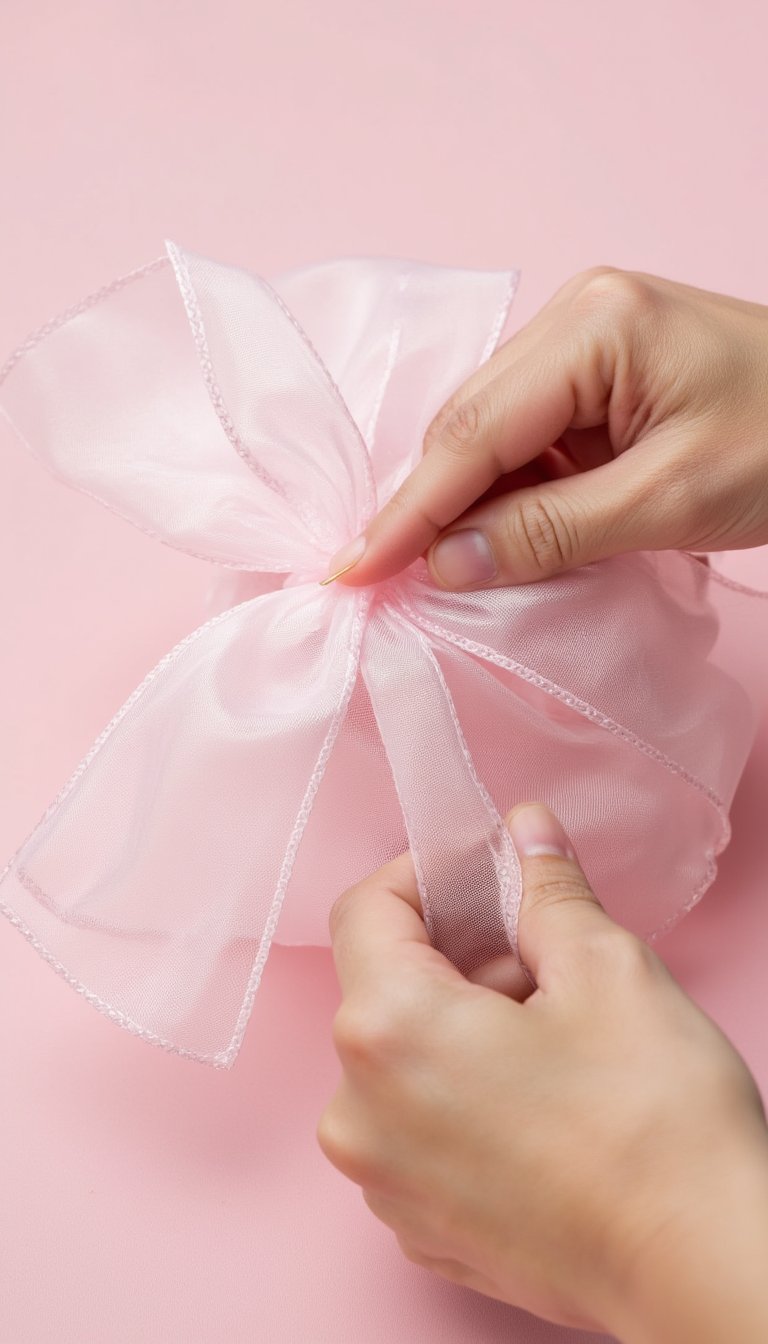
Working with sheer or organza wired ribbon is a different ballgame. It’s slippery and can be tricky, but the ethereal result is unmatched. The wire is your best friend here—make sure you crimp it tightly to secure your loops. A sheer, multi-loop bow over a solid colored one adds incredible depth and sophistication. It’s the perfect topper for wedding gifts and birthday presents that need a touch of fairy-tale magic.
11. The Quick & Easy “Figure-8” Bow
Speed and simplicity define this style. Simply create a series of figure-8 shapes with your ribbon, stack them on top of each other, and wire them together through the center. You can make it as large or as small as you want. It’s a modern, geometric take on the classic bow that looks fantastic on modern gift wrap or minimalist holiday décor. Sometimes, simple is seriously stunning.
12. The Gift Bag Topper Bow
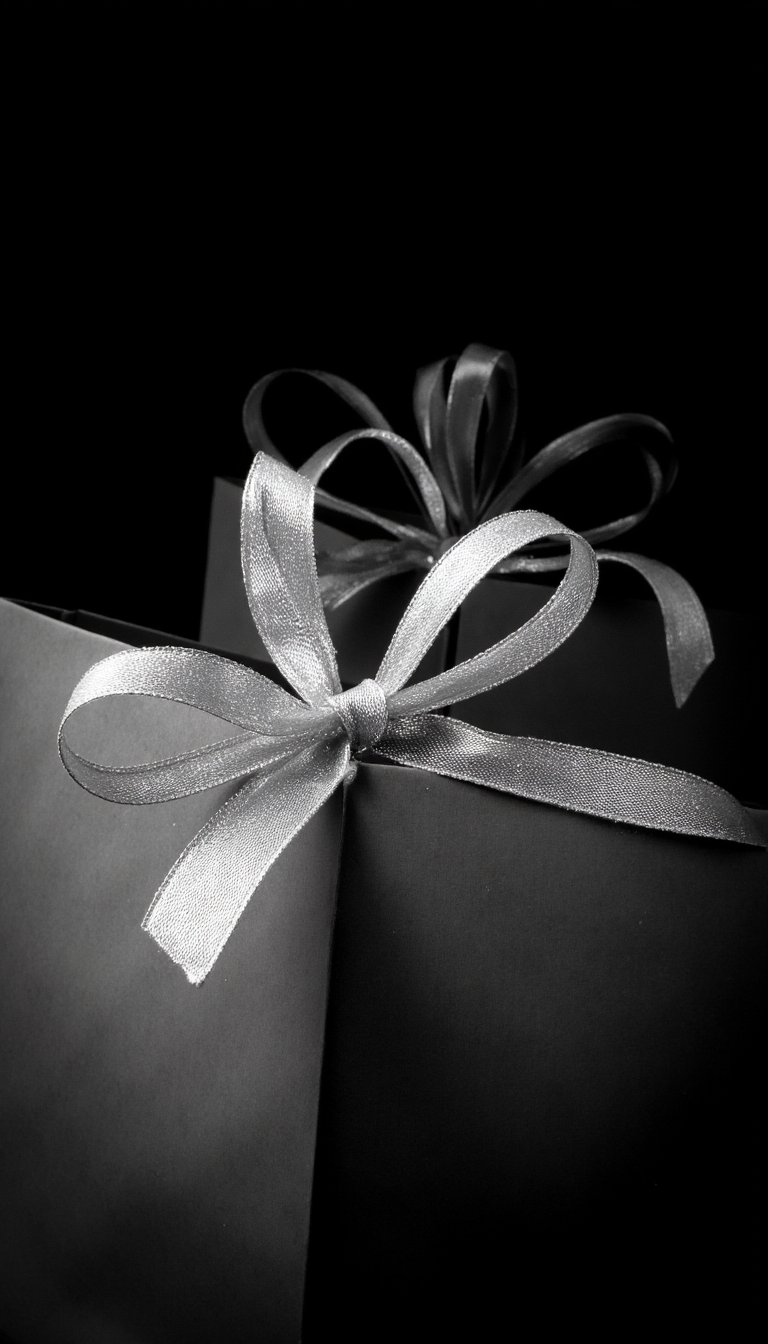
Elevate a humble gift bag in under 60 seconds. Take a long piece of wired ribbon, gather the bag’s top, and tie a simple knot or a classic double-loop bow. The wire allows you to shape and curl the ends dramatically, fanning them out to cover the bag’s front. It transforms an ordinary bag into a custom-presented gift. Talk about a lot of bang for your buck!
13. The Wreath Hanger Bow
This isn’t just a bow ON a wreath; this is the bow that HANGs the wreath. Create a large, lush bow with long, trailing tails. Instead of attaching it to the front, you integrate it into the top of your wreath form, using the long ends to create a loop for hanging over a door or mirror. It’s functional and beautiful, making your wreath look professionally designed. Two birds, one beautifully crafted stone.
14. The Ornament Bow
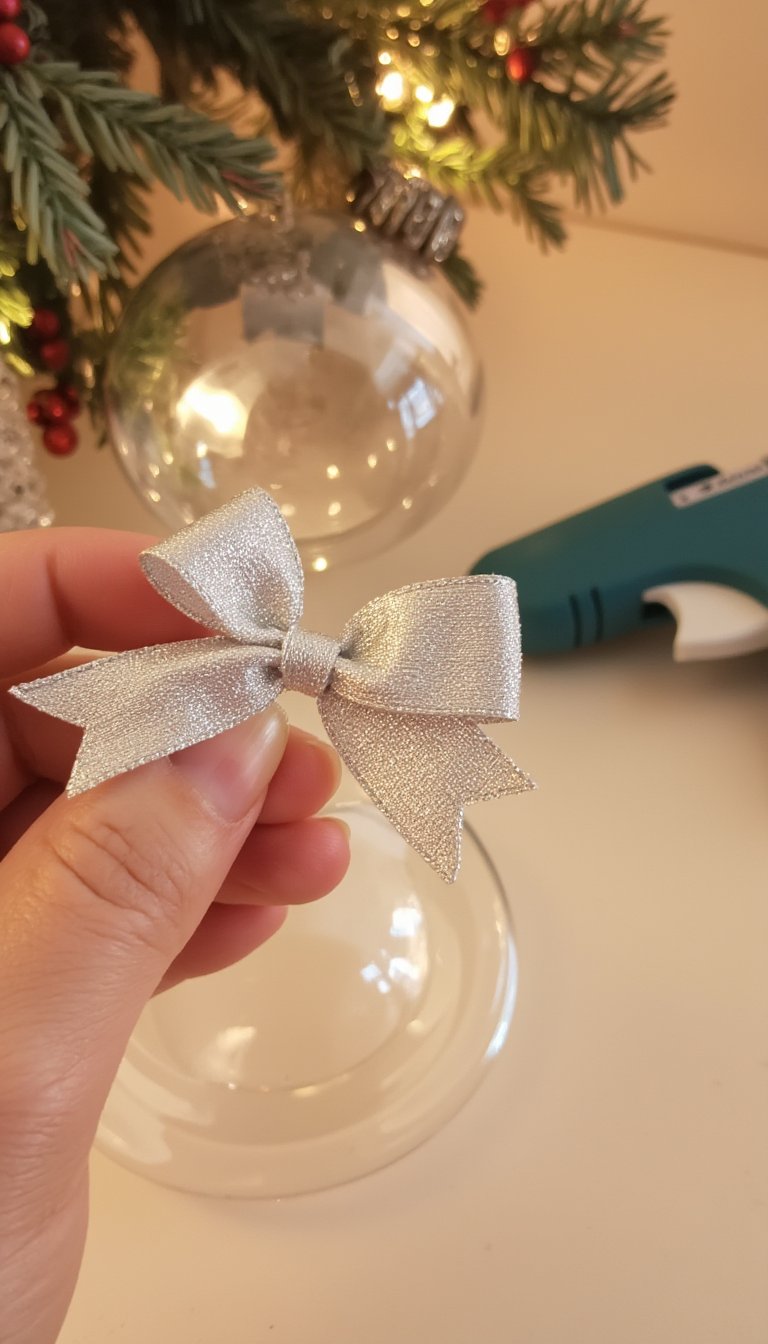
Turn a simple glass or ball ornament into a custom masterpiece. Using a very narrow wired ribbon, create a small, tight bow and use a hot glue gun to secure it to the top of the ornament. You can also weave thinner ribbon through the ornament hanger for a dainty effect. It’s a fantastic way to create cohesive, personalized holiday décor on a budget. Your tree will thank you.
15. The Chair Back Bow
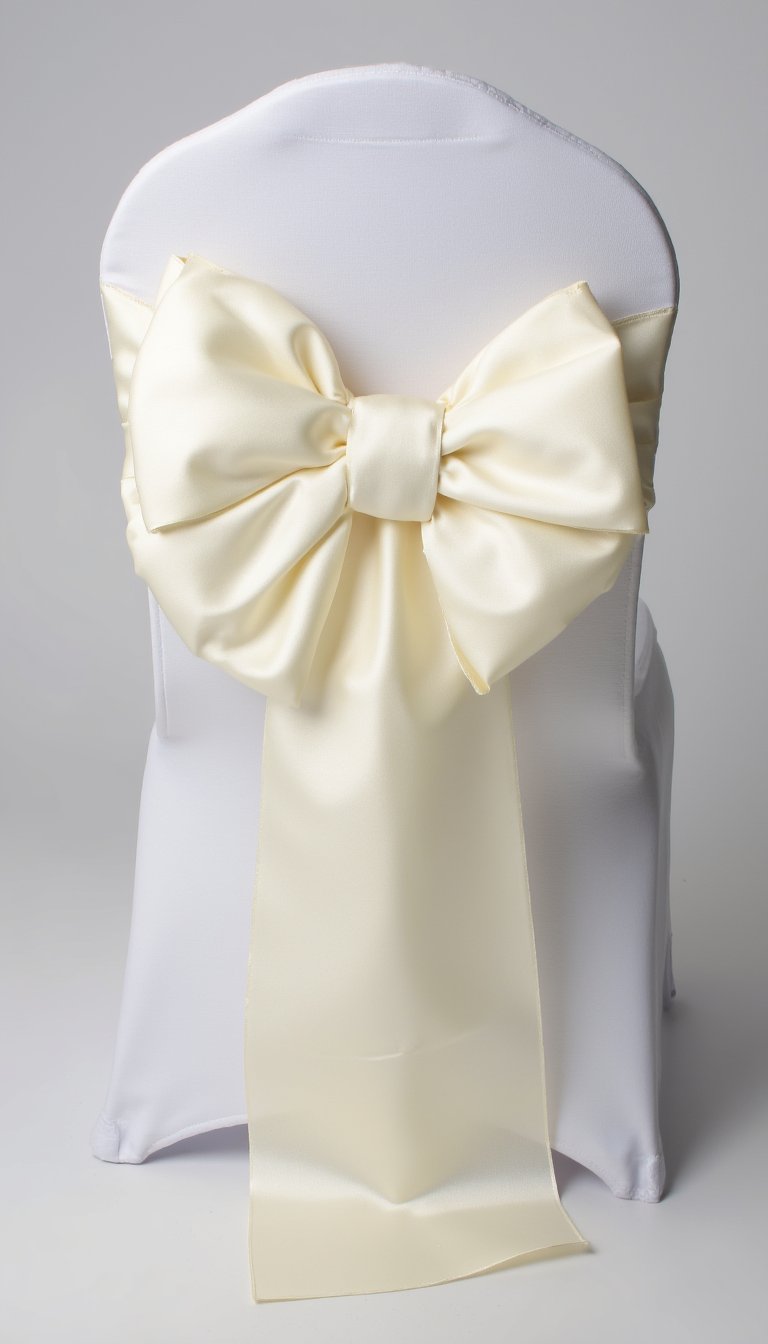
Perfect for weddings, baby showers, or fancy dinners. Drape a wide wired ribbon over the top of a chair and tie a large, loose bow at the base of the chair back. The wire lets you fluff and position each loop perfectly so it looks gorgeous from every angle. It’s an instant décor upgrade that makes any seat feel special. Pro tip: Use ribbon that’s at least 2.5 inches wide for the best effect.
16. The Cascading Curl Bow
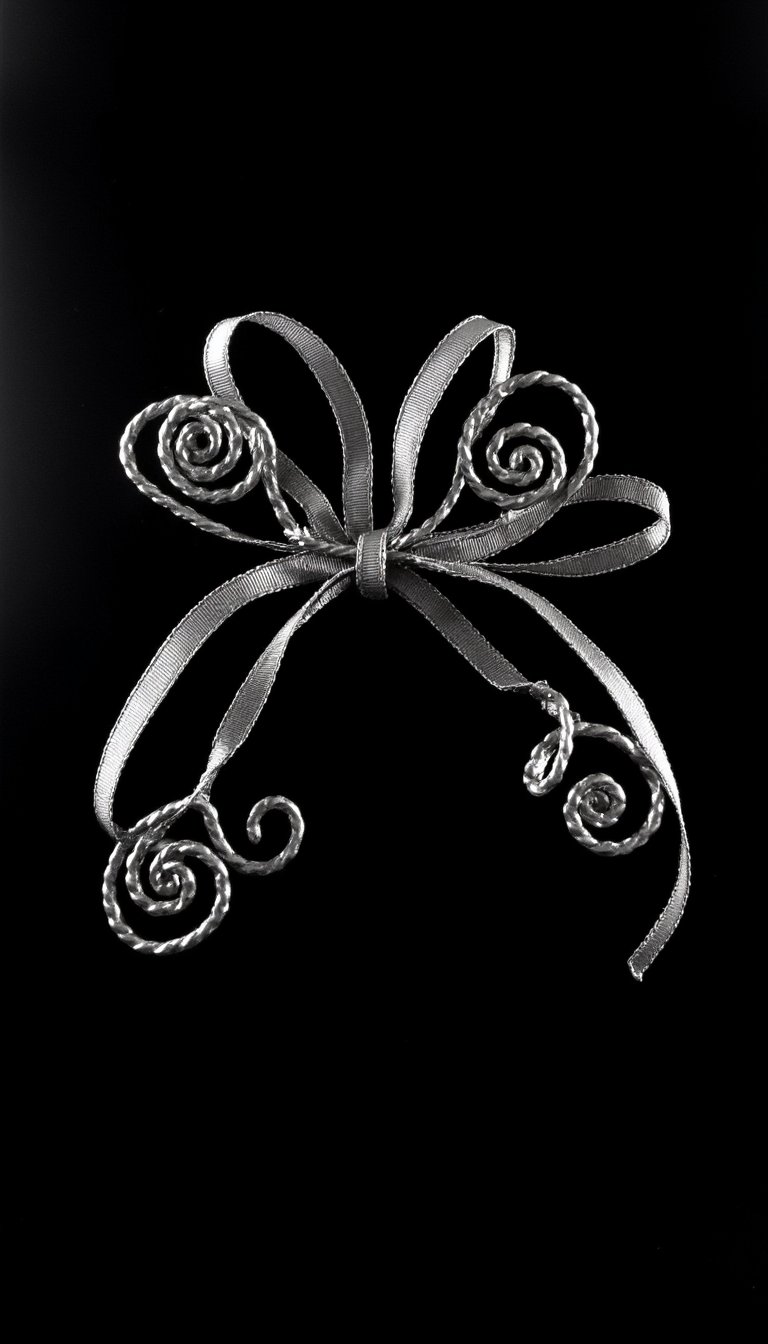
This technique is all about the tails. After you’ve tied your bow (any style will work), take your scissors and gently pull one blade along the underside of the ribbon tails. This will cause them to curl up tightly, creating a playful, cascading effect. You can mix tight and loose curls for added dimension. It’s a fabulous finish for any bow and really shows off the “wired” in wired ribbon.
17. The “Bow-tique” Boutique Bow
This is the grand finale—a combination bow that uses multiple techniques. Start with a layered base, add a multi-loop pouf on top, and finish with a separate, smaller bow glued to the center. It’s big, it’s bold, and it looks like it came from an expensive boutique. Use it as a tree topper or the centerpiece of a magnificent gift. When you really, really need to make a statement, this is your bow.
And there you have it—17 brilliant ways to make a bow with wired ribbon. From the simple fork hack to the lavish boutique style, you’re now armed with the skills to tackle any project. The real secret? That wire inside the ribbon is your best friend. It gives you the power to shape, fluff, and perfect every single loop. So grab that spool you’ve been saving for a “special occasion” and make today that occasion. Get messy, experiment, and remember: a little bit of wire and a lot of creativity can create pure magic. Now go make something beautiful. 🙂