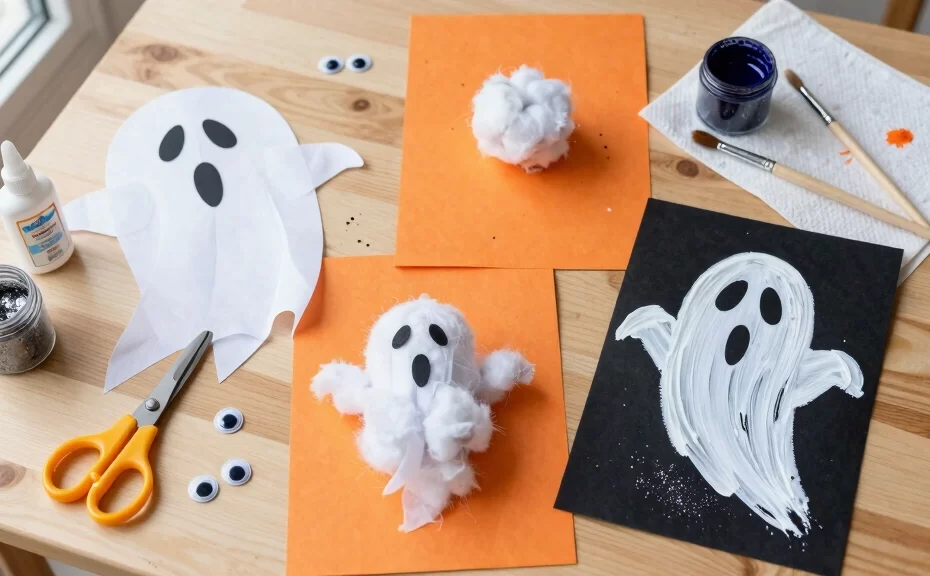
Halloween approaches, and you know what that means. It is time to unleash the glitter, stock up on glue, and brace your living room for some beautifully messy crafting. If you want to keep your little monsters busy without losing your sanity, ghost crafts offer the perfect solution. They require minimal prep, use everyday household items, and keep toddlers happily engaged.
Why choose ghosts? They require simple shapes, mostly white paint, and absolutely zero precision. In fact, asymmetrical and wobbly shapes actually make these projects look even better! These 14 Ghost Crafts Preschool Activities for a Spooktacular Halloween will boost your child’s fine motor skills while creating adorable holiday memories.
Grab your coffee, put on your crafting apron, and let’s get started. Which of these spooky projects will your little one choose first?
1. The Classic Cotton Ball Ghost
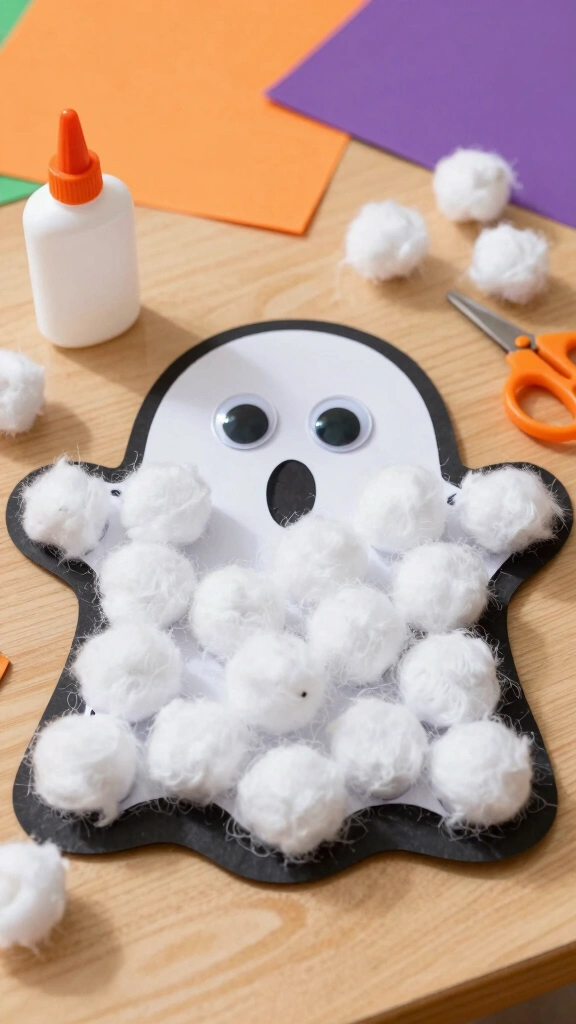
This classic craft belongs in every preschool teacher’s playbook. Kids love the soft, fluffy texture of cotton balls, making this a fantastic tactile sensory activity. Plus, pulling the cotton balls apart helps build those tiny hand muscles for future pencil-gripping.
First, cut a simple ghost outline out of black construction paper. Next, let your child squeeze school glue all over the template. Finally, press the cotton balls onto the glue until the ghost looks incredibly fluffy. Add two googly eyes to complete the spooky look!
What You Need:
- Black construction paper
- White school glue
- A large handful of cotton balls
- Two googly eyes
2. Paper Plate Ghost Tassels
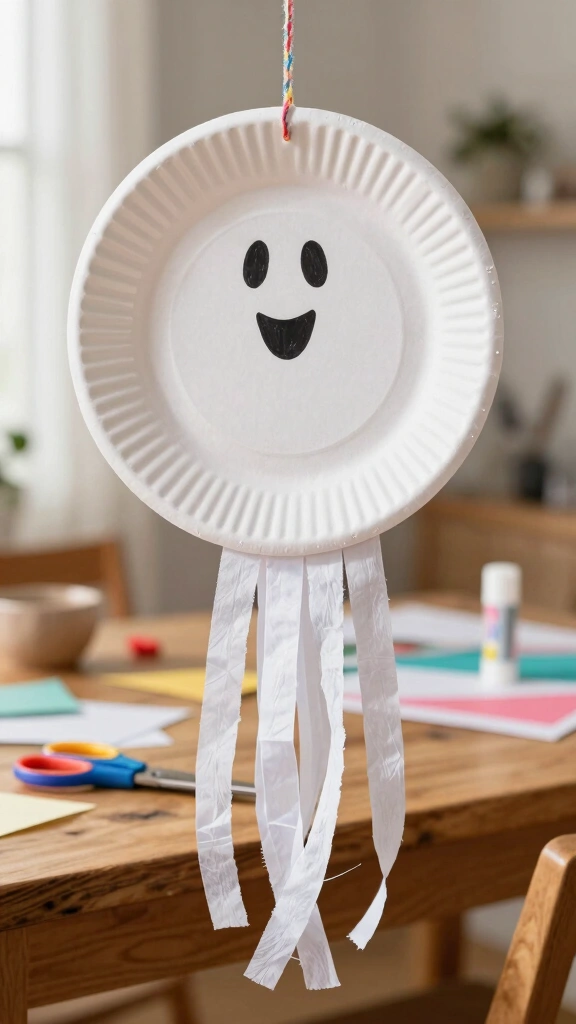
Do you have a stack of cheap paper plates sitting in your pantry? Turn them into hanging decorations that dance in the autumn breeze. This craft teaches children about shapes and basic scissor skills.
Start by drawing a friendly ghost face on the bottom of a white paper plate using a black marker. Next, cut strips of white crepe paper or tissue paper. Have your preschooler glue these hanging strips to the bottom rim of the plate. Punch a hole at the top, thread some yarn through, and hang it up near a window. IMO, this is the easiest way to decorate a classroom on a budget! 👻
Pro Tip:
If your child struggles with scissors, let them rip the tissue paper instead. Ripping paper builds hand strength just as effectively as cutting does!
3. Tiny Footprint Ghost Keepsake
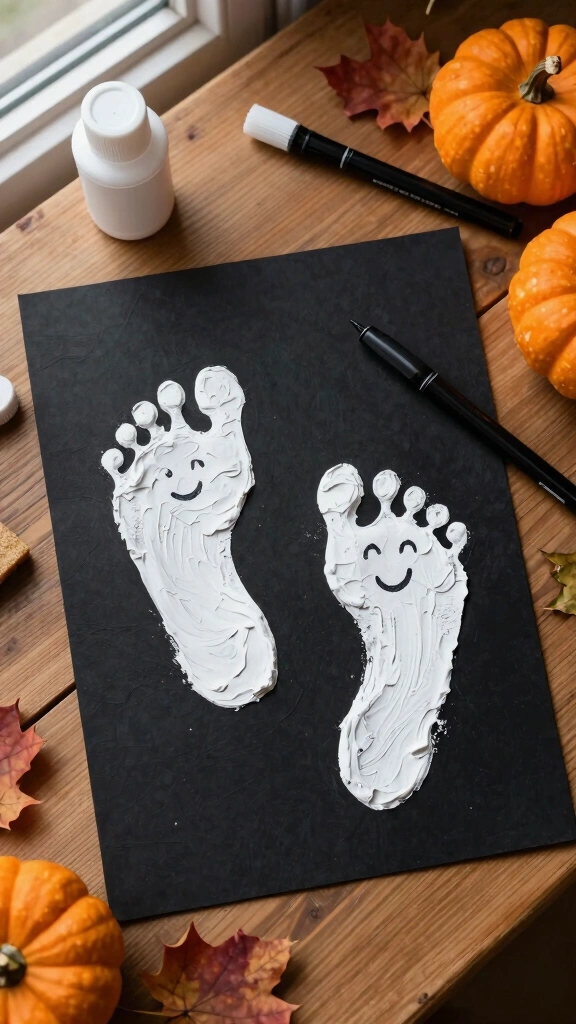
Parents love keepsakes, and kids love paint on their feet. Yes, this activity gets a bit ticklish, but the result is absolutely priceless. You will treasure these tiny footprints long after your kids grow up.
Paint the sole of your child’s foot with non-toxic white washable paint. Press their foot firmly down onto black cardstock. Once the paint dries completely, turn the paper upside down so the heel becomes the head. Use a black marker to add a cute mouth and two eyes inside the heel print.
Safety Tip:
Keep baby wipes nearby BEFORE you apply the paint. You want to wipe that foot clean before your toddler runs across your clean carpets!
4. Tissue Paper Ghost Suncatchers
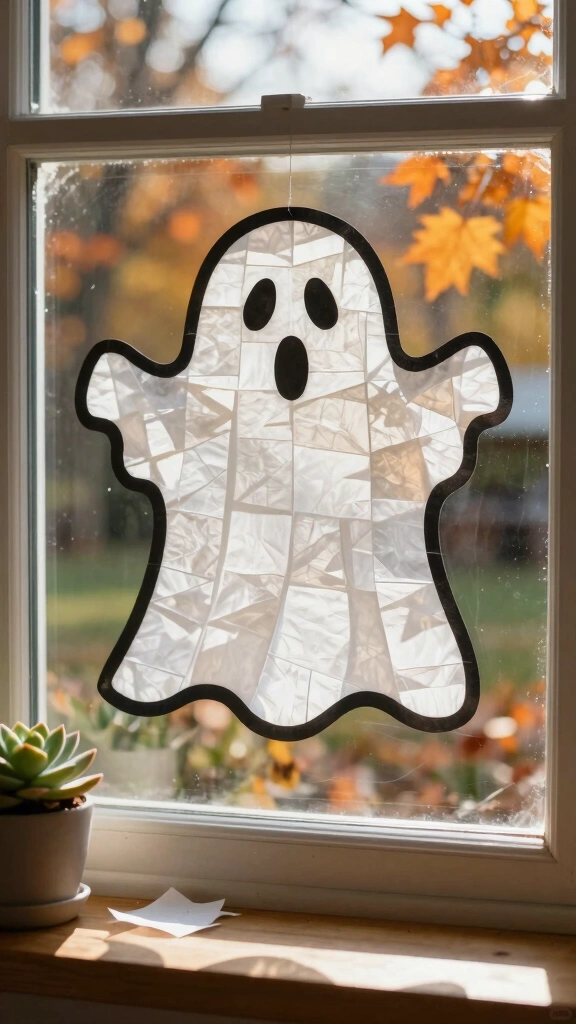
Bring some colorful, spooky light into your kitchen windows with this clever contact paper craft. Suncatchers look beautiful when the autumn sun shines through them. This activity does not require any glue, which means way less cleanup for you.
Cut a ghost silhouette out of black paper, leaving only a thin outline. Place this outline onto a sticky sheet of clear contact paper. Let your preschooler fill the empty space inside the ghost with small squares of white tissue paper. Seal the back with another sheet of contact paper, cut out the shape, and tape it to a sunny window.
Why it Works:
This craft encourages visual tracking and hand-eye coordination as kids place the paper pieces inside the borders.
5. Autumn Leaf Painted Ghosts
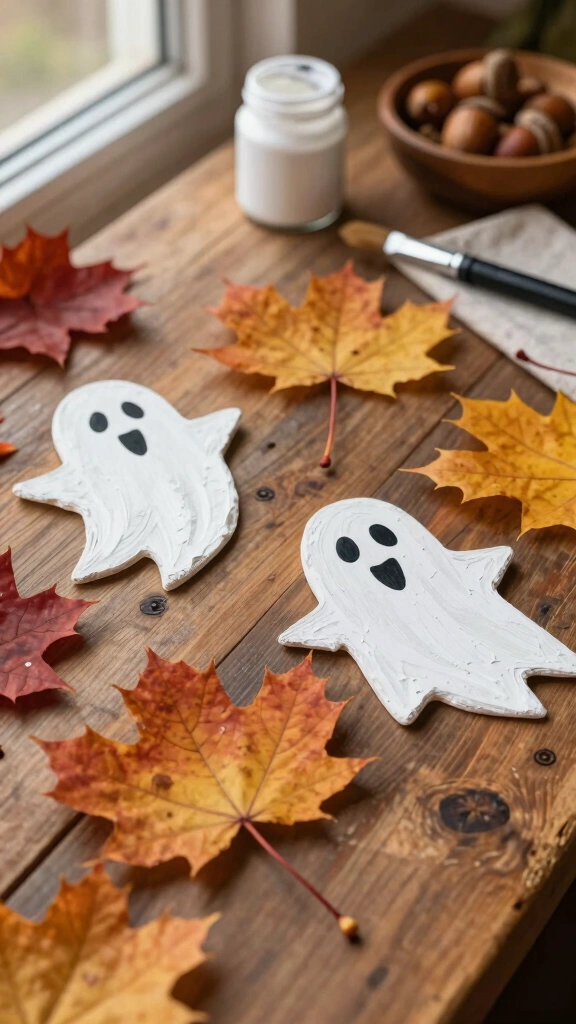
Combine a brisk outdoor nature walk with a cozy indoor craft session. First, head outside and collect the largest, flattest fallen leaves you can find. Maple leaves work incredibly well for this project.
Once you bring your treasures inside, paint the leaves with white acrylic or washable paint. Let them dry, then draw two eyes and a mouth on the leaf using a black permanent marker. You now have a flock of floating leafy ghosts! This activity teaches kids to appreciate nature while sparking their imagination.
6. Shaving Cream Marbled Ghosts
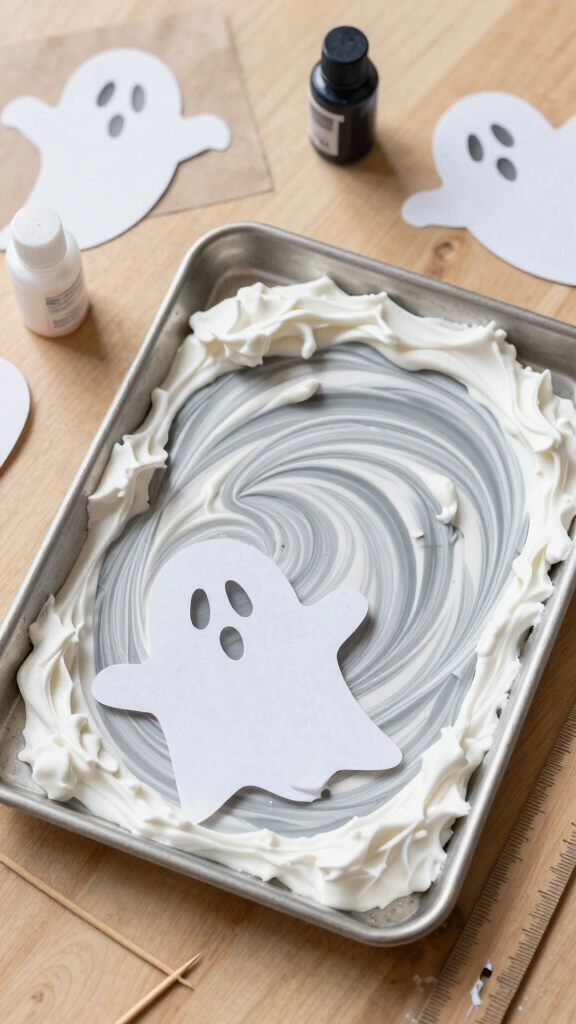
Are you ready to get a little messy? Marbling paper with shaving cream feels like a magic trick to young minds. The swirling patterns create a cool, ethereal texture that matches the ghostly theme perfectly.
Spray a layer of shaving cream onto a baking sheet. Drizzle white and grey paint over the top, then swirl the colors gently with a toothpick. Press a ghost cut-out made from cardstock flat onto the shaving cream. Lift it up, scrape off the excess shaving cream with a ruler, and marvel at the beautiful marbled print left behind!
What You Need:
- Cheap foaming shaving cream
- White and grey washable paint
- A flat baking sheet
- Thick white cardstock cut into ghost shapes
- A ruler or squeegee
7. Puffy Paint Ghost Art
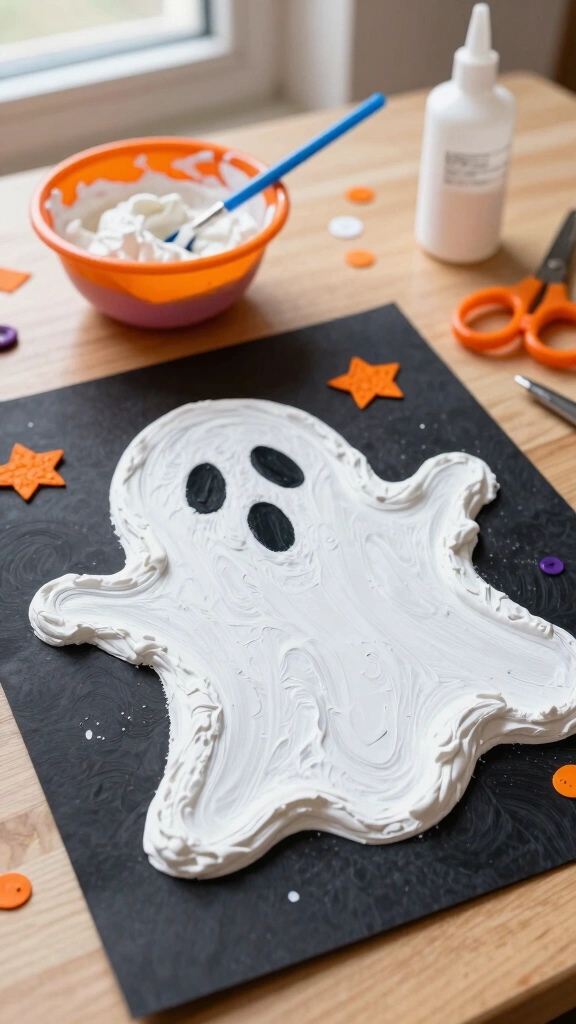
Did you know you can make your own 3D puffy paint using only two household ingredients? It dries raised and squishy, which adds a wonderful sensory element to your child’s artwork. Kids absolutely love touching the finished product.
Mix equal parts of white school glue and shaving cream in a small bowl. Stir until the mixture looks thick and fluffy. Have your child paint a ghost shape onto black paper using a paintbrush or even their fingers. Once dry, this paint retains its puffy shape, creating a spooky, touchable texture.
8. Coffee Filter Floating Ghosts
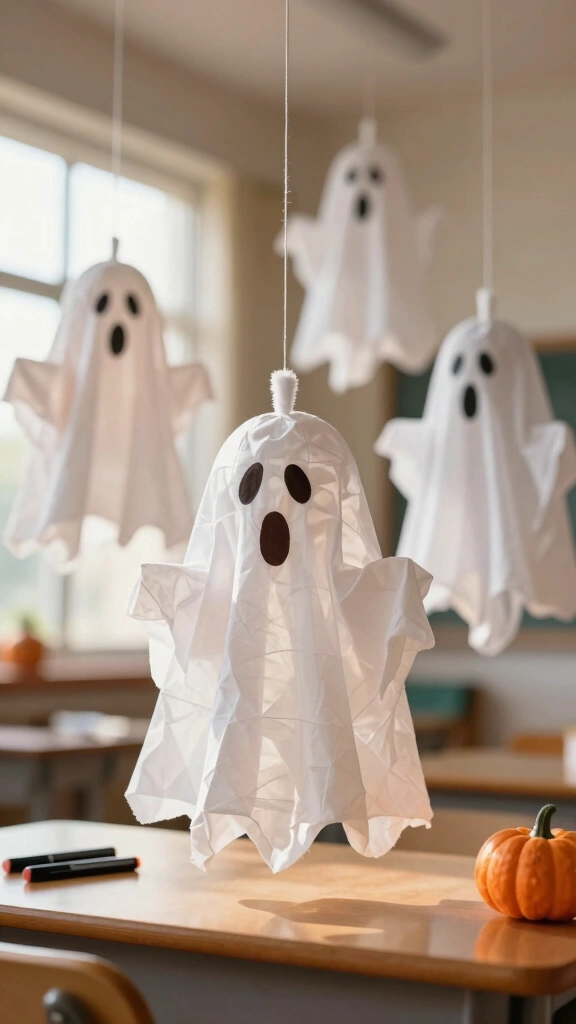
These lightweight ghosts float beautifully when hung from the ceiling. Because coffee filters are translucent, they catch the light in a very eerie, fun way. This project is simple enough for even the youngest toddlers.
Scrunch up a small piece of tissue paper into a ball and place it in the center of a flat coffee filter. Fold the filter over the ball to create a head, and wrap a white chenille stem or rubber band around the neck to secure it. Let your child draw a face on the head with a black marker. Hang them from the ceiling with transparent thread.
Why We Love It:
It costs pennies to make and provides a great lesson in form and 3D shapes.
9. Cozy Yarn-Wrapped Ghosts
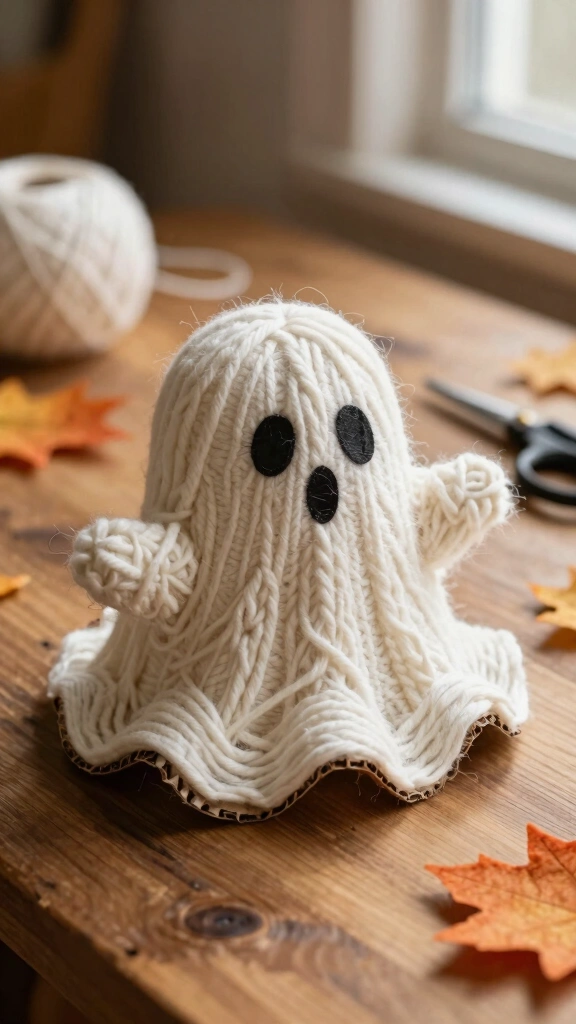
Yarn wrapping is a fantastic way to develop fine motor skills and bilateral coordination. It forces kids to use both hands together in a synchronized way. Don’t worry if the wrapping looks messy—that just adds character!
Cut a basic ghost shape out of sturdy, thick cardboard. Cut small notches along the edges of the cardboard to help hold the yarn in place. Tape the end of a skein of white yarn to the back of the cardboard. Let your preschooler wrap the yarn around the cardboard in every direction until it looks sufficiently white and fluffy.
10. Glowing Mason Jar Lanterns
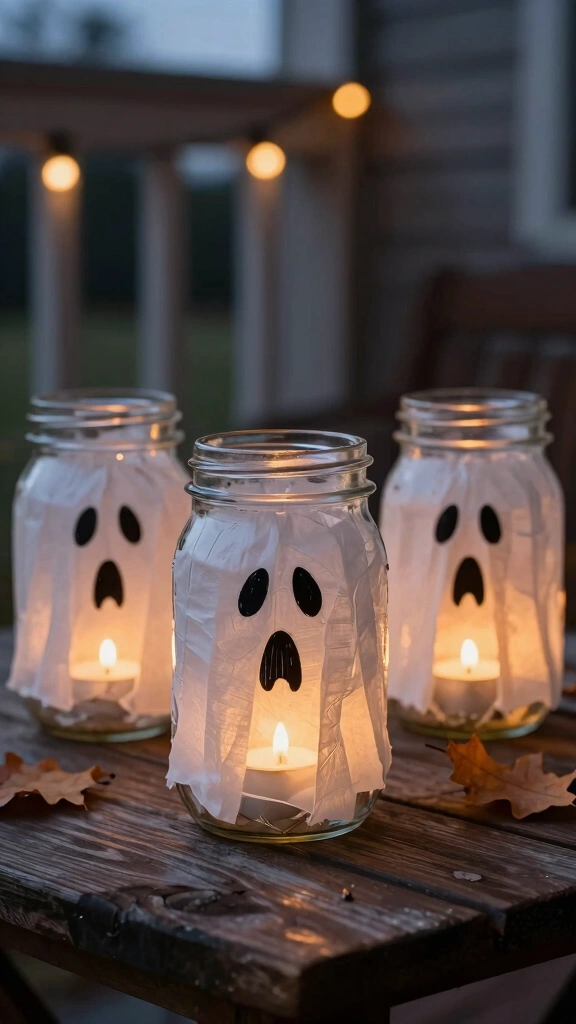
Light up your porch on Halloween night with these kid-friendly lanterns. They make a safer alternative to real candles, and kids feel so proud seeing their creations glow in the dark. You can reuse clean glass jars or plastic jars for safety.
Paint the outside of a clean jar with white paint, or mod-podge white tissue paper squares all over it. Once dry, draw a spooky face on the jar with a black marker. Pop an LED tea light candle inside the jar and watch your ghost lantern cast a cozy glow.
Safety Warning:
Always use battery-operated LED lights instead of real candles to prevent any fire hazards with little ones around.
11. Popsicle Stick Ghost Puppets
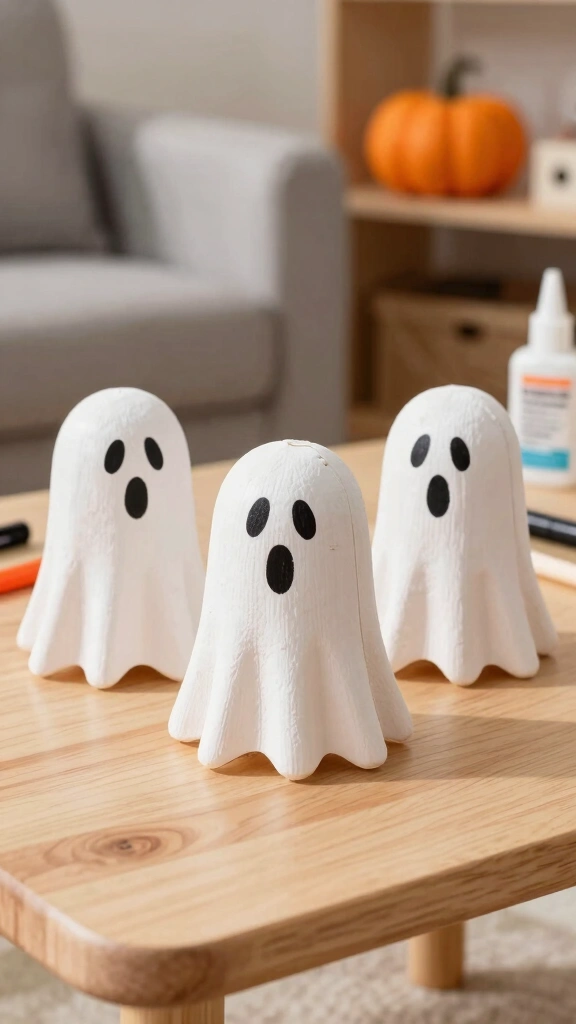
Once the crafting ends, the imaginative playtime begins. These simple puppets allow your child to put on their own spooky puppet show behind the couch. It is a fantastic way to encourage storytelling and language development.
Paint three popsicle sticks white and glue them together side-by-side. Cut out a small white paper dome and glue it to the top of the sticks to finish the ghost’s head. Add a face with a marker, and let the storytelling begin! Who knew a popsicle stick could be so entertaining?
12. Bubble Wrap Painted Ghosts
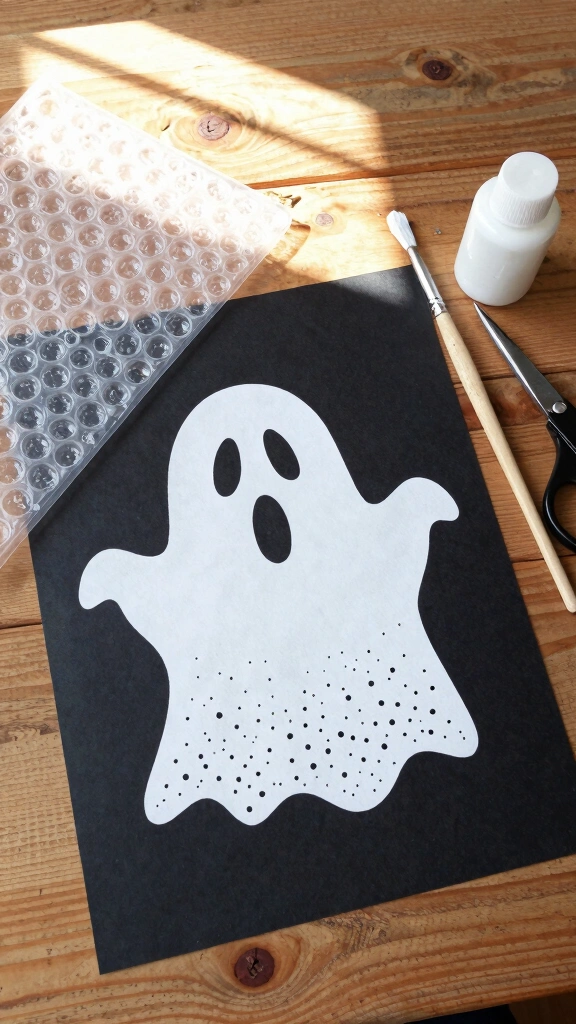
Do not throw away the bubble wrap from your latest online delivery order! Recycle it into a fun printing tool that creates cool textures. The dotted pattern gives the ghosts a neat, retro comic book vibe.
Cut bubble wrap into a ghost shape. Let your child paint the bubbly side with white paint. Gently press the painted bubble wrap onto black construction paper like a giant stamp. Peel it away to reveal a beautifully patterned, textured ghost print.
13. Glow-in-the-Dark Sensory Slime
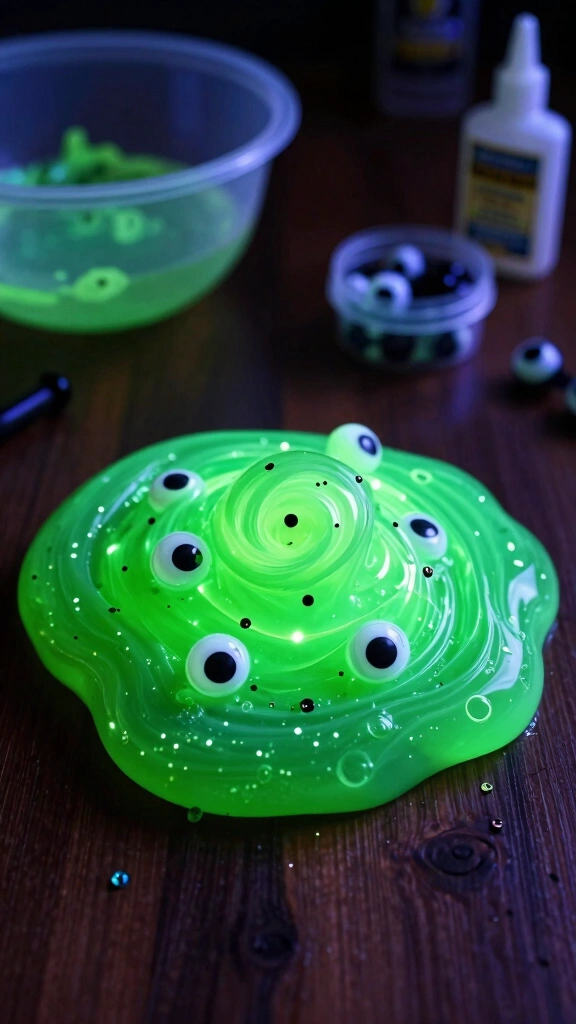
If your preschooler loves gooey textures, this glow-in-the-dark slime will blow their mind. It combines science, sensory play, and Halloween fun all into one package. It is the ultimate messy-fun activity.
Mix 5 oz of glow-in-the-dark glue with 1/2 tablespoon of baking soda. Add 1 tablespoon of contact lens solution and stir until the slime pulls away from the bowl. Knead the slime with your hands to get the perfect texture. Toss in some black plastic sequins or googly eyes for a spooky touch!
14. Sponge Painted Ghosts
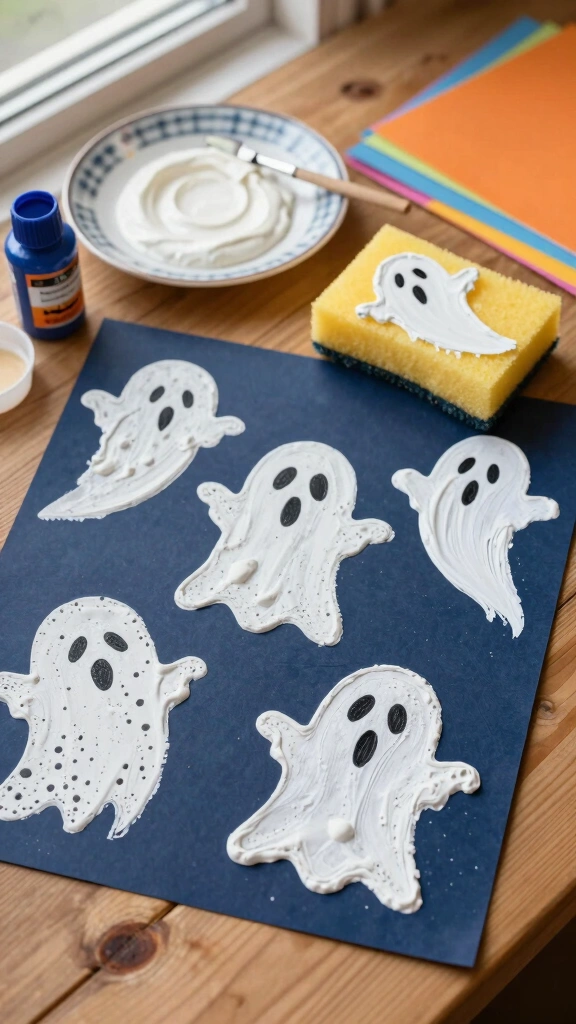
Sponges are incredibly easy for tiny hands to grasp. They offer a different texture than paintbrushes, allowing kids to explore printing and stamping techniques. It is simple, fast, and highly satisfying.
Cut an ordinary kitchen sponge into a ghost shape. Dip the sponge into a shallow plate of white washable paint. Press the sponge firmly onto dark paper to create quick, easy ghosts. Add eyes and mouths with black paint once the white background dries.
Summary Table of Benefits:
| Craft Activity | Primary Skill Focus | Mess Level (1-5) |
|---|---|---|
| Cotton Ball Ghost | Tactile Sensory & Fine Motor | 2/5 |
| Suncatchers | Visual Tracking | 1/5 |
| Yarn-Wrapped Ghost | Bilateral Coordination | 1/5 |
| Glow Slime | Sensory & Science | 4/5 |
Wrapping Up Your Spooky Crafting Session
Crafting with preschoolers does not have to be stressful or expensive. These simple, budget-friendly ideas keep kids engaged while teaching them important developmental skills. The memories you make while painting and gluing are the best part of the holiday season.
Do you feel ready to tackle the crafting table now? Choose one or two of these 14 Ghost Crafts Preschool Activities for a Spooktacular Halloween, gather your materials, and let the spooky fun begin. Happy Halloween, and may your glue bottles always squeeze smoothly!