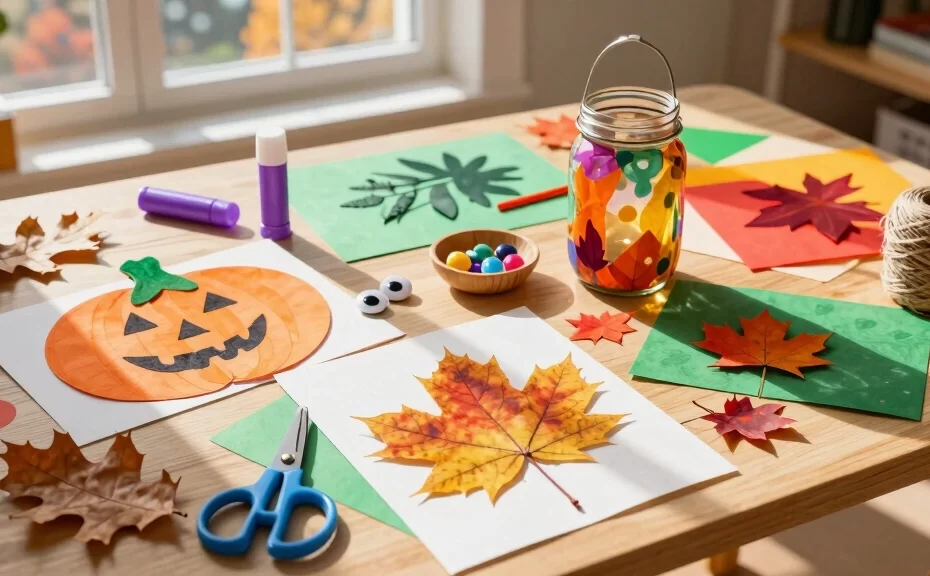
October brings crisp autumn air, vibrant falling leaves, and the exciting anticipation of Halloween. Do you want to keep your kids entertained indoors as the temperature drops? Crafting offers the perfect solution to channel their seasonal energy into beautiful, tangible creations.
Engaging in hands-on activities does more than just pass the time. These October arts and crafts for kids help develop fine motor skills, boost problem-solving abilities, and spark genuine imaginative thinking. Grab your glue sticks, put on an apron, and explore these creative autumn projects.
1. Paper Plate Jack-o’-Lanterns

Transform ordinary kitchen supplies into classic fall decorations. This project requires minimal setup and gives toddlers and preschoolers complete creative control. You can display their finished masterpieces in your windows to greet neighborhood trick-or-treaters.
Supplies Needed
- Standard paper plates
- Orange acrylic or tempera paint
- Black construction paper
- Safety scissors and glue
First, let your child paint the entire paper plate orange. While the paint dries, help them cut out classic triangle eyes and toothy grins from the black construction paper. Finally, they can glue the facial features onto the plate to bring their Jack-o’-lantern to life.
2. Glowing Mason Jar Ghosts
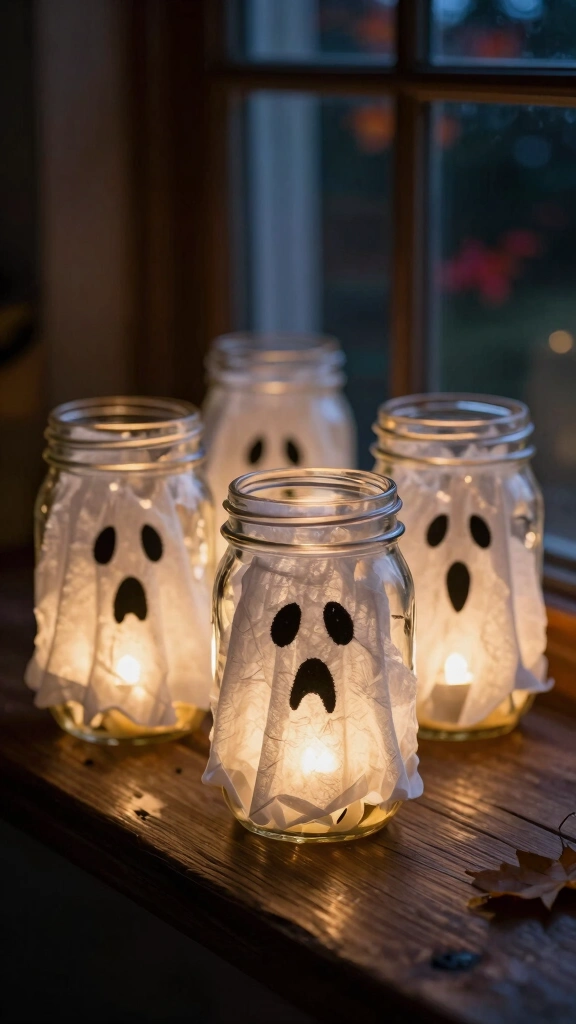
Who knew glass jars could look so delightfully spooky? These glowing ghosts serve as excellent nighttime decorations for a bedroom windowsill or a porch display. They look incredibly cool in the dark without posing any fire hazard.
Step-by-Step Instructions
Apply a thin layer of liquid glue all over the outside of a clean mason jar. Wrap white tissue paper around the wet glue until you cover the entire surface. Cut spooky mouth and eye shapes from black felt, glue them to the front, and place a battery-operated tea light inside.
Safety Tip: Always use battery-operated LED lights instead of real candles to keep this craft completely fire-safe for little hands.
3. Pinecone Spiders

Combine a brisk outdoor nature walk with an indoor crafting session. Kids love searching for the perfect pinecones in the backyard or at the local park. Once you gather your materials, you can assemble these creepy-crawly critters in just ten minutes.
Creative Customizations
Cut brown or black pipe cleaners in half to create eight spider legs. Wrap these pipe cleaners around the center of the pinecone, bending them to look like they are standing. Add multiple googly eyes to the front of the pinecone to give your spider a silly, cartoonish face.
FYI: Real spiders have eight eyes, so let your kids go wild gluing on as many eyes as they want!
4. Autumn Leaf Monsters
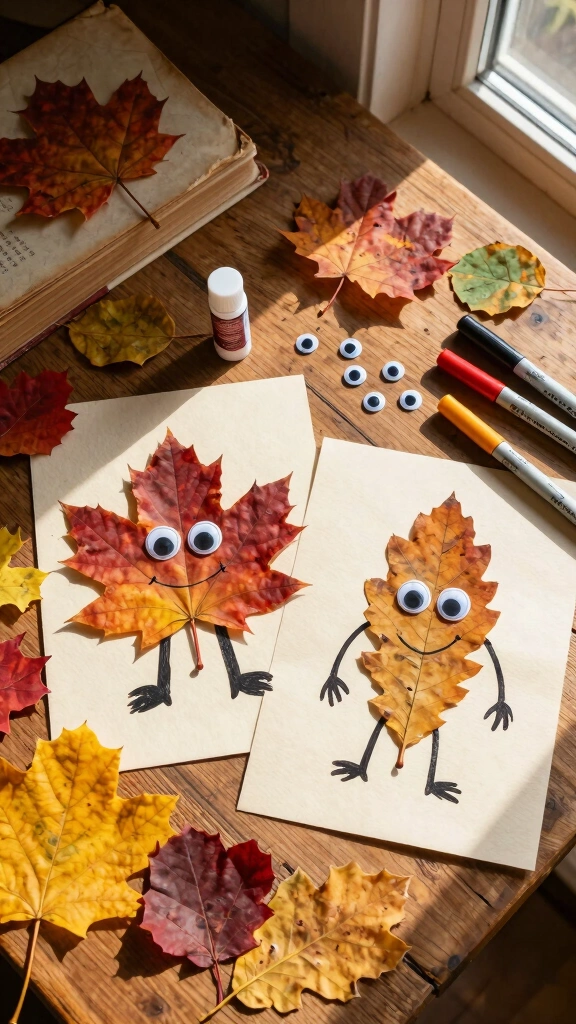
Don’t bag up all those fallen leaves just yet! Collect a variety of colorful maple, oak, and birch leaves to build unique collage monsters. This activity teaches children to appreciate the natural textures and colors of the autumn season.
How to Make Leaf Monsters
Press your collected leaves flat under a heavy book for a few hours. Glue the flattened leaves onto a sturdy sheet of cardstock to form the monster body. Use paint markers or stick-on googly eyes to add expressive faces, arms, and legs to the leaves.
5. Q-Tip Skeletons

Are you looking for a fun way to teach basic human anatomy? This skeleton craft uses simple household cotton swabs to represent bones. It encourages spatial reasoning as kids figure out how to arrange the pieces to look like a body.
Craft Tips
- Use black paper to make the white cotton swabs stand out visually.
- Cut some Q-tips in half to represent smaller bones like fingers and ribs.
- Draw a skull on white paper, cut it out, and glue it at the top of the page.
Your child will glue the Q-tips down to form the spine, ribs, arms, and legs. They can arrange their skeleton in funny dancing poses for an extra touch of humor.
6. Recycled Egg Carton Bats

Give your cardboard trash a second life with this adorable upcycling project. These bats hang beautifully from the ceiling with a bit of fishing line. IMO, this is one of the absolute best budget-friendly October arts and crafts for kids because you likely already have all the materials at home.
Assembly Steps
Cut a cardboard egg carton into sections of three connected cups. Trim the bottom edges of the outer two cups to look like pointed bat wings. Paint the entire structure black, add googly eyes to the center cup, and draw a tiny white mouth with fangs.
7. Candy Corn Suncatchers

Capture the warm October sunlight with a colorful window decoration. Kids love the sticky texture of contact paper, and this project avoids the mess of liquid glue. The finished product mimics the look of real stained glass.
Supplies Needed
- Clear contact paper
- Yellow, orange, and white tissue paper squares
- Black construction paper for the border
Cut a candy corn outline out of black construction paper and place it onto the sticky side of the contact paper. Let your child fill in the three distinct sections with the corresponding tissue paper colors. Seal the back with another sheet of contact paper, trim the edges, and tape it to a sunny window.
8. Paper Bag Witch Puppets
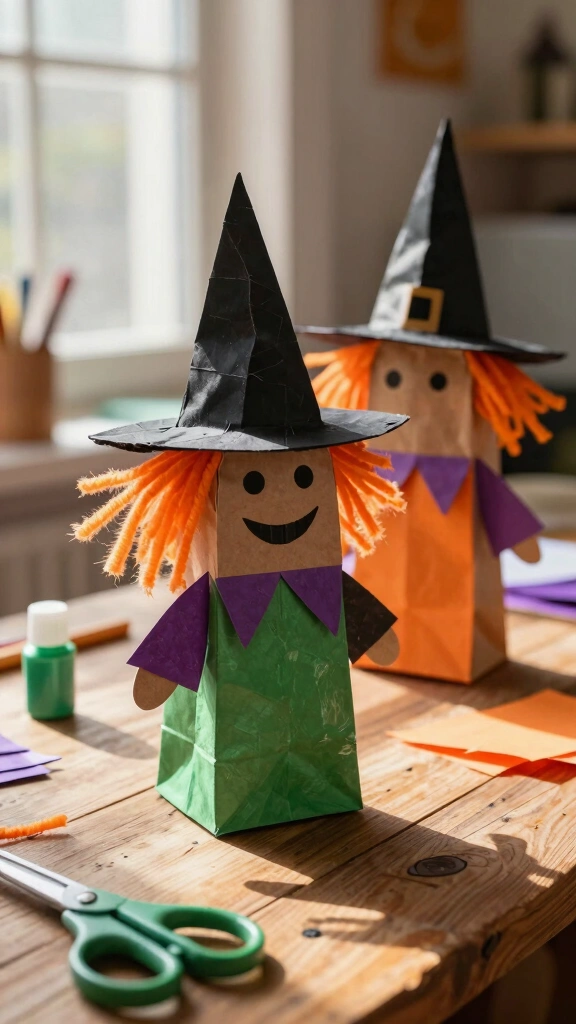
Spark imaginative dramatic play with homemade puppets. Kids can customize their witches with wild hair, crooked hats, and colorful outfits. Once the paint dries, they can put on a spooky puppet show for the entire family.
Design Ideas
Paint the bottom flap of a brown paper bag green to serve as the face. Cut a pointed hat out of black construction paper and glue it to the top. Use orange yarn for messy, wild hair, and draw a toothless grin with a black marker.
9. Bleeding Coffee Filter Monsters

Watch colors blend and bleed together in this exciting science-meets-art project. This craft demonstrates chromatography in a simple, visual way that fascinates children of all ages. No two monsters will ever look the same!
The Process
Draw patterns on a coffee filter using colorful washable markers. Spray the filter lightly with water and watch the ink bleed and spread across the paper. Once dry, glue the filter to a solid background and add paper eyes, mouths, and claws.
10. Craft Stick Scarecrows

Scarecrows symbolize the harvest season and make wonderful autumn decorations. This craft utilizes popsicle sticks to create a rustic, wooden texture. It helps kids practice lining up objects and gluing flat surfaces together.
Building the Scarecrow
Glue several craft sticks together side-by-side using a cross-brace on the back. Paint the top portion orange or brown for the hat, and the bottom section peach or yellow for the face. Add raffia or yellow yarn under the hat to look like straw hair.
11. Masking Tape Mummies

This project is perfect for toddlers who are still developing their fine motor control. Tearing tape is an excellent hand-strengthening exercise. Plus, the messy, layered look actually makes the mummies look more authentic!
Simple Instructions
Cut a mummy silhouette out of heavy black cardboard. Let your child wrap strips of masking tape or medical gauze around the cutout in different directions. Glue two googly eyes peeking out from beneath the tape layers to complete the look.
12. Yarn-Wrapped Cardboard Apples
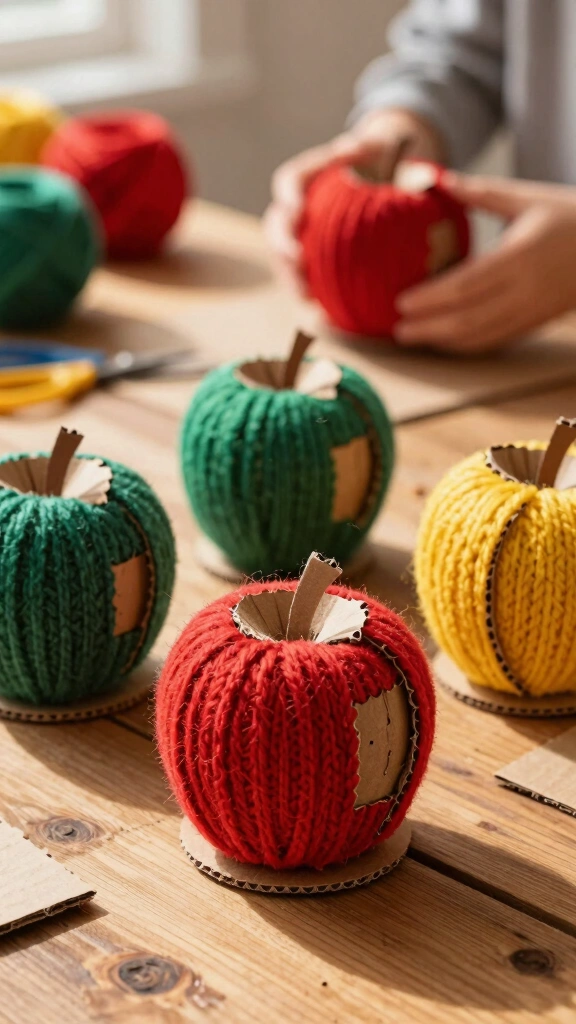
Celebrate the autumn harvest with a cozy, tactile craft. Yarn wrapping builds bilateral coordination as kids hold the cardboard with one hand and wrap with the other. It keeps energetic kids calm and focused for surprisingly long periods.
Step-by-Step guide
Cut an apple shape out of thick recycled shipping cardboard. Secure one end of red, green, or yellow yarn to the back with tape. Show your child how to wind the yarn around the cardboard template until they cover most of the brown surface.
13. Salt Painted Spiderwebs
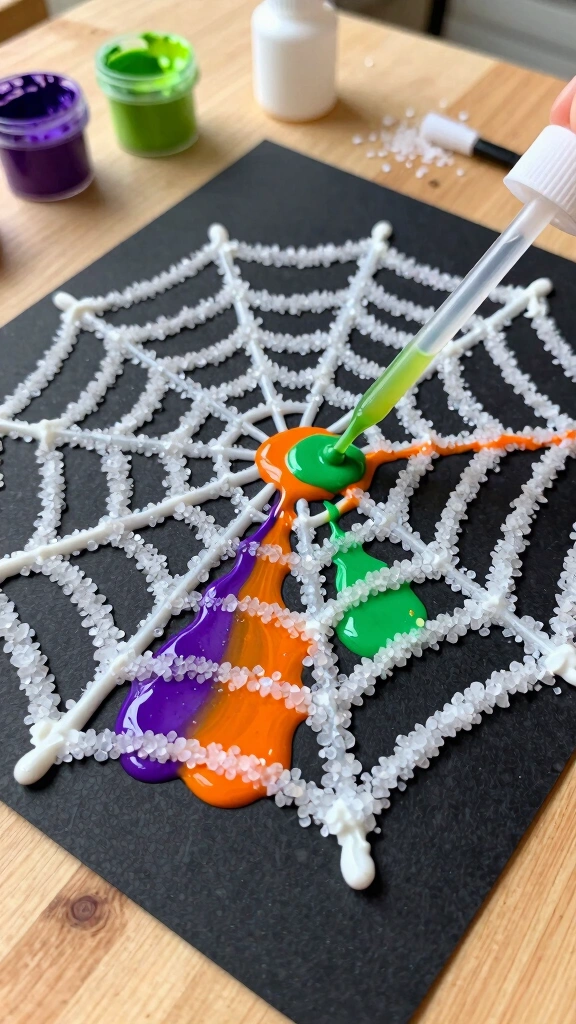
Do you want to see a cool chemical reaction? This art project uses salt to absorb watercolor paint, creating raised, textured lines that look like shimmering dew on a spiderweb. It feels like magic to watch the paint travel up the salt crystals.
Technique Tips
Draw a spiderweb pattern on thick paper using squeeze bottles of white school glue. Heavy-handed glue application works best here. Sprinkle a generous amount of table salt over the wet glue, shake off the excess, and drip liquid watercolors onto the salt lines with a paintbrush.
14. Bubble Wrap Indian Corn

Reuse plastic bubble wrap to recreate the textured look of dried flint corn. Kids love the sensory experience of pressing paint-covered bubble wrap onto paper. It is a fantastic way to discuss harvest traditions and agricultural history.
Creation Method
Paint a piece of bubble wrap with patches of yellow, orange, red, and brown acrylic paint. Press a paper cut-out shaped like a corn cob onto the wet bubble wrap to transfer the print. Glue green construction paper husks to the bottom of the cob once dry.
15. Acorn Owls

Miniature crafts require focus and precision, making this project ideal for older children. Using natural materials teaches kids to find beauty in the small details of the outdoor world. You can set these tiny owls on bookshelves or use them as table place card holders.
Assembly Details
Collect clean acorns and make sure they are dry. Cut tiny triangles of orange felt for the beak, and small circles of white and black felt for the eyes. Glue these felt details directly onto the front of the acorn to create a tiny, wise forest owl.
Creative Wrap-Up
October arts and crafts for kids do not have to be expensive or stressful. By utilizing simple household items, recycled containers, and treasures from nature, you can easily set up engaging projects. These activities keep little hands busy while helping kids express their unique artistic visions.
Which craft will you try first with your kids? Grab the glue, head outside to collect some leaves, and enjoy the cozy autumn crafting season together! 🙂