
Mass-produced store decor often feels flat, empties your wallet, and makes your living space look like an uninspired catalog page. Real wood brings natural warmth, pleasant scents, and distinct grain textures into your home. Whether you run a full workshop or just keep a hand saw and sandpaper in a closet, you can build pieces that instantly improve your space.
Grab your safety glasses and clear off your work surface. These 29 wood crafts will help you turn basic lumber into practical, striking pieces for every room in your house.
1. Floating Live-Edge Shelves
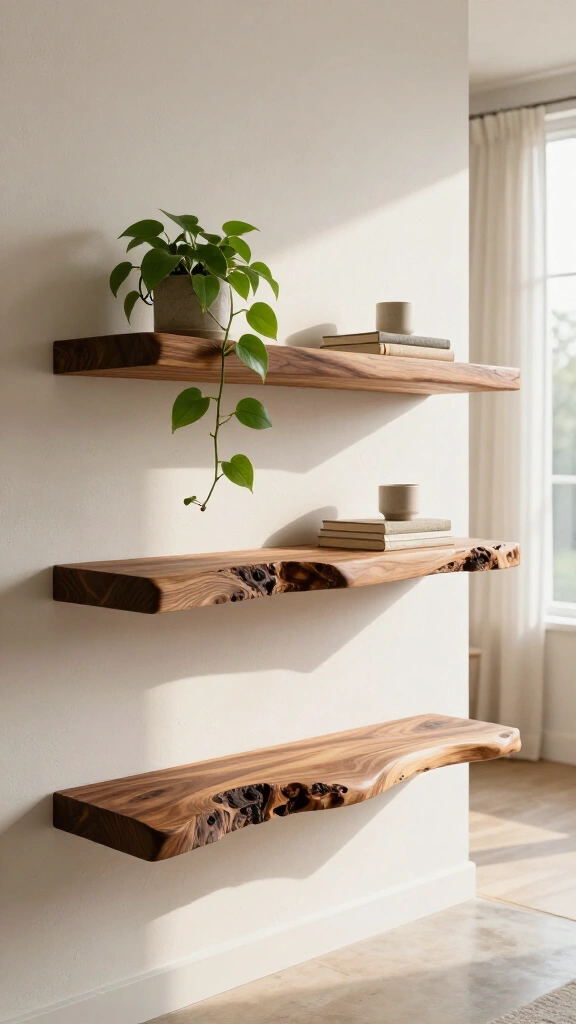
Live-edge timber brings outdoor texture straight into modern rooms. You preserve the natural curve of the tree bark while creating a flat surface for books, plants, and small items. Mount heavy-duty hidden steel brackets directly into your wall studs to keep the shelf secure and clean.
Seal the raw edge with a clear satin polyurethane coat to protect the organic shape without adding an artificial, plastic shine. You can find detailed wood finishing guides on Wood Magazine to help you pick the right topcoat.
2. Geometric Wood Wall Art
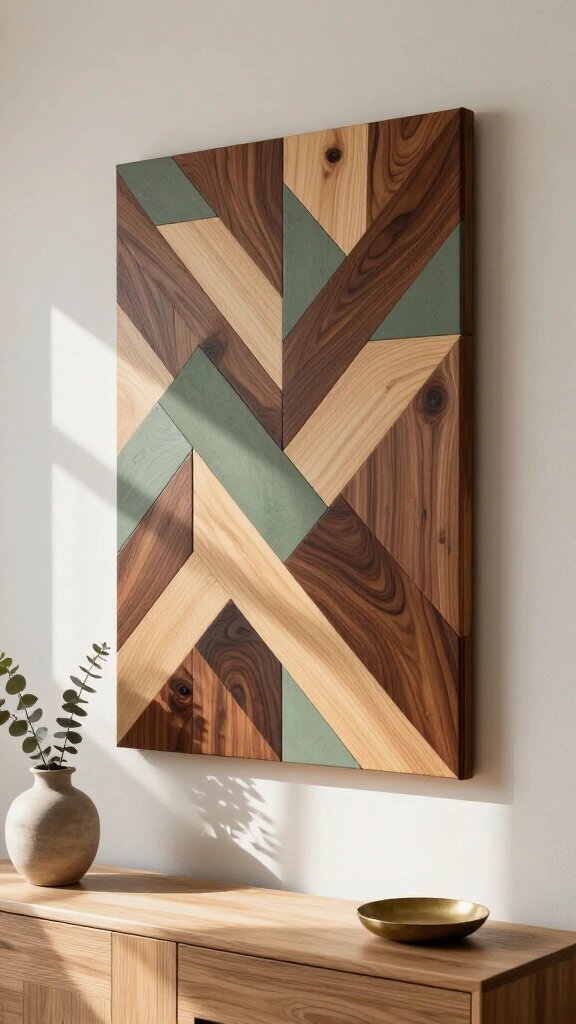
You can turn leftover plywood cutoffs and thin pine lath into a mosaic headboard or wall hanging. Cut your wood strips at uniform 45-degree angles using a miter box, then arrange the pieces into chevron, herringbone, or mountain-peak patterns. Contrast deep walnut stains with pale natural pine and muted sage green paint to give the pattern clear depth.
3. Reclaimed Wood Bath Caddy

Upgrade your bath routine with custom woodwork. Measure your tub width and cut a thick slab of cedar or teak, leaving two inches of overhang on each side. Route shallow recesses into the top surface to hold a stemmed glass, a tablet, and a candle. Always apply marine-grade spar varnish to protect the wood against steam, standing water, and mildew.
4. Minimalist Wood Bead Garland
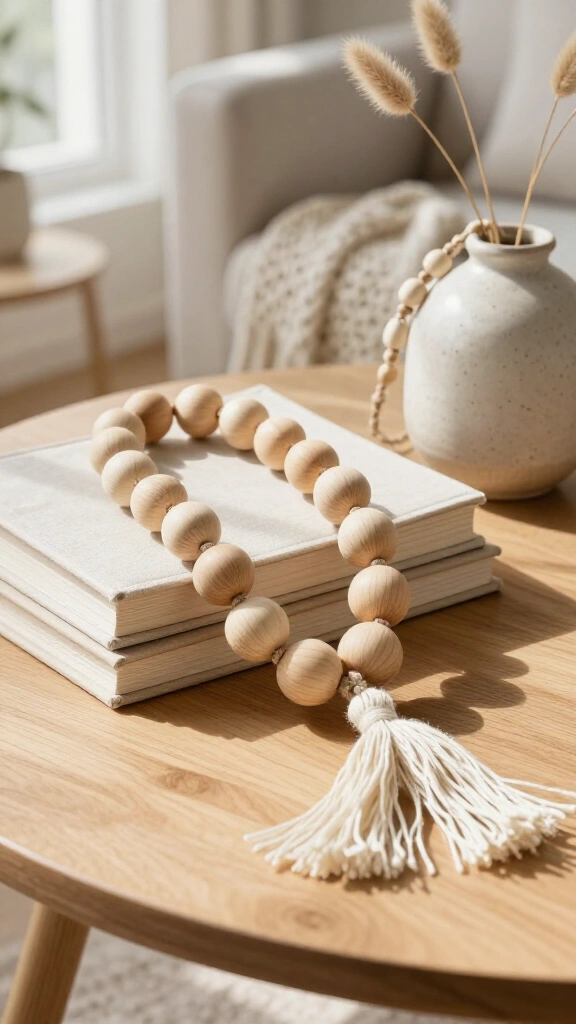
You can finish this simple project in under an hour. Thread raw, unpainted beechwood beads in alternating sizes onto heavy jute twine, then tie handmade cotton tassels to both ends. Drape the strand across coffee table books or wrap it loosely around the neck of a ceramic jug. Pair this clean accent with soft crochet home decor ideas to introduce varied textures across your living room.
5. Chunky Wood Candle Pedestals
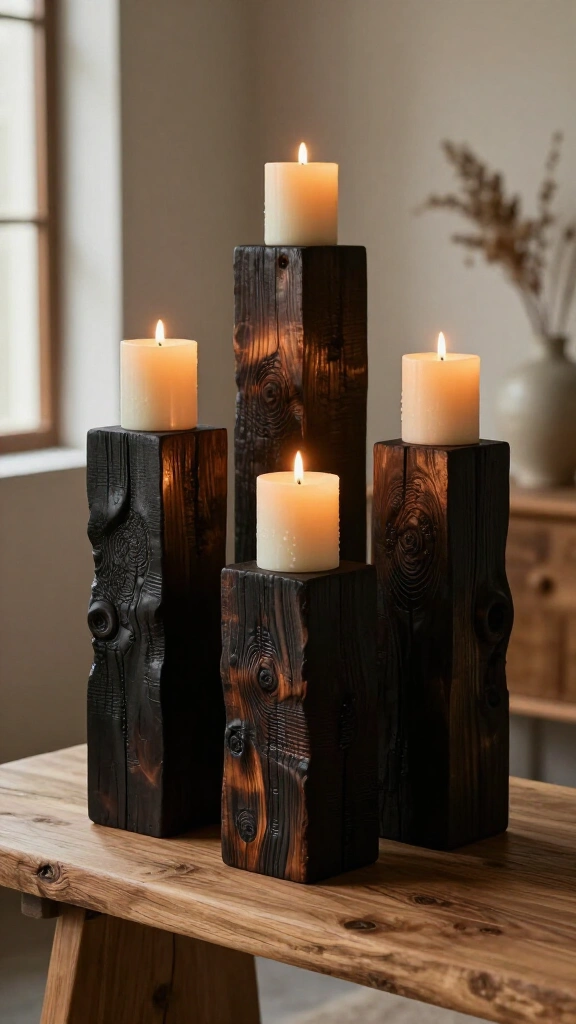
You can repurpose old 4×4 fence posts or reclaimed framing beams into solid candle stands. Cut your lumber into staggered heights of 6, 8, and 10 inches to build visual interest. Sand the sharp corners smooth to expose the end grain, then scorch the wood lightly with a small propane torch using the traditional Japanese Shou Sugi Ban method to darken the surface.
6. Rustic Pallet Accent Wall Panel
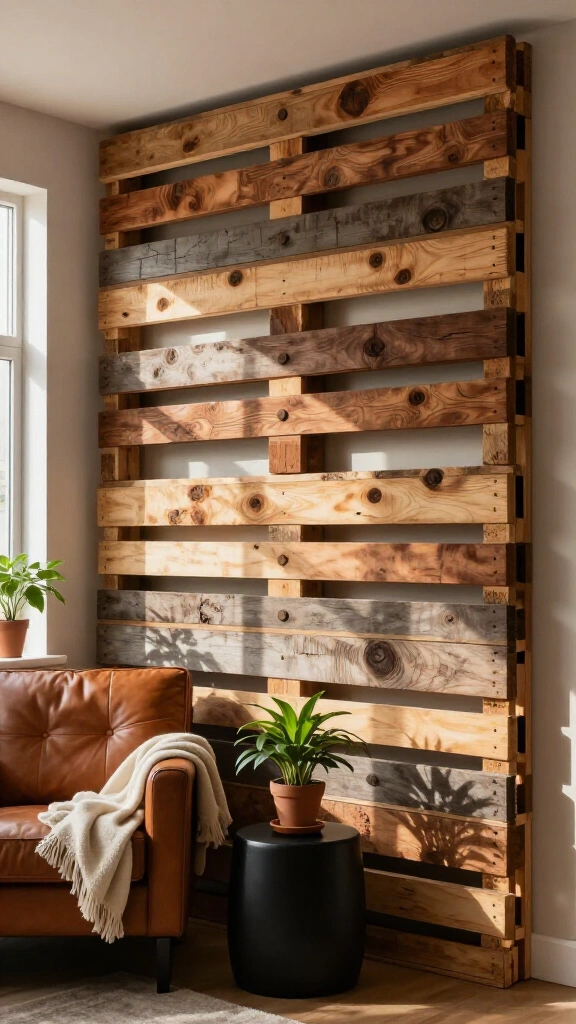
Dismantle heat-treated shipping pallets to build an accent wall with aged character. Plane the boards slightly to level out large bumps, but leave old saw marks and nail holes intact to preserve the rough texture. Nail the slats directly over dark drywall with a brad nailer, staggering the vertical seams like brickwork.
7. Hardwood Hexagon Wall Planters
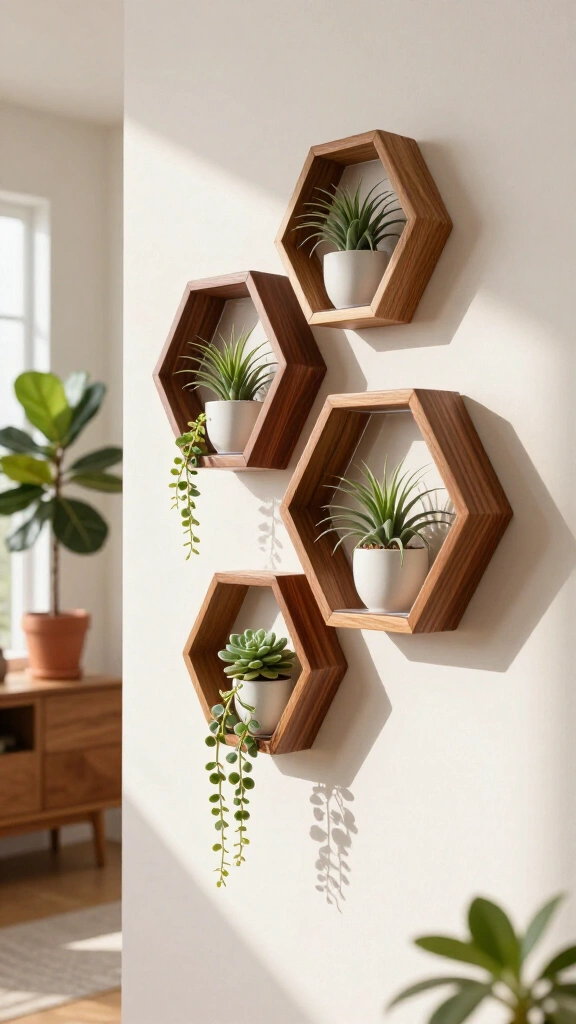
Honeycomb shapes bring crisp geometric lines to empty walls. Cut six equal pieces of red oak or walnut with 30-degree mitered ends, then glue the joints together using painter tape as a makeshift clamp. Secure a small acrylic front panel or a mini ceramic pot inside the frame to hold air plants or trailing succulents.
8. Mid-Century Modern Plant Stand
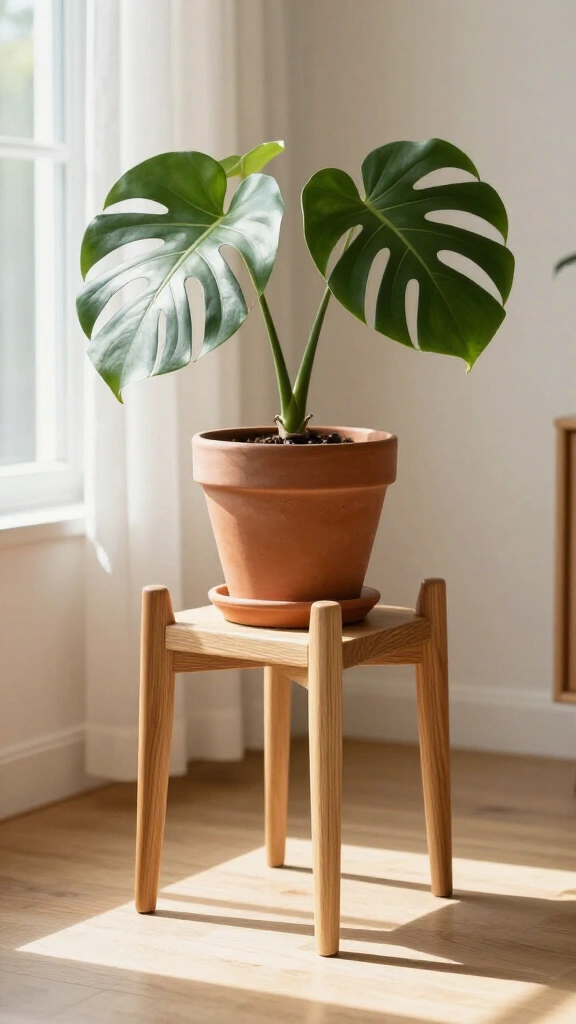
Give your houseplant collection classic mid-century style. Cut a simple half-lap joint across two square oak rails, then secure four round, tapered dowel legs to the frame using pocket hole screws. This raised base lifts terracotta pots off your floor and moves your plants closer to natural window light.
9. Scrap Wood Coaster Set with Holder
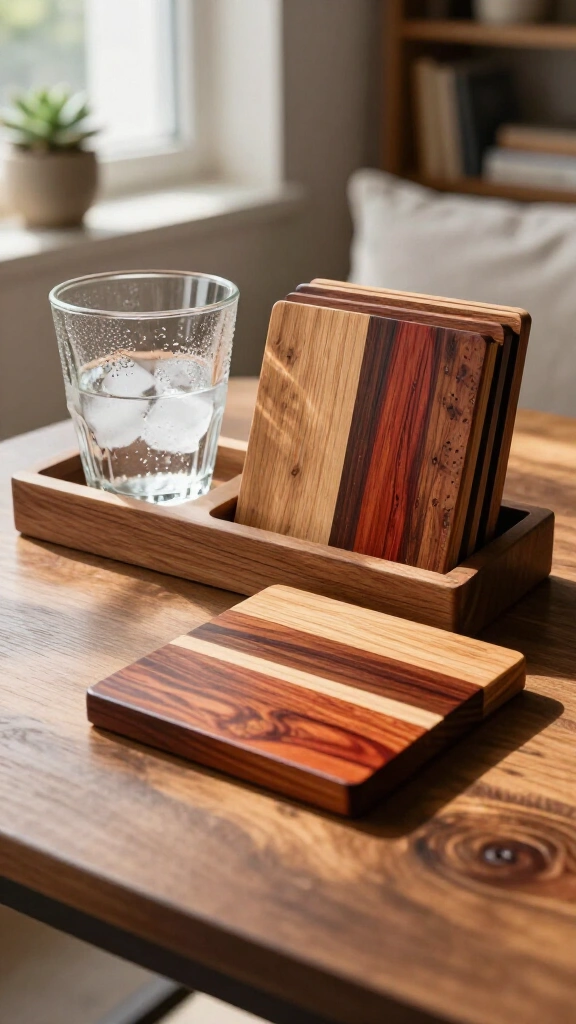
Keep your hardwood offcuts out of the trash bin. Glue contrasting strips of maple, cherry, and walnut together into a small panel, slice the panel into 4×4-inch squares, and rout a subtle chamfer along each edge. Apply three coats of pure tung oil to protect the wood from cold drink condensation.
10. Farmhouse Entryway Coat Rack
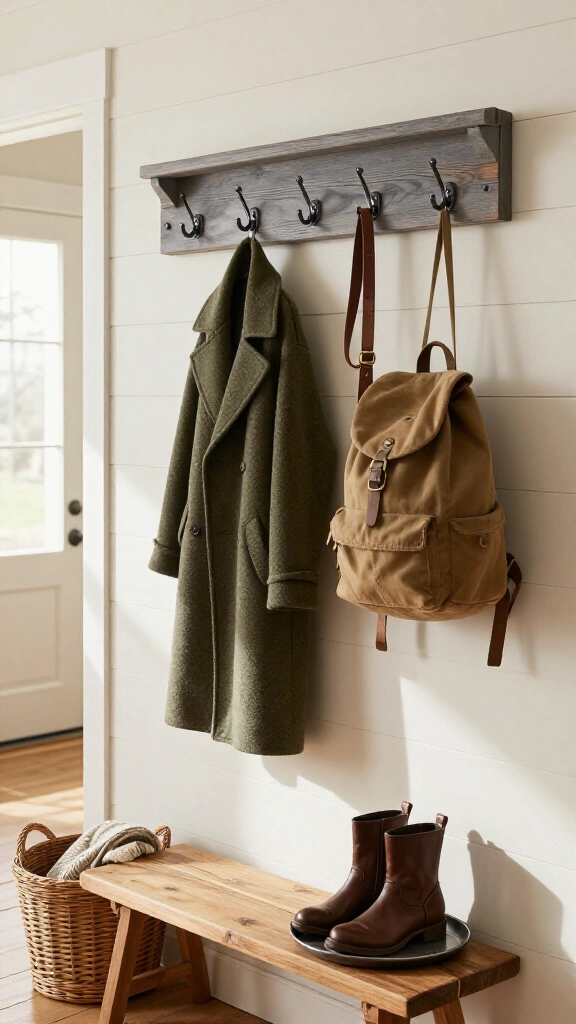
Clear entryway clutter with a sturdy, wall-mounted storage board. Sand a 1×8 pine plank, apply an antique gray stain, and screw vintage cast-iron hooks or railroad spikes across the front. Fasten the board directly into wall studs with heavy-duty lag screws so it easily holds winter coats, dog leashes, and loaded backpacks.
11. Sliced Wood Branch Mirror Frame
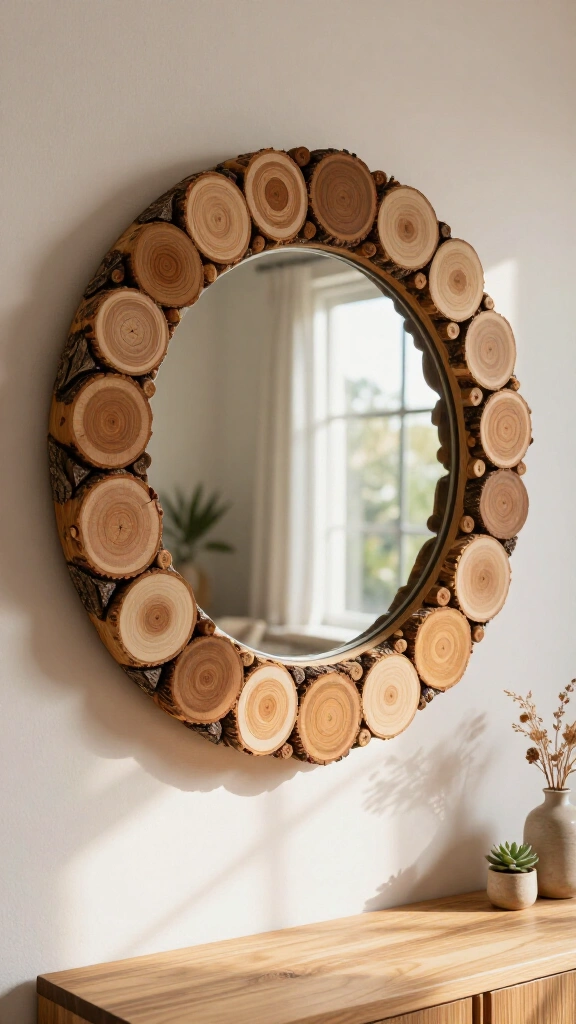
Transform fallen yard branches into an organic mosaic mirror frame. Saw dried hardwood branches into quarter-inch wood cookies with a miter saw, sand both sides flat, and glue them around a plain round mirror base. Combine larger branch rounds with small twig slices to fill every small gap neatly.
12. Wooden Dough Bowl Centerpiece
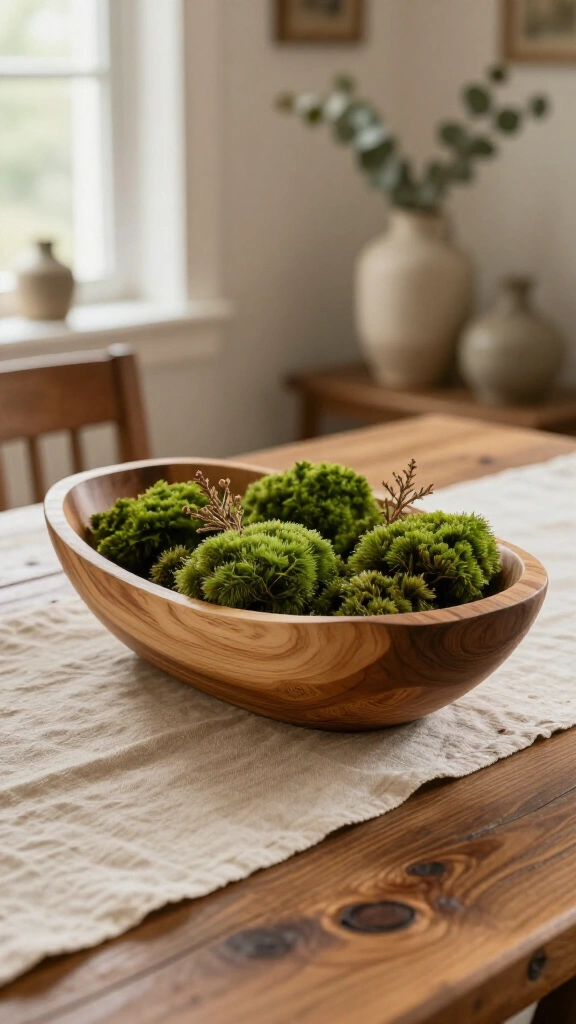
Carve a durable tabletop bowl out of basswood or soft pine. Hollow out the center basin using a curved gouge chisel and a wooden mallet, then smooth the inner curves with a flap-disc sander. Fill your completed bowl with decorative moss balls in the spring, or swap in dried pinecones alongside your seasonal DIY Christmas tree ideas during the holidays.
13. Magnetic Poster Hanger Frame
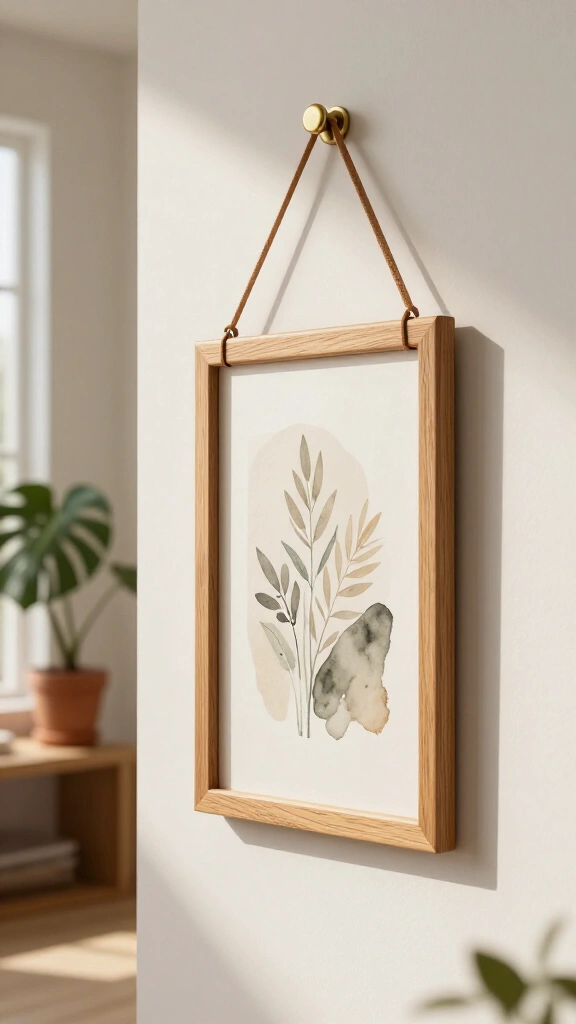
Standard glass frames can reflect harsh glare and cost too much money. You can build minimalist print hangers by clamping art prints between pairs of oak strips fitted with recessed neodymium magnets. Attach a leather cord to the top rail to hang your print on a gallery wall.
14. Tiered Wooden Spice Rack

Clear counter clutter and speed up cooking with a custom tiered pantry rack. Build stepped risers from lightweight 1/2-inch poplar boards so you can read every spice jar label at a glance. Coat the raw wood with food-safe mineral oil to make wiping away kitchen spills simple.
15. Desktop Charging Station and Valet

Keep loose charging cords from cluttering your nightstand. Rout clean wire channels on the underside of a solid walnut block to hide wireless charging pads and smartphone cables. Carve a shallow catchall tray into the front face using a core box router bit to hold keys, rings, and pocket coins.
16. Botanical Wood Slat Wall Hanging
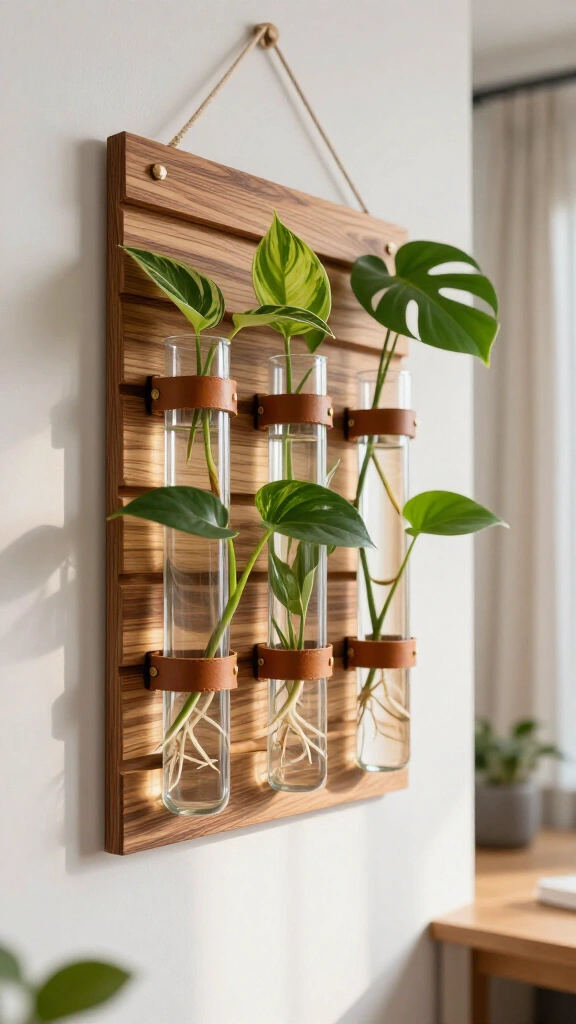
Build a living plant display for your office or dining area. Fasten narrow cedar slats horizontally across two vertical backing runners, leaving one inch of space between each slat. Mount glass propagation tubes to the wood with small leather straps to root fresh plant cuttings in water.
17. Carved Wooden Spoon Wall Display
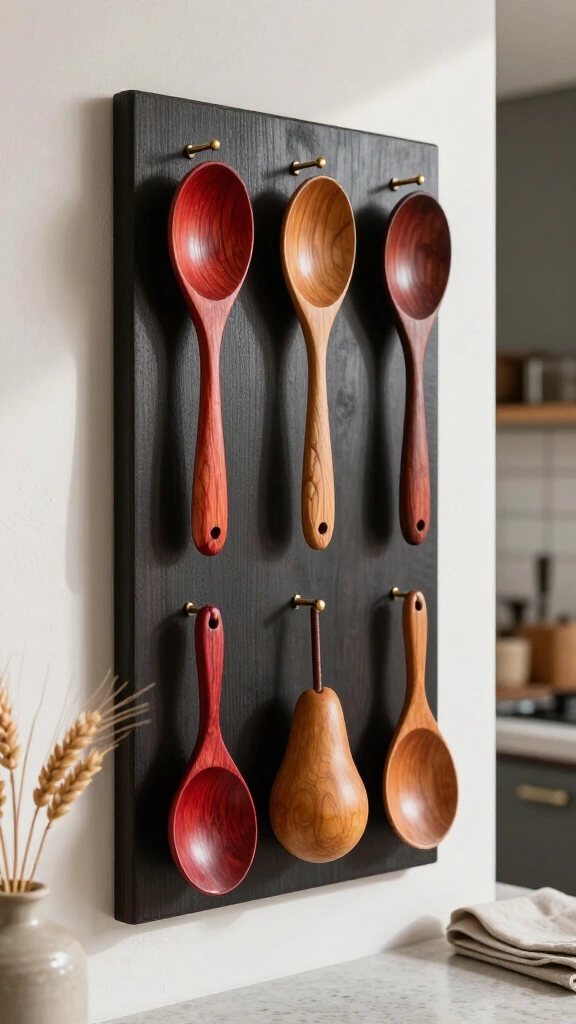
Hand-carving green wood teaches tool control and produces practical kitchen art. Carve unique spoon profiles from fruitwood blanks like cherry, apple, or pear, experimenting with distinct bowl shapes and faceted handles. Hang your finished spoons against a dark backing board to show off your carving work.
18. Wooden Arch Bookends
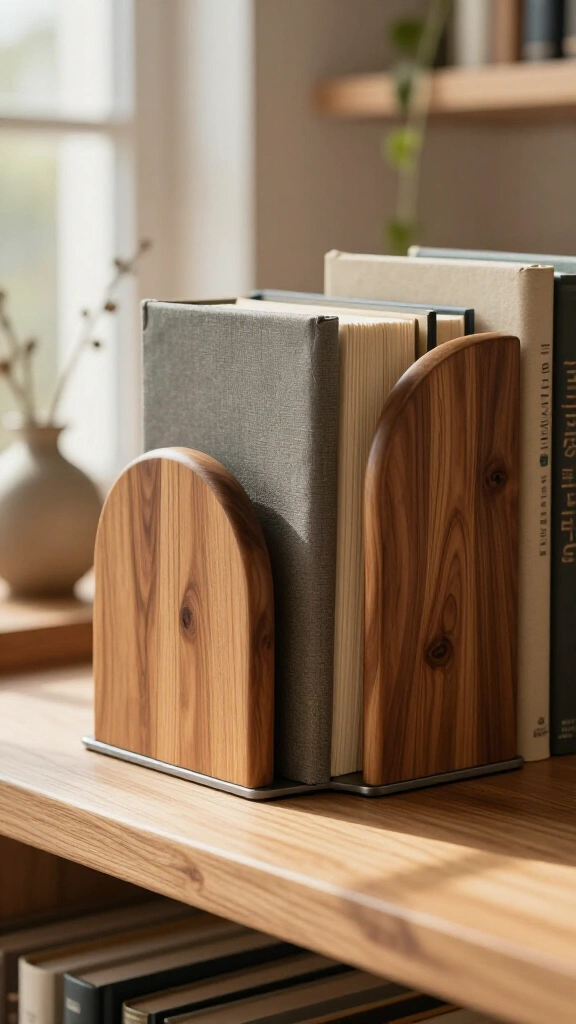
Support heavy books while adding clean curved geometry to your bookshelf. Cut thick hardwood blocks into arch shapes with a bandsaw or jigsaw, then sand the curves through 220-grit paper. Fasten thin steel baseplates to the bottom so the weight of the books rests on the metal and holds the arches in place.
19. Minimalist Dowel Magazine Ladder

Replace bulky storage bins with a lean, vertical magazine display. Drill angled holes into two tall spruce rails using a Forstner bit, then secure smooth birch dowels between the uprights with wood glue. Lean the finished ladder against your living room wall to hold art books and magazines.
20. End-Grain Checkerboard Cutting Board
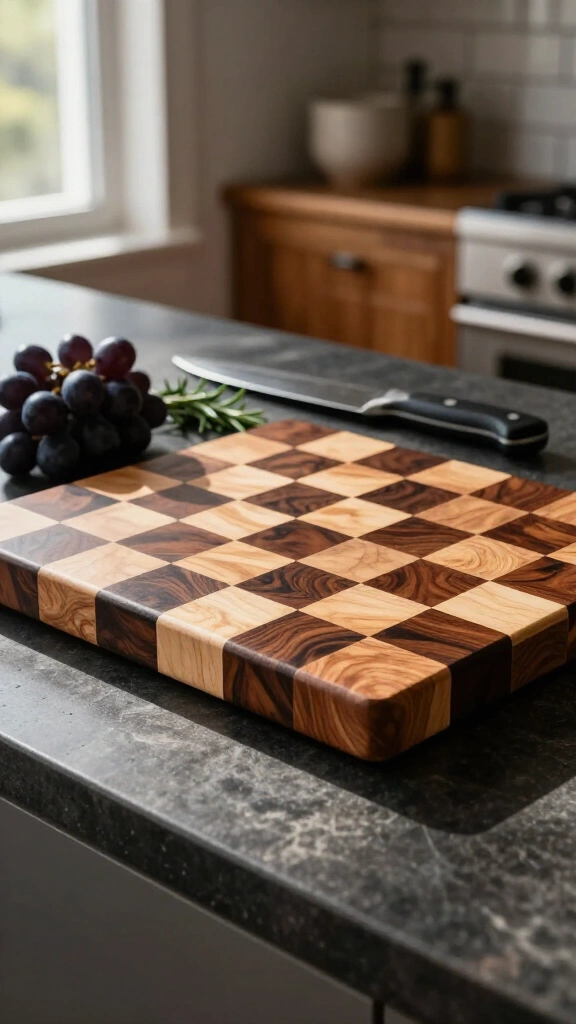
End-grain boards withstand heavy knife strikes, self-heal against cut marks, and keep kitchen blades sharp. Glue square strips of hard maple and black walnut into alternating patterns, crosscut the block, rotate the grain upright, and glue the pieces together again. Submerge the finished board in a mineral oil and beeswax bath for deep water resistance. You can study complete step-by-step joinery tutorials on Family Handyman.
21. Plywood Pegboard Organizer
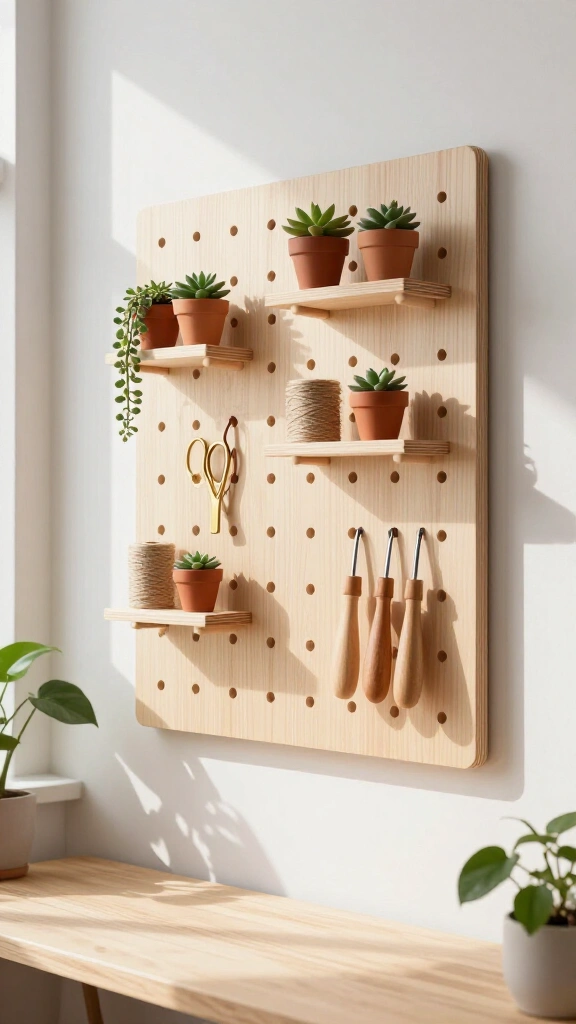
Swap cold metal garage pegboards for a clean Baltic birch wall system. Drill a regular grid of 3/4-inch holes through a 4×4-foot sheet of 3/4-inch birch plywood using a drill press or guide. Cut matching hardwood dowel pins and small plywood shelves to organize craft supplies, hand tools, or gardening pots.
22. Scalloped Edge Wooden Tray
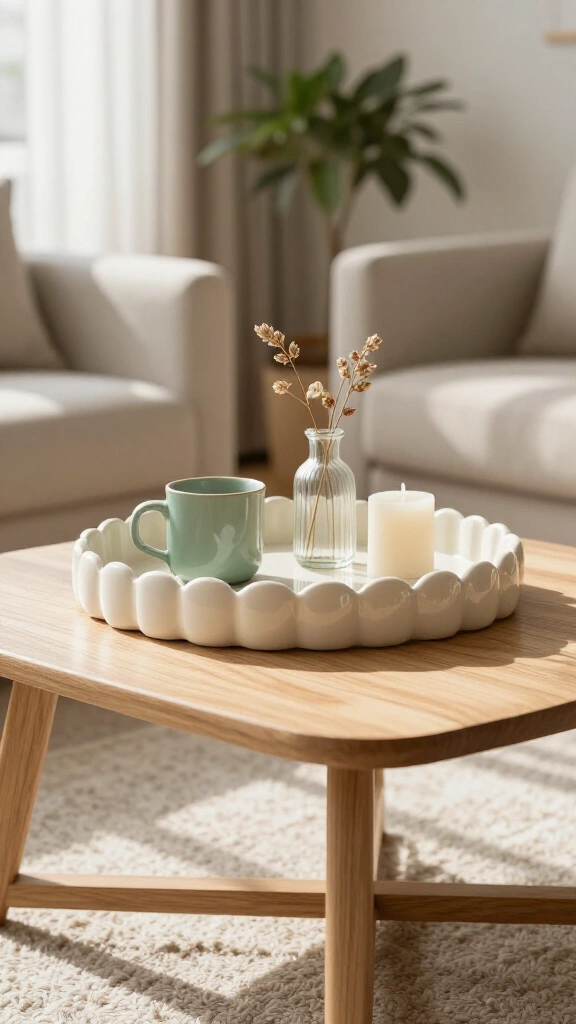
Wavy border details add playful character to a simple coffee table tray. Trace repeating semicircles along the outer walls of a shallow pine box with a circular template, then cut along your pencil line with a scroll saw. Coat the finished tray with a durable semi-gloss enamel paint for a crisp look.
23. DIY Wooden Lantern Trio
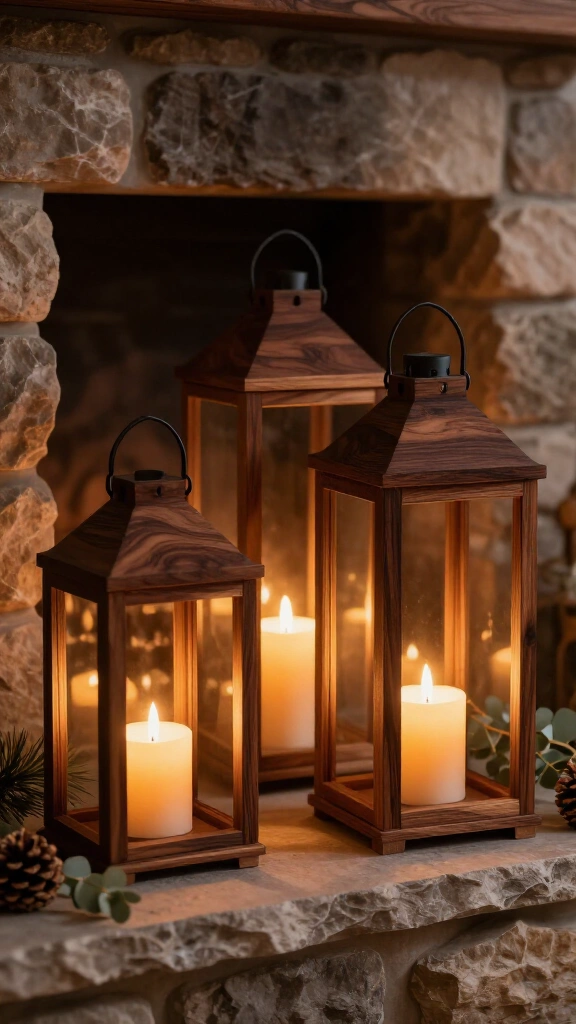
Add warm evening lighting to your porch or fireplace mantel with homemade wood lanterns. Build open rectangular frames from square 1×1 pine stock, then brush on an espresso wood stain. Set battery-operated LED pillar candles inside each lantern to get a warm glow without any open fire hazard.
24. Modern Slat Room Divider Screen
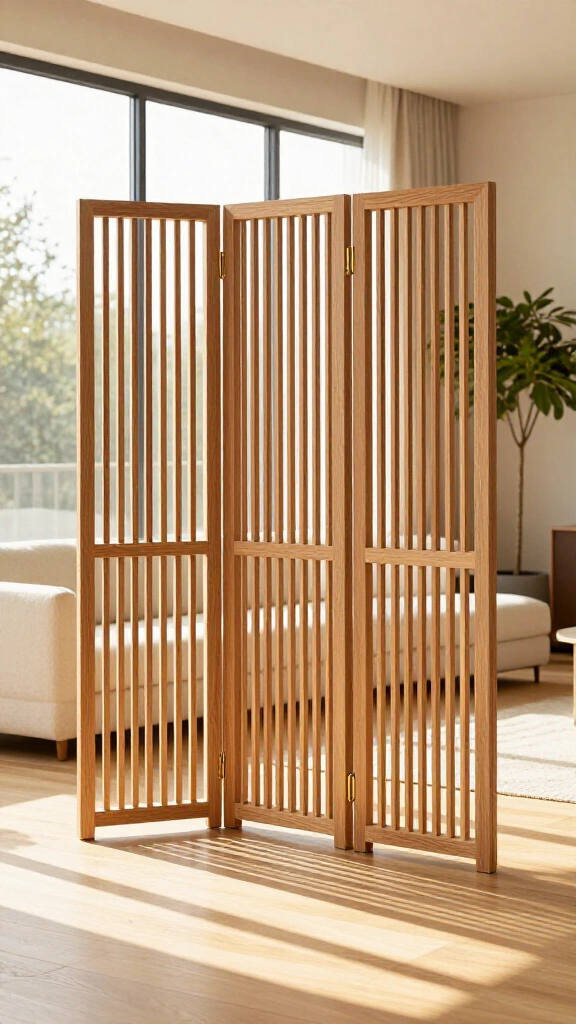
Separate living spaces in open layouts without blocking sunlight. Build three tall wooden frames out of select pine, filling each interior with vertical 1×2 slats spaced two inches apart. Join the three panels with double-acting folding brass hinges so you can reposition the screen easily.
25. Driftwood Wall Sconce
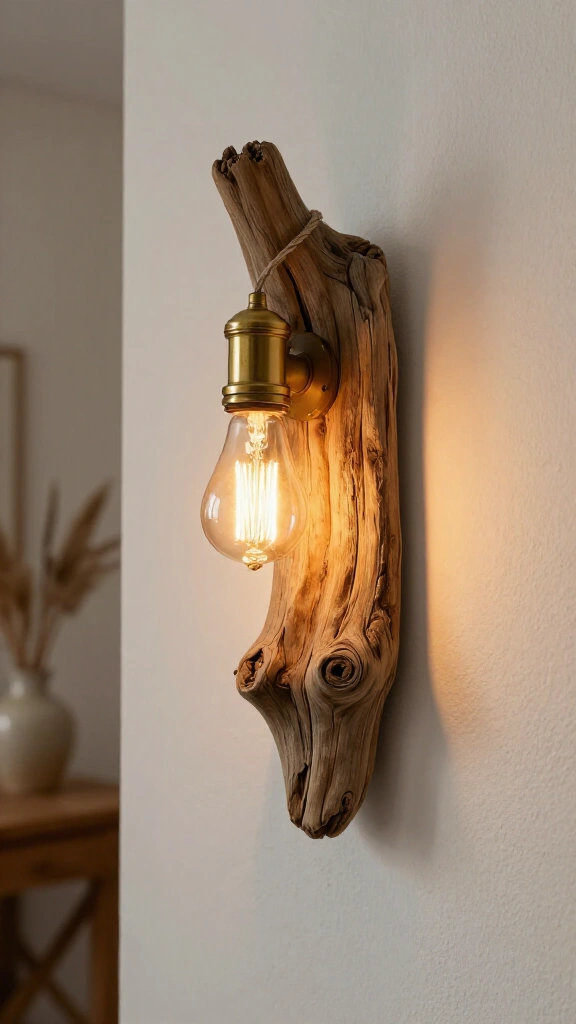
Bring coastal texture indoors using weathered driftwood branches. Clean a thick piece of dry driftwood, drill a wire path through the back, and run a fabric-wrapped lamp cord through the wood. Wire an antique socket and an exposed filament bulb to the end for soft ambient lighting.
26. Birch Log Fireplace Insert
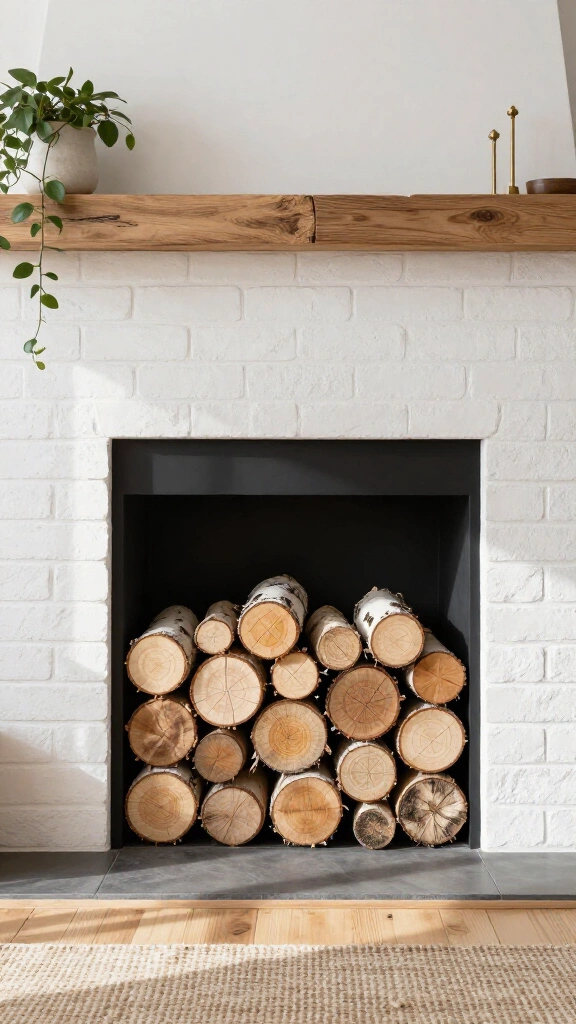
Dress up an unused fireplace during warm weather months. Cut kiln-dried white birch logs into equal lengths and screw them to a black plywood board sized to fit your firebox opening. Slide the completed panel into the hearth opening to create the look of a full stack of firewood. For more seasonal crafting inspiration, check out these creative crafts for adults to plan your next home project.
27. Wooden Desk Clock with Brass Accents
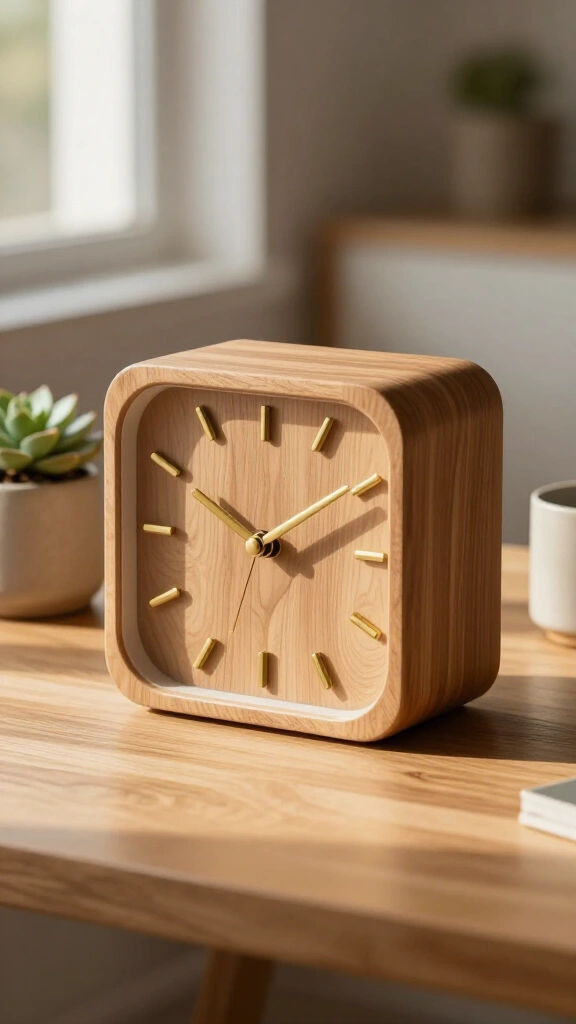
Pair natural hardwood with clean brass details for an attractive desk clock. Cut a solid 4×4 oak block into an even cube, drill a hollow cavity into the rear face using a Forstner bit, and install a standard quartz clock movement. Tap short brass rod segments into pre-drilled holes at the 12, 3, 6, and 9 positions on the front face.
28. Rustic Wood Blanket Ladder
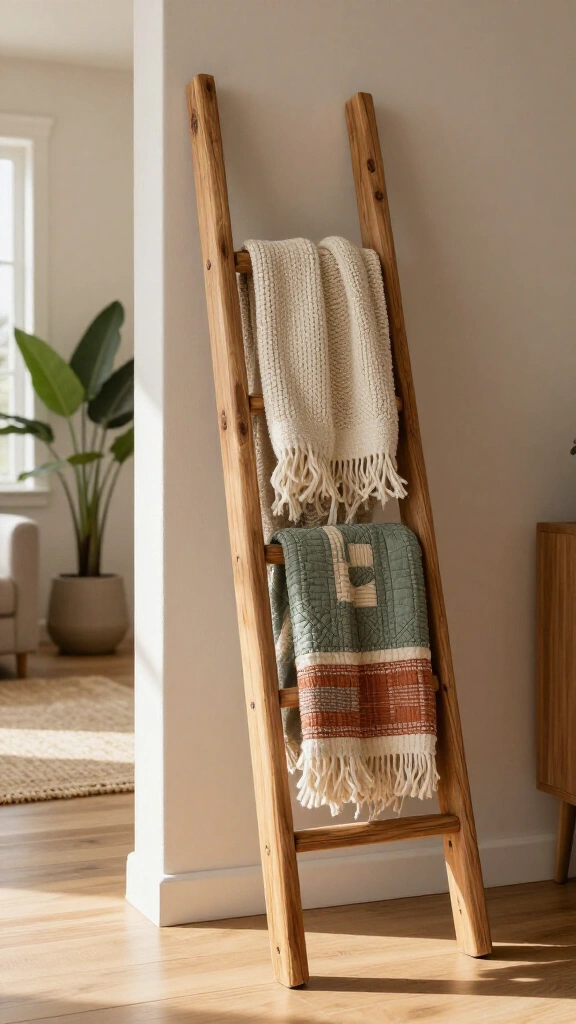
Keep extra blankets neat and accessible instead of letting them pile up on furniture. Build a 6-foot ladder from rough 2×3 lumber, spacing the cross rungs 12 inches apart to hold thick quilts. Cut a 15-degree angle on the bottom feet so the ladder sits flat against your floor and wall. If you need structural tips or fastening advice, look through the project archives on This Old House.
29. Charcuterie Board with Resin Accents

Combine colored casting resin with natural hardwood grain. Route a flowing trench through a live-edge slab of black walnut, pour food-safe epoxy into the channel, and let it harden for three full days. Sand the cured board smooth through 1000-grit abrasive paper, then coat the wood with food-grade mineral oil and beeswax paste.
Essential Tips Before You Start Crafting
- Select dry wood: Check the moisture content of your lumber before building because damp boards warp and crack as they dry inside your house.
- Sand methodically: Work through progressive sandpaper grits, starting at 80 and stepping up through 120, 180, and 220, to get a uniform surface.
- Pop the grain: Wipe bare wood with a lightly damp rag before your final sanding pass to raise loose grain fibers for a smoother finish.
- Wear safety gear: Wear an appropriate particulate dust mask and safety glasses whenever you cut or sand timber.
Handmade wooden decor gives your rooms personal character that mass-produced plastic items cannot match. Pick the project that fits your skill level, gather your lumber and tools, and start building your next home piece today.