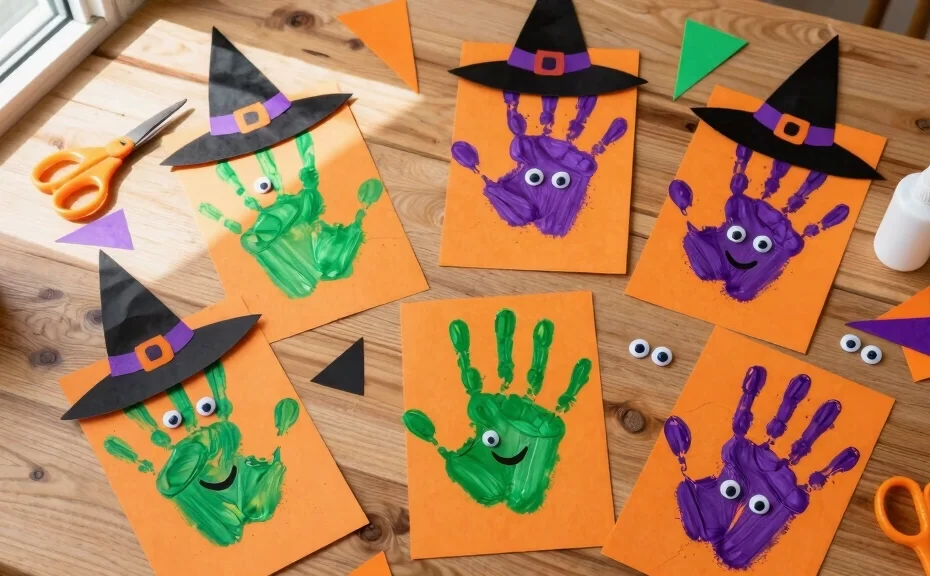
Halloween approaches fast, and you need quick, low-prep crafts to occupy your kids. Who wants to spend hours prepping complicated activities, only to have the kids lose interest in five minutes? Handprint crafts save the day because they double as adorable keepsakes and occupy minimal prep time.
Witch crafts, in particular, bring the perfect mix of spooky and silly to your October crafting. In this guide, you will discover 15 easy witch handprint craft ideas that require basic household supplies. Grab your washable paint, cover your table, and prepare for some messy, memorable fun! 😉
1. Classic Green Witch Handprint
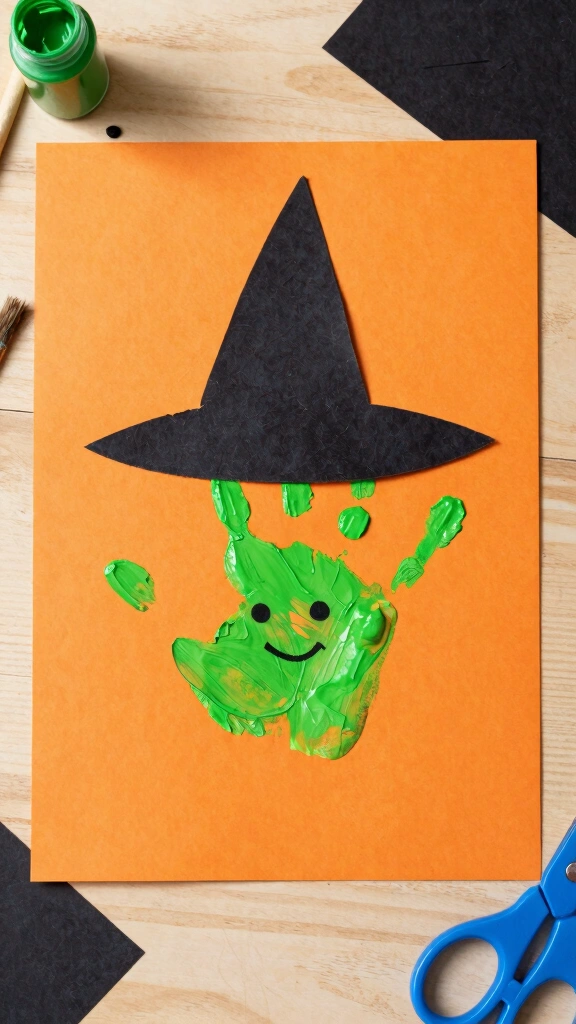
You cannot go wrong with the classic green witch. This craft serves as the perfect starting point for toddlers and preschoolers who love squishing paint between their fingers. Simply paint your child’s hand with bright green washable paint and press it firmly onto a sheet of orange cardstock.
Once the paint dries, you can add the witch’s iconic features. Cut a simple triangle from black construction paper to create the hat. Your child can draw a goofy face with a black marker, and you have an instant Halloween keepsake. Tip: Keep baby wipes nearby to clean hands immediately after stamping!
Supplies Needed:
- Green washable craft paint
- Orange and black cardstock
- Black marker
- Glue stick
2. Flying Witch on a Broomstick
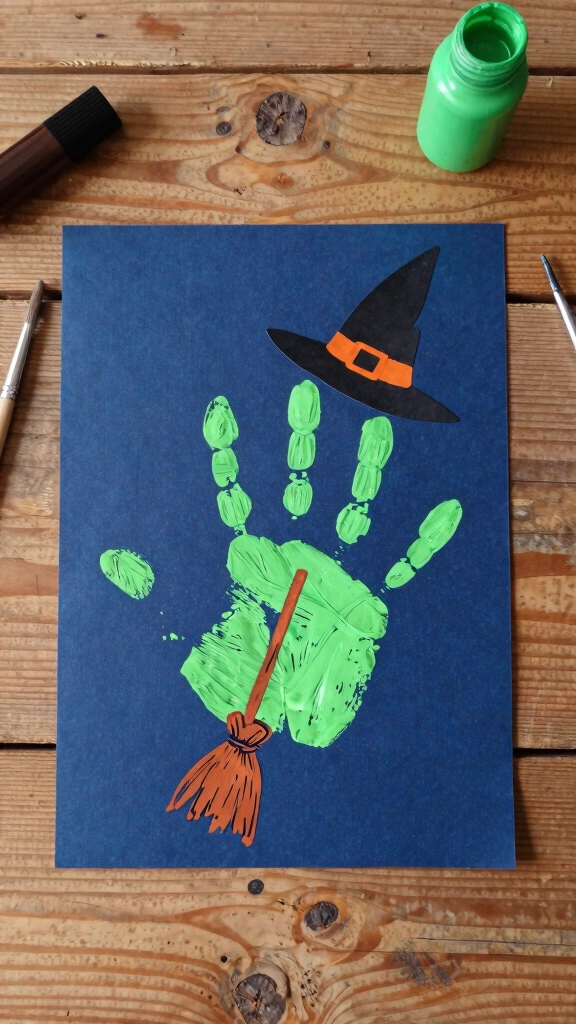
Do you want to add some action to your Halloween decor? Turn that green handprint sideways to make it look like a witch flying through the night sky. Start with a sheet of dark blue or black paper to represent the night.
Paint your child’s palm and fingers green, then stamp the hand horizontally across the page. Once dry, draw a simple brown broomstick running right through the center of the palm. Draw a black pointed hat flying slightly off the witch’s head to simulate high-speed movement. Active kids love this dynamic version because it tells a story!
3. Hocus Pocus Sanderson Sisters Trio
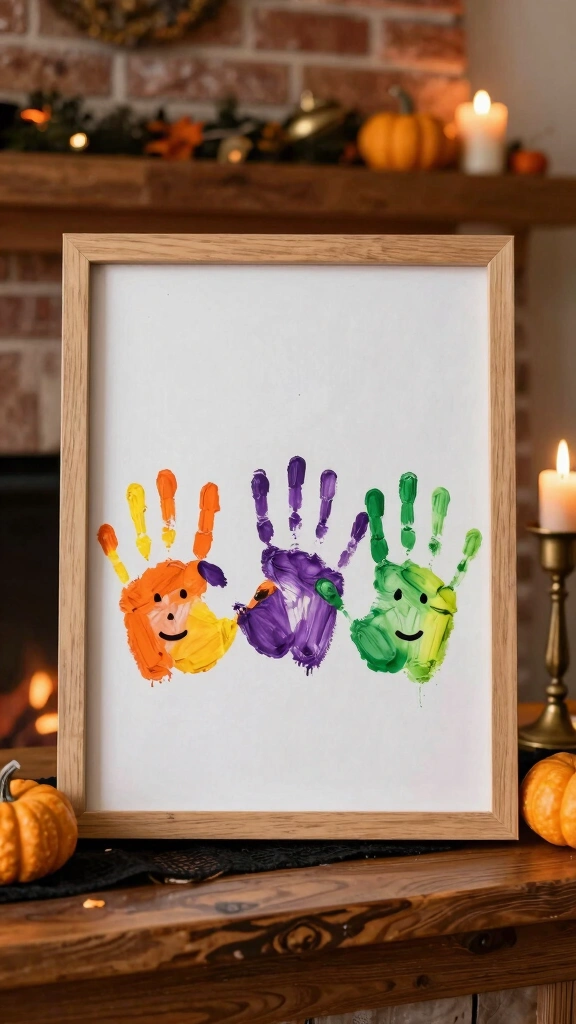
Why make one witch when you can make three? Pay homage to everyone’s favorite Halloween movie with a Sanderson Sisters handprint tribute. You will need three different paint colors for the hair: orange, yellow, and deep purple.
Paint the fingers of three separate handprints in these colors, keeping the palms green or skin-toned. Stamp them side-by-side on a long sheet of paper. Draw their distinct facial expressions to finish the look. IMO, this makes the absolute cutest mantle piece decoration for the autumn season.
4. Glowing Neon Witch Handprint
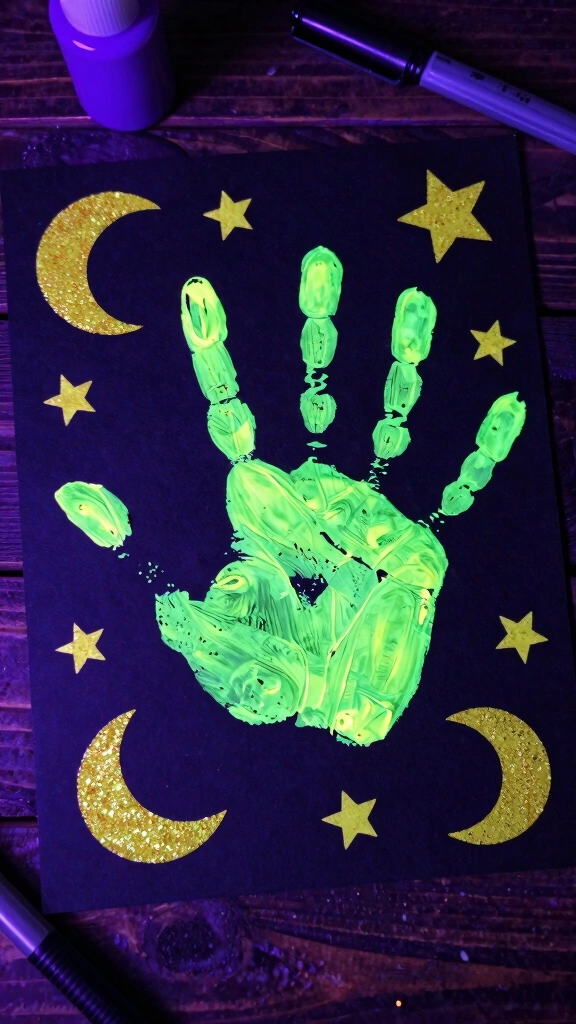
Make your Halloween crafts pop by using neon paint on black paper. The contrast looks absolutely striking and mimics the glow of a spooky Halloween night. Choose neon green or neon purple paint for the handprint.
Press the handprint onto pitch-black cardstock. Surround the neon witch with hand-drawn yellow stars using a gel pen or metallic marker. This craft looks incredibly cool under a blacklight if you happen to have one for your Halloween party!
5. Paper Plate Witch with Handprint Hair
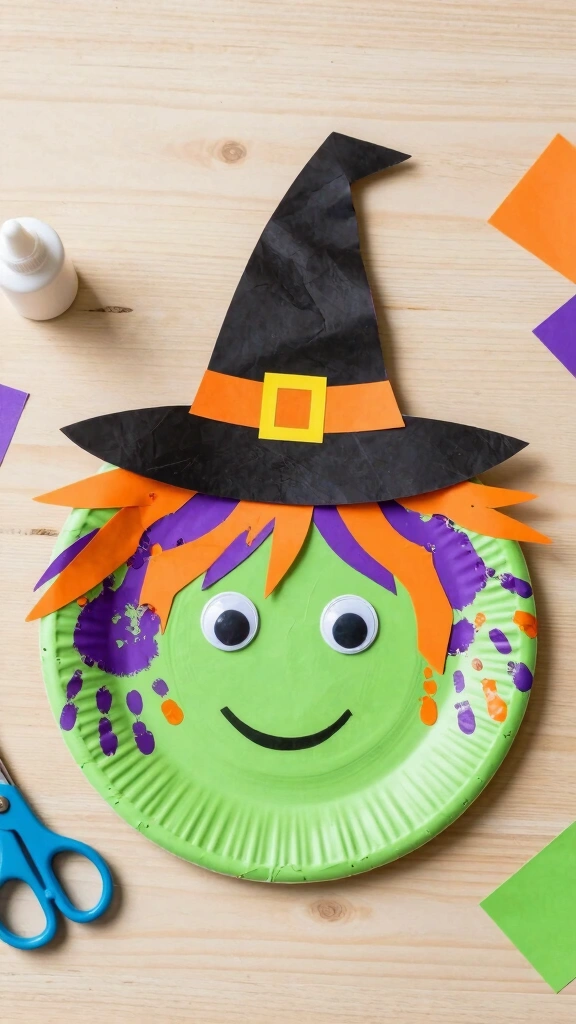
This craft combines two classic crafting mediums: paper plates and paint. Paint a standard paper plate bright green to serve as the witch’s face. While that dries, trace your child’s hands on orange and purple paper several times.
Cut out the handprints and glue them around the top and sides of the plate to create wild, messy witch hair. Top the plate with a large black hat cut from construction paper. This project build excellent fine motor skills as kids practice cutting out their hand shapes.
Why Kids Love This Craft:
- They get to trace their own hands.
- The wild hair looks silly and customizable.
- It creates a large, display-worthy piece.
6. Witch Handprint Keepsake Frame
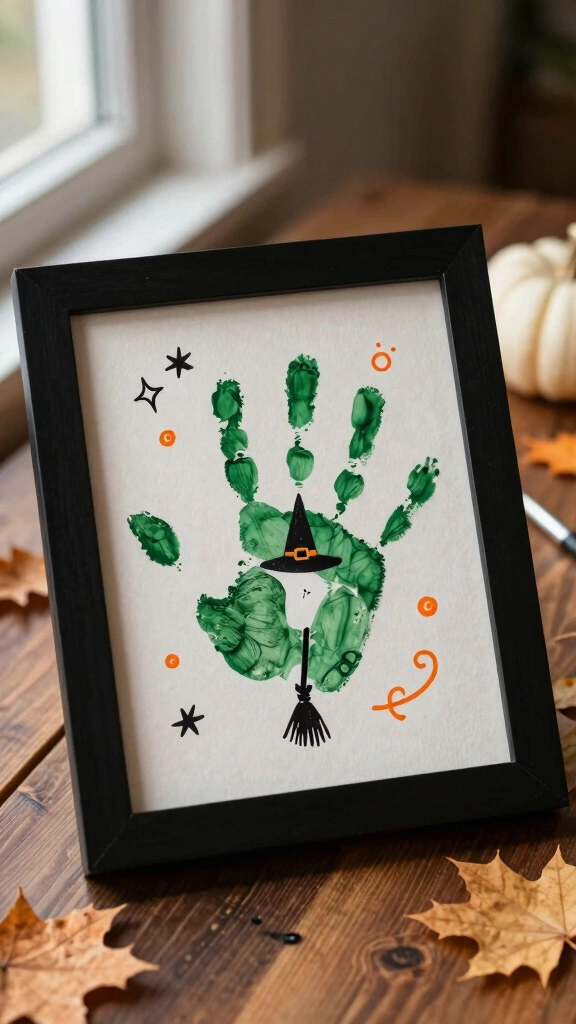
Are you looking for a great grandparent gift? Turn a simple handprint into a framed piece of art. Start by stamping the witch handprint onto high-quality watercolor paper.
Once dry, write a sweet Halloween poem around the handprint. Use phrases like, “This little witch brings spooky cheer, to wish you a happy Halloween this year!” Pop the paper into an inexpensive black frame from the dollar store to create a cherished memory.
7. Spooky Cauldron and Witch Handprint
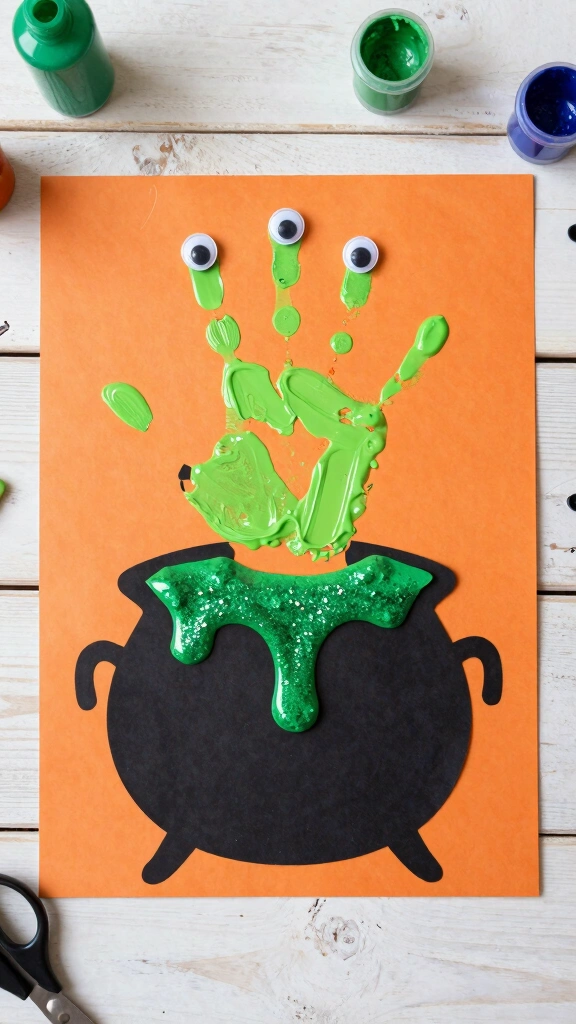
Every good witch needs a bubbling cauldron. For this craft, draw or cut out a large black pot shape and glue it to the bottom of your paper. Make it look like bubbling brew is spilling over the edges using green glitter glue.
Stamp the green handprint directly above the cauldron, facing downward so the fingers look like dangling witchy hands stirring the pot. Add some plastic googly eyes to the fingers for a silly, monster-like effect. It is a fantastic way to introduce textures to sensory-seeking kids.
8. Glittery Night Sky Witch Handprint
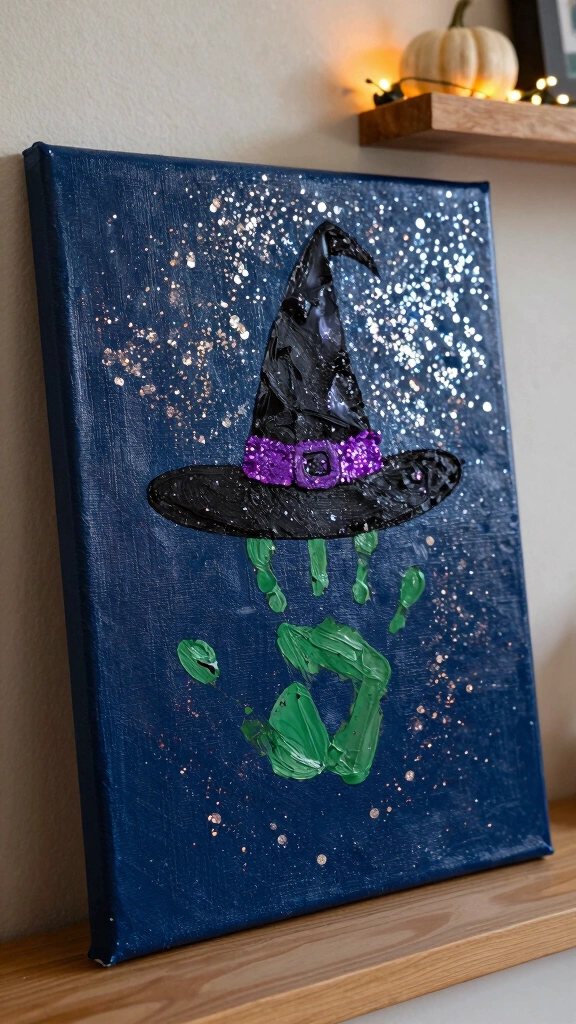
Let’s add some sparkle to the spooky season. Prepare your background by brushing dark blue paint across a canvas, then sprinkle silver glitter over the wet paint. Let this dry completely before moving to the next step.
Stamp the handprint witch in the center of your glittering night sky. Paint the witch’s hat with black paint and add a layer of purple glitter to the brim. The finished product shines beautifully when it catches the light on your living room wall.
9. Handprint Witch Greeting Card
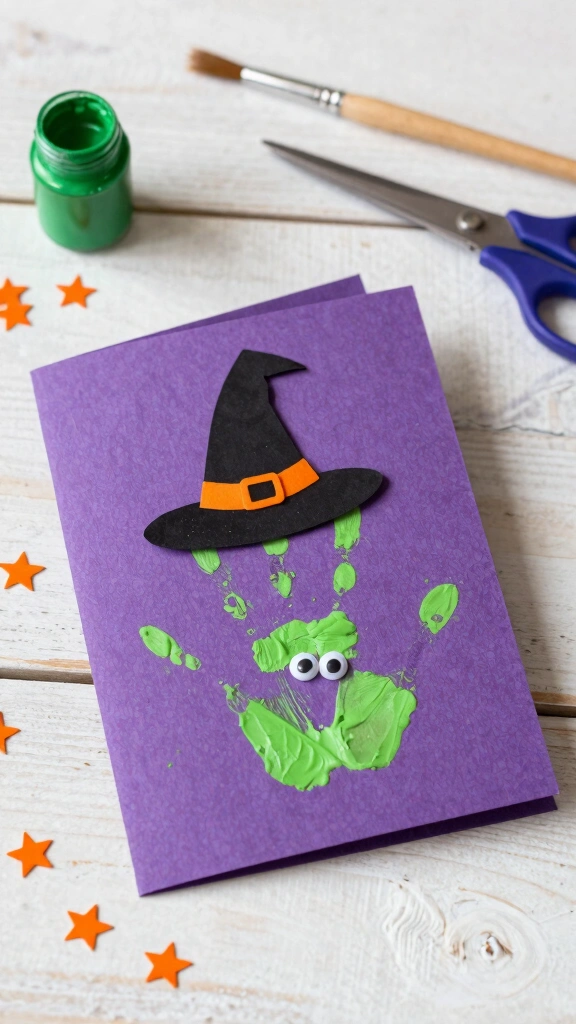
Send some spooky mail to aunts, uncles, or friends. Fold a piece of purple cardstock in half to create a standard greeting card. Stamp the green handprint on the front cover.
Write a punny message inside the card. Try something like, “Hope your Halloween is WICKEDLY fun!” Kids love signing their names inside and dropping the cards in the mailbox themselves.
10. Witch Hat Handprint Canvas
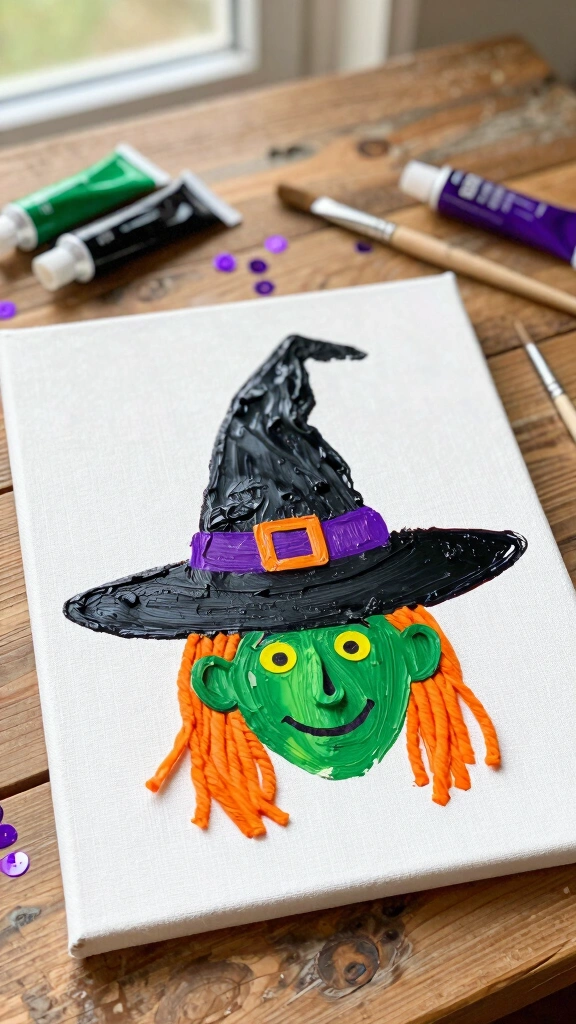
Instead of making the handprint the body of the witch, make it the hat! Paint your child’s hand black and stamp it upside down on a canvas. The palm becomes the base of the hat, and the fingers point upward to form the peak.
Paint a green witch face directly underneath the handprint hat. This clever inversion keeps crafting fresh and challenges kids to think about shapes differently. It looks highly professional once completed!
11. Witch Handprint Wreath
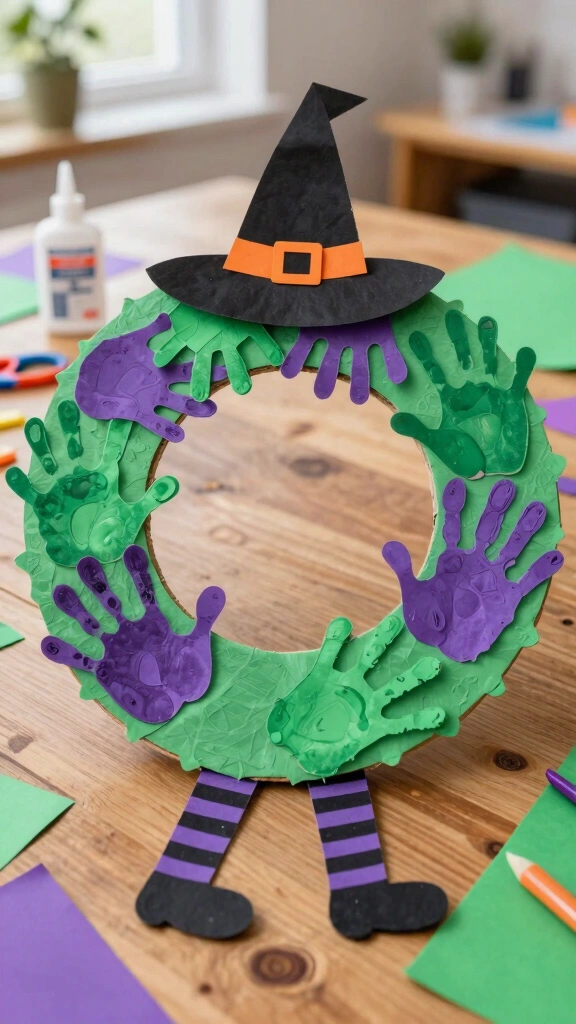
Welcome trick-or-treaters with a handmade front door wreath. Cut the center out of a paper plate to create a cardboard ring. Trace and cut out about ten green and purple handprints.
Glue the handprints around the ring, overlapping them to cover the cardboard. Add a small witch hat and paper legs dangling from the bottom of the wreath. This project works perfectly for classrooms where every student contributes one handprint!
Wreath Assembly Tips:
- Use liquid glue for a stronger hold.
- Let children alternate colors to create a pattern.
- Attach a ribbon loop to the back for easy hanging.
12. Salt Dough Witch Handprint Ornament
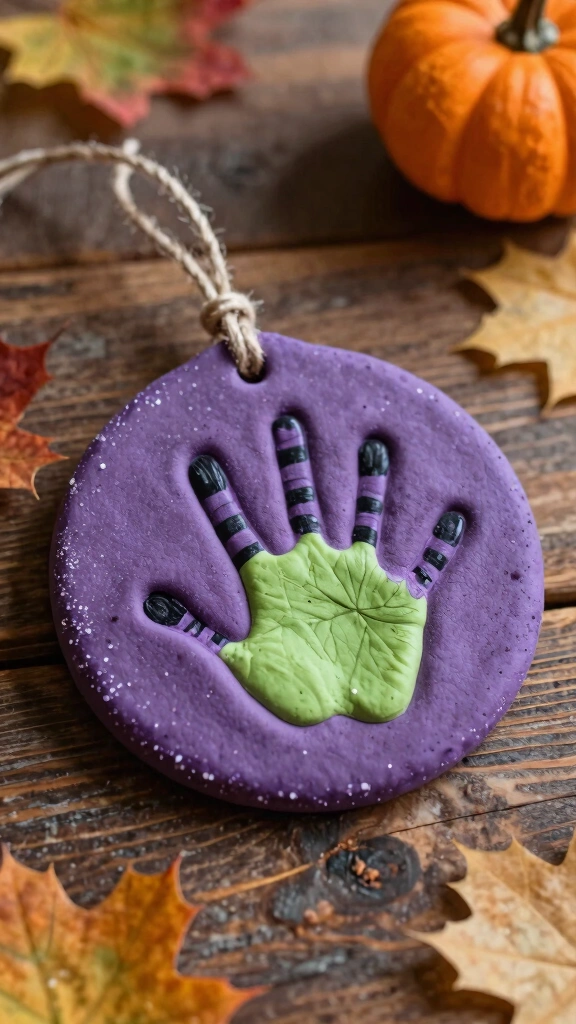
Salt dough crafts last for years and preserve tiny hand sizes perfectly. Mix flour, salt, and water to create a smooth dough, roll it flat, and press your child’s hand into it. Bake the dough ornament until it hardens completely.
Once cool, paint the handprint impression to look like a witch. Seal the ornament with Mod Podge to prevent moisture damage over time. You will cherish looking back at how small those fingers were years down the road!
13. Watercolor Silhouette Witch Handprint
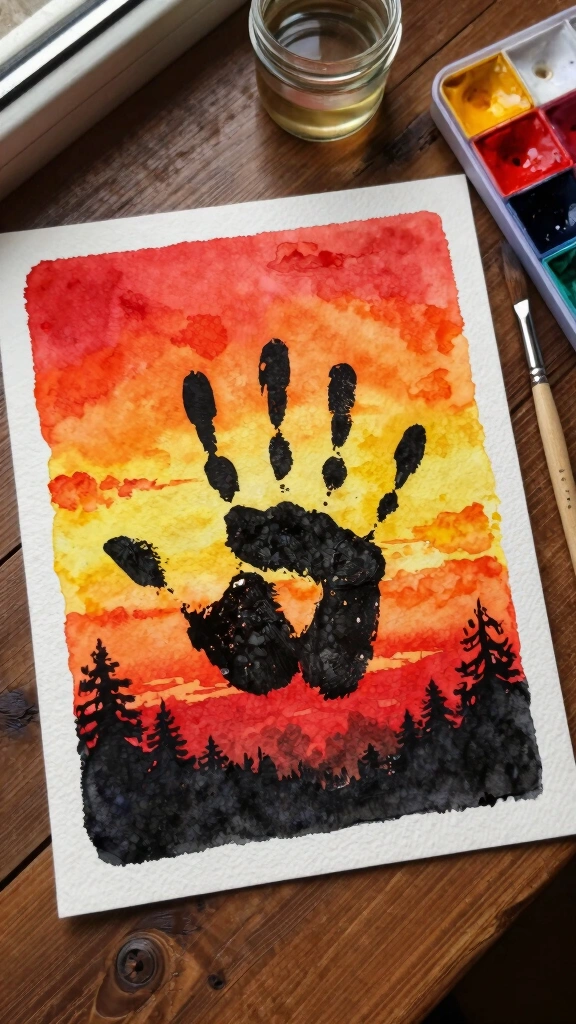
Create a beautiful contrast using watercolor paints. Have your child paint a sunset background using warm colors like yellow, orange, and red watercolors. Let the paper dry flat.
Stamp a solid black handprint directly over the colorful sunset. The black handprint creates a striking silhouette look that mimics a witch flying at dusk. This project teaches kids about contrasts and silhouettes in a simple, fun way.
14. Witch Handprint Puppets
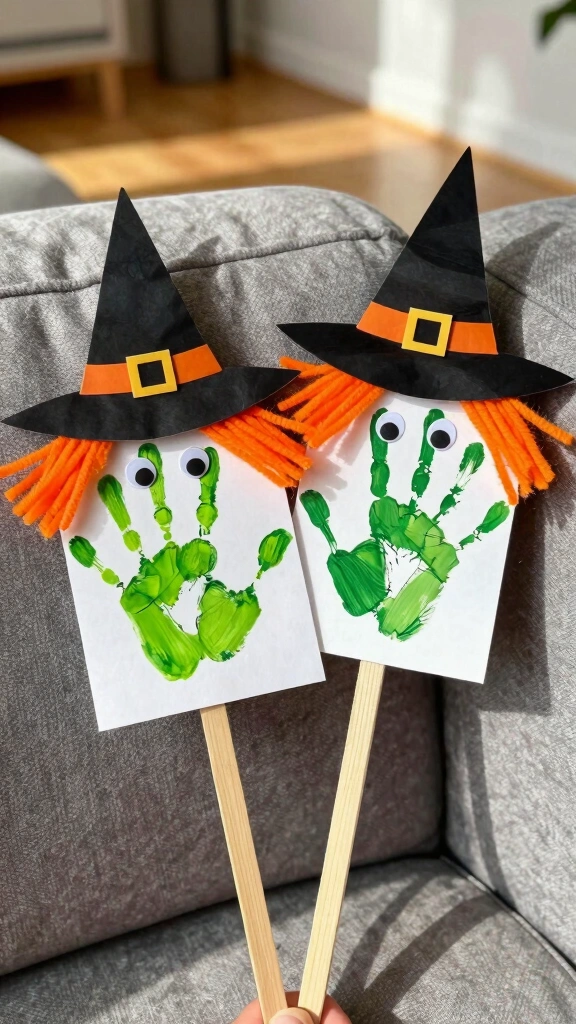
Turn your crafts into an interactive toy for playtime! Stamp and decorate a witch handprint on thick paper, then cut it out carefully along the edges. Tape a sturdy popsicle stick to the back of the handprint.
Your kids can now put on a spooky puppet show behind the couch. Who knew a bit of paint and a wooden stick could spark such creative storytelling? It keeps them entertained long after the paint dries.
15. Pointy Hat Witch Family Collage
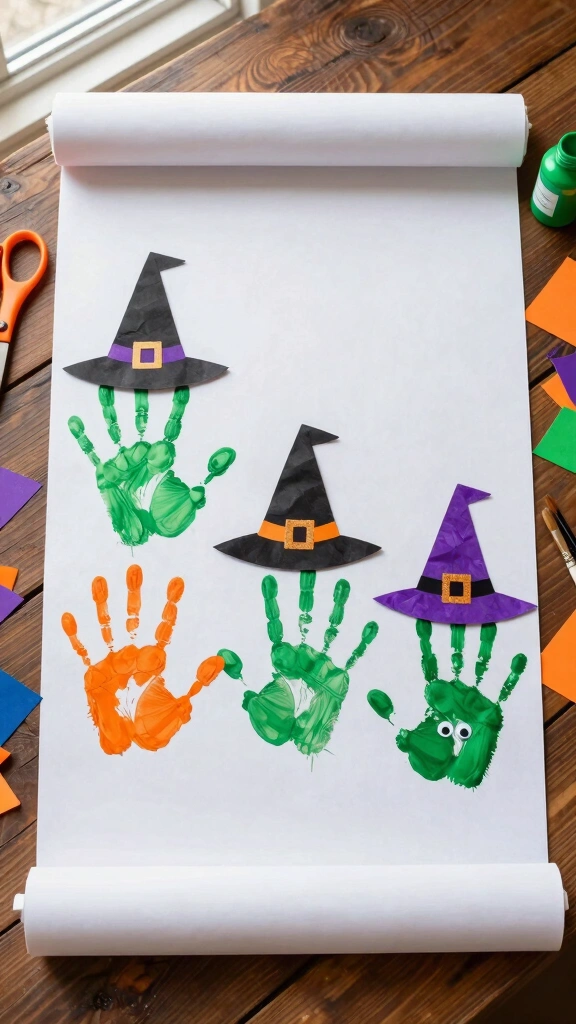
Get the entire family involved in this craft! Grab a long piece of banner paper and line up the family from oldest to youngest. Everyone stamps their handprint green in a row.
Give each handprint a custom paper witch hat that matches the owner’s personality. This creates a hilarious and adorable visual representation of your family. It makes a wonderful annual tradition to see how the family grows!
Conclusion
Halloween crafting does not need to feel stressful or require expensive supplies. These 15 easy witch handprint craft ideas offer a simple way to connect with your kids while celebrating the season. Plus, you get to capture those tiny handprints before they grow up. Which spooky craft will you try first with your little monsters? Gather your supplies, embrace the mess, and enjoy a wicked good time crafting together!