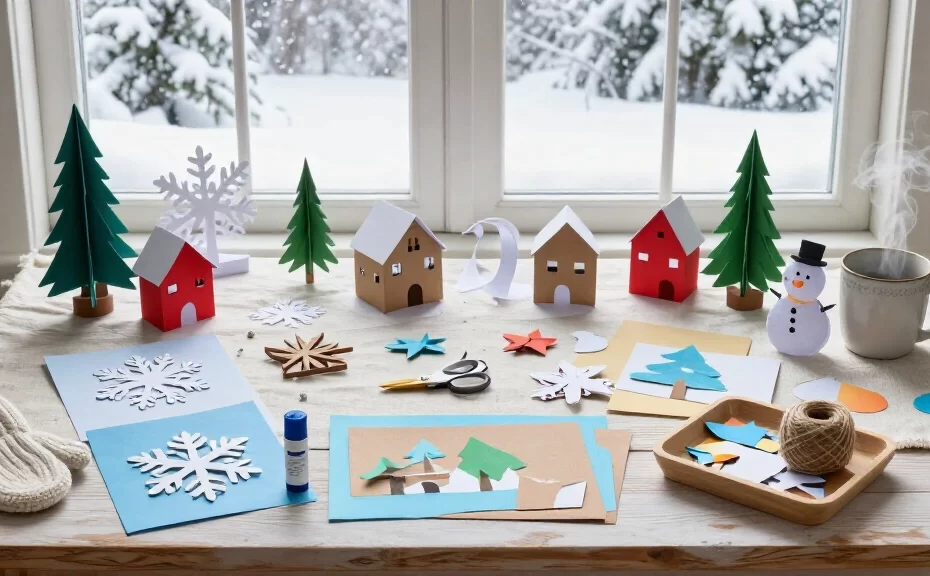
Snowy days can feel especially long once everyone has finished their hot chocolate. Pull out some paper and a glue stick, and you can give everyone something fun to do indoors.
These 14 winter paper crafts include quick snowflakes and miniature villages. Most call for supplies you may already have, and you can adapt each project for different ages and skill levels.
Before you start: Cover your table, gather scrap paper, and choose child-safe scissors for young crafters. An adult should handle sharp tools and supervise projects with small pieces.
1. Classic cut-paper snowflakes
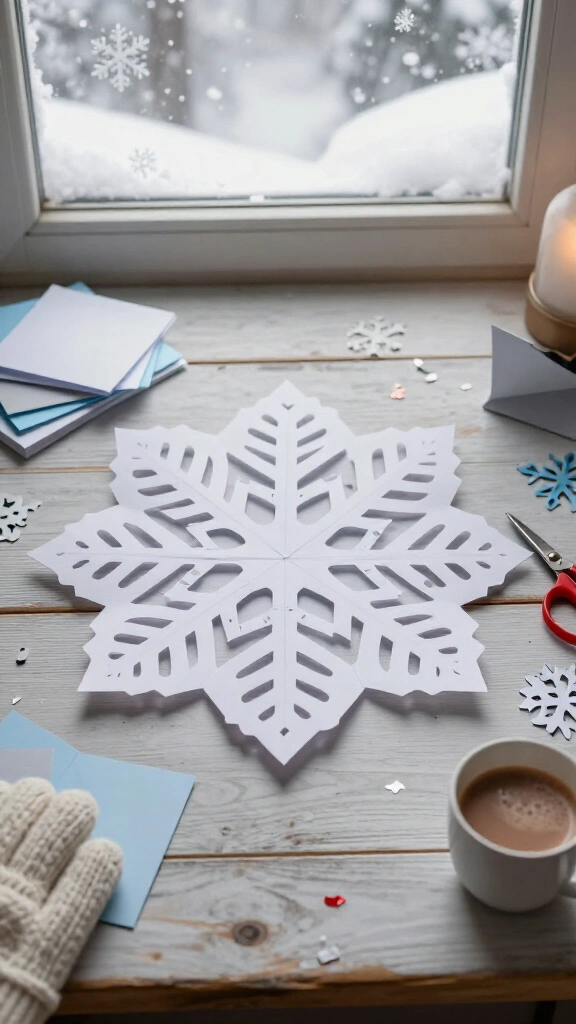
Unfolding a paper snowflake is half the fun. You never quite know what your scissors have made until you open it up. Start with a square of lightweight paper, fold it diagonally into a triangle, and fold the triangle into a smaller wedge. Snip small shapes along the folded edges, then carefully unfold your design.
Keep part of each folded edge intact so the snowflake stays in one piece. Try circles, triangles, or narrow notches to see what patterns they make. Each attempt can look different. For more ideas, explore these paper snowflake patterns and techniques.
2. Accordion paper snowmen
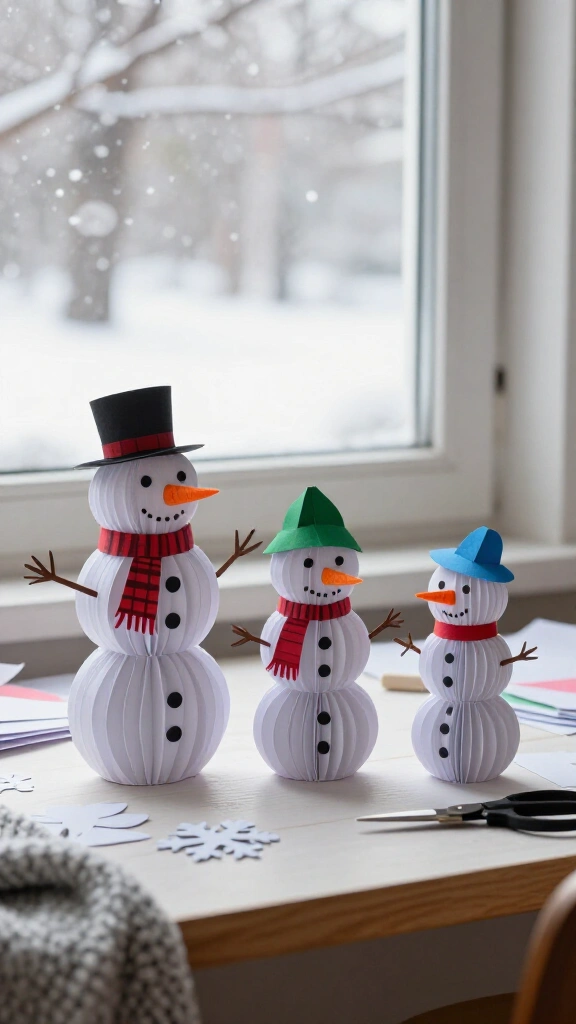
Give a paper snowman some dimension with an accordion fold. Fold two strips of white paper back and forth, fan them into circles, and glue the ends together to make a head and body. Add a paper carrot nose, a scarf, and a tiny hat.
Join the circles with a glue stick or a small amount of craft glue, and let the glue dry before you display your snowman. To make a whole snow family, change the strip widths and let everyone invent a different personality.
3. Construction paper mitten garland
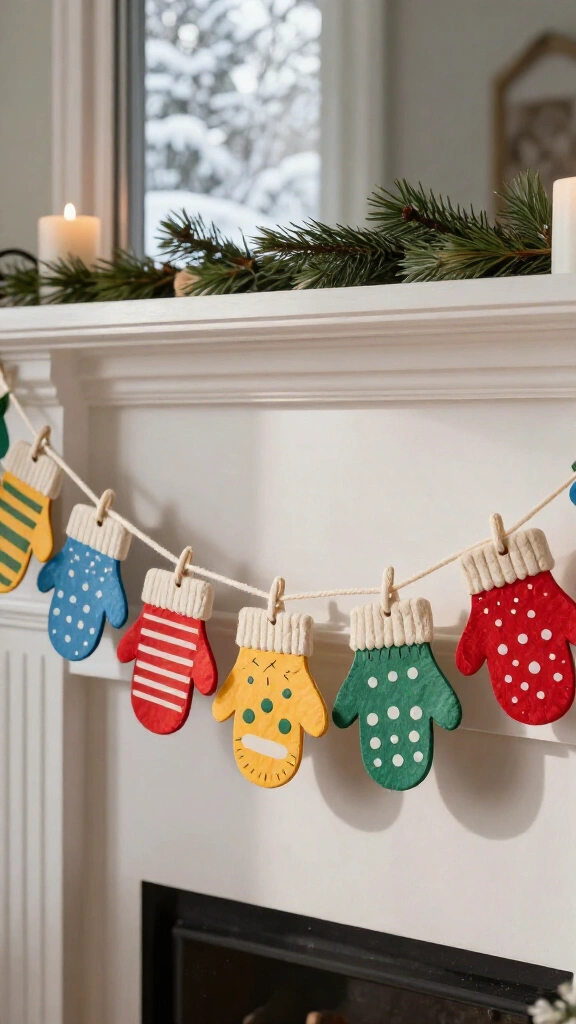
Make a string of paper mittens to hang up long after the first snowfall. Trace a mitten shape onto folded construction paper, cut out several pairs, and decorate them with stripes, paper dots, or drawn-on stitching. Punch a hole near each cuff and thread the mittens onto yarn.
Leave space between the mittens so they can swing freely. Hang the garland across a mantel or a wall, out of reach of young children who might pull on the yarn. You can also use up some of those odd little paper scraps you saved.
4. Torn-paper polar bear
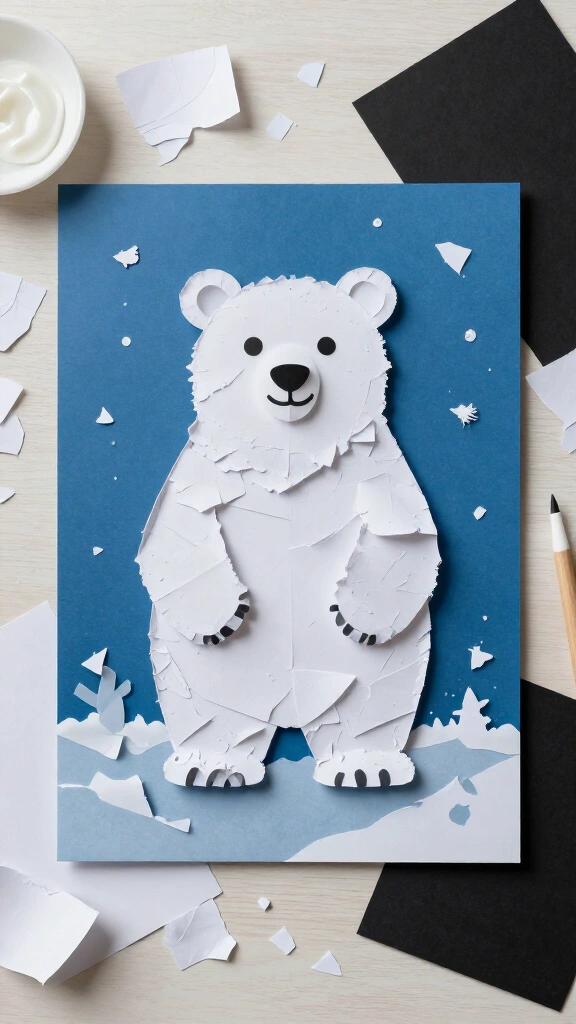
Put down the scissors and tear some paper instead. Draw a simple polar bear outline on blue cardstock, tear white paper into small pieces, and glue the pieces inside the outline. Add black paper eyes and a nose, plus a snowy background if you like.
The uneven edges give the bear a fluffy look without complicated cutting. For younger children, offer larger pieces and draw a broad outline that leaves plenty of room for glue. For another animal project, try these polar bear craft ideas.
5. Folded paper pine trees
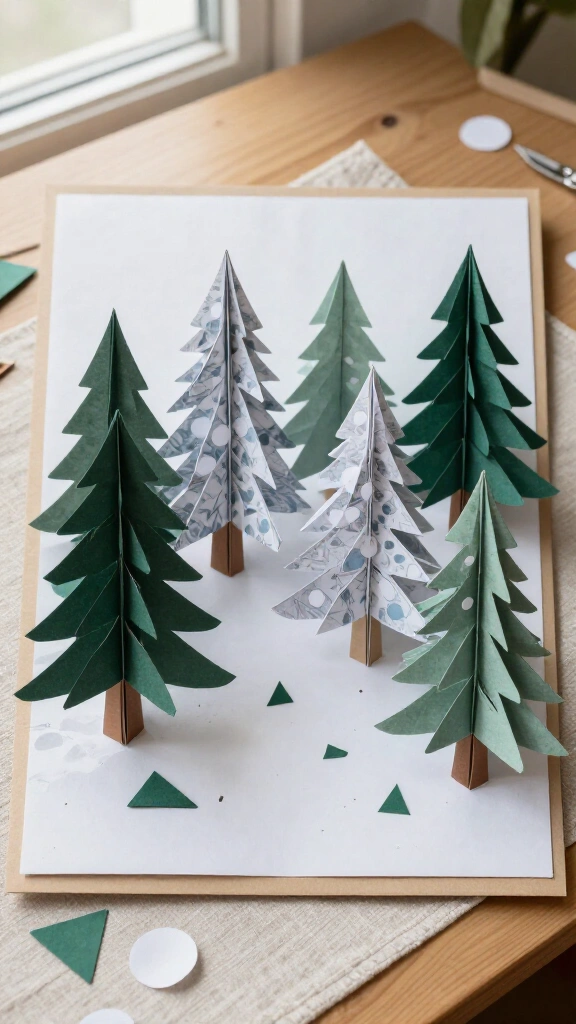
Make a miniature winter forest with green paper and a few folds. Cut several triangles, accordion-fold each one from bottom to top, and pinch the center gently to shape the branches. Glue each tree onto a card or stand it against a folded paper base.
Use triangles of different sizes to give your forest depth, then add tiny white paper circles for snow. Mix dark green and pale green paper, or throw in some patterned scraps. Your trees don’t have to match.
6. Paper plate snow globe
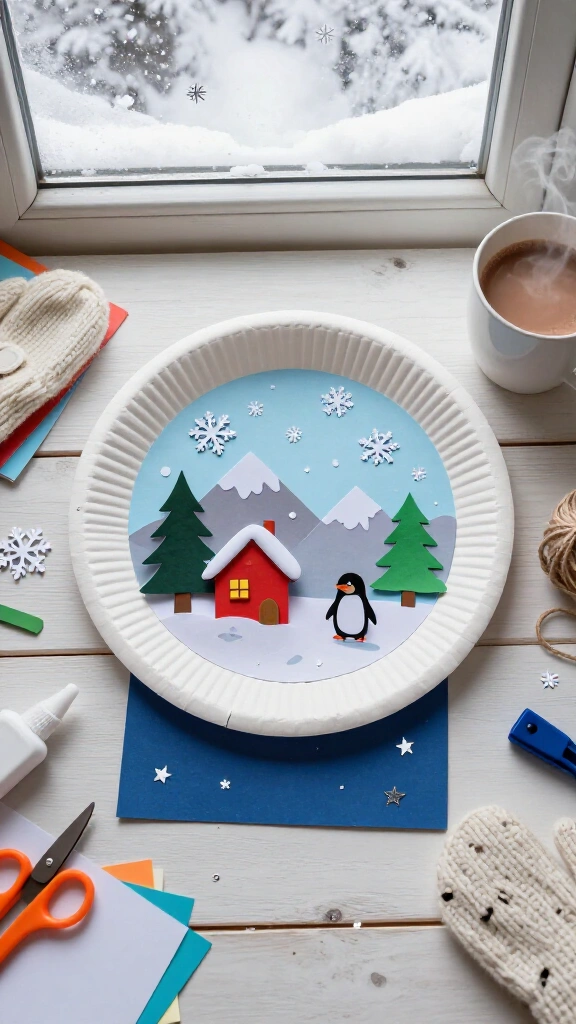
Make a snow globe without water, glass, or spills. Cut a small winter scene from colored paper and glue it inside a paper plate. Add white paper snowflakes, then attach a cardstock rectangle underneath as the globe’s base.
Kids can put a snowy house, a penguin, or a mountain scene inside their globe. They can also write a name or a winter message on the base. Keep the design flat if you want to hang it on a door.
7. Three-dimensional paper snowflakes
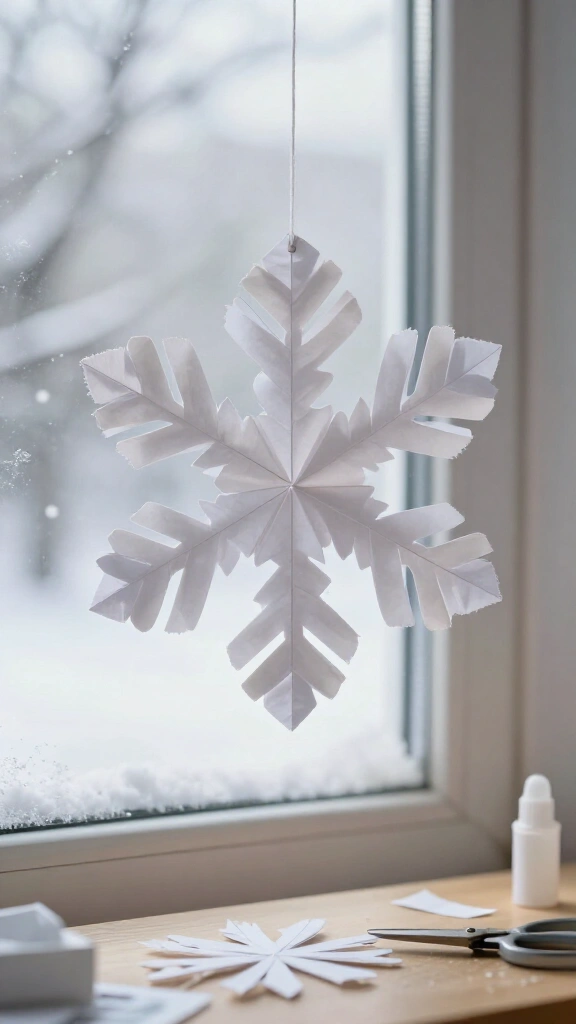
For a snowflake with more dimension, fold a square of paper diagonally and cut several parallel slits toward the center. Stop before you cut all the way through, then unfold the paper. Curl and glue alternating pairs of strips together. Repeat with more squares and join the finished sections in the middle.
Make a small test version first so you can practice the cuts. Six sections create a full shape, though you can use fewer. Hang the snowflake with thread where it can turn gently without touching a heat source.
8. Penguin paper bag puppets
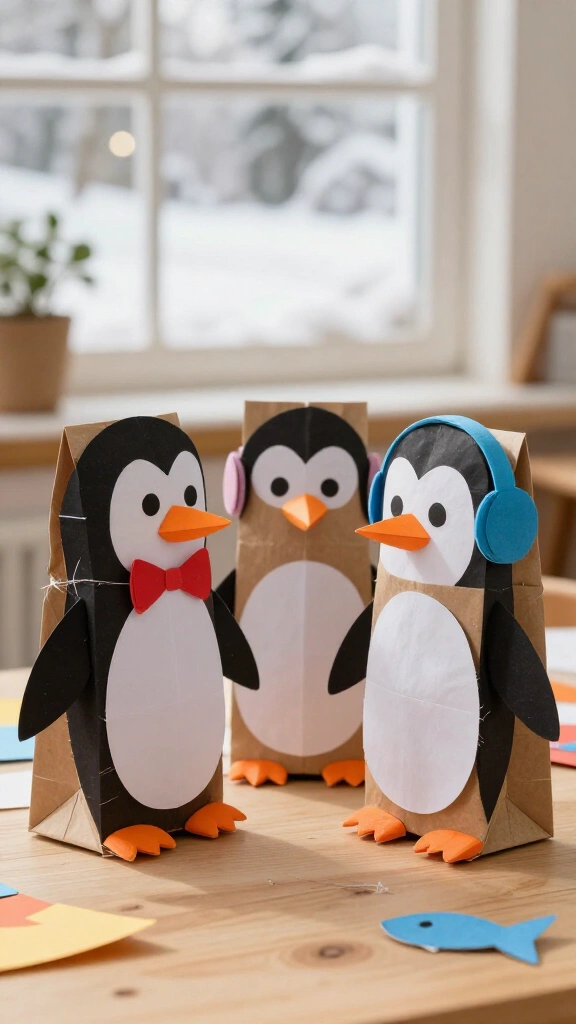
Turn a paper lunch bag into a penguin for a snowy-day puppet show. Glue a white oval onto the front for its belly, then add black paper wings and an orange paper beak. Place the eyes and beak on the folded bottom of the bag so the flap becomes the puppet’s face.
Slip a hand inside and move the flap to make your penguin talk. Give each puppet a paper bow tie or earmuffs, then let your cast argue about fish. For younger children, draw the eyes instead of using small craft pieces.
9. Winter village paper houses

Make a tabletop village with small paper houses. Cut a simple house silhouette from cardstock, fold a narrow tab along the bottom, and tape the tab to a cardboard base so the house stands upright. Add contrasting paper doors, windows, and snow-covered roofs.
Arrange the houses at different distances on the base, with paper trees between them. For a cozy glow, place a battery-operated LED light nearby instead of using a flame. This project works well for a group because everyone can design one building.
10. Paper strip icicle curtain
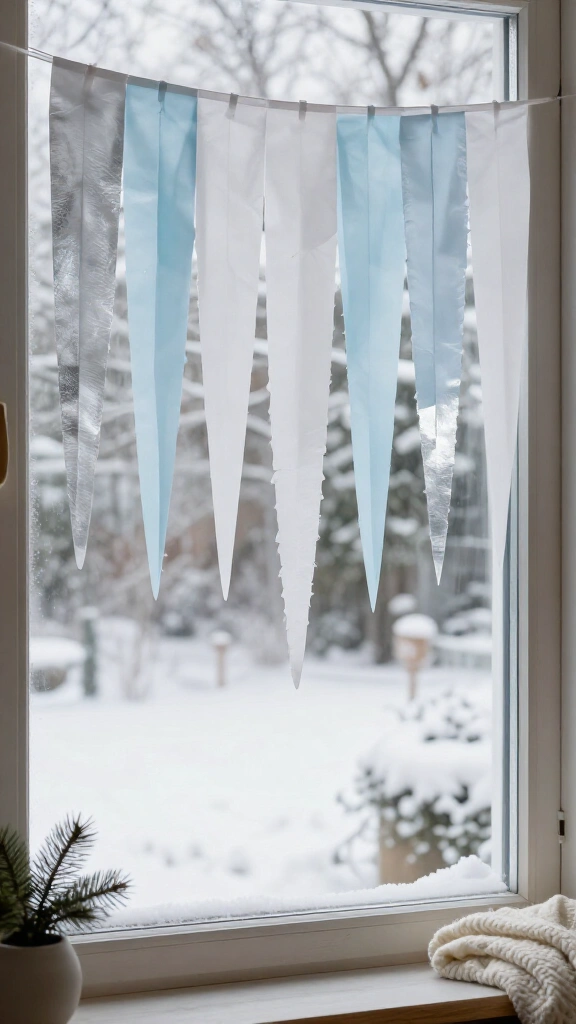
Hang a row of paper icicles in a window, and you won’t have to worry about drips. Cut long, narrow triangles from white, pale blue, or silver paper, then tape their wide ends along a strip of string or ribbon. Cut them in different lengths to give the curtain a less uniform look.
Attach the string securely across a window frame or hang the icicles directly from a removable strip of tape. Keep cords away from young children, and check that your tape suits the surface before you decorate. Add a few paper snowflakes between the icicles if you like.
11. Snowy owl collage
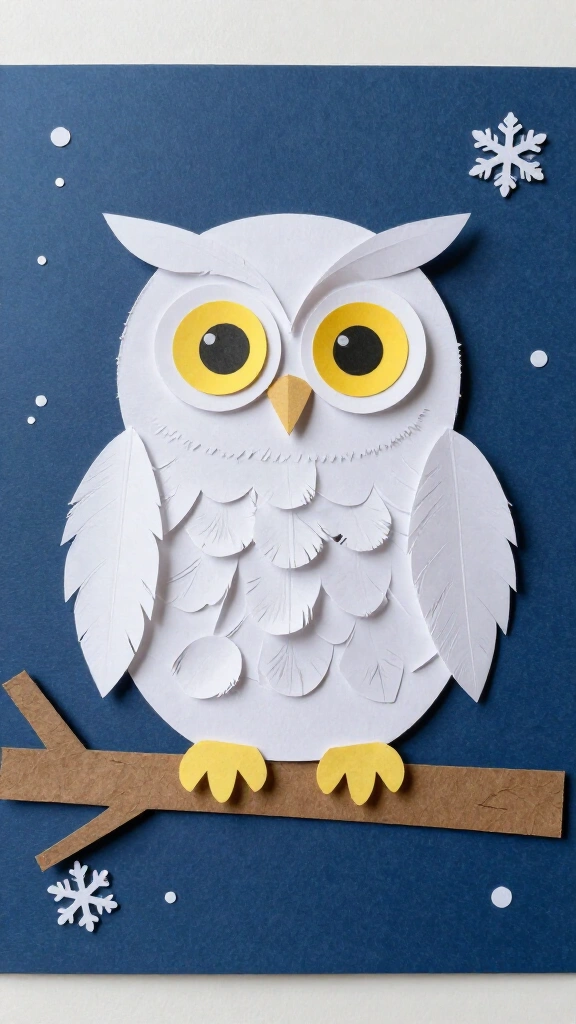
Layer paper shapes to make a wide-eyed owl on a winter branch. Start with a white oval body, add two large circular eyes, and glue a small triangle underneath for the beak. Snip or tear white paper feathers and overlap them across the body.
Place your owl on a brown paper branch against a dark blue background. Add yellow paper around the pupils for contrast, or draw fine feather marks with a gray pencil. The layers add detail, while the simple shapes keep the project easy to tackle.
12. Pop-up snowy scene card
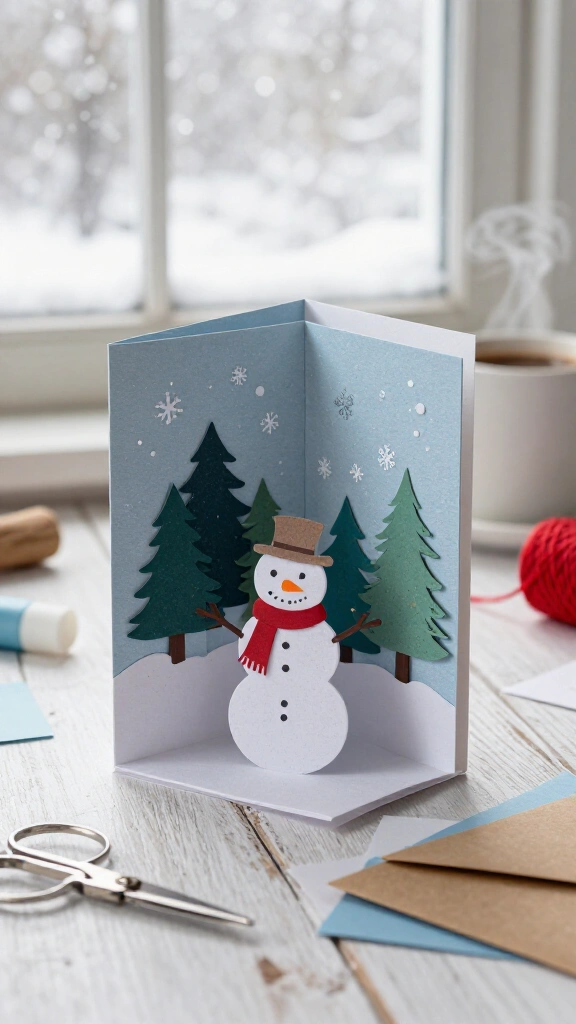
Send someone a winter surprise in the mail. Fold a piece of cardstock in half, make two short parallel cuts through the folded edge, and push the section between the cuts inward to create a pop-up tab. Glue a paper snowman, tree, or house to the front of the tab.
Glue a second folded sheet around the outside to hide the cuts, but keep glue away from the moving tab. Test the card before adding bulky decorations so everything folds neatly. Write a note inside for a greeting with a personal touch.
13. Paper weaving winter hat
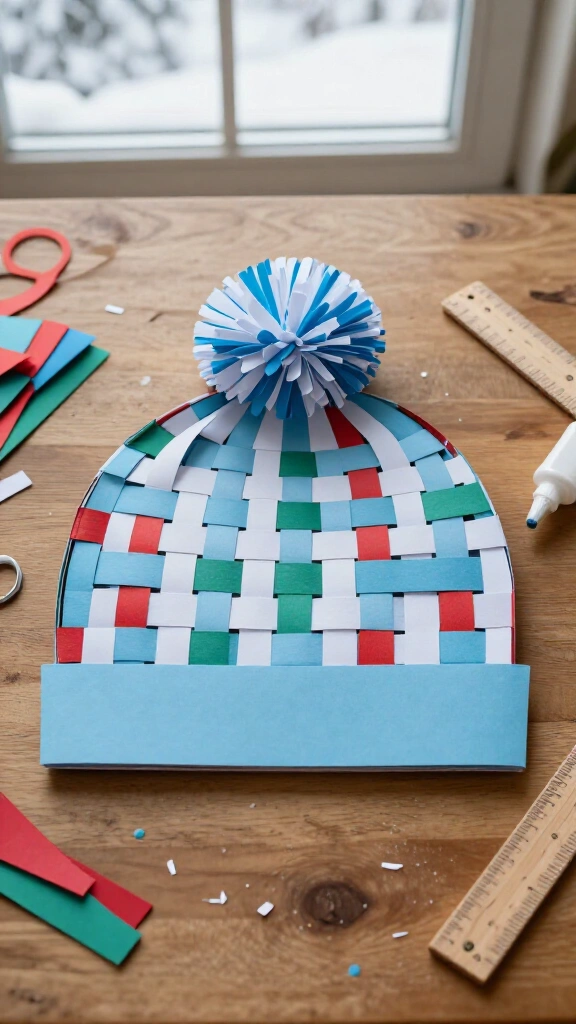
Make a winter hat with woven paper strips. Cut a large hat shape from cardstock, fold it gently in half, and make parallel cuts from the fold toward the edge without cutting through the border. Open the hat and weave narrow paper strips over and under the slits.
Alternate colors to create a checked pattern, then glue the strip ends on the back. Add a paper pom-pom and a wide brim to finish the design. Cut the strips slightly narrower than the spaces between the slits so you can weave them neatly.
14. Recycled paper winter mosaic
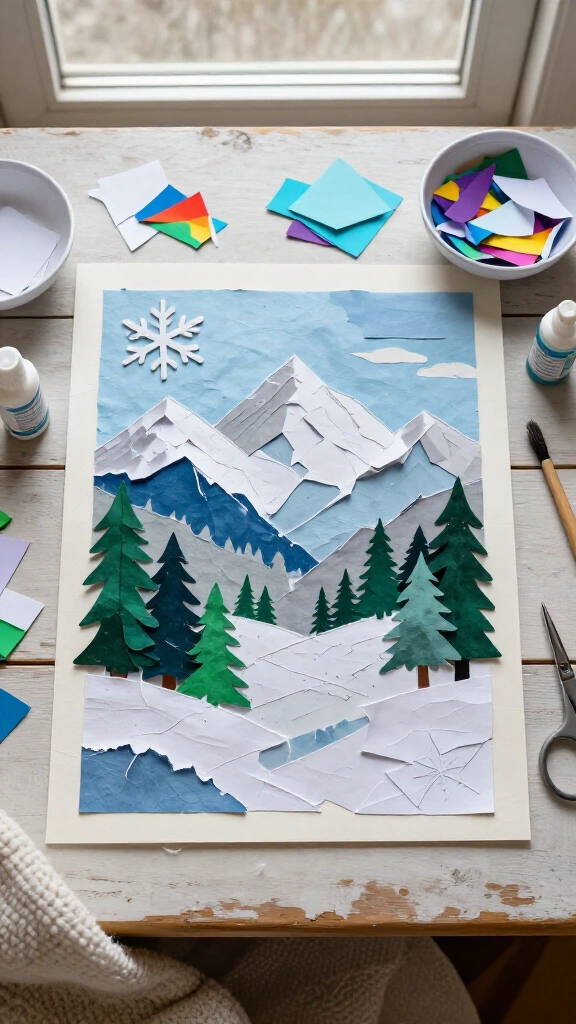
Use leftover paper to make a winter mosaic. Sketch a simple snowflake, evergreen, or mountain scene on sturdy paper, then fill the shapes with small pieces of torn or cut paper. Arrange the colors first, and glue them down once you like the layout.
Try cool blues for shadows and white scraps for snow, or ignore those colors and make a rainbow blizzard. Sort any leftover materials according to your local recycling guidance; the U.S. Environmental Protection Agency’s recycling resources offer a starting point. Save larger scraps for your next crafting session.
A few tips for your snow-day craft session
Choose projects that fit your group’s ages and attention spans, and prepare tricky cuts before younger children join in. The U.S. Consumer Product Safety Commission’s art and craft safety guide offers practical advice for selecting and using supplies safely.
Keep scissors, glue, and paper in separate containers so cleanup takes minutes instead of the rest of the afternoon. If you plan to hang your creations, choose a spot away from candles, fireplaces, and other heat sources; the National Fire Protection Association’s home fire safety resources cover more ways to keep your space safe.
Make your own winter wonderland
You can make these winter paper crafts without expensive supplies, whether you choose a delicate snowflake or a whole paper village. Pick a project, give it your own spin, and don’t worry if it doesn’t turn out exactly as you imagined.
When the snow finally stops, you might even wish for one more indoor day. Just don’t blame the paper penguins if they demand a sequel.