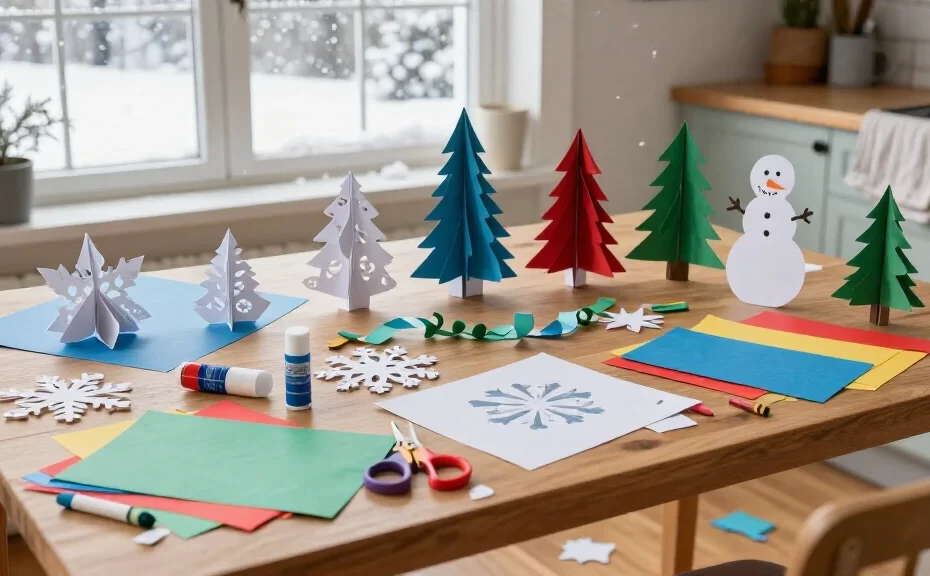
A snowy day and a few sheets of paper can turn the kitchen table into an art studio. Grab some scissors, make room for a few scraps on the floor, and try these winter paper crafts with the kids or make a decoration you’ll want to keep.
Gather construction paper, glue sticks, crayons, and child-safe scissors before you start. An adult should handle tricky cuts for younger children, supervise small supplies, and choose projects that suit each child’s abilities.
1. Fold-and-cut paper snowflakes
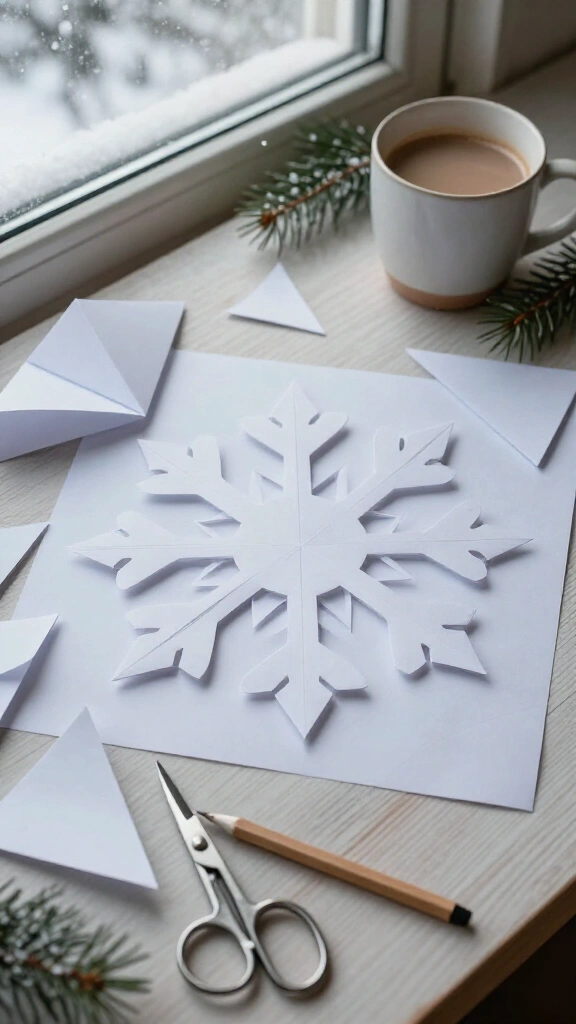
Unfolding a paper snowflake always brings a little suspense. Will you find a masterpiece or a fancy paper doily? Start with a square of lightweight paper, fold it diagonally into a triangle, and fold the triangle into thirds. Trim the top into a wedge, then cut small shapes along the folded edges.
Open your design slowly so you don’t tear the delicate points. Leave some paper along both folded sides to keep the snowflake together, and try curves, triangles, and tiny notches. For more patterns, browse these paper snowflake DIY ideas.
2. Accordion-fold paper snowmen
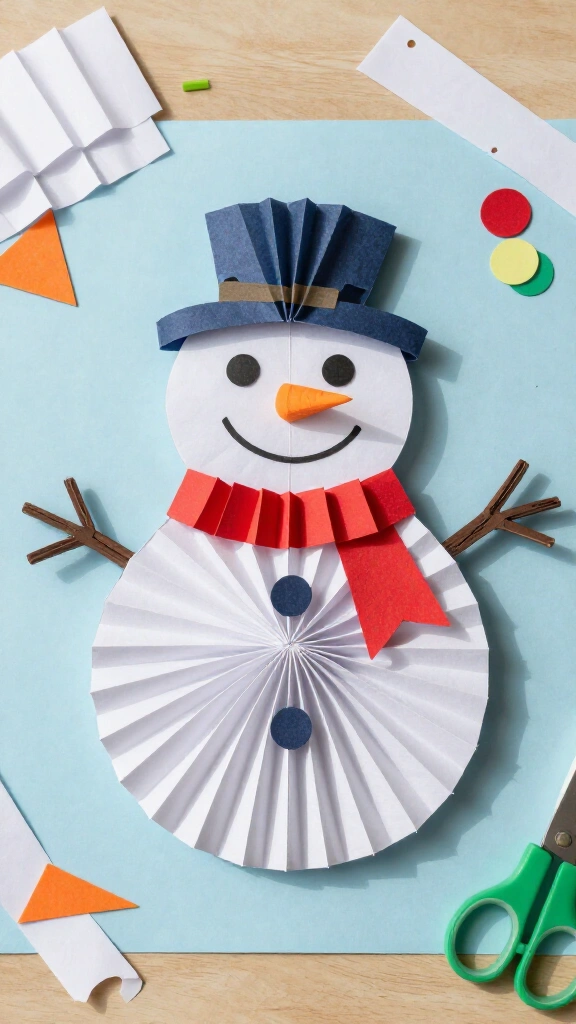
Two white paper strips and a few folds give this snowman some dimension. Fold each strip back and forth like a fan, then join the ends of each strip to make two rings. Press each ring inward to create a circular rosette, and glue the smaller rosette above the larger one on a sturdy paper backing.
Add a carrot-shaped orange nose, paper buttons, and a bright scarf. Craft tip: Hold the centers down while the glue dries, or use a small paper circle to help secure each rosette. Give your snowman a black construction-paper hat to finish it off.
3. Winter forest paper silhouettes
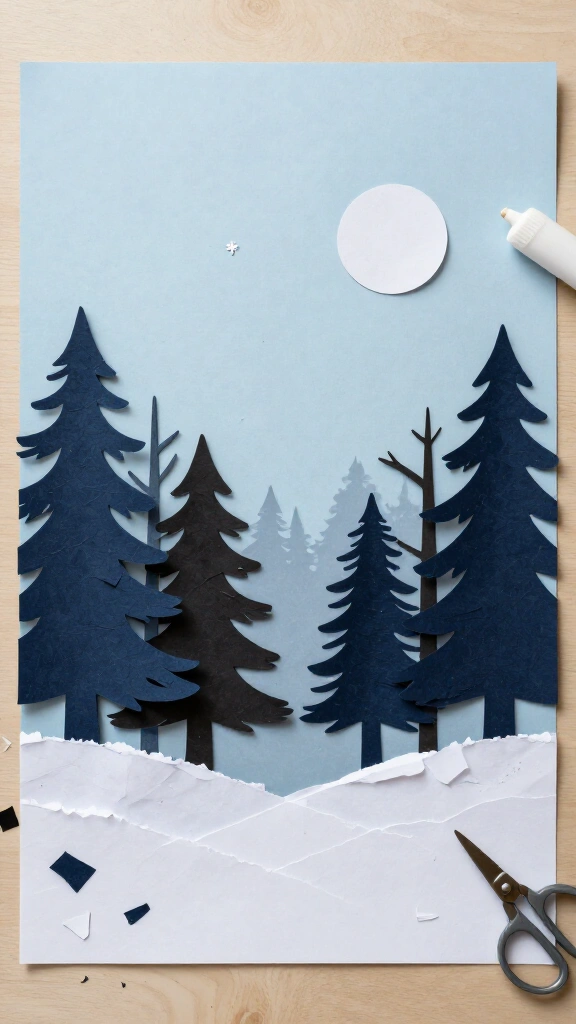
Make a quiet winter forest with dark paper trees against a pale blue background. Draw simple triangle-shaped evergreens or bare branches on black or navy paper, cut them out, and glue them across the bottom of a larger sheet. Add a white paper moon and torn-paper snowdrifts for contrast.
Layer the trees at different heights to suggest distance, and leave a little space between branches so the scene doesn’t feel crowded. This project works well with paper scraps, so save those odd-shaped leftovers. You might find the perfect tree hiding in the pile.
4. Paper plate penguin pals
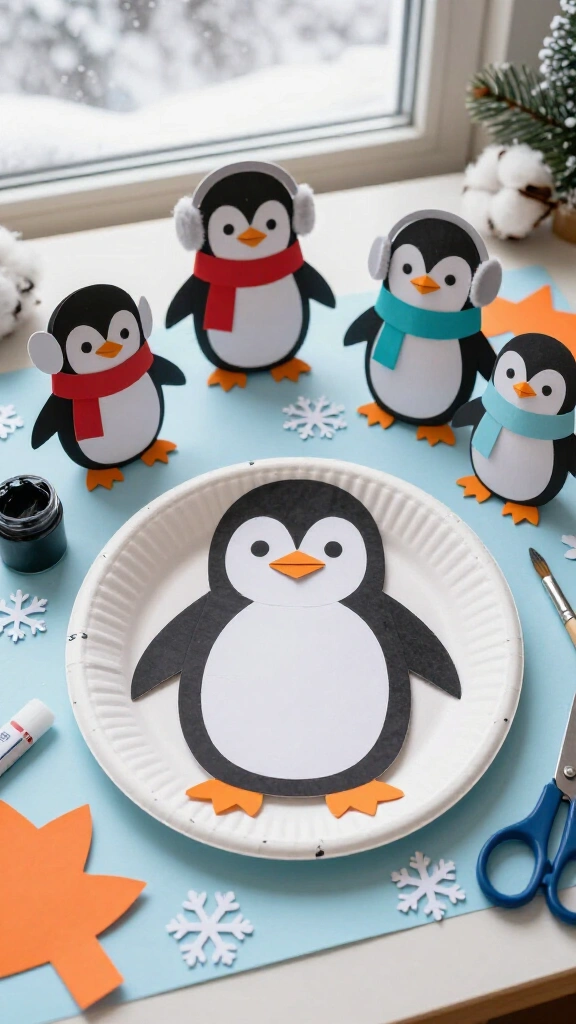
Turn a paper plate into a round-bellied penguin with a serious expression. Color or paint the outer portion black, leaving a white oval in the center, then add black paper wings, orange feet, and a folded orange beak. Draw the eyes directly on the plate or cut them from paper.
Let the paint dry before you attach the details, and use a glue stick for lightweight pieces. For a whole colony, make penguins in different sizes and add paper earmuffs or scarves. Find more cold-weather creatures among these winter animal crafts.
5. Tissue paper mitten collages
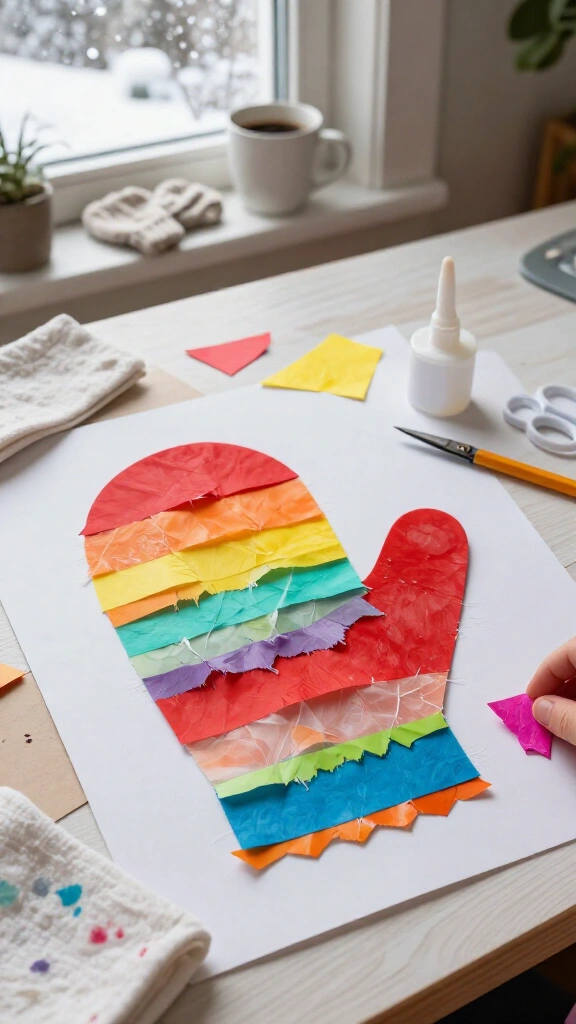
Trace a mitten shape onto cardstock and cut it out as the base for a colorful collage. Tear tissue paper into small pieces, brush a thin layer of glue onto the mitten, and press the pieces down in overlapping rows. Add a paper cuff, stripes, or a zigzag pattern once the first layer dries.
Tearing paper gives little hands an easier alternative to detailed cutting, while older kids can plan a more intricate pattern. Keep a damp cloth nearby for sticky fingers, and protect the table if your tissue paper releases color. Hang a matching pair side by side when you finish.
6. Three-dimensional paper snow globes
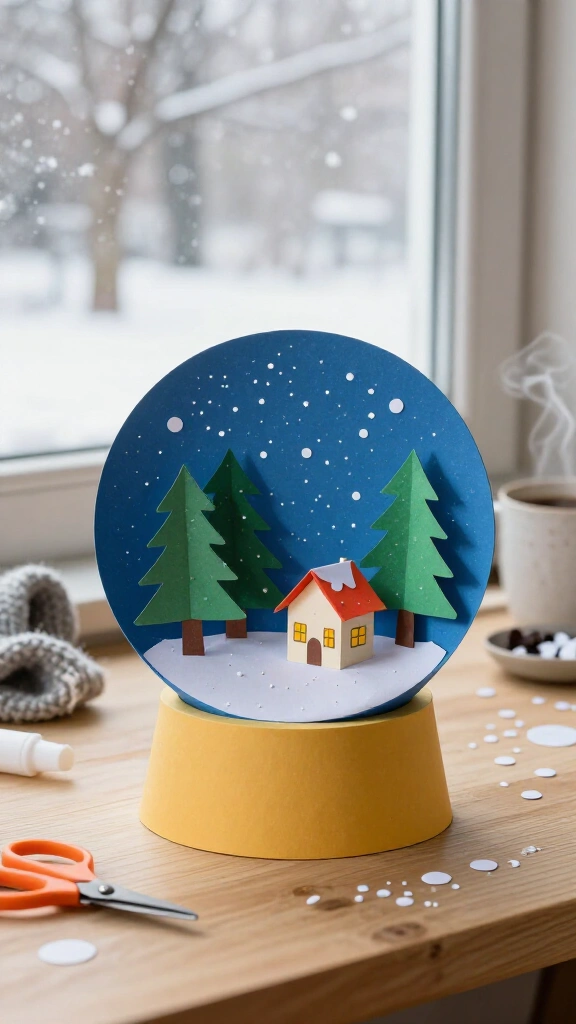
Make a snow globe scene without water, spilled glitter, or a search for a waterproof seal. Cut a large circle from blue cardstock and a trapezoid base from another color, then glue them together. Fill the circle with paper trees, a tiny house, and white punched-paper snow.
For dimension, fold narrow paper tabs behind the trees and glue the tabs to the background. The trees will stand slightly away from the page and give the scene a layered look. Keep tiny paper pieces away from children who might put them in their mouths, and ask an adult to operate the hole punch when needed.
7. Cupcake liner snowy owls
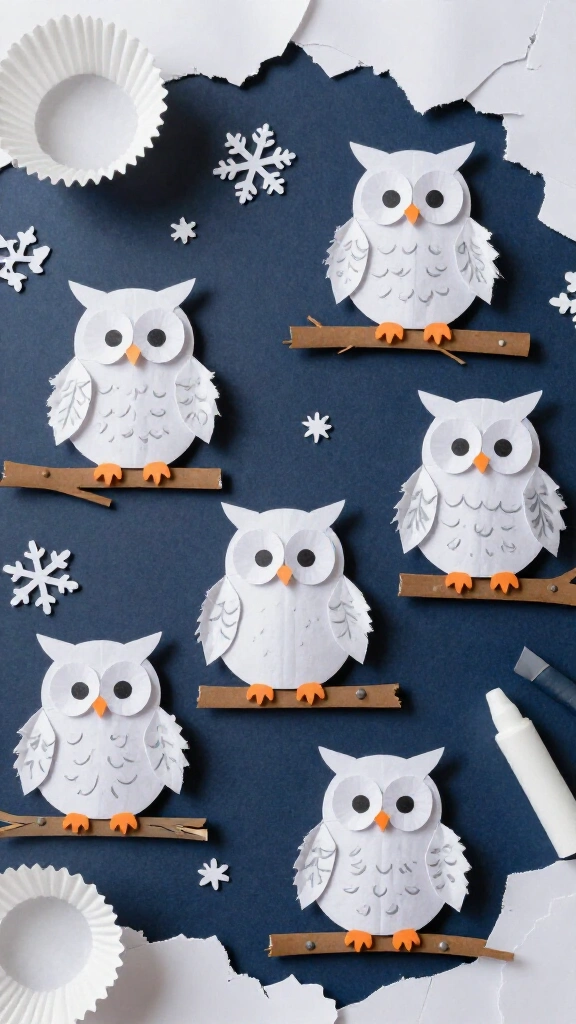
White cupcake liners give these owls textured feathers. Flatten one liner for the body, fold another in half for wings, and glue the pieces onto a dark paper background. Add two large paper eyes, a small beak, and a branch cut from brown construction paper.
Draw short feather marks with a gray crayon or add torn white paper around the edges for a fluffier look. You can also use a folded liner for the owl’s head and tuck it behind the body. Give each owl a different expression. Some might look happier about the snow than others.
8. Paper chain winter countdown
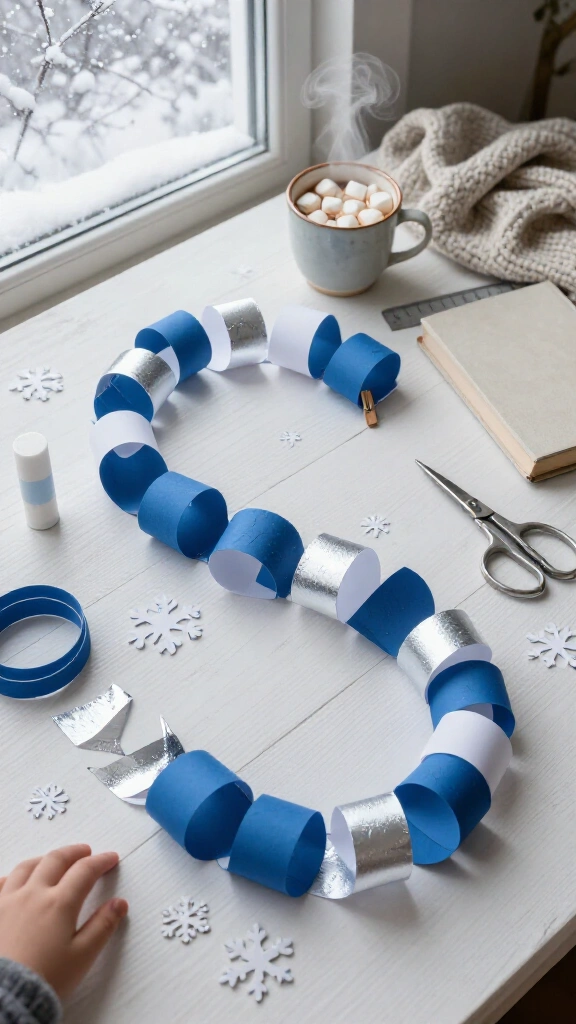
Count down to a winter birthday, school break, or family movie night with a paper chain. Cut equal-width strips from blue, white, and silver paper, then form the first strip into a loop and glue its ends together. Thread the next strip through that loop, close it, and repeat.
Write a simple activity on each strip before you assemble the chain: read a winter story, make cocoa, or take a walk when conditions allow. Remove one loop each day as the event approaches. Quick fix: Use a clothespin to hold each glued seam while it dries.
9. Folded paper evergreen trees

Make a tabletop forest with green construction paper and a few folds. Cut a large semicircle, roll it into a cone, and glue the overlapping edges. Snip short, evenly spaced cuts around the bottom edge, then gently bend the strips outward to suggest branches.
Decorate each tree with paper dots, drawn garlands, or a tiny star. Use different-sized semicircles to give your forest some variety, and flatten the cone’s bottom edge so it stands more easily. For more shapes and ready-to-print designs, browse these paper craft printable templates.
10. Snowy window paper mosaics
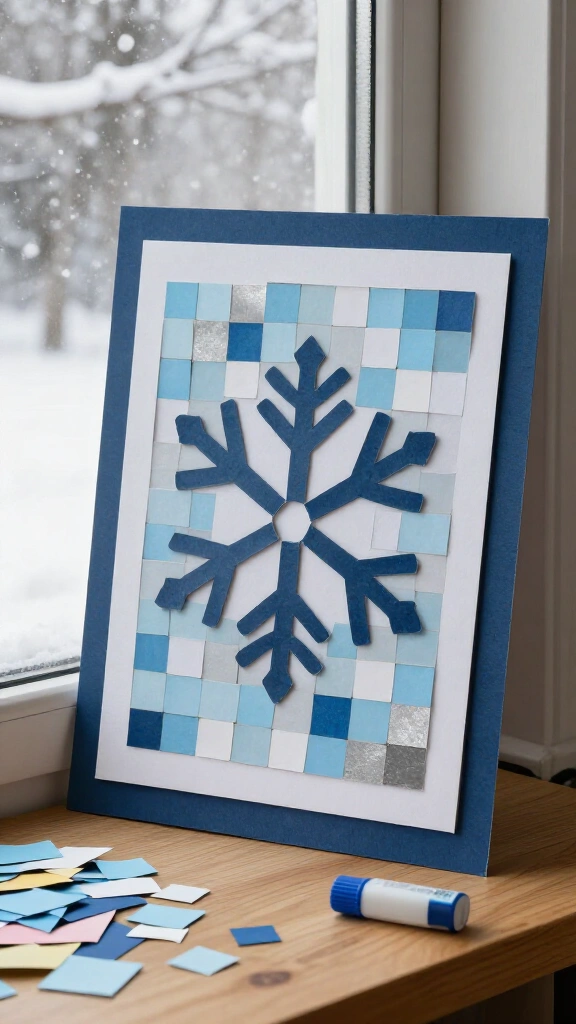
Turn small paper scraps into a winter window scene with a mosaic design. Draw a simple snowflake, mountain, or mitten on cardstock, then fill the outline with small squares of colored paper. Leave narrow gaps between the pieces to make them look like individual tiles.
Sort your scraps by color first, and work from the outer edge toward the center. A glue stick gives you more control than a puddle of liquid glue, especially around small shapes. Frame the finished artwork with strips of dark paper and display it near a window.
11. Pop-up winter village cards
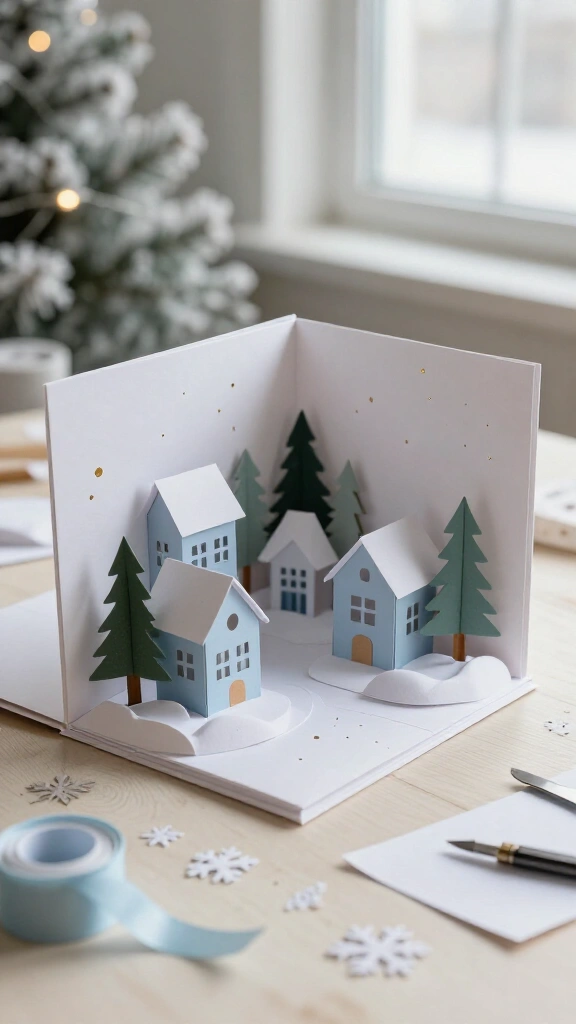
Make someone a card that opens to reveal a miniature winter village. Fold a sheet of cardstock in half, then make two short parallel cuts from the folded edge. Push the section between the cuts inward to form a pop-up tab, and glue a small paper house to the front of the tab.
Add more tabs for trees or snowbanks, but check that every piece fits inside the card before you glue it down. Cover the outside with a second folded sheet if you want to hide the cuts. Finish with a handwritten note to make the card personal.
12. Paper icicle garland
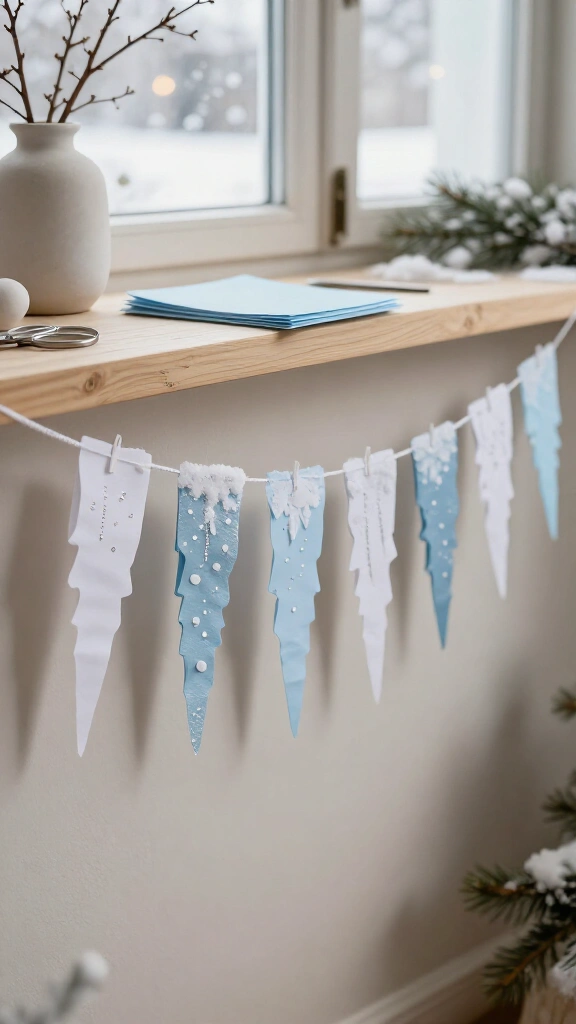
Bring a little icy sparkle indoors with a paper garland. Fold a long strip of white or pale blue paper lengthwise, then cut uneven points along the open edge while leaving the folded edge intact. Unfold the strip and trim individual points if you want a less symmetrical look.
Add silver pencil details or small white paper dots, then tape the garland along a shelf or wall. Choose tape that suits the surface, and keep decorations away from heaters, candles, and other ignition sources. For general home fire safety guidance, visit the U.S. Fire Administration.
13. Torn-paper polar bear portraits
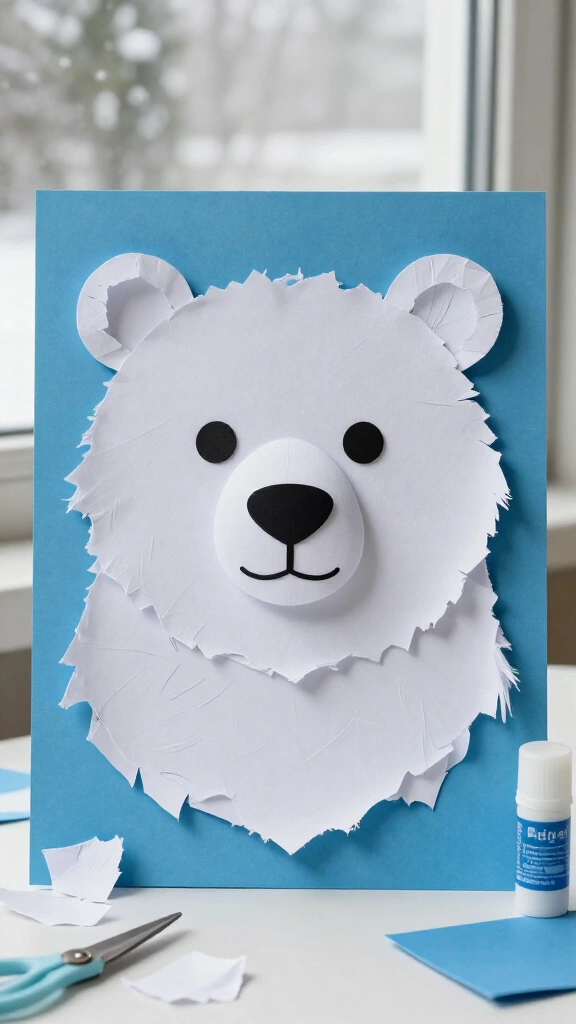
Torn paper gives a polar bear a soft, shaggy look without complicated drawing. Tear white paper into medium pieces and overlap them on blue cardstock to form a large rounded head. Add two rounded ears, a white muzzle, and black paper shapes for the eyes and nose.
Start with a pencil outline if you want a guide, but don’t worry about perfectly smooth edges. The irregular pieces give the bear its shaggy texture. For young children, offer larger pieces and paper facial features rather than tiny embellishments that could pose a choking risk.
14. Recycled paper winter lanterns
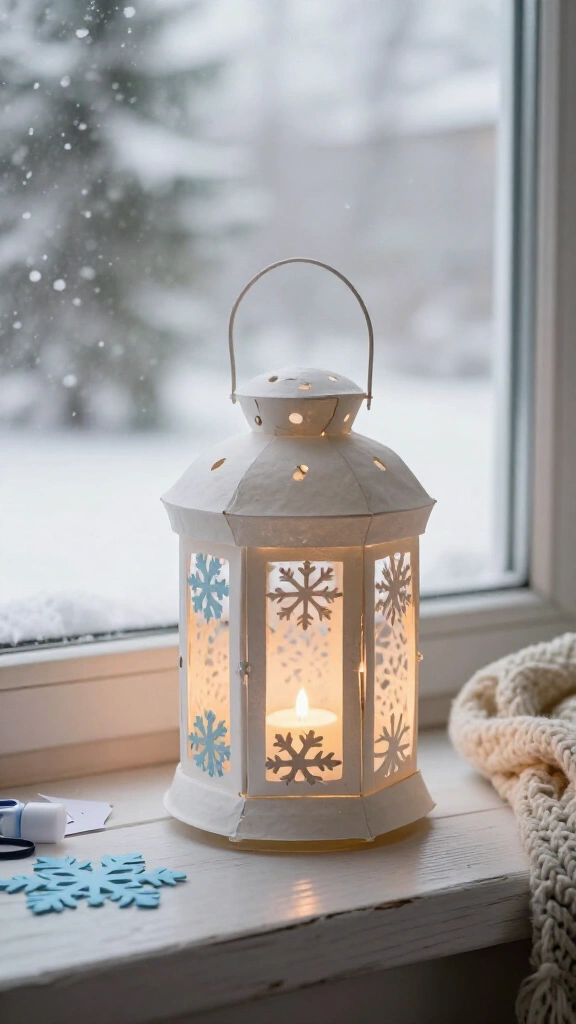
Turn an old sheet of paper into a decorative lantern. Fold a rectangular sheet in half lengthwise, make parallel cuts from the folded edge toward the opposite edge, and stop about an inch before the edge. Unfold the sheet, bring the short ends together, and glue or tape them to form a cylinder.
Add a paper handle and snowflake cutouts, then place the lantern over a battery-operated LED light only. Never use a candle or other open flame. Reuse clean paper when you can, and check local recycling rules before discarding decorated scraps. The U.S. Environmental Protection Agency’s recycling guide offers a useful starting point.
Make your snow day a creative one
Paper snowflakes and pop-up villages both start with ordinary supplies, but each one can look different in your hands. Pick one project for a quick afternoon activity, or combine a few to build a whole snowy scene across the table.
Keep the instructions flexible, save useful scraps, and let everyone add their own twist. If the snow keeps falling, you might have time to make another project tomorrow.