
When the days turn chilly, coming home to a cozy room feels like a small winter escape. You don’t need a designer budget or a closet full of craft supplies to make your space feel warm and welcoming.
These winter decorations DIY projects
1. Make a frosted pinecone garland
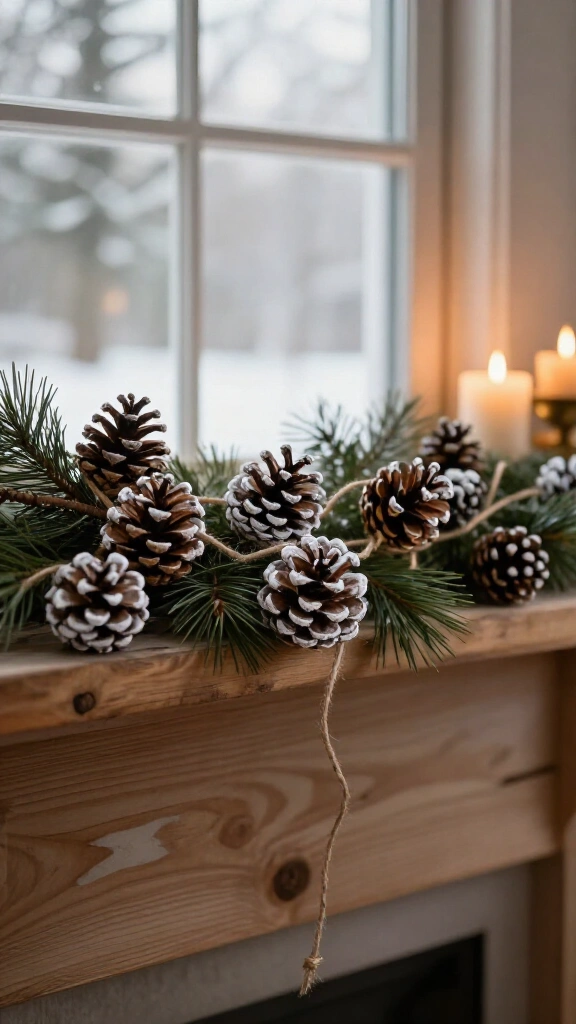
Gather pinecones, twine, and white paint for a garland with a woodland feel. Brush a little paint onto the tips, let it dry, and tie each cone to a length of sturdy twine. Space them evenly or cluster a few together for a more relaxed look.
Hang the garland across a mantel, shelf, or window frame. Tip: Choose clean, dry pinecones and check them for insects before bringing them inside.
2. Create a cozy sweater pillow cover
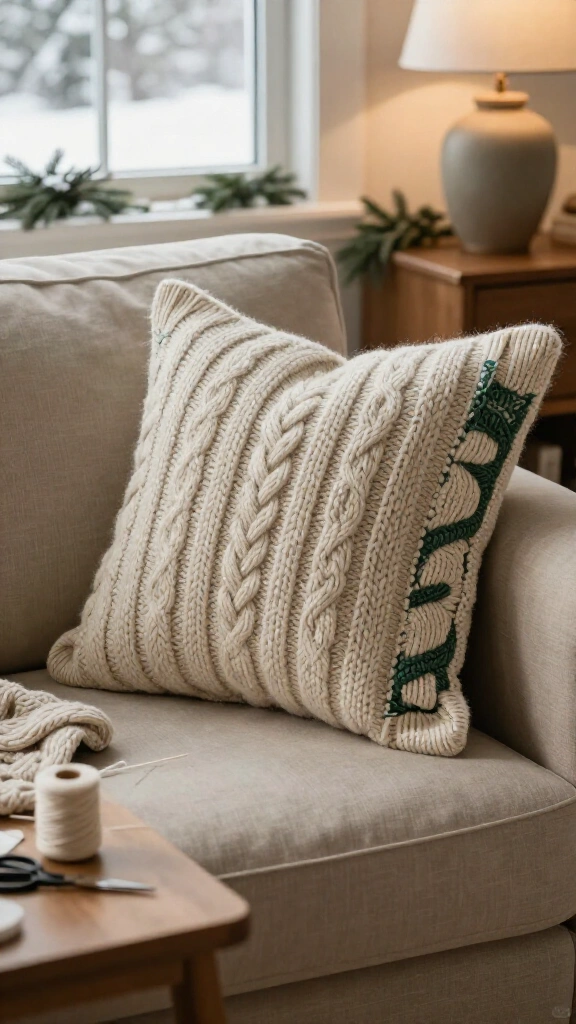
Turn an old sweater into a textured pillow cover. Cut two squares slightly larger than your pillow insert, place the right sides together, and sew around three sides. Turn the cover right side out, add the insert, and stitch the final edge closed.
Cable knits and chunky wool blends work especially well for winter. If you don’t sew, try a fabric adhesive suitable for the sweater material and follow the manufacturer’s drying instructions.
3. Craft paper snowflakes for the windows

Paper snowflakes make inexpensive winter decor that catches the light at a window. Fold a square of paper into a triangle several times, snip small shapes along the folded edges, and open it to reveal your design. Arrange a flurry across the glass with removable tape.
Mix large and small flakes for depth, or use parchment-style paper for a softer look. For another way to turn everyday paper into art, explore these creative newspaper crafts.
4. Assemble a winter greenery wreath

Start with a grapevine wreath and tuck in short sprigs of evergreen, eucalyptus, or realistic faux greenery. Secure the stems with floral wire, then add a ribbon in cream, burgundy, or deep green. For a natural, gathered look, arrange the greenery asymmetrically.
Choose faux branches if you want to reuse the wreath, or replace real greenery as it dries. Hang the wreath indoors or on a sheltered door to protect the materials from harsh weather.
5. Build a battery-operated mason jar lantern

Fill a clean mason jar with a short strand of battery-operated micro LED lights. Tie a ribbon around the neck, then place the jar on an entryway table or bookshelf. The glass catches the light, and the jar takes up little shelf space.
Follow the light manufacturer’s instructions and keep the battery pack accessible. For more information on efficient lighting options, the U.S. Department of Energy explains LED lighting.
6. Make a no-sew fleece blanket

A soft throw can make a sofa look inviting and give you somewhere warm to curl up. Lay two equal-size pieces of fleece together and remove a small square from each corner. Cut matching fringe around the edges, then tie corresponding strips into knots.
Choose a plaid and a coordinating solid for a reversible blanket. Drape it over a chair in your reading nook, ready for the next cold afternoon.
7. Design a dried orange garland

Slice oranges thinly and arrange them in a single layer on a lined baking sheet. Dry them in an oven on a low setting, turning them occasionally and watching closely. The timing varies with slice thickness and oven temperature. Let the slices cool completely before threading them onto twine.
Alternate orange slices with cinnamon sticks or wooden beads for extra texture. Store the garland only when the fruit feels fully dry, and discard any slices that develop mold.
8. Paint a snowy wooden sign
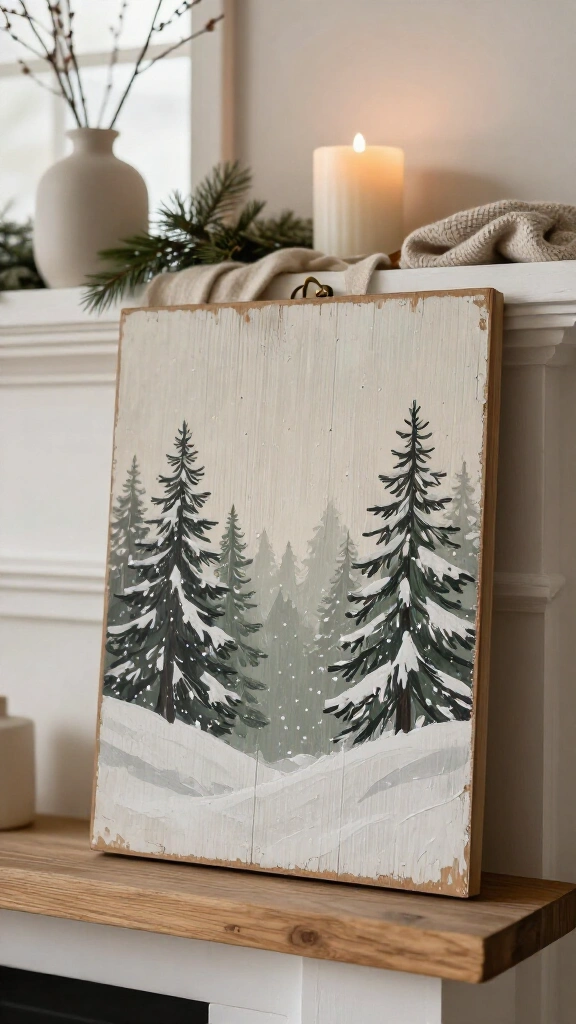
Give a small wood panel a seasonal look with craft paint and a simple message. Try “Hello, Winter,” a tiny evergreen forest, or a scattering of white dots. Sand rough edges first, then let each paint layer dry before adding details.
Lean the sign on a mantel or attach suitable hanging hardware to the back. Choose neutral colors if you want to keep it up after you put the holiday decorations away.
9. Put together a faux snow terrarium

Build a miniature winter scene inside a wide glass container. Add a shallow layer of craft snow or white decorative sand, then arrange a tiny house, bottlebrush trees, and a miniature deer. Use tweezers to position the trickier pieces.
Display your terrarium on a coffee table or bookshelf, away from curious pets and young children who might grab the small pieces. Skip the water and let the little scene stand on its own.
10. Make air-dry clay snowflake ornaments

Roll air-dry clay to an even thickness and cut snowflake shapes with cookie cutters. Poke a hanging hole near the top of each ornament, then let the pieces dry according to the package directions. Once the clay dries, add paint or a simple stamped pattern.
Hang the ornaments from branches, knobs, or a garland. For more techniques and ideas, browse these easy air-dry clay ideas.
11. Wrap glass vases in cozy fabric

Dress up plain vases with strips of felt, flannel, or leftover sweater fabric. Wrap the material around each vase, trim it to fit, and secure it with fabric adhesive or a removable ribbon. Leave the top open for branches or dried stems.
Group containers of different heights for a simple centerpiece. If you add water for fresh greenery, keep the fabric above the waterline and wipe up spills promptly.
12. Create a rustic branch display
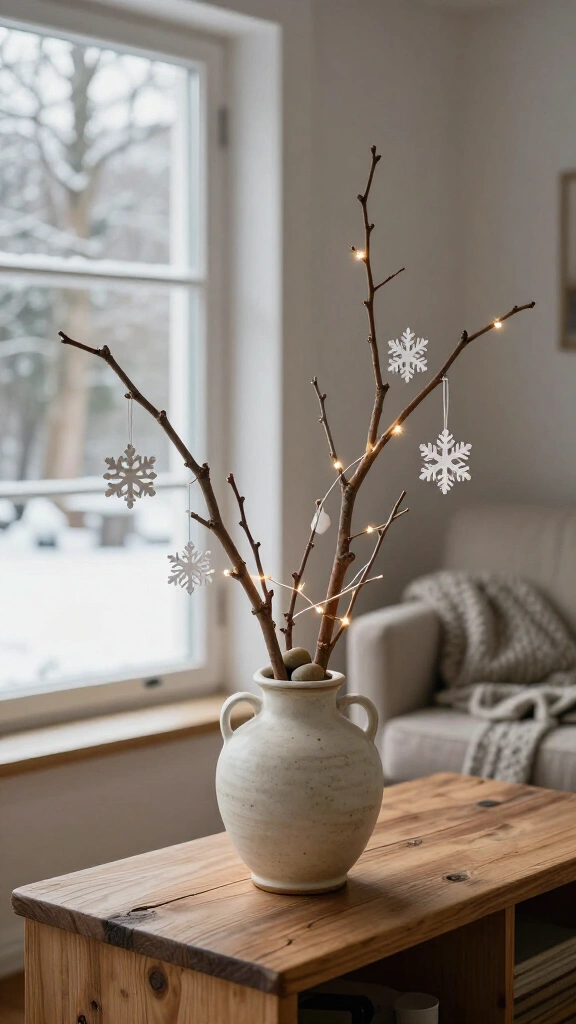
Arrange a few clean, dry branches in a sturdy vase for a simple display. Look for branches with interesting shapes, then add lightweight paper snowflakes, clay ornaments, or a strand of battery-operated lights.
Use stones or floral foam to stabilize the branches if the vase needs support. Keep the arrangement away from walkways, and choose a stable surface where nobody will catch a sleeve on it.
13. Sew a felt evergreen forest
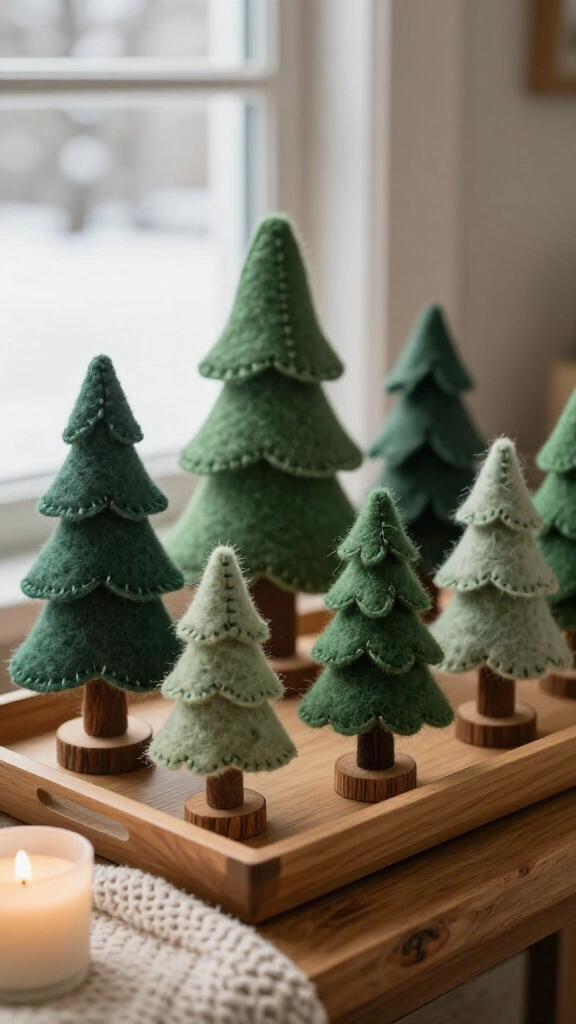
Cut pairs of triangle shapes from green felt, then stitch each pair together around the edges. Leave a small opening, add a little stuffing, and sew it closed. Attach each tree to a small wooden base or arrange the soft trees in a shallow tray.
Mix moss, sage, and forest green to give the little forest some depth. Don’t worry about making every tree even. A few crooked stitches can give them the charm of something you made by hand.
14. Decorate a winter tray centerpiece
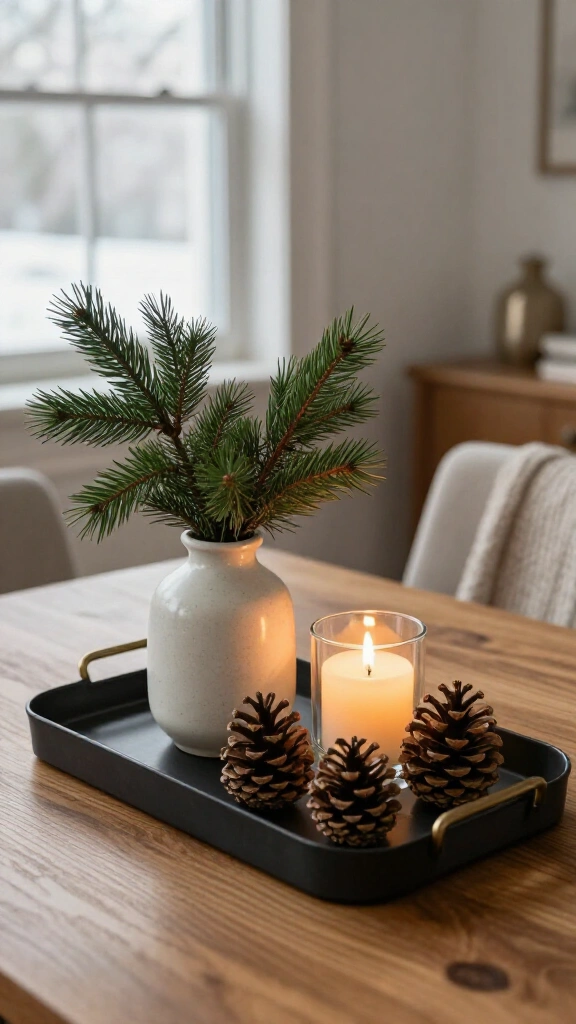
Gather a tray, a small vase, a few pinecones, and an LED candle for a centerpiece you can put together in minutes. Group objects of different heights, then tuck in a sprig of greenery to tie the arrangement together. Leave some empty space so the display doesn’t feel crowded.
A tray makes cleanup easy when you need the table for dinner. If you prefer real candles elsewhere in your home, review the National Fire Protection Association’s candle safety guidance and keep flames away from decorations.
15. Knit a chunky table runner
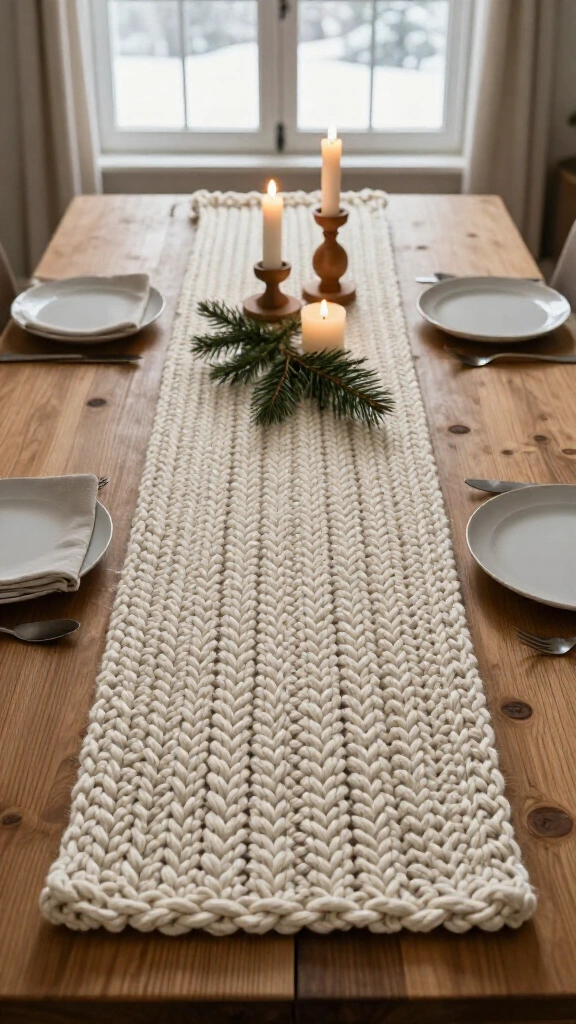
A simple knitted runner adds softness to a dining table without covering the whole surface. Use bulky yarn and large needles, then work a basic garter stitch until the runner reaches your preferred length. A narrower runner leaves plenty of room for place settings.
Choose washable yarn if your table sees frequent spills. Pair the runner with wooden candleholders and simple dishes for a cozy everyday table.
16. Craft twine-wrapped star ornaments

Cut star shapes from sturdy cardboard and wrap each one with twine, securing the ends with craft glue. Add a loop for hanging, or arrange several stars in a bowl with pinecones. Make the stars in different sizes to give the display some variety.
Natural twine gives the stars a rustic look, while cream yarn creates a softer finish. You can also tie a thin ribbon around the center for a little color.
17. Make a snowy village from paper

Turn white cardstock into a miniature village for a mantel or shelf. Draw simple house outlines with tabs, cut them out, and fold the tabs so the buildings stand up. Add doors and windows with a fine-tip pen, or carefully cut out a few window shapes.
Arrange the houses at different depths and place battery-operated lights behind them for a gentle glow. Keep the paper away from flames and hot light sources.
18. Style a basket of winter textures

Fill a woven basket with rolled blankets, spare pillow covers, or a few neatly stacked scarves. Combine knits, fleece, and flannel in related colors so the basket looks like part of the room rather than a pile of laundry.
Set the basket beside the sofa or near a guest room chair. Everyone can grab an extra layer without asking where you keep the blankets.
19. Hang a pinecone and ribbon door swag

Gather several clean pinecones and tie a length of ribbon or twine securely around each stem end. Bring the ribbons together at different heights, knot them, and finish with a generous bow. Add a few faux evergreen sprigs if you want a fuller arrangement.
Hang the swag from a sturdy hook on an interior door or sheltered exterior door. For more seasonal ideas, check out these DIY winter decorations for a cozy home.
Bring your cozy winter wonderland to life
You don’t need a complete makeover to make your home feel warm in winter. A paper snowflake at the window, a textured pillow on the sofa, and some soft lighting can change the mood of a room without stretching your budget.
Start with materials you already own and choose projects that fit your space. You can always make more when an idea strikes. The decorations you choose should feel personal and leave plenty of room for a mug of something warm.