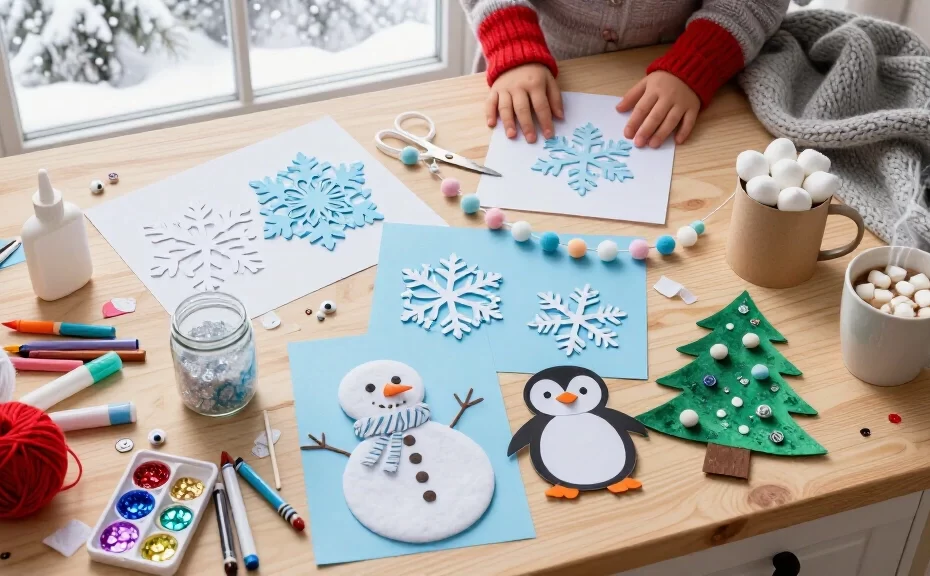
Snow days sound magical until someone announces, “I’m bored,” before breakfast ends. Put some paper and glue on the table, and that long stretch indoors can turn into an afternoon of making things.
These 15 winter crafts for elementary kids use easy-to-find supplies and leave plenty of room for each child to make something different. Pick one for a quick afternoon activity, or pull out a few projects for a full snow-day craft session.
Quick safety note: Choose supplies that suit your children’s ages, supervise scissors and small pieces, and keep craft materials away from younger siblings who might put them in their mouths. The U.S. Consumer Product Safety Commission’s toy safety guidance offers reminders about age labels and small parts.
1. Fold-and-cut paper snowflakes
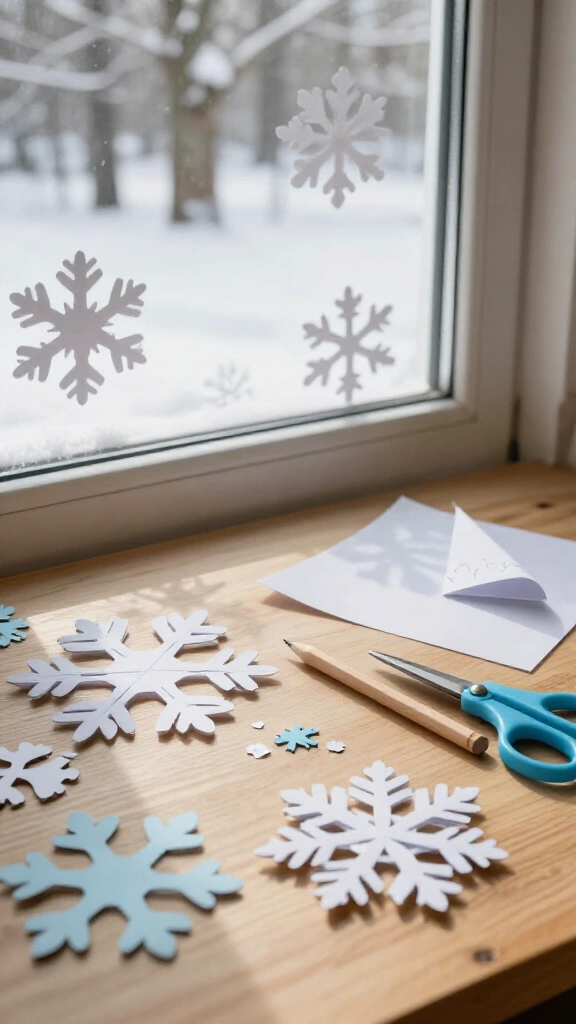
Paper snowflakes need almost no prep, and kids can make a different design every time. Grab white paper, child-safe scissors, and a pencil, then let them start snipping.
Fold a square of paper in half diagonally, then fold the triangle in half again. Kids can sketch small shapes along the folded edges and snip them out before opening their snowflake. Keep some folded edges intact so the snowflake stays together.
Tape the snowflakes to a window or hang them from a string. For an extra challenge, ask kids to predict how each cut will change the pattern.
2. Cotton ball snowy owl
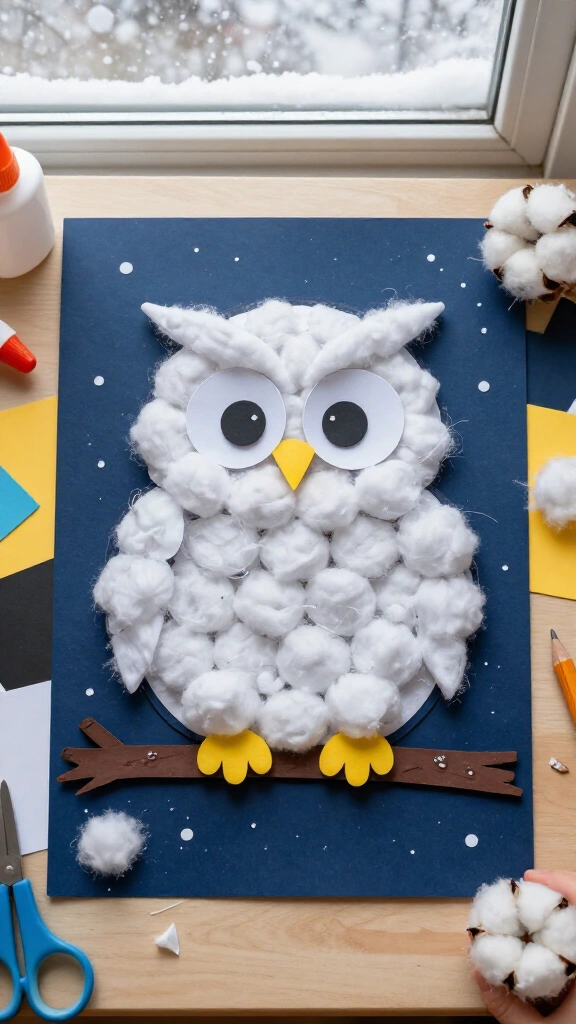
This fluffy owl can perch on a winter wall. Gather dark construction paper, cotton balls, glue, and scraps of white, yellow, and black paper.
Draw a large oval on the dark paper and let kids glue cotton balls inside it. Add paper eyes, a triangle beak, and two feet, then finish the scene with paper branches or falling snow.
Stretch the cotton balls apart before gluing to cover more space with less material. Younger elementary kids may enjoy using a simple template, while older kids can design their own owl shapes.
3. Paper plate polar bear
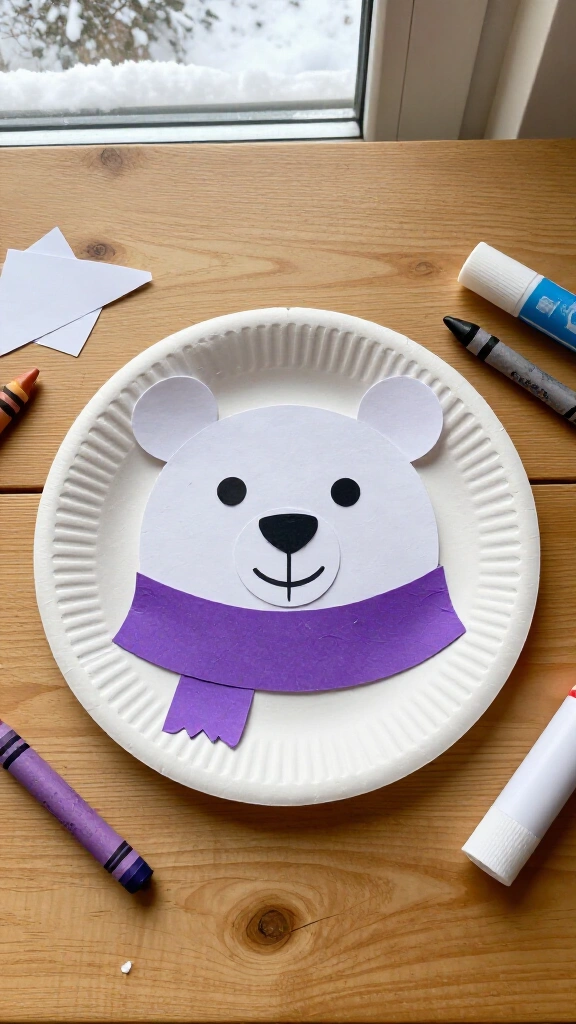
A few quick cuts turn an ordinary paper plate into a friendly polar bear face. You’ll need a white paper plate, white paper, glue, and crayons or markers.
Cut two rounded ears from the white paper and glue them behind the plate. Add paper eyes and a black nose, then draw a mouth and whatever other details your artist wants. Perhaps this bear needs a purple scarf.
While you work, talk about Arctic habitats. The World Wildlife Fund’s polar bear overview offers kid-friendly facts to start the conversation.
4. Mitten matching garland
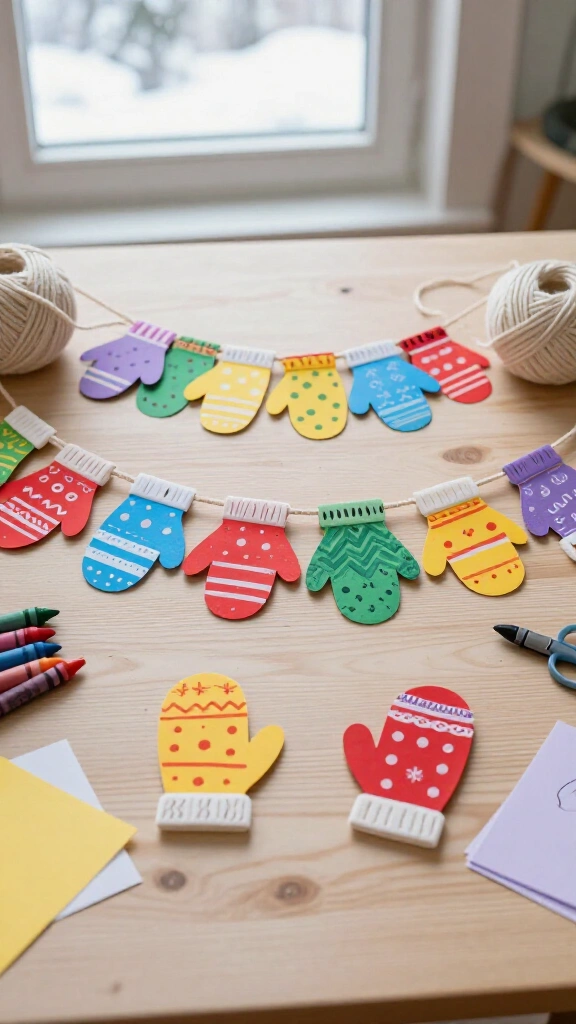
A string of patterned paper mittens can brighten a gray day. Gather construction paper, crayons, a hole punch, and yarn or string.
Trace a mitten shape onto folded paper and cut through both layers to make a matching pair. Kids can decorate each pair with stripes, dots, or repeating shapes, then punch holes near the cuffs and thread the mittens onto yarn.
For a pattern game, mix up the mittens and ask kids to match the pairs. You can find another cozy project in these winter hat crafts for little hands.
5. Coffee filter snowflake art
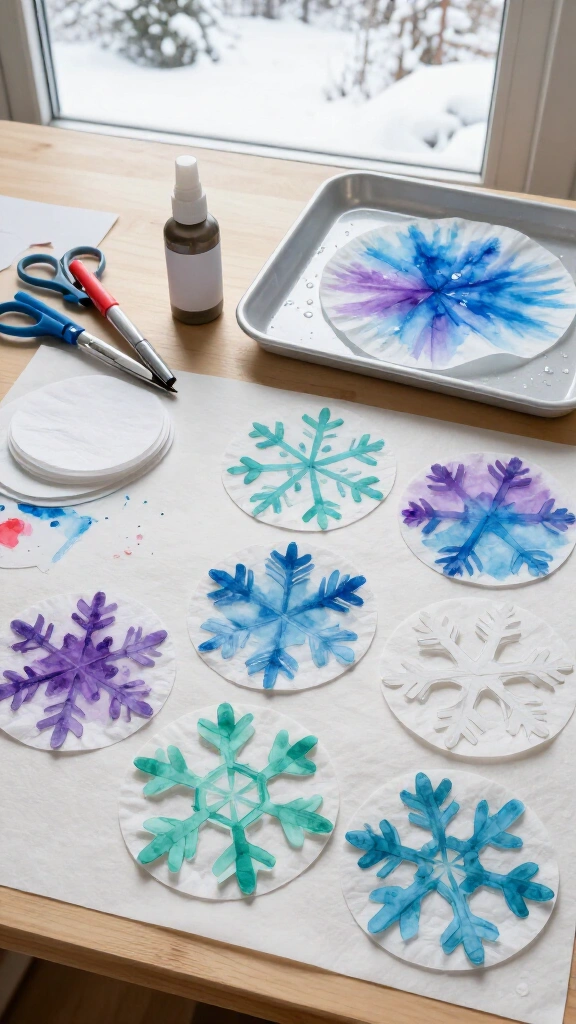
Coffee filters make lightweight snowflakes, and washable markers give them plenty of color. Set out round coffee filters, washable markers, a spray bottle of water, and a tray.
Kids can color the filters with broad patches of blue, purple, or any shades they like. Place each filter on the tray, mist it lightly, and watch the colors spread. Let it dry completely before folding it and cutting snowflake shapes.
Protect the table with a washable mat or tray, because marker colors can spread beyond the filter. Use just a little water at first; a soggy snowflake takes much longer to dry.
6. Cardboard tube penguin
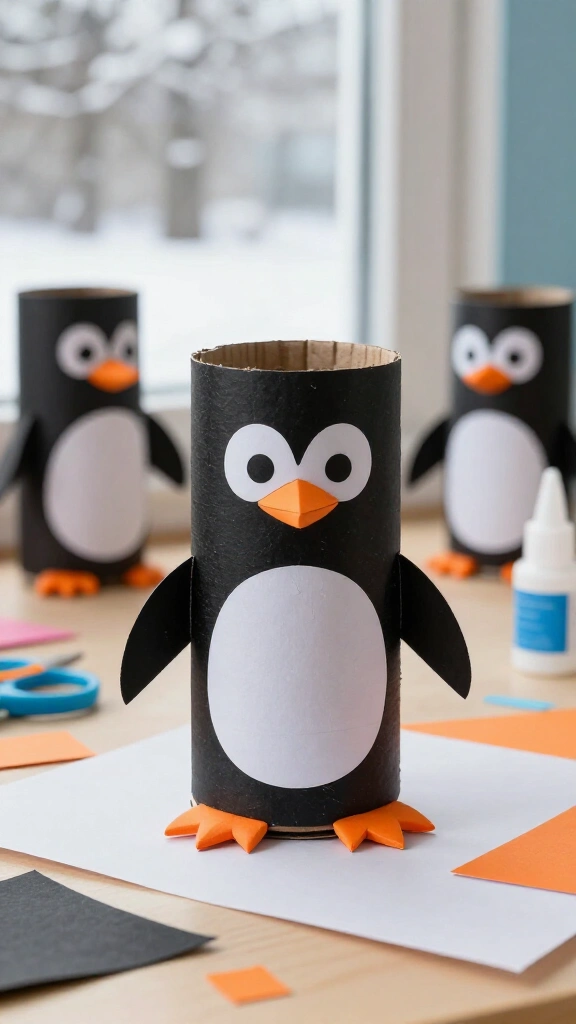
An empty cardboard tube makes a cheerful little penguin. You’ll need a clean tube, black and white paper, orange paper, glue, and scissors.
Wrap the tube in black paper and add a white oval belly. Cut out orange feet and a small beak, then draw eyes or glue on paper ones. Fold two black paper wings and attach them to the sides.
Make a whole penguin colony and invite kids to name each bird. You can also roll cardstock into a short tube if you don’t have an empty cardboard tube handy.
7. Snowy tissue paper tree
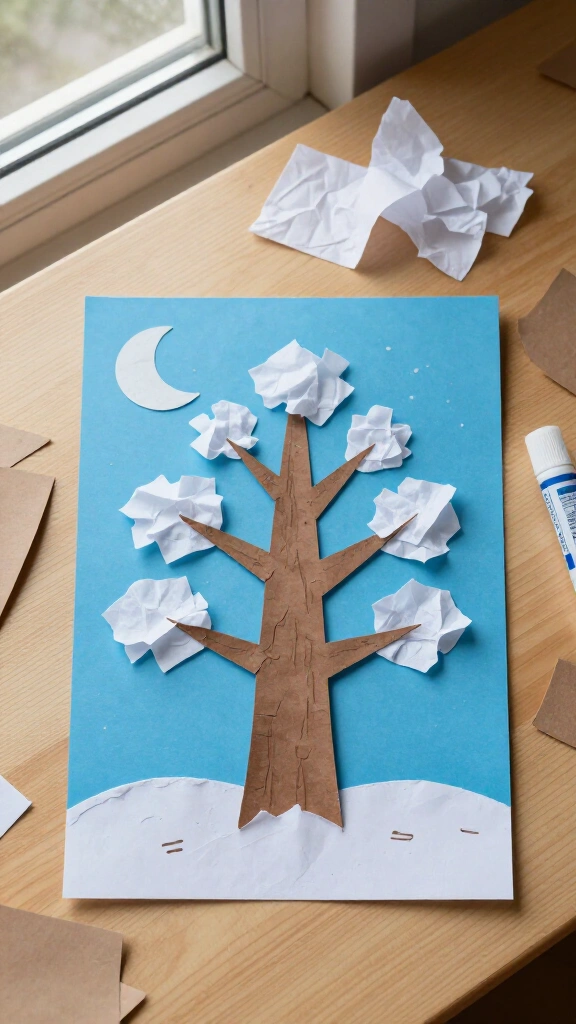
Kids can practice pinching and placing small pieces as they make a textured winter tree. Collect blue cardstock, brown paper, white tissue paper, and a glue stick or school glue.
Cut a brown trunk and several branches, then glue them onto the cardstock. Tear the tissue paper into small pieces, crumple each piece loosely, and glue the pieces along the branches like fresh snow.
Add a paper moon or draw a few animal tracks beneath the tree. If you want less mess, skip loose glitter and let the crumpled tissue provide the texture.
8. Paper snow globe scene
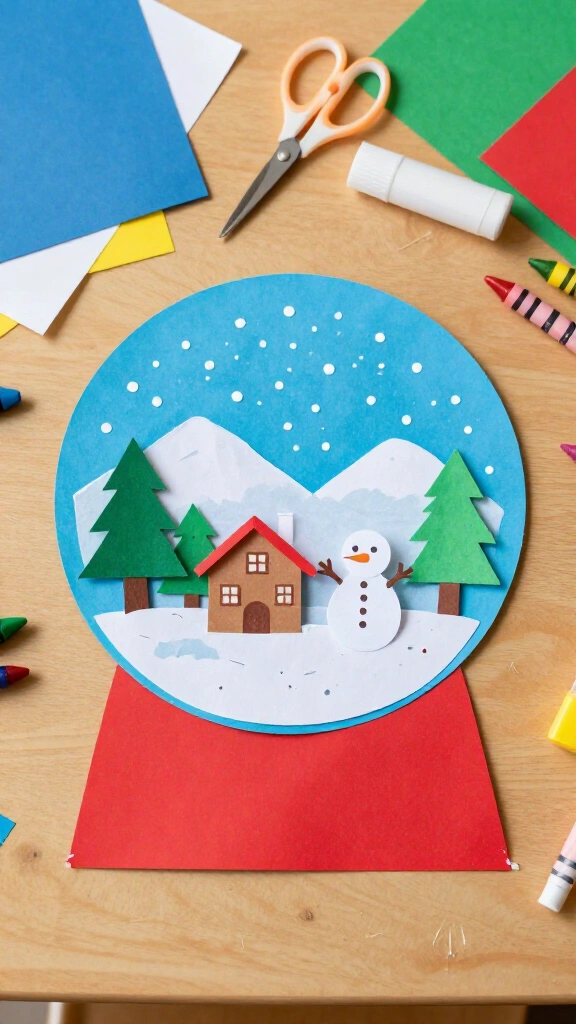
Kids can make their own miniature winter scene without glass or water. Grab blue paper, white paper, crayons, scissors, and glue.
Cut a large circle from blue paper and a rectangular base from another color. Kids can glue the circle to the base, then build a tiny scene inside with paper snowbanks, trees, houses, or a snowperson.
Add white paper dots for falling snow. Ask your child what happens inside the globe when nobody’s looking. You might hear a good story.
9. Yarn-wrapped cardboard snowflake
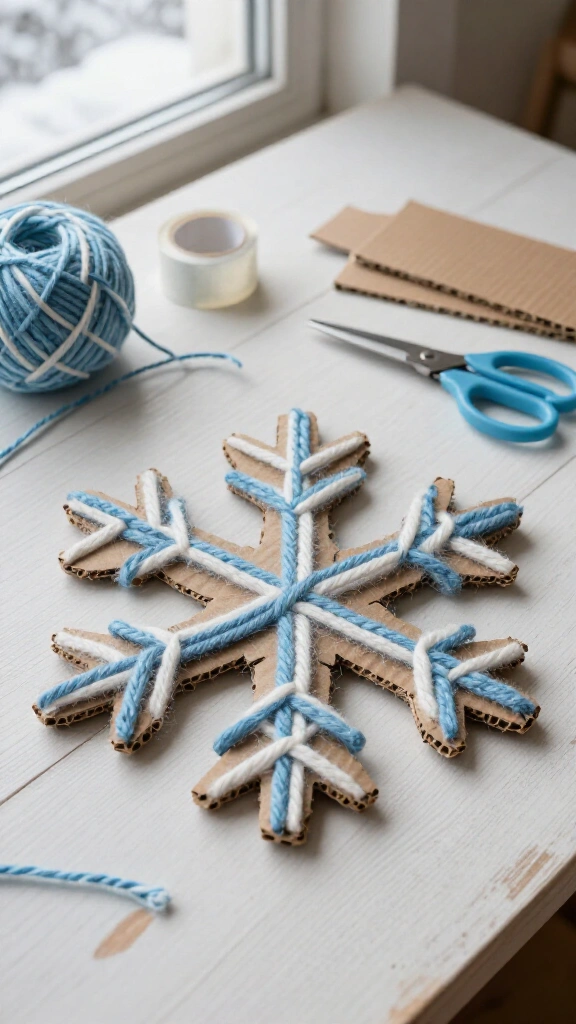
Kids who like to keep their hands busy may enjoy wrapping yarn around this snowflake. You’ll need sturdy scrap cardboard, yarn, scissors, and tape.
An adult can cut a simple six-armed snowflake from the cardboard. Tape one end of the yarn to the back, then let kids wrap it around the arms in different directions until they like the look. Tuck or tape the loose end on the back.
Choose thick yarn that kids can handle easily, and cut a manageable length so it doesn’t tangle around the whole table. Hang the snowflake with a separate short loop of yarn.
10. Paper bag winter village
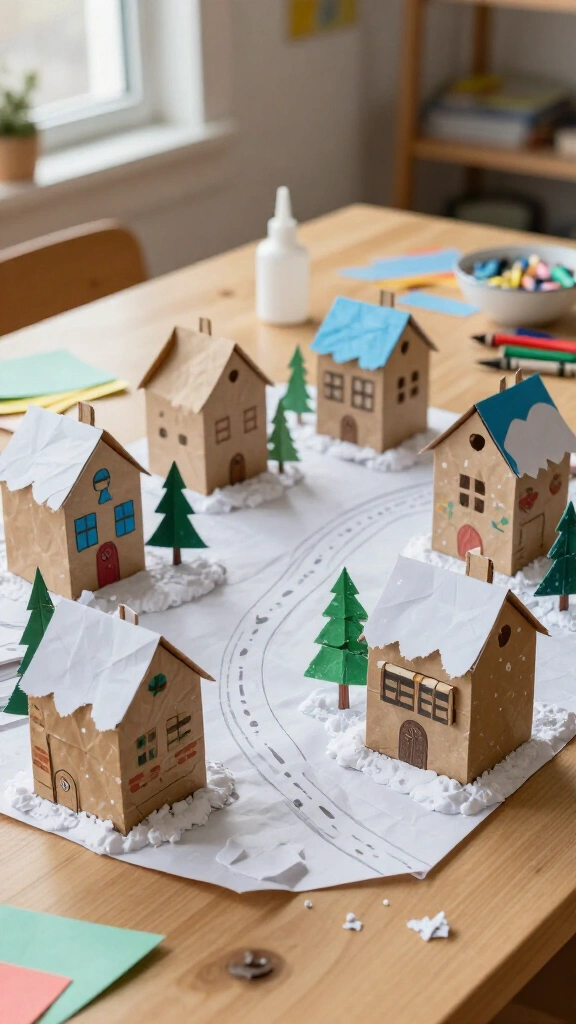
Build a snowy neighborhood from paper lunch bags, then make up stories about the people who live there. Gather paper bags, scrap paper, crayons, glue, and a little recycled paper for stuffing.
Kids can draw doors and windows on each bag, fill it loosely with crumpled paper, and fold the top closed. Glue on a folded paper roof and add white paper snow along the roofline.
Line up the houses on a table and add paper trees or roads. Who lives next door to the bakery, and why does their chimney always smell like cookies?
11. Watercolor winter resist art
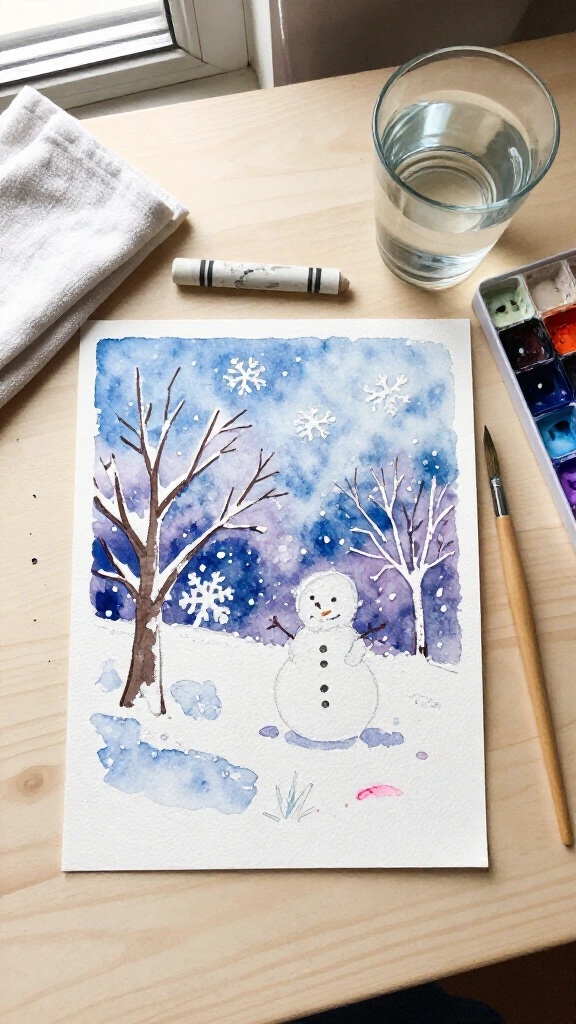
White crayon marks seem to appear out of nowhere when kids brush watercolor over them. Set out white paper, a white wax crayon, watercolor paints, a brush, and water.
Press firmly with the crayon to draw snowflakes, bare trees, or a snowperson on the paper. Brush diluted watercolor over the page and watch the waxy lines resist the paint. Blue and purple make a familiar winter sky, but kids might prefer a pink blizzard.
Let the painting dry flat before you display it. For a clearer result, remind kids to draw thick crayon lines rather than faint ones.
12. Puffy paper snowperson
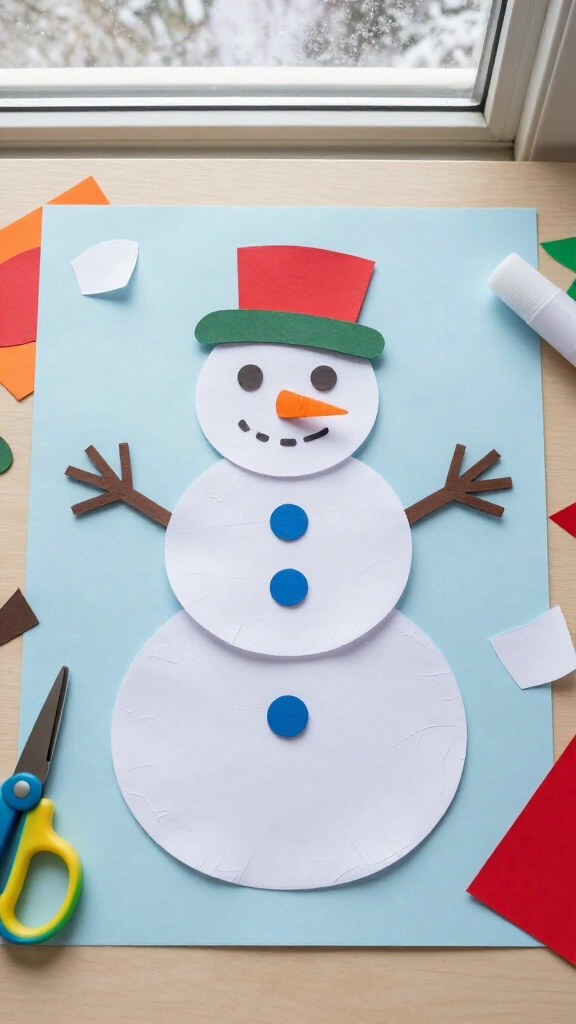
Paper strips give this snowperson a rounded shape. You’ll need white paper, colored scraps, scissors, and a glue stick.
Cut several white strips of similar length. Curve each strip into a loop and glue its ends together, then glue the loops onto a paper background in two or three clusters to form the snowperson’s body.
Add a paper hat, carrot nose, and stick arms. Keep the artwork flat while the glue dries, and leave enough space between loops for each one to keep its rounded shape.
13. Ice skate paper lacing
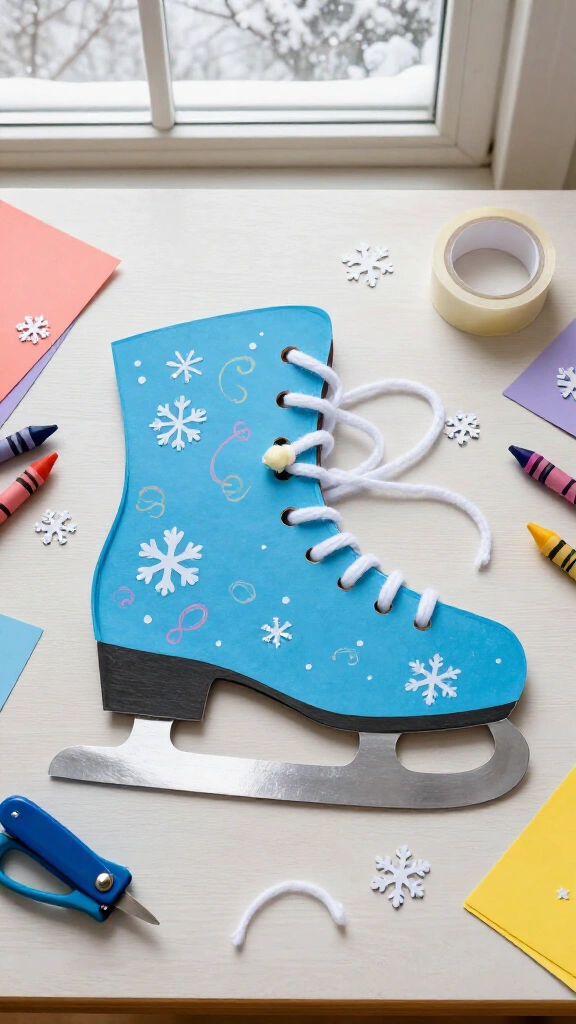
Kids can practice fine motor skills while they lace up a paper ice skate. Grab cardstock, a hole punch, yarn, tape, and crayons.
Draw and cut out a large skate shape, then punch a row of holes along the front. Wrap a small piece of tape around one end of the yarn to make threading easier, and let kids lace the holes in any pattern they choose.
Draw a blade beneath the boot or glue on a paper one. For more sports-themed ideas, take a look at these winter sports crafts for kids.
14. Pinecone winter tree
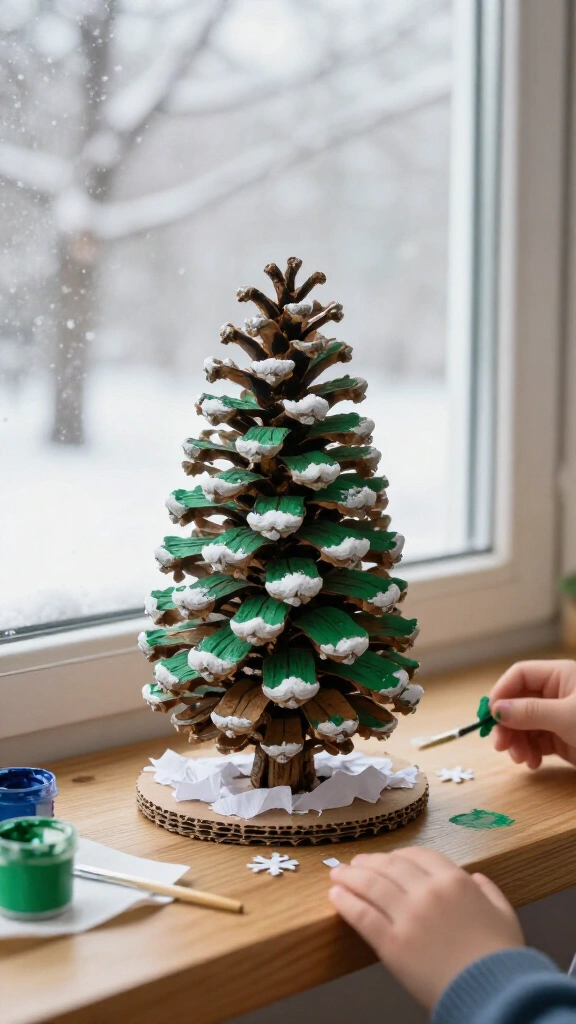
A clean, dry pinecone can become a tiny tree for a desk or windowsill. Gather a pinecone, washable paint, a paintbrush, and a small piece of cardboard for the base.
Kids can dab green paint onto the scales and add white tips to make them look snowy. After the paint dries, glue the pinecone to the cardboard base and decorate the base with paper snow.
Adult help matters: Check any pinecones you collect for dirt and insects, and supervise younger children around small natural materials. Skip tiny decorative beads if little siblings might reach the project.
15. Winter story collage
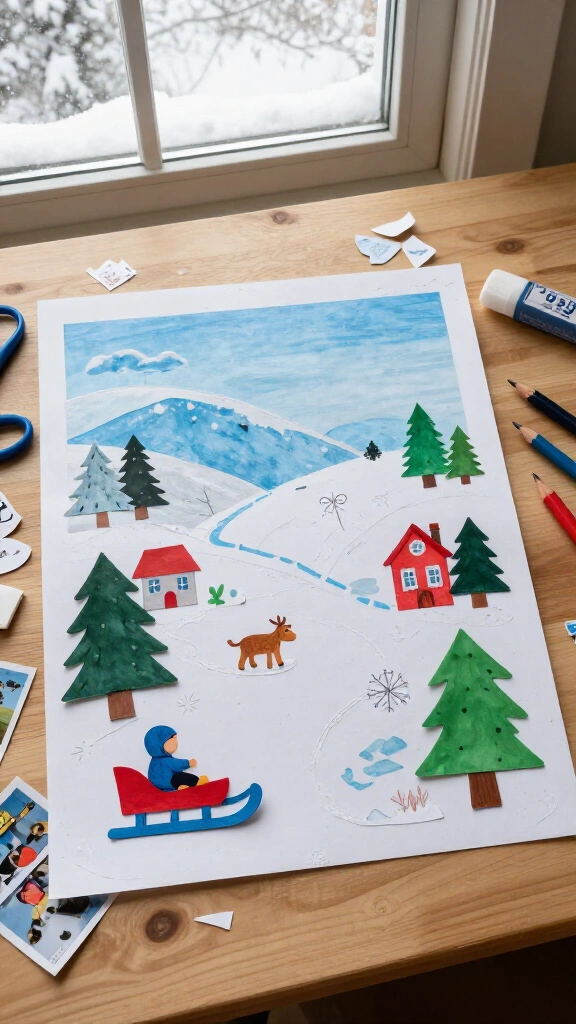
This snow-day craft also gives kids a starting point for a story. Gather old magazines, colored paper, glue, scissors, and a large sheet of cardstock.
Kids can cut out people, animals, buildings, and winter-colored shapes, then arrange them into a scene before gluing. Encourage them to draw extra details, such as snow tracks or a particularly dramatic sledding hill.
Once the collage dries, invite each child to write a few sentences about the scene. If you need another indoor project for the next storm, browse these winter crafts for kids for more ideas.
Make the most of your snow-day craft time
You don’t need a giant supply closet or picture-perfect results for winter crafts for elementary kids. A few everyday materials can give kids a chance to cut, color, tell stories, and proudly announce, “Look what I made.”
Set out supplies, protect the table, and let kids choose the details. The snow may melt tomorrow, but the crafts can keep some of that winter fun around a little longer.