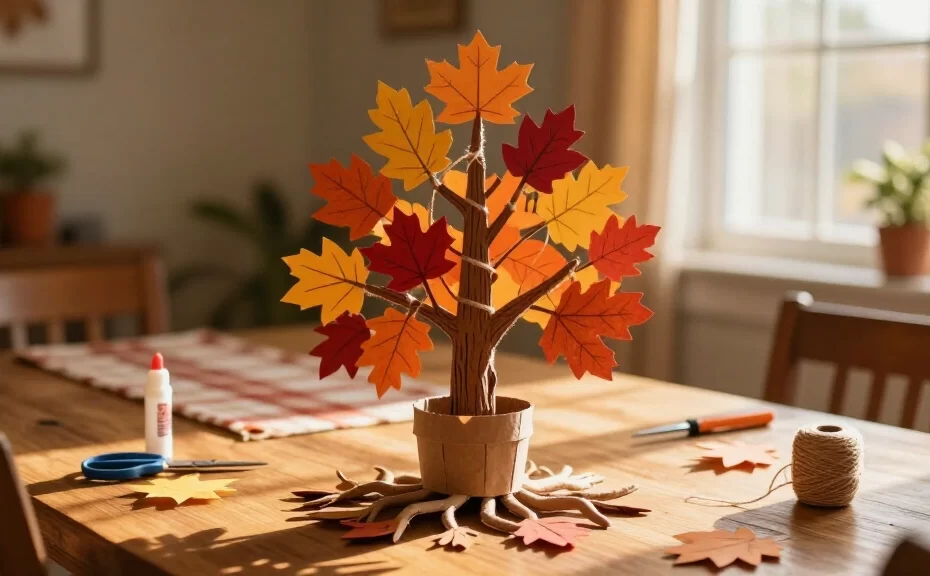
November gets busy quickly. Before holiday shopping takes over your calendar, pause and try a quick craft with your kids. Building a family thankful tree creates a simple visual routine that keeps everyone focused on appreciation throughout the month.
This list includes quick 10-minute projects for toddlers alongside detailed centerpieces for your Thanksgiving table. Pick up your scissors and glue to try these 14 thankful tree ideas with your family this season.
1. Classic twisted paper bag thankful tree
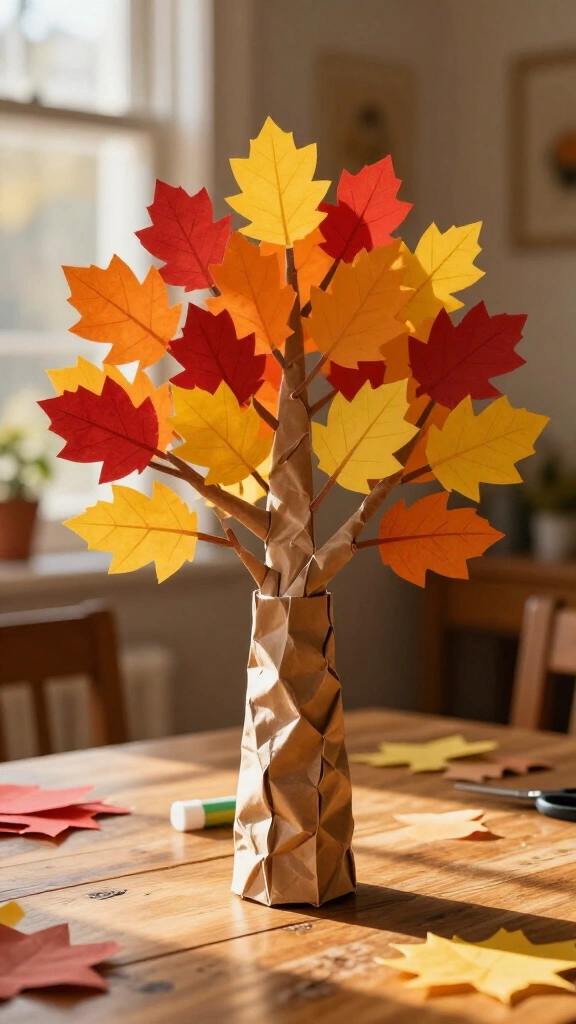
Turn a brown paper grocery bag into a three-dimensional tabletop tree. Kids enjoy twisting the paper to form branches and a trunk. The project costs almost nothing and adds a rustic touch to your dining room table.
Materials needed
- 1 brown paper grocery bag
- Colorful construction paper (red, yellow, orange)
- Scissors and glue stick
- Black fine-tip marker
Cut vertical strips halfway down the top of the paper bag. Twist the bottom section tightly to form the trunk, then twist the top strips into individual branches. Cut paper leaves, write messages on them, and glue them onto the branches.
2. Real branch and mason jar thankful tree
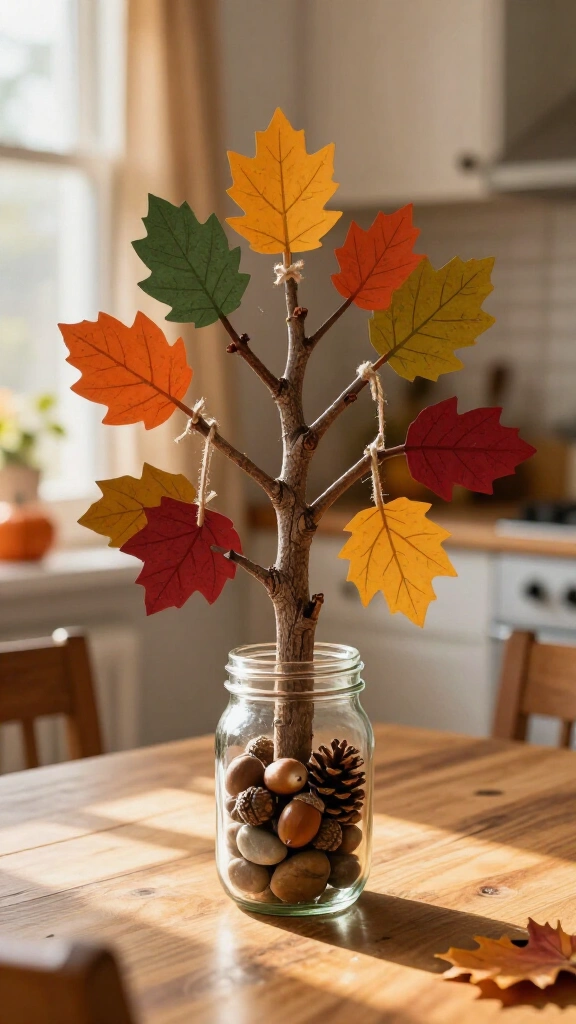
Send your kids outside to gather real twigs for this project. Bringing natural branches indoors gives your tree a real, earthy look. Research from PBS KIDS for Parents shows that nature-based crafts build spatial awareness and sensory connections in young children.
Place 3 or 4 tall branches inside a quart mason jar. Fill the jar with acorns, stones, or small pinecones to hold the branches straight. Cut leaf shapes from cardstock, punch a hole in each leaf, and thread twine through the top. Hang the written tags on the branches each night before Thanksgiving.
3. Keepsake handprint leaf thankful tree
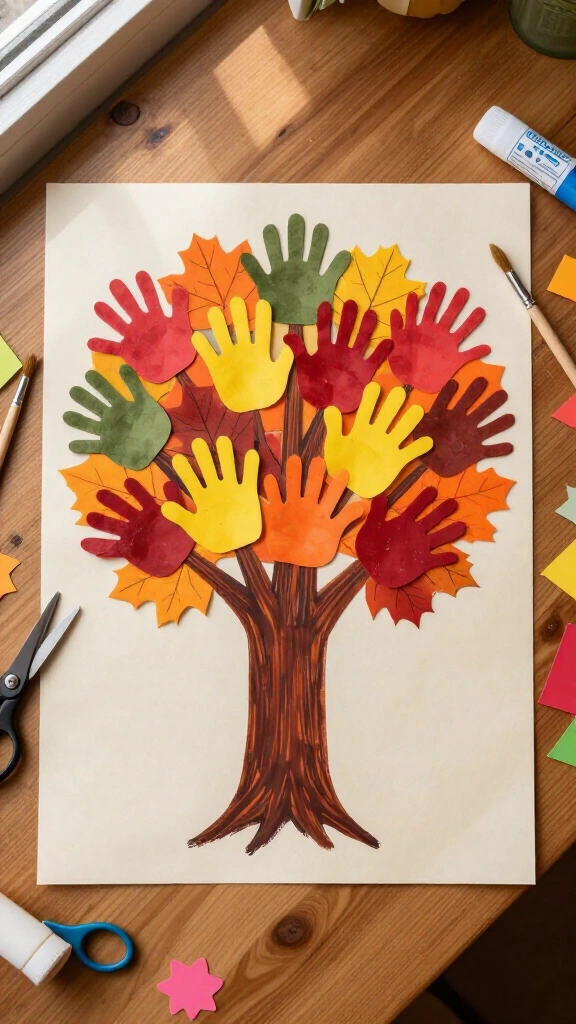
Children grow up fast. Tracing their hands creates personal leaf shapes while building strong family connections. If your kids enjoy handprint art, try these 17 Fun Fall Handprint Crafts to Create with Your Kids for more autumn activities.
Trace your child’s hands on colored paper and cut out the shapes. Paint a thick brown trunk on a large piece of poster board or butcher paper. Glue the handprints across the top to form the tree top, and write a message on each paper finger.
4. Interactive chalkboard wall thankful tree
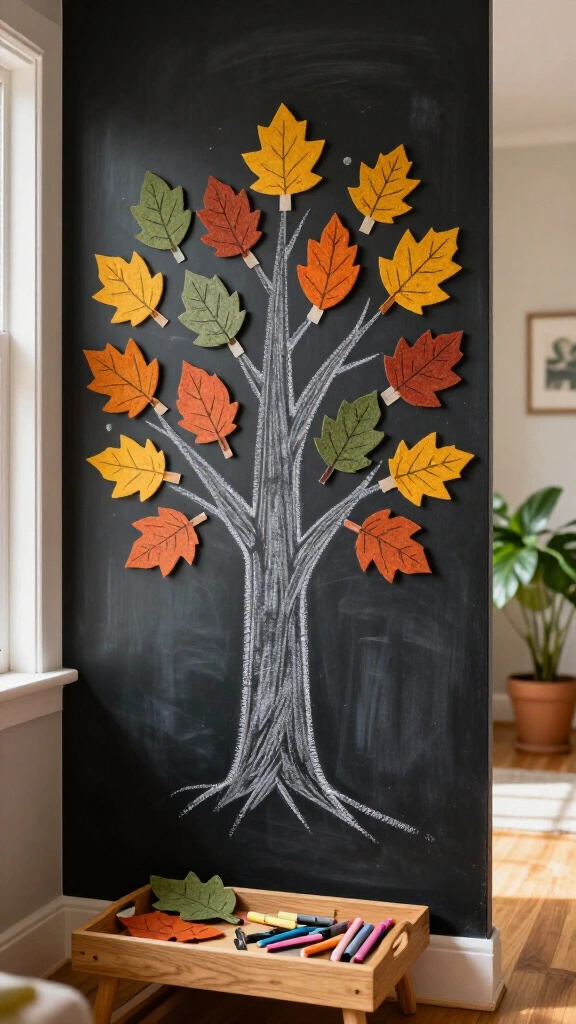
If you have a chalkboard wall or a framed chalk board, this reusable project creates zero waste. Your family can draw, erase, and update notes throughout the month without making a mess.
Draw a large tree outline using white or brown chalk markers. Cut reusable leaves from thick felt or cardstock, then attach them to the board using painter’s tape or sticky tack. Write daily notes on the leaves with bright chalk pens.
5. Upcycled toilet paper roll mini forest
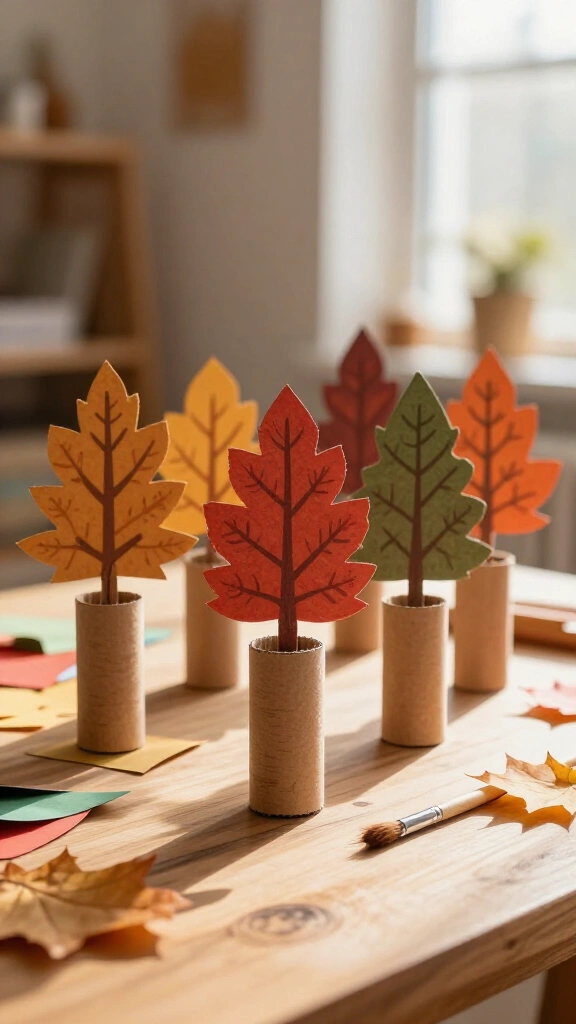
Rather than building a single large tree, let each family member craft their own mini tree. Upcycling cardboard paper rolls keeps kids busy while reusing household materials. Toddlers especially enjoy managing their own small project.
Cut two 1-inch vertical slits opposite each other at the top of a cardboard tube. Have your toddler paint the tube brown. Cut a tree canopy shape out of green or orange cardstock, write notes across the paper, and slide it directly into the top slits.
6. Felt board wall thankful tree for toddlers
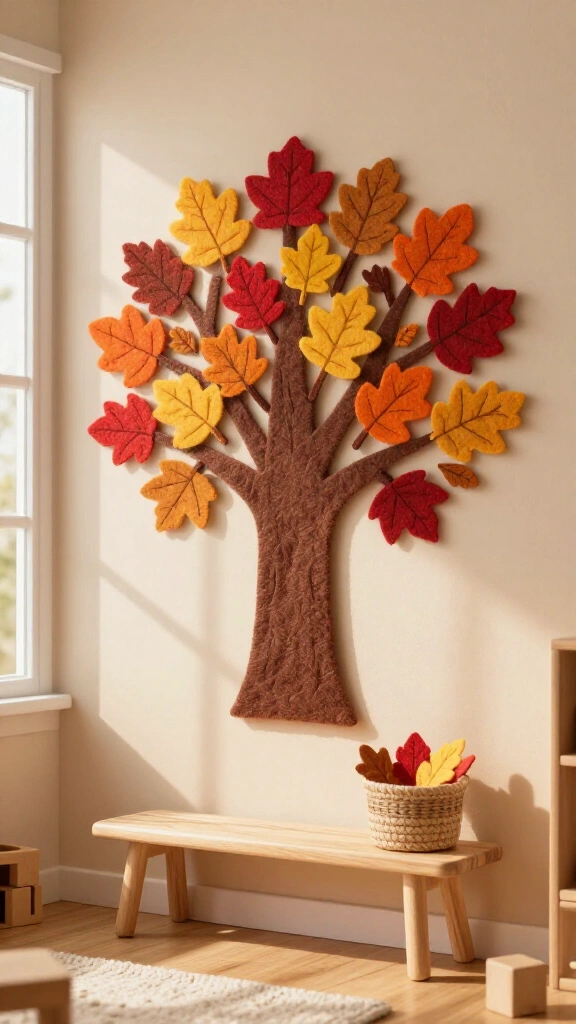
Paper crafts often break quickly around toddlers. This felt tree solves that problem. Felt naturally sticks to felt, which means you need no glue, tape, or messy adhesives. Experts at Parents.com recommend felt boards to help young children build early motor skills through hands-on play.
Cut a large brown trunk out of stiff felt and stick it to your wall with wall-safe hanging strips. Cut out colorful felt leaves in red, gold, and orange. Use fabric paint or a permanent marker to write prompts on the leaves, like “My Favorite Toy” or “My Best Friend.” Let toddlers stick the leaves onto the branches over and over.
7. Painted leaf and stick wall hanging
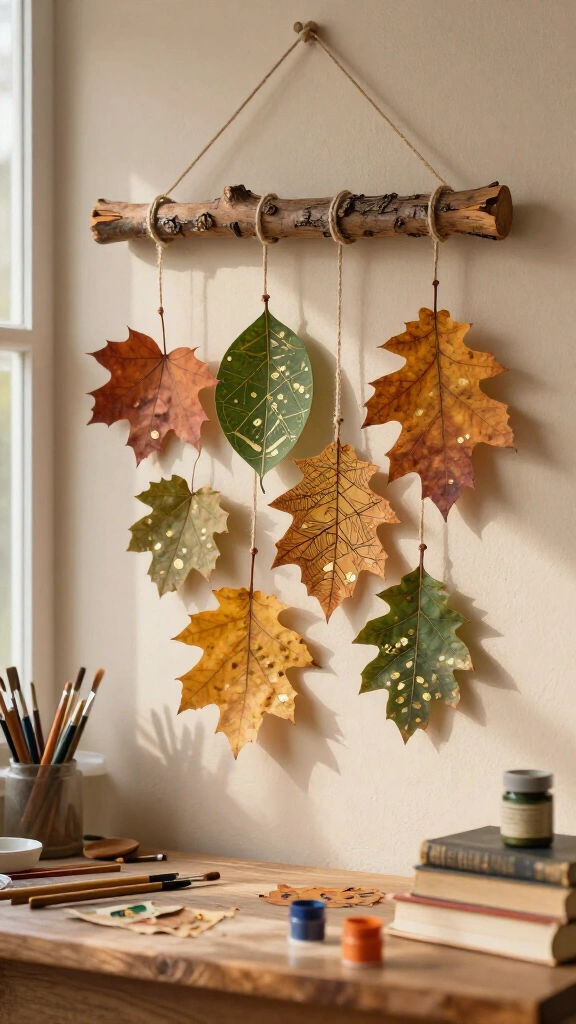
Pair real pressed leaves with acrylic paints to create a clean wall hanging. This project combines outdoor collecting with creative writing. You can also explore these 15 Fun Leaf Painting Ideas for Kids to learn more painting techniques on natural materials.
Collect broad, flat leaves outdoors and press them inside heavy books for 24 hours. Paint geometric patterns or dots on one side of each leaf using metallic pens. Once dry, write what you appreciate on the back side, then tie each leaf to a thick wooden branch with cotton string.
8. Geometric washi tape wall tree
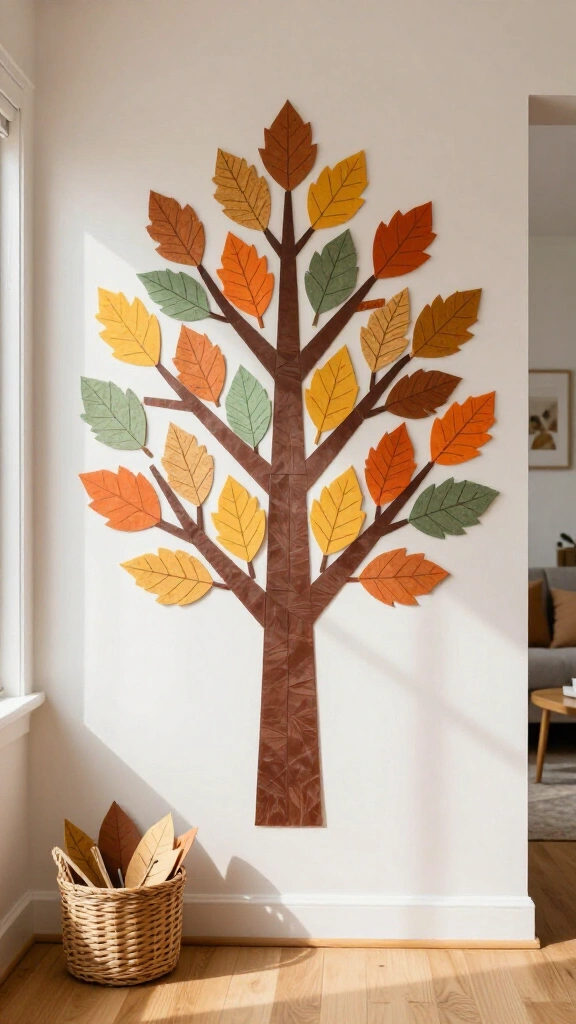
If you lack floor or table space, turn an open wall or door frame into your tree. Low-tack tape lets you build a full display without taking up room.
Map out a geometric tree shape on your wall using brown washi tape. Cut leaf shapes from patterned paper or thick cardstock. Use loops of painter’s tape on the back of each leaf so family members can add notes directly to the wall branches without pulling paint off your walls.
9. Coffee filter watercolor thankful tree
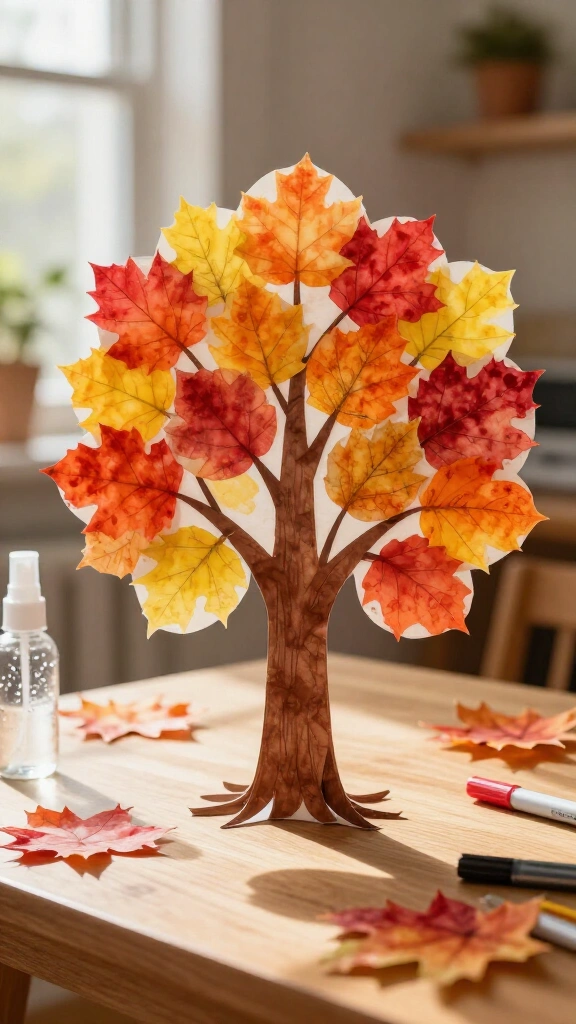
Blending watercolors on coffee filters produces soft colors that look like real leaves catching light.
Simple step-by-step:
- Flatten round coffee filters on a washable tray.
- Draw on the filters using washable red, yellow, and orange markers.
- Spray the filters with water and watch the colors mix.
- Let the paper dry, write notes on each filter, and glue them to a paper trunk.
10. Clothesline branch hanging display
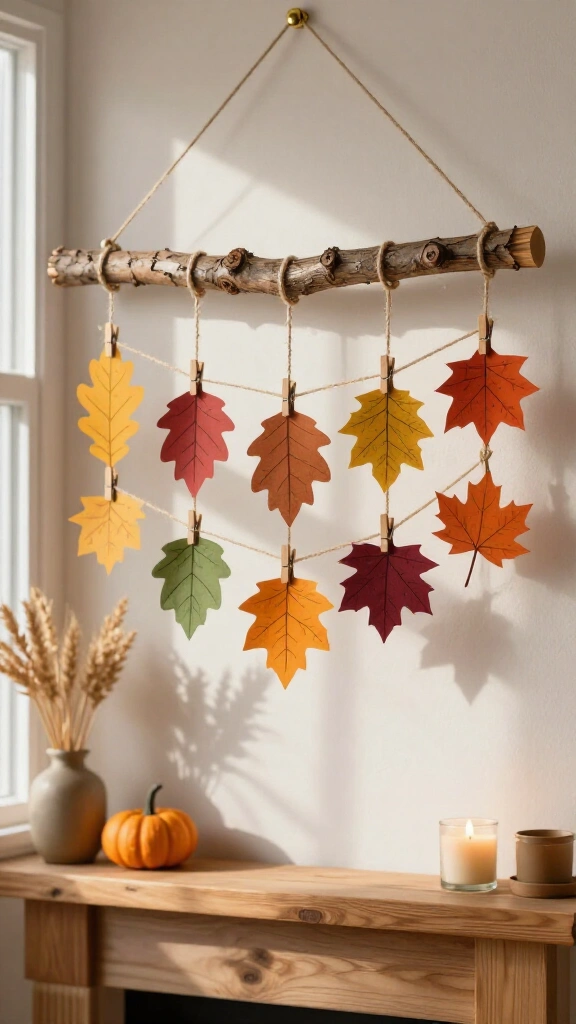
Build a simple hanging display using mini clothespins and twine. This layout hangs neatly over a fireplace mantel or along a kitchen wall.
Find a long branch outdoors and hang it horizontally using wall hooks and string. Tie four or five strands of twine down from the main branch. Use tiny wooden clothespins to attach paper leaf notes to the vertical strings, creating a hanging wall art piece.
11. Pinecone and twig tabletop centerpiece
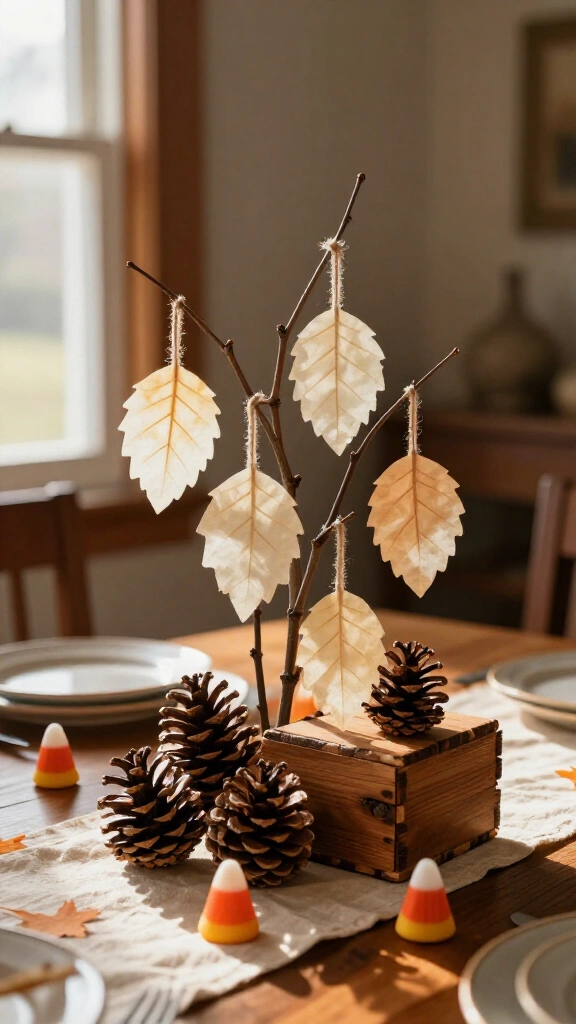
Build a Thanksgiving table centerpiece using real outdoor elements. Combining pinecones with delicate winter twigs creates a clean, rustic arrangement without spending money.
Glue small tree branches into large pinecone bases, or place the branches inside a small wooden box filled with floral foam. Cut leaf shapes from parchment paper. To complete your table setup, pair this centerpiece with these 13 Sweet and Easy Candy Corn Crafts for Preschoolers for quick table markers.
12. Paper plate thankful tree wreath
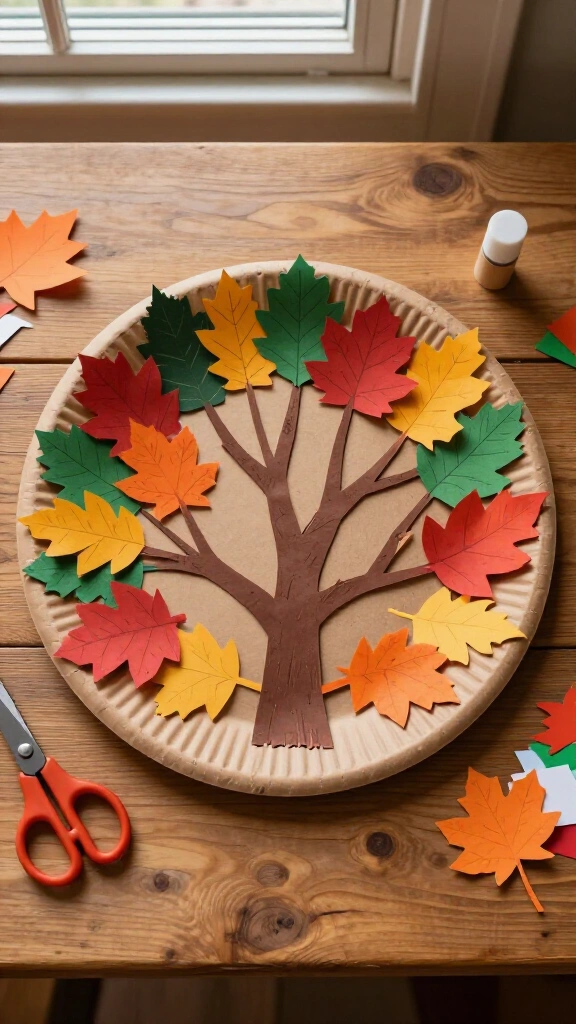
This project uses paper plates to keep supplies contained while giving young kids clear boundaries for their art.
Cut out the inner circle of a paper plate, leaving only the outer ring intact. Have your child paint the ring brown or green. Cut small paper branches to cross over the center hole, then glue paper leaves along the inner edge.
13. Framed canvas and button keepsake tree
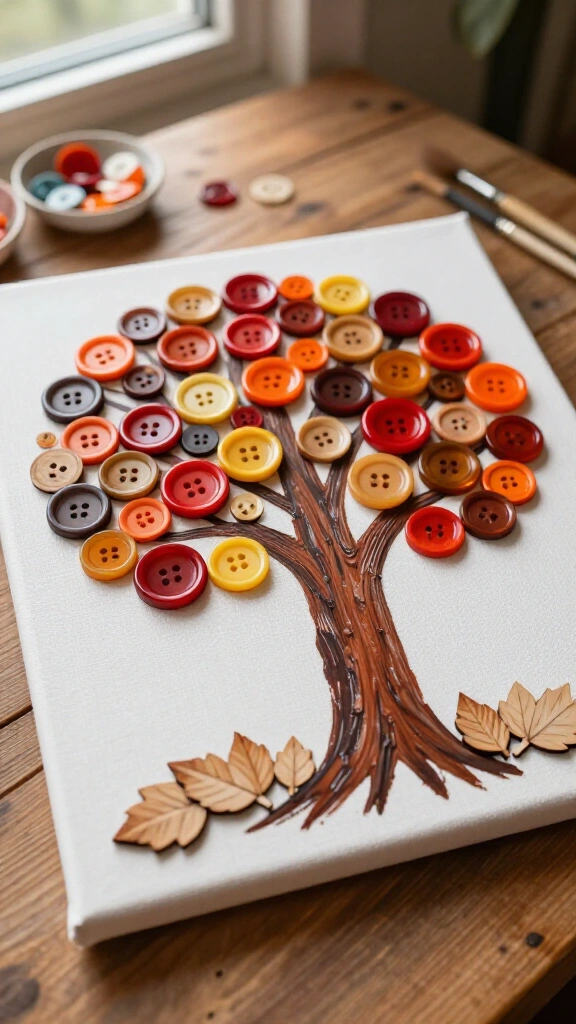
If you want a craft to save year after year, use canvas and buttons instead of plain paper. This project turns into a long-lasting piece of home art.
Paint a brown tree trunk onto a stretched canvas. Instead of paper leaves, glue red, orange, and yellow buttons around the branches. Use a fine-tip permanent pen to write family notes onto small wooden leaf tags placed near the bottom of the trunk.
14. 3D cardboard box thankful tree
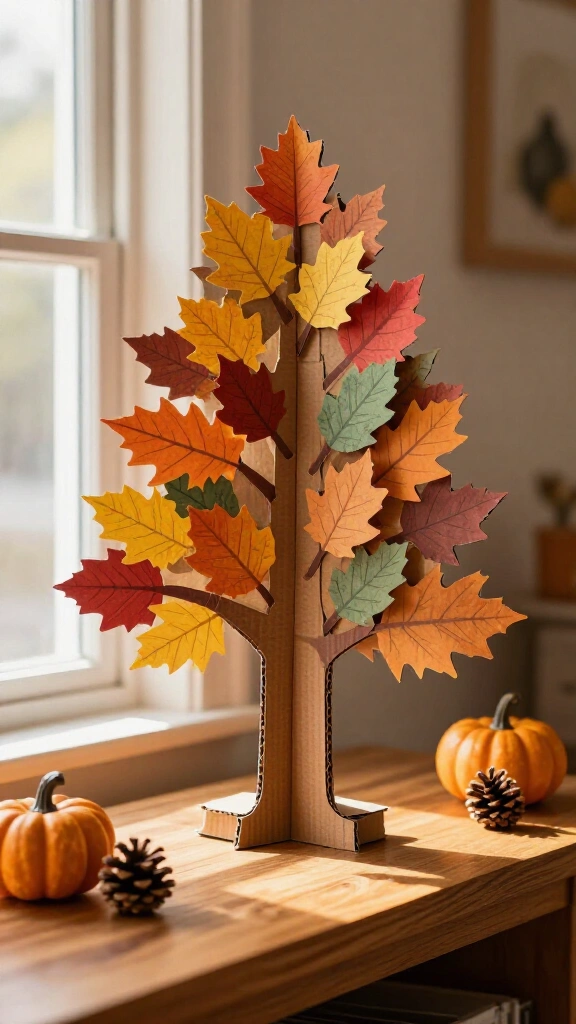
Before tossing out shipping boxes, save a few pieces of cardboard. Upcycling cardboard into a standing tree yields a sturdy craft for an entryway table. You can find more upcycling project guides on Good Housekeeping.
Draw two identical tree trunk shapes with branches onto thick cardboard. Cut a vertical slot halfway down from the top of the first piece, and halfway up from the bottom of the second piece. Slide the two pieces together at right angles so your tree stands upright. Add paper leaves to the branches all month long.
Bringing your family thankful tree to life
Crafting a thankful tree is not about making a perfect picture for social media. It gives your family a reason to pause, talk, and practice gratitude together. Whether you choose a paper bag tree or a chalkboard display, your family will enjoy watching the tree fill up with notes.
Gather your materials today, pick an idea from this list, and start a new family routine this season. Happy crafting!