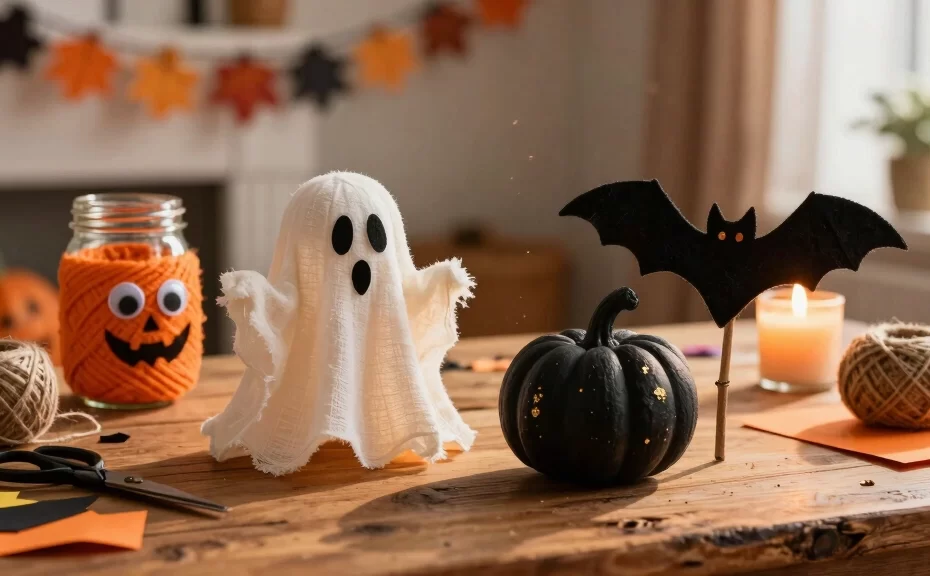
Halloween is creeping up fast, but who says you need hours of free time to get your home looking spooktacular? If you want to transform your space without spending a fortune or sacrificing your entire weekend, you are in the right place. We gathered 15 insanely easy DIY projects that take less than 60 minutes from start to finish. Ready to unleash your inner crafting ghoul?
Whether you want to entertain the kids or add some festive flair to your living room, these projects deliver maximum spook-factor with minimal effort. You probably already have most of these supplies hiding in your cupboards. Let’s get crafting! 🎃
1. Mason Jar Mummy Lanterns
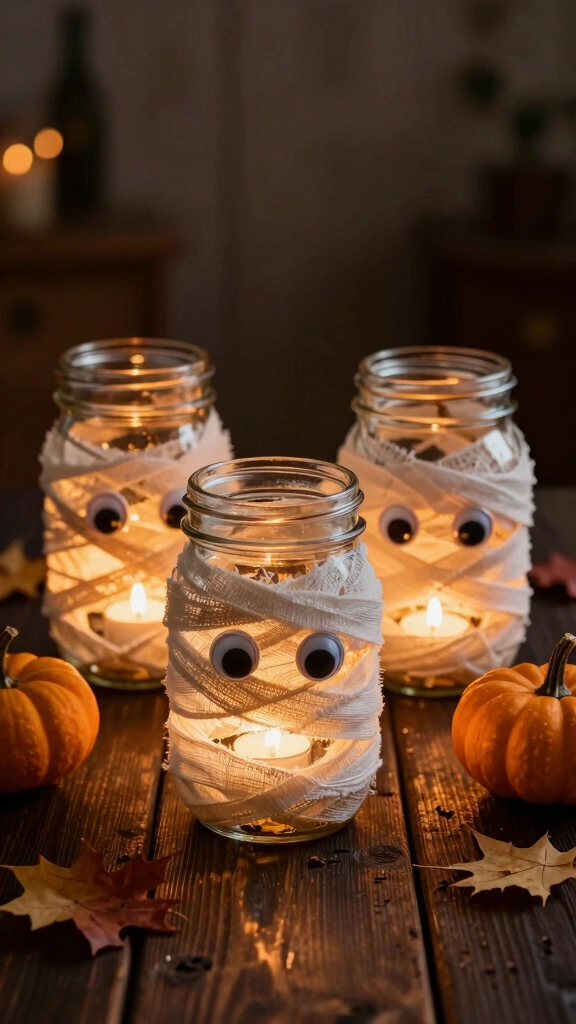
These adorable lanterns cast a spooky, soft glow across any room. They require zero painting skills, which makes them perfect for crafters of all ages. You can complete a whole set of three in less than twenty minutes!
Supplies You Need
- Clean mason jars
- Roll of gauze bandage or cheesecloth
- Googly eyes (various sizes)
- Hot glue gun or craft glue
- LED tea lights
Step-by-Step Instructions
First, wrap the gauze around the mason jar, overlapping the layers to mimic a mummy. Secure the loose ends with a small dab of hot glue. Next, glue two mismatched googly eyes near the top of the jar. Finally, drop a flickering LED tea light inside and watch your mummy come to life.
2. Trash Bag Spiderwebs
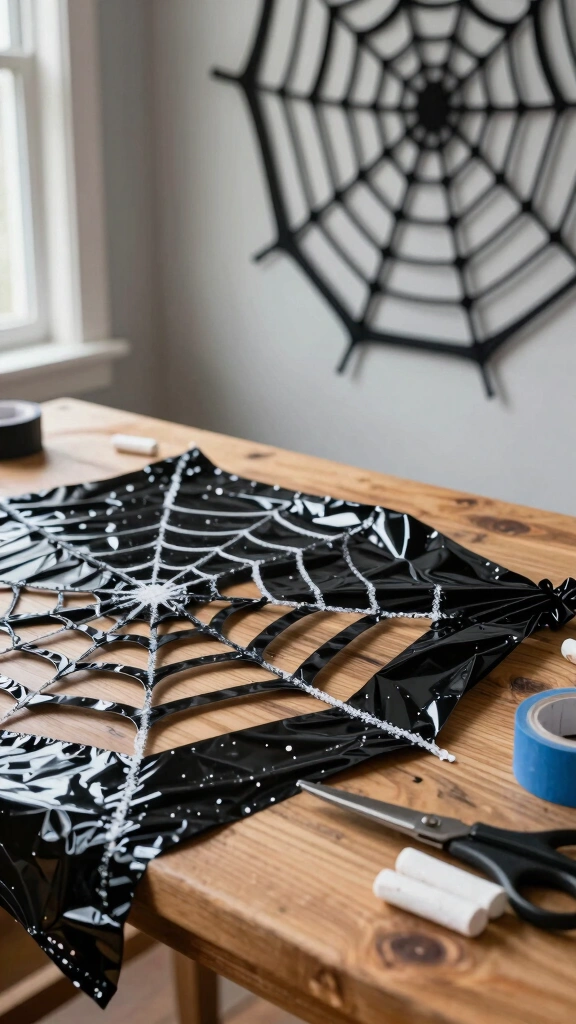
Do you want giant, dramatic wall decorations for pennies? Look no further than your kitchen pantry. Black trash bags make the most realistic, glossy spiderwebs you will ever see.
Supplies You Need
- Black plastic trash bags
- Sharp scissors
- Painter’s tape
- White chalk
Step-by-Step Instructions
Cut the seams off a trash bag to create a large plastic square. Fold the square diagonally to form a triangle, and continue folding it two more times. Draw a spiderweb template with your white chalk, then cut along the lines. Unfold the bag carefully, and tape your new giant web to the wall or window.
3. Lollipop Spiders
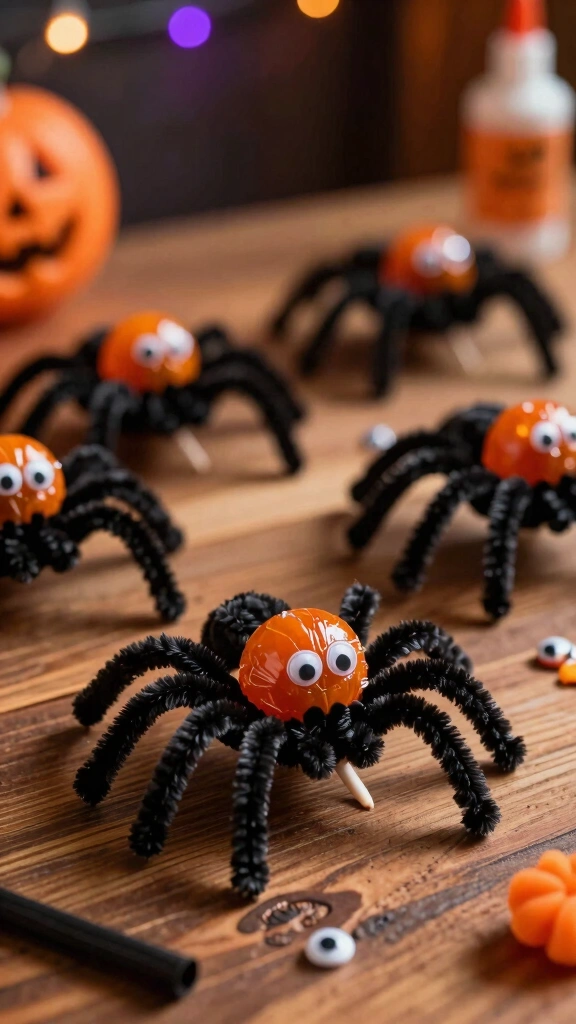
Looking for the ultimate trick-or-treat giveaway? These creepy-crawly lollipops take seconds to assemble. IMO, they make the cutest classroom party favors ever.
Supplies You Need
- Round lollipops
- Black pipe cleaners (4 per lollipop)
- Small googly eyes
- Craft glue
Step-by-Step Instructions
Gather four pipe cleaners and center them against the lollipop stick, just under the candy head. Wrap the pipe cleaners around the stick once to secure them in place. Bend the ends of the pipe cleaners to create eight creepy legs. Glue two tiny googly eyes onto the front of the wrapped area.
4. Floating Witch Hats
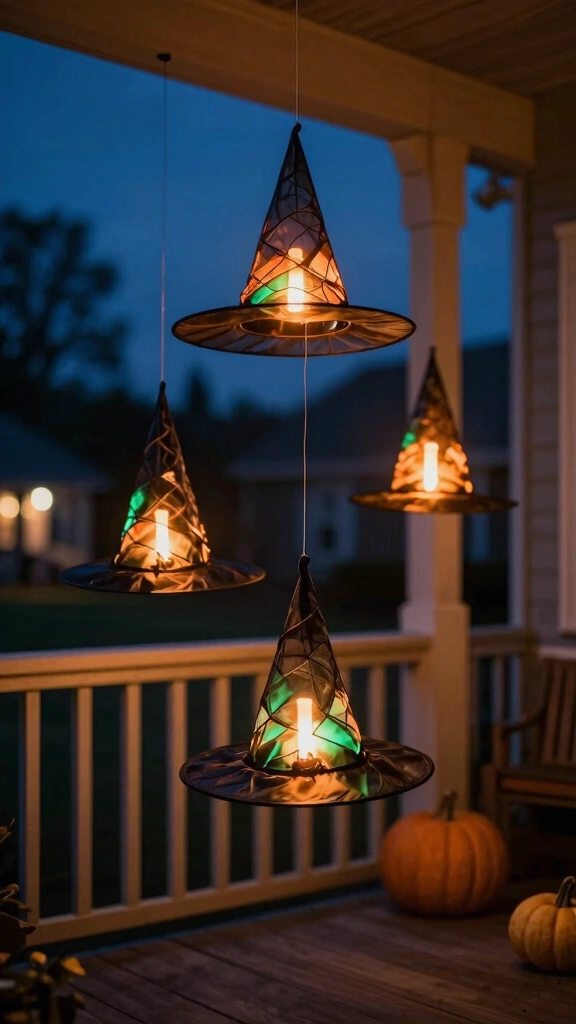
Transform your porch or living room into a scene straight out of Hogwarts. These floating hats sway in the breeze and look incredibly magical at night.
Supplies You Need
- Cheap nylon witch hats
- Fishing line or clear thread
- Large needle
- LED glow sticks or tea lights
- Adhesive ceiling hooks
Step-by-Step Instructions
Thread the fishing line through the top point of the witch hat using your needle. Tie a secure knot inside the tip of the hat, leaving a long string on the outside. Attach a glow stick to the inner knot to illuminate the hat from within. Hang the loose end of the fishing line to your ceiling hook.
5. Wine Cork Pumpkins
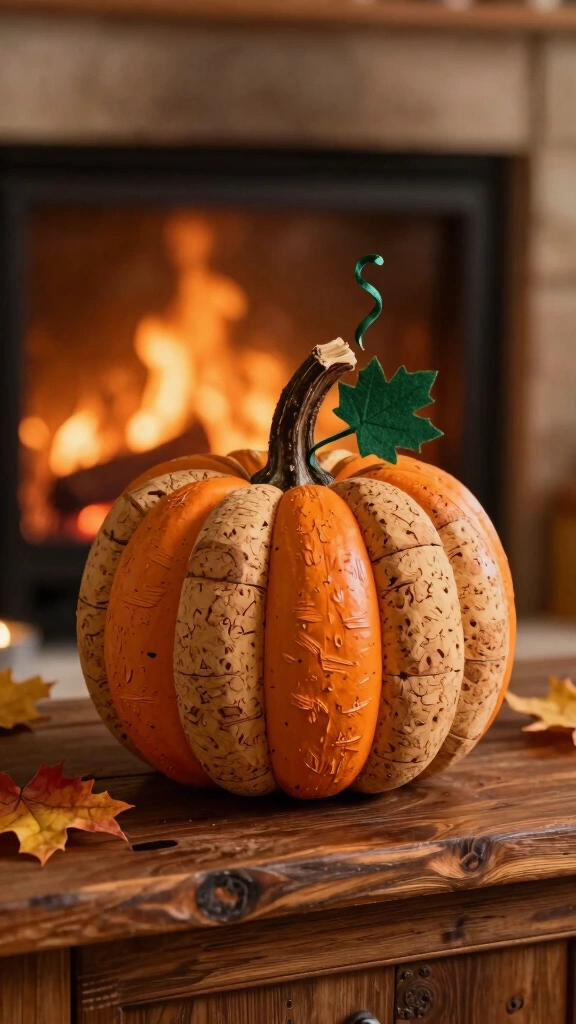
Do you save your old wine corks? Put them to good use with this rustic, autumnal craft project that looks great on any mantelpiece.
Supplies You Need
- 25 to 30 wine corks
- Orange acrylic paint and brush
- Hot glue gun
- Green felt or ribbon
- Small stick from the yard
Step-by-Step Instructions
Paint the circular ends of your wine corks with bright orange paint. Once dry, glue the corks together in rows to build a pumpkin shape. Use a row pattern of 4, 5, 6, 5, 4 corks to get a round look. Glue the small stick to the top for a stem, and add a green felt leaf.
6. Toilet Paper Roll Bats
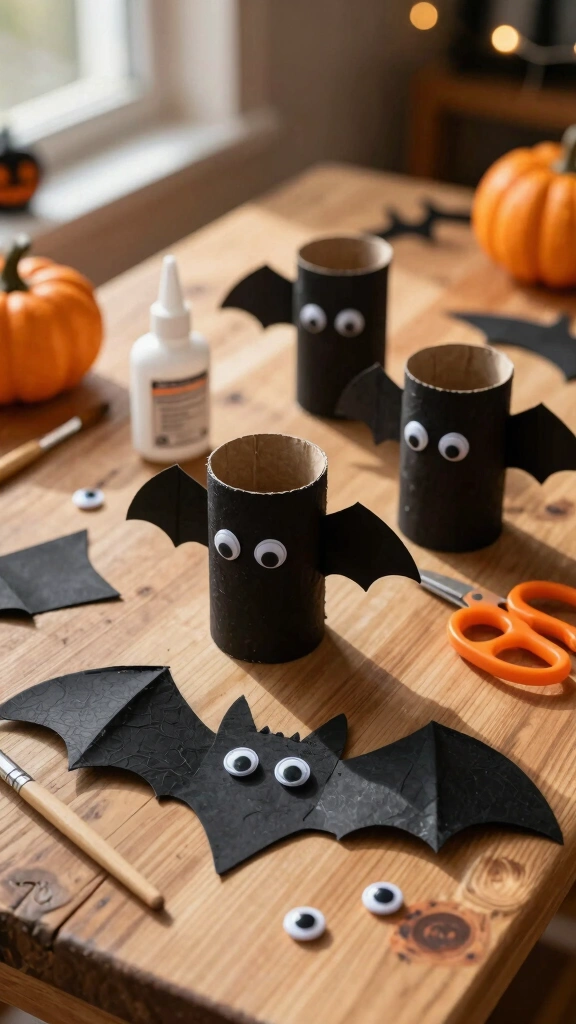
Recycle your cardboard tubes into a colony of spooky bats. This project keeps kids entertained and costs practically nothing. Why buy expensive plastic decorations when you can upcycle?
Supplies You Need
- Empty toilet paper rolls
- Black acrylic paint
- Black construction paper
- Googly eyes
- Glue and scissors
Step-by-Step Instructions
First, paint the cardboard tubes black and let them dry completely. Fold both the top and bottom edges of the tube inward to create curved ends. Cut out bat wings from the black paper and glue them to the back of the tube. Finish your bat by gluing two googly eyes onto the front.
7. Paper Plate Spiders
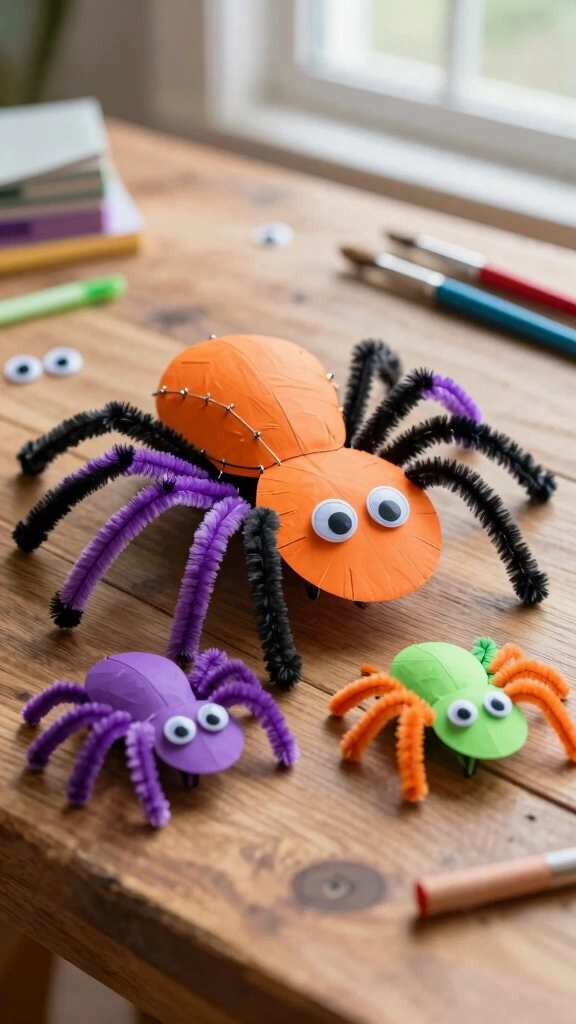
Simple paper plates make fantastic canvases for spooky art. You can make a whole family of multi-colored spiders in under thirty minutes.
Supplies You Need
- Paper plates
- Paint and brushes
- Pipe cleaners
- Googly eyes
- Stapler
Step-by-Step Instructions
Paint the underside of two paper plates in your color of choice and let them dry. Sandwich the plates together, placing four bent pipe cleaners on each side for legs. Staple the plates together around the edges to lock the legs in place. Glue several googly eyes to the front of the top plate.
8. Tin Can Ghost Lanterns
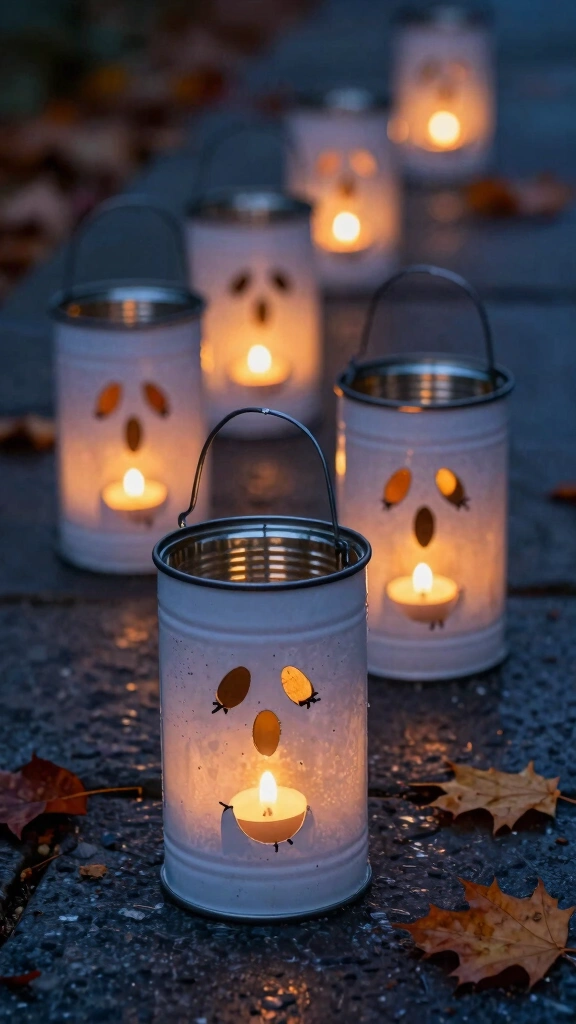
Light up your walkway with these durable metal lanterns. They look beautifully industrial during the day and spooky at night. FYI, you must supervise kids closely for the hammer steps!
Supplies You Need
- Empty, clean tin cans
- Hammer and nail
- White spray paint
- Black permanent marker
- Flickering tea lights
Step-by-Step Instructions
Fill the cans with water and freeze them solid so they keep their shape. Use the hammer and nail to punch ghost face patterns into the side of the frozen cans. Let the ice melt, dry the cans, and spray paint them white. Draw eyes and mouths with the marker and place a candle inside.
9. Yarn-Wrapped Monster Wreath
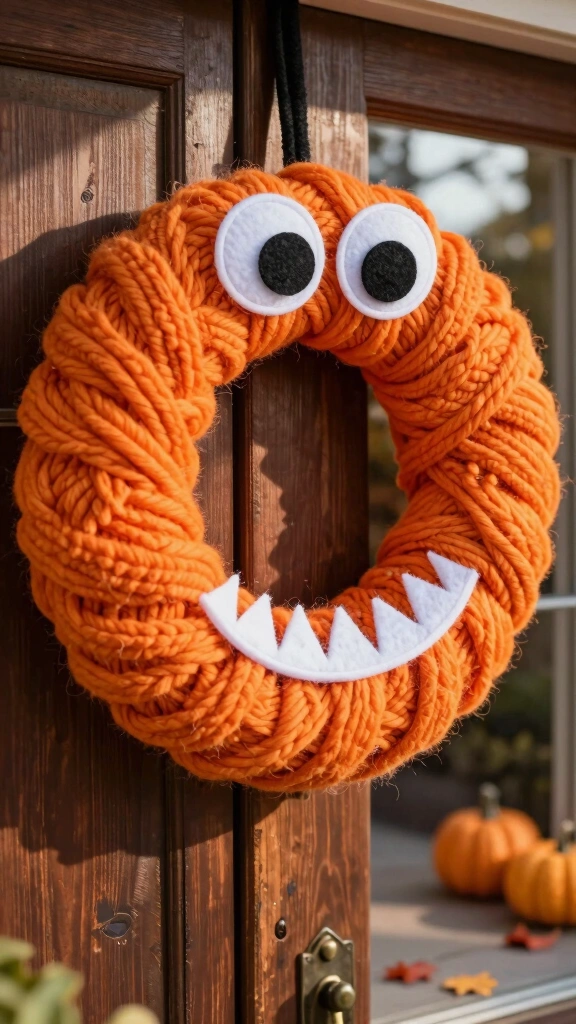
Welcome your guests with a friendly, furry monster at your door. This wreath is soft, colorful, and completely customizable.
Supplies You Need
- Foam wreath form
- Thick, fluffy yarn (any bright color)
- White and black felt
- Hot glue gun
Step-by-Step Instructions
Tie the yarn around the foam wreath form to secure the starting point. Wrap the yarn tightly around the ring until you cover the entire foam surface. Cut large circle eyes and sharp teeth out of the felt sheets. Glue these monster features directly onto the front of your wrapped wreath.
10. Clementine Jack-o’-Lanterns
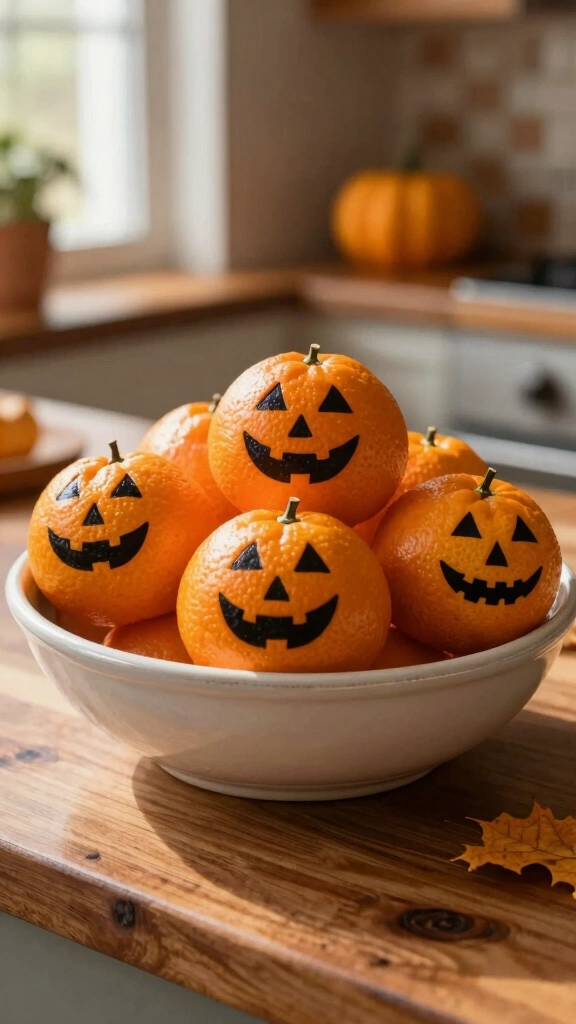
Need a healthy, fast Halloween snack decoration? These little citrus pumpkins take literally ten seconds to make. They look fantastic in a fruit bowl on your kitchen counter.
Supplies You Need
- Clementines or oranges
- Black permanent marker
Step-by-Step Instructions
Wipe the skin of the clementines to remove any dust or wax. Grab your black permanent marker and draw classic triangle eyes onto the skin. Add spooky, toothy grins or silly faces to give each orange its own personality. Arrange them in a bowl for a quick, edible display.
11. Leaf Ghosts
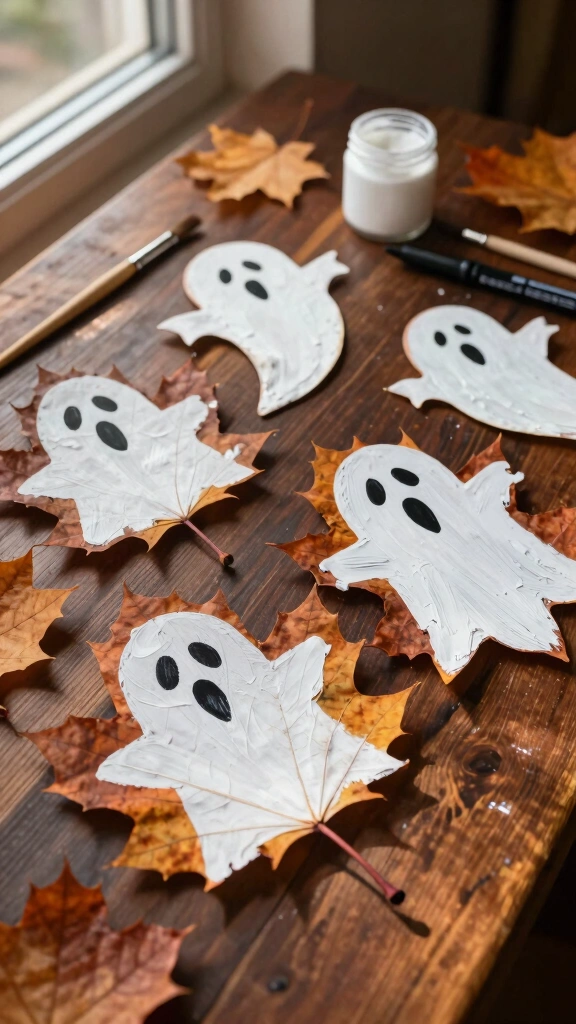
Take a walk outside to gather your materials for this nature-inspired craft. It combines outdoor exploration with indoor creative fun.
Supplies You Need
- Large, flat fallen leaves
- White acrylic paint
- Black fine-tip marker
- Paintbrush
Step-by-Step Instructions
Gently wipe the dirt off your gathered leaves with a dry paper towel. Paint the entire surface of each leaf with a solid coat of white paint. Once the paint dries, draw two eyes and a howling mouth on the leaf body. Hang them up or scatter them across your party table.
12. Book Page Banner
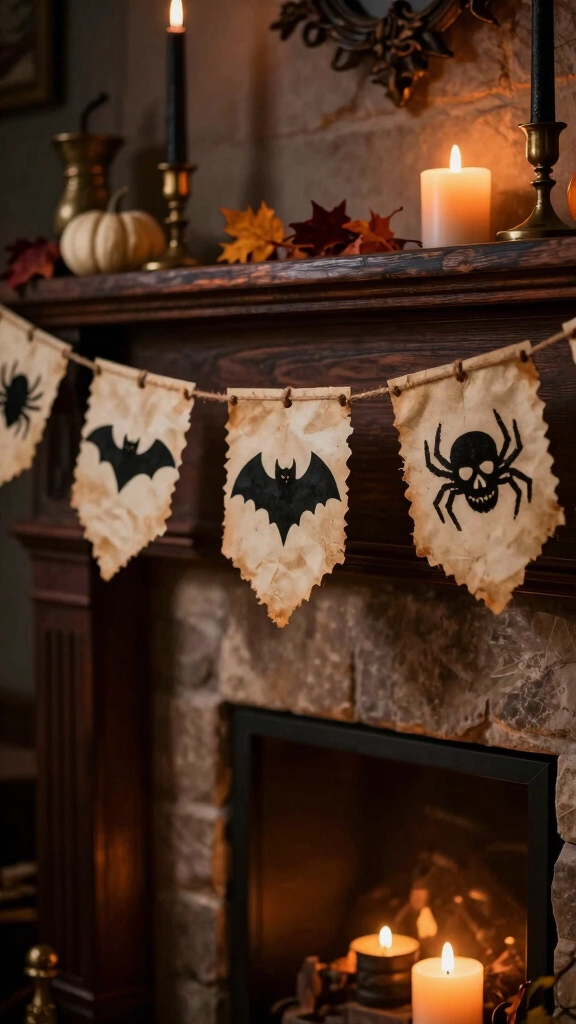
Give damaged, old books a second life with this vintage-style banner. It adds a sophisticated, gothic vibe to your mantelpiece.
Supplies You Need
- Pages from an old book
- Scissors
- Black craft paint or stencils
- Twine or ribbon
- Glue stick
Step-by-Step Instructions
Cut your book pages into uniform pennant triangles. Paint spooky letters onto each triangle to spell out words like “SPOOKY” or “BOO”. Punch two small holes in the top corners of each paper pennant. Thread your twine through the holes to hang your new banner.
13. Glowing Cup Ghouls
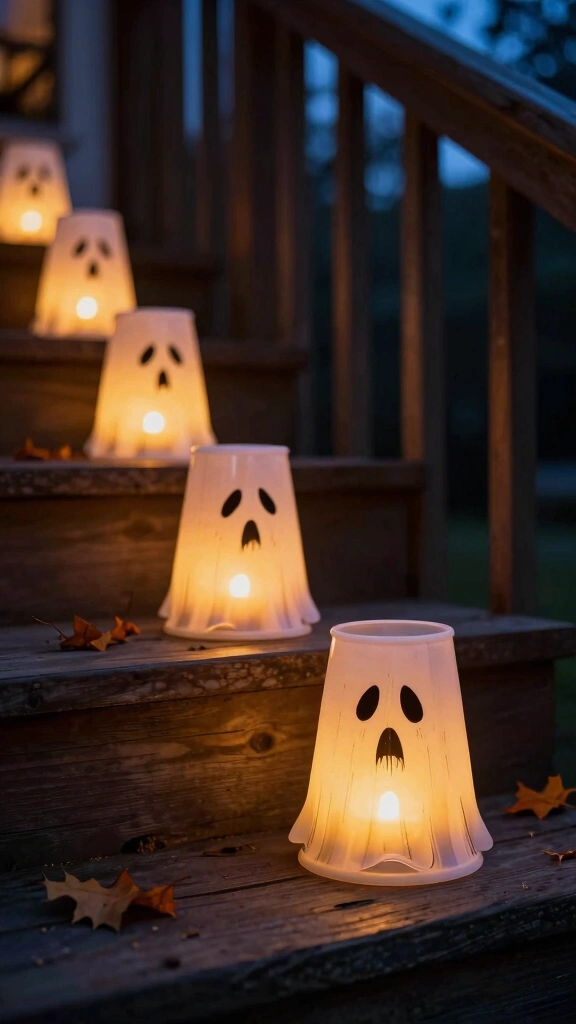
This lightning-fast craft works wonderfully for lining your driveway or staircase. It keeps the dark corners of your home safe from real monsters!
Supplies You Need
- White plastic cups
- Black Sharpie marker
- LED tea lights
Step-by-Step Instructions
Turn the plastic cups upside down on a flat working surface. Draw creepy, expressive ghost faces onto the sides of the cups with the marker. Turn on your LED tea lights and place them on the table or ground. Place the cups directly over the lights to make them glow.
14. Pool Noodle Bleeding Candles
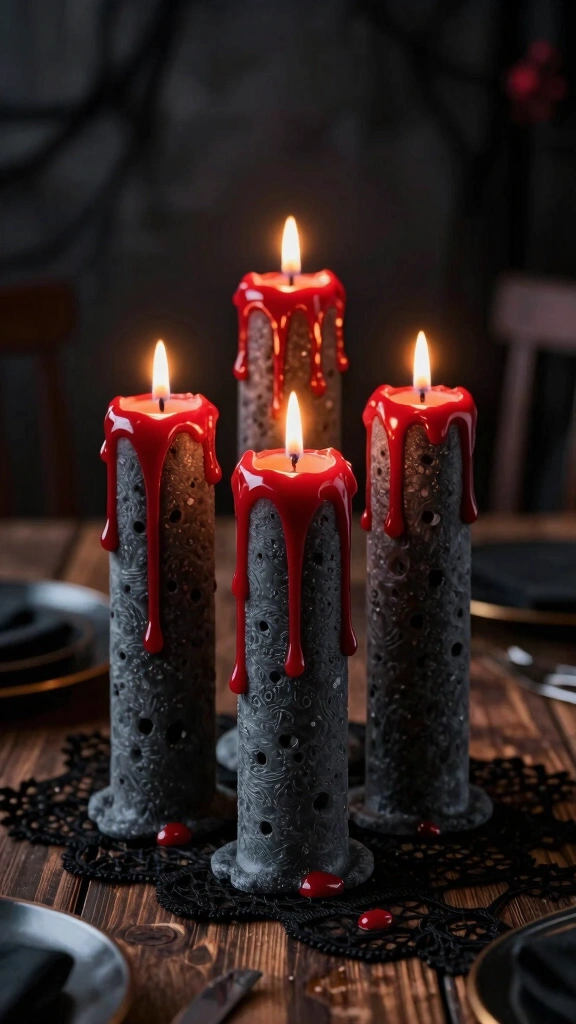
Who knew pool noodles could look so delightfully gothic? Create these faux-dripping candles to add drama to your Halloween dinner table setup.
Supplies You Need
- Grey or black pool noodles
- Serrated knife
- Hot glue gun
- Red acrylic paint
- LED tea lights
Step-by-Step Instructions
Cut the pool noodles into varying heights using your serrated knife. Drip hot glue generously down the top edges of the noodles to look like melted wax. Paint the dried glue drips with red acrylic paint to simulate dripping blood. Push your LED tea lights into the hollow tops of the noodles.
15. Spiderweb Coasters
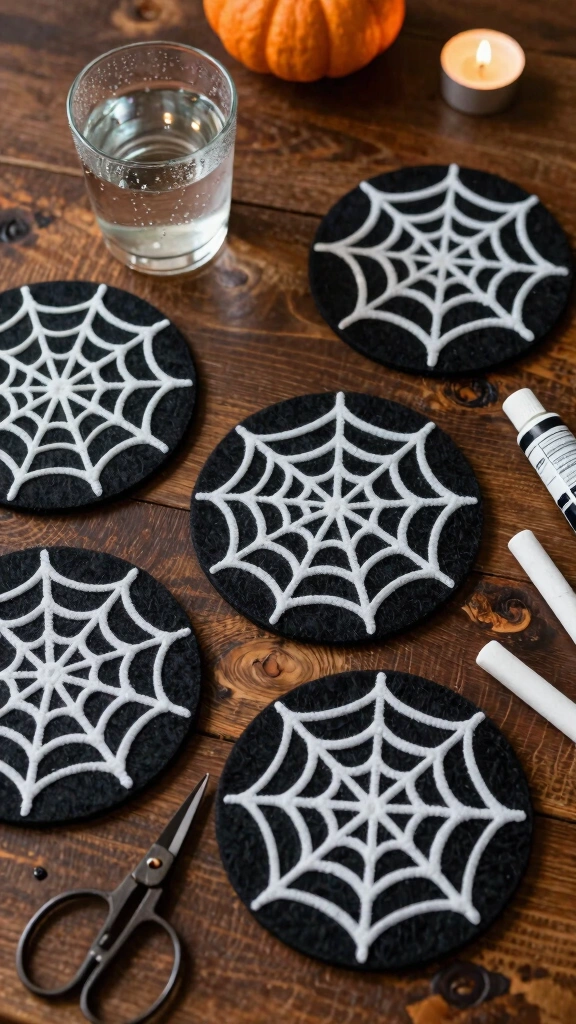
Keep your tables clean and festive with these simple felt coasters. They add a subtle, crafty touch to your Halloween cocktail parties.
Supplies You Need
- Black felt sheets
- White puff paint or fabric paint
- Scissors
- Chalk
Step-by-Step Instructions
Cut the black felt sheets into four-inch circles using your scissors. Draw a simple spiderweb pattern onto each circle using a piece of chalk. Trace over your chalk lines with the white puff paint and let it dry. Hand these out at your next party to protect your wooden furniture!
Get Crafty This Halloween!
You do not need to spend days planning or hundreds of dollars to create a memorable Halloween. Which of these quick crafts will you try first? Grab your hot glue gun, gather the kids, and turn your home into a haunted haven before the trick-or-treaters arrive. Happy crafting, and have a safe, spooktacular holiday! 🎃