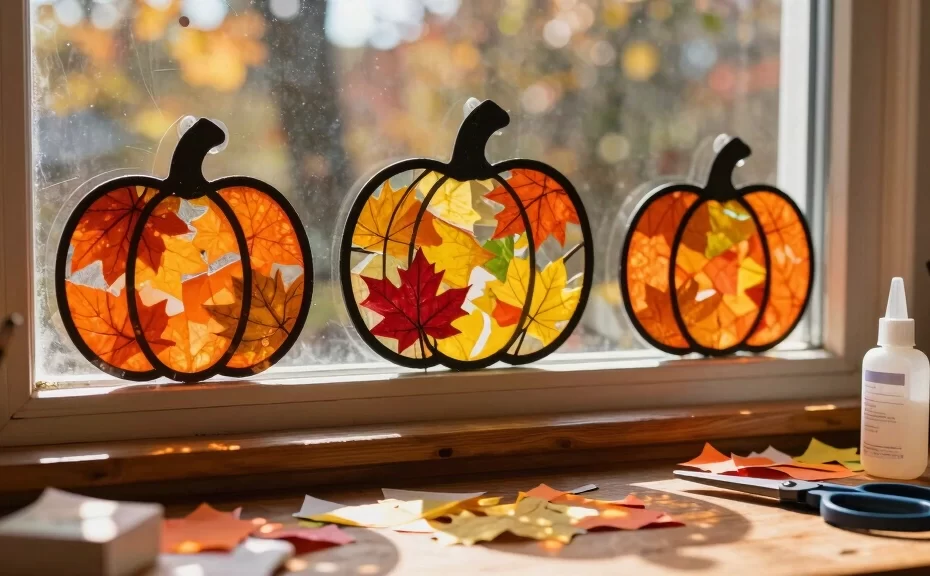
Crisp autumn air, pumpkin spice everything, and kids looking for something to do on a rainy afternoon. Sound familiar? Fall brings the perfect excuse to gather around the kitchen table for some cozy crafting. If you want to brighten up your windows during those overcast October days, you are in the right place.
Suncatchers offer a brilliant way to capture the gorgeous, warm autumn sunlight. Kids of all ages love seeing their handmade art glow on the glass! Plus, these projects help develop fine motor skills and keep little hands busy. Let’s dive straight into these delightful, kid-tested, and parent-approved fall crafts.
1. Classic Tissue Paper and Contact Paper Suncatcher
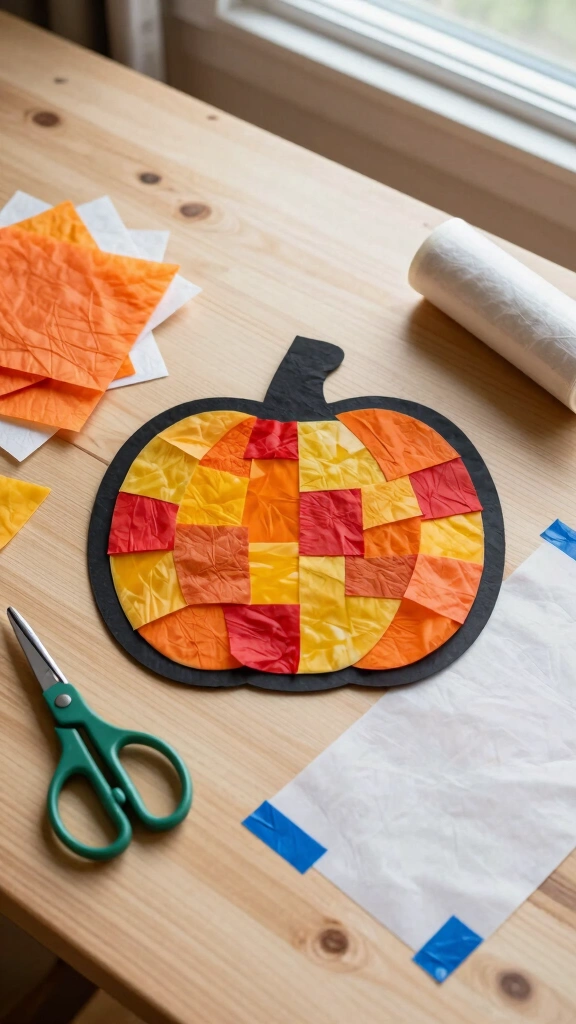
You cannot go wrong with the absolute classic. This project requires zero glue, making it a dream for parents who dread sticky cleanups. Simply sandwich colorful tissue paper between two sheets of clear contact paper and cut out a festive pumpkin shape.
Materials Needed:
- Orange, yellow, and red tissue paper squares
- Clear contact paper
- Black construction paper for the border
- Scissors
Pro-Tip for Parents:
Cut the contact paper into squares beforehand and tape them to the table sticky-side-up. This keeps the sheet flat and prevents frustrating curls while your toddler works their magic! IMO, this is the easiest way to keep the chaos to a minimum.
2. Paper Plate Pumpkin Suncatcher
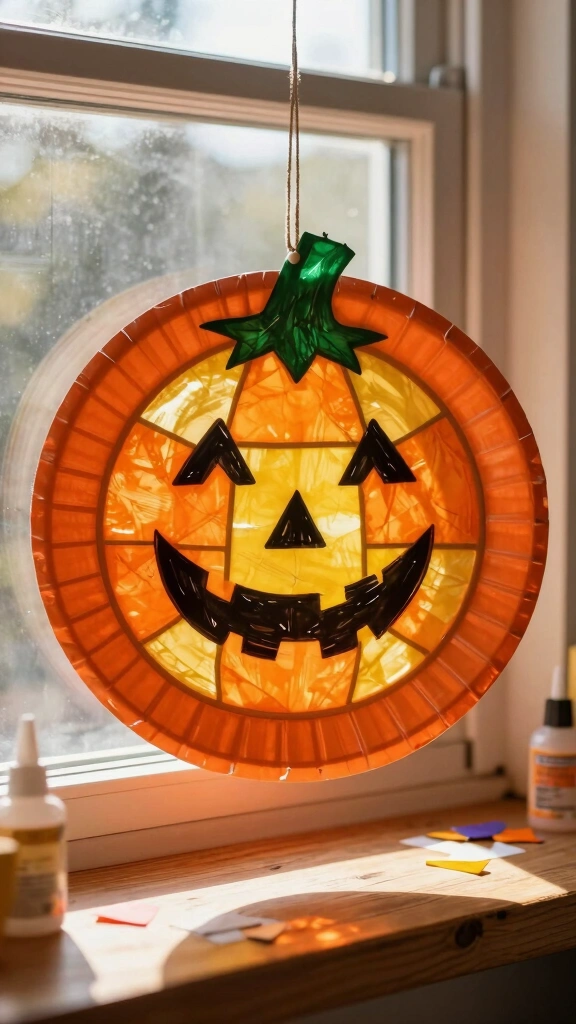
Do you have a stack of paper plates hiding in your pantry? Turn them into sturdy frames for a gorgeous stained-glass window display. By cutting out the center of the plate, you create a perfect circular frame that even toddlers can easily handle.
Why Kids Love It:
The thick paper plate rim gives little hands something solid to grab. They can paint the frame bright orange, add green paper leaves, or draw goofy jack-o’-lantern faces with black markers. It offers a wonderful tactile experience for preschool-aged children.
3. Mason Jar Lid Pumpkin Suncatcher
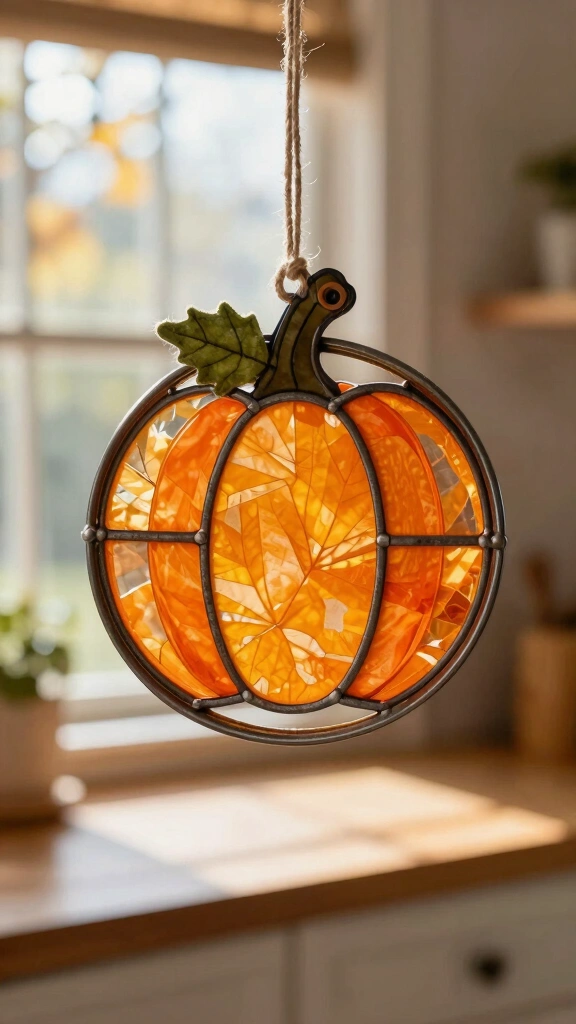
Upcycling old materials feels great, doesn’t it? Grab those metal mason jar rings from your canning supply stash and give them a brand-new life. These mini pumpkin suncatchers look incredibly charming hanging in a kitchen window.
Step-by-Step Instructions:
- Trace the inner circle of the jar lid onto clear plastic.
- Apply a thin layer of school glue and press orange tissue paper onto the plastic.
- Once dry, pop the plastic circle inside the metal ring and secure it with a bit of hot glue (parental help needed here!).
- Tie a green pipe cleaner around the top loop to mimic a stem.
4. Melted Crayon Shaving Suncatcher
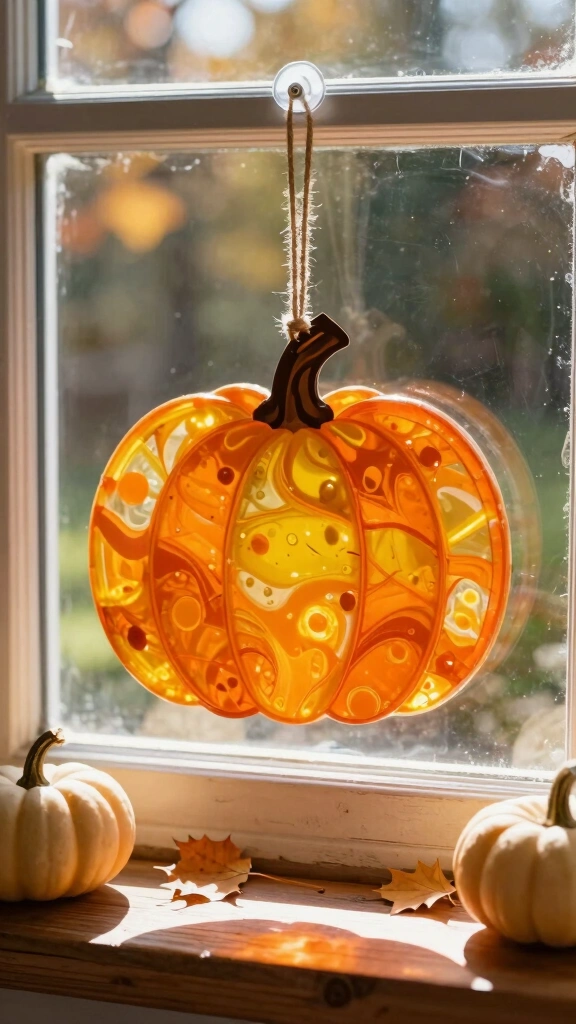
Do you have a box of broken, useless crayons lying around? Do not throw them away! This craft transforms those discarded bits into a vibrant, translucent pumpkin that glows beautifully in the autumn sun.
Safety First:
This project requires an iron, so an adult must supervise this step closely. Grate your leftover orange and yellow crayons, sprinkle the shavings between two sheets of wax paper, and run a warm iron over the top. Watch the colors blend together instantly like magic!
5. Black Scratch Art Pumpkin Suncatcher
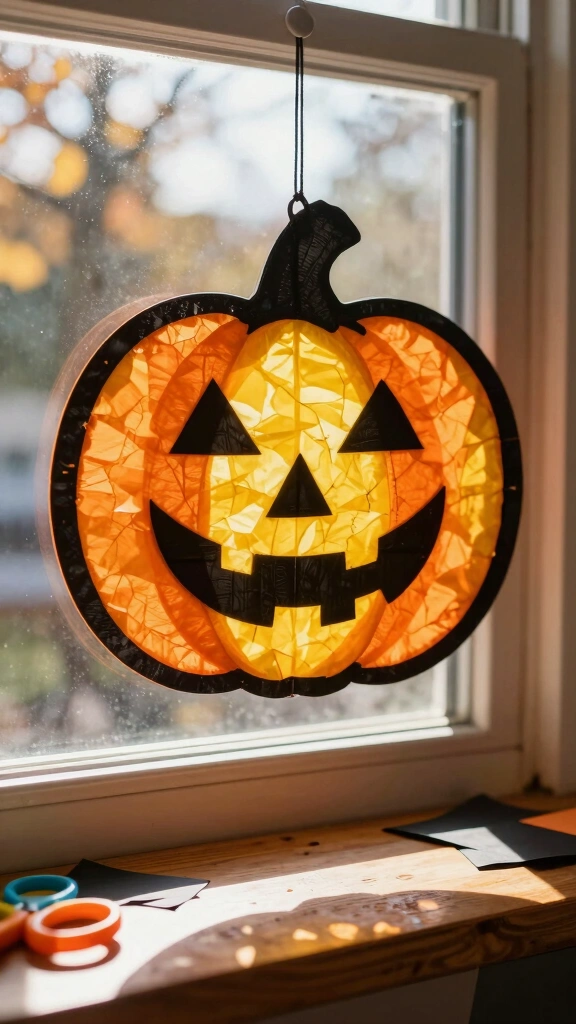
Create a stunning contrast by using black construction paper silhouettes over your suncatcher bases. The dark borders make the warm orange and yellow colors pop. It mimics the look of real stained-glass windows found in old churches.
How to Style It:
Cut out different expressions—spooky, silly, or sweet. Let your kids design their own unique jack-o’-lantern faces using scrap black paper. FYI, using safety scissors helps build hand strength in younger crafters!
6. Beaded Pumpkin Sun Catcher
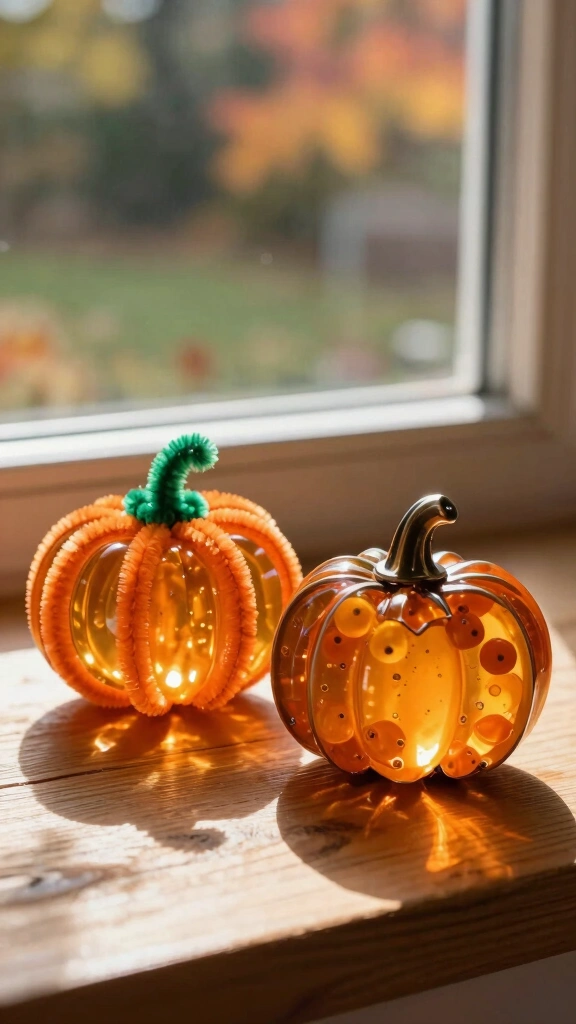
For a slightly different texture, swap out the paper for translucent pony beads. When kids thread these beads onto orange pipe cleaners, they practice valuable hand-eye coordination. You can easily shape the completed wire into a round pumpkin form.
Baking Option for Older Kids:
If you want a solid, glass-like finish, you can arrange plastic pony beads inside a metal cookie cutter and melt them in the oven. *Note: run your kitchen exhaust fan because melting plastic does produce fumes.*
7. Coffee Filter Tie-Dye Suncatcher
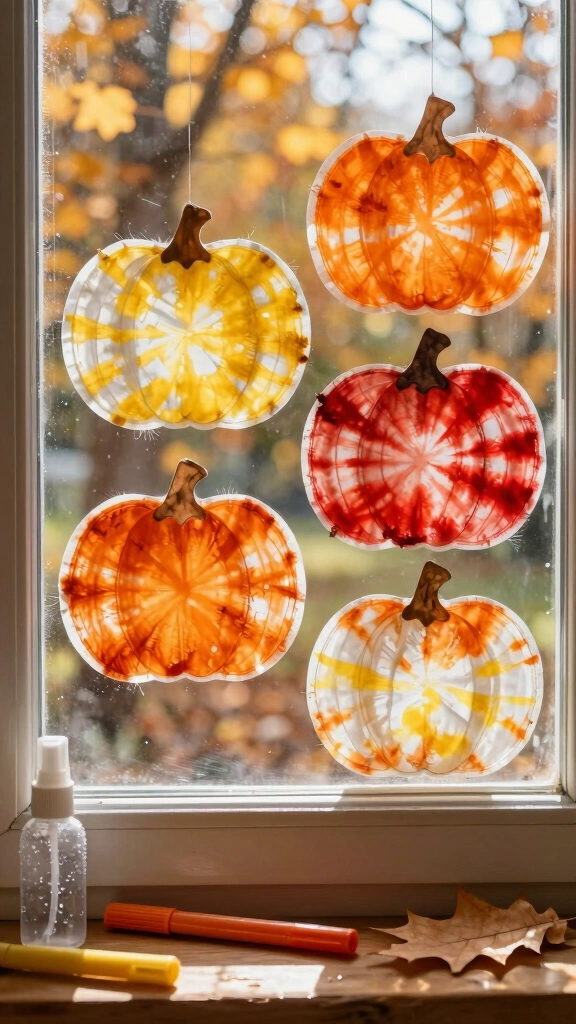
Coffee filters absorb liquid watercolors beautifully, creating a soft, tie-dye effect that looks stunning on sunny windows. This method is incredibly forgiving and perfect for toddlers who just want to splash paint around.
What You Need:
- White basket coffee filters
- Washable markers (orange, red, yellow)
- A spray bottle filled with water
How to Make It:
Let your child scribble all over the filter with the markers. Spray the filter with water and watch the colors bleed and blend together. Once dry, cut the filter into a pumpkin shape and tape it to the window.
8. Stained Glass Window Art with Black Glue
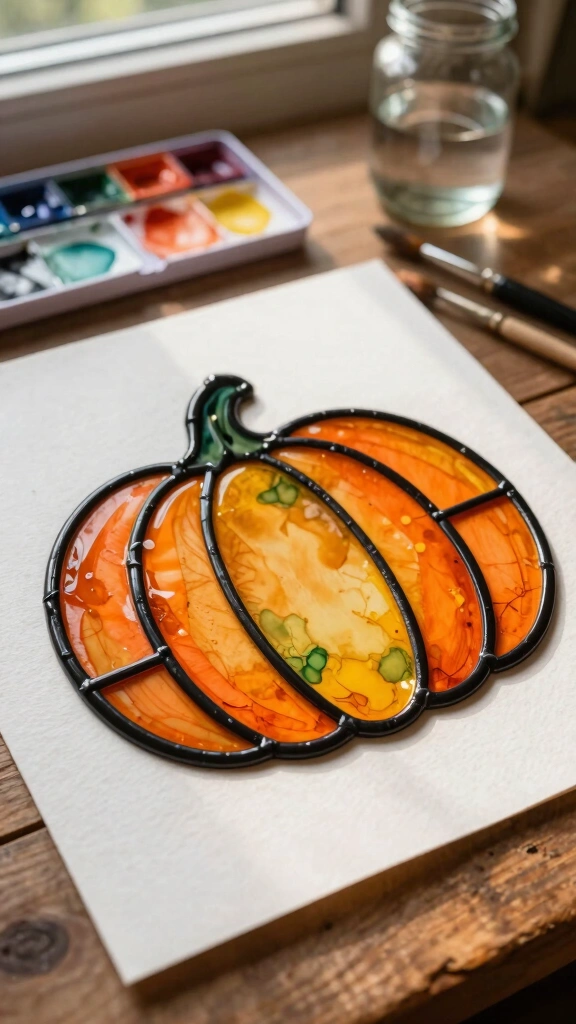
Want to achieve that authentic leaded-glass look? Create your own black glue by mixing black acrylic paint into a standard bottle of white school glue. The thick, dark lines raise off the page, creating clear borders for paint.
Painting Tips:
Draw the pumpkin outline with the black glue first and let it dry completely overnight. The next day, let your kids fill in the sections with watercolor paints or diluted food coloring. The raised black lines keep the paint from bleeding into neighboring sections.
9. Pressing Real Autumn Leaves
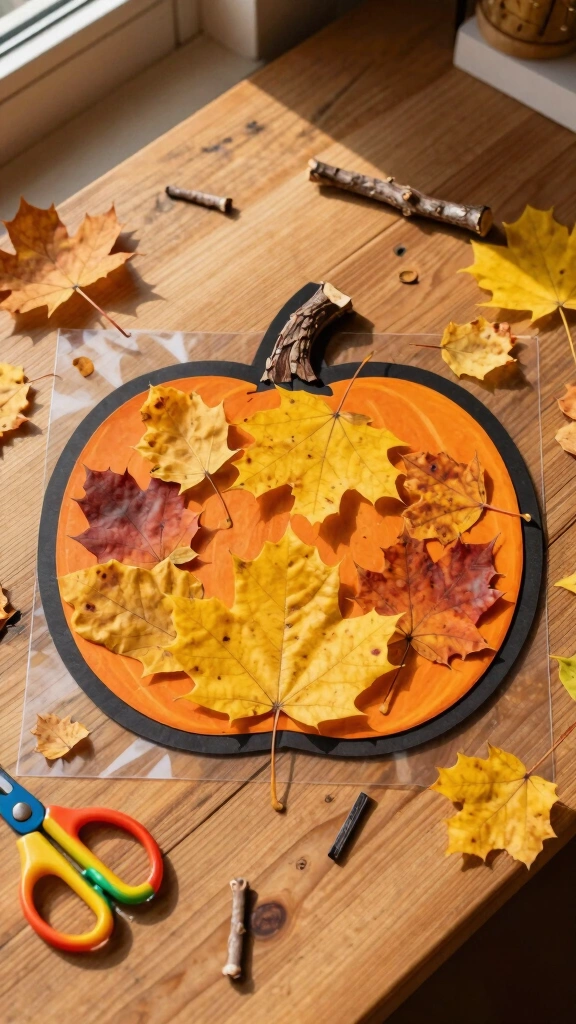
Take your kids on a nature walk first to collect the brightest yellow and orange fall leaves they can find. Incorporating natural elements adds a wonderful sensory aspect to this craft project.
Assembly Process:
Arrange the gathered leaves in a circular pumpkin shape inside your contact paper frame. Add a brown twig at the top for the stem. This blends the beauty of the outdoors with indoor holiday decorating.
10. Faux Stained Glass Laminating Sheet Pumpkin
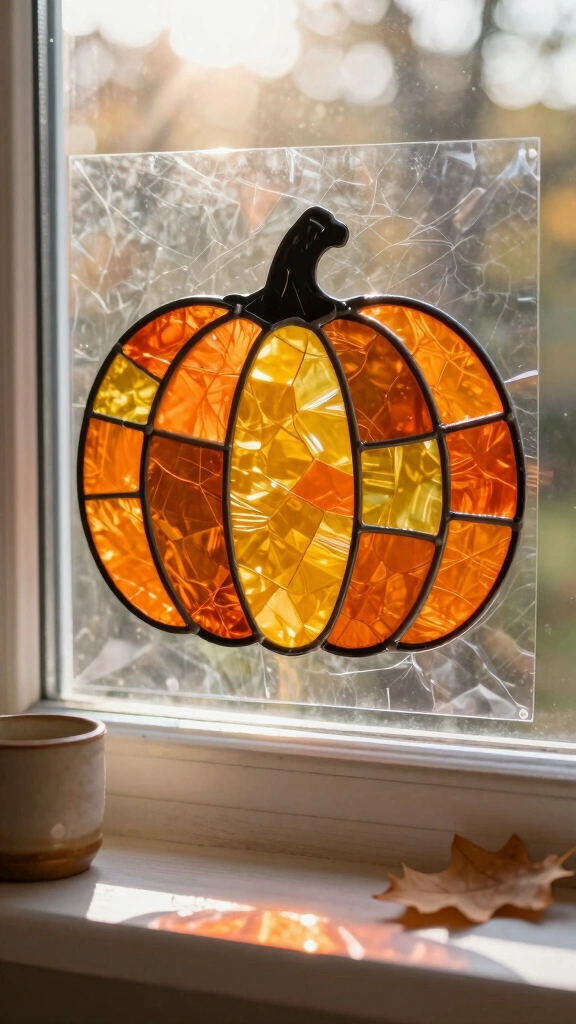
If you want a highly durable suncatcher that will last for years, use self-adhesive laminating sheets instead of contact paper. The plastic is sturdier, which prevents wrinkles and keeps the project looking pristine.
Why Choose Laminating Sheets?
They offer a crystal-clear finish that lets the maximum amount of sunlight pass through. Your windows will fill with beautiful orange hues every single morning.
11. Glitter and Glue Peel-Off Suncatcher
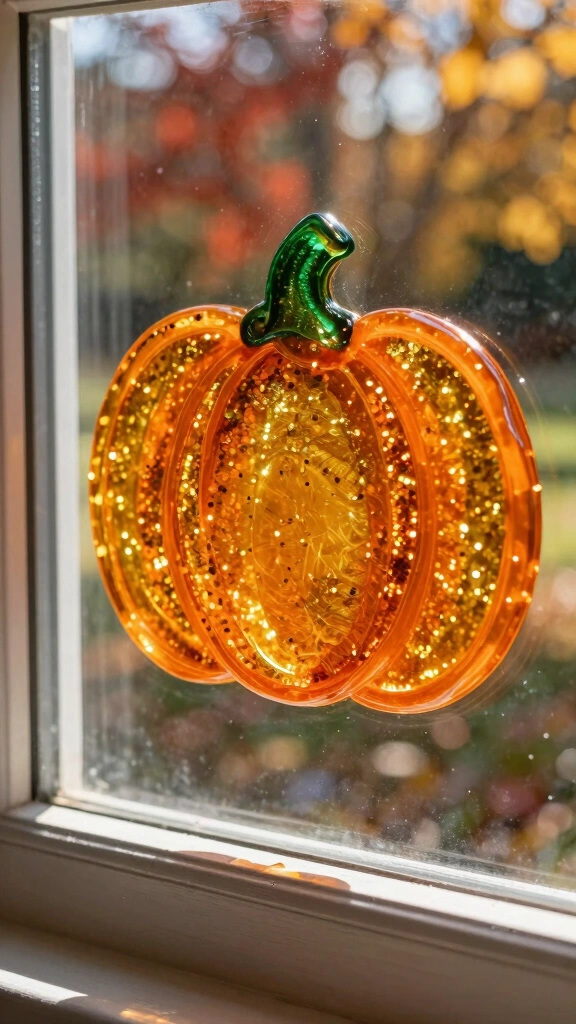
Who doesn’t love a bit of sparkle? This method uses clear school glue mixed with fine orange glitter, poured directly onto a flexible plastic surface like a gallon ziplock bag.
The Peel-Off Magic:
Spread the glitter-glue mix into a thick pumpkin shape and let it dry for 24 to 48 hours. Once completely dry, simply peel the flexible pumpkin right off the plastic bag. It sticks to glass windows naturally without any tape!
12. CD Upcycled Pumpkin Suncatcher
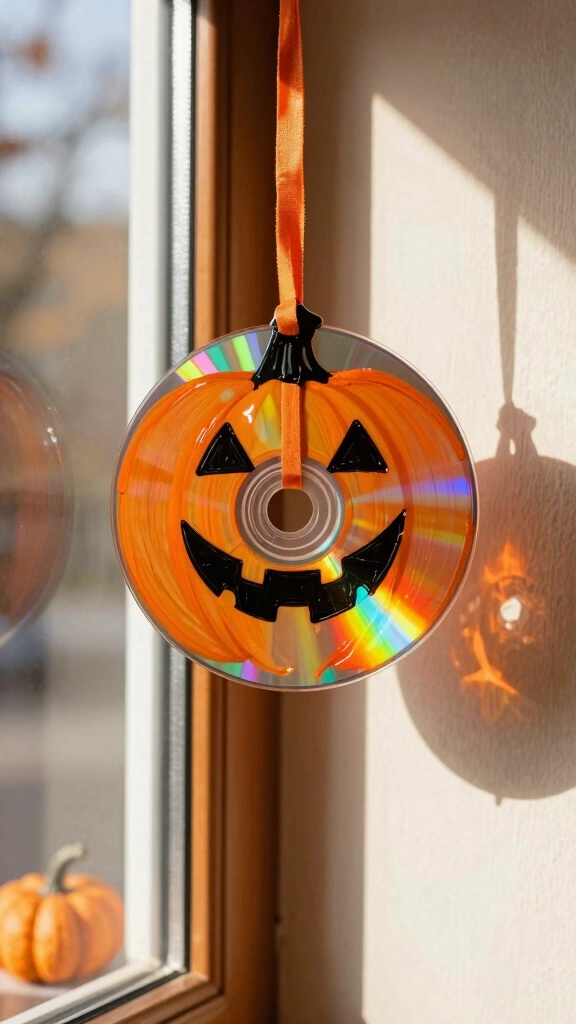
Do you still have old, scratched music CDs lying around in drawers? The shiny, holographic side of a CD reflects light beautifully, creating little rainbows all over your walls when the sun hits it.
Decorating the CD:
Use orange glass paint or permanent markers to color the reflective side of the disc. Draw a black jack-o’-lantern face in the center and hang it by threading a ribbon through the middle hole.
13. Celery Stamp Suncatcher on Wax Paper
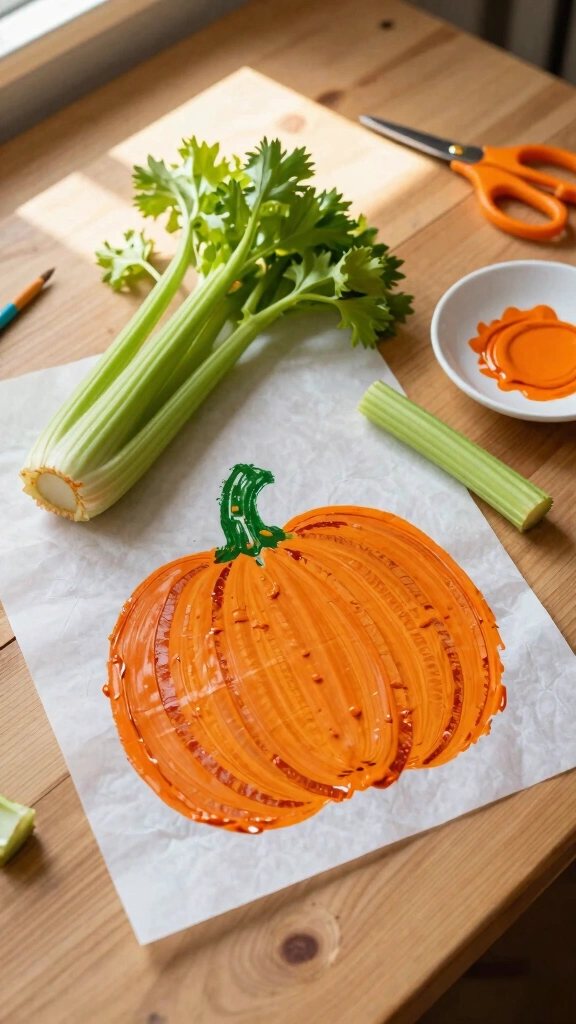
Did you know the base of a celery bunch looks exactly like a rose or a small pumpkin when stamped? Dip the cut end of a celery stalk into orange paint and stamp it onto wax paper.
Creating the Patterns:
This stamping technique creates beautiful organic patterns. Once the paint dries, cut around the stamped shapes and display them. Kids absolutely love using food as art tools!
14. Tissue Paper Mosaic Pumpkin Template
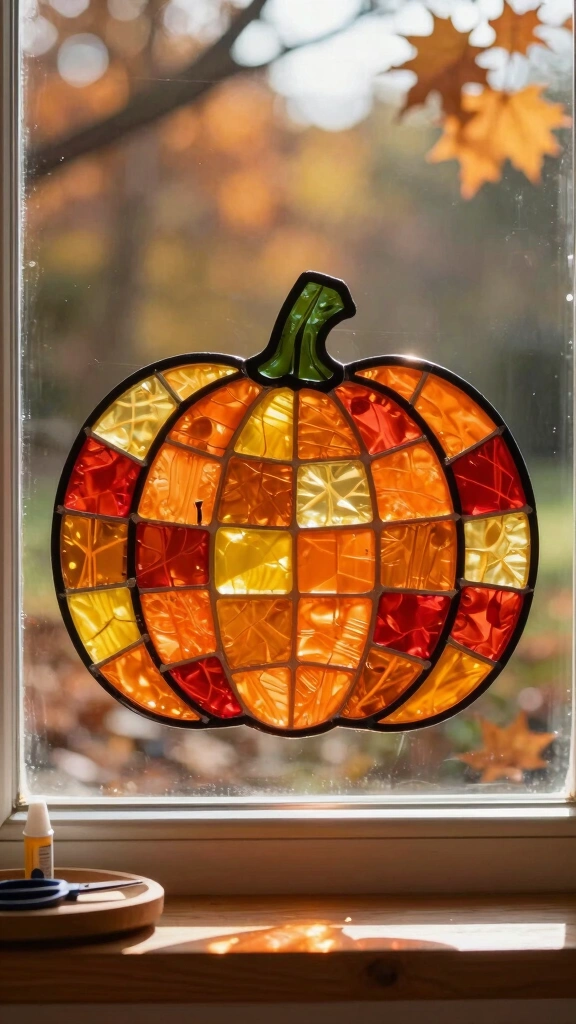
Perfect for older children who want to practice precision, this project uses a printed pumpkin outline. Kids cut tissue paper into exact squares and arrange them in a mosaic pattern.
Skills Developed:
This craft encourages patience, pattern recognition, and fine motor control. The result looks incredibly neat and tidy on the glass window.
15. Yarn Wrap Pumpkin Suncatcher
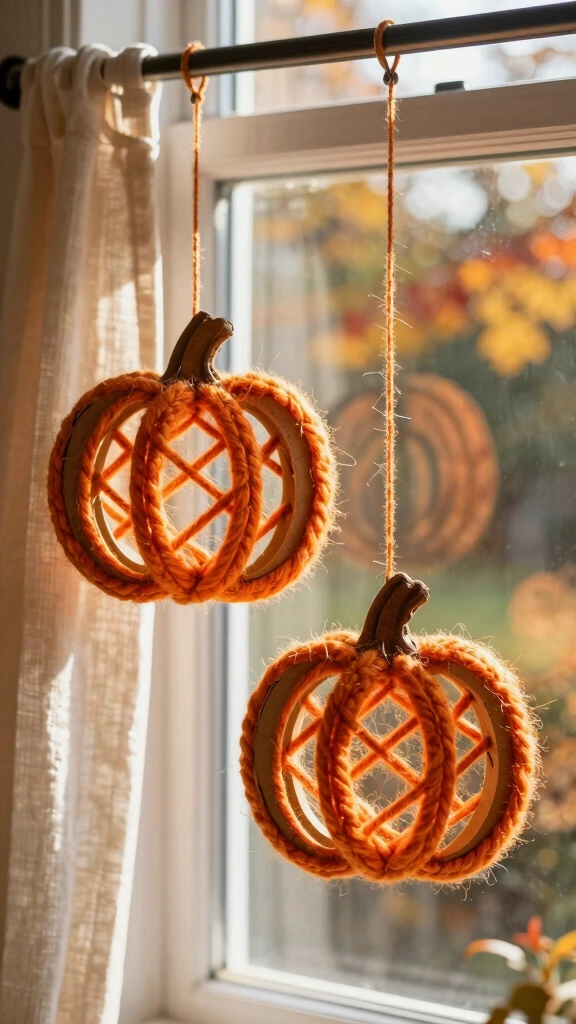
For a cozy, textured look, wrap orange yarn around a cardboard pumpkin frame. The open spaces between the yarn strands let the sunlight filter through beautifully.
Final Steps:
Hang these yarn pumpkins from your curtain rods using clear fishing line. They sway gently in the breeze when you open the window, adding movement to your autumn decor.
Brighten Your Home This Fall Season
There you have it! Fifteen fantastic ways to welcome autumn warmth into your home. These craft projects prove you do not need expensive supplies to make beautiful memories with your kids. Grab some tissue paper, clear contact paper, and let the sunlight do the rest. Which project will you try first this weekend?