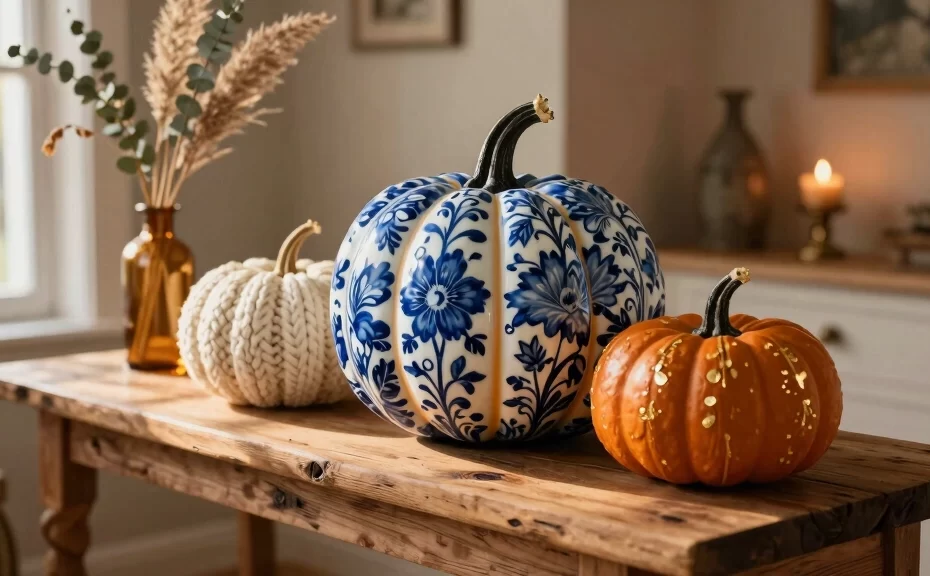
Crisp autumn air always sparks the urge to reinvent our living spaces. Do you really want to settle for the same old orange plastic jack-o’-lanterns this year? Step aside, basic porch setups. We want texture, warmth, and sophistication that welcomes the season with open arms.
Gather your crafting supplies and warm up those glue guns. These creative pumpkin DIY decor ideas will transform your home into a cozy autumn haven. Let’s make some seasonal magic happen!
1. Elegant Blue and White Chinoiserie Pumpkins
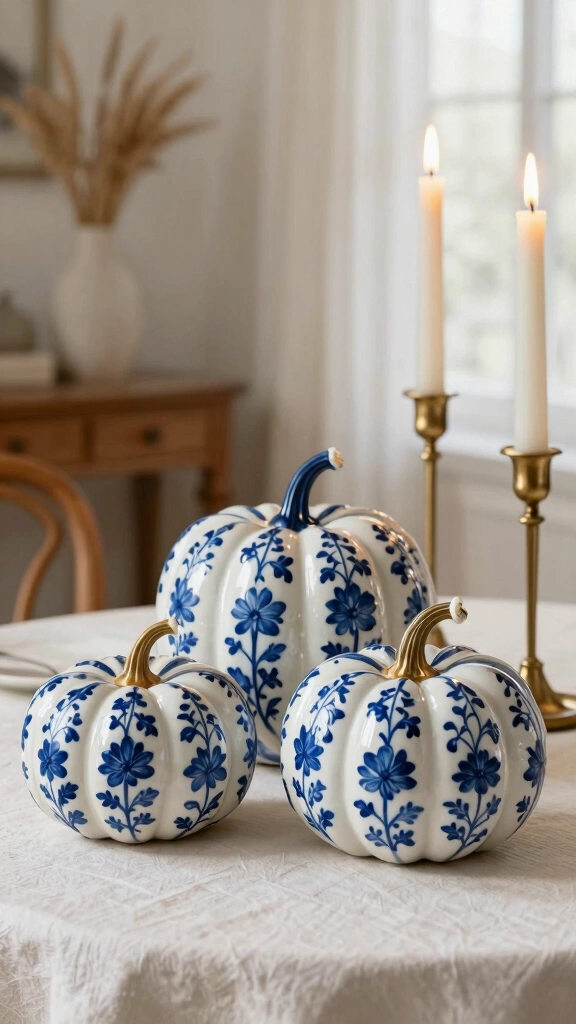
Bring a touch of classic porcelain charm to your tabletop displays. Painted chinoiserie pumpkins offer a stunning alternative to traditional warm autumn tones. They pair beautifully with white tablecloths and brass candlesticks.
How to Achieve the Look
- Apply two coats of crisp white acrylic paint to a medium-sized faux pumpkin.
- Use a fine-tip brush and blue acrylic paint to sketch delicate floral patterns.
- Seal your design with a high-gloss mod podge for that authentic ceramic shine.
2. Delicate Pressed Flower Pumpkins
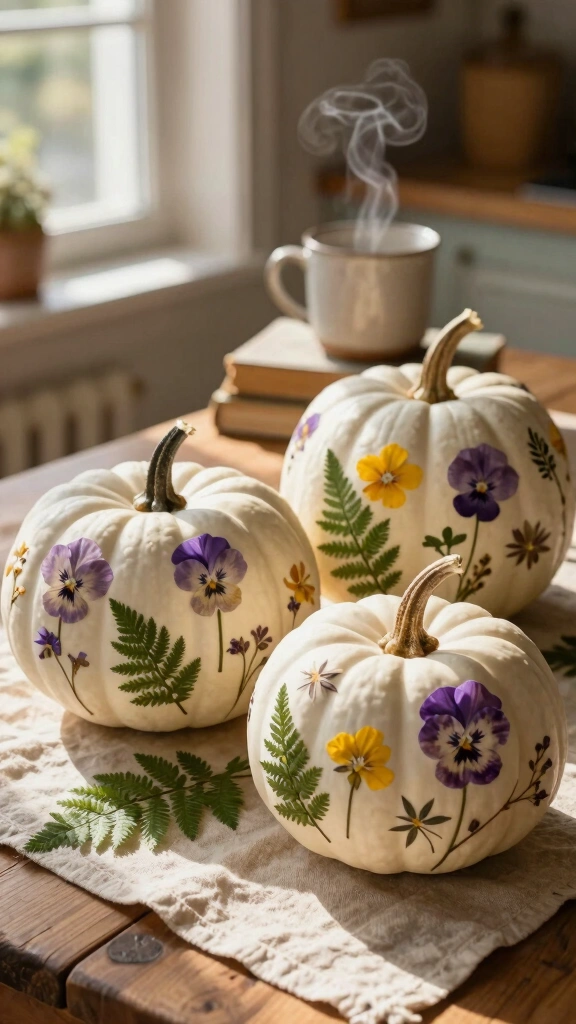
Why not bring elements of your late-summer garden into your autumn display? Pressed flower pumpkins combine natural botanical elements with rustic fall shapes. This project works best on smooth white pumpkins, whether real or artificial.
Simply gather dried, pressed blossoms like pansies, ferns, and larkspur. Apply a thin layer of decoupage medium to the pumpkin surface, press the flowers down gently, and seal them with another layer. The result looks incredibly upscale and costs next to nothing.
3. Upcycled Sweater Pumpkins
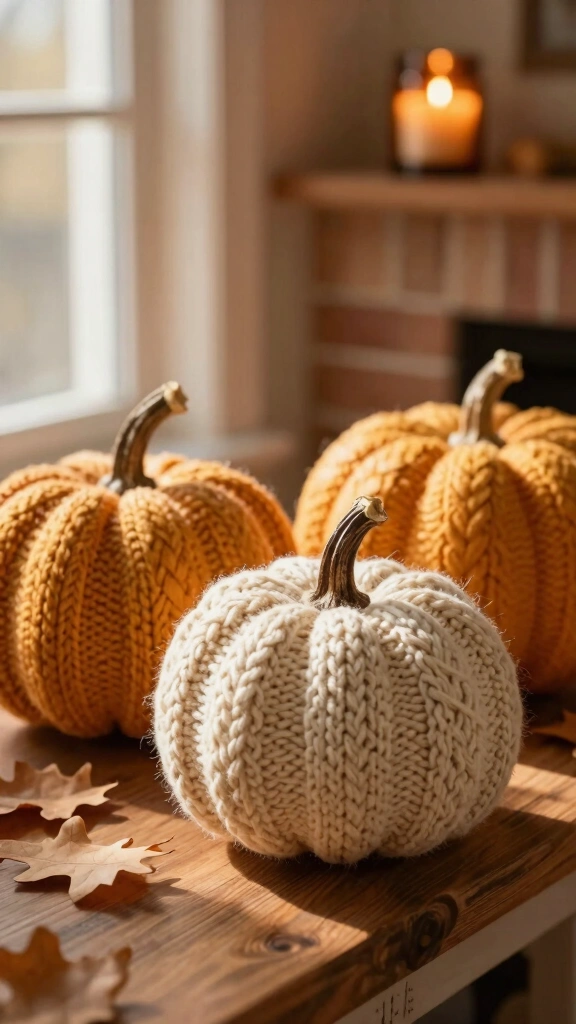
Do you have an old knit sweater collecting dust in your closet? Cut those cozy sleeves off and turn them into plush pumpkin decor. This project requires zero knitting skills and brings INSTANT texture to any mantelpiece.
IMO, nothing says cozy quite like chunky cable-knit fabric. Cut a sleeve section, gather one end with a needle and thread, stuff it with fiberfill, and tie off the top. Add a real dried pumpkin stem to the top to complete the look. CRITICAL TIP: Secure the stem with a generous dollop of hot glue.
4. Luxurious Velvet Pumpkins with Real Stems
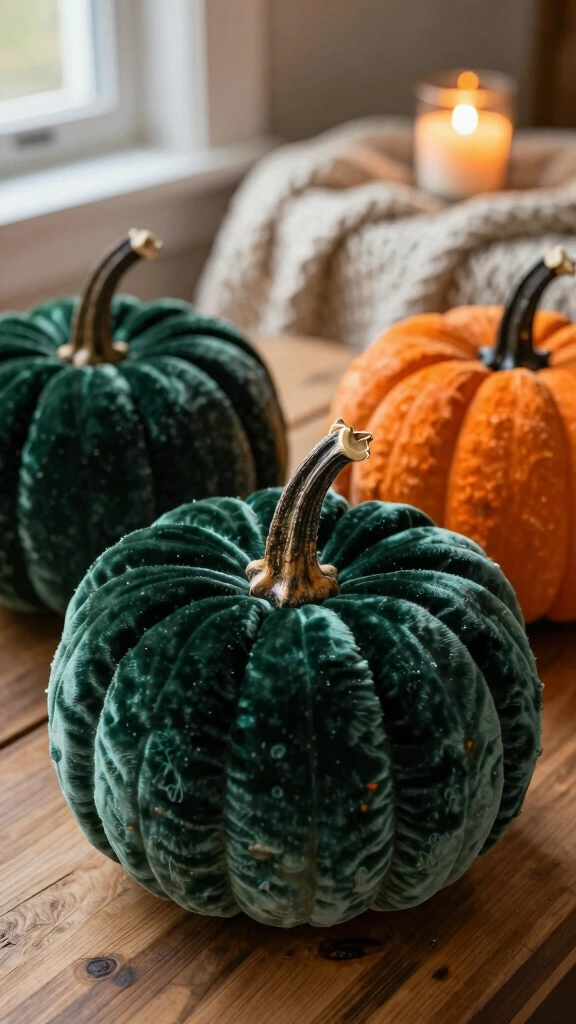
High-end boutiques sell velvet pumpkins for crazy prices every autumn. Save your hard-earned money and craft your own elegant versions at home. You only need a circle of rich velvet fabric, some stuffing, and dried pumpkin stems.
Step-by-Step Assembly
- Cut a fabric circle roughly twice the diameter of your desired finished pumpkin size.
- Sew a simple running stitch around the edge and pull it slightly to create a pouch.
- Fill the pouch with poly-fil and dry beans for weight, then pull the thread tight.
- Hot glue a real, cleaned pumpkin stem over the gathered center.
5. Terrazzo-Style Painted Pumpkins
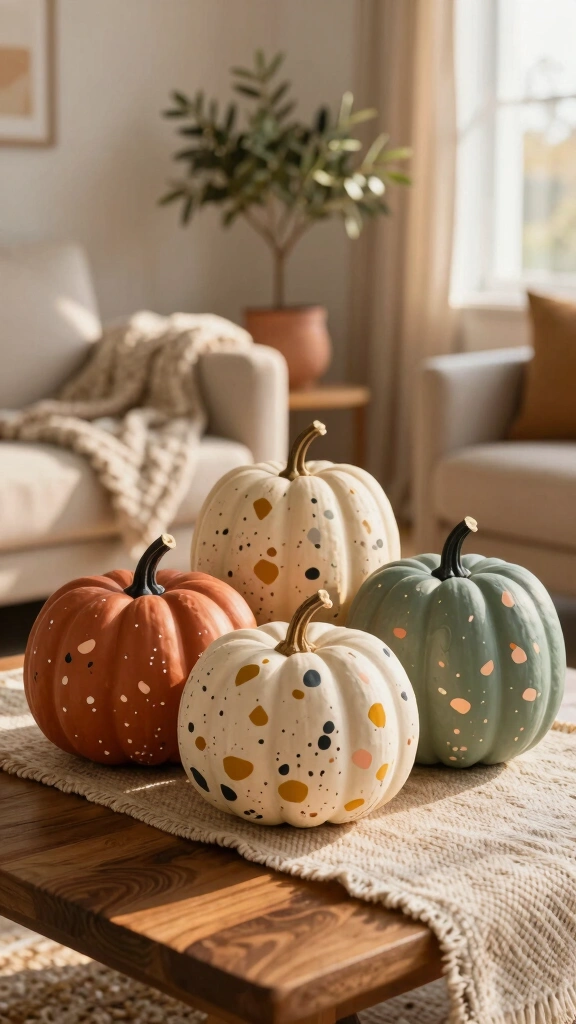
Are you looking for a modern, artistic vibe for your living room? Terrazzo-patterned pumpkins offer a playful, contemporary aesthetic. The speckled design mimics Italian stone tiles and adds a pop of personality to your decor.
Start with a neutral base color like cream, terracotta, or sage green. Paint irregular, organic flecks of charcoal, mustard, and peach across the surface. This technique hides imperfections beautifully, making it perfect for beginners.
6. Metallic Gold Leaf Accent Pumpkins
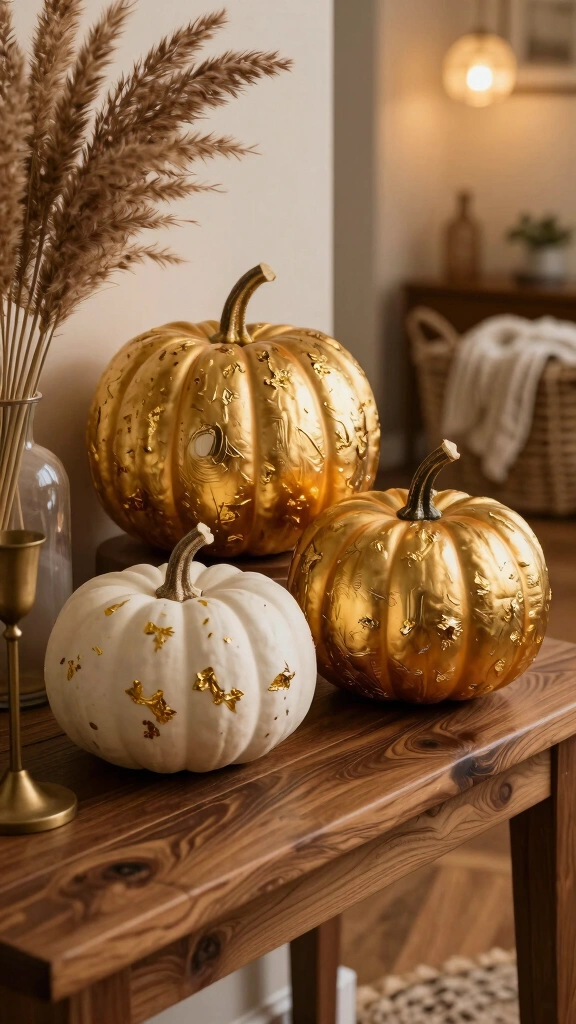
Who says fall decor cannot be glamorous? Metallic gold leaf adds an expensive, shimmering glow to your entryway. Place these beauties under warm ambient lighting to make your home feel cozy and bright.
Apply gold leaf adhesive to select areas of your pumpkin—either in abstract brushstrokes or a clean dipped look. Gently press the delicate gold sheets onto the adhesive using a dry foam brush. Brush away the excess leafing to reveal a gorgeous, gilded masterpiece.
7. Faux Concrete Textured Pumpkins
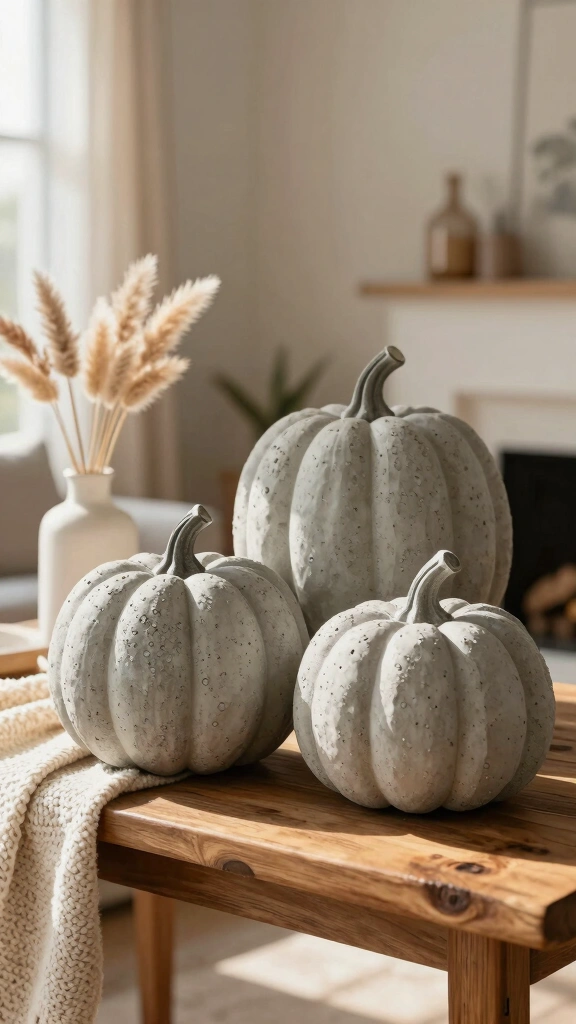
Industrial design lovers, this one is for you. You can easily turn cheap, lightweight plastic pumpkins into heavy-looking concrete statues. The secret ingredient lies right in your kitchen cabinet.
Mix matte grey acrylic paint with a generous spoonful of baking powder. FYI, the mixture will bubble up and create a thick, gritty paste. Slather this paste onto your pumpkin to mimic the rough texture of poured concrete.
8. Whimsical Dried Floral Crown Pumpkins
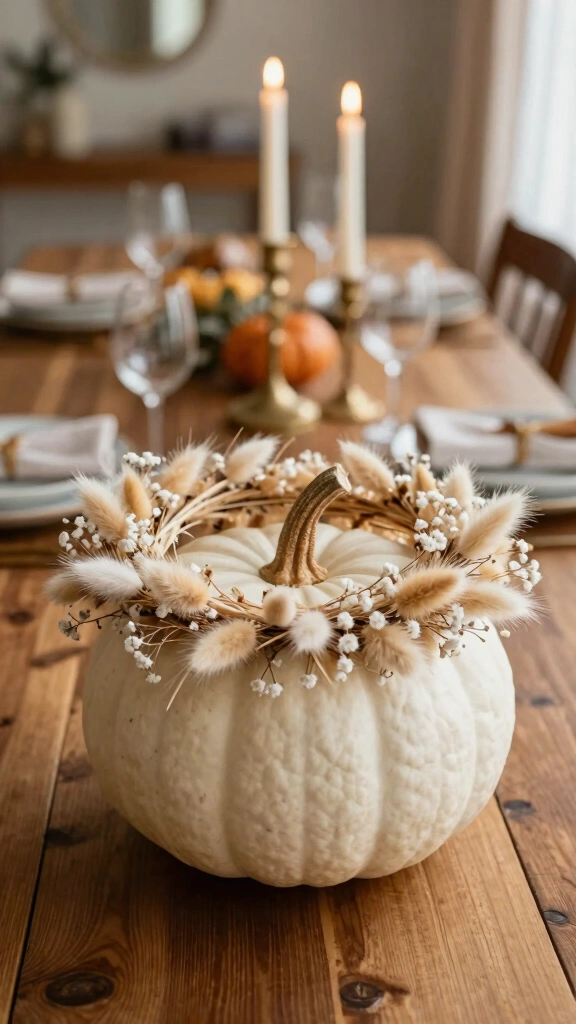
Skip the carving tools and reach for the florist wire instead. Creating a dried floral crown gives your pumpkins a bohemian, ethereal appearance. Use this idea for a stunning Thanksgiving table centerpiece.
Wrap a small wire loop around the base of the pumpkin stem. Hot glue dried bunny tails, baby’s breath, and mini pampas grass plumes onto the wire. This arrangement will look beautiful all season long without wilting.
9. Cozy Plaid Flannel Wrapped Pumpkins
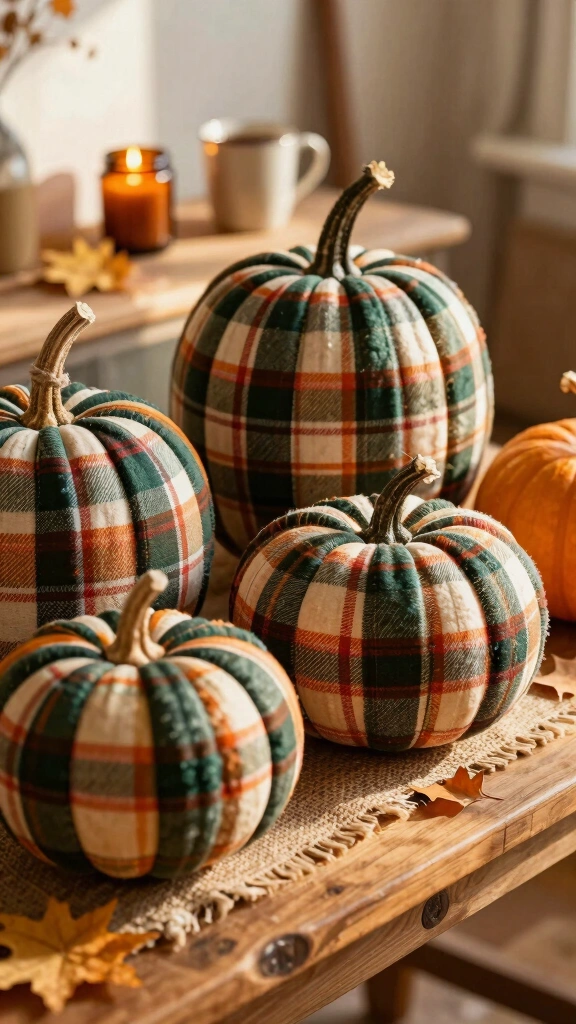
Nothing screams cozy autumn louder than classic plaid flannel. Wrap your home in warm, rustic comfort by dressing your pumpkins in flannel patterns. It evokes the feeling of cool bonfire nights and warm apple cider.
Cut strips of plaid fabric from an old shirt or scrap fabric. Use Mod Podge to adhere the strips vertically along the natural ridges of a foam pumpkin. Smooth out any air bubbles as you go to ensure a seamless fit.
10. Sophisticated Monogram Porch Pumpkins
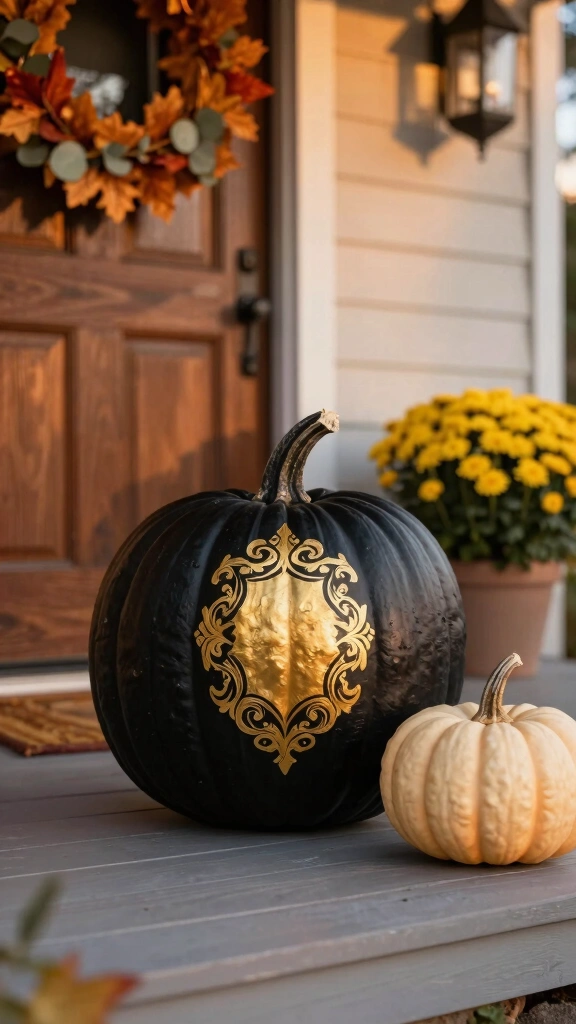
Welcome your guests with a personalized touch right at the front door. Monogrammed pumpkins offer a clean, classic curb appeal that never goes out of style. Plus, it takes less than twenty minutes to complete.
Paint a large pumpkin in a contrasting shade like matte black or cream. Stencil your family’s last initial in the center using metallic paint or a permanent marker. Frame the letter with a simple painted olive branch wreath for an elegant finish.
11. Glamorous Ombre Glitter Pumpkins
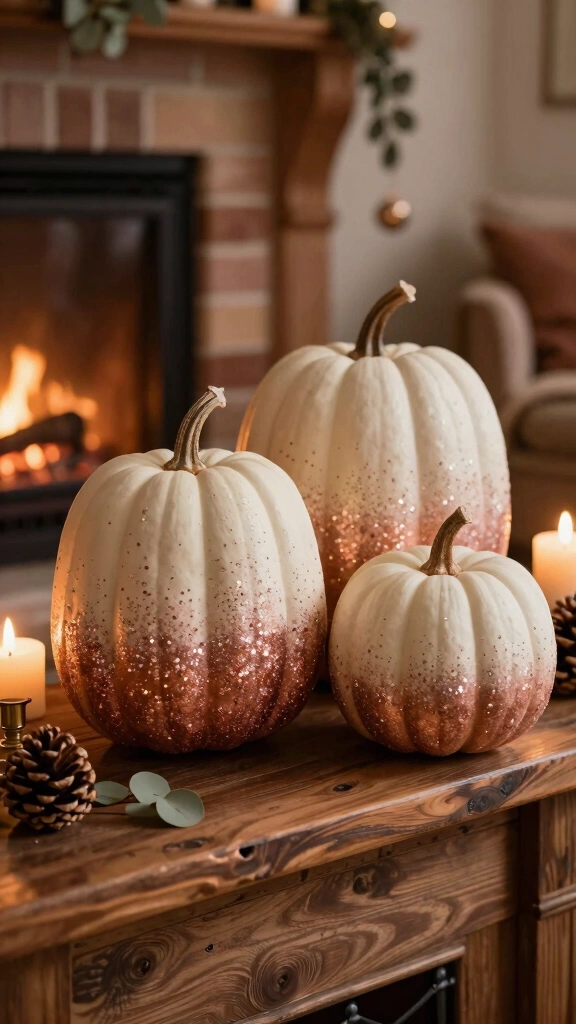
Do you love all things sparkly? Add a festive touch to your fireplace mantel with an ombre glitter design. This project transitions beautifully from Halloween all the way through Thanksgiving.
Brush craft glue onto the bottom half of a painted pumpkin, thinning it out as you move upward. Shake fine glitter over the wet glue to create a cascading, gradient effect. Use shades like copper, rose gold, or champagne for a sophisticated look.
12. Chalkboard Menu Pumpkins
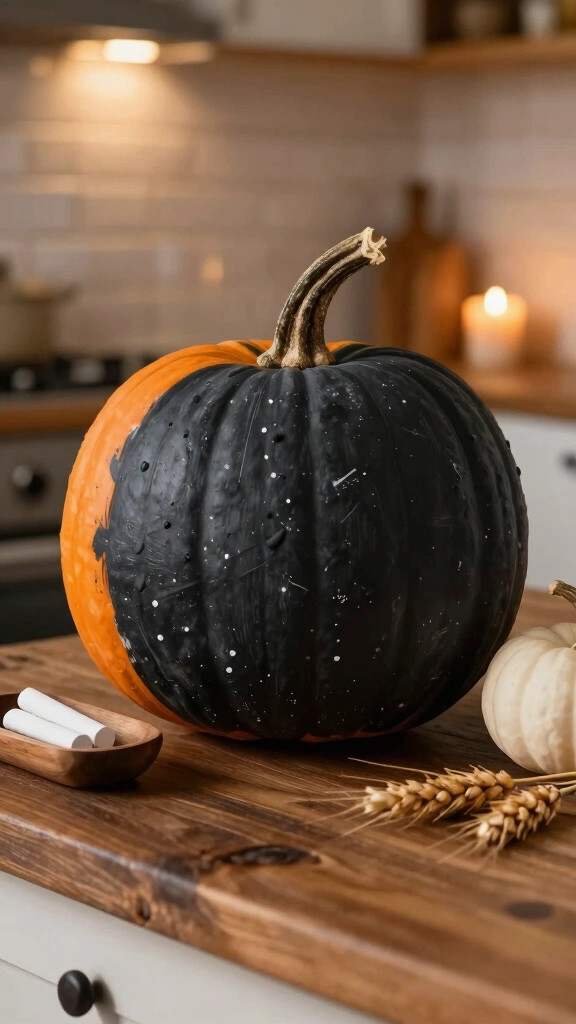
Why use regular paper signs when you can write on pumpkins? Chalkboard-painted pumpkins serve as functional, interactive decor pieces for autumn dinner parties. They work wonderfully on kitchen countertops or buffet tables.
Coat a large, flat-sided pumpkin with two coats of black chalkboard paint. Once dry, prime the surface by rubbing chalk all over it and wiping it clean. Write your dinner menu, a weekly grocery list, or a cozy autumn greeting for your family.
13. Boho Macrame Wrapped Pumpkins
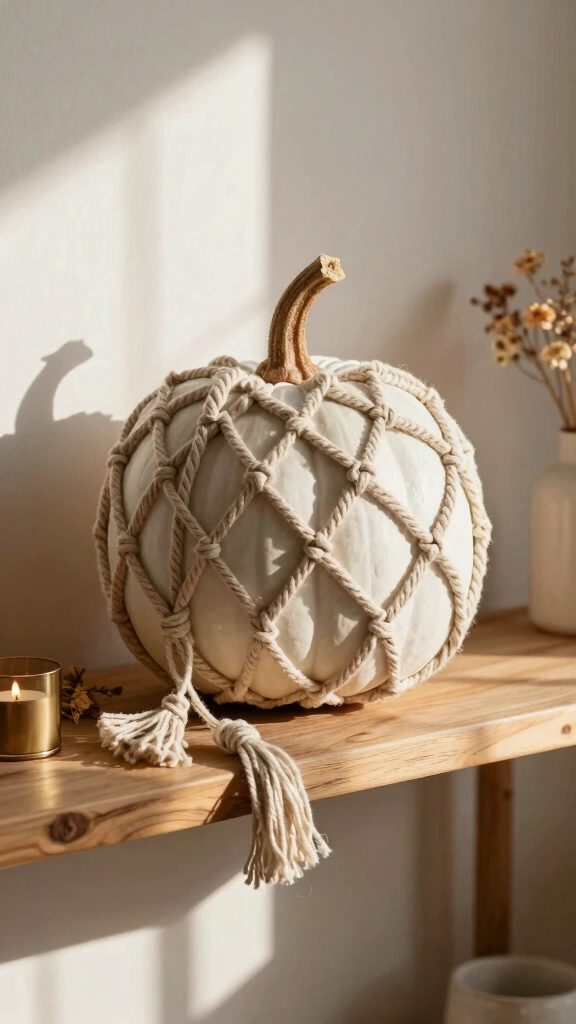
Add some cozy, relaxed textures to your shelves with macrame detailing. This project combines the natural warmth of cotton cord with the structured curves of a pumpkin. It fits seamlessly into modern, minimalist, or bohemian home designs.
Tie a series of simple square knots around the top stem of the pumpkin. Let the cords drape down the sides, knotting them occasionally to create a diamond net pattern. Fray the ends at the bottom for a playful tassel finish.
14. Living Succulent Pumpkin Planters
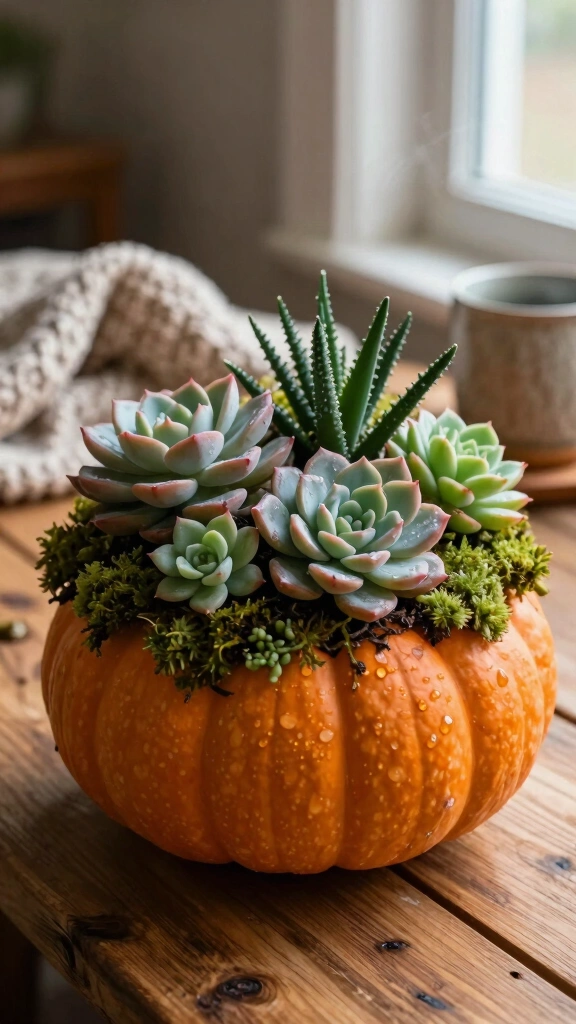
Are you looking for a project that blends live greenery with fall textures? Succulent pumpkins offer a gorgeous, living arrangement that lasts for months. Best of all, you do not even have to carve the pumpkin, which prevents rotting! 😉
How to Assemble Your Living Planter
- Layer damp sphagnum moss on top of a flat pumpkin head.
- Glue the moss down securely using hot glue or floral adhesive.
- Arrange succulent cuttings on top of the moss, gluing their stems in place.
- Mist the succulents with water once a week to keep them thriving.
Transform Your Space for the Season
Bringing warmth into your home does not require expensive store-bought items. With these 14 creative pumpkin DIY decor ideas, you can personalize your space using simple craft supplies and a little imagination. Choose your favorite project, gather your materials, and start crafting your ultimate cozy sanctuary today!