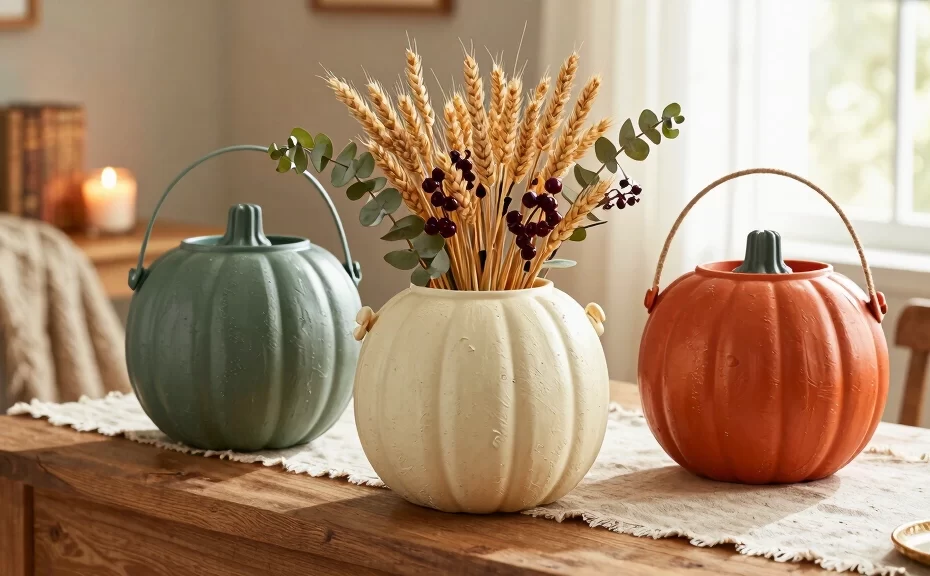
Do you have a stash of cheap plastic trick-or-treat buckets gathering dust in your attic? You know the ones—bright orange, slightly warped, and costing about a dollar at your local supermarket. Instead of tossing them out, why not give them a high-end makeover? With a little creativity and some basic crafting supplies, you can transform these plastic eyesores into stunning autumn decor pieces. Let us show you how to elevate your fall home styling without breaking the bank.
Who says holiday decor has to cost a fortune? Upcycling these classic buckets not only saves you money but also keeps plastic out of landfills. Get ready to grab your glue gun, find your favorite spray paint, and unleash your inner designer. These projects will convince everyone that you bought your decorations at a boutique home goods store!
1. Terracotta Faux-Stone Planters

Transform slick orange plastic into rustic earthenware with a simple paint trick. First, snip off the thin plastic handles and sand the glossy surface of the bucket to help the paint adhere. Mix orange, brown, and white acrylic paint with a tablespoon of baking soda to create a thick, gritty texture. Paint two coats onto the bucket, allowing it to dry completely between layers to achieve that authentic terracotta look.
Styling Tip
Fill your new rustic pot with dry Spanish moss and a leafy green fern. IMO, this earthy texture looks best when you place it on a wooden entryway table next to some real gourds. The matte, chalky finish completely hides the cheap plastic underneath.
2. Modern Concrete-Look Pumpkins
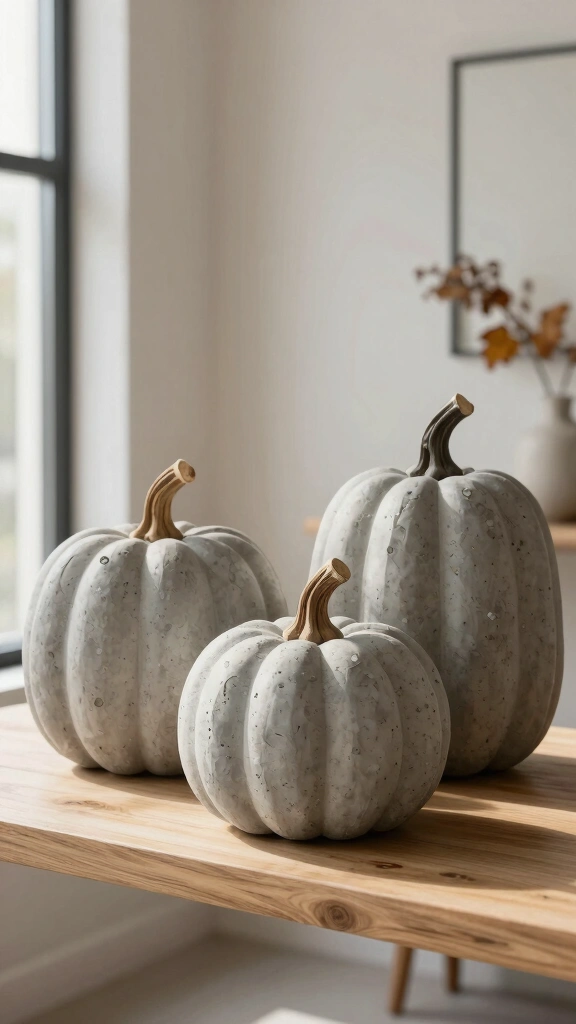
Do you love the minimalist aesthetic? You can easily mimic heavy concrete by coating your plastic buckets with texture. Apply a thin layer of joint compound or drywall mud over the entire exterior using a damp sponge to create stippled peaks and valleys. Once the compound dries, sand down the sharp edges and spray-paint the surface with a textured gray stone spray paint.
These faux-concrete pumpkins weigh next to nothing, making them easy to move around. Yet, they look heavy, expensive, and incredibly chic. Display them on your front steps in asymmetrical clusters of three for an instant curb appeal boost.
3. Chic Farmhouse Twine Pumpkins

If cozy, rustic farmhouse style speaks to your soul, this project has your name on it. Wrap thick jute rope or sisal twine tightly around the bucket, securing each row with hot glue as you go. Work your way from the bottom to the very top rim, ensuring no orange plastic peeks through the fibers. Finish the look by gluing a piece of a real tree branch to the center for a rustic stem.
- Difficulty Level: Easy
- Time Required: 30 minutes
- Key Materials: Jute twine, hot glue gun, thick branch slice
4. Cozy Bouclé Wrapped Pumpkins
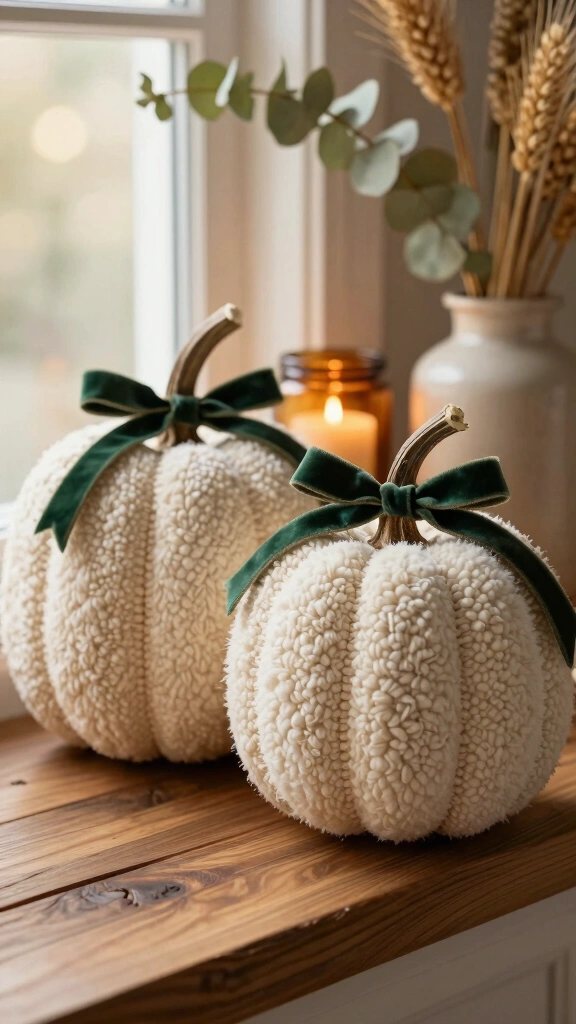
Bring the warmth of autumn textiles indoors with soft, textured fabric. Wrap your plastic pumpkin bucket in cozy bouclé or sherpa fabric, tucking the excess edges inside the bucket opening. Secure the fabric with fabric glue or hot glue, pulling it tight to define the pumpkin’s natural ridges. This project adds a beautiful, soft layer to your living room mantel or sofa side tables.
Want to make it look even more high-end? Tie a velvet ribbon around the stem of your choice. Guests will want to pick up these touchable, plush pumpkins to see where you bought them!
5. Classy Antique Brass Makeovers

Nothing says elegance quite like metallic accents. Coat your plastic buckets with a dark bronze primer, followed by a light dusting of metallic gold spray paint. Once dry, rub a tiny amount of black acrylic paint or dark wax into the crevices of the pumpkin’s face and ridges using a dry paper towel. This antiquing process creates a gorgeous, aged patina that looks like real cast metal.
These metallic vessels look stunning as dining table centerpieces. Fill them with battery-operated fairy lights to make the metallic finish glow warmly during dinner parties.
6. Creepy-Cute Succulent Planters

Give your plants a spooky home this autumn. Drill a few drainage holes in the bottom of your plastic pumpkin bucket before painting it a sleek matte black. Fill the bucket with a well-draining soil mix and pack it with various colorful succulents like echeveria and string of pearls. The vibrant greens and purples of the plants pop beautifully against the dark, moody container.
Keep in mind that plastic retains moisture longer than clay pots. Watch your watering schedule closely to keep your succulents thriving all season long. FYI: these make fantastic gifts for your plant-loving friends!
7. Jack-o’-Lantern Party Ice Bucket

Hosting a backyard Halloween gathering? Slice the top third off a large pumpkin bucket to create a wider opening for drinks. Paint the exterior a bright, glossy color of your choice, then coat the inside with a food-safe plastic sealant. Fill it to the brim with crushed ice and nestle in your favorite seasonal beers, sodas, or cider bottles.
This functional craft adds instant festive flair to your drink station. Because it is plastic, you do not have to worry about condensation ruining your wooden tables or outdoor furniture.
8. Spooky Halloween Porch Topiary
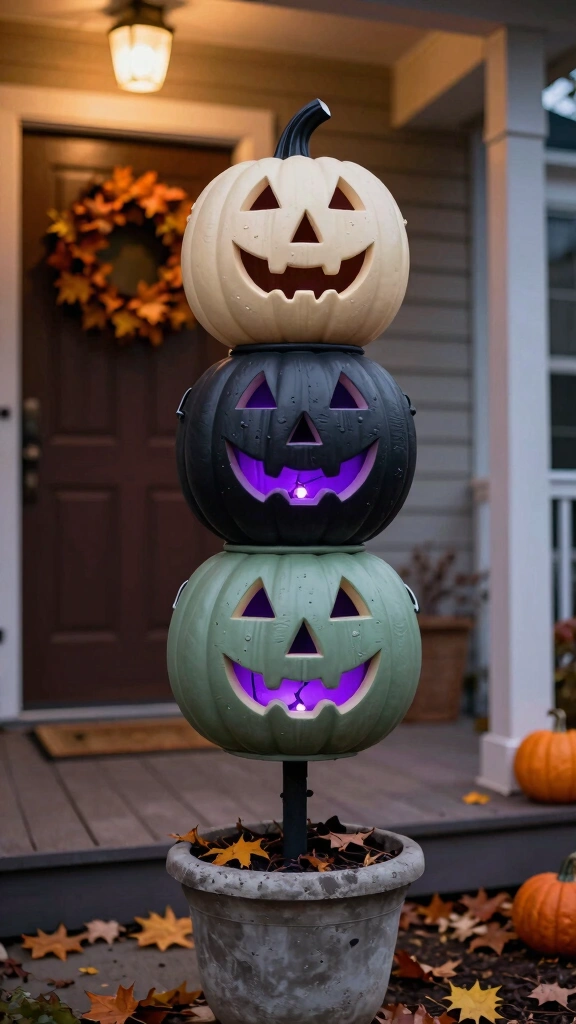
Make a bold statement at your front door with a towering pumpkin display. Thread three plastic pumpkin buckets onto a sturdy wooden dowel or metal garden stake, stacking them vertically. Paint each pumpkin a different coordinating color, such as cream, charcoal, and muted sage green. Secure the base of the stake in a heavy planter filled with soil to keep the wind from knocking it over.
Wrap orange or purple LED string lights around the central pole before stacking the buckets. At night, your topiary will light up the neighborhood with a warm, welcoming glow.
9. Boho Macrame Hanging Lanterns

Do you want to keep your bohemian decor vibe alive during the autumn months? Spray paint a pumpkin bucket in a warm, neutral color like terracotta or sand. Nestle the bucket inside a basic macrame plant hanger and suspend it from a ceiling hook or porch beam. Place a bright, battery-operated candle inside the bucket to illuminate the cut-out face or shape.
The hanging design saves precious floor space on small porches. It looks incredibly dreamy when the autumn breeze gently sways the woven ropes.
10. Decoupage Floral Pumpkins

Create a romantic, vintage look using paper napkins and Mod Podge. Paint your plastic bucket with white chalk paint to create a clean canvas for your design. Cut out delicate floral patterns from paper napkins, separate the layers so you only use the printed top layer, and adhere them to the pumpkin using a sponge brush and decoupage glue. Seal the entire surface with a matte topcoat to protect your artwork.
This technique allows you to customize your pumpkins to match any interior color scheme. You can choose classic autumn leaves, moody dark florals, or whimsical gingham patterns.
11. Glow-in-the-Dark Pathway Markers

Light the way for trick-or-treaters with this fun and functional outdoor project. Coat the classic bucket faces with several layers of high-quality glow-in-the-dark paint. Push inexpensive solar path lights into your lawn, then pop the pumpkin buckets directly over the light stakes. During the day, the solar panels charge, and at night, they illuminate the glowing pumpkin faces from within.
This simple trick ensures your walkway stays bright and safe for little cost. Plus, the kids in your neighborhood will absolutely love the eerie glow.
12. Apothecary Candy Jars

Upgrade your candy-sharing game with this clever pedestal design. Glue the bottom of your painted plastic pumpkin bucket to the top of a cheap glass or wooden candlestick holder. Paint the entire piece a cohesive color, like glossy black or metallic silver, to make it look like a single unit. Top the container with a matching lid made from cardboard or a plastic saucer, finished with a decorative drawer knob.
Place this stylish jar on your kitchen counter or office desk. Fill it with candy corn, fun-size chocolates, or fall potpourri for easy access.
13. Elegant Plaster-Cast Pumpkins
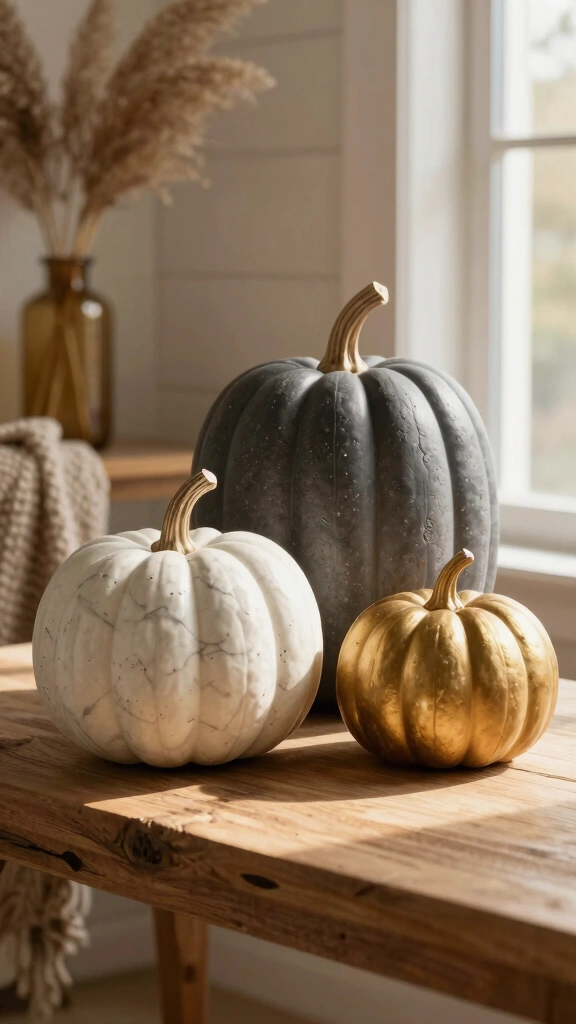
Did you know you can use a plastic pumpkin bucket as a mold? Pour mixed Plaster of Paris into the bucket, tapping the sides gently to release any trapped air bubbles. Once the plaster cures completely, carefully cut away the outer plastic bucket with heavy-duty shears to reveal a solid, heavy plaster pumpkin. You can sand down any seam lines and paint the plaster to look like real stone or ceramic.
This method creates a gorgeous, heavy-duty piece of decor that will last for years. Always wear a dust mask when mixing plaster to keep your lungs safe!
14. Whimsical Hanging Porch Chandelier

Why stop at one lantern when you can hang a cluster of them? Bind a metal wreath frame with faux fall foliage, pinecones, and orange berries. Hang four or five mini pumpkin buckets from the frame at varying heights using black fishing line or thin wire. Place a remote-controlled LED tealight inside each bucket so you can easily turn your new chandelier on and off.
Hang this statement piece over your outdoor dining table or in a cozy reading nook. It creates a magical, floating light effect that makes chilly autumn nights feel extra special.
Bring Your Fall Decorating to Life
Are you ready to transform your cheap plastic buckets into gorgeous autumn treasures? With these 14 creative pumpkin bucket crafts for fall decorating, you can elevate your space while enjoying some budget-friendly crafting time. Which project will you tackle first? Gather your supplies, put on your favorite cozy sweater, and start crafting your way to a beautiful, personalized fall home today!