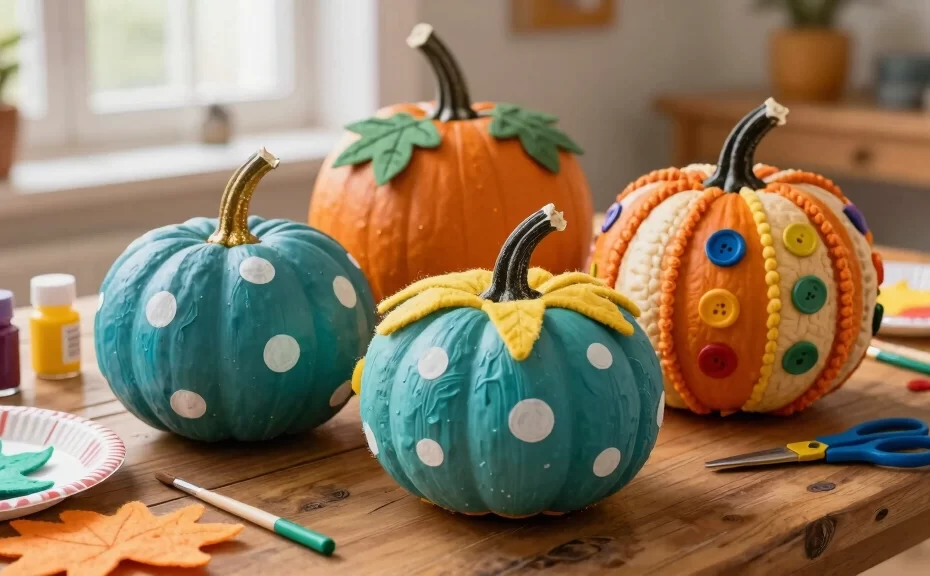
Do you smell that crisp autumn air? Fall has finally arrived, and that means it is officially pumpkin season. While traditional pumpkin carving has its charms, it also involves sharp knives, slimy guts, and a rotting porch decoration within a week. Why not skip the mess and try something that actually lasts?
Engaging your children in arts and crafts does not just keep them busy on rainy afternoons. It develops their fine motor skills, encourages self-expression, and builds cognitive pathways. Art stimulates a child’s brain in ways that digital screens simply cannot match. Plus, you get to create beautiful holiday memories together.
Are you ready to transform your living room into a colorful fall studio? We gathered the ultimate list of pumpkin-themed art activities. These projects require minimal prep, use everyday household items, and guarantee hours of creative fun for kids of all ages.
1. No-Carve Paint Pour Pumpkins

Get ready for some messy, mesmerizing fun with paint pouring. This technique allows colors to swirl together organically, creating a stunning marble effect. Kids absolutely love watching the paint drip down the sides of the pumpkin.
Materials You Need
- Real or artificial white pumpkins
- Acrylic paint in 3-4 contrasting colors
- A plastic tray or bin to catch the run-off paint
- Plastic cups for pouring
Pro Tip for Easy Cleanup
Place your pumpkin on top of an upside-down plastic cup inside your tray. This elevates the pumpkin so the paint drips freely onto the tray underneath. FYI: acrylic paint will stain clothes, so dress your little artists in old t-shirts before starting! 😉
2. Dyed Pumpkin Seed Mosaic Art
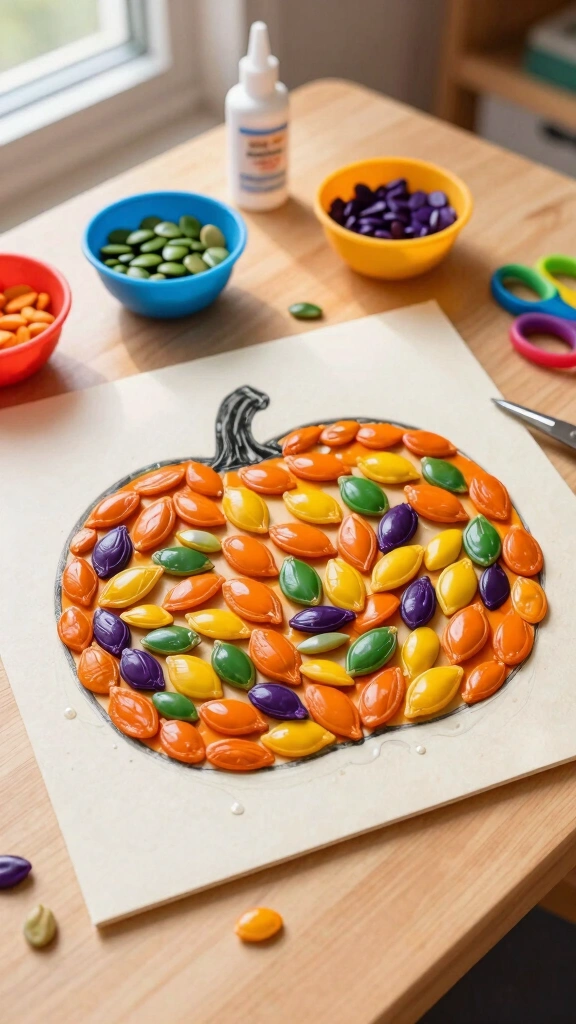
Do not throw away those pumpkin seeds after roasting! Instead, turn them into vibrant mosaic tiles. This tactile craft helps toddlers practice their fine motor pinch grip while creating textured masterpieces.
How to Dye the Seeds
Place dry seeds into ziplock bags with a few drops of food coloring and a teaspoon of rubbing alcohol. Shake the bags vigorously until the seeds absorb the color. Spread them on baking sheets to dry overnight before you start crafting.
Designing the Mosaic
Draw a simple pumpkin outline on a piece of heavy cardstock. Children apply school glue inside the lines and arrange the colored seeds to fill the space. This project looks beautiful when displayed in a sunny window!
3. Fluffy DIY Puffy Paint Pumpkins
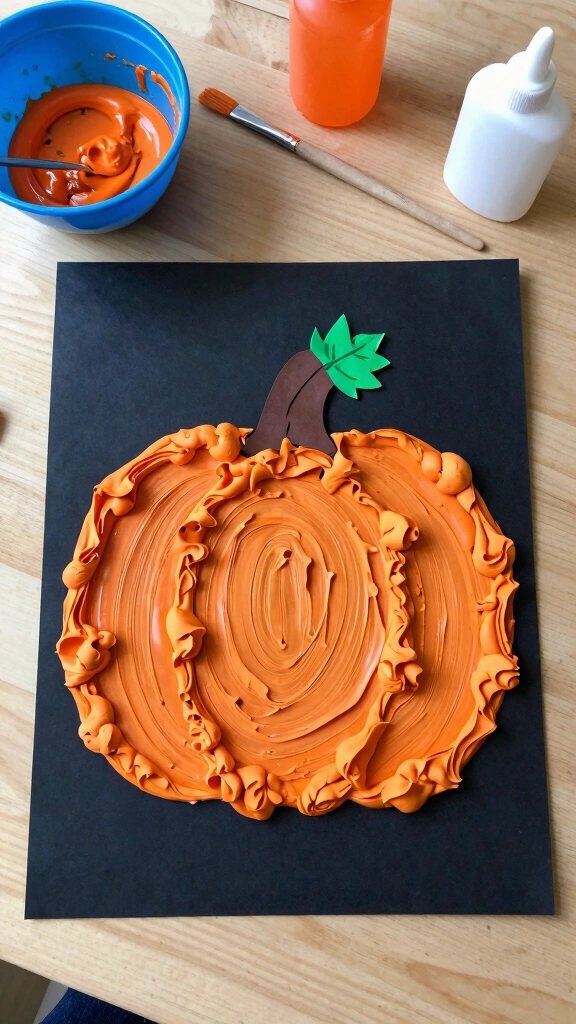
Who says paint has to be flat? You can whip up a batch of 3D puffy paint in seconds using basic bathroom supplies. The dried texture feels squishy and irresistible to touch.
The Magic Recipe
Mix equal parts of white shaving cream and school glue in a small bowl. Add several drops of orange food coloring to get that perfect pumpkin hue. Scoop the mixture into squeeze bottles or let kids apply it with thick paintbrushes.
Creating the Art
Draw a large pumpkin shape on black construction paper. Let your kids paint inside the lines, piling the puffy paint high. Avoid touching the paint while it dries, which takes about two to three hours.
4. Reusable Felt Face Pumpkin Collage
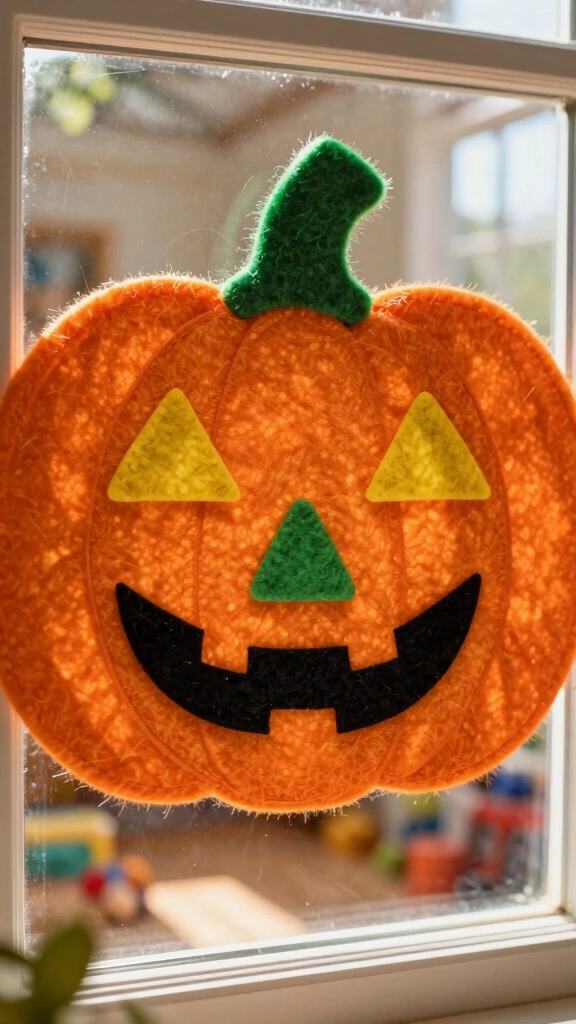
If you want a completely mess-free option, this felt collage is your best friend. Kids can design, redesign, and change their pumpkin faces infinitely without a single drop of glue.
Creating the Felt Board
Cut a large pumpkin shape out of orange felt and tape it to a wall or window. Next, cut various eyes, noses, and mouths out of black, yellow, and green felt. The natural static of the felt fabric makes the pieces stick together easily.
Why Parents Love This
This activity encourages independent play and storytelling. Your child can create a happy pumpkin, a scary pumpkin, or a silly monster in seconds. IMO, this is the ultimate road-trip or quiet-time activity for the fall season.
5. Textured Sponge Painted Pumpkins
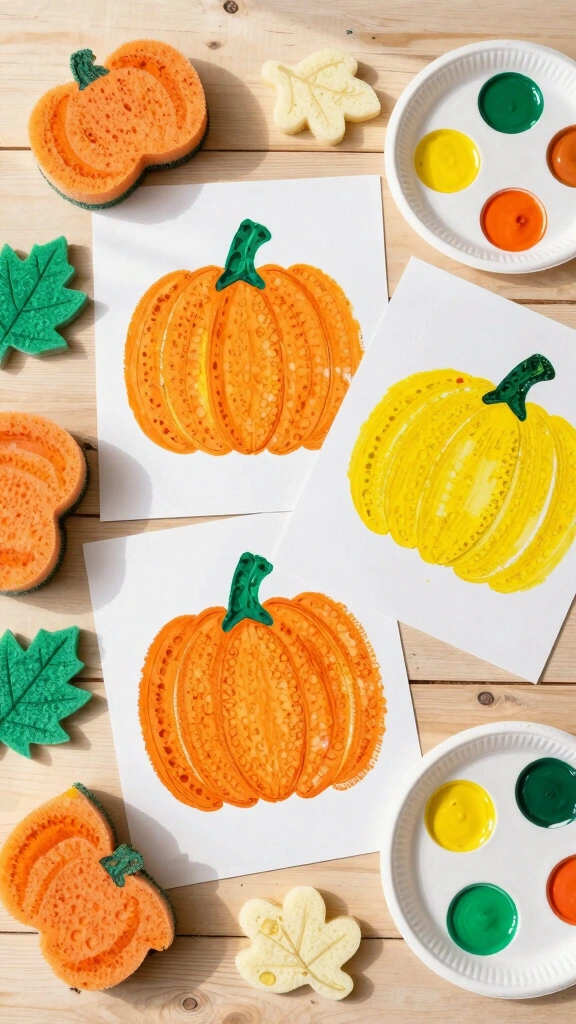
Standard paintbrushes can sometimes frustrate toddlers who struggle with grip. Enter kitchen sponges! They are easy to hold and create a beautiful textured print that resembles the bumpy skin of a real pumpkin.
Preparing the Stamps
Cut standard household sponges into pumpkin shapes, leaves, and stems. Pour orange, yellow, and green paint onto paper plates. Your kids simply dip the sponge into the paint and press it onto white paper.
Layering Textures
Encourage your children to layer different shades of orange and yellow. This technique teaches them about color mixing and depth. Always wash the sponges immediately after use so you can reuse them for future art sessions.
6. Fine-Motor Yarn-Wrapped Pumpkins
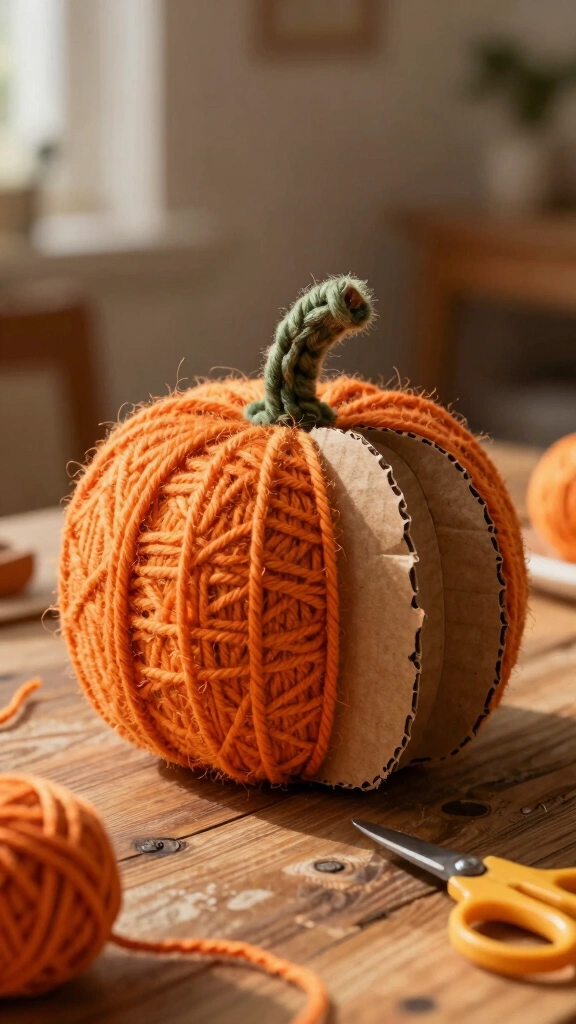
Wrap your way to a cozy autumn decoration. This craft offers fantastic coordination practice for preschoolers and kindergarteners. It challenges their hand-eye coordination while producing a beautiful, rustic ornament.
Step-by-Step Guide
- Cut a simple pumpkin silhouette out of thick, recycled cardboard.
- Cut small notches around the edges of the cardboard to hold the yarn in place.
- Tape one end of orange yarn to the back of the cardboard.
- Let your child wrap the yarn across the cardboard in every direction.
Once they finish wrapping, tuck the end of the yarn securely under the loops on the back. Add a green pipe cleaner to the top to serve as the stem. You now have a gorgeous, textured decoration to hang on the fireplace mantel.
7. Spooky Glow-in-the-Dark Pumpkins
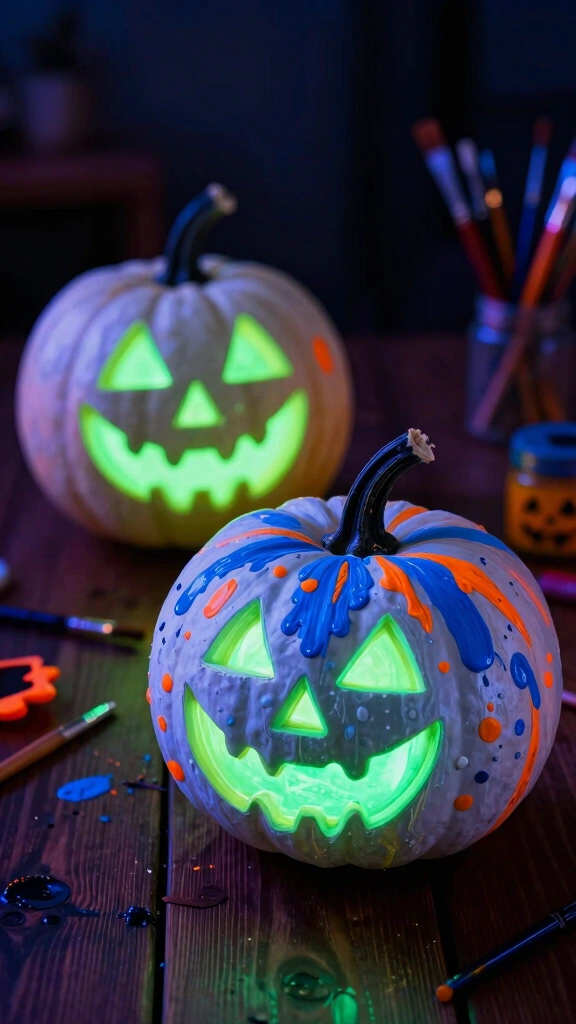
Bring some nocturnal magic to your Halloween decorations. Glow-in-the-dark paint turns a simple daytime craft into an exciting nighttime light show. Kids absolutely love seeing their creations glow in a dark room.
Painting Tips
Paint your pumpkin with a base coat of white acrylic paint first. Glow-in-the-dark paint is semi-translucent, and a white background makes the glow pop much brighter. Once the base coat dries, paint spooky faces or abstract splatters with the glowing paint.
Testing the Glow
Charge the paint under a bright lamp for ten minutes. Turn off the bedroom lights and watch your kids squeal with delight! This project works best on fake pumpkins so you can display them year after year.
8. Blended Chalk Pastel Pumpkin Art

Chalk pastels offer a rich, velvety color payoff that standard crayons cannot match. Using black paper as a background makes the vibrant oranges and yellows stand out dramatically.
Blending Techniques
Have your kids draw a basic pumpkin shape using white chalk. Next, they fill in the sections with orange, red, and yellow pastels. Show them how to use their fingertips or a cotton ball to smudge and blend the colors together smoothly.
Securing the Chalk
Chalk pastel can smudge easily even after the project is done. To prevent this, lightly spray the finished drawing with cheap aerosol hairspray. This fixes the chalk to the paper and saves your walls from dusty orange smudges.
9. Upcycled Mason Jar Pumpkin Lanterns
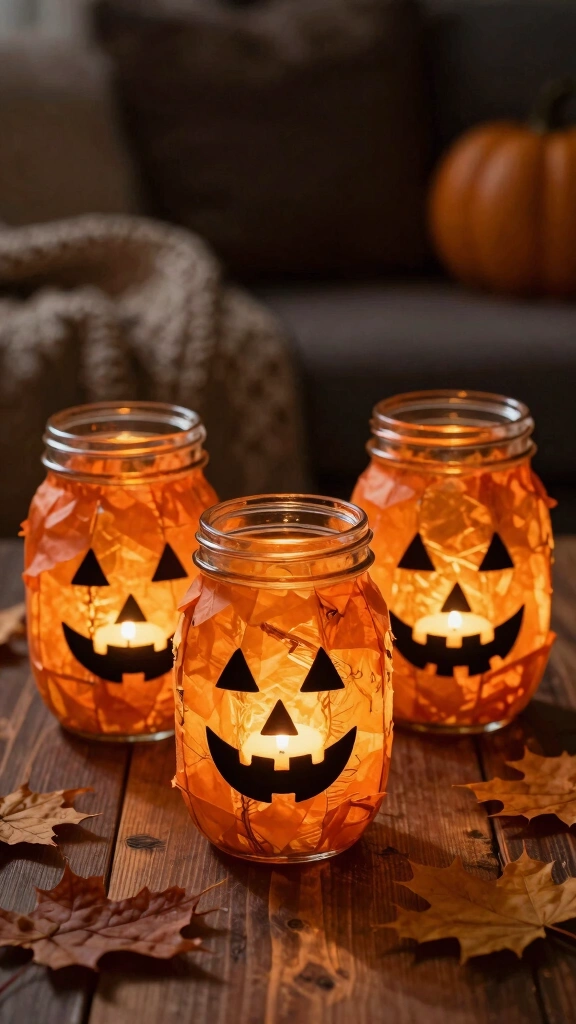
Do you have empty glass jars sitting in your recycling bin? Turn them into glowing lanterns that light up your walkway or dinner table. This project mimics the look of stained glass at a fraction of the cost.
How to Assemble
Tear orange tissue paper into small, bite-sized pieces. Brush a mixture of equal parts school glue and water onto the outside of the jar. Stick the tissue paper pieces onto the wet glue, layering them until the glass is completely covered.
Adding the Final Touches
Cut eyes and a mouth out of black construction paper and glue them on top of the tissue paper. Once dry, drop a battery-operated LED tealight candle inside the jar. Never use real candles inside these jars, as the paper and glue are highly flammable.
10. Thumbprint Pumpkin Patch Keepsake
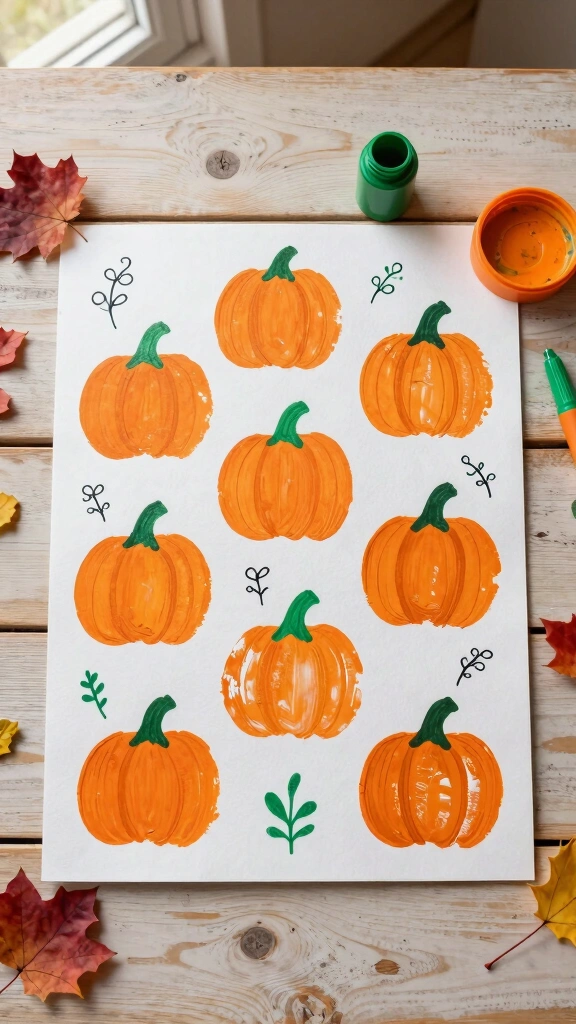
They are only this little once! Capture your child’s tiny fingerprints with this adorable keepsake project. This makes a wonderful autumn greeting card for grandparents or a sweet addition to your family scrapbook.
Creating the Patch
Have your child press their thumb into an orange ink pad or a thin layer of orange paint. Press the thumb firmly onto white cardstock. Repeat this process multiple times to create a whole patch of little pumpkins.
Adding Details
Once the ink dries completely, use a fine-tip black marker to draw green vines, brown stems, and tiny curly tendrils. You can even write a cute pun at the top, like: “We love you a WHOLE bunch!”
11. Jackson Pollock Splatter Paint Pumpkins
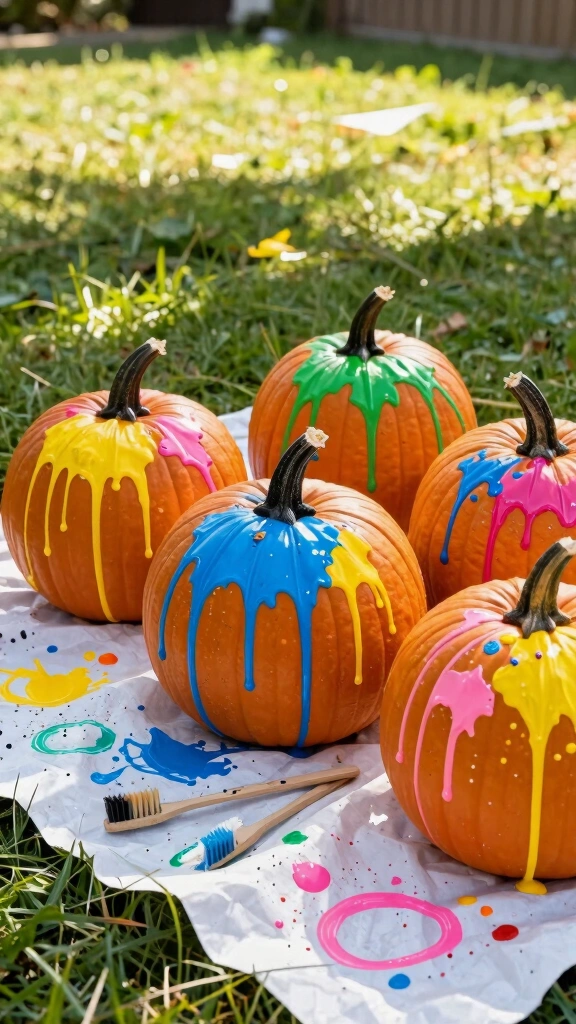
Do you have energetic kids who need to burn off some steam? Take this art project outside! Splatter painting allows children to express themselves through big, physical movements while creating stunning abstract art.
Setting Up the Station
Spread a large plastic tarp or old bedsheet on the grass. Place your pumpkins in the center. Thin out your acrylic paint with a few drops of water so it runs easily off the brush.
Flinging the Paint
Dip stiff paintbrushes or old toothbrushes into the paint. Show your kids how to flick their wrists to fling the paint onto the pumpkins. Expect messy clothes, big laughs, and incredibly cool art pieces.
12. Wearable Paper Plate Pumpkin Masks
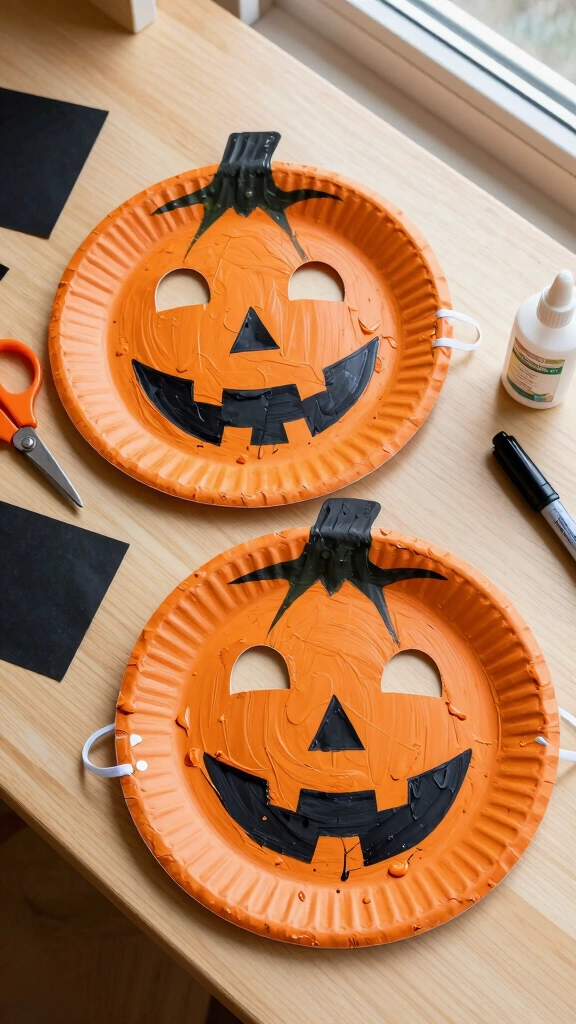
Art time leads directly into playtime with these easy paper plate masks. Kids love playing pretend, and making their own costume pieces boosts their confidence and imagination.
Construction Steps
- Paint the back of a standard paper plate bright orange.
- Once dry, cut two circular eye holes near the top half of the plate.
- Let your child draw a mouth with black markers or glue on black construction paper shapes.
- Punch holes on the sides of the plate and tie an elastic string to fit around your child’s head.
You can also tape a wooden popsicle stick to the bottom of the plate. This allows toddlers to hold the mask up to their faces without needing a tight elastic band behind their ears.
13. Glitter and Glue Pumpkins
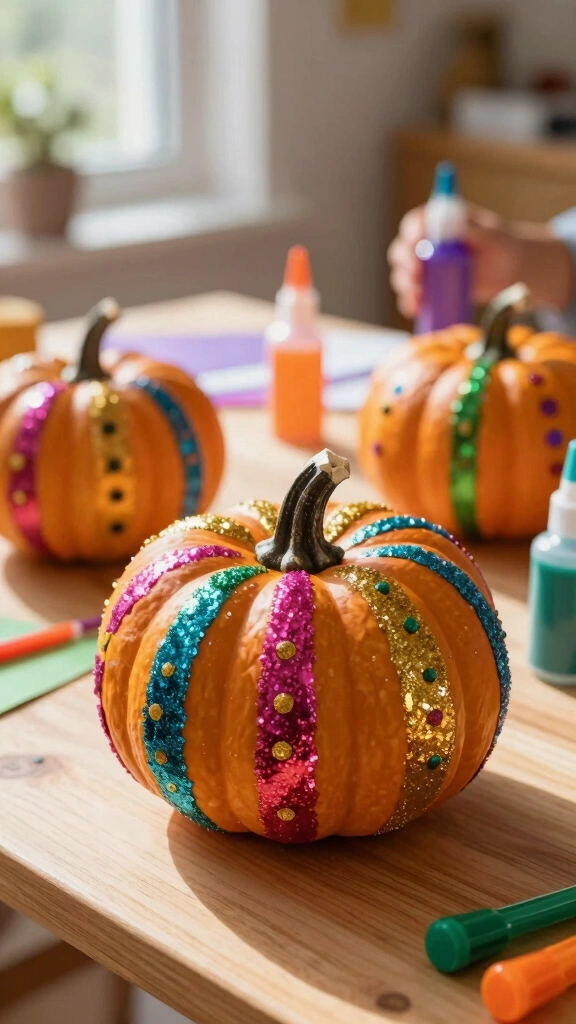
Does your child love all things sparkly? Skip the messy loose glitter and opt for glitter glue instead. You get all the festive sparkle without finding glitter in your carpet for the next three years.
Applying the Sparkle
Provide your child with various squeeze bottles of colored glitter glue. They can draw patterns, write their names, or completely coat the surface of a pumpkin. The glue dries raised, creating a cool, textured, and shiny finish.
Designing Patterns
Try drawing vertical lines along the natural ridges of the pumpkin to emphasize its shape. This simple technique helps younger kids understand geometry and form while keeping the design clean and striking.
14. Nature-Collage Pressed Leaf Pumpkins
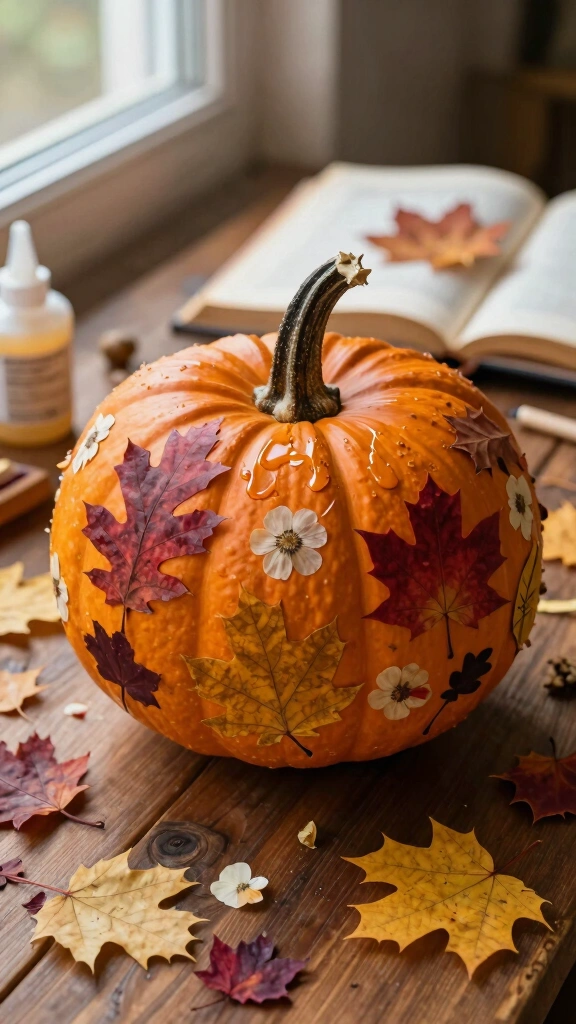
Combine outdoor exploration with indoor crafting. Before you start this project, take your kids on a nature walk around the neighborhood. Collect colorful fallen leaves, flat flower petals, and small twigs.
Pressing the Nature Finds
Ensure your collected leaves are dry and flat. You can press them inside a heavy book for a few hours to flatten them out. This step makes sticking them to the curved pumpkin surface much easier.
Applying Mod Podge
Coat a section of the pumpkin with Mod Podge or watered-down school glue. Press the leaves onto the wet glue, then brush another layer of Mod Podge directly over the top of the leaves to seal them. The result is a gorgeous, organic tribute to the autumn season.
Wrapping Up Your Fall Crafting Adventure
Creating pumpkin art does not require expensive supplies or professional artistic skills. The goal is simply to spend quality time together, laugh, and let your child’s imagination run wild. Which project will you try first this weekend?
Do not worry if their pumpkins look more like colorful blobs than perfect masterpieces. The value of children’s art lies in the process, not the final product. Grab some glue, paint, and pumpkins, and start making those cozy fall memories today!