
Few things beat the tactile feeling of shaping cool, damp clay. Whether you own a studio wheel or work on your kitchen table with air-dry clay, pottery lets you turn simple earth into functional ware. Here are 29 creative pottery crafts for every skill level, from simple pinch pots to advanced wheel work.
1. Pinch Pot Succulent Planters
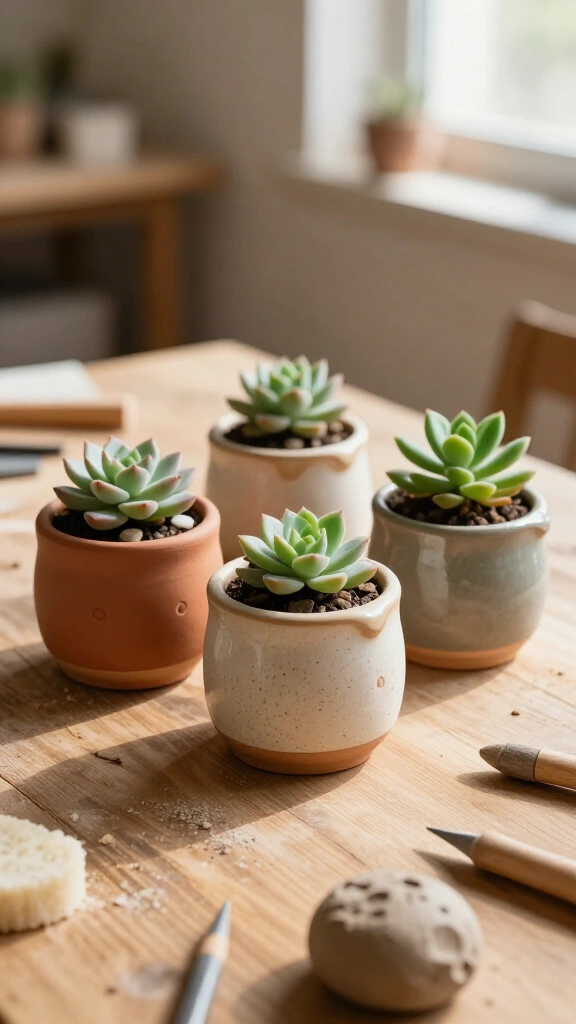
Pinch pots give beginners a direct way to learn clay control. You press your thumb into a clay ball and pinch the walls outward to form a simple vessel. Poke drainage holes in the bottom so water can escape. These small pots make great handmade gifts for plant owners.
2. Textured Clay Coasters

Roll out a flat clay slab and press leaves or stamps into the surface. Cut out circles or hexagons with cookie cutters. After firing and applying a thin glaze wash, you have an absorbent set of drink coasters. Try this project whenever you search for quick crafts to do when bored on a quiet afternoon.
3. Stamped Ring Dishes
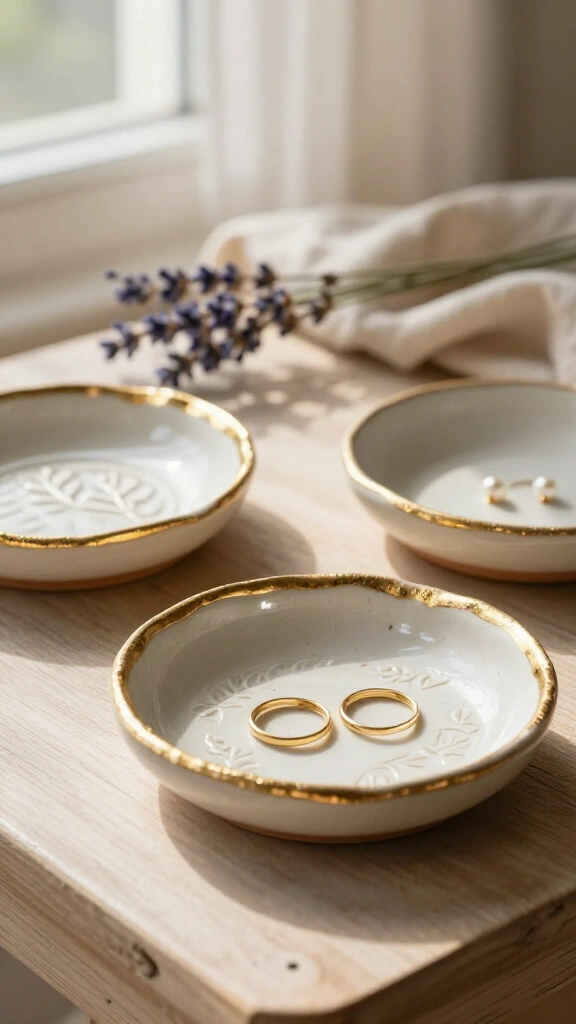
Make quick catchall dishes for your daily rings and earrings. Press letter stamps or floral patterns into soft clay discs, then drape them over small bowls so they dry with curved sides. You can brush liquid gold luster along the rims before the final firing for a clean metallic edge.
4. Coil Built Mug

You do not need a wheel to make a sturdy coffee mug. Roll even clay ropes, stack them on a flat base slab, and smooth the inner seams together so the mug holds liquid securely. Leave the outer ridges exposed if you like visible texture. Attach a pulled handle to finish the piece.
5. Slab Built Hanging Wall Pocket
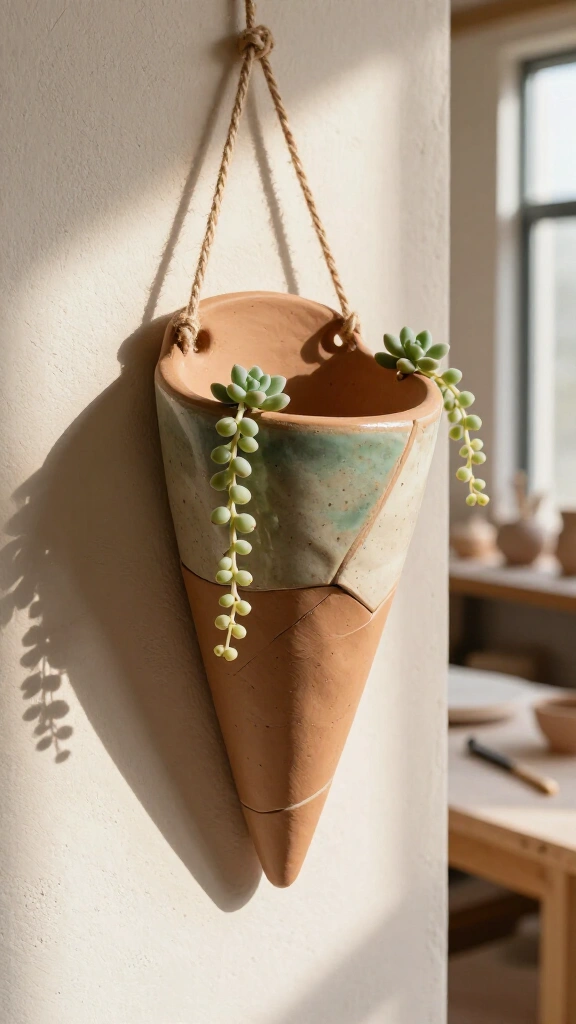
Turn flat clay slabs into vertical wall planters. Cut geometric shapes, fold them into cone-shaped pockets, and score the edges with slip to join the seams firmly. Punch two holes near the top rim for hanging cords before the clay stiffens past the leather-hard stage.
6. Botanical Impression Incense Holder
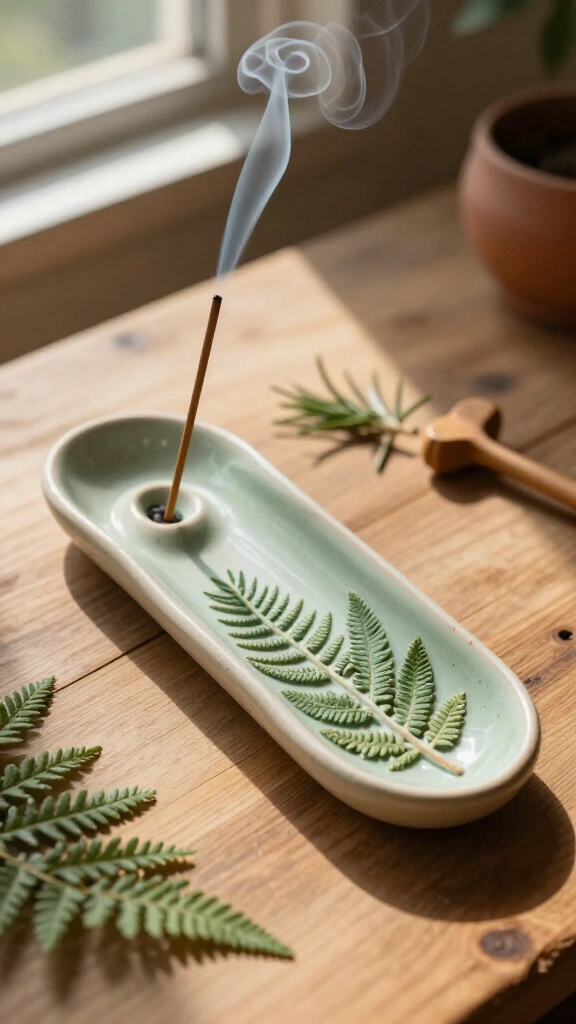
Gather fresh plants like rosemary or ferns to imprint detailed textures onto rolled clay strips. Poke an angled hole at one end with a toothpick to hold an incense stick. The long trough catches falling ash while keeping the plant impressions visible along the base.
7. Taper Candle Holders
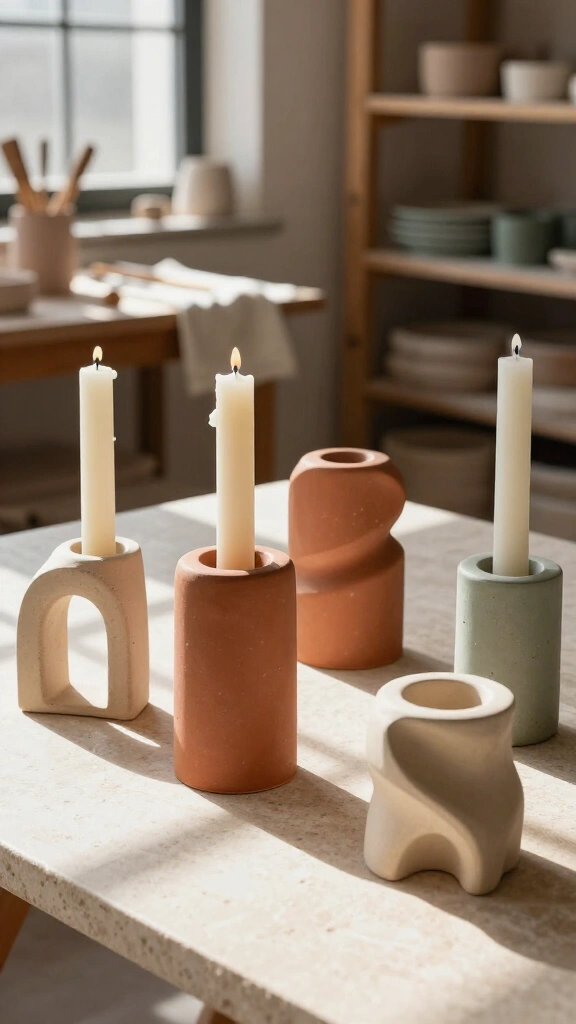
Sculpt candle bases using clean geometric forms. Build cylinders, arches, or wavy shapes from dense stoneware clay. Measure the socket against a real taper candle before the clay dries, keeping in mind that clay shrinks about ten to fifteen percent in the kiln.
8. Ceramic Spoon Rest
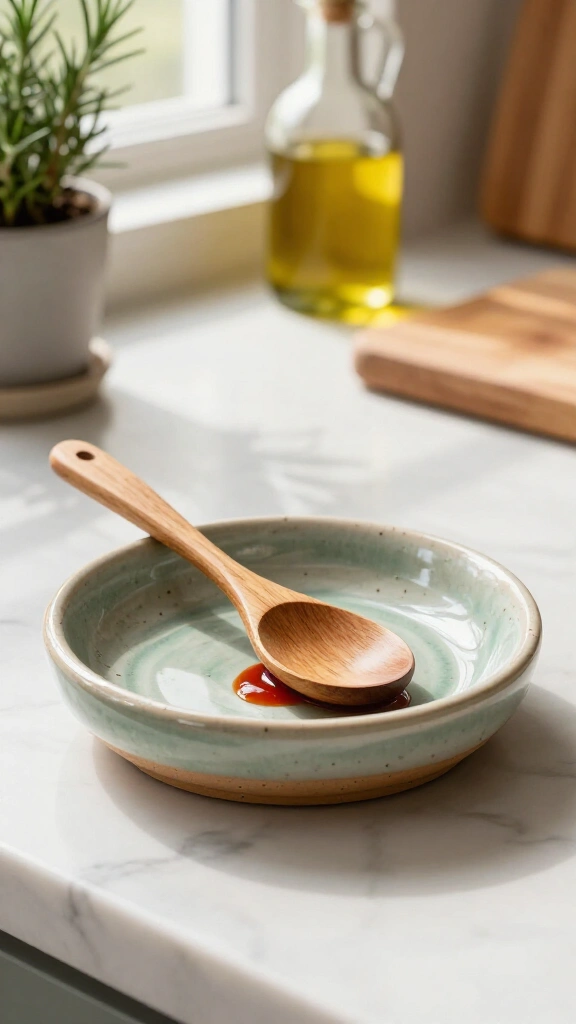
Keep your counters clean while cooking with a handmade spoon rest. Form a shallow dish and carve a small notch into the rim to rest utensil handles flat. Coat the surface with food-safe glaze from suppliers like Ceramic Arts Network so it withstands hot spoons and pasta sauce.
9. Minimalist Ribbed Soap Dish
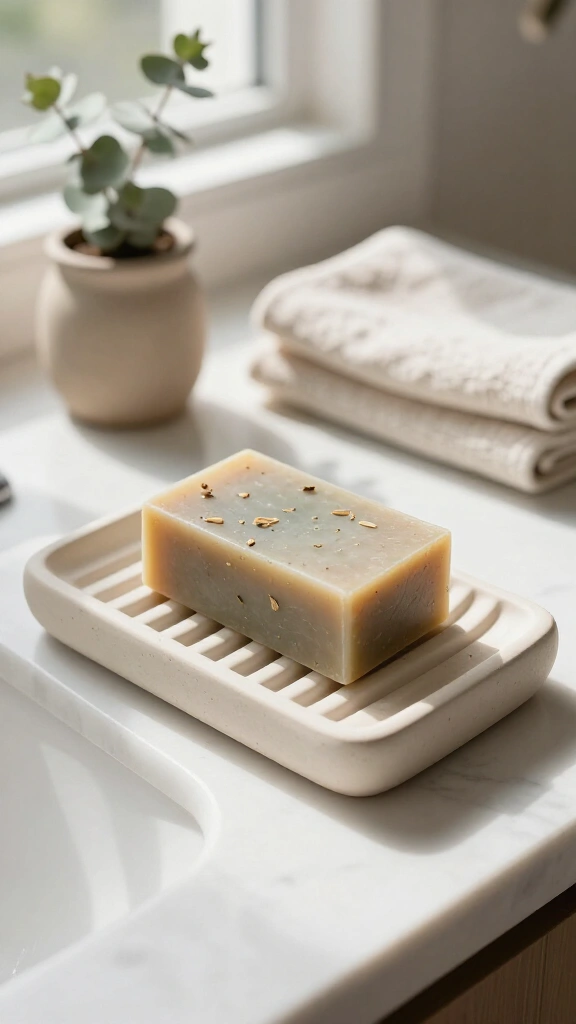
Prevent soap bars from getting soggy with a ridged drainage dish. Carve parallel grooves into a slab base or attach thin clay ribs across the top. Cut small drainage slots between the ridges so excess water flows out into the sink.
10. Hand-Sculpted Animal Figurine
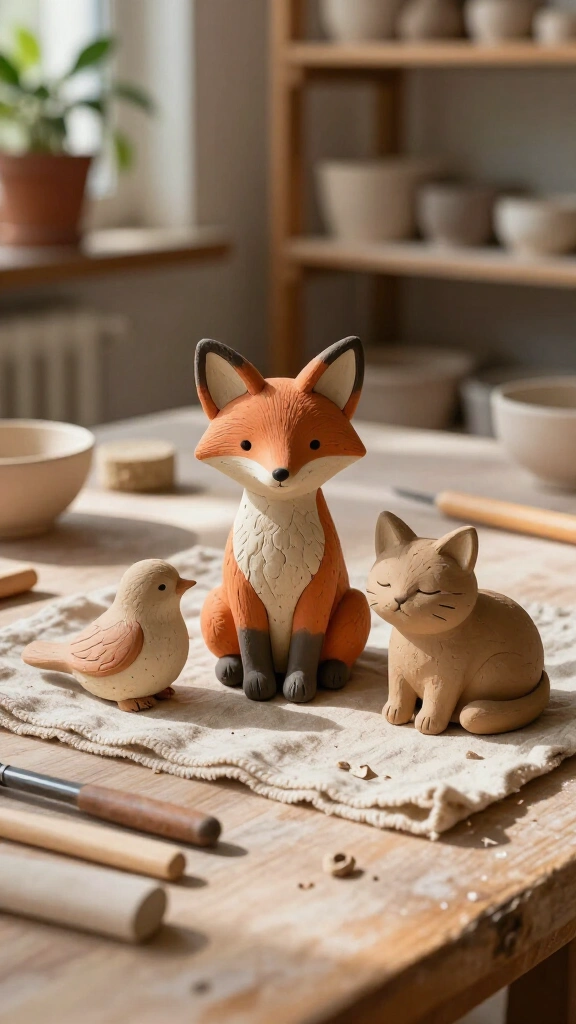
Practice basic hand-building by sculpting small animal figures. Pinch and join solid clay shapes to create cats, birds, or foxes. If you enjoy creature-themed projects, browse our collection of animal crafts for more ideas.
11. Ceramic Bead Garland
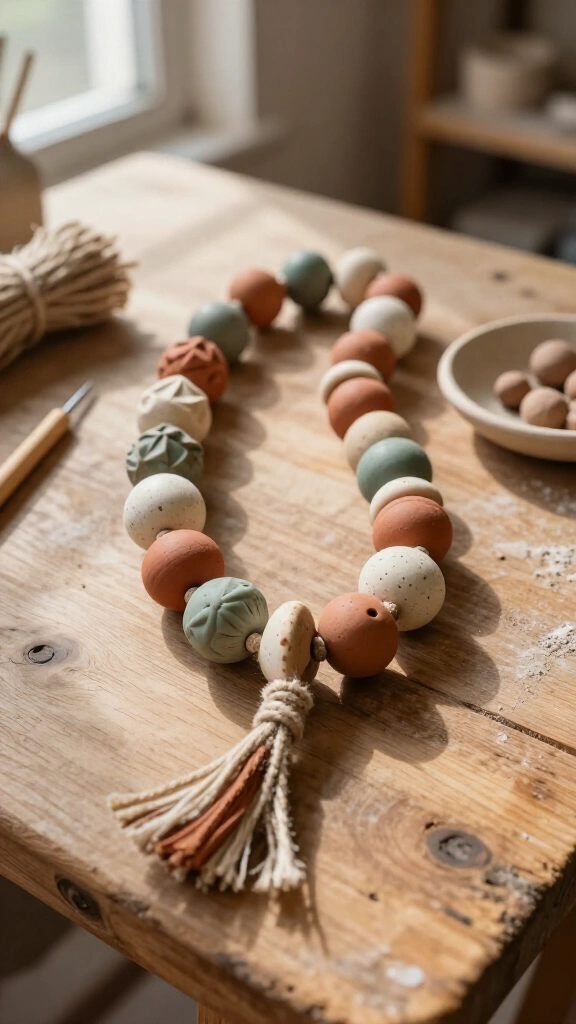
Use leftover clay scraps by rolling them into round or faceted beads. Pierce each piece through the center with a wooden skewer while the clay is soft. After firing, string the ceramic beads onto jute twine or leather cord for a simple decorative garland.
12. Trinket Tray with Gold Leaf Accents

Shape a shallow tray with organic, uneven edges. After glazing and firing the piece, apply metal leafing along the rim using adhesive sizing. The metallic border gives the tray a finished look on a nightstand or desk.
13. Wheel-Thrown Espresso Tumblers

Practice your wheel throwing by making small handle-free cups. Throw straight cylinders weighing about four to six ounces each, then trim a crisp foot ring once they reach leather-hard. Leave the outer clay body raw and apply a food-safe clear glaze inside.
14. Sgraffito Carved Vase
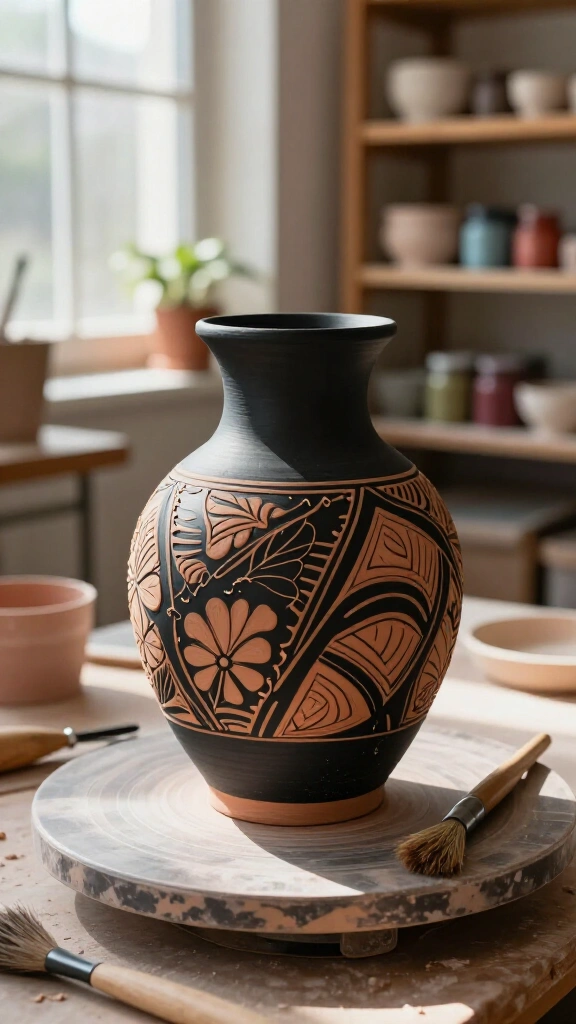
Sgraffito lets you carve sharp, contrasting designs into clay surfaces. Paint black or colored underglaze over a smooth leather-hard vase, then carve fine lines away with wire loop tools. The raw clay underneath shows through, creating graphic surface patterns.
15. Glaze-Dipped Berry Colander
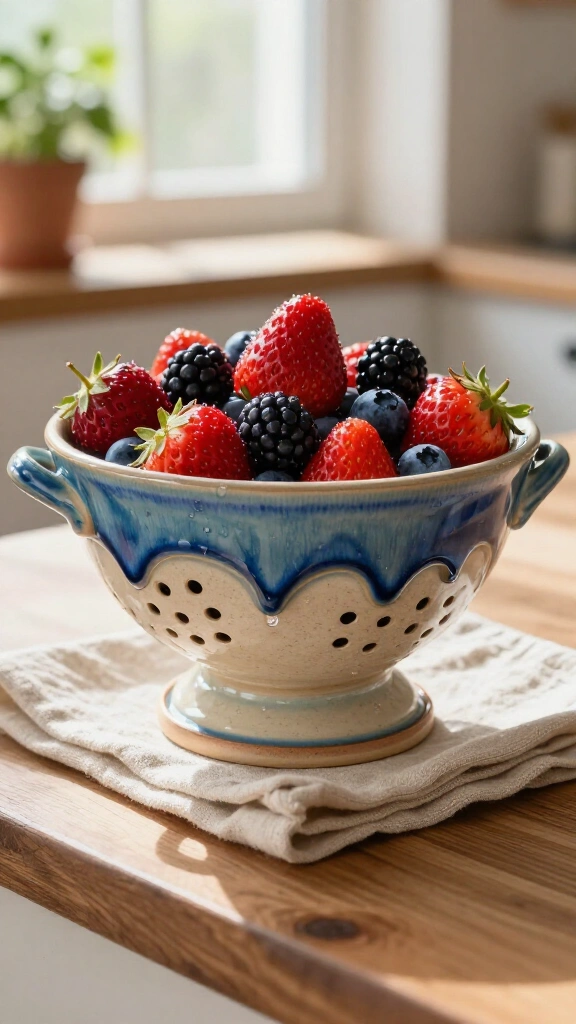
Throw or hand-build a wide bowl and punch a pattern of drainage holes through the lower half. Attach two small side handles so you can rinse fruit easily at the sink. Dip the rim into reactive glazes that melt and break softly over the holes during firing.
16. Slab-Built French Butter Keeper
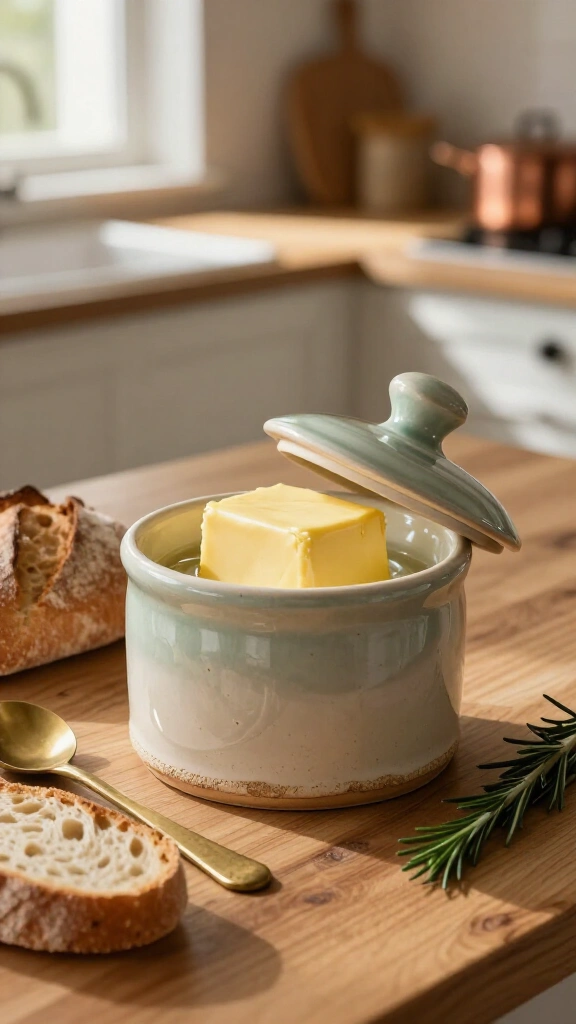
Store spreadable butter on your counter with a traditional water-sealed keeper. Build a two-piece vessel with a cup on the lid that packs butter upside-down into a water-filled base. The water blocks air from reaching the butter, keeping it fresh for weeks without refrigeration.
17. Pierced Ceramic Luminary
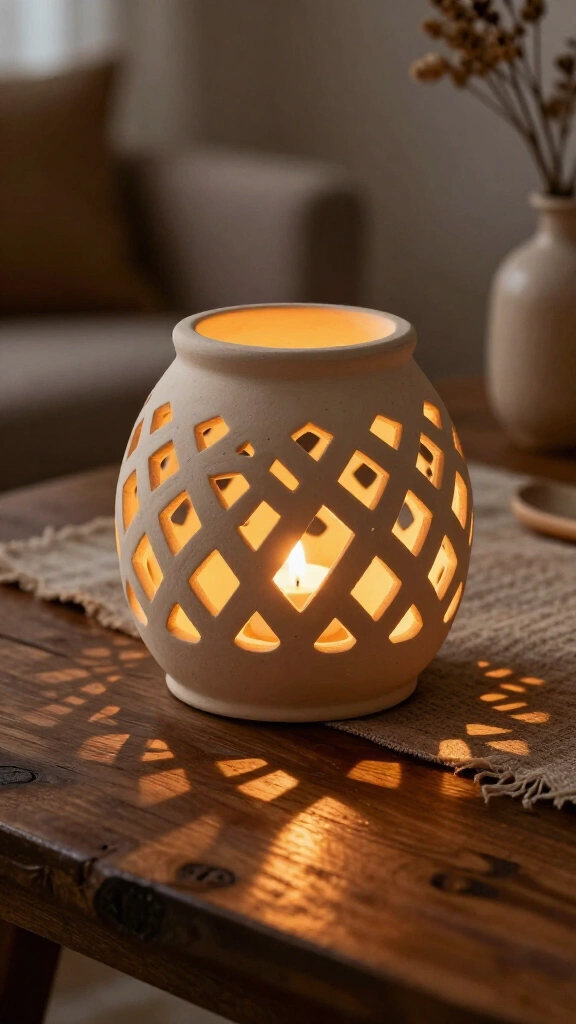
Form a hollow clay dome or cylinder, then cut geometric patterns through the walls with a precision knife. Place a candle or LED light inside to cast patterned shadows across the table. Keep your cutouts spaced evenly so the clay walls retain their structural strength during firing.
18. Marbled Clay Serving Platter
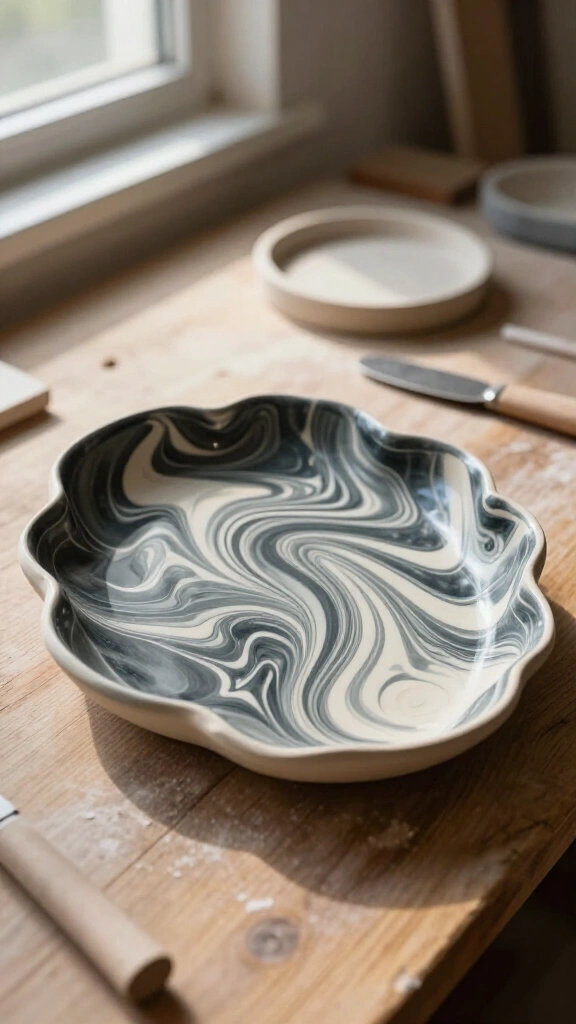
Combine two clay bodies, such as dark stoneware and white porcelain, to create natural marble patterns. Wedge the two clays together lightly without overmixing, then slice and roll the block into a flat slab. Press the slab into a shallow plaster mold to shape the platter.
19. Pedestal Fruit Bowl
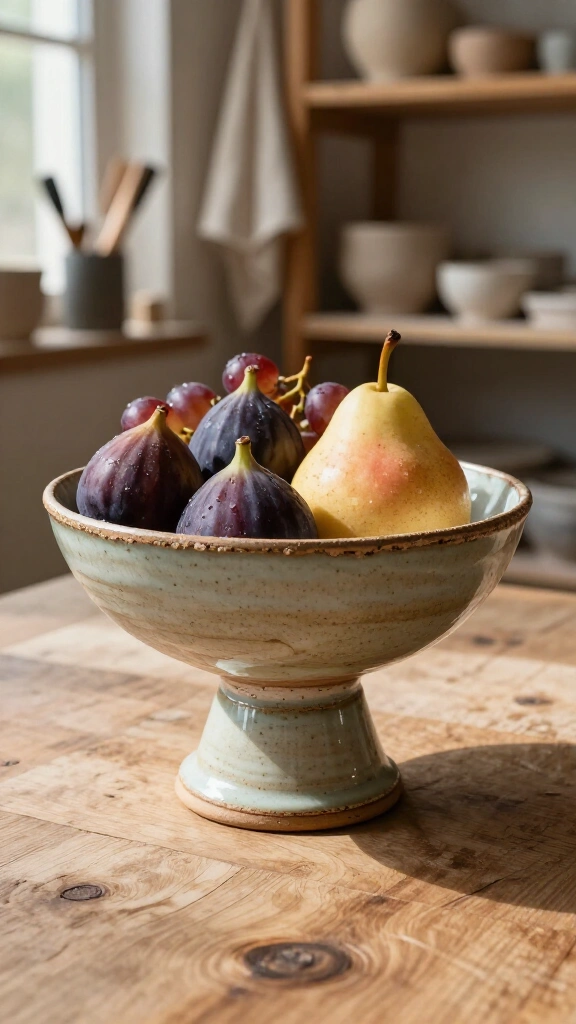
Make a fruit bowl by joining a shallow dish to a thrown pedestal base. Score and slip the joint thoroughly while both parts have matching moisture levels to prevent cracks. Sites like The Pottery Wheel offer practical guides for balancing weight on joined ceramic builds.
20. Ceramic Pour-Over Coffee Dripper
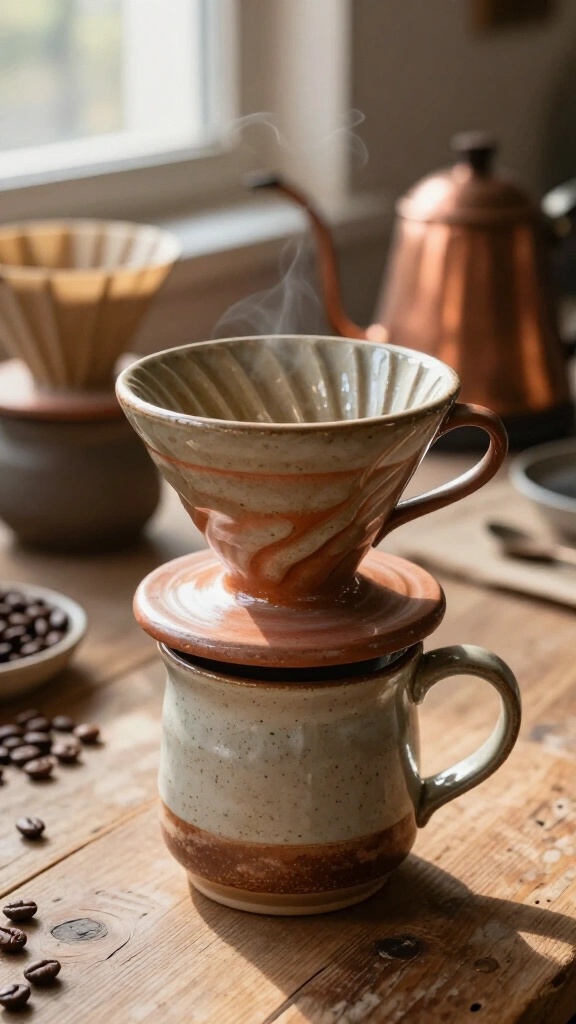
Make your own pour-over coffee cone. Throw or construct a 60-degree clay funnel with raised spiral grooves on the interior walls to direct water flow. Attach a flat ring underneath the cone so the dripper rests securely on top of a standard coffee mug.
21. Aromatherapy Essential Oil Burner
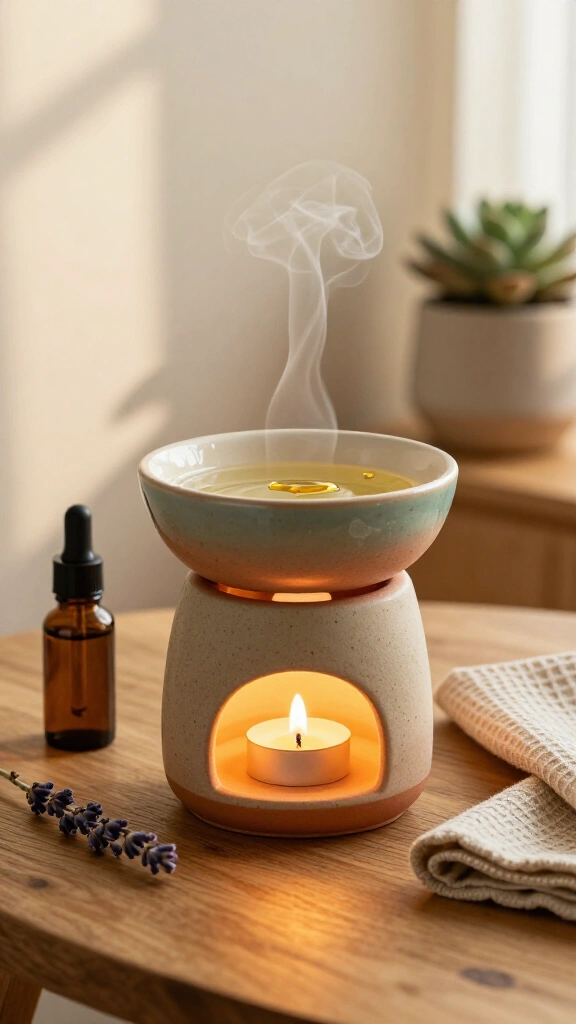
Build a two-tier burner to diffuse essential oils. Make a bottom chamber with a wide opening for a tea light, then attach a shallow dish on top to hold water and fragrance oils. Stoneware clay holds heat evenly, warming the dish without scorching the liquid.
22. Underglaze Transfer Tea Set
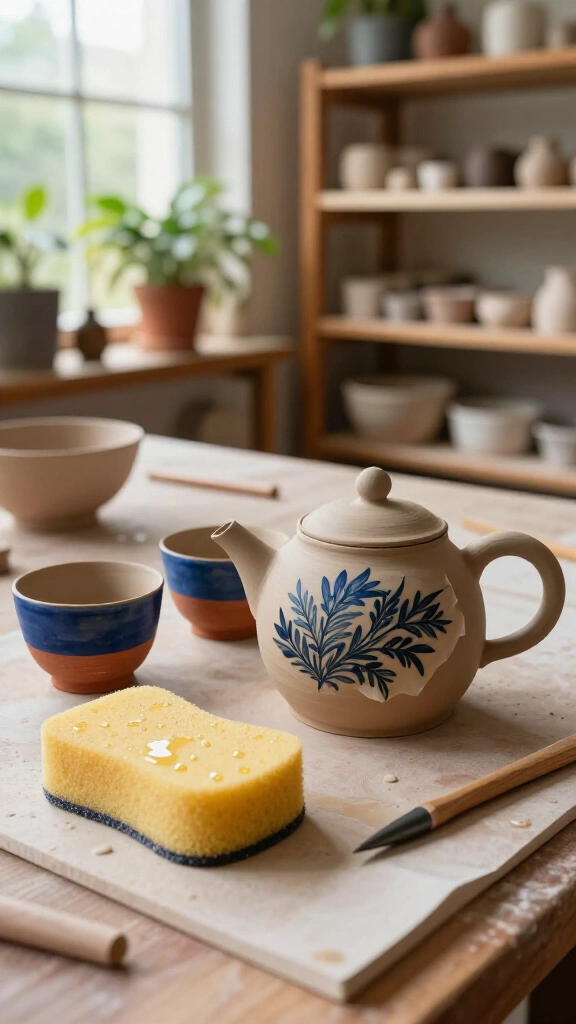
Decorate mugs or teapots using pre-printed underglaze transfers. Wet the transfer paper against leather-hard clay and rub the back with a damp sponge to deposit the printed graphic onto the surface. This technique works well for group sessions when looking for crafts to do with friends.
23. Lattice Pierced Bowl

Practice fine openwork by piercing clay walls. When your thrown bowl reaches a firm leather-hard stage, carve diamond or lattice cutouts with a detail blade. Work slowly to avoid distorting the rim while removing sections of clay.
24. Lidded Storage Jar with Sculpted Finial

Practice throwing matching lids with internal gallery lips. Measure the jar rim with calipers before throwing the lid so the parts fit together after drying. Sculpt a small handle, such as an acorn or geometric knob, directly onto the top of the lid.
25. Mishima Inlay Serving Tray
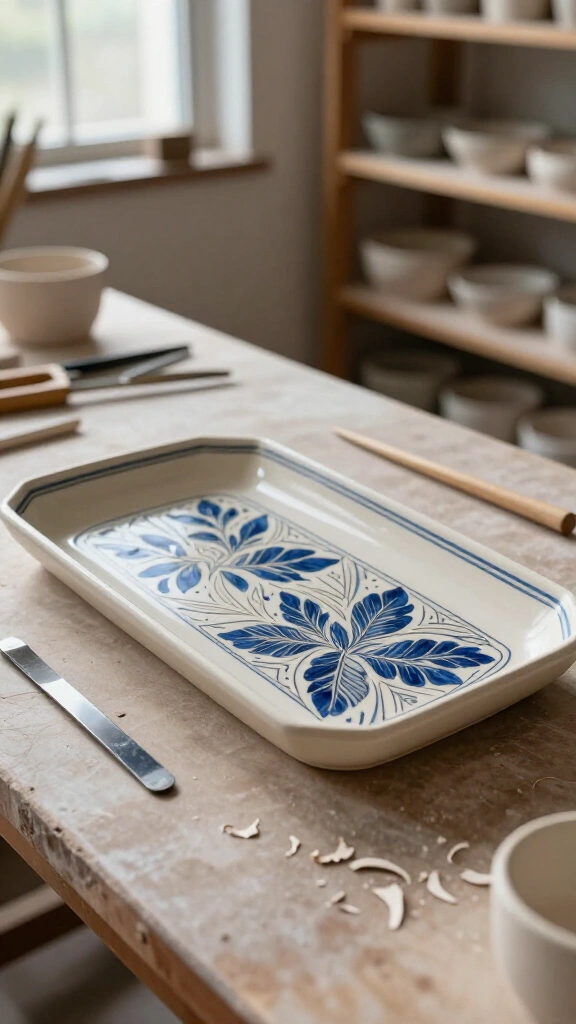
Mishima gives you crisp line work on flat clay surfaces. Incise thin lines into leather-hard clay, paint contrasting underglaze into the grooves, and scrape the surface flush with a flexible metal rib. The colored underglaze stays inside the carved lines, leaving the rest of the surface clean.
26. Self-Watering Double-Walled Planter

Build a self-watering pot using two nested chambers. Construct an unglazed, porous terra cotta insert that sits inside a glazed outer water reservoir. Water slowly seeps through the porous inner walls, keeping plant soil moist over long periods.
27. Sculptural Statement Teapot
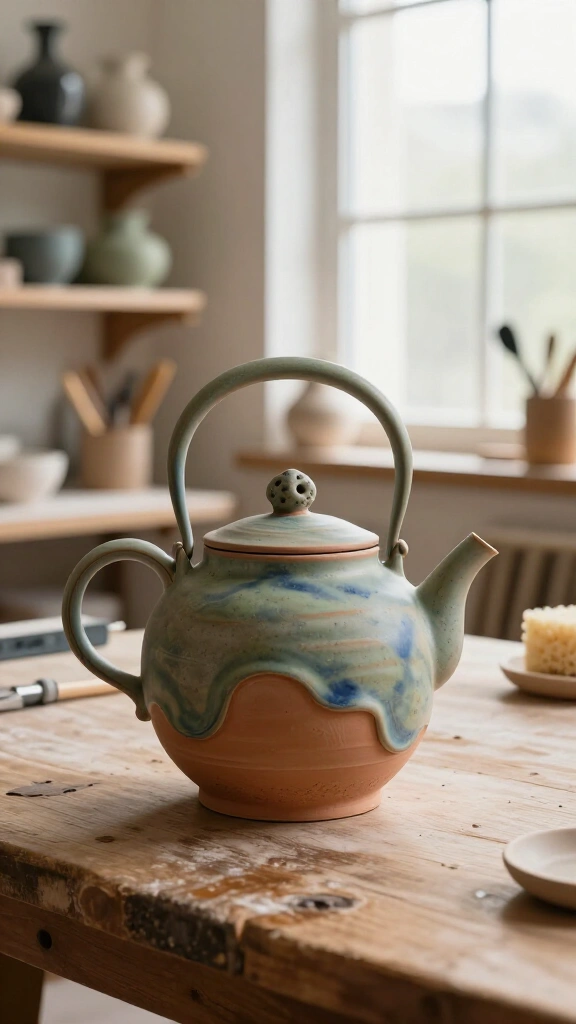
Building a functional teapot tests multiple ceramic skills at once. You must construct and balance five parts: the main body, a fitted lid, a balanced handle, an internal strainer, and a spout that pours without dripping. Assemble each piece at matching moisture levels to keep the joints sound.
28. Crystalline Glazed Bottle Vase
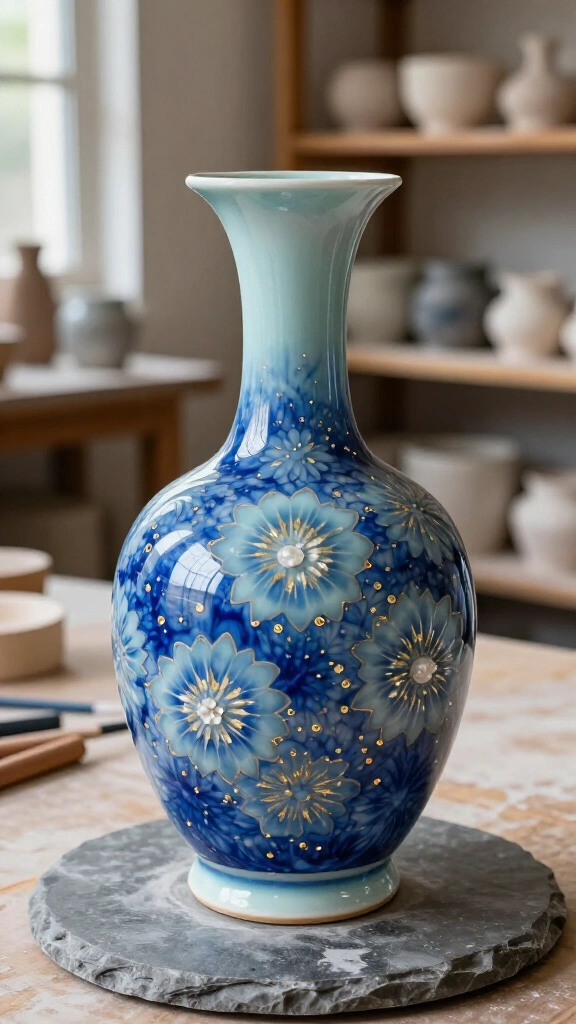
Crystalline glazes form large zinc silicate crystals during controlled kiln cooling cycles. Throw narrow bottleneck vases from smooth porcelain to display the crystal formations clearly. Guides on The Spruce Crafts explain the specific firing schedules and catch-basins needed to handle these fluid glazes.
29. Raku-Fired Decorative Urn

Raku firing uses rapid heating and reduction to create distinct surface effects. Pull glowing pots directly from an outdoor kiln at peak temperature and place them into metal containers filled with sawdust and paper. The resulting reduction atmosphere produces metallic copper sheens and dark crackle lines across the glaze.
Tips for pottery crafting success
- Control drying speed: Cover wet pieces loosely with plastic to prevent uneven drying and cracked seams.
- Score and slip joints: Cross-hatch both joining surfaces and apply wet slip so handles and attachments stay bonded in the kiln.
- Keep walls uniform: Maintain consistent wall thickness throughout your piece to avoid thermal stress during firings.
Clay gives you room to experiment across all techniques, whether you build small pinch pots at home or throw large vessels in a studio. Choose a project that fits your tools, prep your clay, and start building.