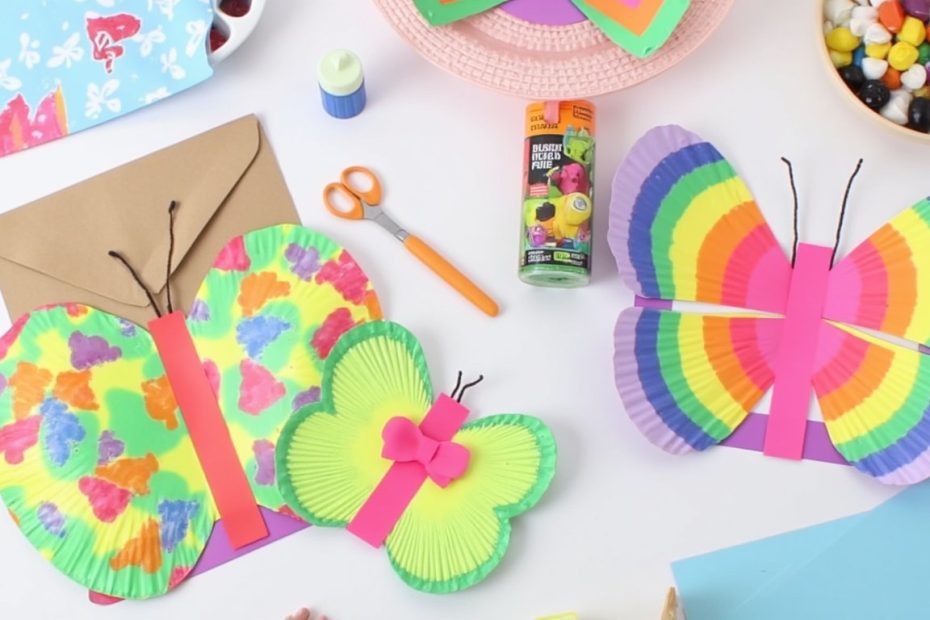
Okay, let’s be real. You have a stack of paper plates in the cupboard, a kid (or your own inner child) looking for something to do, and maybe a looming rainy afternoon. The struggle is real. But what if I told you those humble plates hold the secret to a whole kaleidoscope of beautiful butterflies? No fancy supplies, no stress—just pure, colorful fun. Get ready to transform those basic circles into fluttering masterpieces with these 13 paper plate butterfly craft ideas. Your craft table is about to get a major upgrade.
1. The Classic Symmetrical Smasher
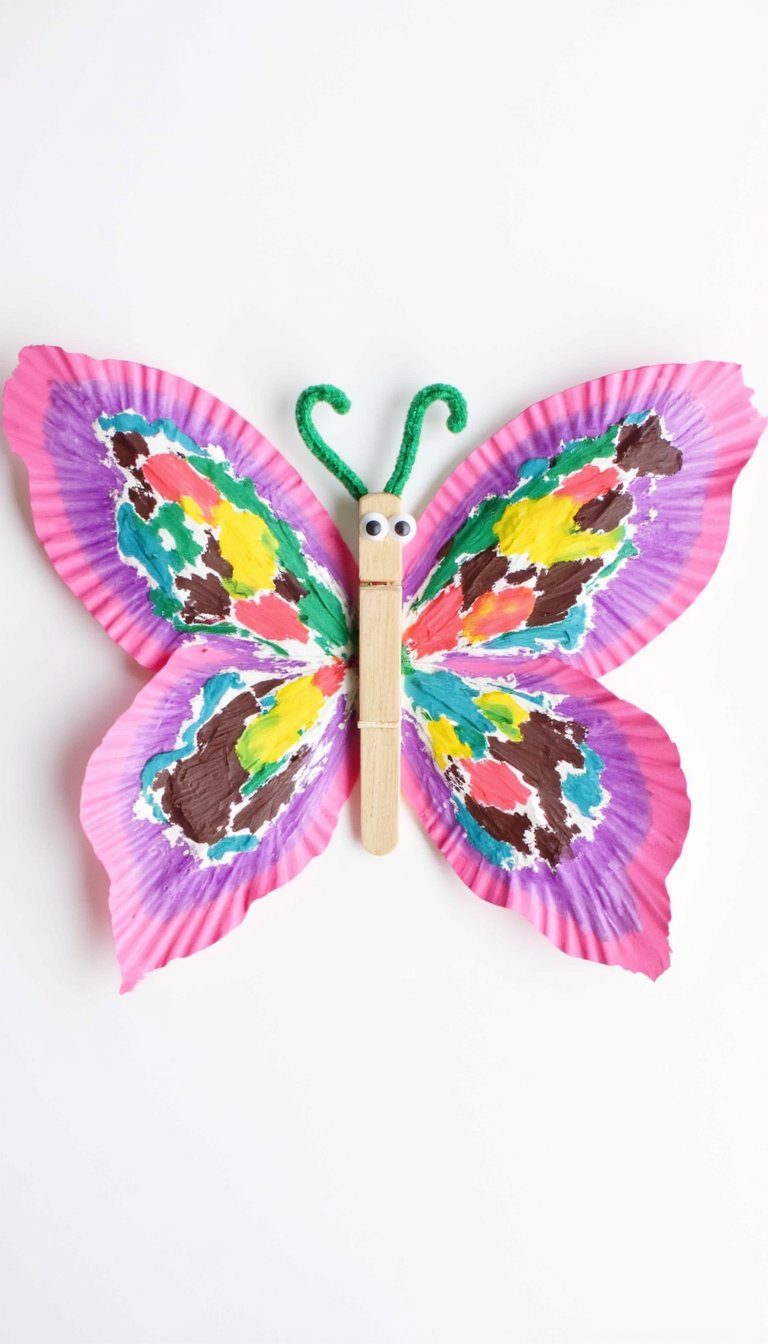
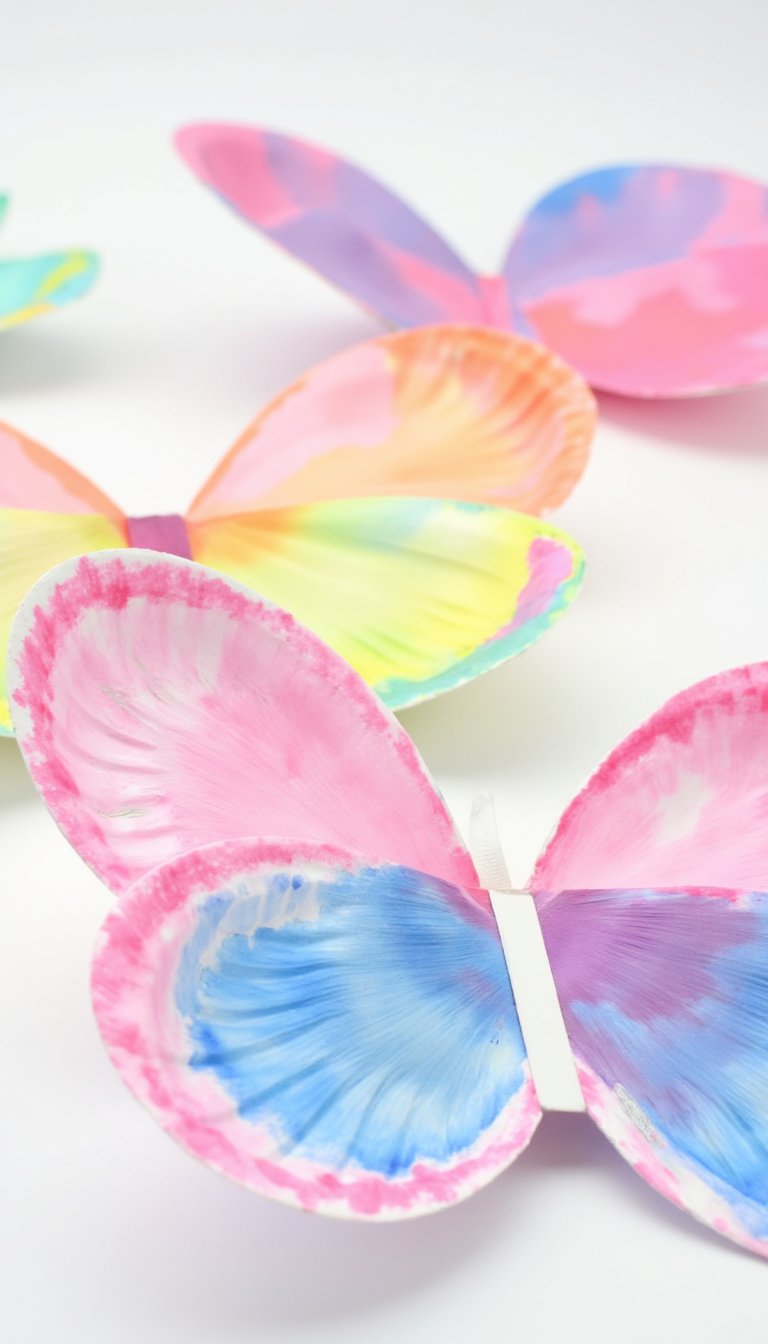
This is the perfect starting point. Fold a paper plate in half and paint one side. Now, before the paint dries, press the halves together. Open it up to reveal a perfectly symmetrical, mirrored wing pattern! It’s a mini science lesson in symmetry and a whole lot of “ooh, cool!” moments.
Add a clothespin body in the middle, pipe cleaner antennae, and googly eyes for instant personality. This method is foolproof and teaches kids about color mixing and patterns in the most hands-on way possible.
2. The Stained Glass Window Wonder
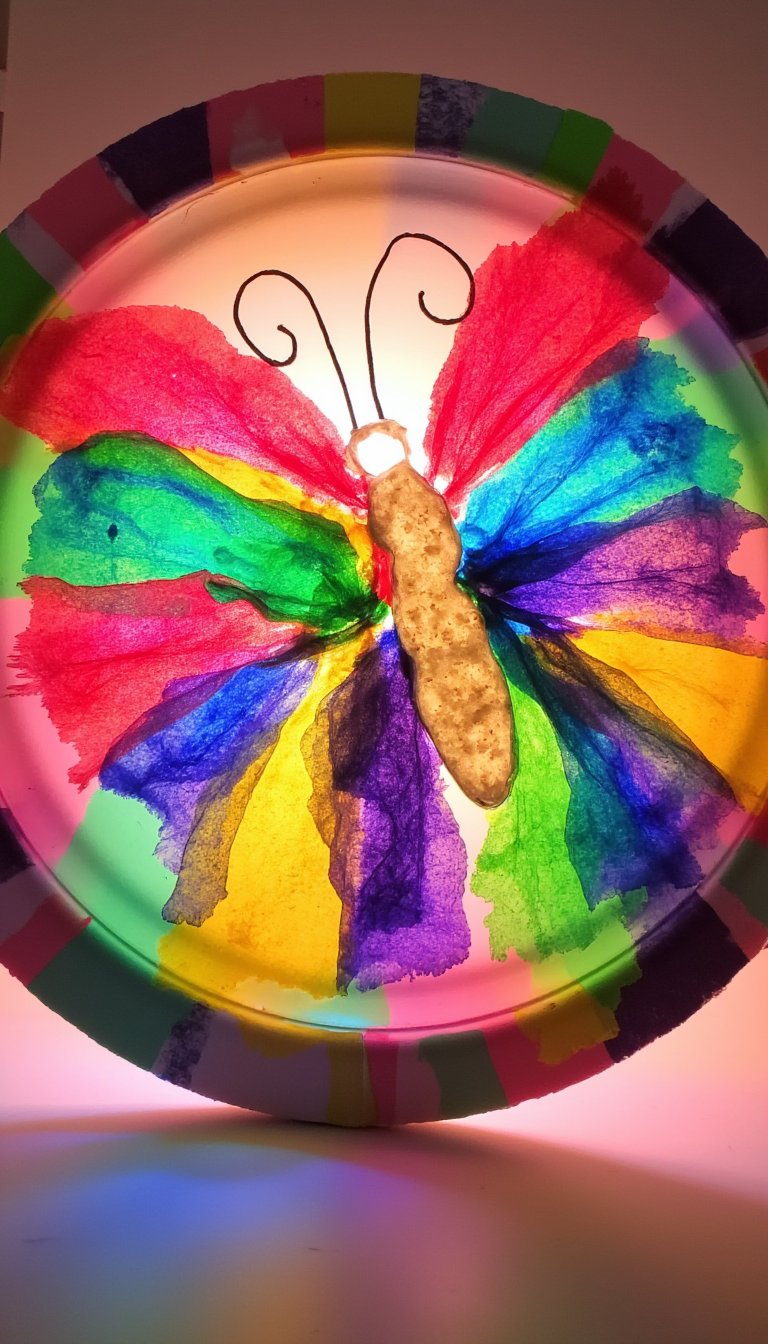
Want to catch the light? Cut the center out of a paper plate, leaving a sturdy rim for the wings. Stretch colorful tissue paper or cellophane over the hole and secure it with glue or tape. The sun will shine right through, creating a gorgeous stained glass effect.
This paper plate butterfly craft is stunning hanging in a window. You can cut the wing rim into a fancy shape for extra flair. It’s less about painting and more about playing with light and translucent colors.
Pro Tip:
Use a mix of complementary colors on the tissue paper for a truly vibrant display. Overlapping them creates new shades!
3. The Textured Caterpillar Pupa
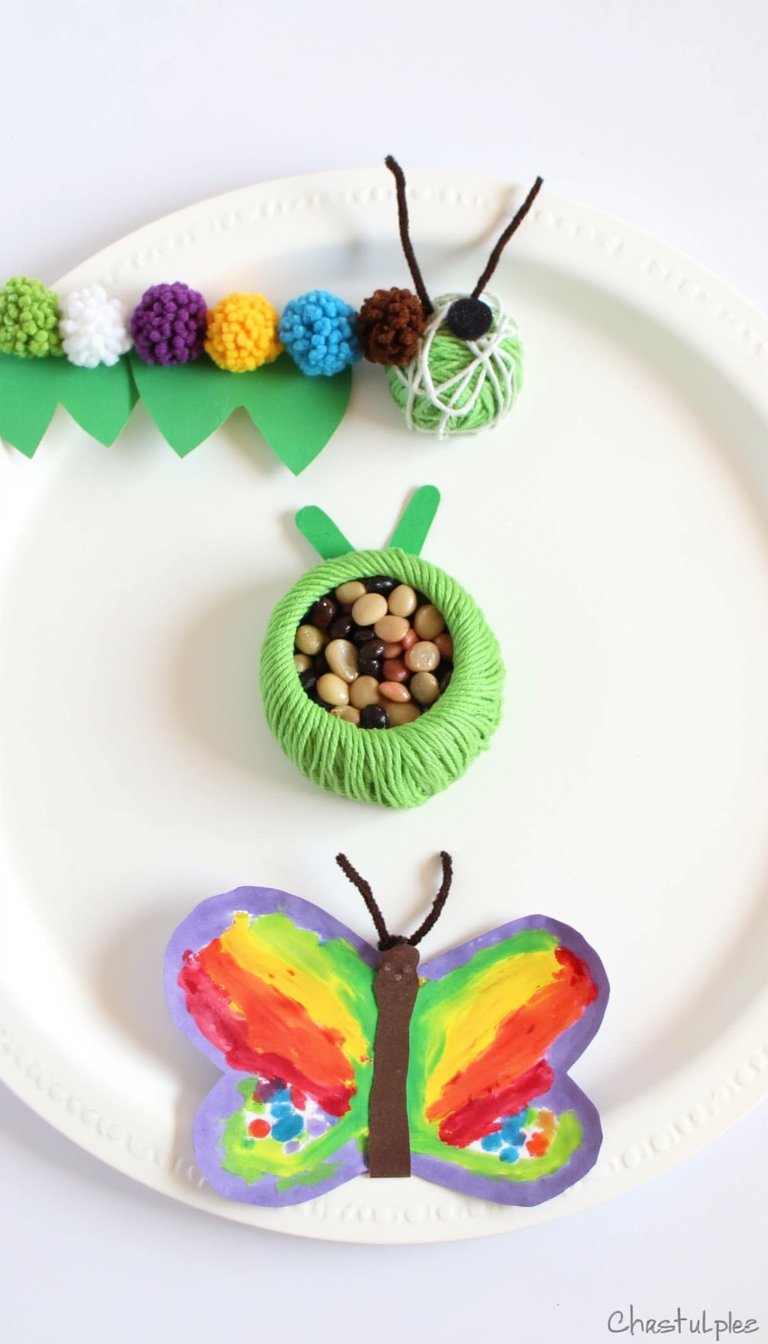
Why not tell the whole story? Start with a small, green pom-pom caterpillar. Then, create a chrysalis by decorating a paper plate half with glued-on yarn, rice, or lentils for a cool, textured effect. Finally, attach your most beautiful butterfly to the other side.
This three-in-one project is a fantastic educational tool. It visually explains the butterfly life cycle in a way a textbook never could. Plus, all that gluing is great for fine motor skills.
4. The Coffee Filter Watercolor
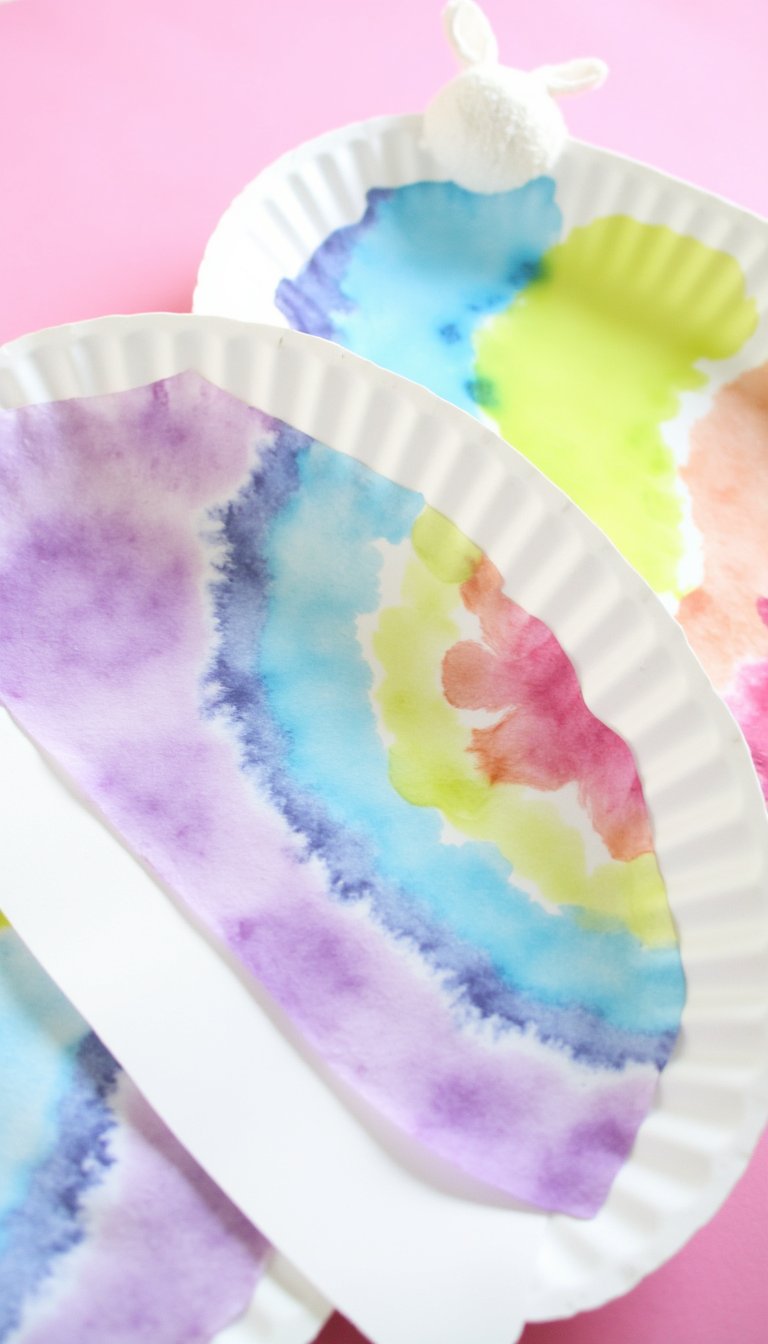
Combine two craft cupboard heroes: the paper plate and the coffee filter. Cut your butterfly wings from the plate, but use watercolor-dyed coffee filters for the colorful wing inserts. The way the colors bleed and blend on the filter is pure magic.
Clip them together with a clothespin, and you have an ethereal, delicate-looking butterfly. The contrast between the sturdy plate and the soft filter is just *chef’s kiss*. Warning: You might end up dyeing 20 coffee filters just for fun.
5. The Mosaic Masterpiece
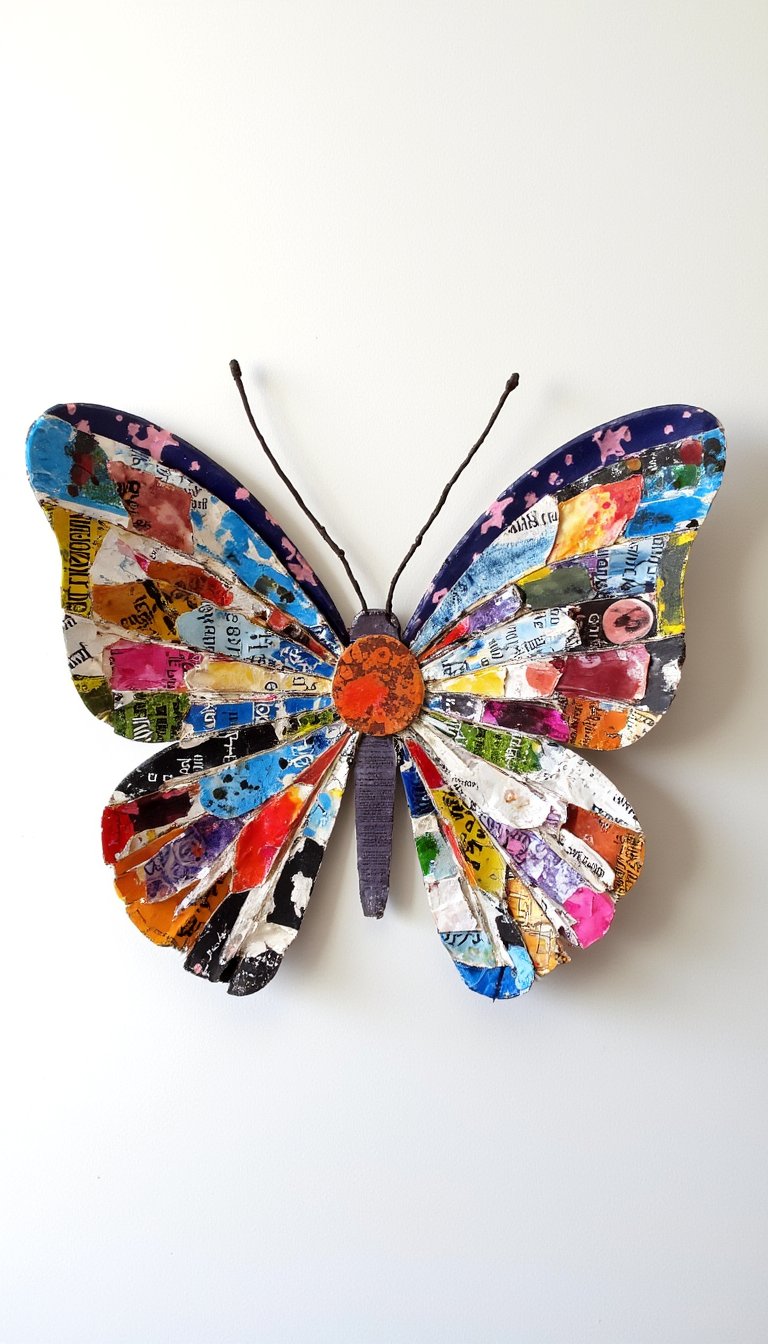
Got a pile of old magazines, construction paper scraps, or even broken eggshells? Perfect. Sketch a wing pattern on a paper plate and let the kids tear and glue small pieces to fill it in. This mosaic paper plate butterfly is all about texture and recycling.
The tearing action is satisfying for little hands, and the final result is a beautiful, tactile piece of art. It’s a wonderful way to use up bits and bobs you’d normally toss.
6. The Party Streamer Superstar
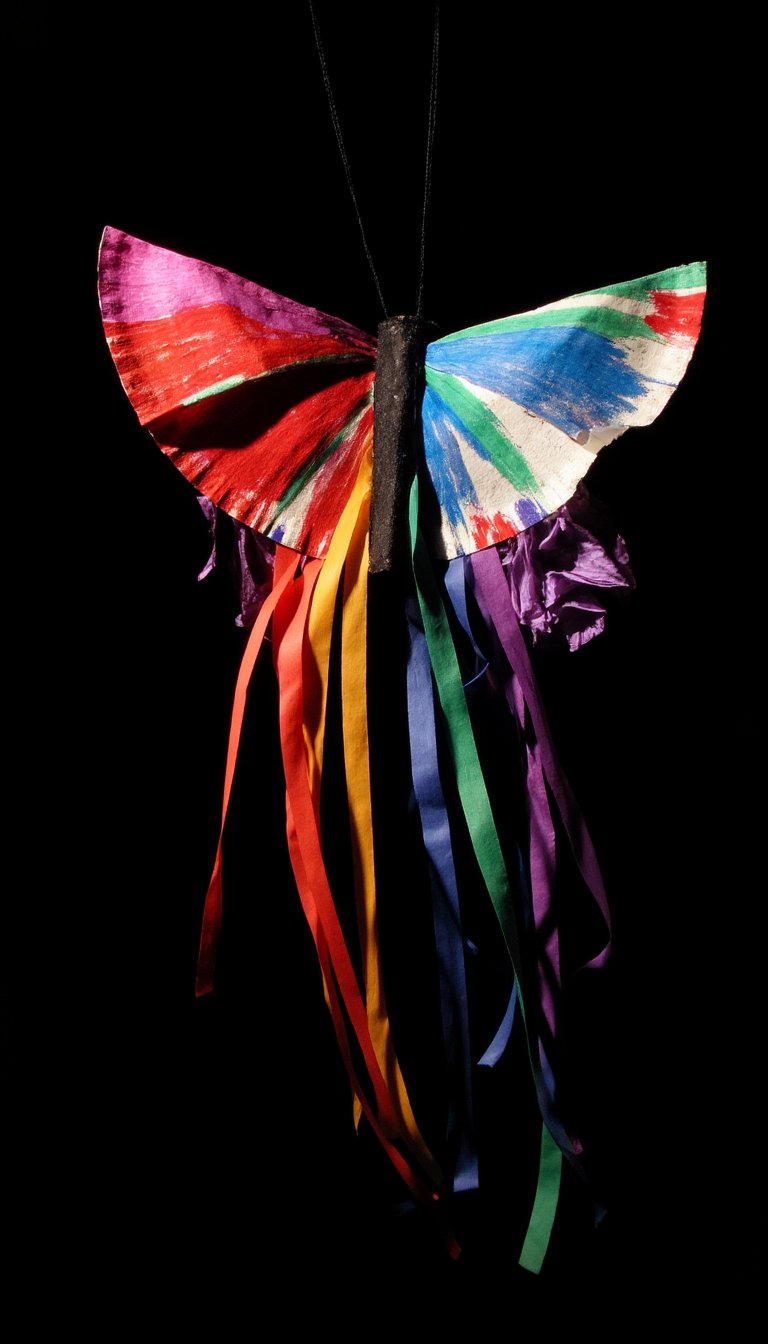
For a butterfly with major movement, grab those leftover party streamers. Cut a paper plate into a butterfly shape and let kids glue long, flowing strips of crepe paper streamers to the back. When they run with it or hang it up, the streamers flutter beautifully.
This is the most dynamic and dramatic of the bunch. It’s less of a static craft and more of a performance prop. Cue the dramatic butterfly dances!
7. The Nature Collage
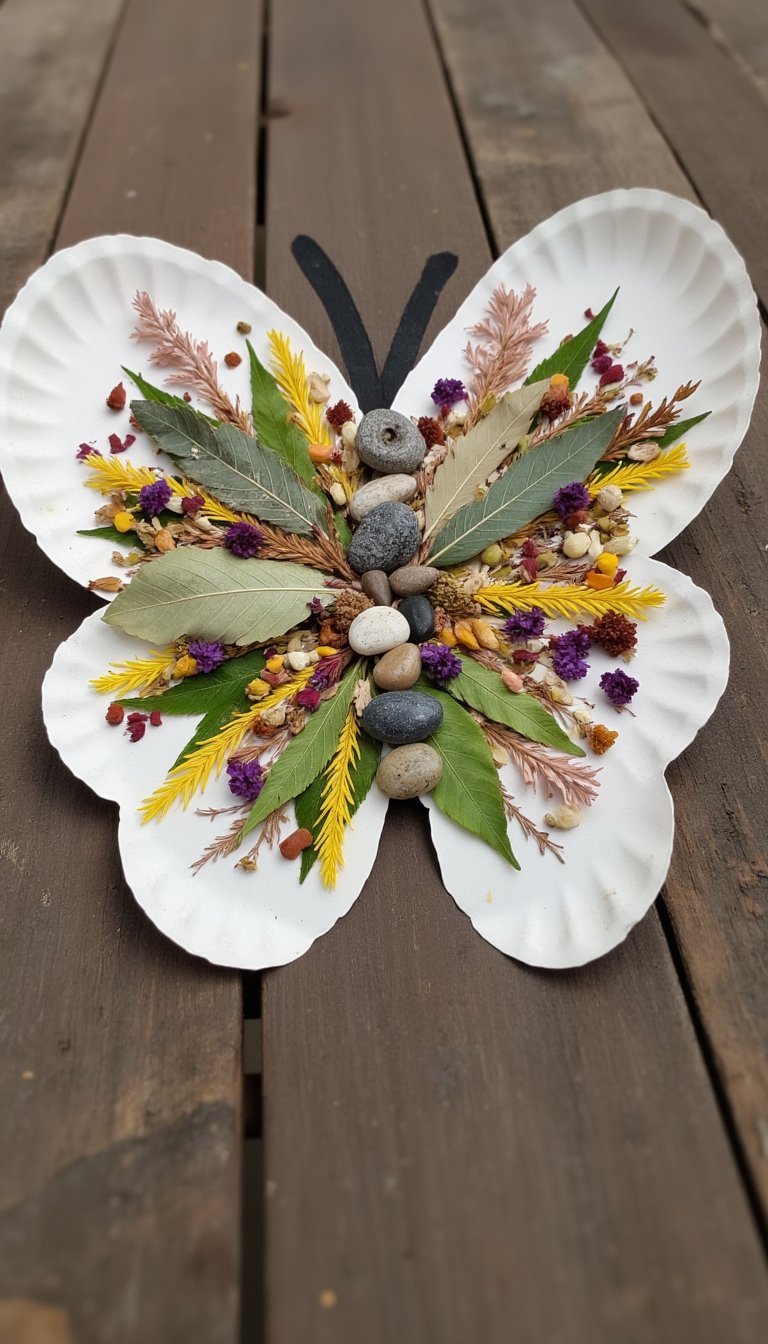
Take your crafting outside. Use a paper plate as a base and glue on collected leaves, small petals, blades of grass, and even tiny pebbles to create wing patterns. You’re literally building a butterfly from garden treasures.
This connects the activity directly to nature and encourages observation. Every butterfly will be a unique record of your backyard adventure. Just make sure to use items that are already on the ground.
8. The Chalk Art Scribbler
For a mess-free, vibrant option, break out the chalk. Color a paper plate with bold chalk pastels, then use a finger or a cotton swab to smudge and blend the colors. The effect is soft, dreamy, and wonderfully blendable.
Seal it with a quick spritz of hairspray (adult job!) to prevent smudging. This method is fantastic for creating ombre effects or soft clouds of color on your butterfly wings.
9. The “Bling” Butterfly
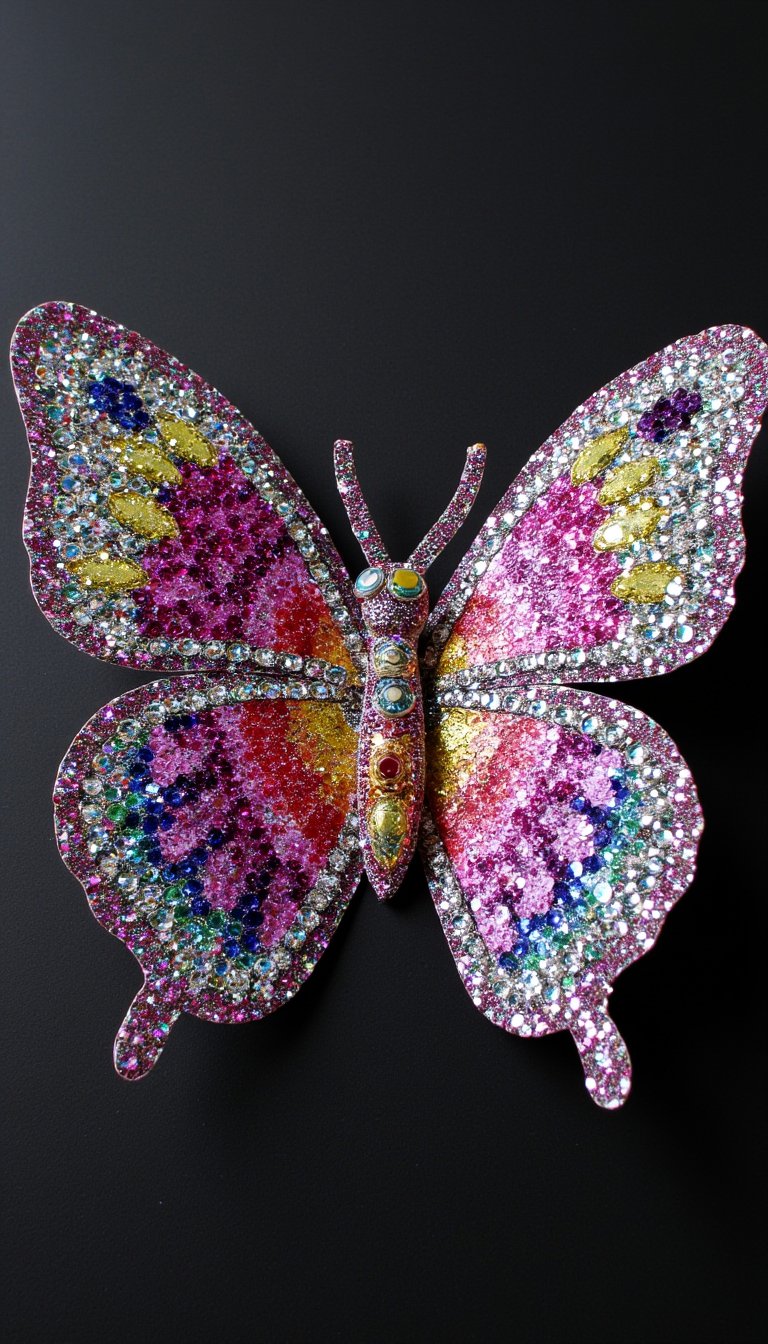
It’s time to glam up. Cover a paper plate butterfly in glue and let the kids go wild with sequins, glitter, beads, and rhinestones. This is the craft for when you need maximum sparkle. There’s no such thing as too much bling here.
The key is to use a strong glue or even a glue gun (with supervision). This butterfly is ready for a crafty night out or to be the centerpiece of a princess-themed room.
10. The Fold & Cut Surprise
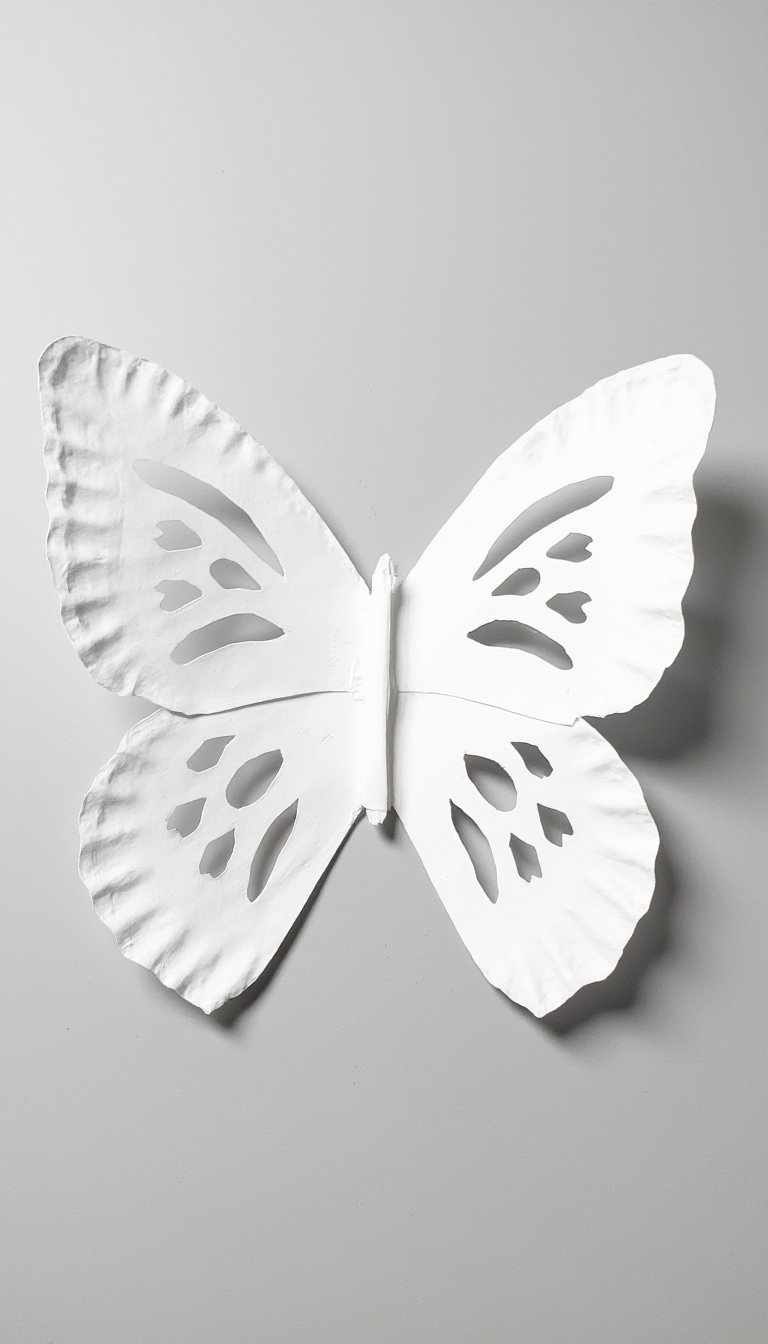
Remember making paper snowflakes? Apply the same principle to your paper plate butterfly craft. Fold a paper plate into quarters or eighths and cut small shapes out of the folded edges. Unfold to reveal a stunning, lace-like wing pattern.
Paint it afterward, or leave it white for an elegant look. This one always feels like a magic trick. It’s a great way to introduce basic geometry and pattern planning.
11. The Pasta Power Butterfly
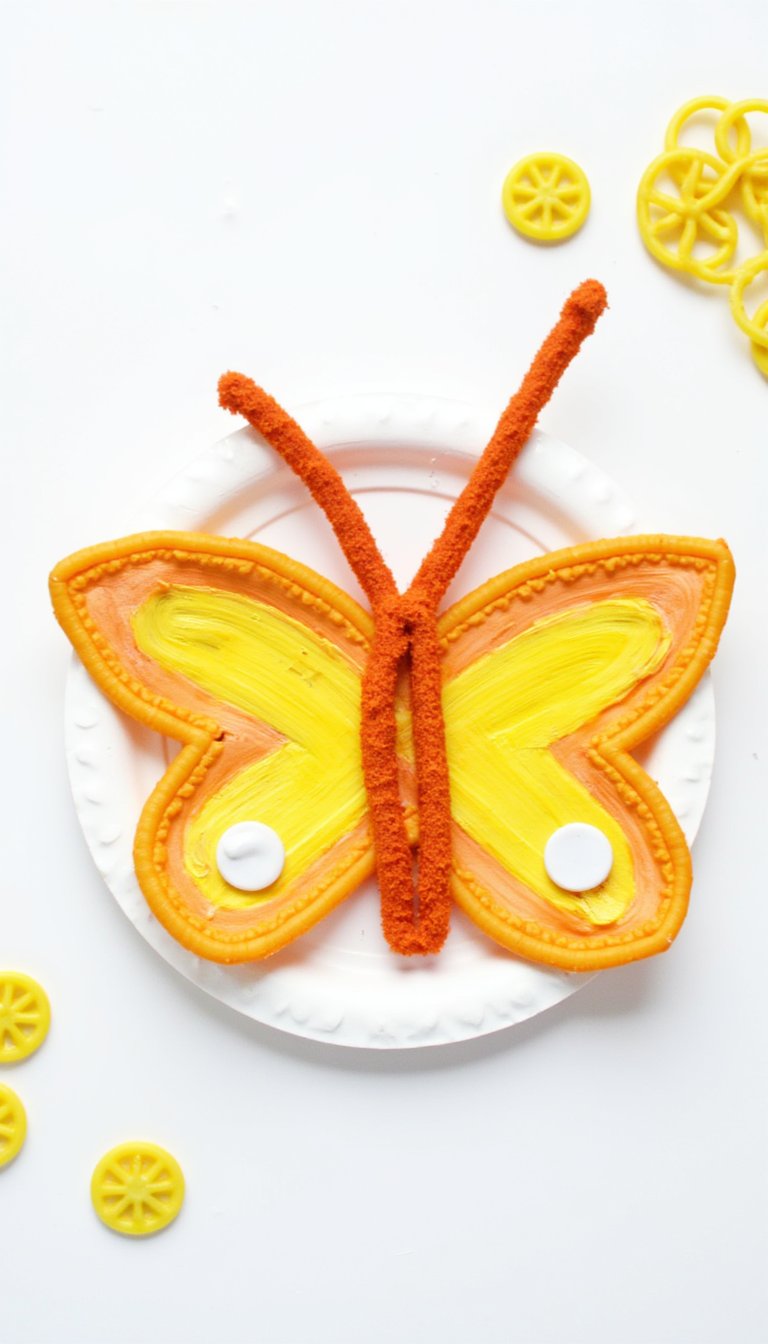
Raid the pantry! Use different dried pasta shapes—bow ties for wings, spaghetti for antennae, wheels for spots—to build your butterfly. Glue them onto a plate base or even use the plate itself as the wing canvas.
Paint the pasta before or after gluing for an extra pop. This craft is wonderfully tactile and surprisingly sturdy. The textural variety of the pasta makes it really interesting to look at and touch.
12. The Giant Garden Monarch
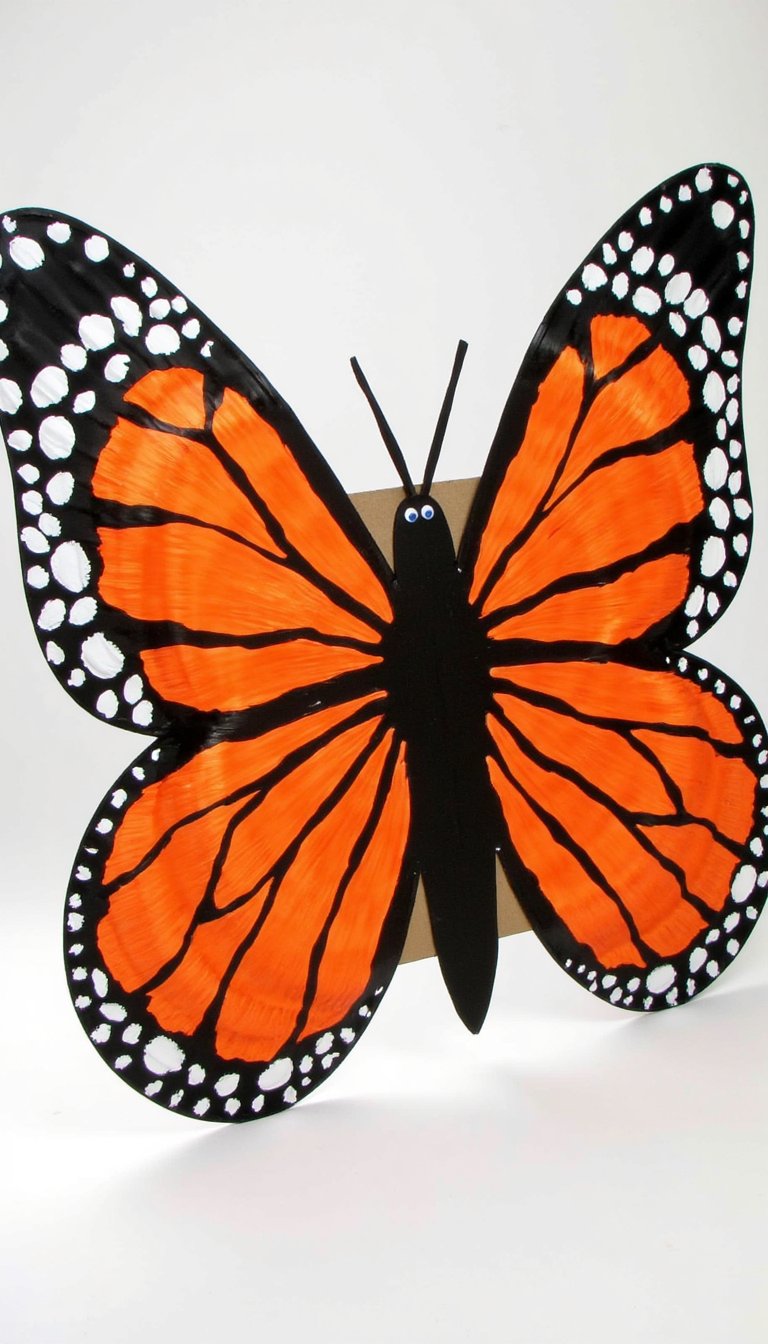
Use a full-size paper plate for each wing to create a massive, statement butterfly. Decorate it with the classic orange, black, and white monarch pattern. This is a collaborative project—kids can work together on different sections.
Attach the wings to a large piece of cardboard or a paper towel roll body. Hang this giant on a bedroom door or wall. It makes such a bold, beautiful impact and is impossible to miss.
13. The Simple Stamp & Go
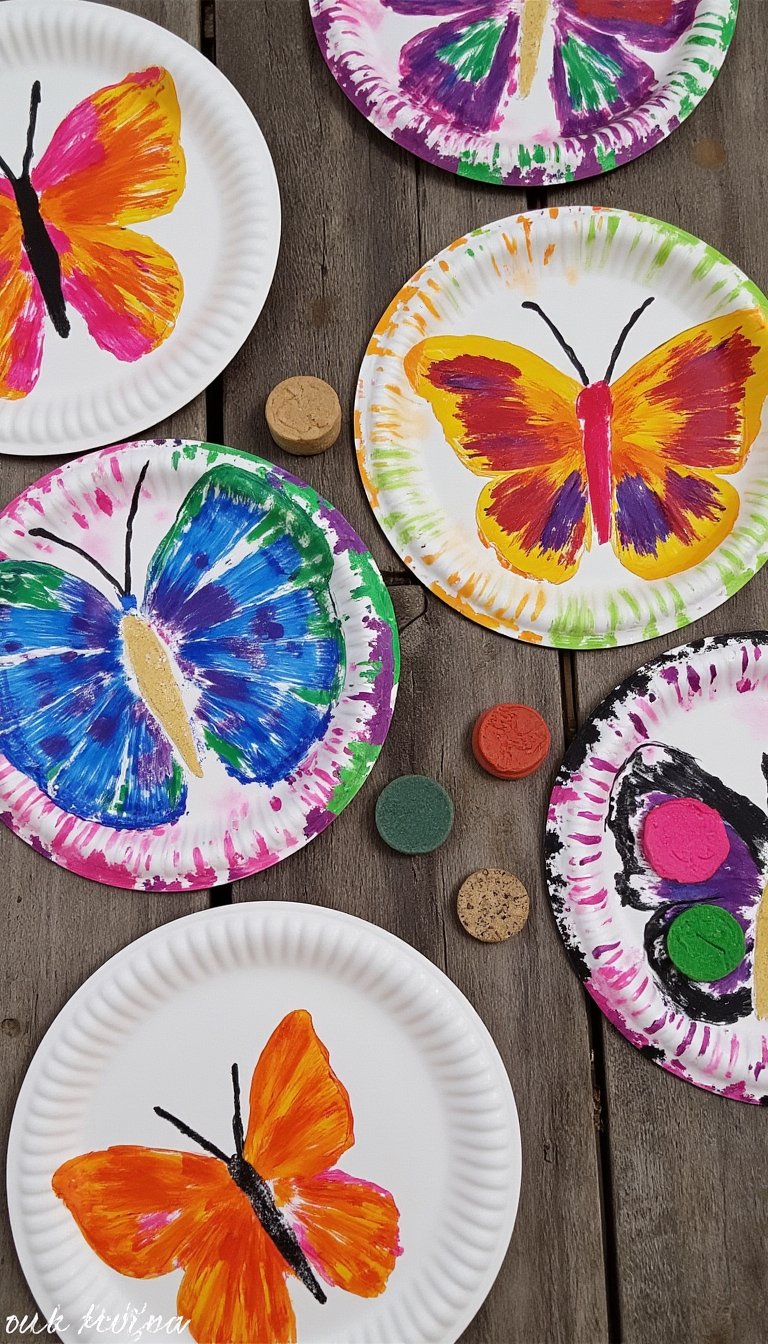
For the tiniest crafters, keep it ultra-simple. Pre-cut butterfly shapes from paper plates and provide stampers. Potato stamps, sponge pieces, cork, or even their own fingertips can create perfect wing patterns.
This method is all about quick, satisfying results and minimal frustration. It’s process-oriented, fun, and yields adorable results every time. Sometimes, simple really is best.
So, there you have it—13 ways to turn a stack of paper plates into a butterfly sanctuary. From glittery bling to nature walks and coffee filter watercolors, the humble paper plate proves it’s the ultimate craft supply MVP. The best part? There’s no wrong way to do it. Each butterfly ends up with its own personality, just like the artist who made it.
Grab those plates, embrace a little (or a lot of) mess, and get ready for some colorful fluttering fun. Which one will you try first? 😊