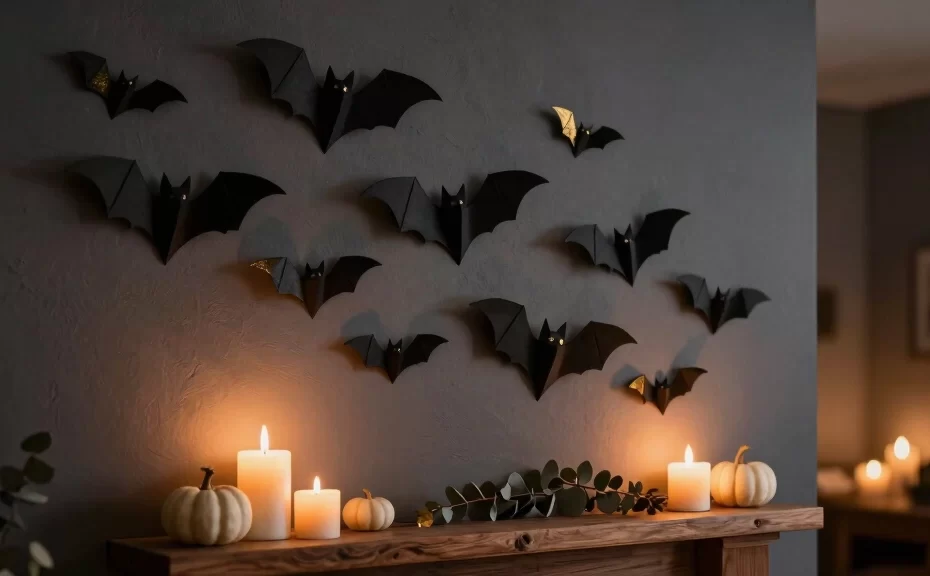
Spooky season is right around the corner, but are your walls looking a little too bare and cheerful? Don’t worry. You do not need to spend a fortune on cheap plastic store-bought decorations that end up in a landfill. Instead, you can easily transform your home into a cozy, haunted haven with some simple paper crafts.
Why paper? It is inexpensive, incredibly versatile, and highly customizable. These 14 creepy-cute paper bats DIY projects will help you brew up the perfect mix of gothic elegance and whimsical charm. Grab your scissors, warm up your glue gun, and let’s get crafting!
1. Classic Origami Hanging Bats

Origami offers a meditative way to prepare your home for Halloween. You only need a single square sheet of black paper to fold these classic creatures. No messy glue, no complicated templates, and no stress. Once you master the folding pattern, you can crank out a dozen of these in under an hour.
We recommend using lightweight origami paper because thick cardstock will crack during the precise folds. Hang them from your ceiling with transparent fishing line to create the illusion of a floating colony. Do you want to take it to the next level? Add tiny googly eyes for that perfect creepy-cute expression!
Expert Folding Tip
Use a plastic bone folder to crease your lines. Sharp, crisp edges make your origami bats look professionally made and help them hold their shape against gravity.
2. Gothic Lace Cutout Bats

Who says Halloween decor cannot look elegant? These gothic lace cutout bats bring a touch of Victorian sophistication to your fireplace mantel. You will need a sharp craft knife, a self-healing cutting mat, and a steady hand. Patience is key for this intricate project, but the stunning final result justifies the effort.
Simply trace a basic bat outline, then sketch delicate lace webs inside the wings. Use your craft knife to slice away the negative space. The shadows these bats cast when you light a nearby candle look absolutely spectacular.
3. Pastel Halloween Fluttering Bats

Are you tired of the traditional, aggressive orange and black color scheme? Break the rules this year by opting for a pastel palette instead. Lavender, mint green, and baby pink bats offer a refreshing twist on classic spooky decor. They look incredibly chic in modern, minimalist homes.
Cut these bats from high-quality pastel cardstock. Bend their wings upward slightly to give them a 3D effect before mounting them to your wall. Honestly, this pastel vibe might just convince you to keep them up all year round.
4. Glittery Cardstock Wall Swarm

Nothing captures attention quite like a massive swarm of glittering bats crawling up your wall. You can easily achieve this show-stopping look with black glitter cardstock. We suggest cutting the bats in three different sizes to create depth and motion.
Mount them using removable mounting putty so you do not damage your paint. Arrange the smallest bats at the top and the largest at the bottom to mimic a natural flock taking flight. Trust us, the way the glitter catches the light at night is pure magic.
5. Vintage Book Page Bat Garland

Do you have old, damaged books heading for the recycle bin? Give them a second life by turning their pages into a rustic bat garland. The yellowed paper and aged typography provide a cozy, dark-academia aesthetic. It is the ultimate budget-friendly DIY project.
Cut out your bats and punch two small holes in the center of each body. Thread some rustic twine through the holes to link them together. This garland looks fantastic draped across a fireplace mantel or woven through a staircase banister.
6. Glowing-Eye Cardboard Tube Bats
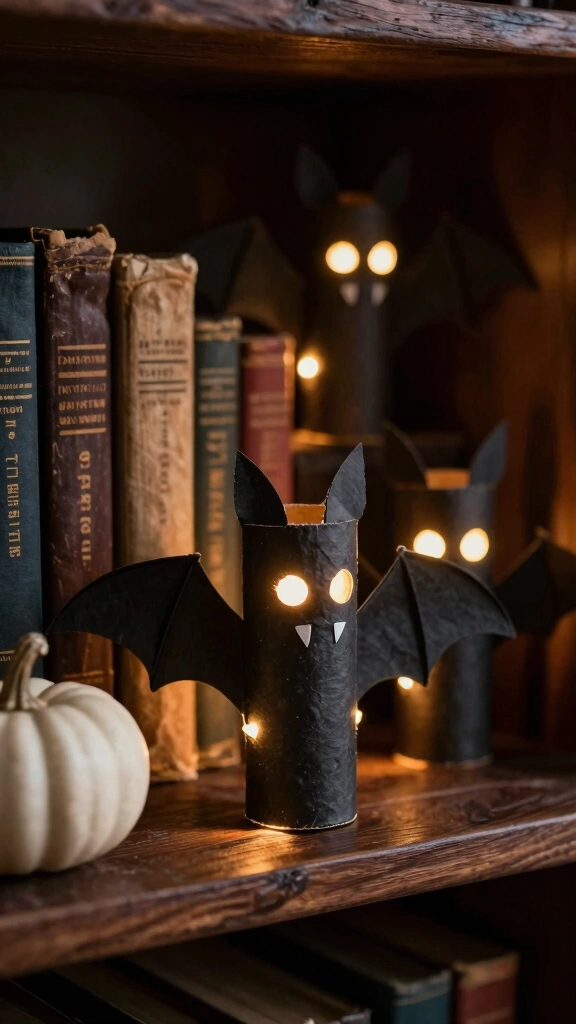
Save your empty cardboard tubes because we have the ultimate kid-friendly recycle craft for you. Wrap the tubes in black construction paper and fold down the top edges to create cute little ears. Glue on paper wings and draw some tiny vampire fangs.
Here is the secret trick: cut out glowing eyes and place a mini LED tea light inside the tube. Place these little guys on dark bookshelves to surprise your guests. IMO, this is one of the funniest, easiest ways to light up a dark corner.
7. 3D Geometric Paper Bats
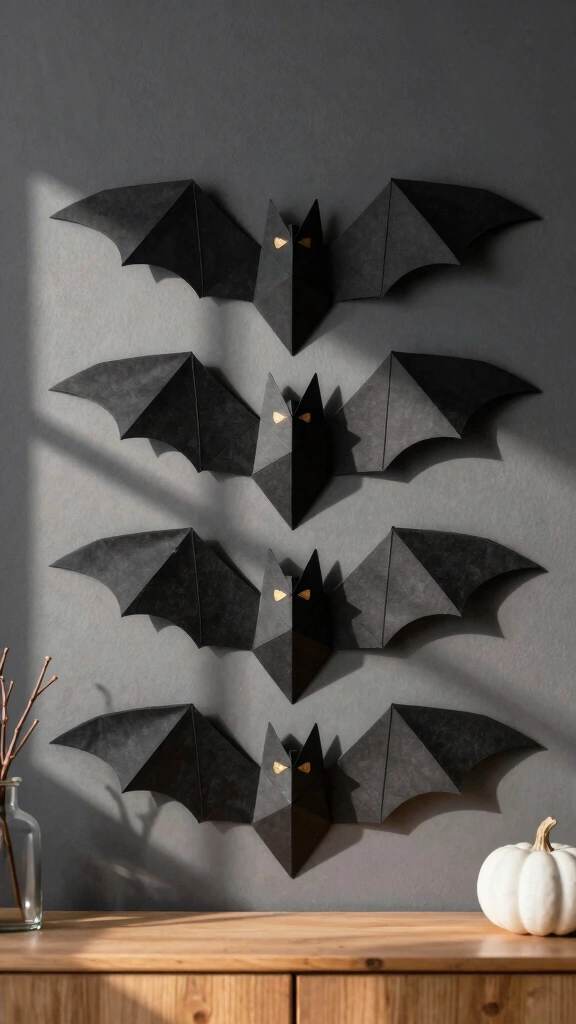
If you prefer clean lines and modern aesthetics, you will love geometric paper bats. Instead of organic curves, these designs use sharp angles and polygonal shapes. They look like high-end designer decorations but cost next to nothing.
You can find free printable templates online to help you score and fold the geometric lines. Use heavy cardstock to ensure the facets remain sharp and clean. These look best when displayed in a neat, symmetrical grid pattern.
8. Recycled Newspaper Collage Bats
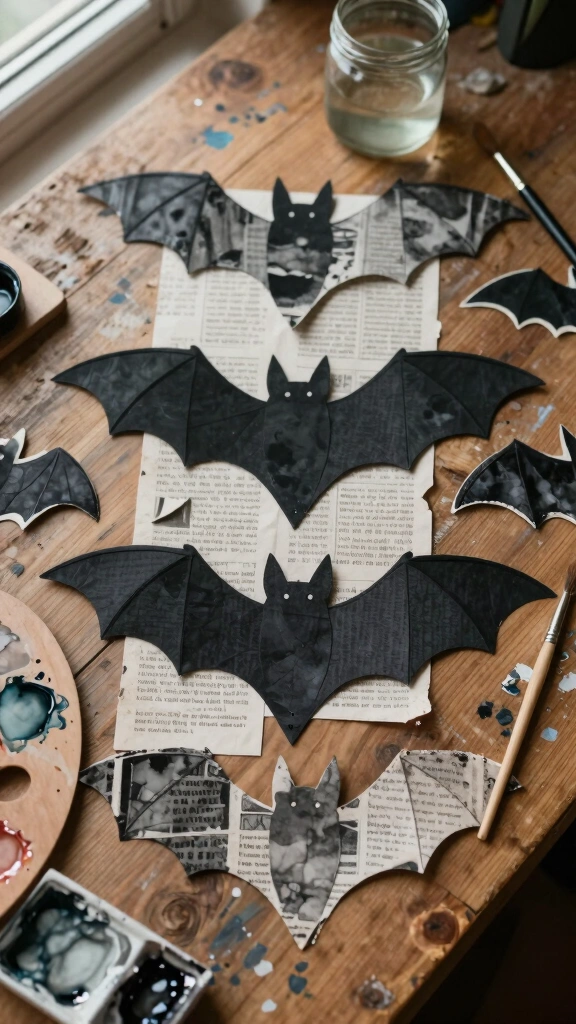
Looking for a project that lets you play with textures? Newspaper collage bats combine print media with watercolor washes for a messy, artistic look. Paint newspaper sheets with black and grey watercolor, leaving some text visible.
Once the paint dries, cut your bat shapes from the newsprint. The variegated colors and text columns give each bat a unique personality. Kids love this messy, creative process!
9. Crepe Paper Pom-Pom Bats

Combine fluffy crepe paper pom-poms with stiff cardstock wings for the ultimate cuddly bat. These chubby little critters look adorable hanging from tree branches in your yard. They sway gently in the breeze, looking surprisingly lifelike.
Make the pom-pom body by wrapping black crepe paper streamers around a cardboard template. Tie it off, cut the loops, and fluff it up. Attach cardstock wings and googly eyes to complete your cute new friend.
10. Felt and Cardstock Hybrid Bats

Why limit yourself to just one material? Combining the soft texture of felt with the structural rigidity of cardstock yields a beautiful hybrid decoration. The contrast between matte felt and smooth paper adds rich texture to your displays.
Glue a layer of black felt onto a sheet of cardstock before cutting your bat shapes. The cardstock provides support, preventing the felt wings from drooping. These sturdy bats will easily last for several seasons if you store them carefully.
11. Whimsical Polka Dot Pattern Bats

Who says Halloween always has to be scary? Lighten the mood with playful polka dot patterns. You can use pre-printed scrapbook paper or paint your own white dots on black cardstock. It adds a cheerful, retro vibe to your Halloween party decorations.
Mix and match different dot sizes to keep the visual design interesting. These bats look particularly festive when paired with orange pumpkins and colorful candy bowls. FYI, this project is a huge hit with younger kids who might find scary bats a bit too intimidating.
12. Origami Fortune Teller Bats

Do you remember making paper fortune tellers in school? You can easily convert that classic childhood fold into a cute, standing bat. Simply fold the fortune teller, then glue on paper wings and draw a little vampire face.
They sit upright on flat surfaces, making them perfect table scatter for a Halloween dinner party. Write secret spooky fortunes or dares inside each fold for your guests to discover. It serves as both a decoration and a fun party game!
13. Neon Silhouette Hanging Bats

If you plan to host a Halloween party under blacklights, neon bats are a MUST. Use neon green, hot pink, and bright orange cardstock to cut your bat shapes. They glow intensely under UV light, creating a trippy, rave-like atmosphere.
Hang them at various heights using dark thread so they appear to float in the dark room. The vibrant colors contrast beautifully against pitch-black walls. Your guests will love the retro glow-in-the-dark energy.
14. Washi Tape Accent Bats

Washi tape offers an easy way to add patterns without dealing with messy paint or glue. Cut simple bat shapes out of plain white paper. Then, decorate them with stripes of patterned washi tape.
Trim the excess tape around the edges to reveal a clean, colorful pattern. You can create plaid, striped, or glittery patterns in minutes. It is a clean, mess-free craft that you can do while watching your favorite scary movie.
Summary of Best Materials
- Cardstock: Best for wall swarms and 3D geometric shapes.
- Origami Paper: Perfect for hanging folded bats.
- Crepe Paper: Great for texture and pom-poms.
- Recycled Paper: Best for eco-friendly and vintage aesthetics.
Bring Your Spooky Vision to Life
Decorating for Halloween does not have to be expensive or stressful. With these simple paper bat DIY projects, you can customize your home to fit your exact style. Whether you prefer gothic elegance, modern pastel vibes, or goofy glowing tubes, there is a project here for you.
Which style will you try first? Gather your supplies, invite some friends over, and start crafting your own hauntingly good decor today!