
Let’s be honest, is there any creature that brings an instant smile faster than a ladybug? Those cheerful red shells and lucky black spots hold a special kind of magic. Maybe you’re a parent staring down a rainy afternoon, a teacher planning a spring unit, or just someone who thinks their garden needs a bit more whimsy. Whoever you are, you’ve landed in the right spot. We’ve scoured the craftiverse to bring you the absolute best, most delightful, and surprisingly easy ladybug craft ideas. From toddler-friendly stamping to elegant home accents, get ready to unleash your inner crafty bug.
1. Paper Plate Ladybug Puppets
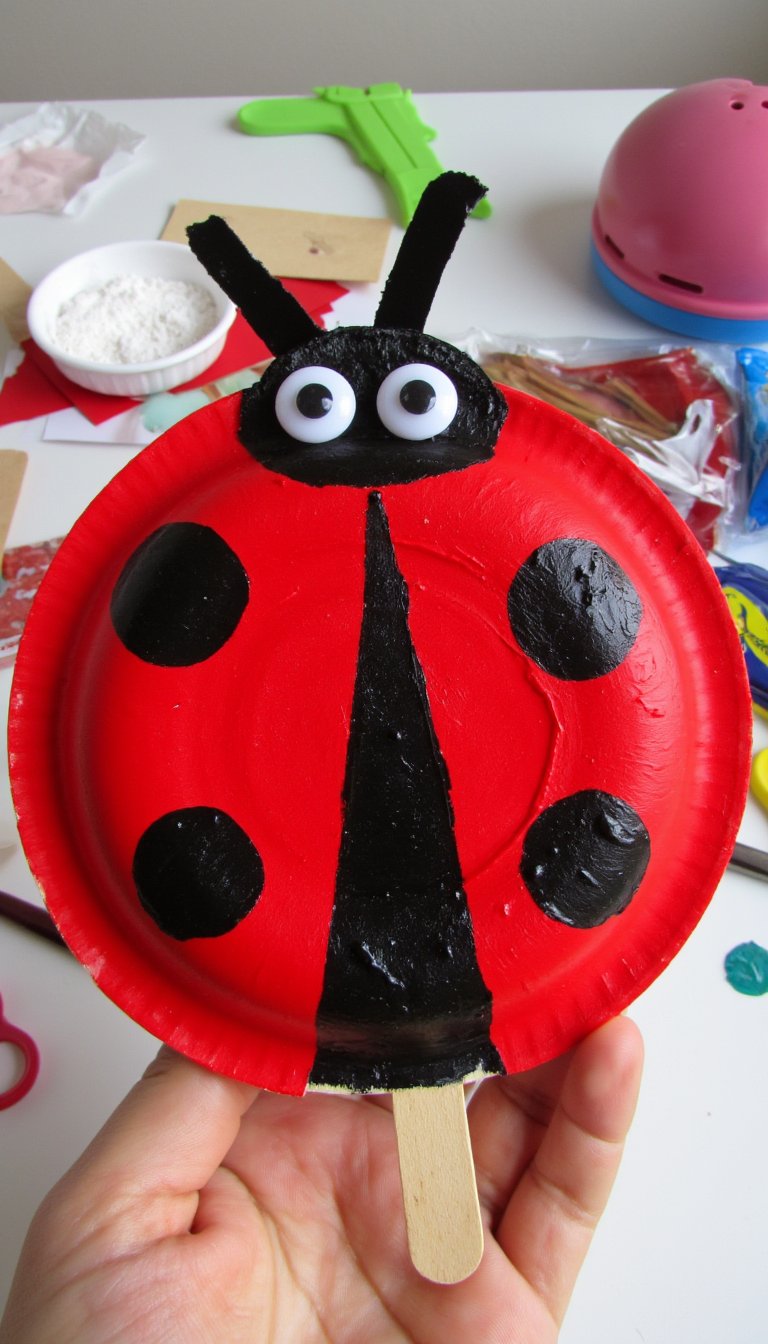
This classic is a hit for a reason. It’s cheap, simple, and the play value is through the roof. Grab a paper plate, some red and black paint, and a popsicle stick. Let the kids go wild painting the plate red, then add the black head and spots. Glue on some googly eyes for maximum silliness, attach the stick, and voilà—instant puppet show material. It’s the perfect ladybug craft for preschoolers that builds fine motor skills without the fuss.
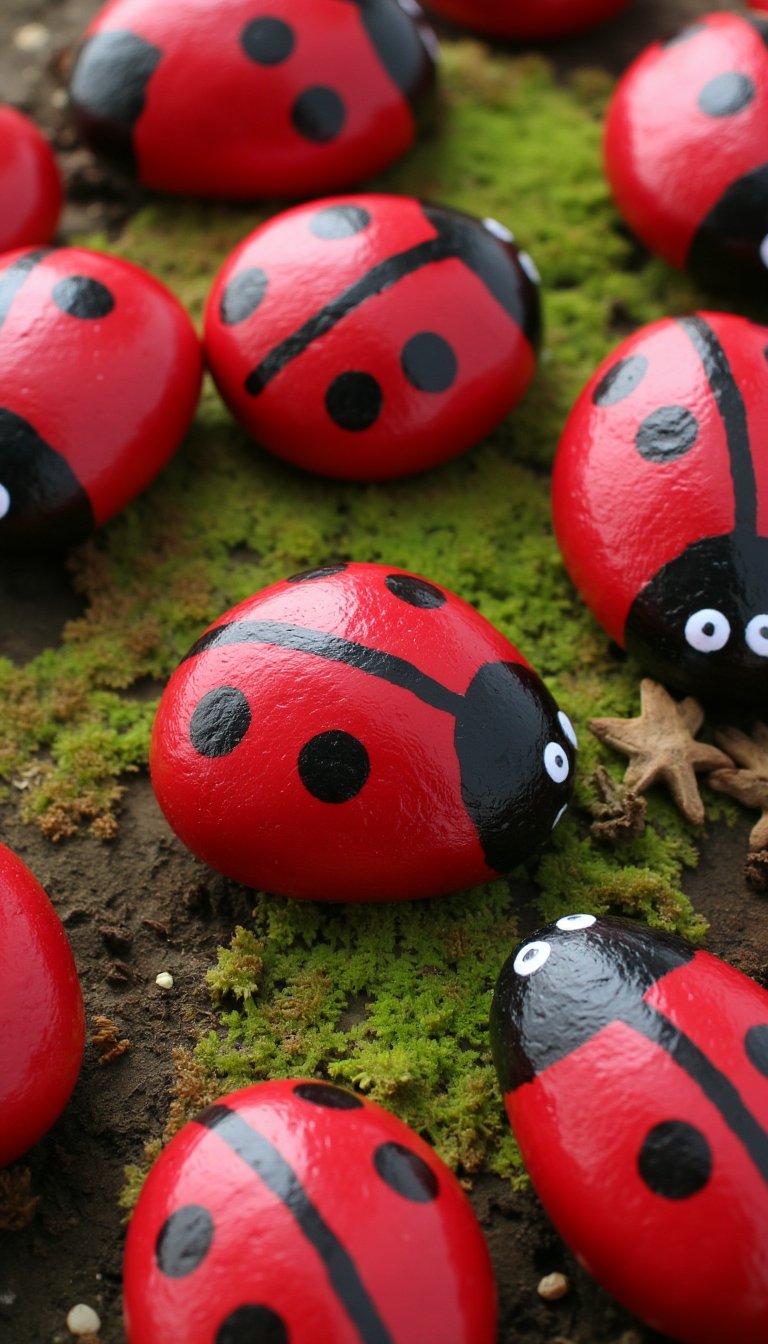
2. Ladybug Rock Pets

Turn a simple garden stone into a forever friend. Hunt for smooth, oval-ish rocks in your backyard or a local park. A base coat of red acrylic paint, a black head, and carefully dotted spots transform it into a charming critter. Seal it with a clear outdoor varnish, and you have a weather-resistant garden decoration that adds personality to your flower beds. Kids love hiding them for others to find!
3. Thumbprint Ladybug Cards

Personalized, cute, and mess-manageable? Sign us up. This ladybug craft uses a thumb dipped in red washable ink or paint to create the perfect bug body on cardstock or the front of a blank card. After it dries, use a black marker to add a head, antennae, legs, and spots. Write “Happy Birthday” or “Thank You” inside, and you have a heartfelt, handmade card that grandparents will absolutely treasure.
4. Egg Carton Ladybugs
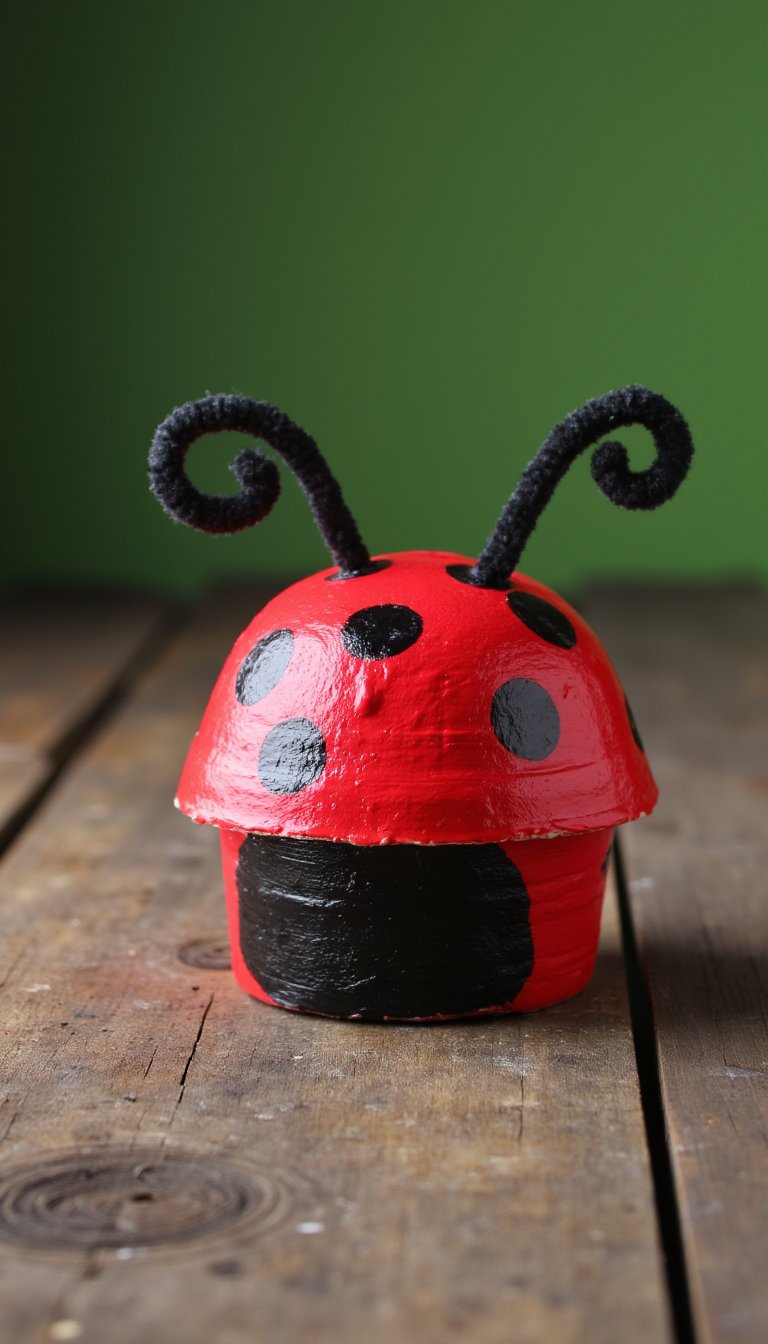
Upcycling at its finest! Cut individual cups from a cardboard egg carton. Paint them red, let them dry, then add black details. Poke two small holes in the top and thread a pipe cleaner through for antennae. These 3D bugs are fantastic for counting activities for little ones or for creating a whole swarm to hang from a bedroom ceiling with clear thread.
5. Ladybug Pom-Pom Critters

If you’re looking for fluffy cuteness, this is your craft. Use a medium-sized red pom-pom and a smaller black one. Glue them together, then add tiny googly eyes and cut little antennae from black pipe cleaners. You can even glue a small magnet to the back to create adorable fridge decor. Pro tip: Use a hot glue gun (adults only!) for a secure, quick bond.
6. Clay Pot Ladybug Planters

Give your succulents or herbs a happy home. Take a basic terracotta pot and paint the entire outside with red acrylic paint. Once dry, paint the rim black to create the “head.” Add black spots randomly over the body. Plant something green inside, and you’ve got a charming patio or windowsill accent that blends crafting with gardening beautifully.
7. Ladybug Headband Antennae

Perfect for dress-up, bug-themed parties, or just a silly Tuesday. Take a simple plastic headband and wrap it with black ribbon or electrical tape. Then, create the antennae by attaching two red pom-poms or styrofoam balls to the ends of black pipe cleaners. Coil the pipe cleaners around the headband to secure them. Instant transformation into a ladybug! 🐞
8. Coffee Filter Watercolor Ladybugs
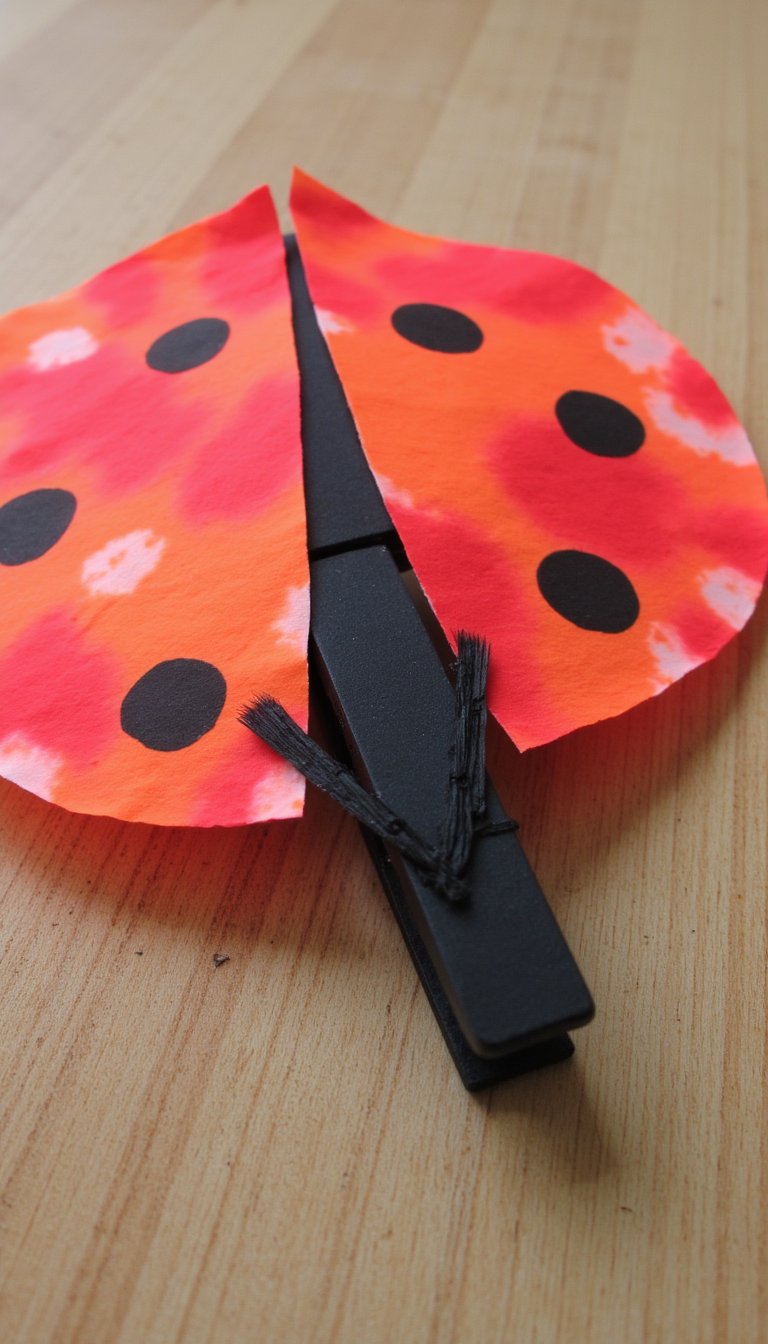
This one is almost magical for kids. Let them use washable markers to color a white coffee filter with reds and oranges. Then, using a dropper or paintbrush, dab water onto the filter and watch the colors blend beautifully in a tie-dye effect. Once dry, pinch the center with a black clothespin or pipe cleaner to form the body and head, and draw on spots.
9. Ladybug Stick Puppets
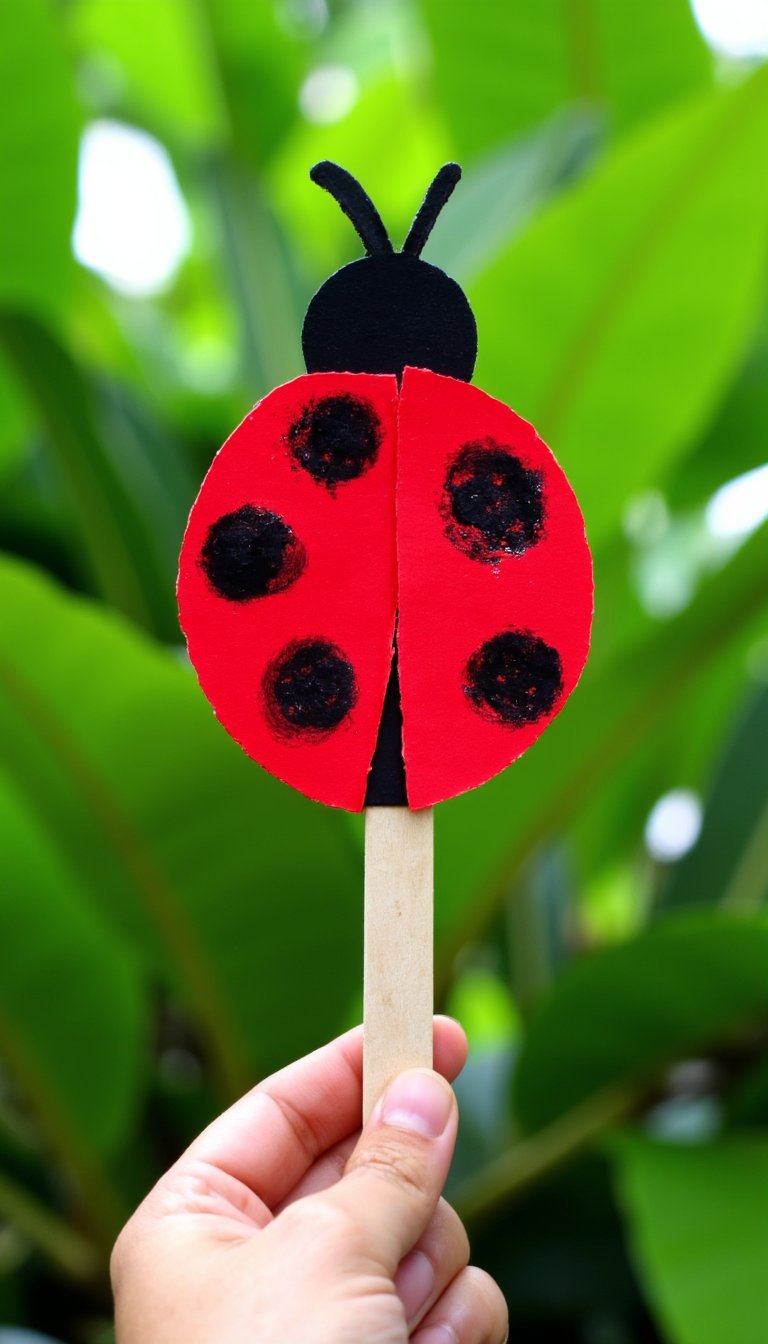
A simpler cousin to the paper plate puppet. Print or draw a ladybug outline on cardstock, let the kids color and decorate it, then cut it out and tape it to a craft stick. These are fantastic for storytelling prompts or for acting out songs like “The Grouchy Ladybug.” You can make a whole set of characters in an afternoon.
10. Pine Cone Ladybugs
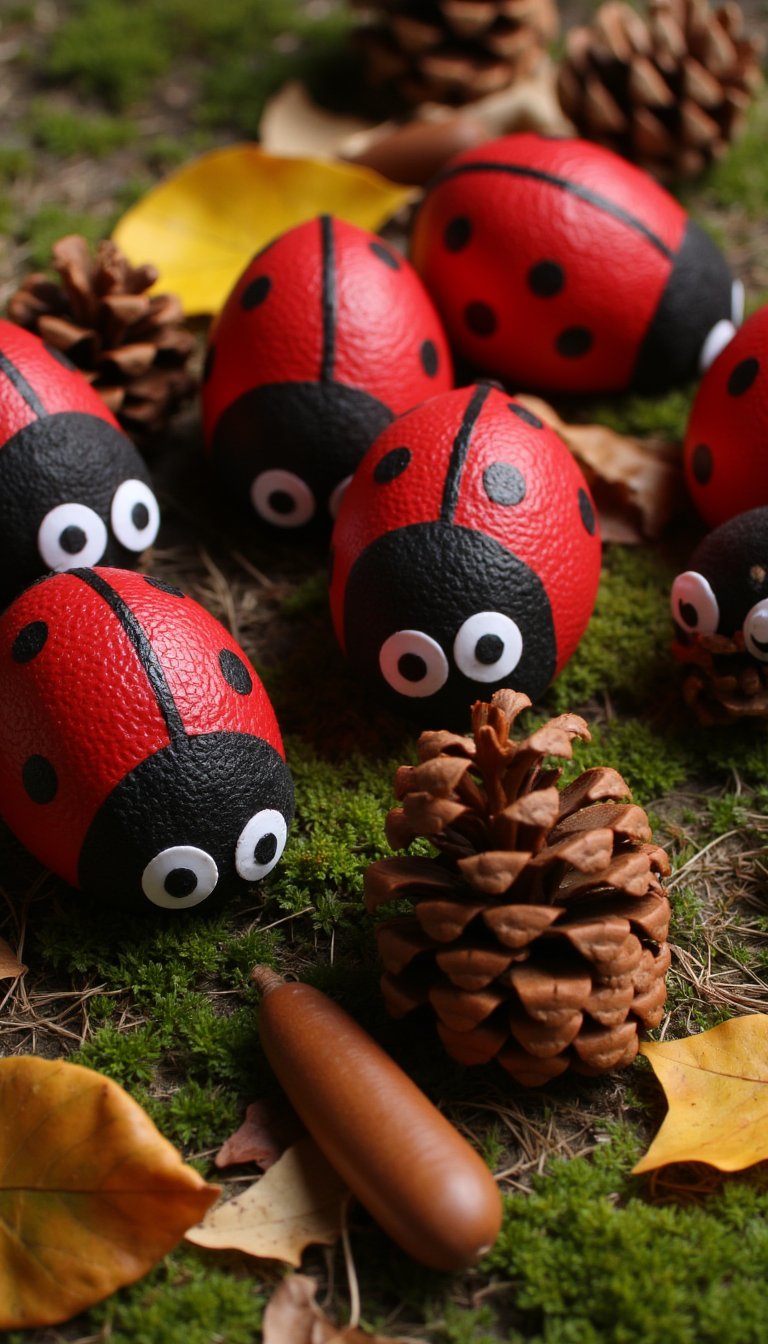
Nature provides the perfect textured body. Collect small, rounded pine cones. Paint the tips of the scales red and the wider base black. It creates a wonderfully textured, natural-looking bug. These make lovely autumn-themed ladybug crafts and look gorgeous in a centerpiece or wreath.
11. Ladybug Suncatchers
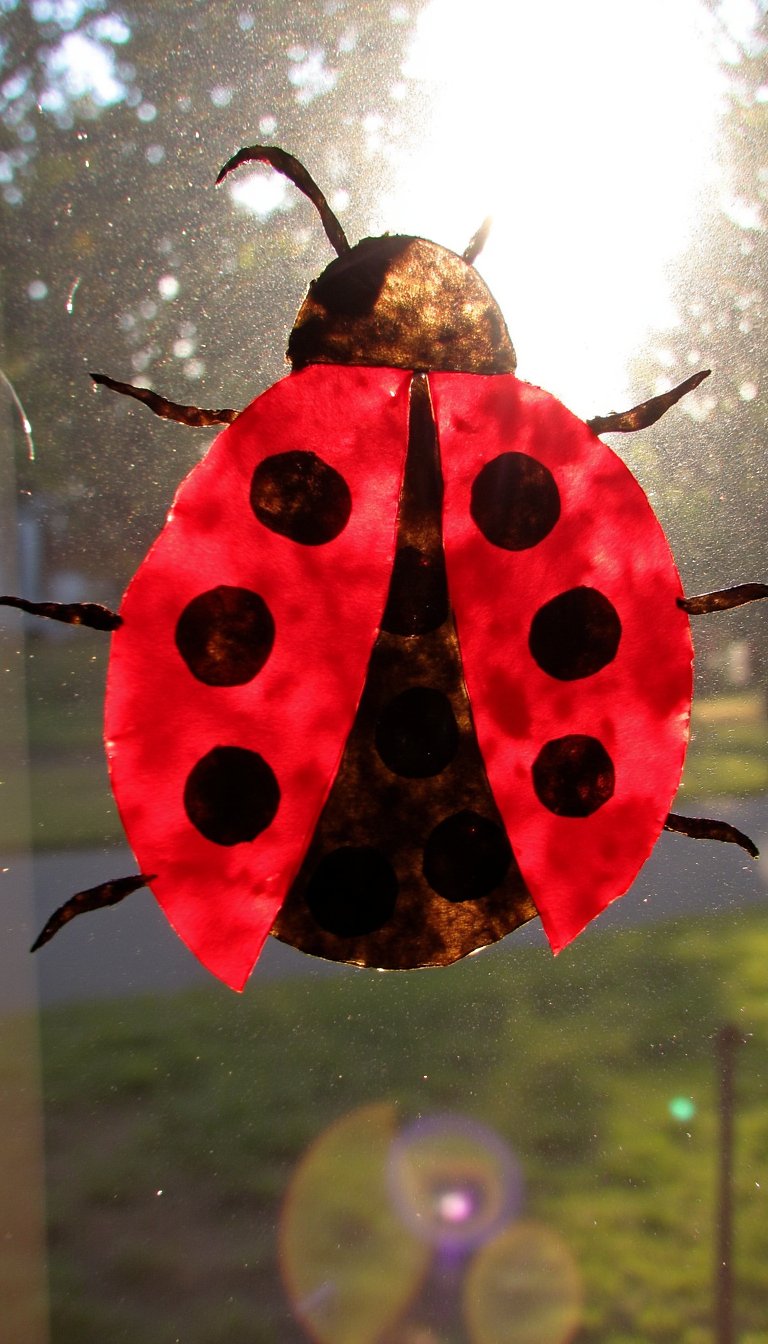
Bring some color to your windows. Cut a ladybug shape from clear contact paper. Let kids stick small pieces of red and black tissue paper or cellophane inside the outline. Cover with another piece of contact paper, trim the edges, and punch a hole for string. The sunlight shining through these is absolutely stunning.
12. Cork-Stamped Ladybug Art

Got a wine cork? You have a stamp. Dip the round end into red paint and stamp circles onto paper. After they dry, use a black marker to complete the bugs. This is a wonderfully open-ended art activity. Kids can create a whole field of ladybugs, add flowers, or even make patterns. Simple, effective, and fun.
13. Ladybug Mason Jar Lantern

Create a cozy, magical glow for your porch or bedroom. Paint a clean mason jar with red glass paint. Once dry, use black paint to add spots and a head near the lid. Place a battery-operated tea light inside. It’s an enchanting DIY night light that’s safe and utterly charming for summer evenings.
14. Felt Ladybug Finger Puppets

Soft, quiet, and perfect for little hands. Cut two identical ladybug shapes from red felt. Glue or stitch them together around the edges, leaving the bottom open for a tiny finger. Embroider or glue on black felt spots and eyes. These are portable, sweet, and encourage imaginative play anywhere.
15. Ladybug Counting Stones
Learning that feels like play? Yes, please. Paint smooth, flat stones red. On each, paint a different number of black spots (1 through 10). You now have a hands-on math manipulative. Ask your child, “Can you find the ladybug with 4 spots?” or have them line the stones up in numerical order. It’s a stealthy educational tool.
16. Paper Bowl Flying Ladybug

Create the illusion of flight! Use a red paper bowl as the domed body. Decorate it, then attach black pipe cleaner legs and antennae. The real fun? Tape a long piece of clear fishing line to the top and hang it from a doorway or tree branch. It will gently spin and look like it’s about to take off.
17. Ladybug Leaf Prints

Combine nature walk with art time. Find a large, sturdy leaf with a good vein structure. Paint the back of the leaf with red paint and press it onto paper to make a print. Once dry, use black paint to turn that leaf print into a ladybug by adding a head and spots. It’s a beautiful way to celebrate natural shapes.
18. Ladybug Clay Magnets

Great for older kids or adults who enjoy polymer clay. Shape small ovals of red clay, add tiny black clay spots, and form a separate black head. Bake according to clay instructions. Once cool, glue a strong magnet to the back. You’ve just made a delightful and useful handmade gift for any fridge.
19. Recycled Bottle Cap Ladybugs

Don’t toss those caps! Save plastic bottle lids from milk or soda. Paint them red, add black spots, and glue them onto a piece of cardstock in a wandering line. Draw little legs and antennae connecting them. It’s a fantastic collage-style art project that talks about recycling, too.
20. Ladybug Corner Bookmark

A craft you can actually use! Cut a red square of cardstock, then fold it into a classic corner bookmark shape. Use black paper or marker to add a head that extends over the corner, spots, and big, friendly eyes. This clever ladybug craft will peek out from the pages of your favorite book.
21. Ladybug Wind Chime

End our list with a project that makes music. Use a small wooden hoop or an old embroidery ring as the base. Hang your finished ladybug crafts from it—like the pine cone ladybugs, rock pets, or clay magnets—using fishing line at varying lengths. Add a few bells in between. Hang it outside and enjoy the gentle tinkling sound of your ladybug squadron.
And there you have it—21 ladybug crafts that prove a little inspiration can come in small, spotted packages. Whether you needed a quick activity to beat the “I’m bored” blues, a thoughtful handmade gift, or a way to add a dash of charm to your home, one of these ideas is sure to fit the bill. The best part? These projects aren’t about perfection. A lopsided spot or a wildly imaginative color choice just adds character. So grab your red paint, embrace the fun, and get ready to make some lucky little bugs of your own. Your swarm awaits!