
Is there anything more cheerful than a bright red ladybug landing on your arm? They’re like tiny, spotted good luck charms. But let’s be real, getting kids to sit still for a nature lesson can be tricky. That’s where these ladybug crafts for kids swoop in to save the day! We’ve rounded up 15 of the best, easiest, and most adorable projects that turn simple supplies into a swarm of creativity. Perfect for rainy afternoons, preschool themes, or just because. Ready to get crafty?
1. Paper Plate Ladybug Puppet
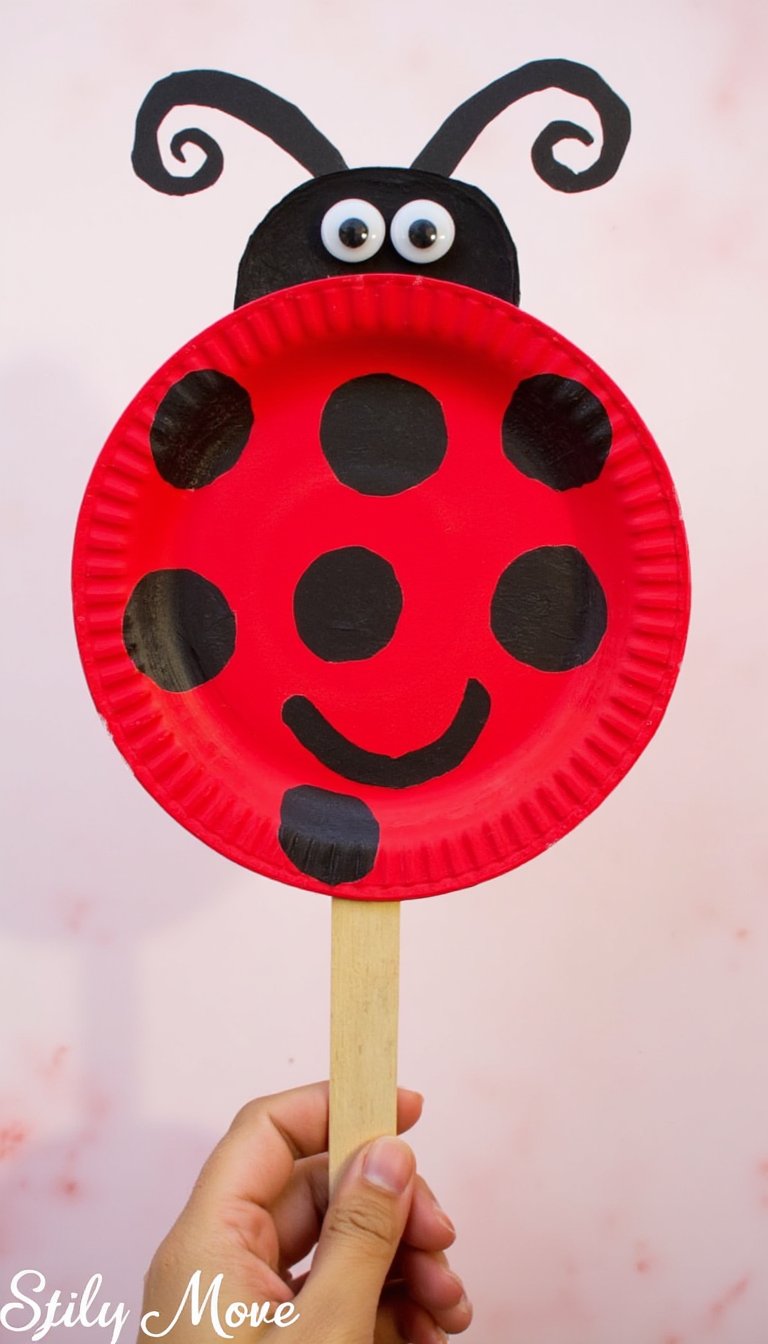
This classic craft is a fantastic starting point. It’s simple, requires minimal supplies, and gives kids a toy to play with afterward. Start with a basic red paper plate. Let your little one go wild with black paint or markers to create the head and spots.
Glue the plate onto a large craft stick or popsicle stick. Don’t forget to add googly eyes and draw on a sweet smile. Suddenly, you have a puppet ready for a bug-themed show! This is one of those perfect ladybug crafts for toddlers who love interactive play.
2. Rock Your Garden Ladybugs

Head outside for a rock hunt—half the fun is finding the perfect smooth, oval-shaped stone. Wash and dry your rocks, then paint them with a base coat of fiery red acrylic paint. Once dry, add a black head and classic spots.
Seal them with a clear spray or Mod Podge to make them weatherproof. These painted ladybug rocks make magical garden decorations. Kids love hiding them around the yard for you to find. It’s art that literally rocks.
3. Thumbprint Ladybug Cards

Minimal mess, maximum cuteness. This craft is perfect for making homemade greeting cards for grandparents. All you need is a red ink pad or washable red paint. Have your child press their thumb onto the ink, then onto a piece of white cardstock or construction paper.
After the print dries, use a black marker to add a head, antennae, legs, and spots. Write a message like “You’re un-BEE-lievable!” or “Just wanted to bug you!” around it. Personal, adorable, and it captures a tiny moment in time (literally).
4. Egg Carton Ladybug Creepy-Crawlies
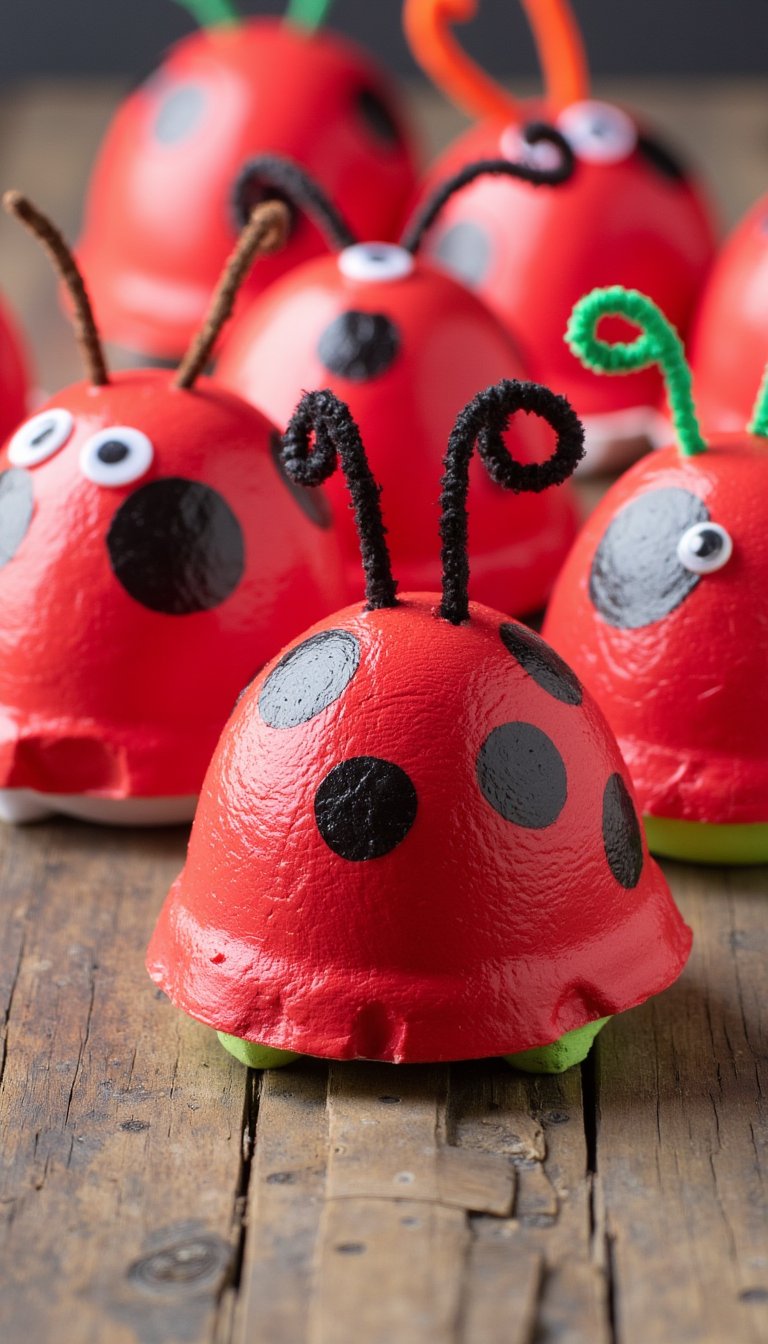
Upcycle those empty egg cartons into a whole family of bugs! Cut the carton into individual cups. Paint each cup red and let it dry completely. This might take two coats—a good lesson in patience for little crafters.
Then, paint on the black details. Poke two pipe cleaner pieces through the top for antennae and add googly eyes. You can even glue a magnet to the bottom. These 3D egg carton ladybug crafts have so much character and are a win for eco-friendly creativity.
5. Ladybug Headband Antennae

Transform your kid into the cutest bug in the garden! Take a simple, store-bought headband and wrap it with red ribbon or duct tape. For the antennae, attach two red pom-poms to the ends of black pipe cleaners, then coil the pipe cleaners onto the headband.
You can also use black construction paper circles or felt. This is the ultimate accessory for imaginative play, photo booths, or school parades. Watch their personality totally buzz with these on.
6. Coffee Filter Watercolor Ladybugs

The magic of watercolor meets science in this beautiful project. Lay a white coffee filter flat. Using washable markers, let kids color it mostly red, leaving a small section at the top for a black head.
Then, using a spray bottle or a wet paintbrush, lightly mist the filter. Watch as the colors bleed and blend together in a stunning, tie-dye effect. Once dry, pinch the center with a clothespin, add details, and you have a delicate, colorful bug. Science + art = a major win.
7. Ladybug Corner Bookmark

Encourage a love of reading with a functional craft. Start with a red square of cardstock or felt. Fold it into a simple corner bookmark shape (there are easy templates online). Use black paper or marker to create the head and spots on the front.
Glue on small googly eyes. This clever little craft gives kids a reason to crack open a book. “Time to find my ladybug bookmark!” is a sentence every parent wants to hear.
8. Clothespin Ladybug Clip

Take a plain wooden clothespin and paint the top half red and the bottom half black. Once dry, add black spots to the red “wings.” Draw a cute face on the black “head” section at the pinching end.
These are not just cute; they’re useful! Kids can use them to clip artwork to a string, seal snack bags, or organize papers. It’s a craft that does double duty, and we love that.
9. Leaf-Print Ladybug Art
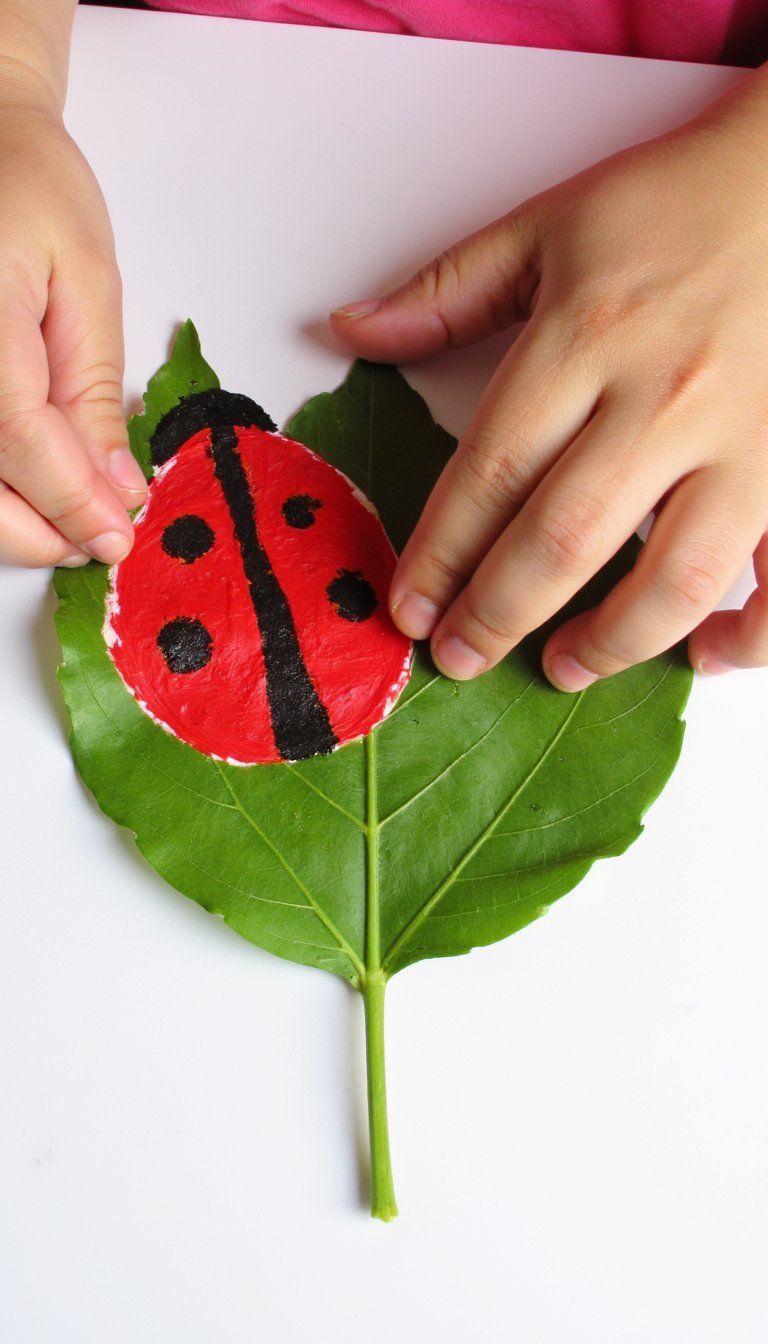
Incorporate real nature into your art. Go on a walk and find a large, sturdy leaf with a good vein structure. Paint the *back* of the leaf with red paint and carefully press it onto paper to make a print. The veins make amazing wing details!
Once the leaf print is dry, use black paint to add a head, spots, and legs. This project connects art to the natural world in the coolest way. Every print is a unique masterpiece.
10. Ladybug Suncatchers

Bring some stained-glass beauty to your window. Cut two identical ladybug shapes out of black construction paper—think a simple circle with a head. Place one shape on sticky-back contact paper, then let your child fill the body with small pieces of red and orange tissue paper or cellophane.
Seal it with the second black cutout and trim the edges. Hang it in a sunny window and watch the light glow through. These vibrant ladybug suncatchers are pure, colorful joy.
11. Potato Stamp Ladybugs
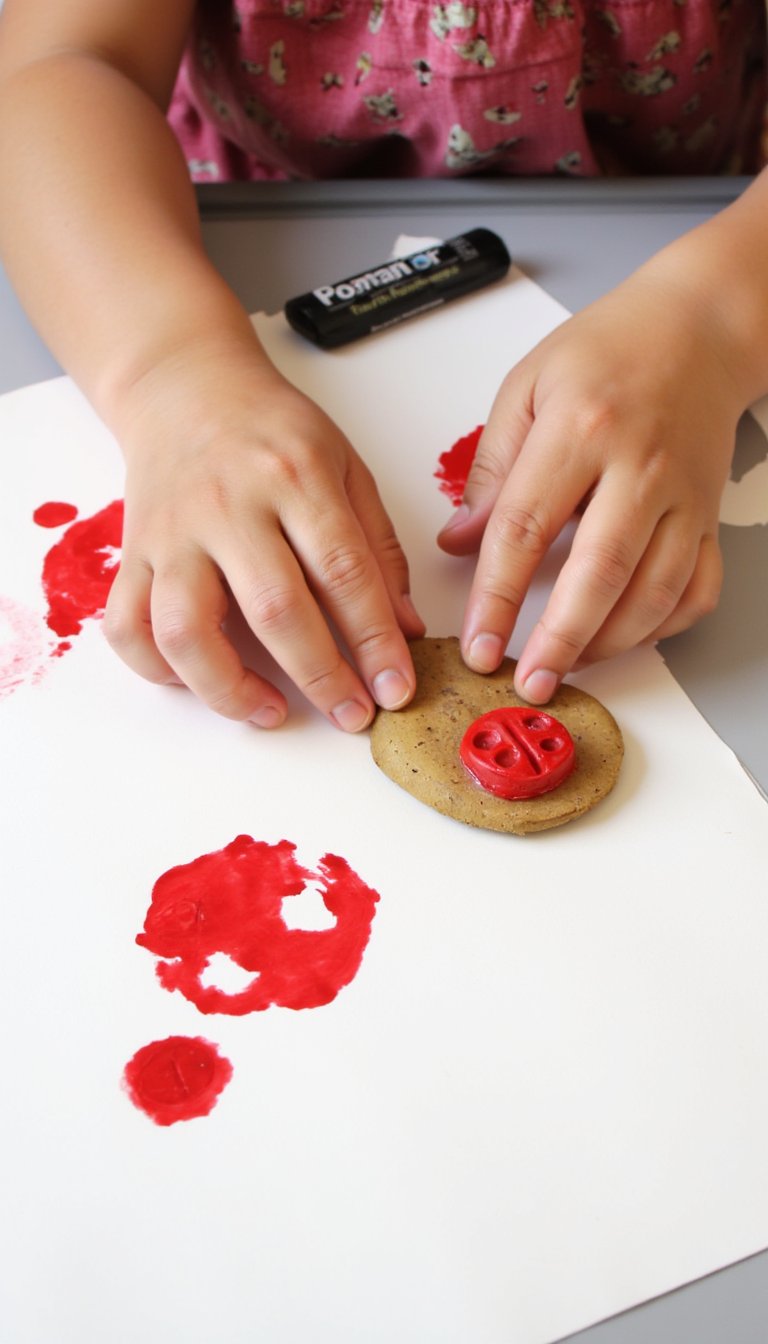
Old-school stamping fun! Cut a potato in half and carve a simple ladybug shape (a half-circle with a flat top for the head) into the flat surface. Pat the stamp dry, then let kids dip it into red paint and stamp away on paper.
After the red bodies dry, they can use a smaller round object (like a pencil eraser) dipped in black paint to add spots and heads. It’s messy, tactile, and wonderfully process-oriented. The imperfect prints are the best part.
12. Paper Bowl Flying Ladybug

Grab a cheap red paper bowl (or paint a white one). Cut the bowl neatly in half—these are your ladybug’s wings. Attach the two halves to a black paper body with a brad, so the wings can open and close. How cool is that?
Add a black paper head, pipe cleaner antennae, and googly eyes. Hang it from the ceiling with string for a flying effect. This craft adds a dynamic, movable element that really sparks the imagination.
13. Ladybug Nature Collage
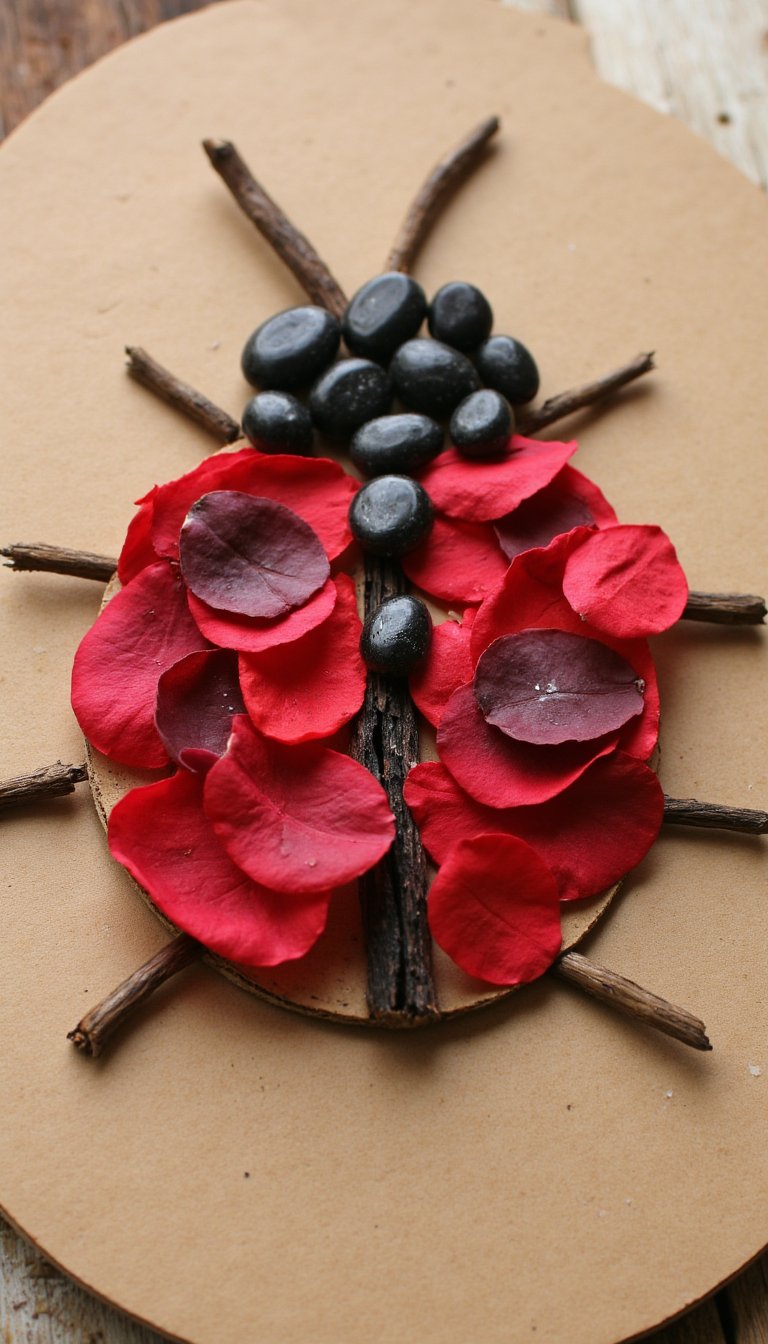
Send the kids on a backyard scavenger hunt for small, red, black, and natural items. Think red petals, black pebbles, small twigs, and leaves. On a piece of cardboard or heavy paper, draw a simple ladybug outline.
Then, let them glue their found treasures inside the lines to create a textured, natural bug. A twig becomes an antenna, a pebble becomes a spot. This craft celebrates creativity and resourcefulness.
14. Ladybug Counting Stones
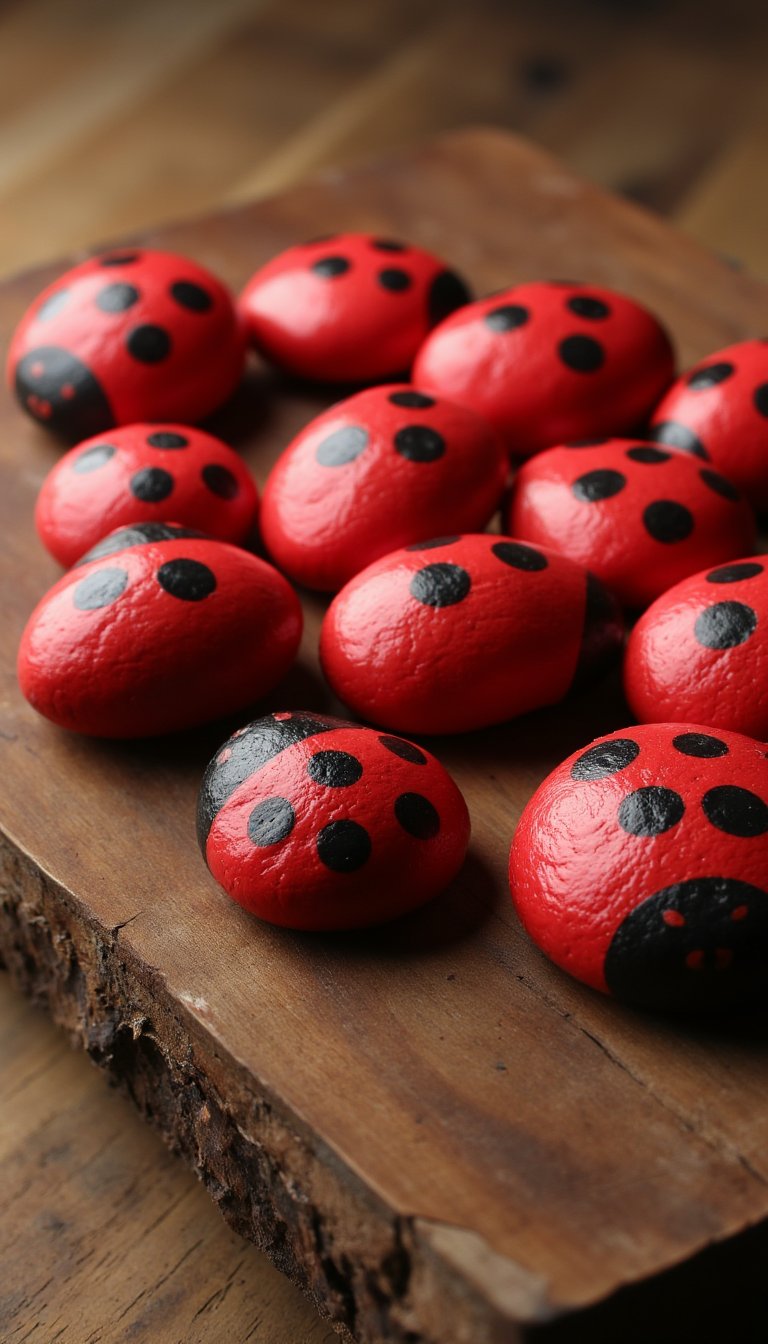
Combine crafting with early math skills. Paint several smooth stones with a red base and a black head. On each stone, paint a different number of black spots (1 through 10). You can seal them for durability.
Now you have a hands-on math manipulative! Ask your child, “Can you find the ladybug with 5 spots?” or “Line them up from 1 to 10.” It turns a simple craft into a powerful learning tool. Sneaky, right?
15. Paper Roll Ladybug Friend

Don’t toss that toilet paper roll! Flatten one end of the roll and staple or tape it to create the ladybug’s pointed head shape. Paint the entire roll red, then add black spots and a face.
You can even glue on pipe cleaner legs so it can stand. These little guys are perfect for a bug parade or as desk buddies. It’s the ultimate upcycle and a fantastic final project for our list.
And there you have it—15 spots of pure crafting inspiration! From quick thumbprint cards to garden-ready rock pets, these ladybug crafts for kids prove you don’t need fancy supplies to make something special. The real magic isn’t just in the final product (though they are adorable). It’s in the focused time together, the proud smiles, and the little hands covered in paint. So, which one will you try first? Your kitchen table is about to become the most popular spot in the garden. Happy crafting!