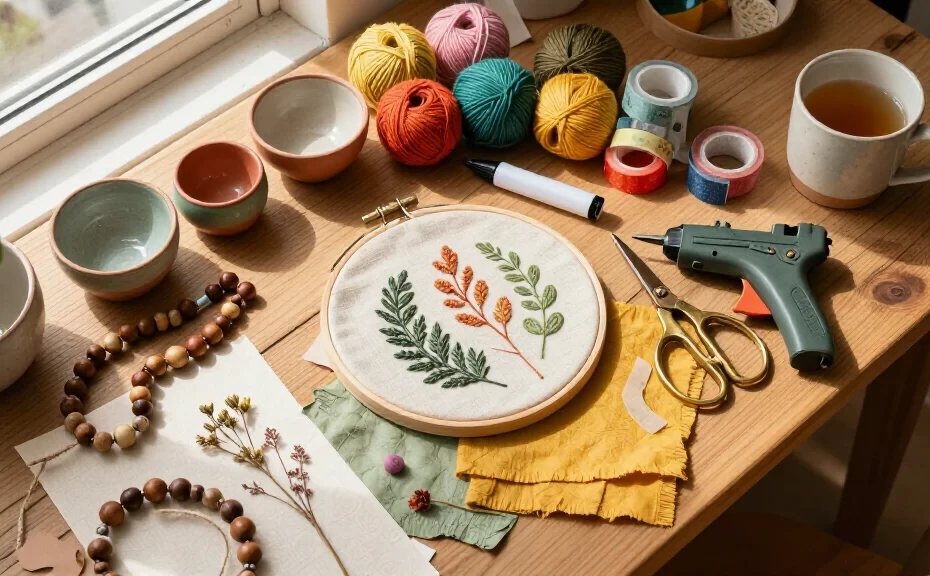
Do you ever get that sudden urge to step away from screens and make something real with your own hands? Most of us spend hours scrolling through feeds each week, but nothing matches the satisfaction of building a physical object from raw materials. Whether you have years of art practice or struggle to cut paper in a straight line, hands-on projects give your mind a welcome break.
Clear off the dining table, heat up your glue gun, and grab your scissors. Here are 29 practical craft projects that spark your imagination and turn everyday supplies into useful, attractive handmade goods.
1. Air-Dry Clay Trinket Dishes
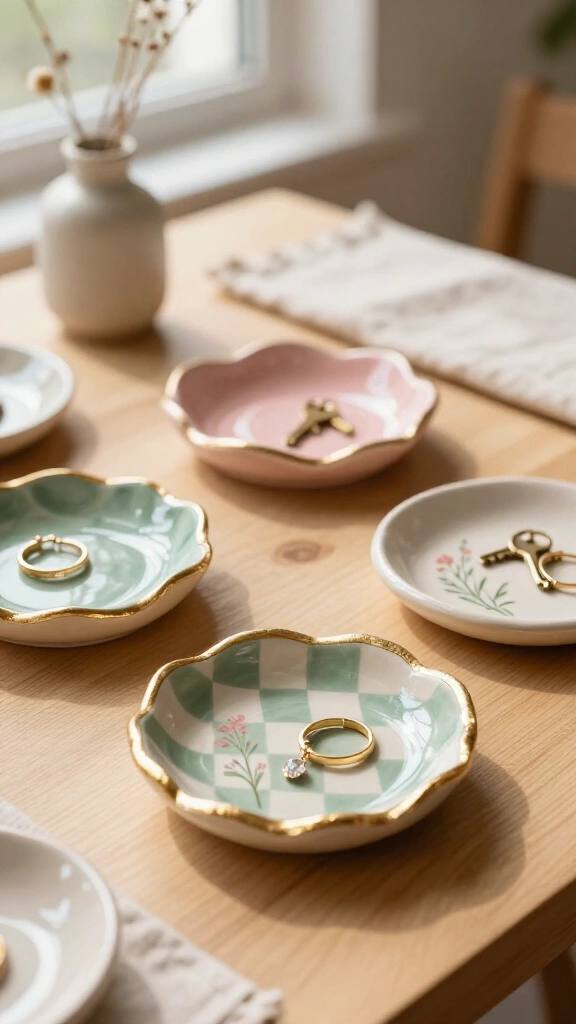
Roll out a block of air-dry clay flat with a rolling pin. Cut organic, wavy outlines using a craft knife, then gently bend the edges upward to shape a shallow bowl. Let your dish dry on a flat surface overnight, then paint checkerboard patterns, floral motifs, or gold rims using acrylic paints. Finish the piece with a coat of clear gloss varnish so it safely holds rings, keys, and coins. If you enjoy lightweight clays, check out these fun foam clay ideas for your next project.
2. Pressed Botanical Bookmarks
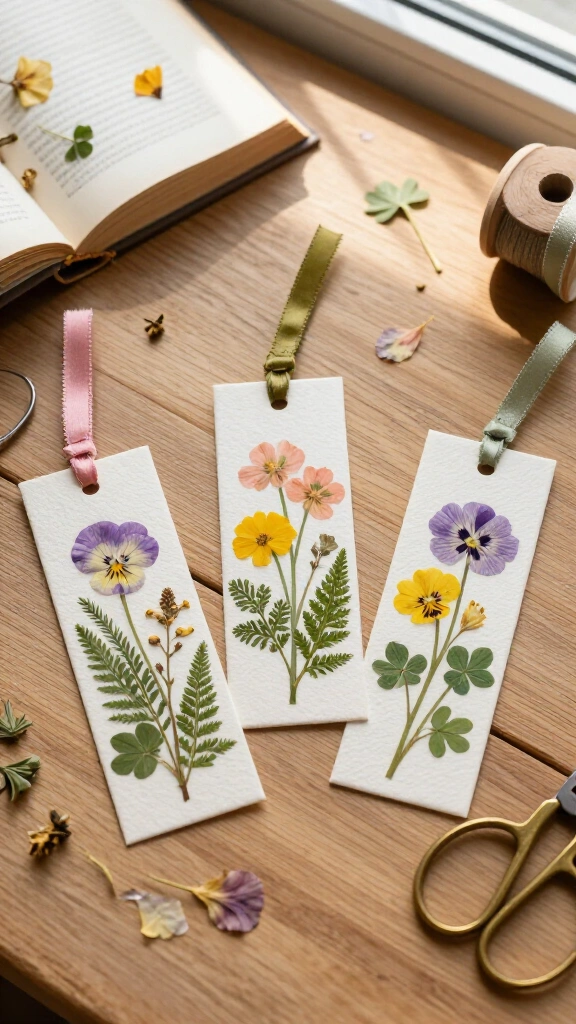
Collect fresh wildflowers and leaves from your yard, then press them between the heavy pages of a book for five days. Place your dried petals onto sturdy cardstock using small dots of clear glue. Run the finished design through a thermal laminator to protect the fragile botanicals and preserve their colors. Punch a hole at the top edge and tie a short silk ribbon through it to finish your custom bookmark.
3. Macramé Plant Hangers

Turn basic cotton cord into functional hanging decor for your houseplants. Combine three foundational knots (the lark’s head, the square knot, and the gathering knot) to construct a secure net for any standard plant pot. You can find clear step-by-step diagrams at The Spruce Crafts if you need a quick refresher on cord techniques. Hang your finished holder near a bright window to bring green foliage up to eye level.
4. Hand-Poured Soy Wax Candles

Melt soy wax flakes in a metal pouring pitcher set inside a simmering water bath. Secure a braided cotton wick to the center base of an upcycled glass jar or thrifted ceramic cup. Mix in fragrance oils (such as cedar, sweet orange, or lavender) just before you pour the warm wax into the container. Let the candle set undisturbed for two full days to ensure a smooth, even burn.
5. Punch Needle Mug Rugs

Punch needle work creates thick, plush fabric loops on an open-weave canvas. Stretch monk’s cloth firmly across a wooden gripper frame, thread your punch tool with medium-weight yarn, and punch straight down through the fabric to form dense loops. Work in geometric blocks, retro curves, or simple fruit patterns. Glue a piece of wool felt to the flat back side to create a soft, absorbent drink coaster.
6. Painted Terracotta Flower Pots
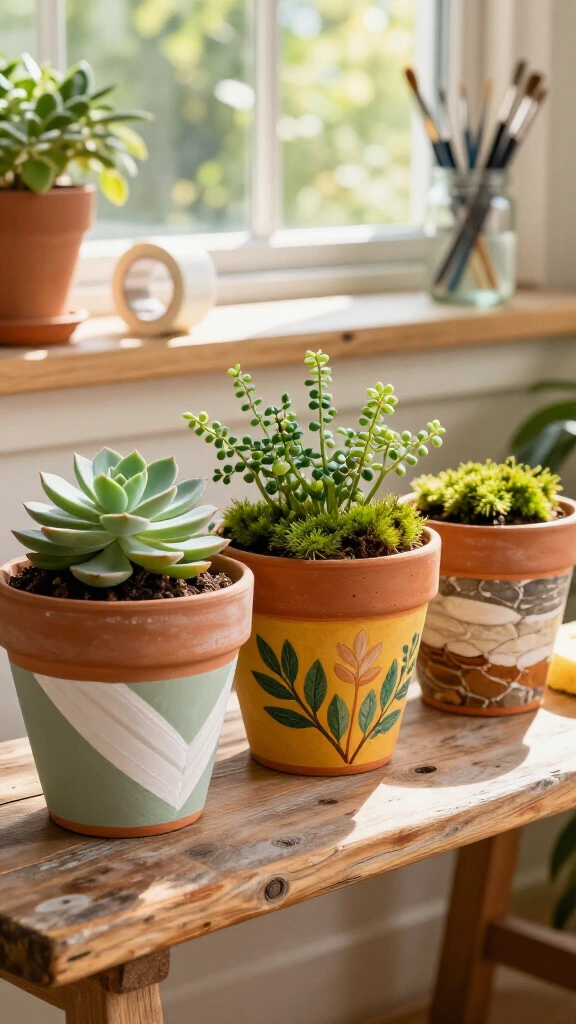
Give standard clay pots an update with water-based acrylics and low-tack masking tape. Tape off crisp diagonal stripes, paint stylized botanical patterns, or dab on contrasting colors with a sea sponge for a faux-stone look. Coat the painted exterior with a clear outdoor sealer so moisture from watering your plants does not bubble the paint over time.
7. DIY Beaded Wrap Bracelets

String glass seed beads, small mineral stones, or metallic spacers along a folded leather cord using heavy nylon thread. Wrap the finished beaded band around your wrist three to four times to create a stacked wrist piece. Secure the final tail with an antique metal button closure. These wrap bracelets work well as personalized gifts because you can pick custom color palettes for your friends.
8. Chunky Arm-Knitted Throw Blankets
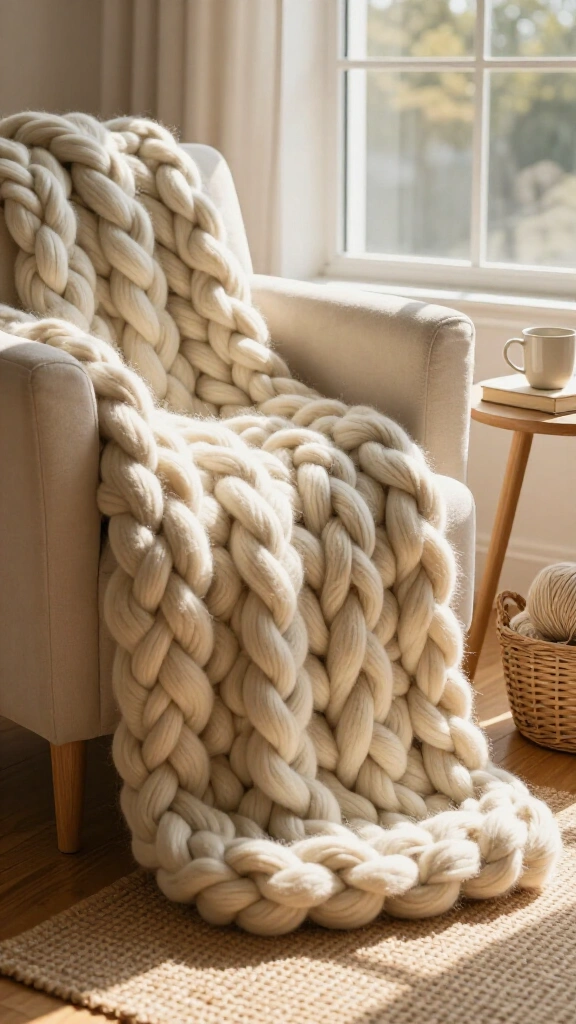
Skip standard knitting needles and use your own forearms to hold the stitches. Pull thick chenille or wool roving yarn through wide loops to cast on, knit, and cast off a heavy blanket in an afternoon. The large stitch size makes the work go fast. Drape the finished throw across your couch or reading chair to add comfortable texture to the room.
9. Embroidered Canvas Tote Bags

Turn an inexpensive plain cotton grocery tote into a personalized carryall using standard embroidery floss. Draw a line-art plant, a short phrase, or simple stars directly onto the canvas with a water-soluble marker. Outline the lines with backstitches and fill in solid areas with satin stitches. Rinse out the guide marks and let the fabric air-dry before taking your bag on grocery runs.
10. Decoupage Wooden Keepsake Boxes
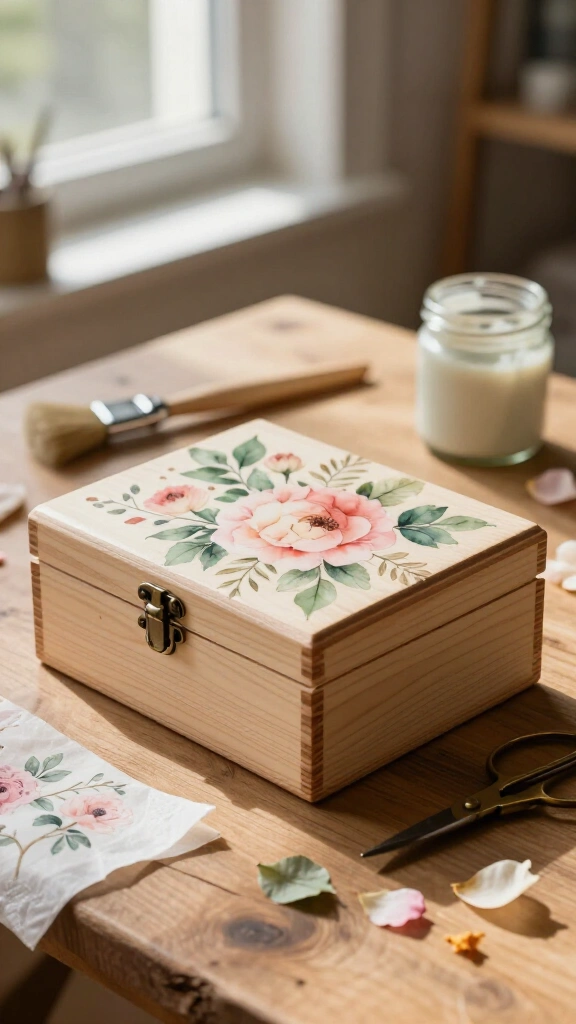
Transform an unfinished pine box using decorative paper napkins or printed craft paper. Separate the single printed top ply from your paper napkin, then brush a thin layer of decoupage glue across the wood. Press the paper gently over the surface, smoothing away air pockets with a soft foam brush. Add two top coats of sealant to protect the surface against daily handling.
11. Resin Botanical Coasters

Stir a two-part epoxy resin blend according to the package ratios, then pour a shallow base layer into silicone coaster molds. Place pressed ferns, dried rose petals, or metallic flakes into the wet resin with fine tweezers. Pour a clear top coat over the botanicals to seal them completely inside the disc. After a full 24-hour cure, pop the rigid coasters out of the molds.
12. Homemade Watercolor Greeting Cards

Fold heavy cold-press watercolor sheets into card blanks and tape the perimeter with masking tape to create crisp white borders. Paint wet-on-wet color washes, loose florals, or simple party patterns across the front panel. If you need more design inspiration, take a look at these creative birthday craft ideas. Add a personal handwritten message inside before dropping the card in the mail.
13. Hand-Stitched Leather Keychains
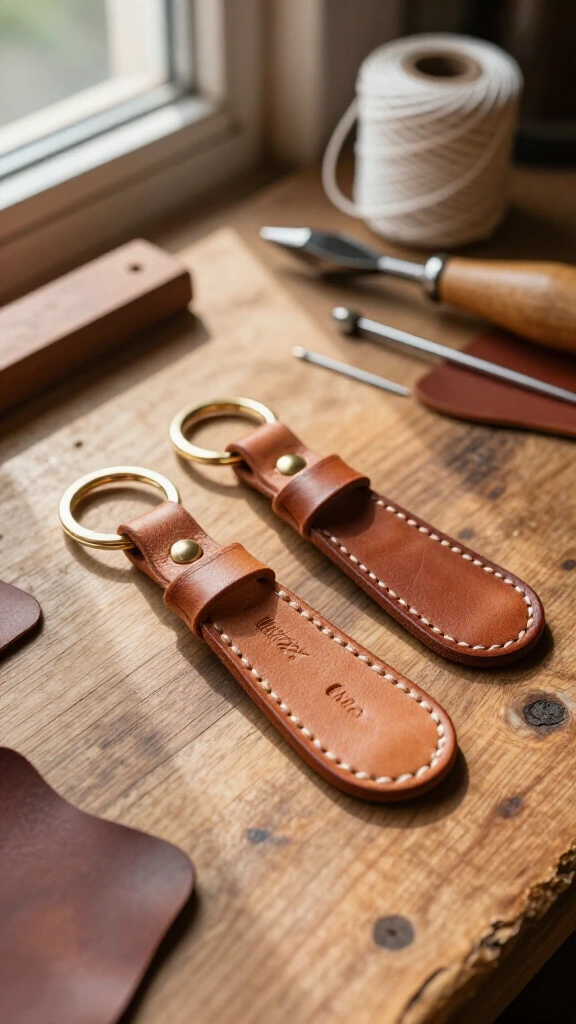
Cut thick vegetable-tanned leather scraps into rectangular straps or rounded tags. Punch even holes along the perimeter with a pricking iron, then sew the pieces using two needles and waxed linen thread. Dampen the leather surface slightly to stamp your initials into the material using steel letter punches. Finish the project by looping the leather through a solid brass split ring.
14. Upcycled Popsicle Stick Shelf Décor
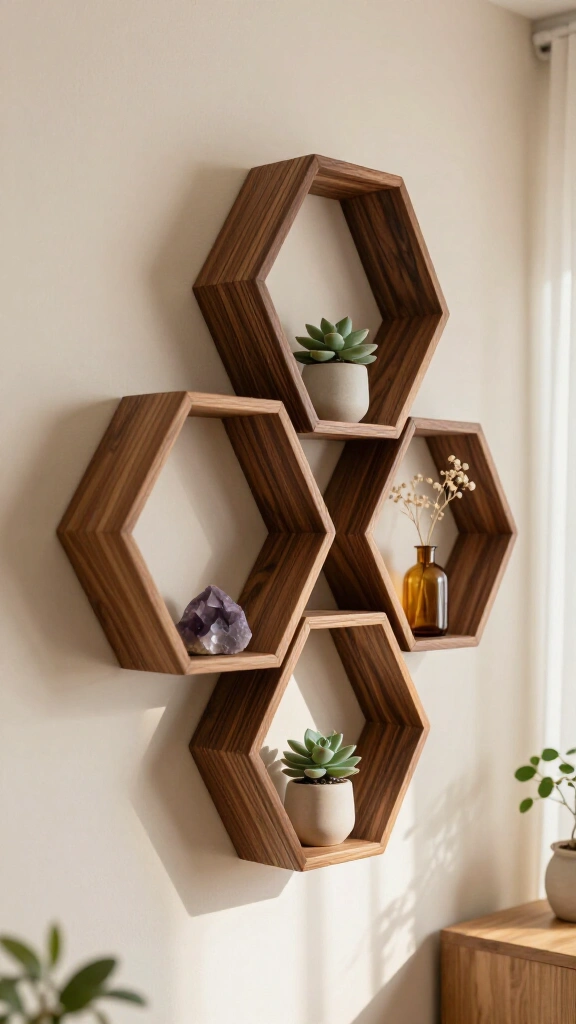
Turn basic wooden craft sticks into modern geometric wall shelves with wood glue and stain. Join the ends of the sticks together to build a continuous hexagon, stacking layer upon layer until you reach your desired shelf depth. Apply a dark walnut or warm oak wood stain to give the simple craft wood a finished appearance. For similar low-cost projects, check out these creative ice cream stick craft ideas.
15. Block-Printed Linen Napkins
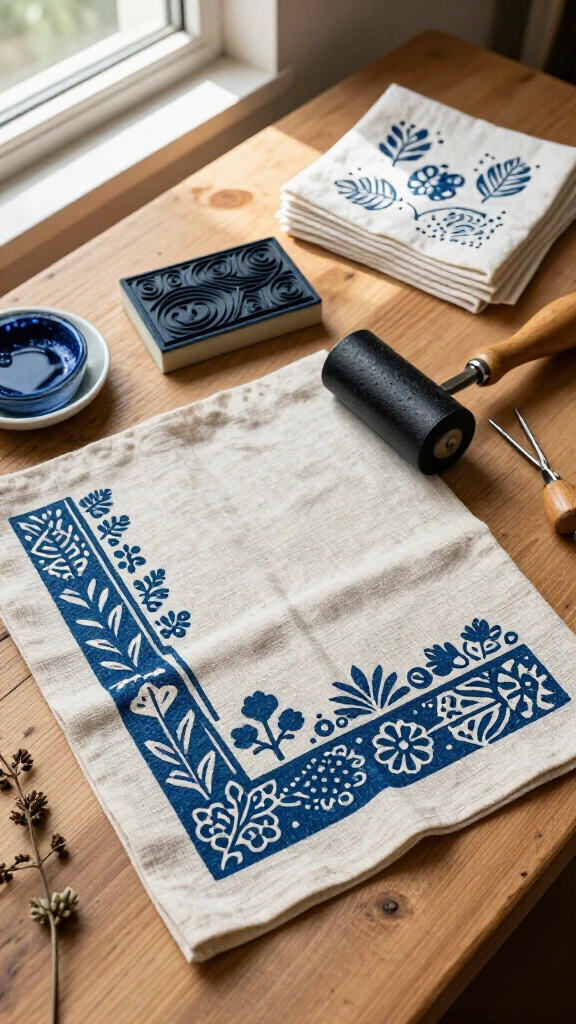
Carve an original geometric or floral motif into a soft rubber carving block using linoleum gouges. Roll fabric block printing ink over the stamp with a rubber brayer until the surface looks evenly coated. Press the block down firmly onto pre-washed linen napkins to transfer the pattern across the border. Iron the dry fabric with a hot, dry iron to set the ink so it survives regular machine washes.
16. Marbled Ceramic Coffee Mugs
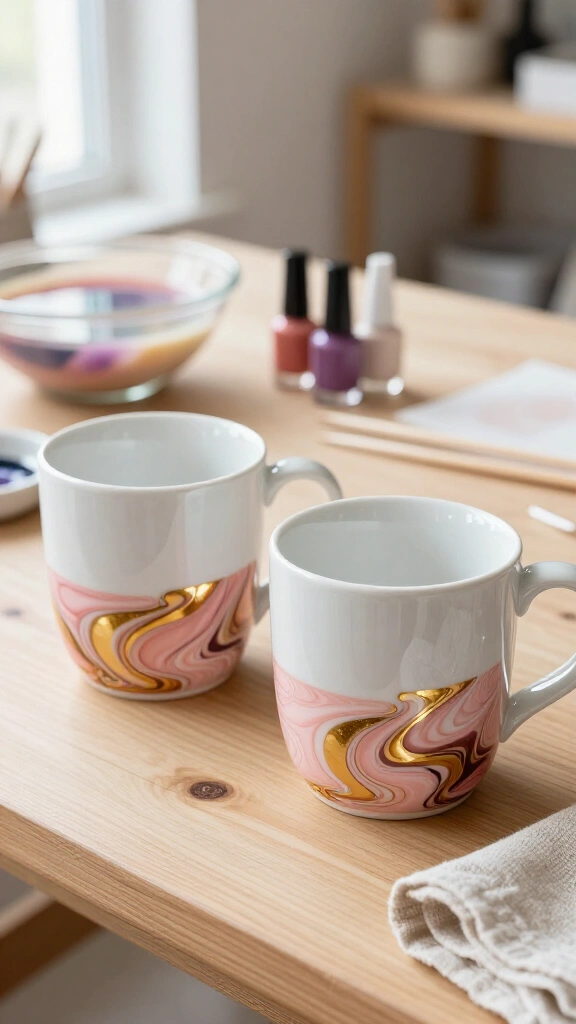
Fill a deep container with warm water, then drop two shades of standard nail polish onto the surface. Swirl the floating film gently with a toothpick to create a marbled pattern on top of the water. Dip the lower half of a plain white ceramic mug straight into the bath, then pull it back out smoothly. Let the mug dry completely and apply a clear acrylic topcoat to the outside to protect your design.
17. DIY Woven Wall Hangings
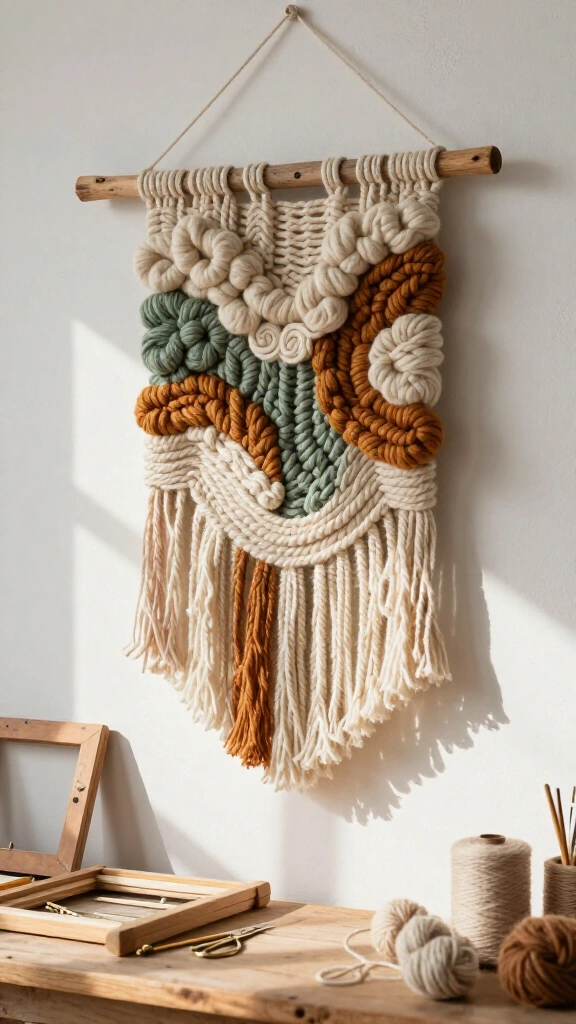
Construct a simple frame loom using an old picture frame and wrap it with strong cotton warp thread. Weave different yarns, raw wool roving, and thick cords over and under the warp to build an abstract wall piece. Add lengths of fringe along the bottom edge to create texture. Slide the finished weave onto a clean wooden dowel or a piece of driftwood to hang on your wall.
18. Hand-Tied Macramé Feather Wall Art
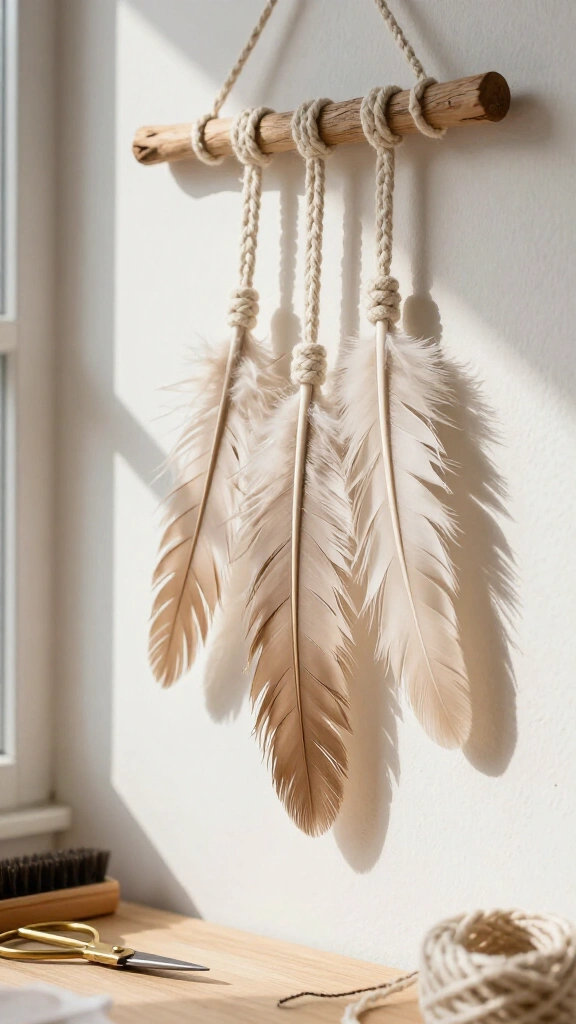
Cut short lengths of cotton rope and tie them along a central hanging cord using simple lark’s head knots. Comb through the loose cord ends with a wire pet brush until the rope separates into soft, fine fibers. Trim the outer edges into a sharp leaf or feather contour using heavy shears. Spray both sides with fabric stiffener so the fringe stays flat and neat against your wall.
19. Upcycled Tin Can Desk Organizers

Clean out empty soup or coffee cans and cover the outer walls with natural jute rope or adhesive cork strips. Secure the wraps with hot glue as you work your way up the sides. Cluster several cans of different heights on a small wooden tray to store markers, paintbrushes, and rulers. This project keeps reusable metal out of the recycling bin while sorting your workspace.
20. Needle-Felted Wool Animal Figurines
[IMAGE_PLACEHelt_9:16]
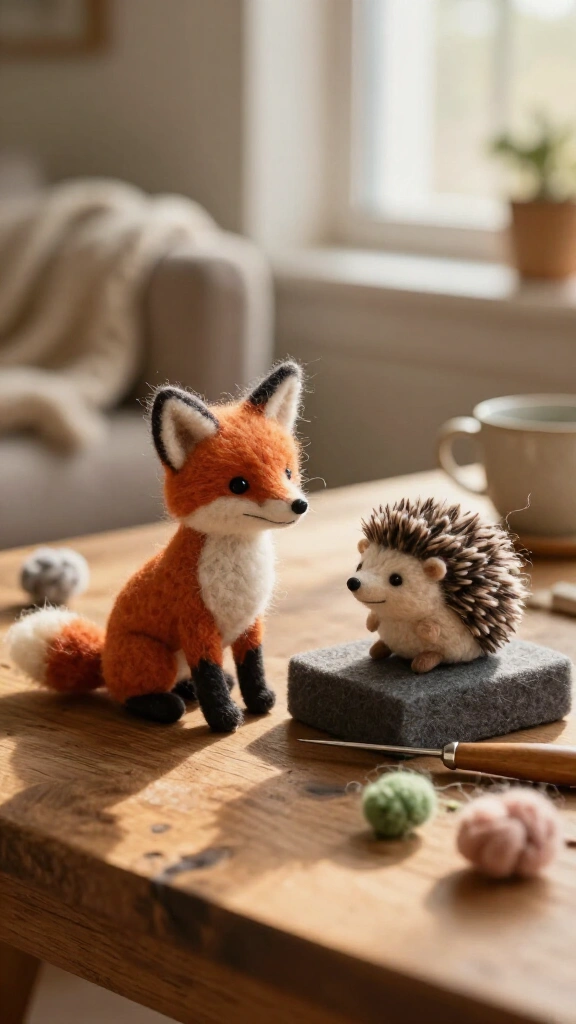
Take a small bundle of wool roving and poke it repeatedly with a barbed felting needle over a dense foam block. The tiny barbs on the needle catch the fibers, compacting the wool into solid forms. Build simple spheres and cones to construct small animals, fruit, or decorative acorns. Needle felting requires very few tools, making it a great craft to work on from the couch.
21. Homemade Beeswax Food Wraps
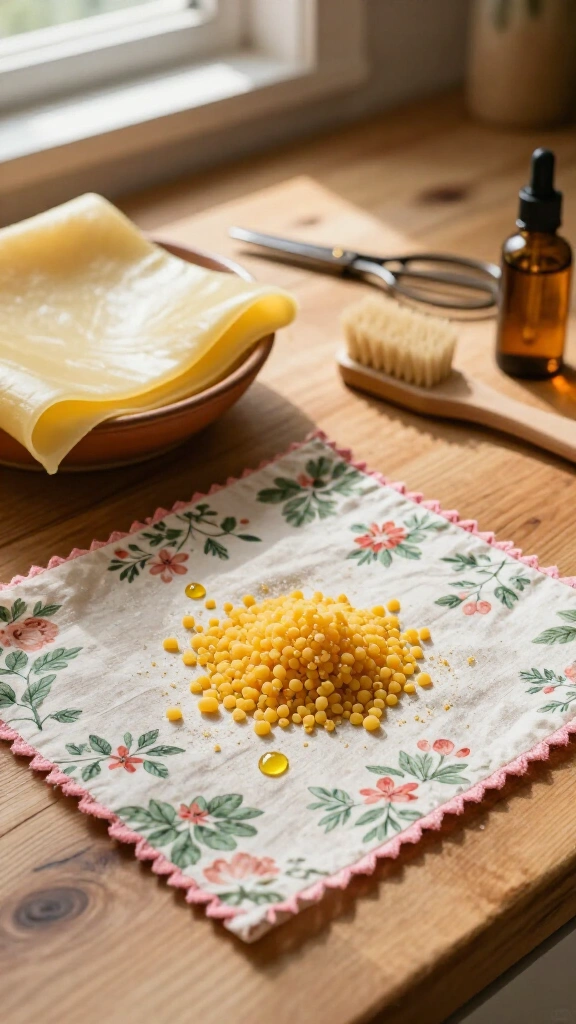
Make your own washable food covers to replace single-use plastic wrap in the kitchen. Cut 100% cotton fabric into neat squares using pinking shears so the edges do not fray. Scatter beeswax pellets, powdered pine rosin, and a few drops of jojoba oil across the cloth on a baking tray. Heat the tray in a low oven until the wax melts, then spread the mixture over the fabric with a clean brush.
22. Sun-Printed Cyanotype Fabric Art
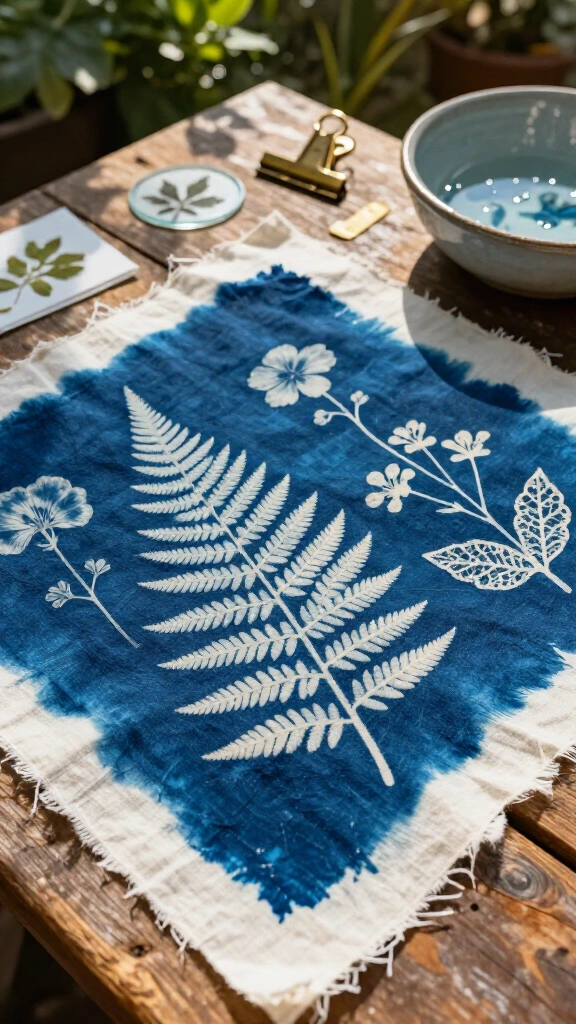
Coat natural cotton fabric or watercolor paper with cyanotype solution in a dimly lit room, then let it dry out of direct light. Arrange pressed leaves, photographic negatives, or cut paper shapes onto the treated surface. Place the board in direct sunlight for three to eight minutes before washing the fabric in cold running water. The sun turns the exposed areas into deep Prussian blue prints.
23. Concrete Geometric Planters
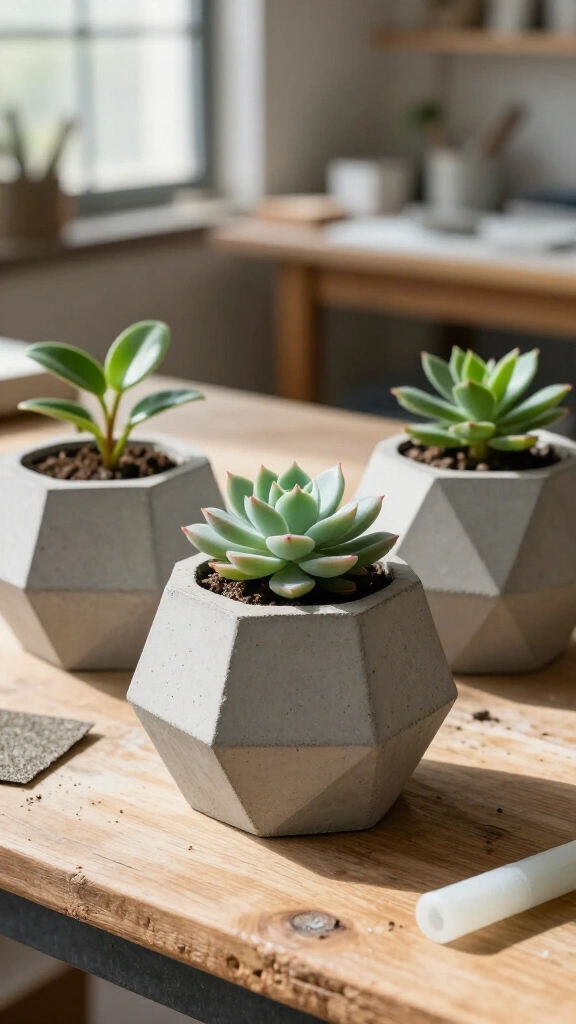
Mix quick-drying concrete with water until it reaches the consistency of thick batter. Pour the slurry into a clean cardboard carton or silicone mold, then push a small plastic cup into the middle to create space for soil. Tap the sides of the mold firmly to bring air bubbles to the surface. After 24 hours, peel away the mold and smooth the top edge with coarse sandpaper.
24. Hand-Bound Aesthetic Art Journals
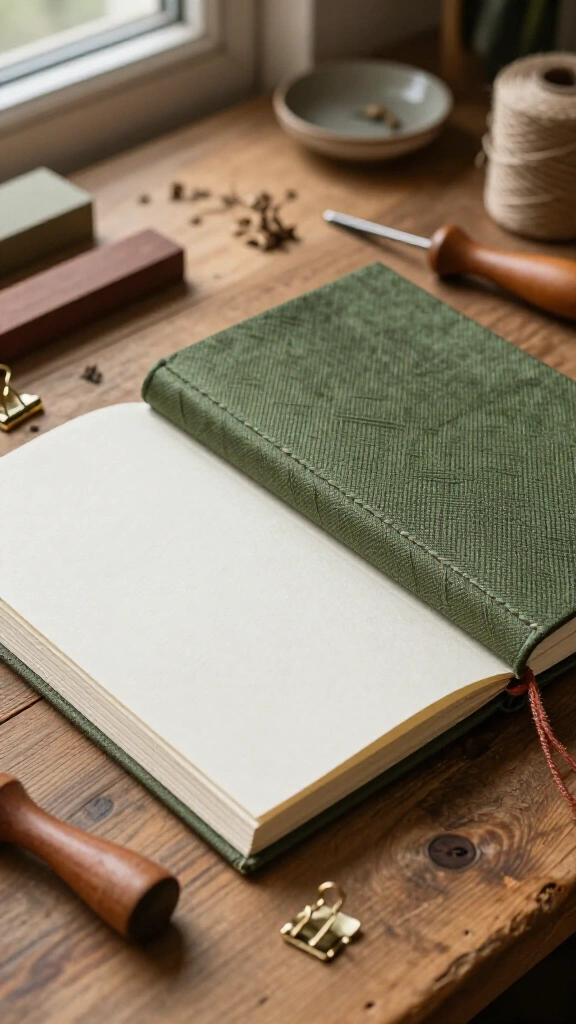
Fold heavy drawing paper into small booklets called signatures, then sew them together along the spine with waxed linen thread. Cut heavy book board for the covers and wrap them in book cloth or decorative paper. Glue the sewn text block securely between the hard covers. For more layout inspiration and journaling ideas, look through these aesthetic diary ideas.
25. Quilled Paper Wall Art
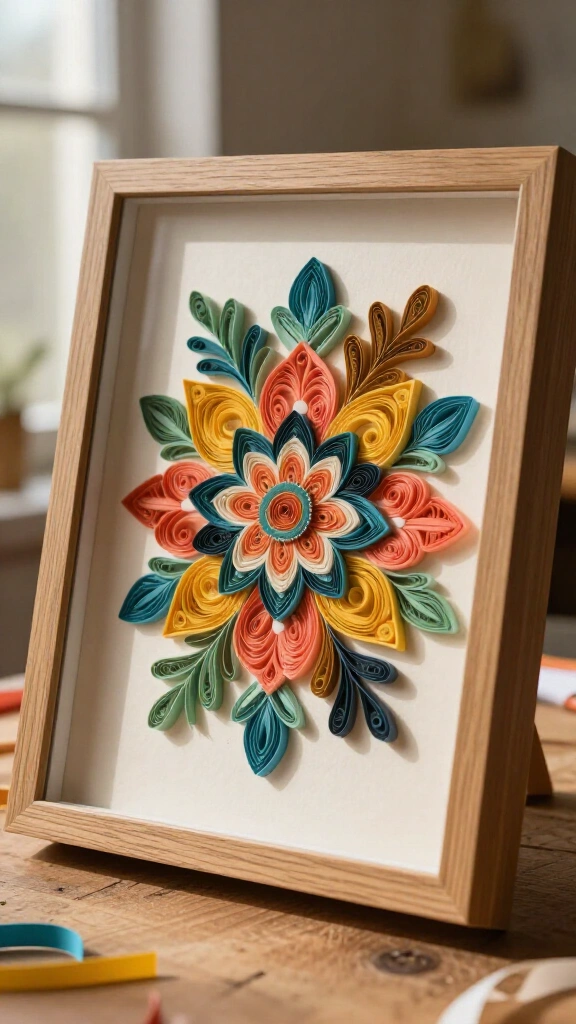
Wind thin strips of colored paper tightly around a slotted quilling needle to shape coils, teardrops, and curved marquises. Glue these rolled paper shapes on edge inside a shadowbox frame to construct geometric designs or plant outlines. The raised paper strips catch light from the side, adding real physical depth to your wall art.
26. Dried Floral Wax Sachets
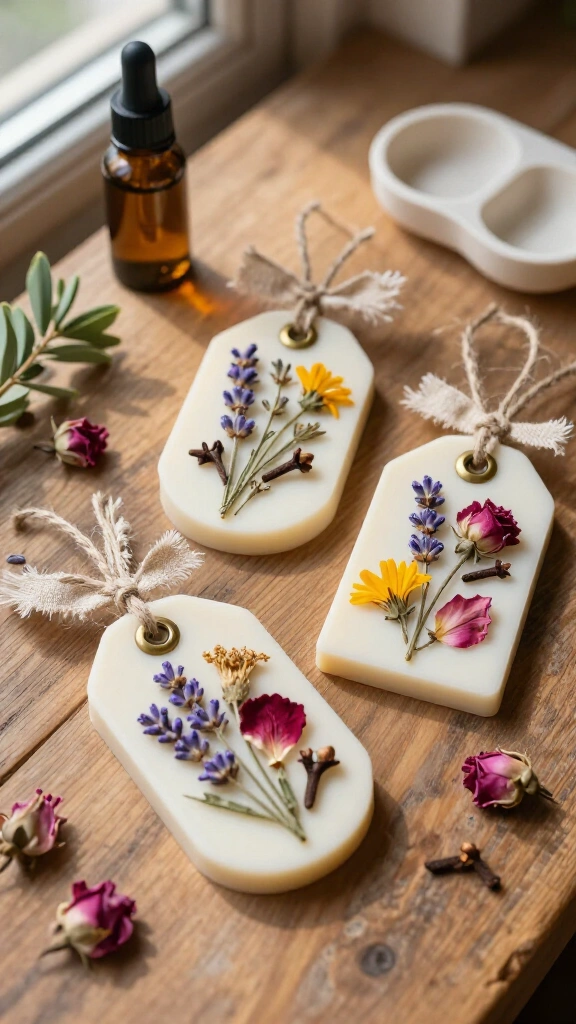
Melt soy wax, stir in your chosen fragrance oils, and pour the liquid into shallow silicone molds. Drop small dried flower petals, whole cloves, and lavender sprigs onto the surface as the wax starts to turn cloudy. Push a metal eyelet into the top of the mold before the wax sets hard. Hang these solid wax plaques in closets or tuck them into dresser drawers to keep fabrics smelling clean.
27. Mosaic Tile Serving Trays
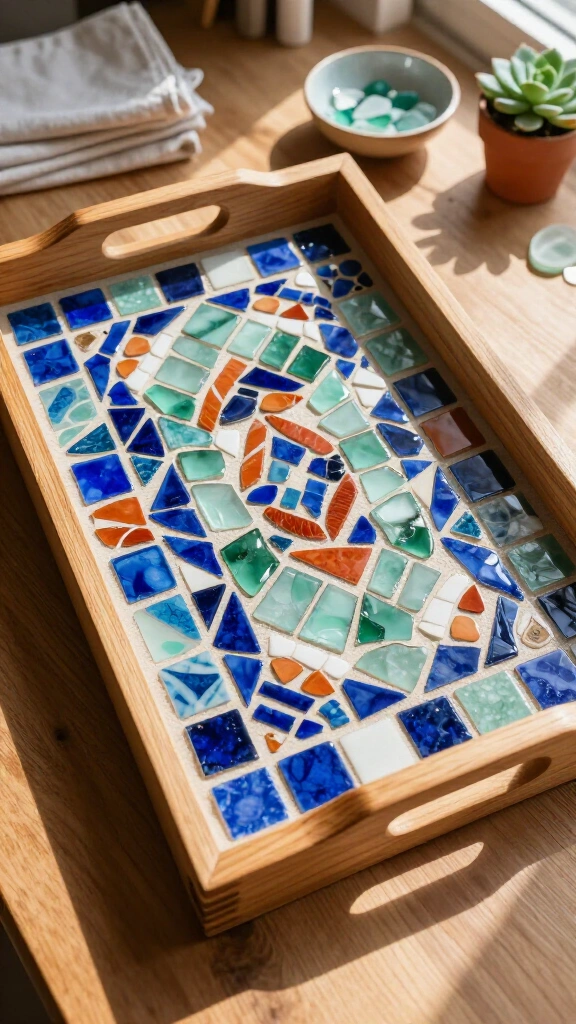
Lay out ceramic mosaic tiles, pieces of sea glass, or broken pottery across the bottom of a plain wooden tray using tile adhesive. Once the adhesive sets overnight, press sanded grout across the tiles with a rubber squeegee to fill every gap. Wipe away excess haze with a damp sponge before the grout dries fully. Finish with a grout sealer to make the tray easy to wipe clean.
28. Custom Enamel-Look Glass Vases
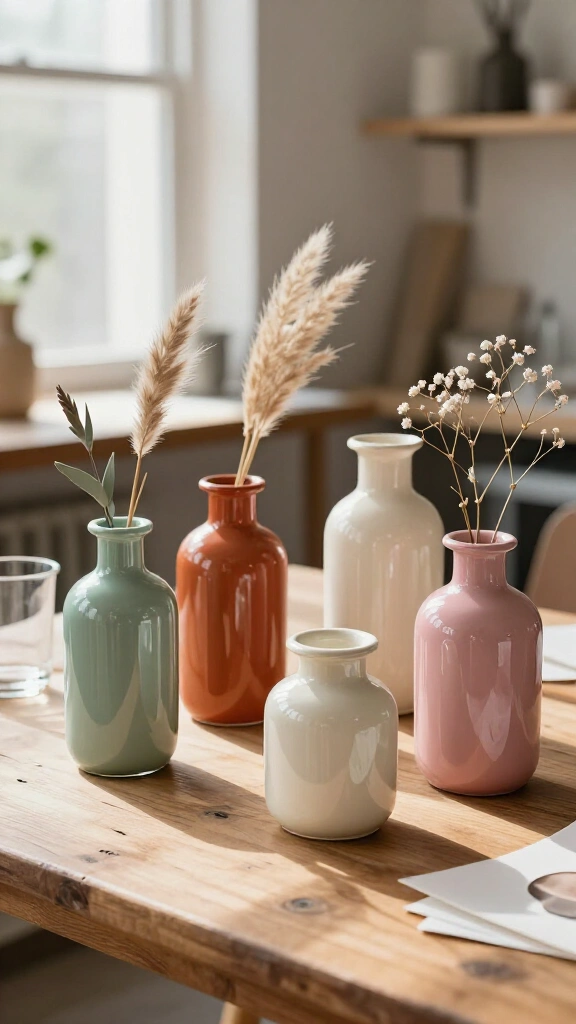
Clean out empty glass bottles and jars using rubbing alcohol to remove grease and labels. Mix gloss acrylic enamel paint with a small amount of glass medium and pour it directly inside the bottle. Roll the bottle around in your hands until the paint coats the entire interior, then flip it upside down on paper towels to drain out the excess. The outside glass retains a smooth, porcelain-like shine.
29. Folded Origami Lampshades
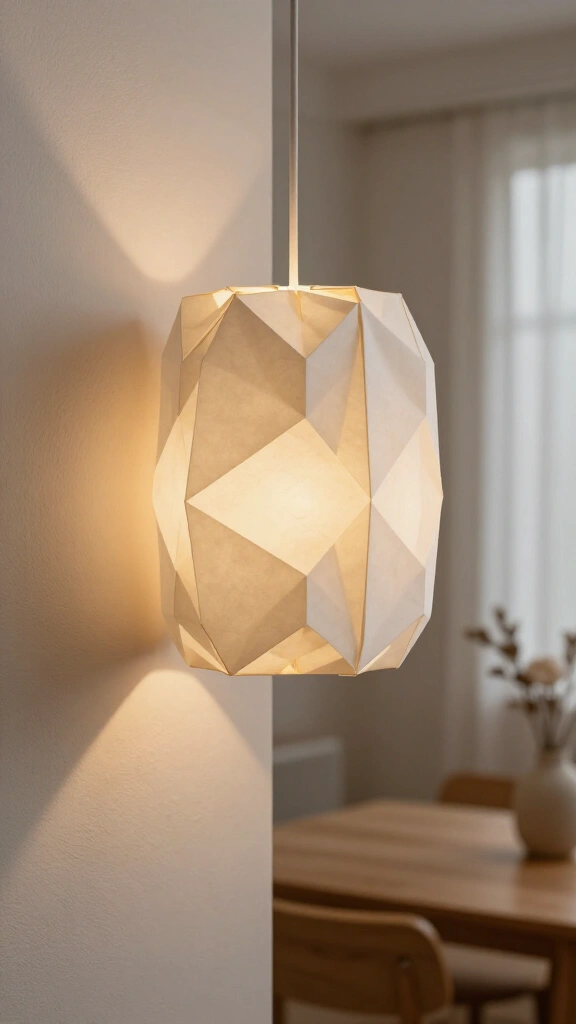
Score straight valley and mountain folds into heavy cardstock to create a crisp pleated pattern. Tape the outer edges together with double-sided tape and slip the paper cylinder over an LED pendant light fixture. The angular folds soften the light and create clean shadows across the surrounding walls. For more folding templates and paper crafts, visit Martha Stewart.
Time to Start Making
Which craft are you going to try first? Crafting focuses on the real pleasure of building something with your hands rather than achieving factory perfection. If your first clay bowl wobbles or your stitches wander off line, remember that minor flaws give handmade work its personality.
Pick a project, gather your materials, and set aside an open afternoon to build something new. Put on good music, invite a friend over to share the table, and enjoy the physical work of making things by hand. Have fun making!