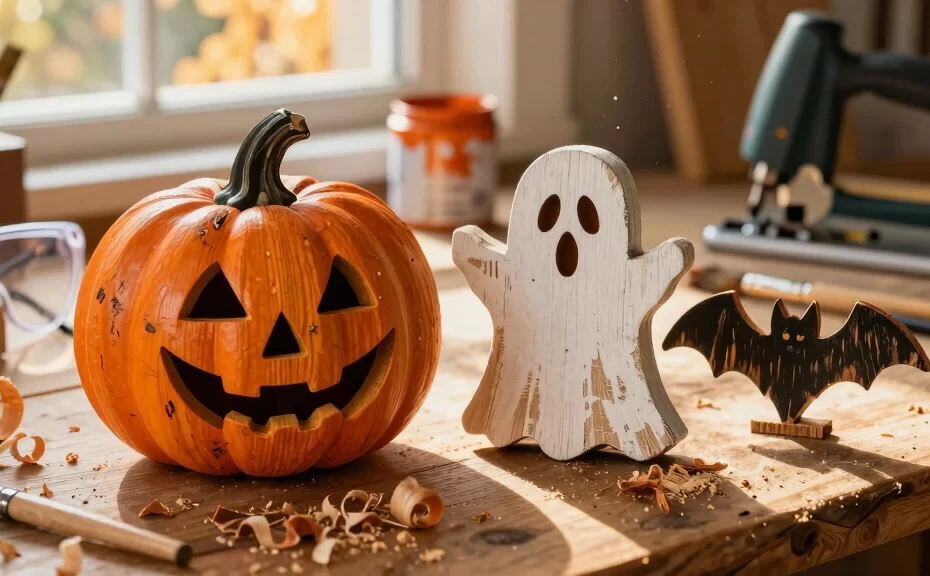
Crisp autumn air means one thing: it is time to dust off your power tools and start crafting. Forget those cheap, flimsy plastic decorations from the dollar store. Nothing beats the rustic charm, durability, and satisfying weight of handmade wooden decor. DIY woodworking allows you to customize your spooky vibe, whether you prefer whimsical pumpkins or bone-chilling yard displays.
Are you ready to transform scrap lumber into terrifying treasures? Grab your safety glasses, fire up your jigsaw, and prep your workspace. These spooky Halloween wood projects will make your home the talk of the neighborhood this season.
1. Reclaimed Wood Pumpkins

You do not need fancy lumber to create these charming, rustic pumpkins. Grab some leftover 2×4 scraps or pallet boards from your workshop. Cut three boards at varying heights, sand the rough edges, and secure them together with pocket screws or a backer board. Orange acrylic paint, a real tree branch for the stem, and a scrap of green ribbon complete this classic look.
Pro Tip for Distressing
To make your pumpkins look aged, rub a candle along the edges before painting. Once the paint dries, sand those areas lightly. The paint will peel away effortlessly, revealing the natural wood grain underneath.
2. Spooky Wooden Yard Coffin

Do you want to terrify your trick-or-treaters? Build a life-sized wooden coffin for your front lawn. Use cheap plywood sheets or fence pickets to construct the classic toe-pincher shape. Paint the exterior with a charcoal black wash, then use a chain or hammer to dent the wood for a weathered, grave-dug appearance.
For an extra dose of fright, install a red LED strip light inside. Prop the lid open slightly and place a plastic skeleton hand reaching out from the darkness. Your neighbors will surely double-take when they walk past your yard!
3. Distressed Wooden Directional Signs
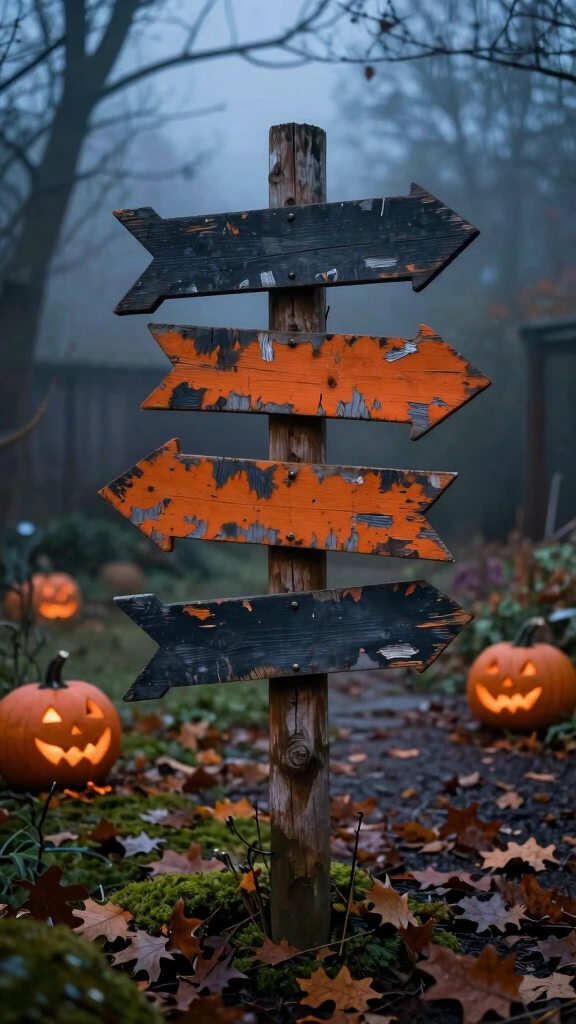
Guide your party guests toward spooky destinations with a creepy directional signpost. Cut arrows out of scrap wood planks, paint them with contrasting colors, and stencil on spooky destinations. Think of places like “Sleepy Hollow,” “Salem,” or “Dracula’s Castle.” Screw the arrows onto a sturdy wooden stake at mismatched angles to create an old, neglected look.
- Salem: 31 Miles
- Witches’ Brew: Ahead
- Dead End: Down below
4. Pallet Wood Ghost Cutouts
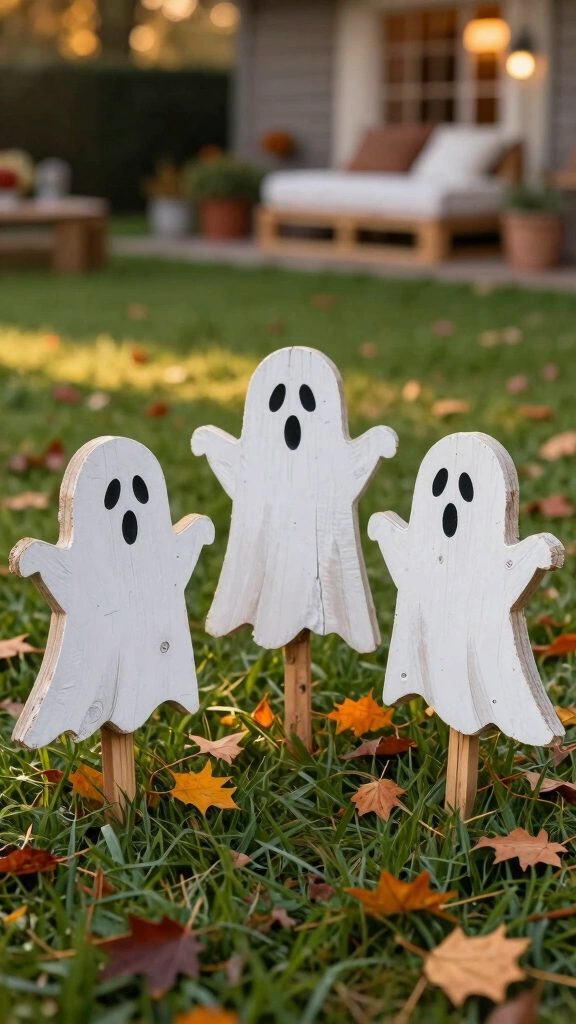
Pallet wood remains the ultimate budget-friendly crafting material. Draw simple, flowing ghost shapes onto your pallet boards using a pencil. Cut the silhouettes out using a jigsaw, then brush on a thin layer of white chalk paint. Do you want them to look friendly or frightening? Paint simple black eyes to match your desired level of spookiness.
Attach a wooden stake to the back of each ghost. You can easily push these stakes into your lawn or flowerbeds for an instant graveyard gang. They look incredibly charming blowing in the autumn breeze.
5. Wooden Bat Wall Art
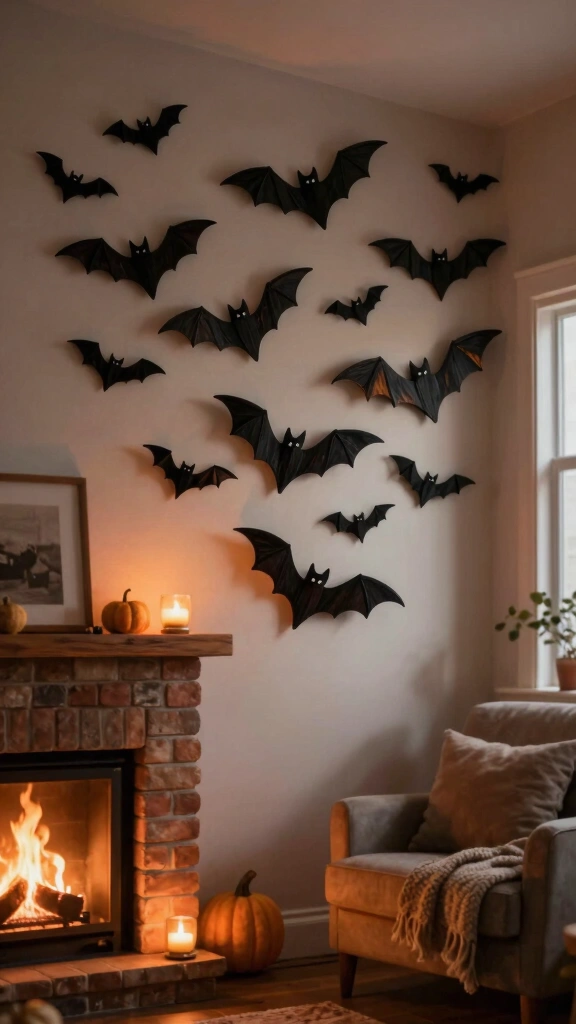
Bring the cave inside by crafting a colony of wooden bats. Thin plywood works best for this project because it keeps the final product lightweight. Trace bat templates of various sizes, cut them out, and paint them in a matte black finish. Use mounting putty or command strips to display them flying across your living room wall.
Arrange the bats in a diagonal swarm pattern. This layout gives the illusion of motion, making it seem like a colony of bats just escaped your chimney. It serves as an excellent backdrop for your fireplace mantle.
6. Creepy Haunted House Silhouette
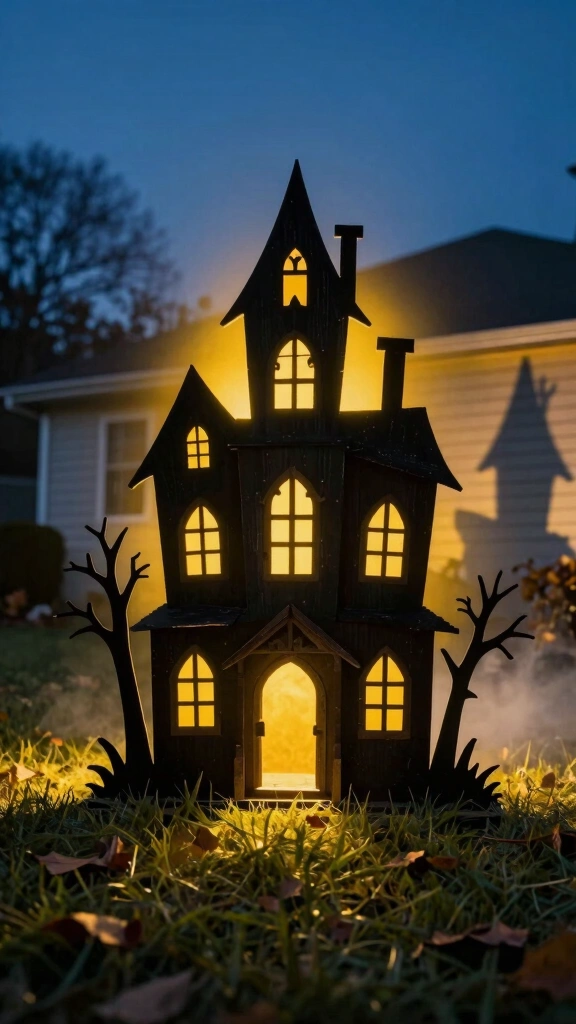
Nothing screams Halloween quite like a dark, looming haunted house. Sketch a detailed gothic mansion onto a large sheet of plywood. Include crooked chimneys, broken shutters, and gnarled branches. Use your jigsaw to cut out the intricate shape, then coat it with flat black spray paint.
Place this silhouette in your front yard and position a yellow spotlight behind it. The light will cast a menacing shadow against your house. Your home will instantly look like a scene from a classic horror movie.
7. Rustic Wood Slice Pumpkins
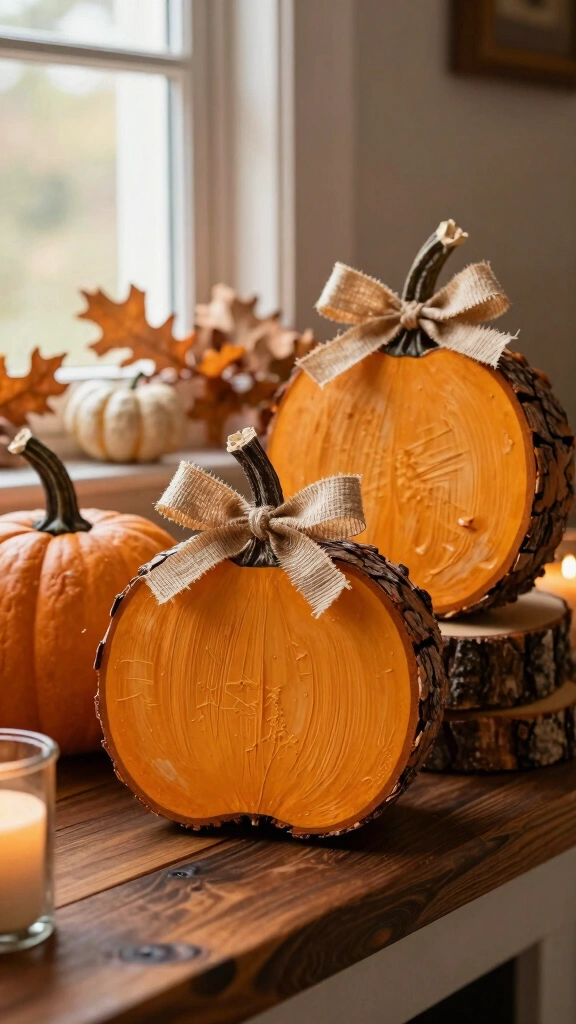
Do you love the cozy farmhouse aesthetic? Seek out thick wood slices from a fallen tree branch. Paint the flat face of the wood slice with orange chalk paint, leaving the natural bark intact around the edges. Glue a small twig to the top and tie a piece of raffia around it for a rustic, textured finish.
Stack these wood slices on your dining table or fireplace mantel. They provide a warm, autumnal feeling without looking overly scary. IMO, they transition perfectly from September all the way to Thanksgiving! 🎃
8. Chamber Candlesticks from Scrap Wood
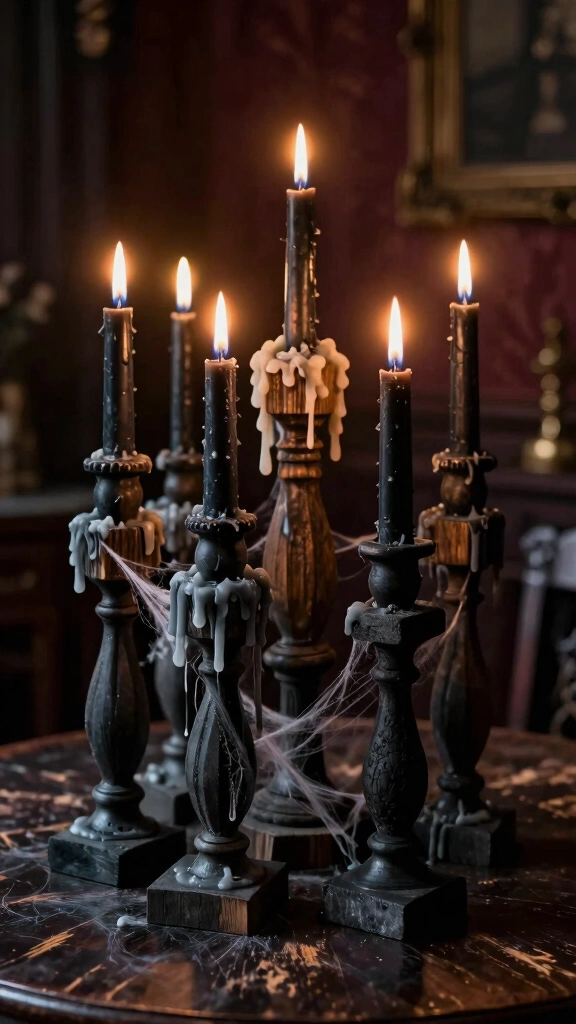
Create a spooky, gothic dining experience with custom wooden candlesticks. Cut scrap 4×4 blocks into varying heights. Drill a hole in the top of each block to fit a standard taper candle. Paint the blocks with a dark stain or charcoal paint, then let real wax drip down the sides to create a centuries-old look.
These candlesticks look beautiful when arranged in a cluster. Pair them with black taper candles and some fake spiderwebs. You will instantly set a mysterious, Victorian mood for your dinner party.
9. Wooden Tombstones for the Lawn
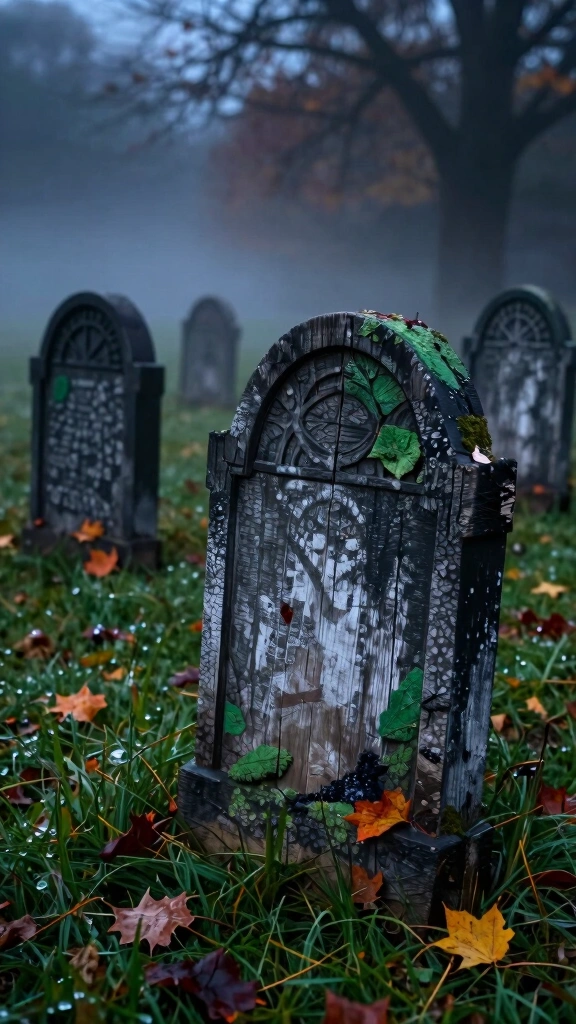
Transform your pristine lawn into a terrifying cemetery. Cut classic tombstone shapes out of MDF or plywood. Paint them grey, then use a sponge to dab on dark green, black, and white paint to mimic realistic stone texture. Hand-paint funny or creepy epitaphs like “R.I.P.” or “Here lies Fred, a skeleton in bed.”
To make the tombstones look authentic, cut small chips and cracks into the edges of the wood before painting. Prop them up in the grass using metal rebar or wooden stakes screwed to the back.
10. Halloween Countdown Calendar Block
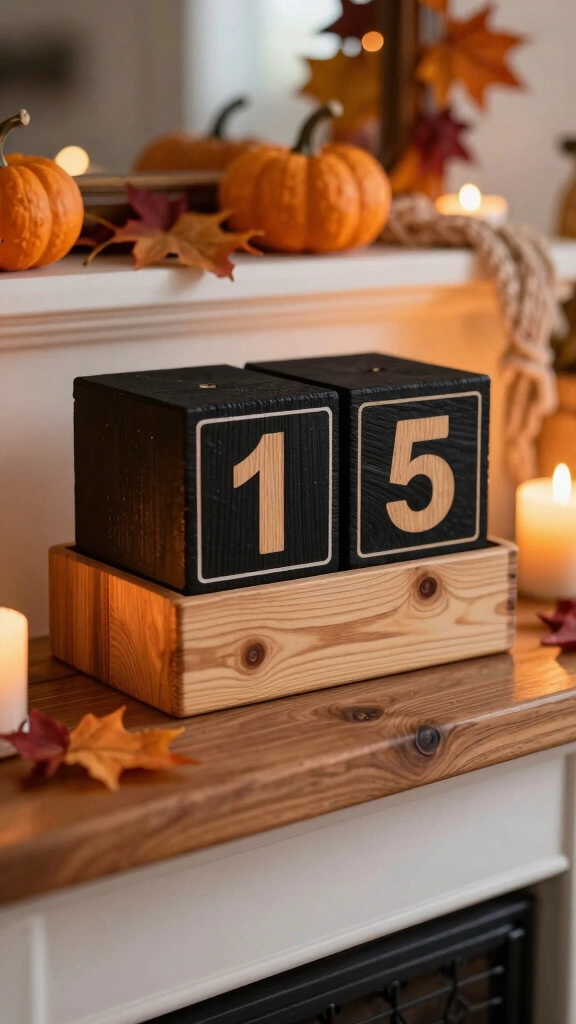
Kids love counting down the days until they can collect candy. Craft a simple countdown calendar using two wooden blocks and a larger base holder. Paint the blocks black and stencil white numbers on them. Stencil “Days Until Halloween” on the wooden base.
Ensure you paint the correct number combinations on the blocks. Block one needs numbers 0, 1, 2, 3, 4, and 5. Block two needs numbers 0, 1, 2, 7, 8, and 9 (the 6 doubles as a 9). Now your family can eagerly count down the days!
11. Witch Broomstick Porch Decor
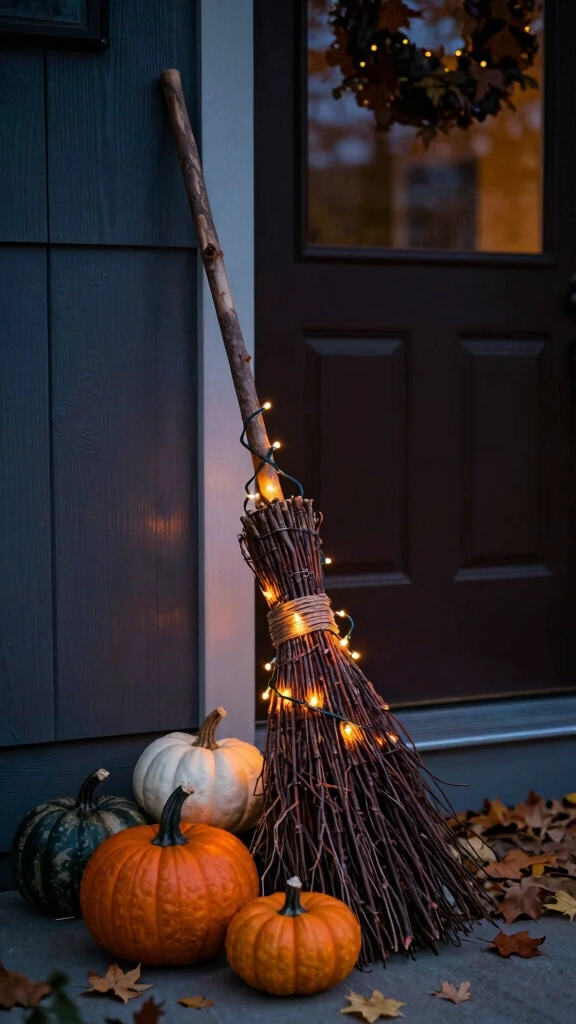
Do you want to greet guests with a touch of witchcraft? Gather a thick, straight branch from your yard to act as the broom handle. Collect smaller twigs and brushwood, then bundle them tightly around the bottom of the main branch using wire or twine. Sand down the handle slightly for a comfortable, hand-worn finish.
Lean the broomstick against your front door next to a pile of pumpkins. For an extra touch of magic, wrap orange fairy lights around the twigs. It will look like a witch just parked her ride on your porch.
12. Floating Wood Witch Hats
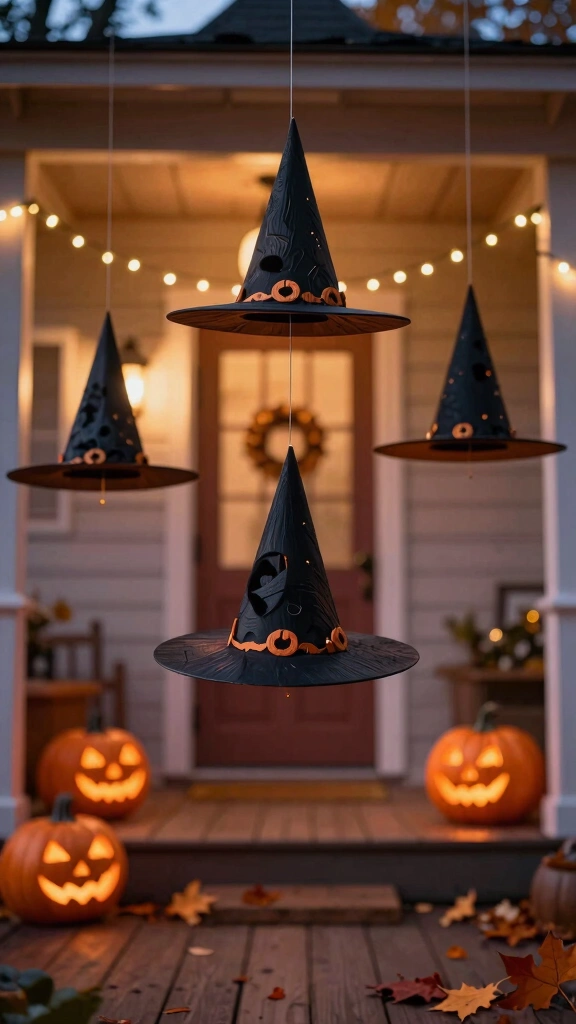
Suspend belief—and these wooden witch hats—from your porch ceiling. Cut hat silhouettes out of thin plywood or luan. Paint them black, then drill a tiny hole at the tip of each hat. Thread clear fishing line through the hole to hang them from your ceiling hooks.
When the wind blows, these hats will spin and dance in the air. The clear fishing line makes them look like they are floating on their own. It creates a whimsical, spooky effect that trick-or-treaters will love.
13. Gothic Picture Frames

Upgrade your interior decor with moody, gothic picture frames. Take old, plain wooden frames and glue cheap plastic spiders or skull embellishments to the corners. Spray paint the entire frame matte black, then rub metallic wax over the details to make them pop.
Fill the frames with spooky vintage prints, dried flowers, or anatomy sketches. Hang them in a gallery wall arrangement. This quick project adds instant gothic elegance to any room in your home.
A Quick Wrapping Up
Which of these spooky Halloween wood projects will you tackle first? DIY projects allow you to express your creativity while building memories and beautiful decor. Gather your materials, stay safe, and enjoy the crafting process. Happy Halloween and happy woodworking! 😉