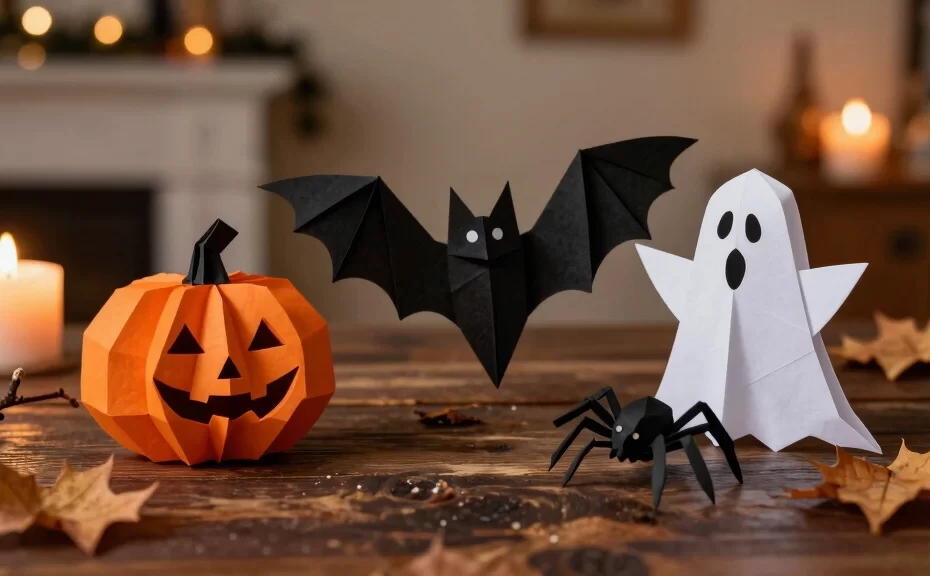
Are you tired of spending a fortune on plastic Halloween decorations that sit in your attic for eleven months of the year? You can easily transform plain sheets of paper into a hauntingly beautiful display instead. Paper crafting offers a budget-friendly, therapeutic, and eco-friendly way to style your home for the spooky season. With these 14 Halloween Origami Easy Projects for Spooky Decor, you will master the art of paper folding without pulling your hair out.
Do you think origami requires master-level patience? Think again. These project ideas use simple folds, clear steps, and everyday supplies to deliver maximum spookiness with minimal effort. Grab your orange, black, and white paper squares, and let us get folding!
1. The Classic Origami Jack-o’-Lantern
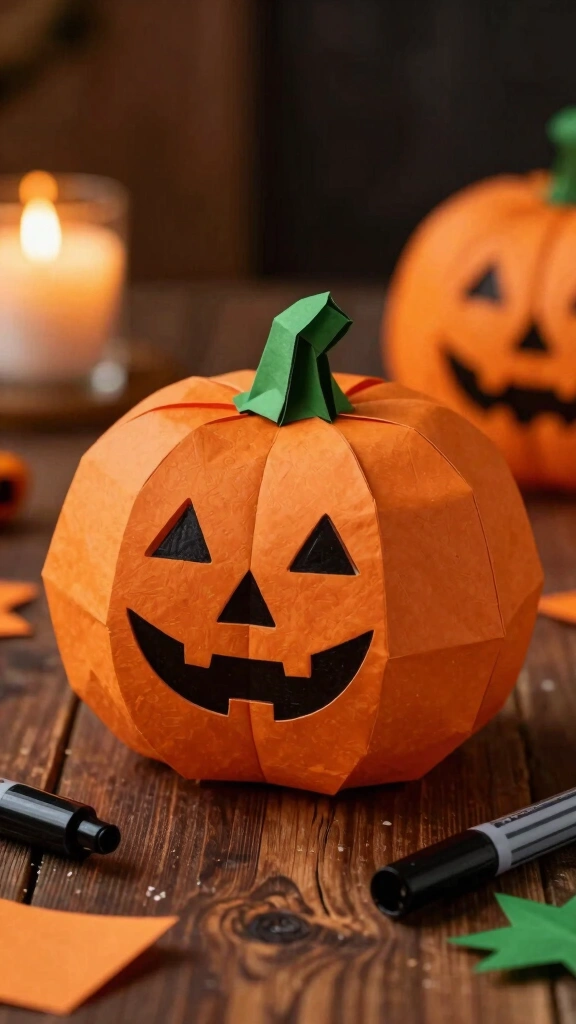
Nothing says Halloween quite like a glowing pumpkin. This classic project turns a simple square of orange paper into a plump, three-dimensional jack-o’-lantern. You fold the corners inward to create the rounded shape, then pinch the top to form a sturdy stem. Pro tip: draw a terrifying or silly face on the paper before you make the final folds to give your pumpkin some unique personality.
What You Need
- One square sheet of orange origami paper
- A black permanent marker for drawing the face
- Green paper scraps for an optional stem
You can string a dozen of these paper pumpkins together on a piece of twine. This creates a festive mantel garland that will delight your holiday guests. Do you want an extra glow? Place a small, battery-operated LED tea light inside the hollow base of the paper pumpkin to make it shine safely through the night.
2. Swooping Origami Bats
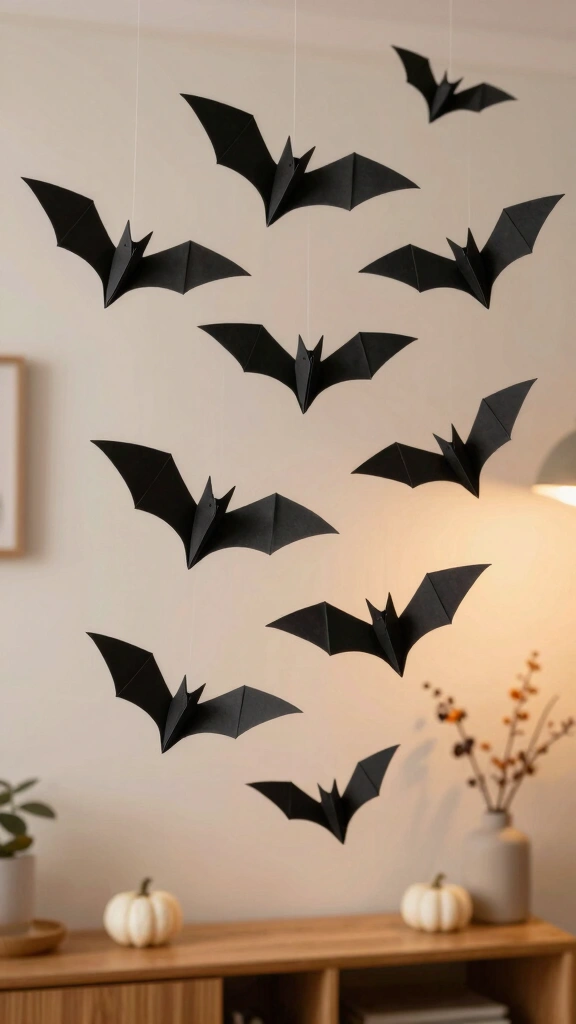
You can bring your blank walls to life with a swarm of paper bats. This project requires only a few diagonal folds to shape the wings and create the signature pointed ears. By gently curving the wing edges afterward, you give the bat a realistic, aerodynamic look. These paper creatures take less than three minutes each to fold, making them perfect for a quick crafting session.
Hang these bats from your ceiling using transparent fishing line to make them look like they are flying through your living room. You can also stick them directly to your front window to greet trick-or-treaters. IMO, a wall covered in varying sizes of black paper bats looks much cooler than any store-bought plastic wall cling. 🦇
3. The Floating Origami Ghost
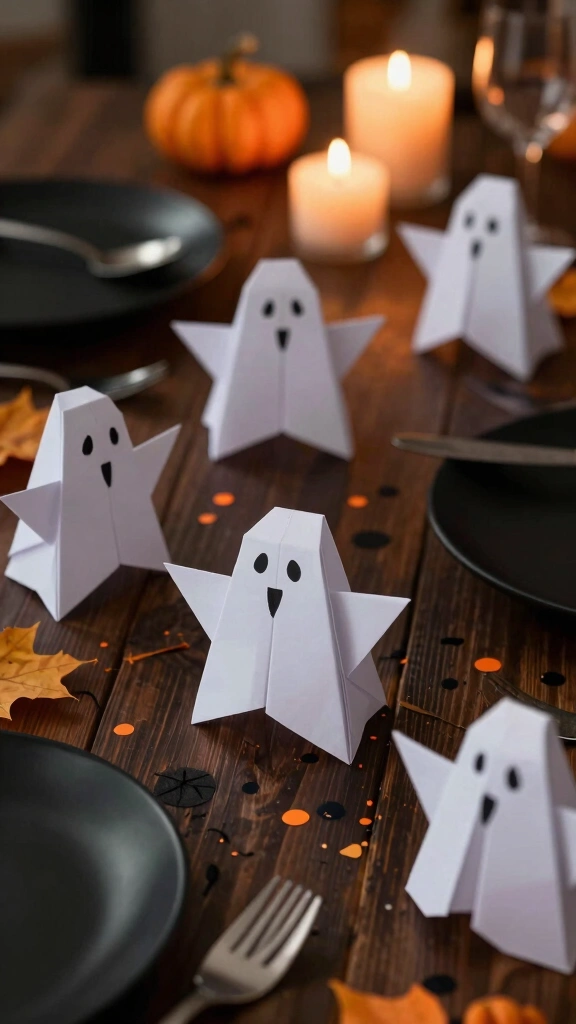
This easy ghost project uses a basic kite base fold to create a flowing, ethereal shape. You simply fold a white square of paper, crease the sides to form a narrow body, and bend the bottom tip to mimic a floating spirit. The simplicity of this design makes it incredibly beginner-friendly, even for young children.
Once you finish folding, grab a black pen and draw some expressive eyes on your new ghostly friend. You can scatter these lightweight ghosts across your dinner table as spooky confetti. Alternatively, prop them up on bookshelves to surprise unsuspecting family members as they walk by.
4. Miniature Witch Hats
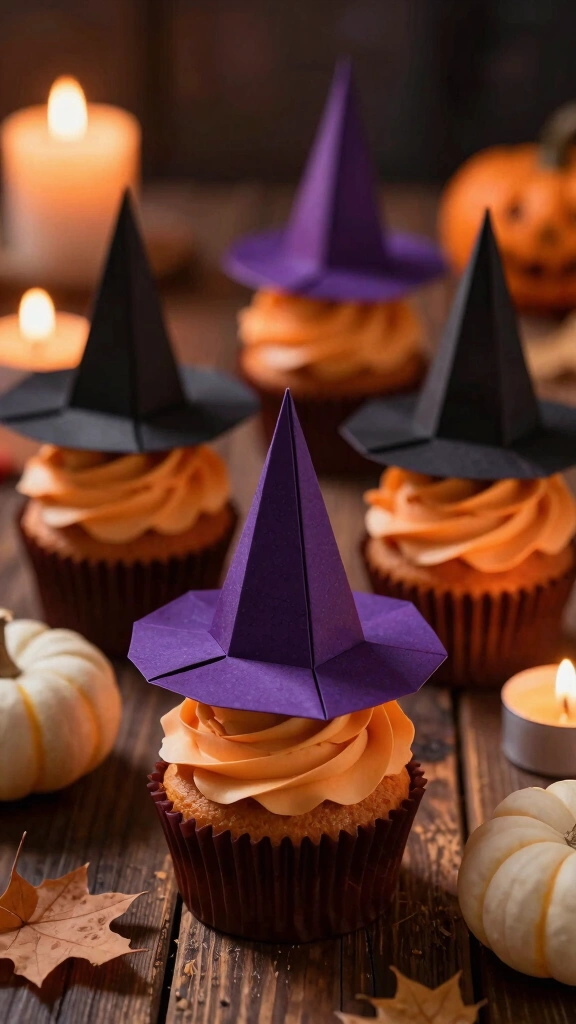
Add some witchy charm to your table settings with miniature paper hats. This project uses a dark purple or black paper square to create a sharp, pointed cone and a wide, circular brim. You start by rolling the paper into a cone shape, then fold the excess paper outward at the bottom to form the brim. It takes just a few folds to achieve a highly recognizable silhouette.
These tiny hats make excellent toppers for Halloween cupcakes or wine bottles. You can also write your guests’ names on the brims to use them as creative place cards. Who knew a tiny piece of folded paper could look so incredibly chic?
5. Creepy-Crawly Origami Spiders
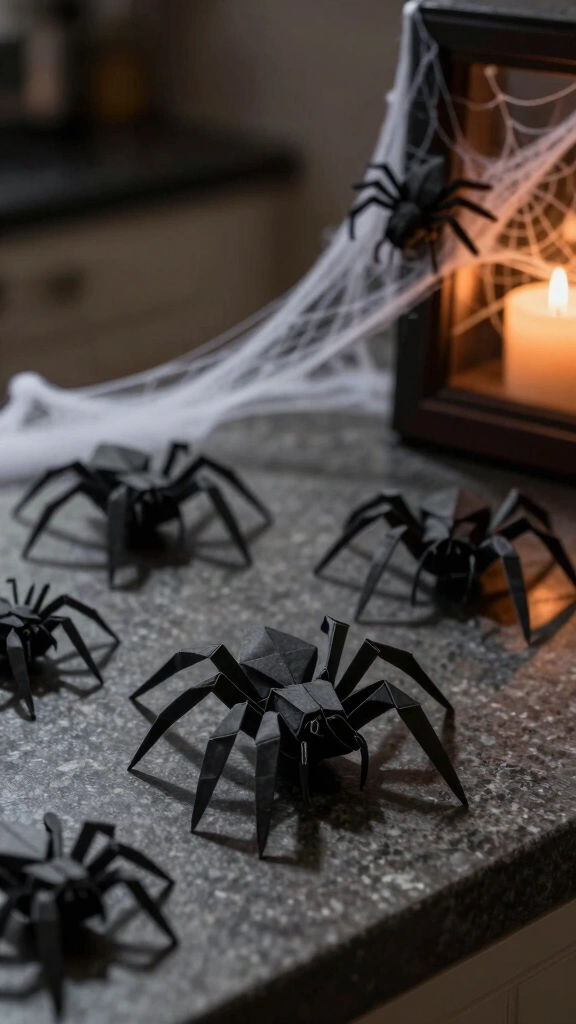
If you want to add a touch of arachnophobia to your home, this paper spider project is for you. While some spider designs require complex cuts, this version uses simple folds to shape a body and create eight distinct legs. You start with a dark square of paper and use accordion folds to give the legs a creepy, jointed appearance.
Scatter these paper spiders across your kitchen countertops or tuck them into the corners of your picture frames. You can also glue them to faux spiderwebs for a realistic, textured effect. They look so convincing that you might actually scare yourself when you walk into the room at night.
6. The Origami Skull
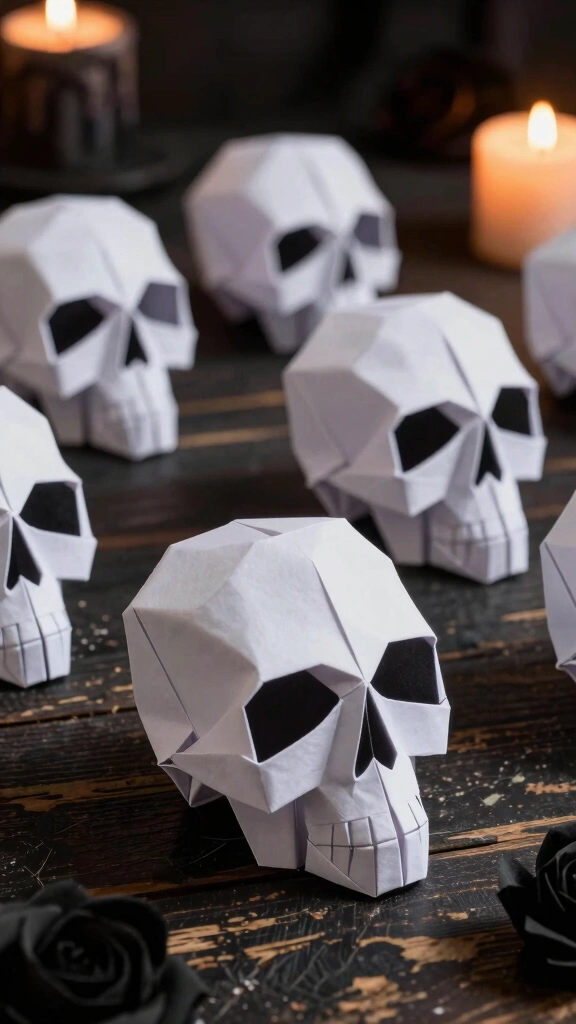
Create a gothic vibe with a collection of minimalist paper skulls. This project relies on precise geometric folds to define the jawline, cheekbones, and hollow eye sockets. While it looks complex, you can easily achieve the skull shape by following a series of standard valley and mountain folds. Use thick white cardstock if you want a structure that stands up on its own.
You can use a black marker to fill in the nose cavity and eye sockets for dramatic contrast. These paper skulls look fantastic when placed inside glass cloches or arranged neatly on a dark wooden tray. They add a sophisticated, modern touch to your Halloween table decor.
7. Origami Vampire Fangs
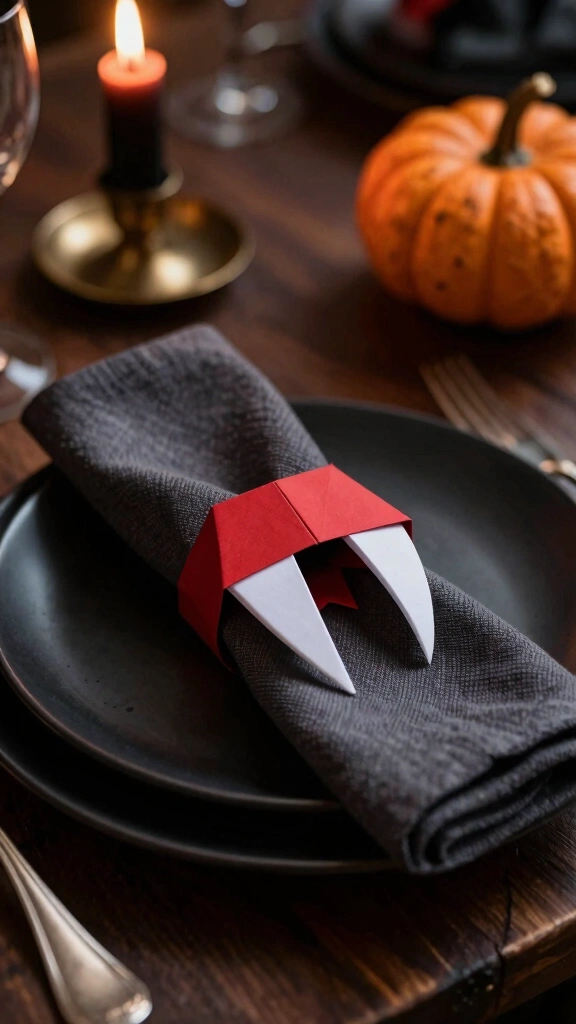
This interactive project doubles as a fun party toy. Using a piece of paper that is red on one side and white on the other, you fold the sheet to reveal two sharp white fangs against a red mouth. When you pull the sides of the folded paper, the mouth appears to open and close, exposing the pointed teeth. Kids love playing with this kinetic origami toy!
Use these vampire fangs as quirky napkin rings for your Halloween dinner party. Simply slide the napkins through the center of the folded teeth to hold them in place. It is a simple, cost-effective detail that shows your guests you thought of everything.
8. Sleek Origami Black Cats
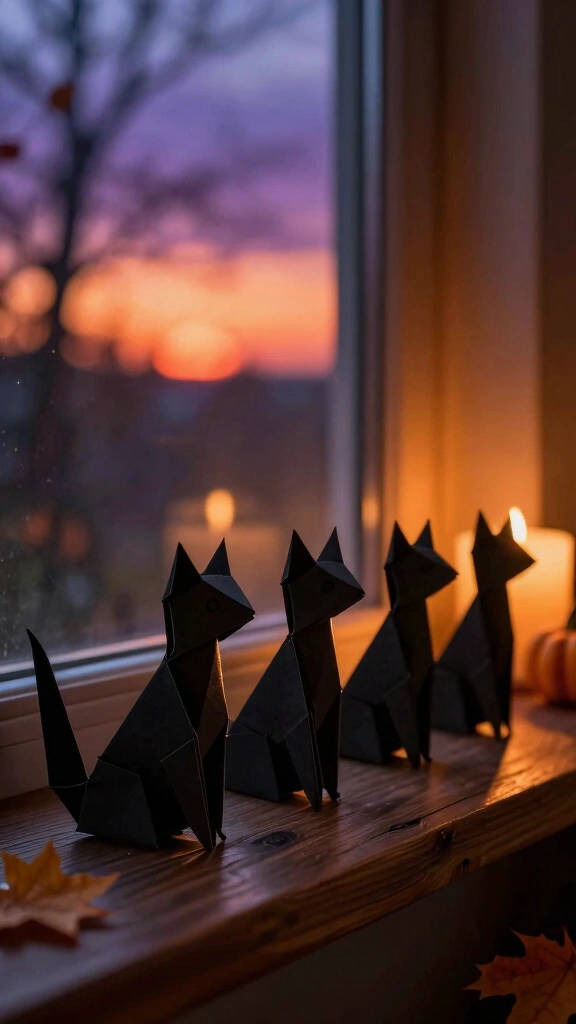
Capture the mysterious essence of Halloween with a sleek, sitting paper cat. You will fold the body from one square of black paper and the head from another, then slide them together for a seamless finish. The design features a curved back, pointed ears, and a long, elegant tail that keeps the figure upright. It is a stunning project that looks much more difficult than it actually is.
Place these black cats along your windowsill to silhouette them against the evening light. You can also glue bright yellow paper eyes onto the faces to make them pop in the dark. They add a touch of classic, folklore-inspired charm to your spooky setup.
9. The Origami Coffin Box
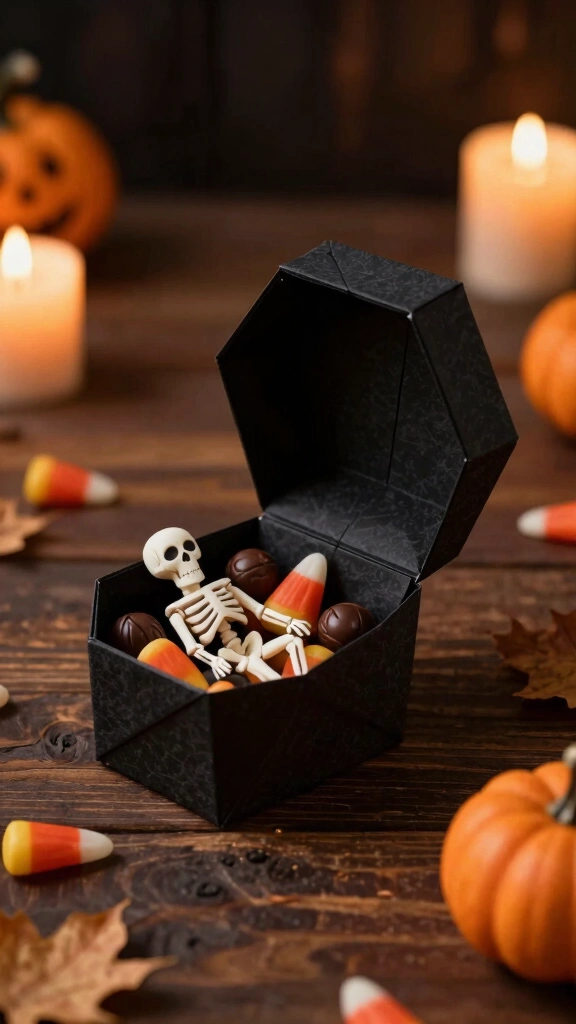
Are you looking for a unique way to hand out treats this year? This clever coffin box project serves as both a decoration and a functional container. You fold two separate sheets of brown or black paper to create a box bottom and a slightly larger lid. The final result is a sturdy, hexagonal coffin that you can open and close.
Party Favor Ideas
- Fill the coffin boxes with candy corn or chocolate eyeballs.
- Add a small paper skeleton inside for a fun surprise.
- Write spooky riddles on the inside lid.
These boxes make memorable party favors for your guests to take home. You can stack them on your dessert table to build a miniature, spooky graveyard display. Your friends will certainly appreciate the time and effort you put into handcrafting their treats.
10. The Origami Crow
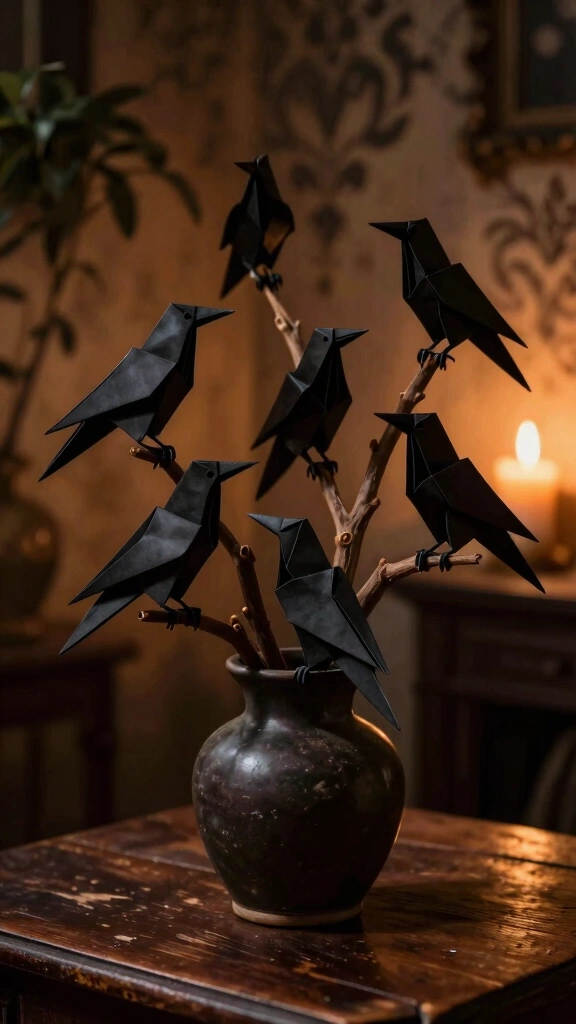
Channel your inner Edgar Allan Poe by folding a murder of glossy paper crows. This project uses a bird base to create a long beak, folded wings, and a tail. By adjusting the angle of the head fold, you can make the crow look forward, upward, or down as if it is searching for food. It is a classic origami design that fits perfectly into any gothic decor theme.
Perch these paper crows on top of your indoor potted plants or attach them to dry branches in a vase. The sharp angles of the folded paper create beautiful shadows when hit by candlelight. They bring a dark, atmospheric elegance to any room in your home.
11. Origami Candy Corn
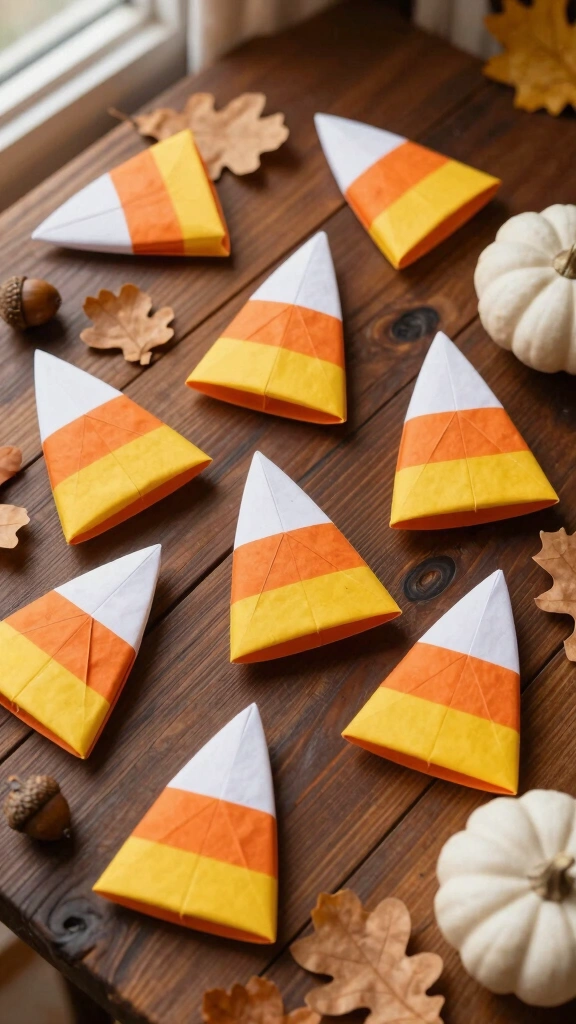
If you prefer your Halloween decor to be sweet rather than scary, try making some paper candy corn. This super simple project uses a triangular folding pattern to stack yellow, orange, and white paper sections. You can use colored pens to shade the sections, or fold three different strips of paper together for a clean look. It is an ideal craft for toddlers who are just learning the basics of folding.
Scatter these bright paper candies across your buffet table to add a splash of warm autumn color. You can also punch a hole through the top of each piece to create a vibrant garland for your classroom or kitchen window. Best of all, this candy corn will not stick to your teeth!
12. Origami Frankenstein Monster
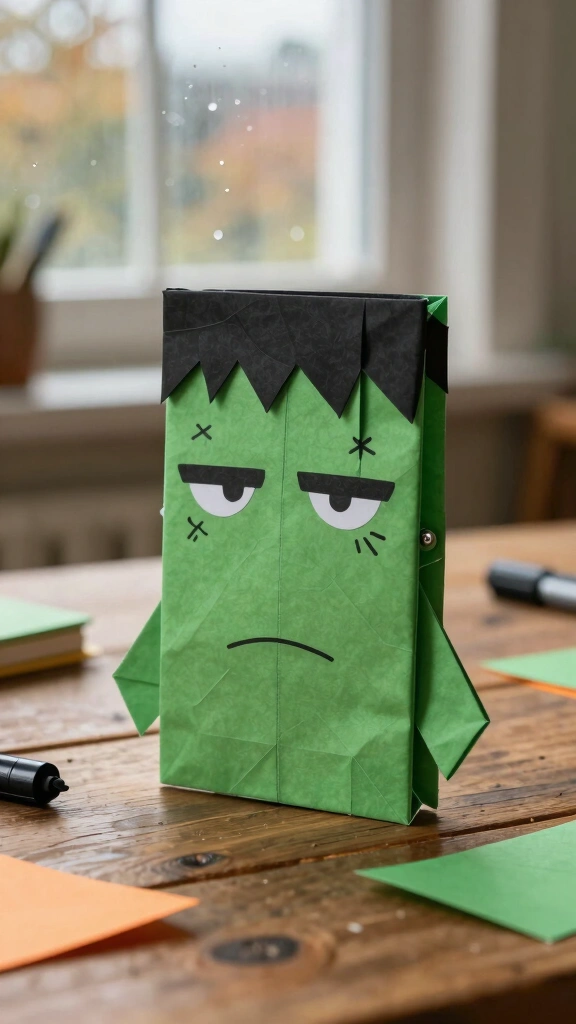
Bring Mary Shelley’s classic monster to life with this fun, blocky paper design. You fold a green square of paper to create a rectangular head, then fold down a top layer of black paper to form the monster’s messy hair. The angular nature of origami works perfectly for Frankenstein’s rugged, stitched-together features. You can finish the look by drawing a scar, neck bolts, and heavy eyelids with a marker.
Do you want to keep your kids entertained on a rainy October afternoon? Give them a stack of green paper and let them customize their own monsters. You can glue these green monsters onto purple cardstock to make custom Halloween greeting cards for family and friends.
13. Spooky Corner Bookmarks
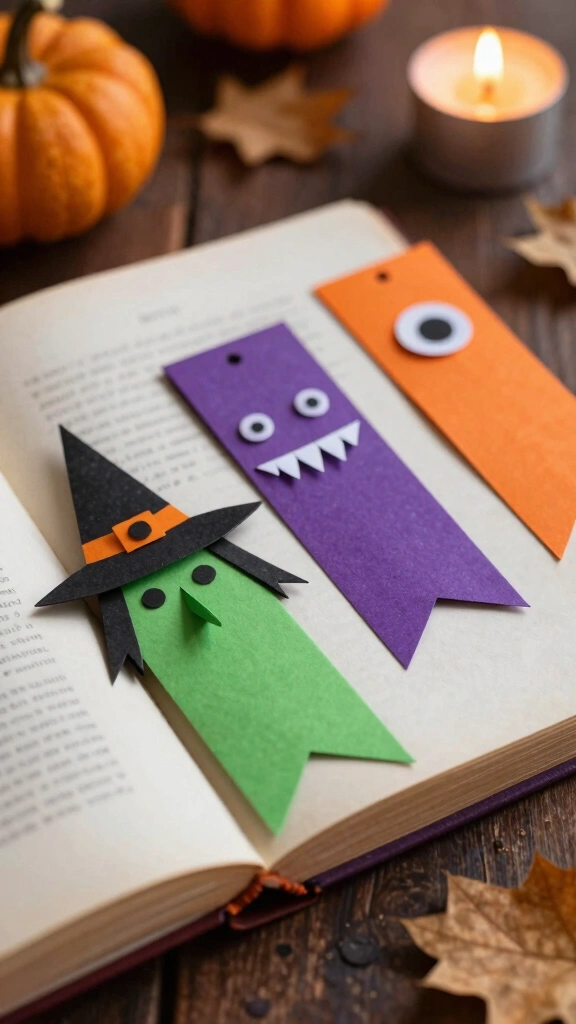
Keep your place in your favorite horror novel with a custom corner bookmark. You fold a small square of paper into a triangular sleeve that slides easily onto the corner of your page. From there, the creative possibilities are endless. You can easily turn the basic shape into a fanged monster, a green witch, or a cyclops by gluing on paper teeth and eyes.
These bookmarks are incredibly practical and make fantastic, non-candy handouts for trick-or-treaters. They encourage reading while celebrating the holiday in a fun, artistic way. Plus, they look hilarious poking out of the top of your books! FYI, you can make these using upcycled magazine pages for a cool, collage-style look.
14. The Origami Spiderweb
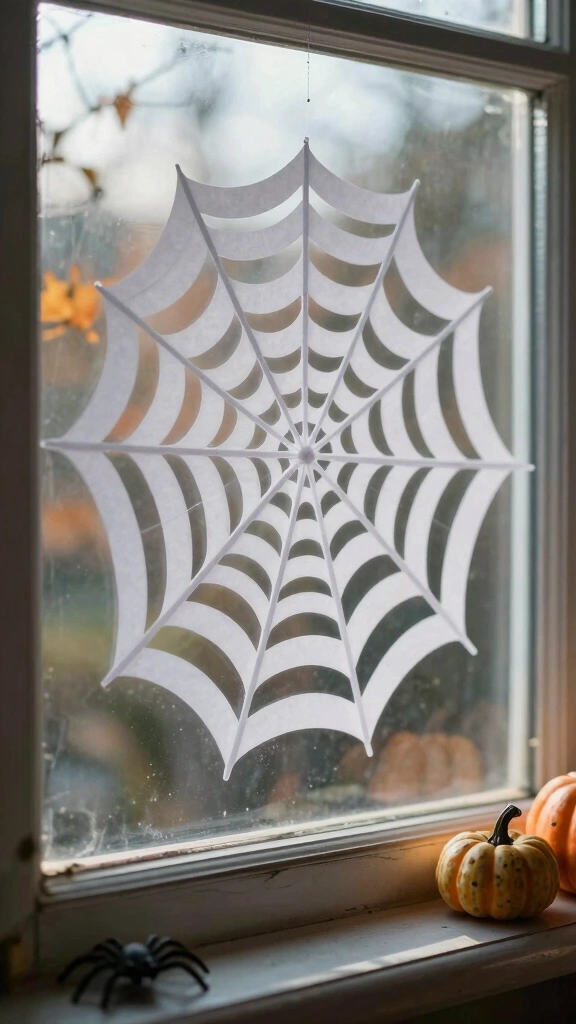
Complete your haunted house transformation with a delicate paper spiderweb. Unlike most origami projects, this one combines folding with precise cuts to create a web-like pattern. You fold a square sheet of white paper into a tight triangle, sketch out the curved web lines, and carefully snip away the negative space. When you unfold the paper, you will reveal a beautiful, intricate web.
Tape these paper webs to your windowpanes to let the daylight filter through the cutout patterns. You can also drape them over dark tablecloths to make your dinner setup look abandoned and dusty. They provide the perfect finishing touch to your DIY Halloween decor scheme.
Your Spooky Paper Crafting Guide
To help you plan your crafting session, here is a quick overview of the projects based on difficulty and time:
| Origami Project | Difficulty Level | Est. Time (Minutes) | Best For |
|---|---|---|---|
| Jack-o’-Lantern | Easy | 4 | Table Centerpieces |
| Swooping Bat | Beginner | 3 | Wall Displays |
| Miniature Witch Hat | Easy | 5 | Cupcake Toppers |
| Coffin Box | Intermediate | 8 | Party Favors |
| Spiderweb | Easy (with cuts) | 6 | Window Decor |
Transform Your Space with Simple Paper Folds
You do not need to spend a fortune or buy heaps of plastic to create an unforgettable Halloween atmosphere. Folding paper allows you to customize your decorations to fit your exact style, whether you prefer cute, modern, or genuinely creepy vibes. These 14 Halloween Origami Easy Projects for Spooky Decor prove that a little creativity and a few folds can completely transform your space.
So, which project will you try first? Gather your supplies, clear off your table, and start folding your way to a spooktacular holiday. Happy crafting!