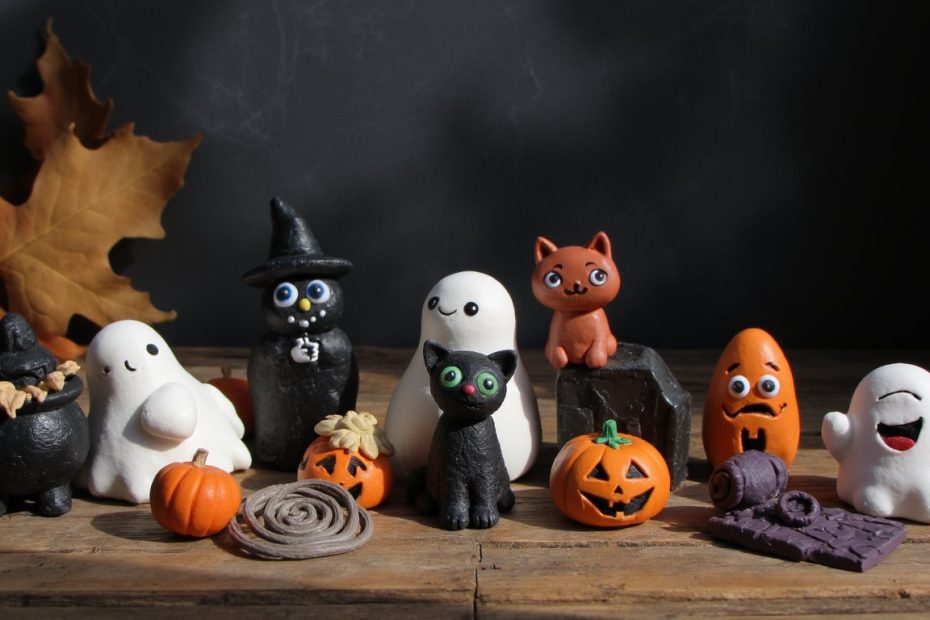
Okay, be honest. Are you the person who starts planning their Halloween decor in July, or do you suddenly realize it’s October 30th and panic? Either way, I’ve got you. There’s something uniquely satisfying about creating your own spooky adornments—it’s cheaper than the store-bought stuff and way more personal. And clay? It’s the perfect, forgiving medium for all your ghoulish ideas. So, grab your polymer clay, air-dry clay, or even that old modeling clay from the back of the cupboard. We’re diving into 19 Halloween clay crafts that are guaranteed to add a handmade haunt to your season.
1. Glow-in-the-Dark Ghostly Friends
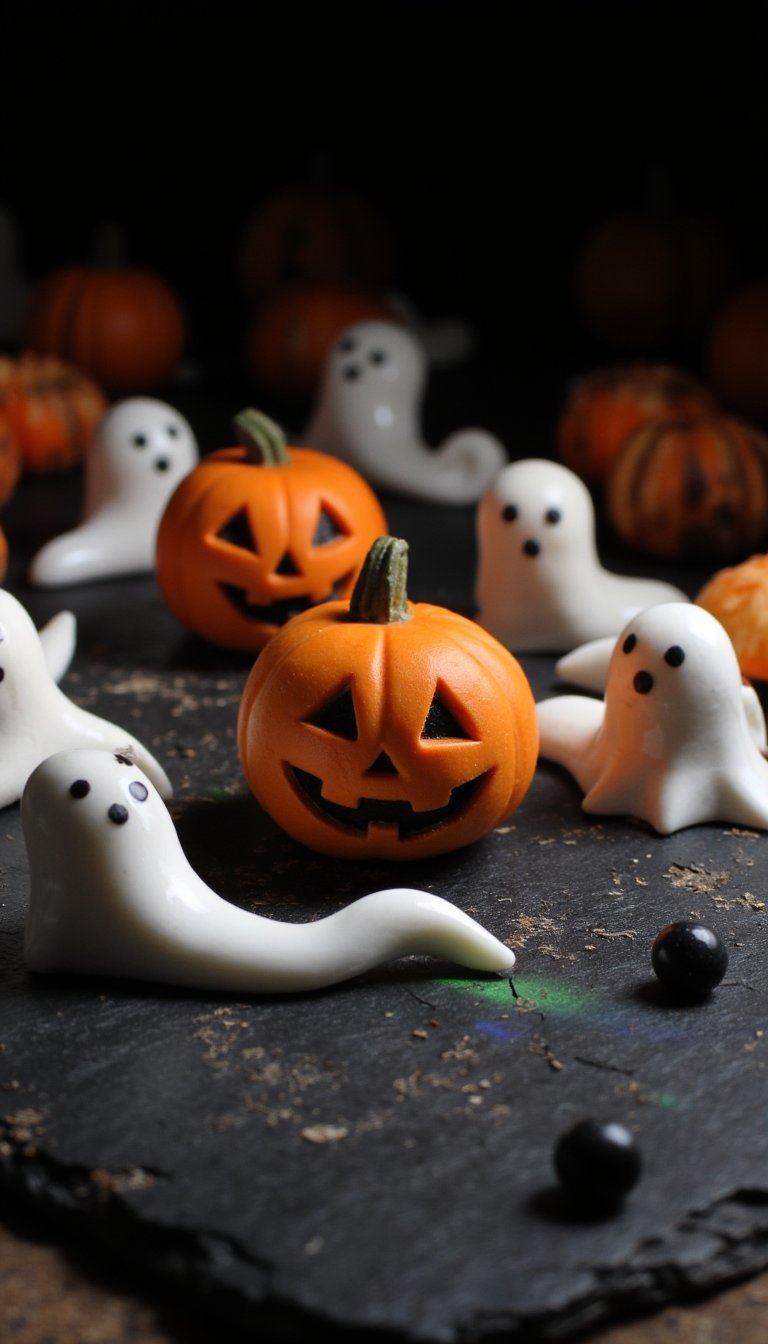
Let’s start simple and iconic. These wispy little phantoms are the ultimate beginner-friendly project. Roll white clay into a series of balls, then gently pinch and pull the bottom to create a flowing, spectral tail. The real magic? Use glow-in-the-dark clay or paint them with glow paint after baking. Imagine a squadron of these guys lining your windowsill, casting an eerie light after dark. Pro tip: Press in two tiny black beads for eyes before baking for instant personality.
2. Mini Jack-O’-Lantern Charms
Who says pumpkins have to be big and messy? These tiny terrors are perfect for keychains, zipper pulls, or a Halloween-themed charm bracelet. Start with a small ball of orange clay. Use a toothpick or clay tool to carve out classic triangle eyes and a jagged smile. Add a little green stem on top. Bake them, and suddenly you have a whole patch of permanent, rot-free pumpkins. They’re dangerously addictive to make—bet you can’t stop at just one.
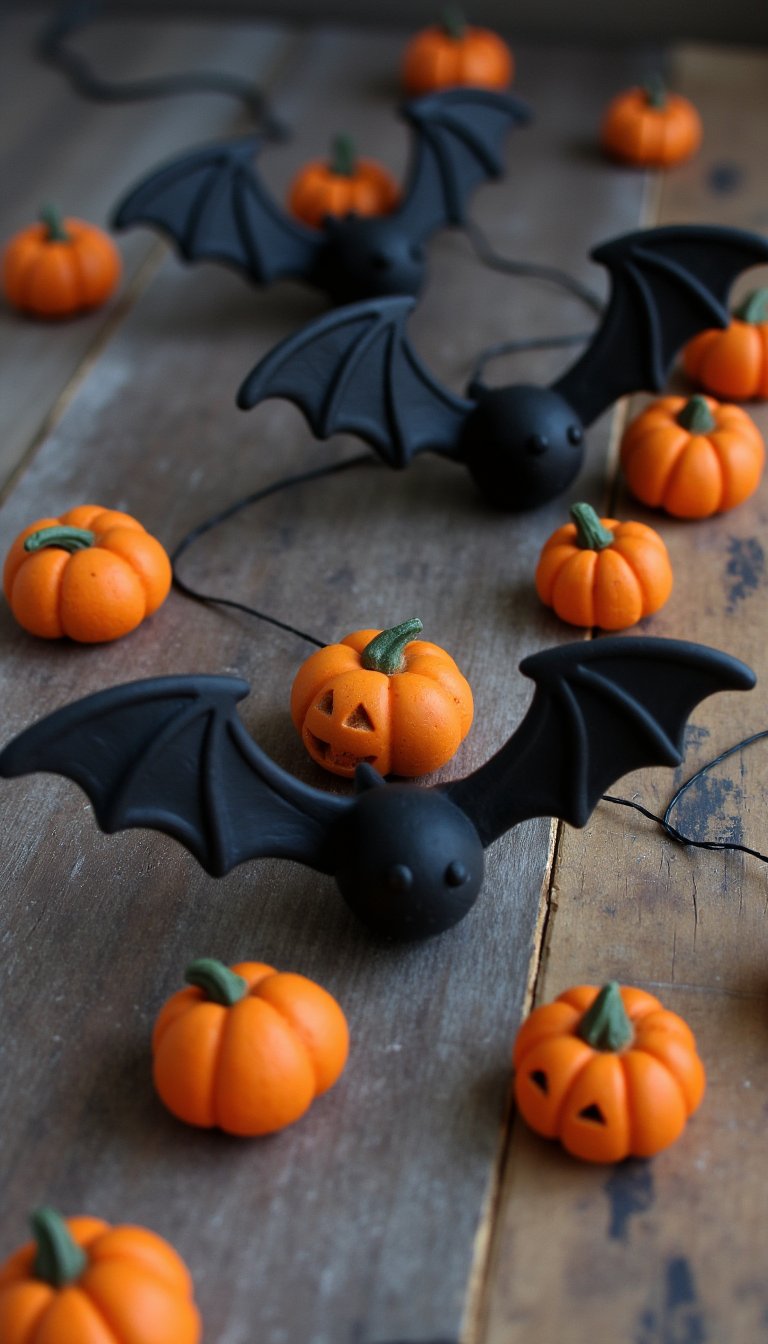
3. Bat-tastic Garland Pieces
Move over, paper bats. Clay bats bring a whole new level of sophistication to your Halloween décor. Flatten out some black clay and use a cookie cutter or a freehand template to cut out bat shapes. Remember to poke two small holes at the top of each wing before baking so you can thread them onto string or ribbon. Drape them across a mantel, a doorway, or even a bookshelf for an instant gothic accent. Mix in some purple or dark blue clay for a mystical, moonlit flock.
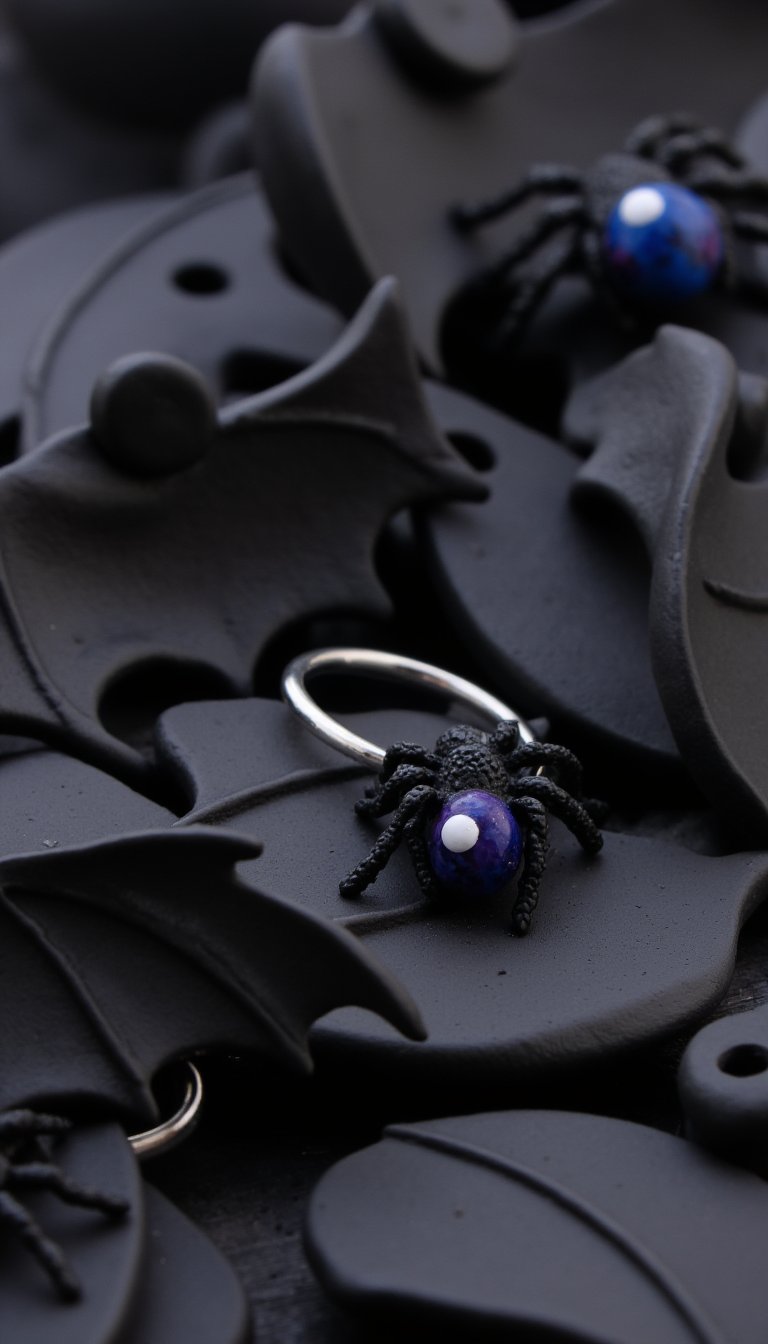
4. Creepy Crawly Spider Rings
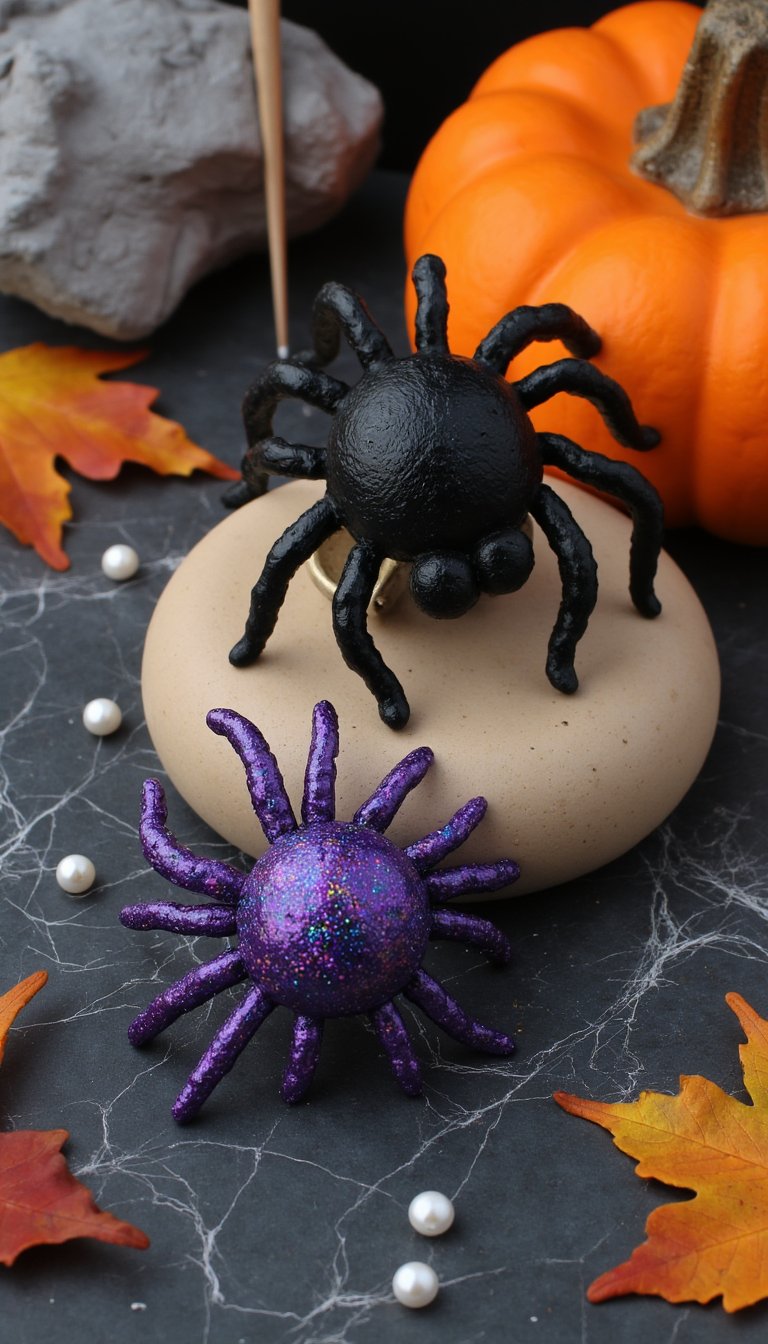
These are the ultimate conversation starters (or stoppers, depending on your friends’ fear levels). Take a simple ring base and sculpt a plump spider body directly onto it. Attach eight thin, wavy legs. Go classic black, or get creative with glittery purple or furry-looking textured clay. Pop it in the oven, and voila—you have a wearable piece of arachnid art. They’re surprisingly comfortable and a huge hit with kids and adults alike. Just try not to scare yourself when you catch a glimpse of your own hand.
5. Bewitching Hat Ornaments
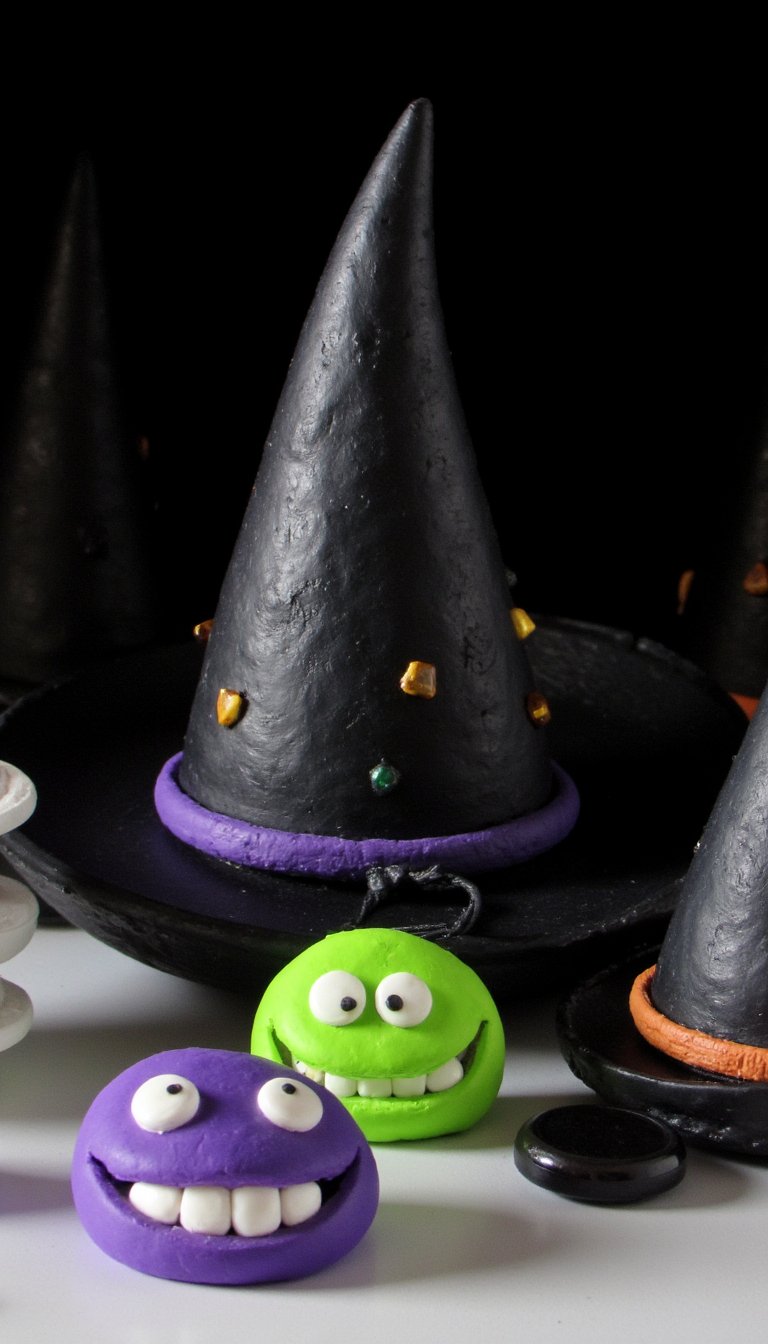
Every witch needs a hat, and now your home can have a whole coven’s worth. Shape a cone from black clay for the top and a wide, flat circle for the brim. Smush them together securely. This is where you accessorize: add a clay belt in a contrasting color, a tiny buckle, or even a few sparkling “gems.” Bake them and glue a loop of black thread to the tip. Hang them from your tree, curtain rods, or plant hooks. They cast the perfect, pointy shadow.
6. Monster Mouth Magnets
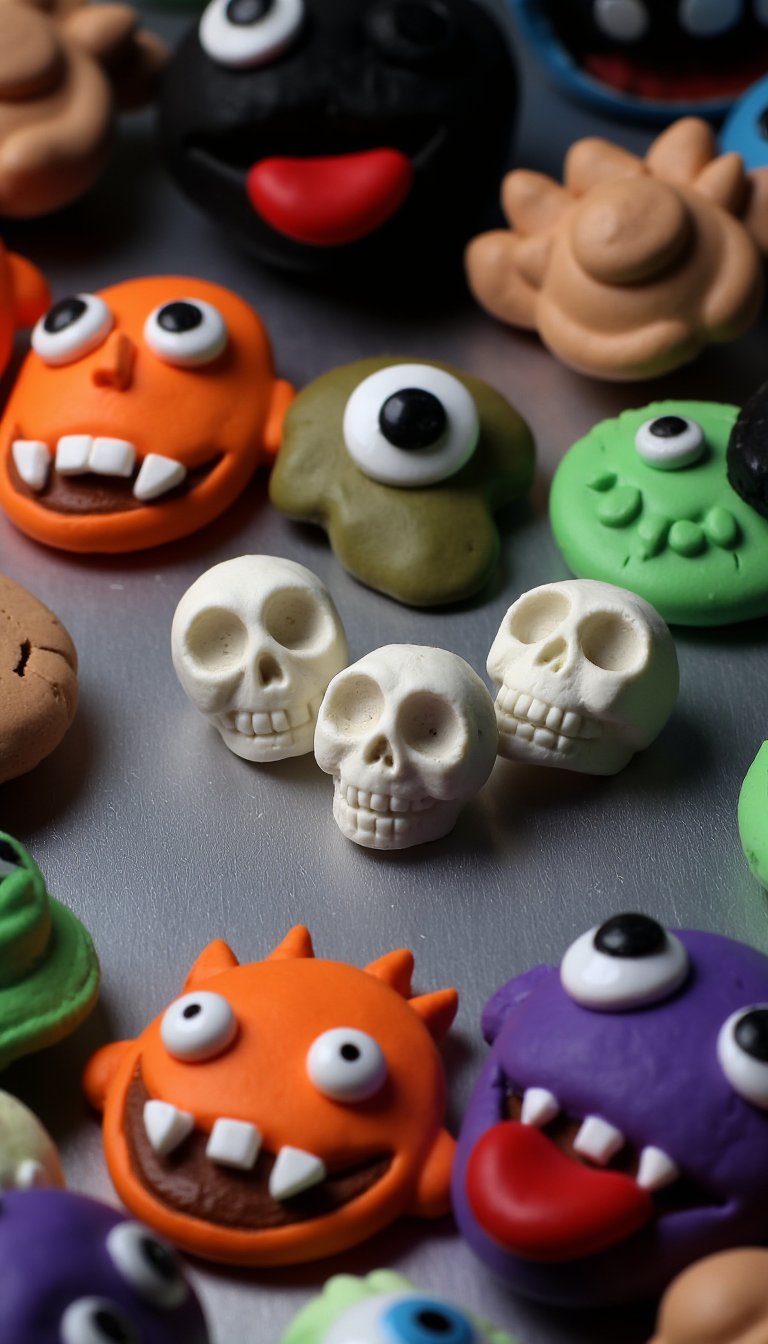
Why should your fridge be left out of the Halloween fun? Create a gallery of goofy, grotesque, and adorable monster faces. Flatten a piece of clay into an oval or irregular shape. Add wild googly eyes (clay or glued-on after baking), sculpt sharp teeth from white clay, or give one a lolling tongue. After baking, simply glue a strong magnet to the back. They’re perfect for holding up shopping lists written in “spooky” handwriting or those important pumpkin carving schematics.
7. Skull & Crossbones Beads
Channel your inner pirate or just embrace the classic symbol of the season. Sculpting a detailed skull might sound hard, but start with a basic bead shape. Use a needle tool to indent eye sockets and a nasal cavity, and lightly score lines for teeth. For crossbones, roll two thin sausages and cross them. Bake them, and you’ve got beads ready for necklaces, bracelets, or even a macabre curtain tie-back. Painting them with a white wash after baking can really make the details pop.
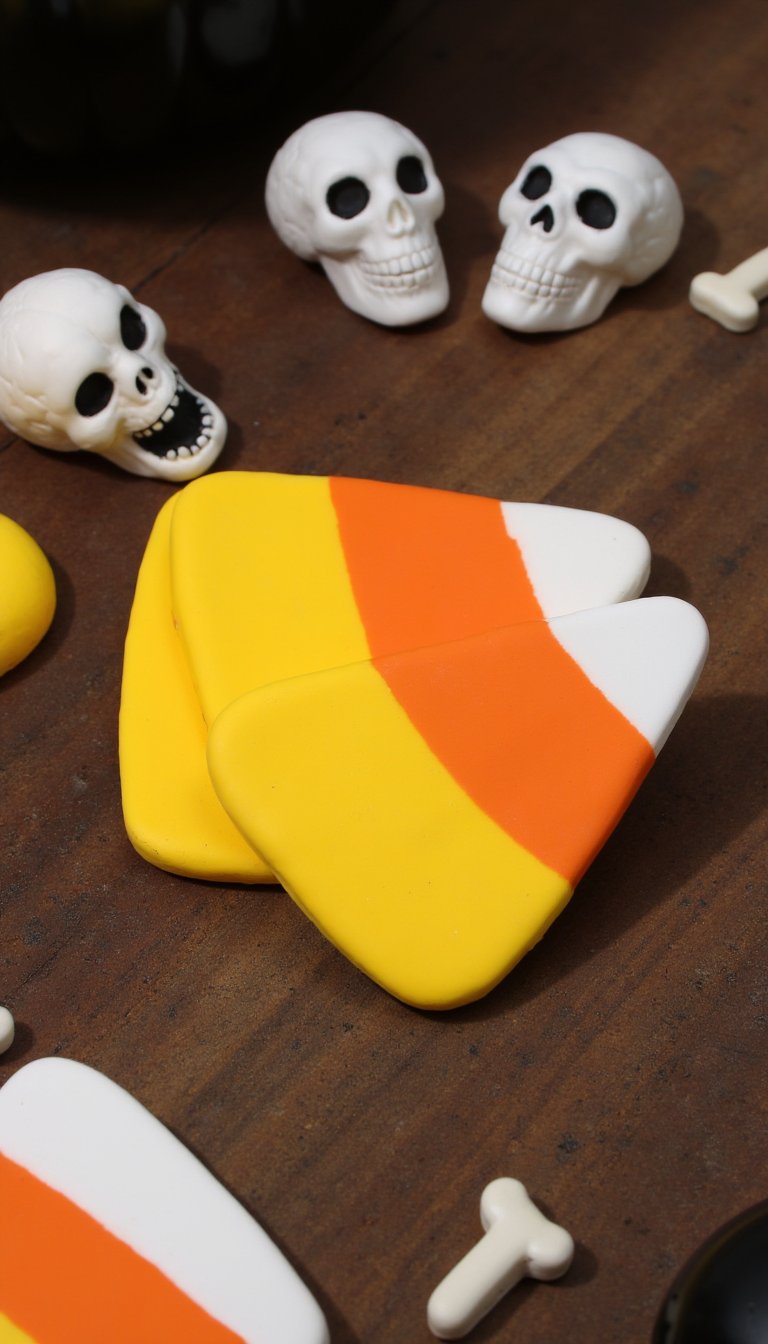
8. Candy Corn Coasters
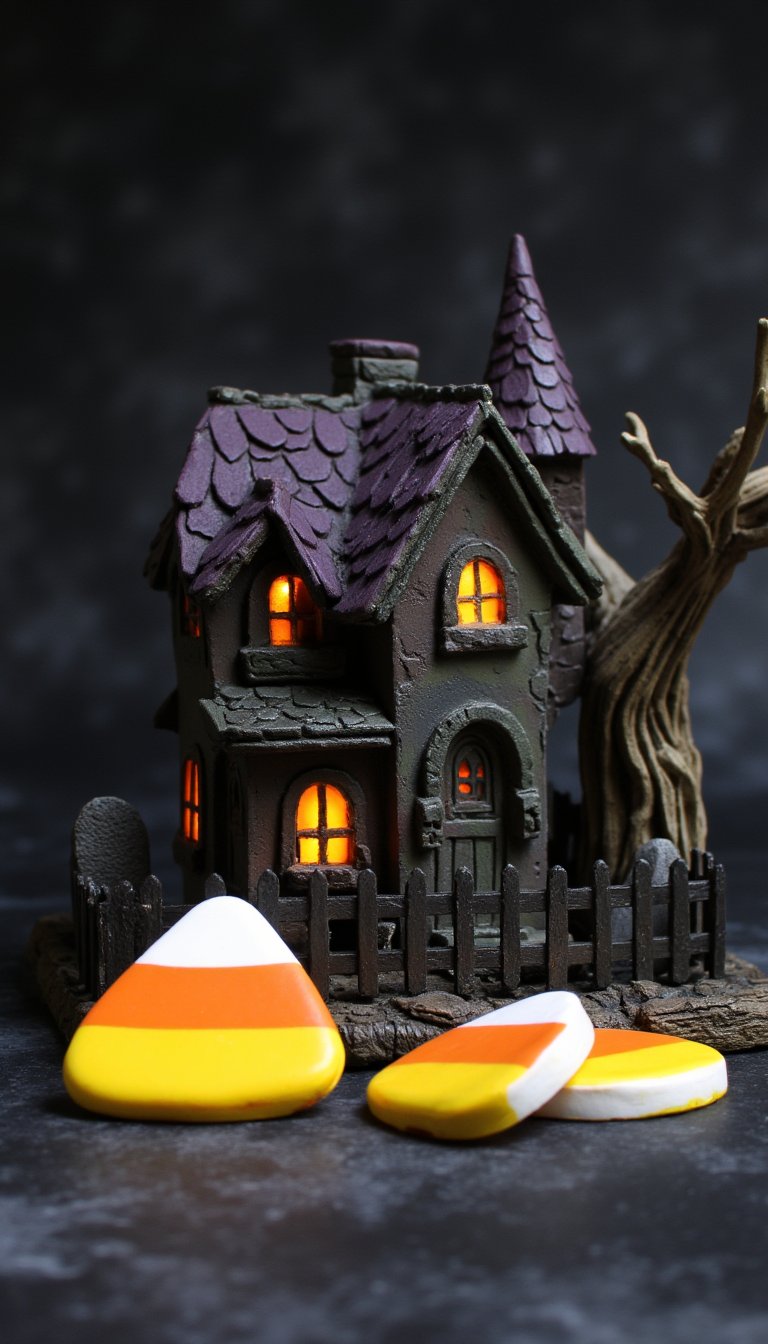
Protect your surfaces in the most festive way possible. Roll out three ropes of clay in the classic candy corn colors: white, orange, and yellow. Lay them side-by-side and gently press and roll them together until they fuse into one striped block. Slice the block into thick, coaster-sized pieces. Smooth the edges, bake, and seal with a waterproof varnish. Suddenly, your coffee table is ready for a party. They’re functional, fun, and you won’t have to eat any actual candy corn.
9. Haunted House Sculptures
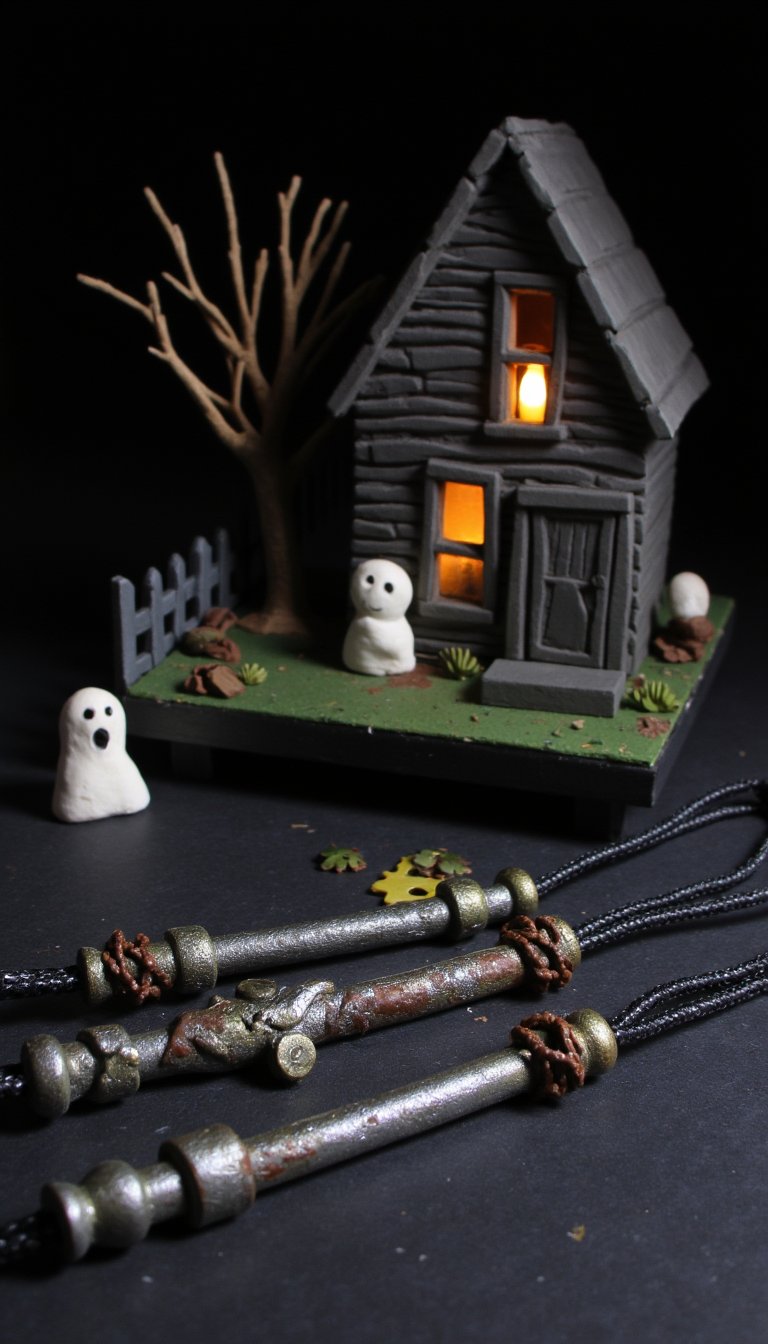
Ready for a challenge? This is your chance to build your dream (or nightmare) haunted manor. Start with a simple geometric base and build up walls, a slanted roof, and tiny details like crooked windows and a rickety fence. Use tools to etch wood grain into the walls or brick patterns. You can even create little clay ghosts peeking from the windows. This is a show-stopping centerpiece that you can add to year after year. Light it from within with a tiny LED tea light for the full effect.
10. Frankenstein’s Bolt Necklaces

It’s alive! And so is this stylishly chunky jewelry piece. Sculpt the bolt from gray or metallic clay. It’s essentially a cylinder with a hexagonal top. Make a deep impression in the “head” of the bolt with a screwdriver or clay tool for authenticity. After baking, string it on a leather cord or a heavy chain. It’s a subtle nod to the classic monster that only fellow Halloween enthusiasts will fully appreciate. Pair it with a black turtleneck for maximum mad scientist vibes.
11. Sleek Black Cat Pendants
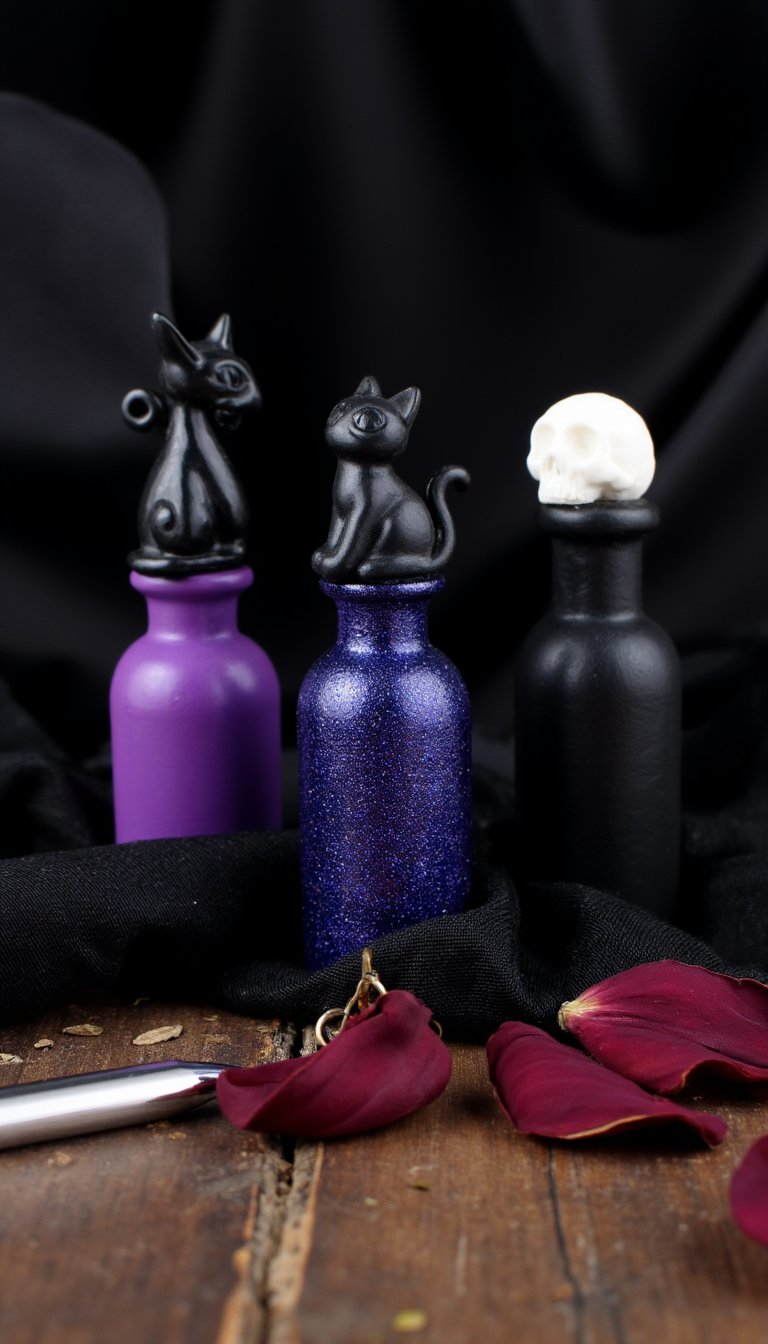
No Halloween craft list is complete without the ultimate feline familiar. Sculpt a simple, stylized cat silhouette—think arched back and a curvy tail. Or, go for a more detailed sitting cat with pointed ears. Pierce a hole at the top before baking for the pendant bail. A glossy black finish looks elegant, but why not make a whole clowder in different colors? A sparkly blue or deep purple cat is just as magical, and less likely to cross your path superstitiously.
12. Potion Bottle Toppers
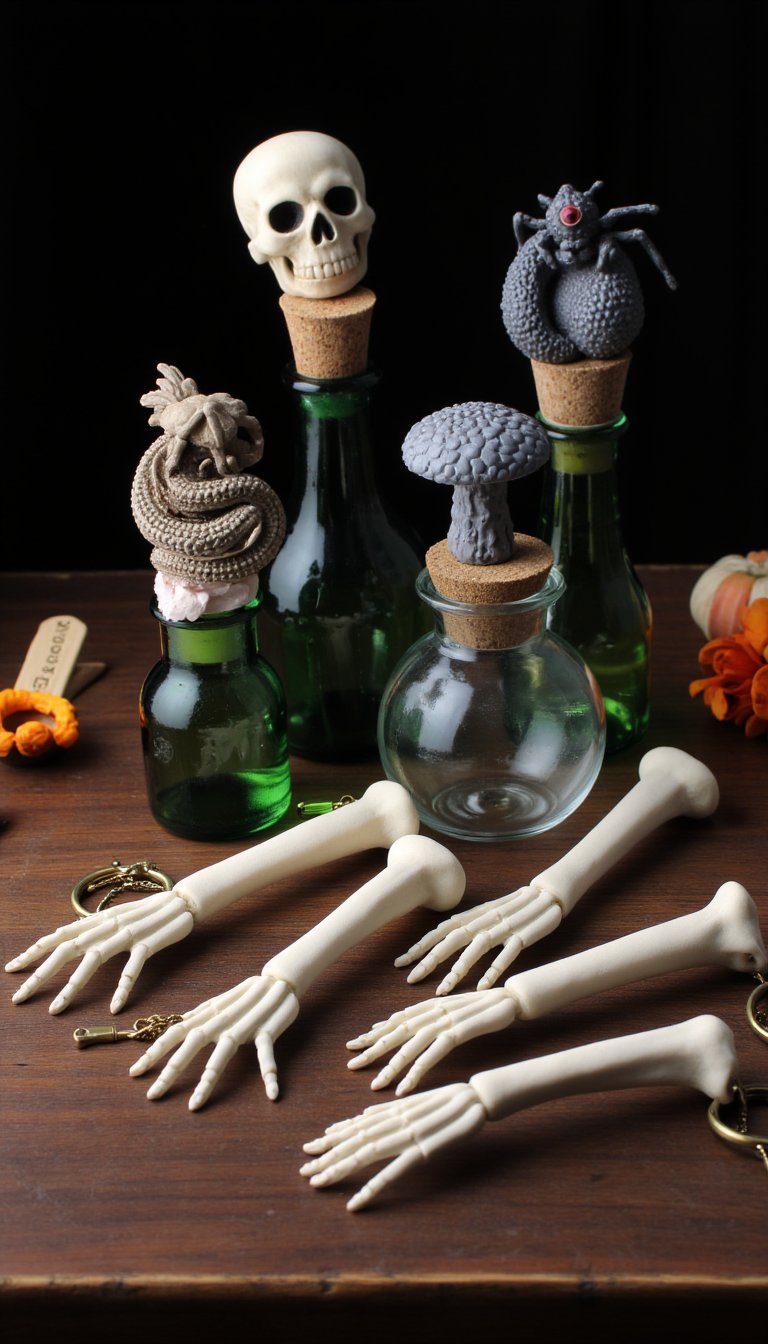
Got some empty bottles or vintage jars? Customize them with these clay stoppers. Create a mushroom-shaped plug that fits snugly in your bottle’s neck. On top, let your imagination run wild: sculpt a tiny skull, a coiled snake, a spider, or a mystical symbol. These instantly transform any container into a vessel for “Eye of Newt” or “Witch’s Brew.” Use them for storing actual liquids like oil or vinegar, or just for display. They make the perfect DIY Halloween party decor.
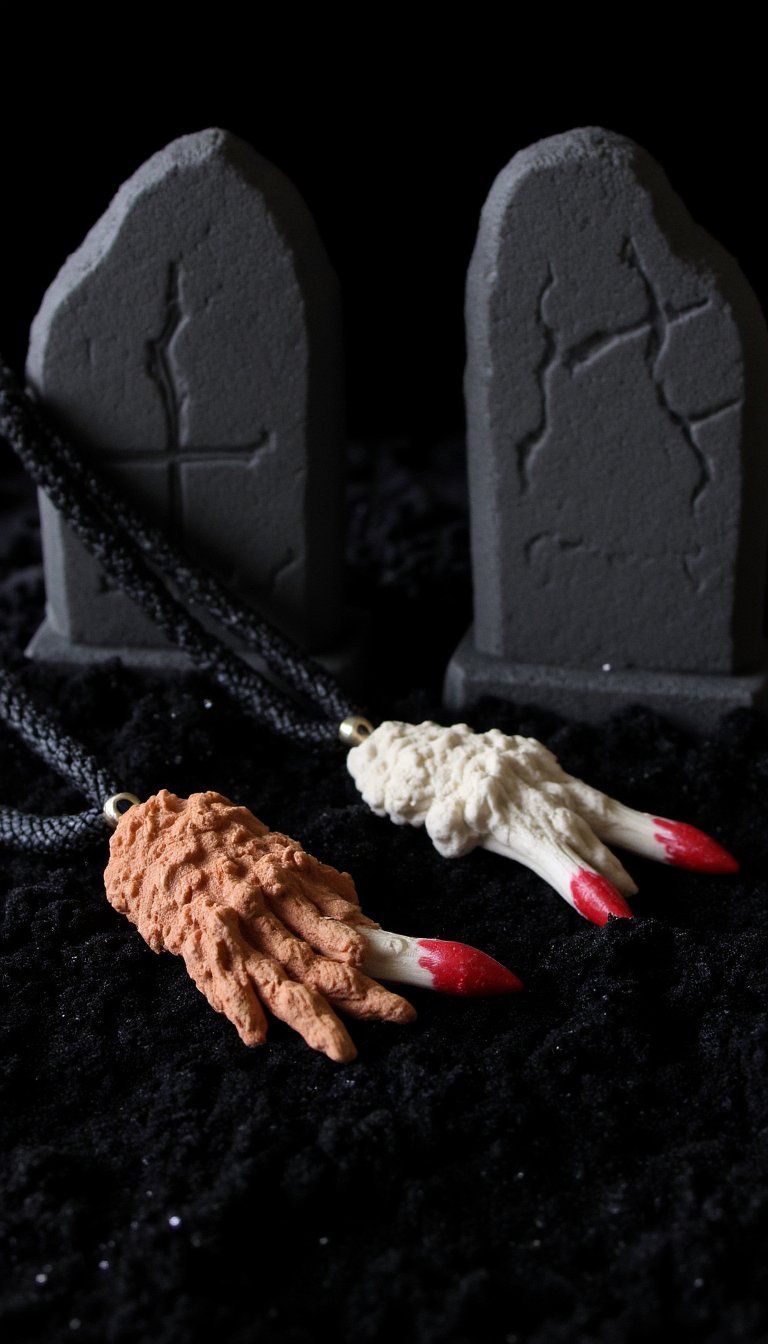
13. Skeleton Hand Keychains
Never lose your keys again with this bony helper. Sculpt a palm and five finger bones from white or bone-colored clay. You don’t need perfect anatomy—suggestive shapes work great. Connect them all at the “wrist,” where you’ll also embed a keyring loop before baking. You can pose the fingers for a wave, a claw, or a peace sign. It’s a functional, slightly macabre accessory that’s sure to get a reaction at the coffee shop. “Oh, this? Just my keys.”
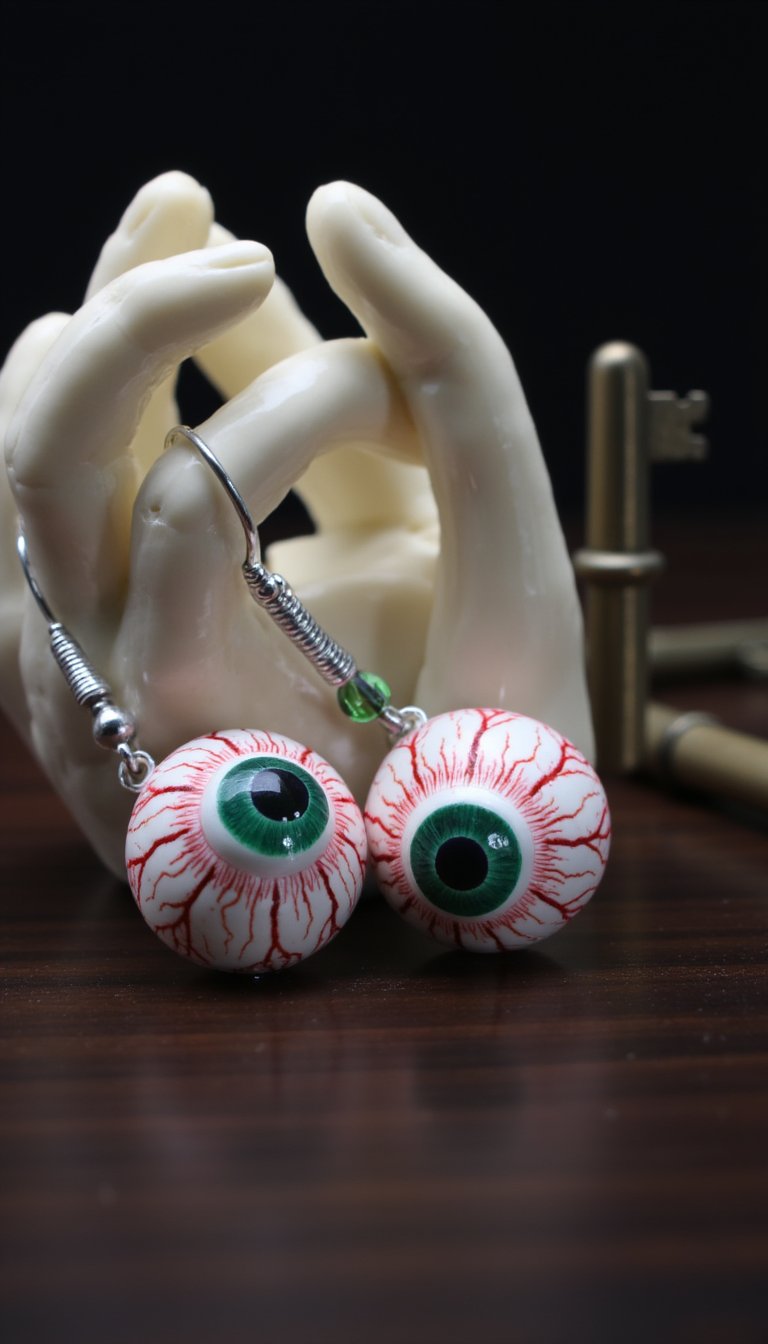
14. Bloodshot Eyeball Earrings
These are weird, wonderful, and weirdly fashionable. Form small spheres of white clay for the eyeballs. Use a dot of black clay for the pupil and a thin red clay string to create veiny bloodshot details. Don’t forget to add a clear clay gloss over the top after baking for a wet, realistic look. Attach them to earring posts or hooks. Wear them to the office and see who notices. They pair surprisingly well with a bold red lip, just saying.
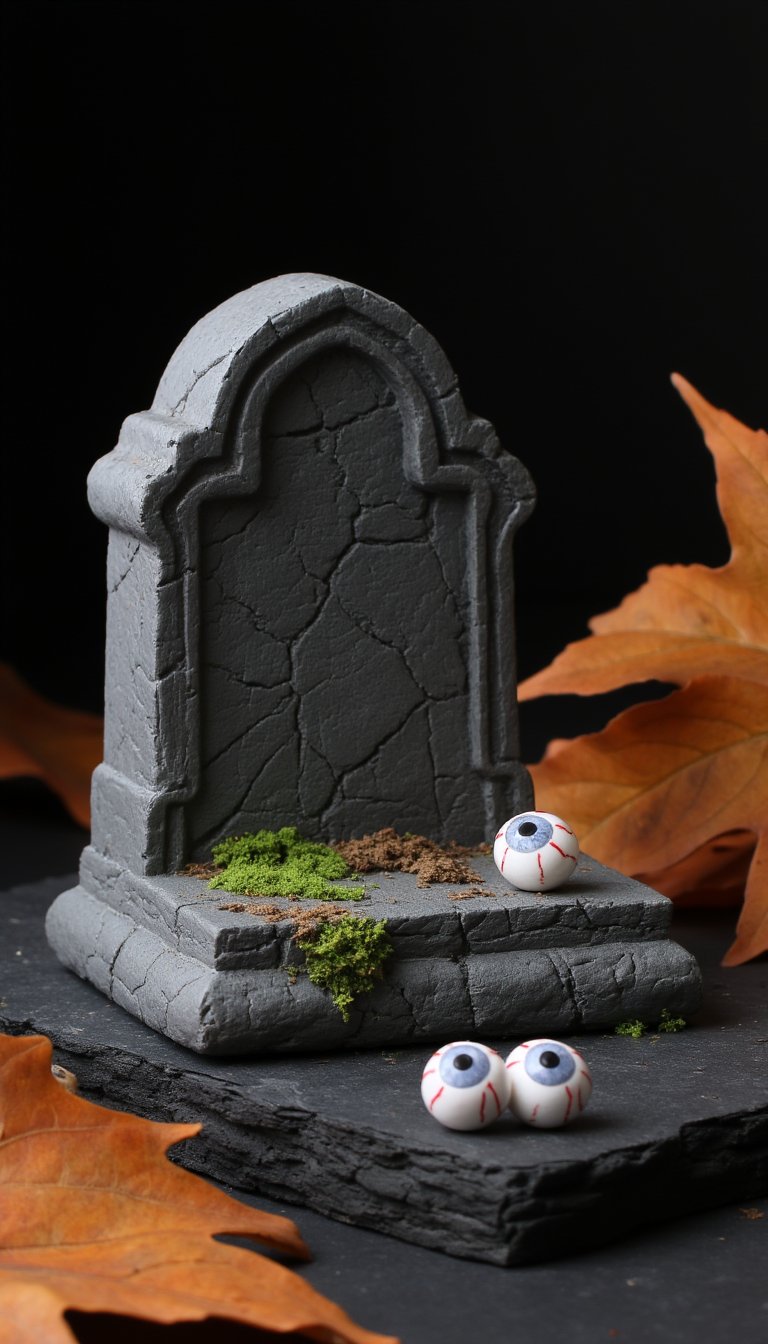
15. Tombstone Bookends
Give your bookshelf a graveyard makeover. These require a bit more clay and some weight. Sculpt two sturdy, thick tombstone shapes. Carve in funny epitaphs like “Rest in Pieces” or “I Told You I Was Sick” using a clay scribe. After baking, you might need to glue them to a heavy base or fill them with sand before sealing to ensure they actually hold up your books. They’re a fantastic way to showcase your favorite horror novels all year round.
16. Werewolf Claw Necklaces
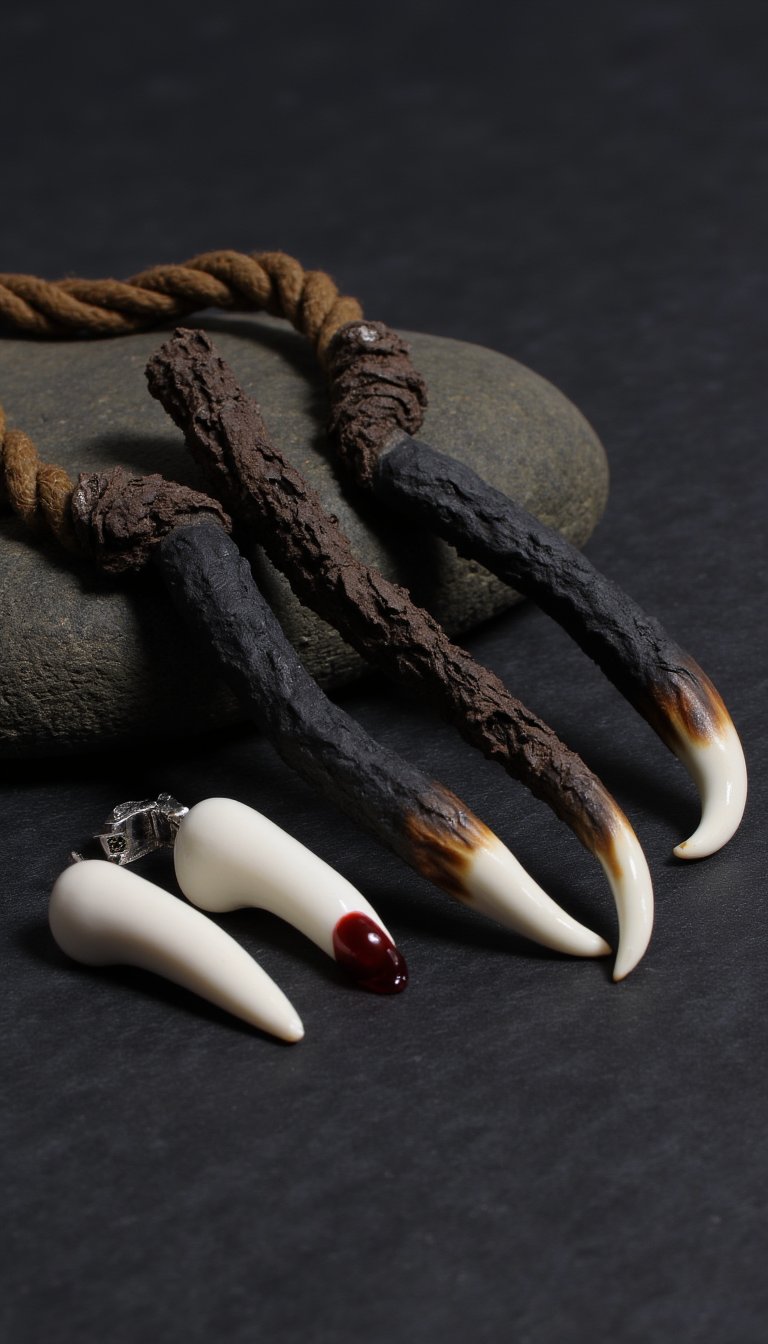
Embrace the beast within. Sculpt individual claws from brown, gray, or black clay—they should be curved and pointed. Texture them with a tool to look like rough fur at the base. Bake them and then string several on a cord, spacing them out like a trophy necklace. It’s a primal, earthy piece that feels like it came straight out of a dark forest. Perfect for when you’re feeling a little feral on a full moon night.
17. Vampire Fang Ear Studs
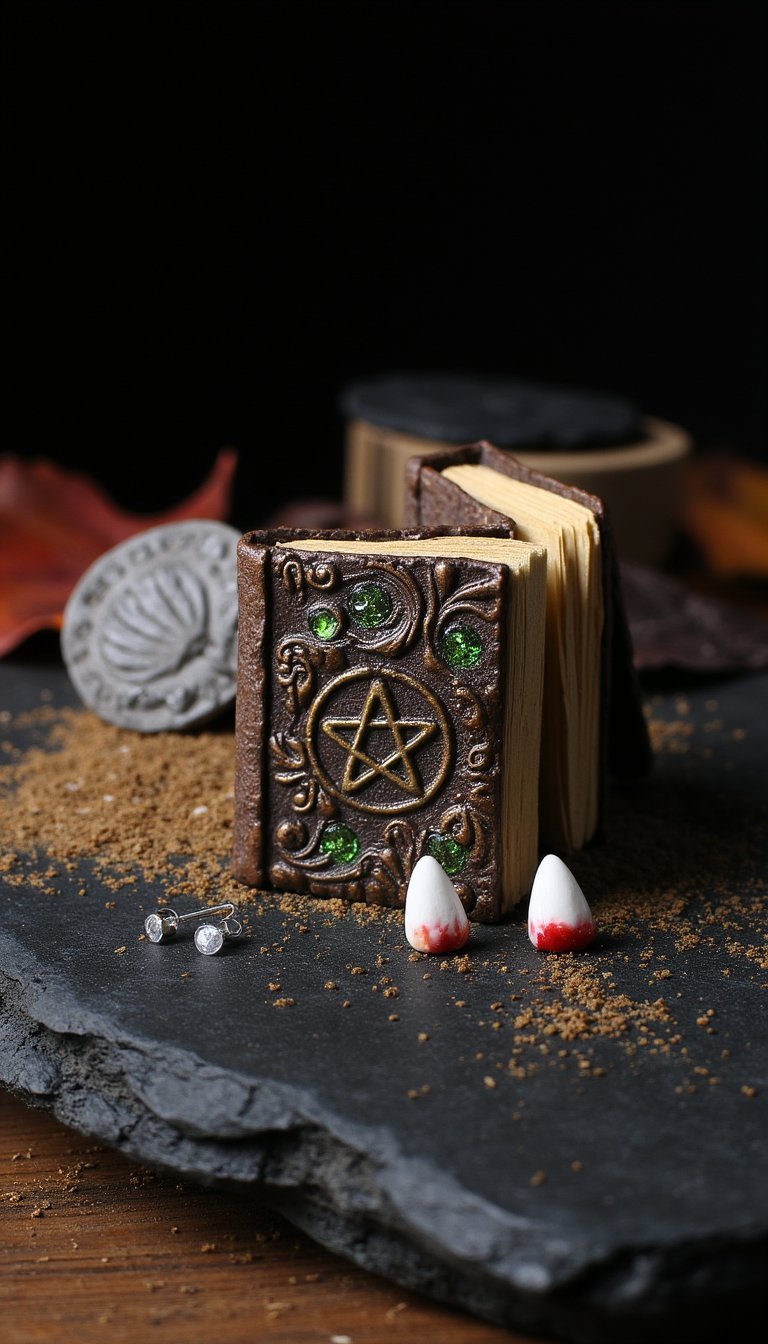
Subtle, sharp, and super cool. These are tiny, so precision is key. Sculpt two small, delicate fangs from white or off-white clay. Tint the very tips with a tiny bit of red glaze for a “just fed” look, if you’re feeling extra. Bake them and glue them directly onto flat earring studs. They’re the perfect accessory for when you want a hint of Halloween without going full costume. Pair them with a high collar for maximum dramatic effect. 😉
18. Spellbook Clay Covers
Transform a plain notebook or journal into a wizard’s grimoire. Roll out a sheet of clay thin enough to be flexible but thick enough to hold detail. Press it onto the cover of a book you don’t mind dedicating to the craft. Imprint it with faux leather textures, add raised clay runes, symbols, or a title like “Potions and Poisons.” Carefully remove the clay sheet, bake it flat, and then glue it onto the book. It’s a next-level DIY that’s perfect for recording your own crafting spells (or recipes).
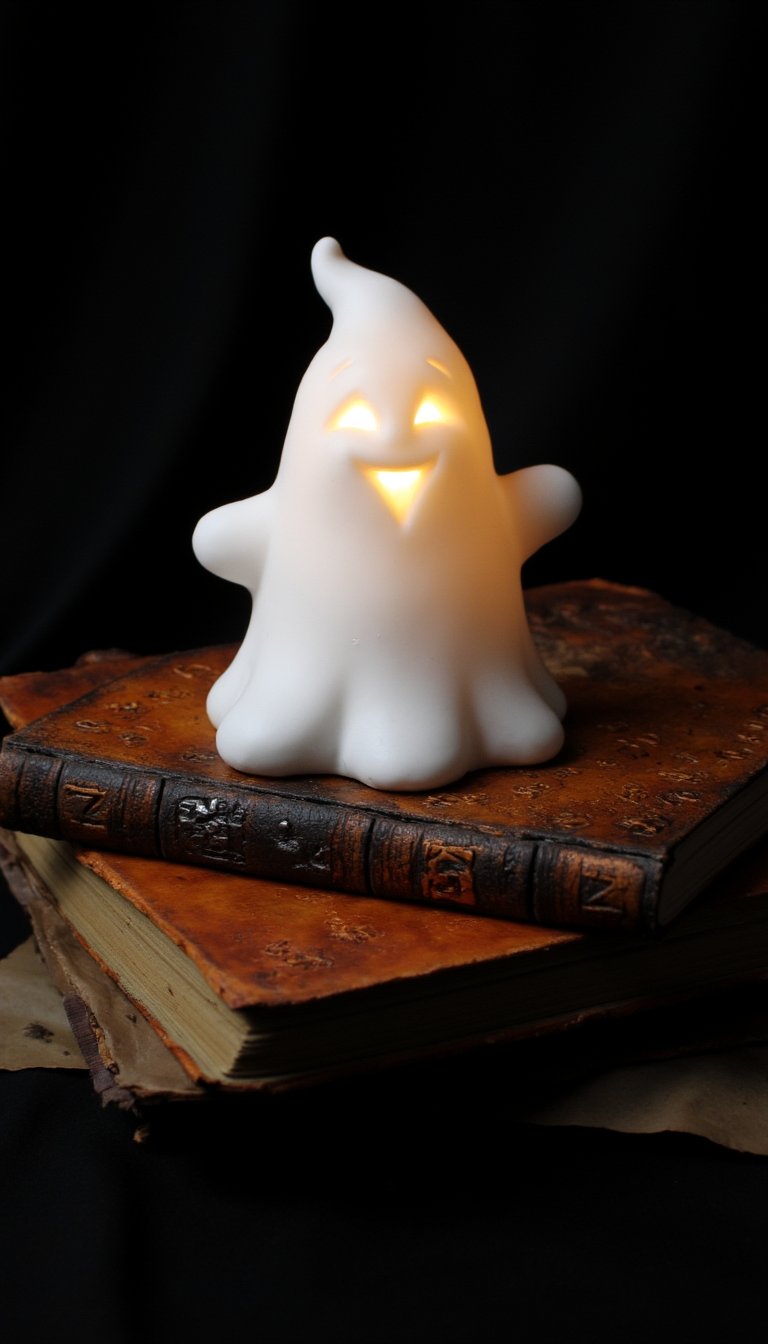
19. “Boo!” Ghost Luminary
[IMAGE_PLACEHOLDER_9:16]
Let’s end with a project that literally lights up the room. Create a hollow ghost shape by draping clay over a foil ball or a small jar covered in foil. Remove the form after shaping and bake the hollow clay shell. Carefully carve out a smiling mouth and eyes. Place an LED candle inside—never use a real flame! The light will glow through the carvings, casting a friendly “Boo!” shadow on your walls. It’s a safe, charming way to welcome trick-or-treaters.
So, there you have it—19 ways to turn simple clay into a Halloween masterpiece. From jewelry that whispers “spooky season” to decor that straight-up shouts it, these projects prove you don’t need a cauldron and a magic wand to create something enchanting (though they might help). The real treat here is the process: the tactile joy of shaping, the anticipation of baking, and the pride of displaying something you made. Now, which craft are you tackling first? Go on, get your hands messy and make this Halloween uniquely, memorably yours. Happy crafting, and even happier haunting!