
Let’s be honest, sometimes the inside of our homes feels a bit…blah. The winter coats are still lurking in the closet, and the gray skies have overstayed their welcome. But what if you could flip a switch and flood your space with pure, unadulterated spring joy? That’s the magic of Easter window art. It’s not just for kids’ classrooms anymore. It’s a vibrant, affordable, and surprisingly chic way to announce that brighter days are here. So, grab your faux-chalk markers, peel-and-stick vinyl, and maybe a glue gun, because we’re about to turn your windows into the main event.
1. The Classic Stained Glass Effect with Tissue Paper

This is the ultimate nostalgic craft that delivers stunning results. You create a “leading” outline with black puffy paint or a black marker on clear contact paper. Once it dries, fill the sections with colorful, torn pieces of tissue paper. The sunlight streaming through creates a breathtaking stained-glass illusion. It’s perfect for crafting a majestic Easter cross, a detailed bunny silhouette, or a cluster of brilliant eggs. The best part? When Easter is over, you simply peel it off—no messy residue, just beautiful memories.
2. Faux-Chalk Marker Masterpieces

For the artist who loves flexibility (and easy cleanup), faux-chalk markers are your new best friend. They give you that gorgeous chalkboard aesthetic without the permanent commitment or the dust. Sketch a hopping bunny trail across a series of panes, write a cheerful “Happy Easter” in swoopy script, or draw a field of tulips. The opaque colors pop beautifully against the glass. Pro tip: use a stencil if freehand drawing makes you nervous, and keep a damp cloth handy for quick fixes. It wipes off with water, so you can change your design daily if you’re feeling extra festive!
3. Peel & Stick Vinyl Decals for the “Craft-Challenged”
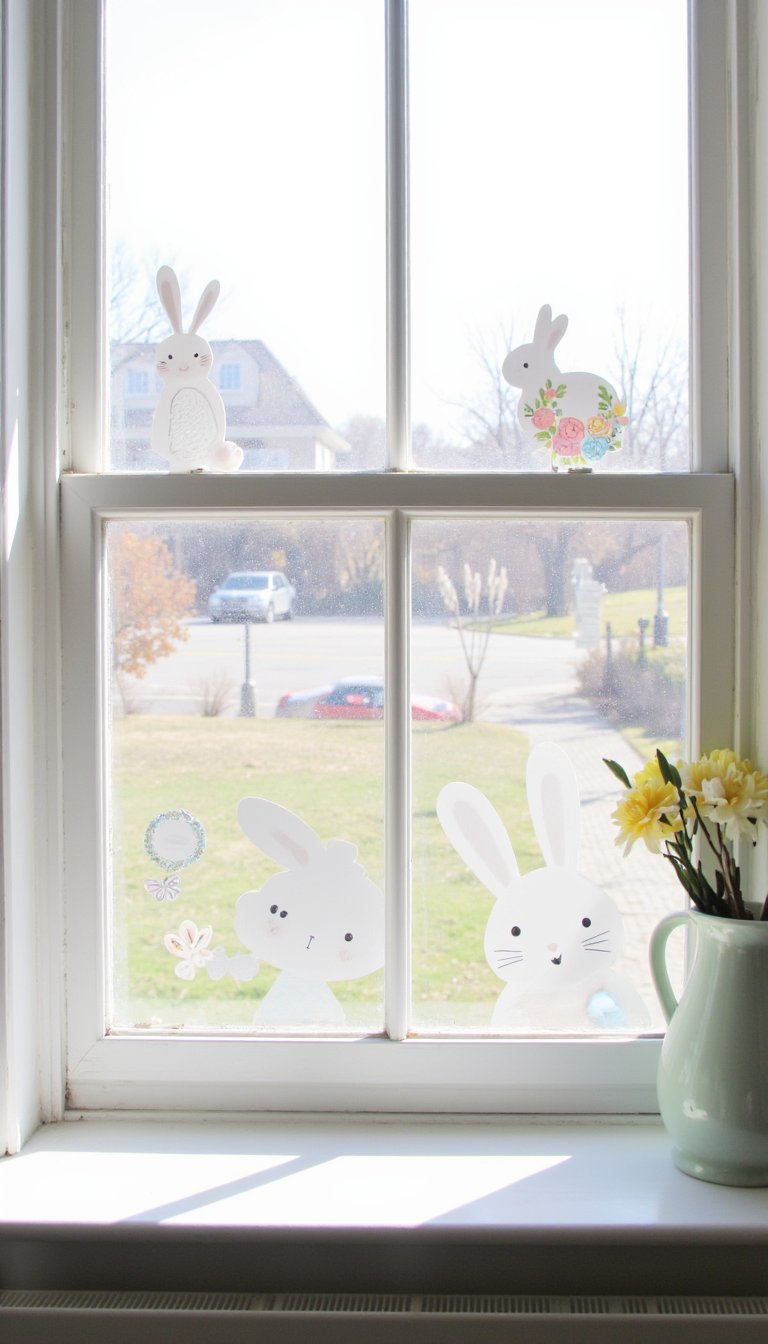
Not everyone has the time or patience for a complex DIY project, and that’s perfectly okay. Enter: peel-and-stick vinyl decals. This is low-commitment, high-impact Easter window art. You can find every design imaginable online—from minimalist Scandinavian bunnies to intricate floral wreaths. They apply in seconds, look fantastically clean and professional, and remove without a trace. It’s the perfect solution for renters, busy parents, or anyone who wants instant spring cheer.
4. 3D Paper Blooms & Butterflies

Take your window display to the next dimension—literally. Create 3D elements using cardstock, coffee filters, or patterned scrapbook paper. Craft butterflies with gently curled wings, layered paper daffodils, or little chicks popping out of cracked eggs. Attach them to the window with small loops of clear tape or reusable adhesive putty. As the light hits them, they cast beautiful, dancing shadows into your room. This approach adds incredible depth and whimsy, making your window feel like a living diorama.
5. The “Bunny Silhouette Sunset” Scene

Channel your inner cinematographer with this dramatic and simple idea. Cut a simple bunny silhouette from black poster board or cardstock and place it on your window. The real magic happens in the evening. As the sun sets behind it, the silhouette will be thrown into sharp, beautiful relief against the colorful sky. Position a few at different heights to create a family of bunnies watching the sunset. It’s a quiet, elegant piece of Easter window art that feels more like a nature documentary than a craft.
6. Watercolor Wash Backgrounds

Maybe you want something soft, ethereal, and beautifully abstract. For that, you need watercolor window paints or even diluted food coloring. Paint soft washes of pastel colors—mint green, lavender, pale yellow—directly onto the glass to mimic a spring sky or a field of wildflowers. Once it dries, you can layer simpler black line drawings on top. The translucent color underneath adds a dreamy, professional quality that solid paints just can’t match. It feels like looking through a springtime fairy’s window.
7. Cling Film Stained Glass (No Glue!)

This is a genius, mess-free hack for anyone who loves the stained-glass look but hates sticky situations. Stretch a sheet of cling wrap (plastic wrap) flat and tape the edges to your table. Let kids color directly on it with permanent markers or paint it with washable tempera paints mixed with a drop of dish soap (this helps it stick). Once dry, you simply press the entire sheet onto your window. The static cling holds it up beautifully! It’s the perfect group activity, and you can make a whole gallery of colorful Easter eggs.
8. A Minimalist Geometric Easter Egg Grid

Who says Easter decor has to be cutesy? For a modern, graphic look, try a grid of geometric Easter eggs. Use painter’s tape to create clean lines and angular patterns on your window, then fill in the sections with window markers or paint. Think triangles, zig-zags, and stripes in a sophisticated palette of mustard, sage, coral, and navy. This style of Easter window art feels fresh, stylish, and would look right at home in a trendy downtown loft. It proves holiday decor can be chic.
9. An Interactive “Guess How Many Jelly Beans” Jar

Turn your window into a game that gets the whole neighborhood talking! Draw or decal a large, empty glass jar on your window. Then, fill it with a vibrant multitude of hand-drawn or painted jelly beans. Add a sign that says, “Guess how many?” with a place for people to write their guesses (a small dry-erase corner works great). It’s engaging, fun, and adds a playful, community-focused element to your display. You might even start a friendly competition on your street!
10. A Floral Spring Wreath Surround

Why hang a wreath on your door when you can frame your entire window with one? Use window markers or vinyl to draw a lush, overflowing wreath right onto the glass pane’s border. Fill it with spring blooms like hyacinths, tulips, and daffodils, and tuck in a few Easter eggs and a cute bunny. This technique beautifully frames your view of the outside world, making the entire window feel like a finished piece of art. It’s a classic look that never goes out of style.
11. Shadow Puppet Theater with Cut-Outs

Embrace the power of light and shadow. Create a cast of characters from cardstock—bunnies, chicks, lambs—and attach them to popsicle sticks. Tape them at various points on your window. During the day, they’ll add colorful interest. But at night, shine a lamp from inside behind them. Suddenly, your window becomes a shadow puppet theater for anyone outside! Tell a simple story of the bunny finding eggs. It’s a dynamic, creative form of Easter window art that literally comes to life after dark.
12. Reverse Glass Painting for a Polished Look
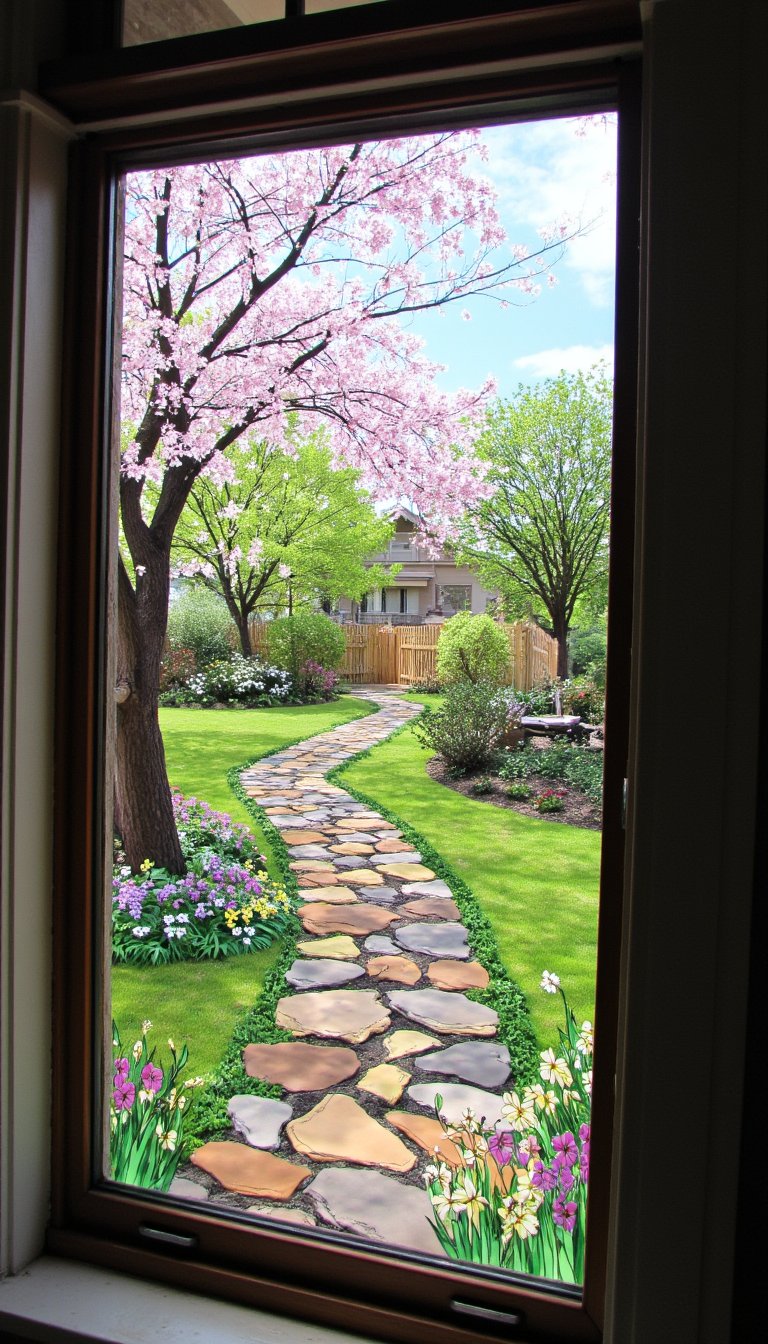
This technique takes a steady hand but delivers a fantastically professional finish. You paint on the *outside* of the glass, but you work on the *inside* of your lines and details first. Essentially, you paint in reverse order—highlights and details first, background color last. When viewed from the correct side (inside your home), the image looks perfectly crisp. It’s ideal for a detailed scene, like a peaceful garden with a stone path and a little wooden fence. The result is a stunning, painterly window that looks like it was always meant to be there.
13. A “Hoppy” Bunny Hopscotch Trail

Unleash your playful side with a narrative design. Create a series of numbered paw prints, carrots, or Easter eggs leading up your window, across panes, or even around a corner. You can add a cute bunny at the start and a basket of goodies at the end. This design tells a story and encourages the eye to move. It’s especially fantastic for French doors or a series of smaller windows. It feels energetic, joyful, and captures the playful spirit of the Easter bunny’s big night. 😄
See? Easter window art is so much more than a single sticker on the glass. It’s a chance to play with light, tell a story, and splash your personal style all over your home’s brightest canvas. Whether you go for the easy win with vinyl decals or spend an afternoon crafting 3D paper blooms, each of these 13 ideas promises to banish the last of the winter blues. The real magic happens when the sun hits your creation and spills a rainbow across your floor. So, pick your favorite, gather your supplies, and get decorating. Your windows (and your mood) will thank you. Happy crafting!