Let’s be honest, the Easter Bunny is the real star of the spring season. Sure, the eggs are fun to dye, but it’s that floppy-eared, cotton-tailed friend who really sparks the magic. If you’re looking to fill your home with more of that whimsical charm (and maybe keep the kids creatively occupied for more than five minutes), you’ve hit the jackpot. I’ve rounded up 27 of the most adorable, doable, and downright fun Easter bunny crafts. From last-minute paper projects to keepsakes you’ll treasure for years, there’s a hoppy idea here for every age and skill level. Ready to get your craft on?
1. Cardboard Tube Bouncing Bunnies
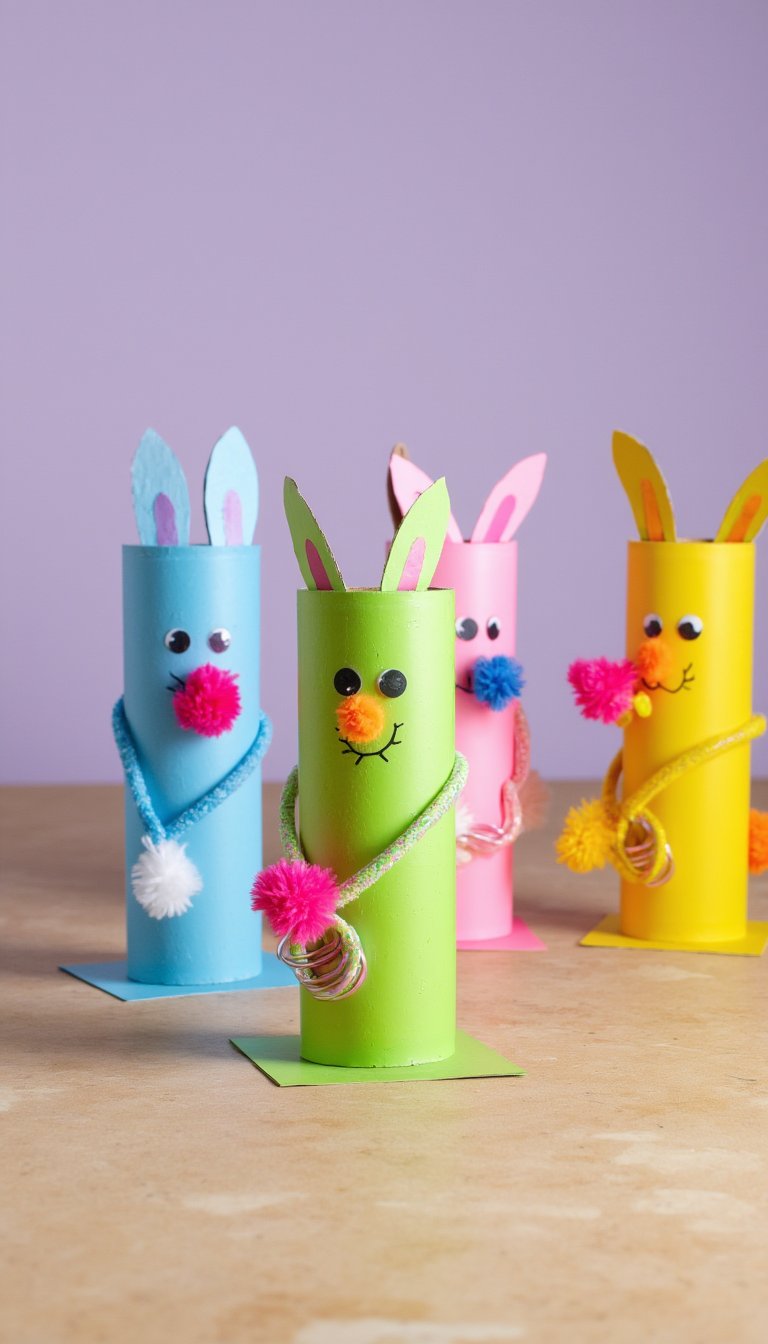
Before you recycle those toilet paper tubes, stop! They are the perfect base for these silly, springy bunnies. Simply paint the tube white or cover it with paper, then add construction paper ears, a pom-pom tail, and a drawn-on face. The magic trick? Add a pipe cleaner “spring” between the body and a cardboard base so your bunny actually wobbles and bounces. Kids go wild for the interactive element, and you’ll love the zero-cost materials.
2. Pom-Pom Bunny Garland
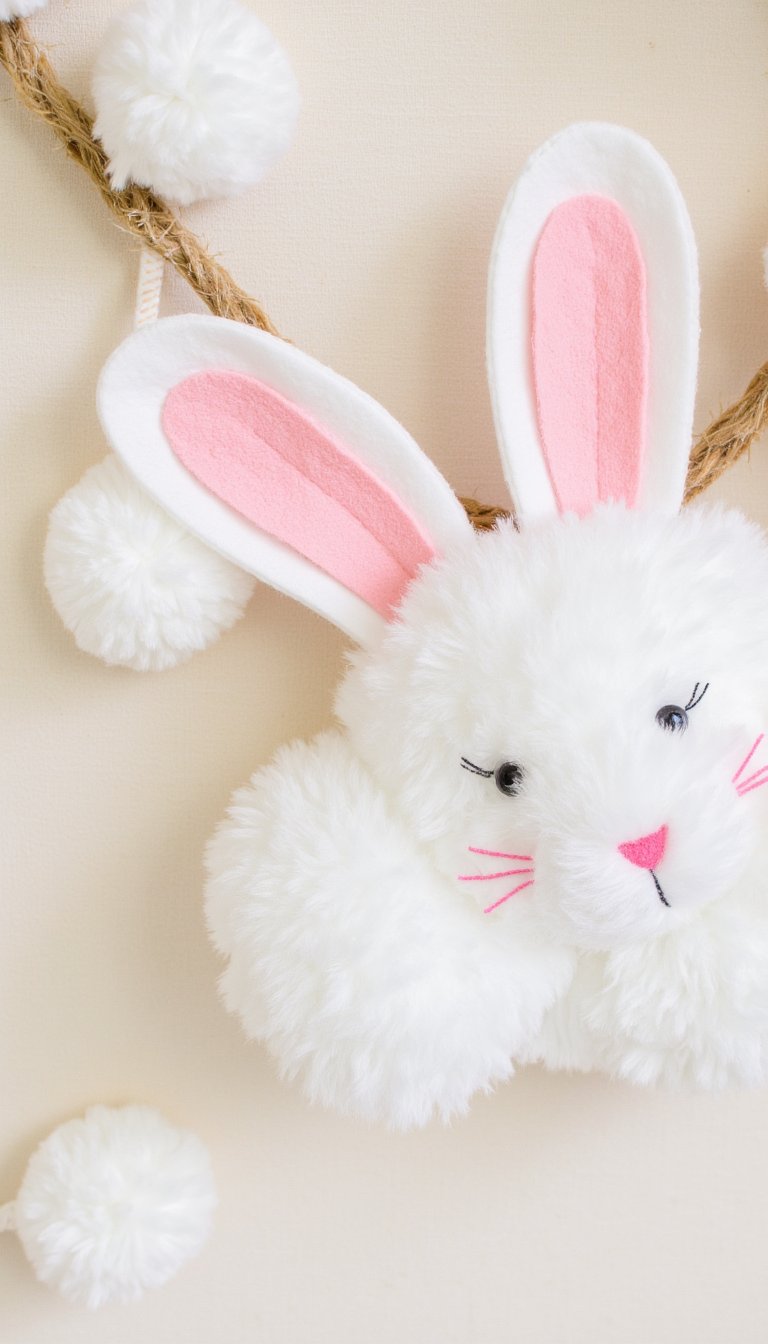
This craft adds a fluffy, textural touch to any mantel or doorway. You’ll need white and pink pom-poms in various sizes, some felt for ears, and a string of jute or yarn. Glue small pink pom-poms inside larger white ones for the head, attach felt ears and tiny googly eyes, and then string them all together. It’s a simple, repetitive project that’s perfect for movie night crafting. The result is a charming, boho-chic decoration you can pack away and reuse for many Easters to come.
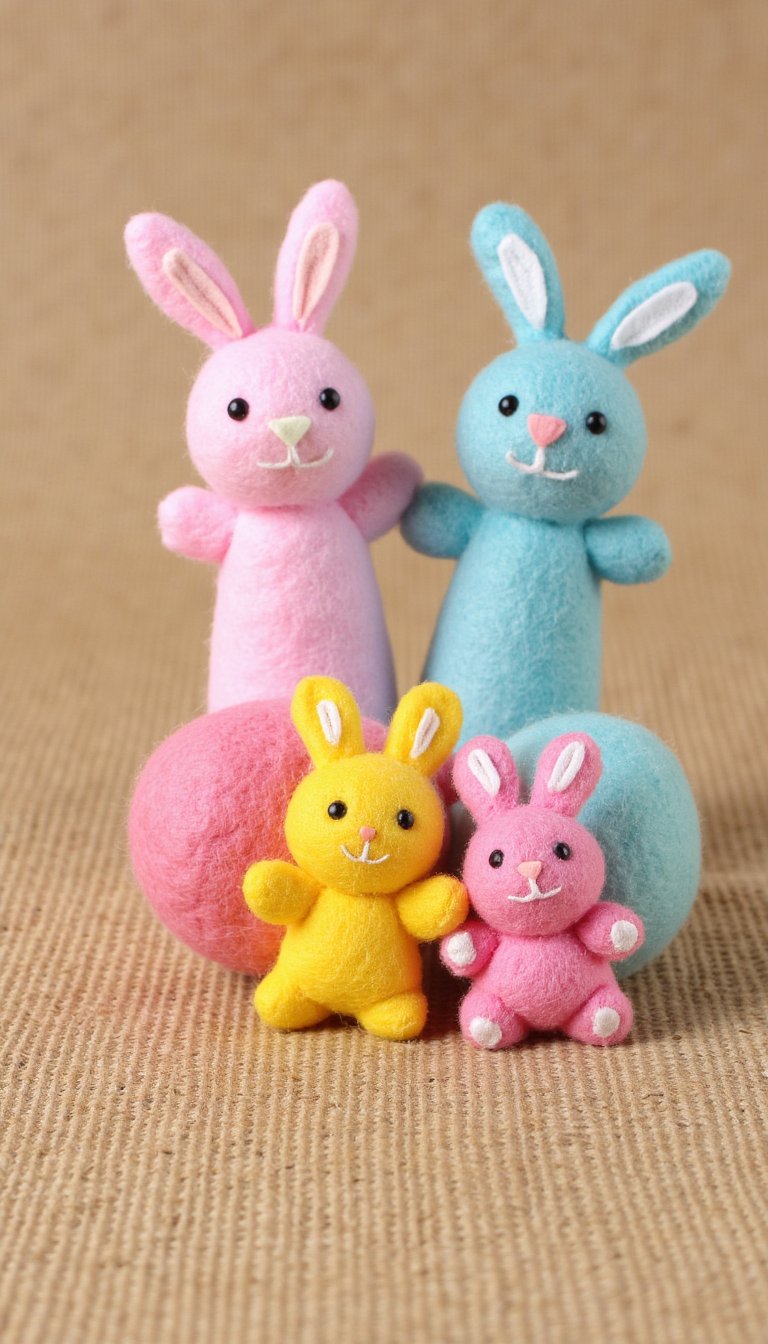
3. Sock Bunny No-Sew Stuffies
We all have that one lonely sock whose partner vanished in the dryer. Give it a new life as the cuddliest bunny on the block! Fill the foot section with rice or stuffing, tie a rubber band to create the head, and use the cuff of the sock to form floppy ears. A few strategic ties with ribbon or string create the body and arms. No needle or thread required! This is my go-to craft for a quick, satisfying plushie that kids can customize with markers or fabric glue details.
4. Coffee Filter Watercolor Bunnies
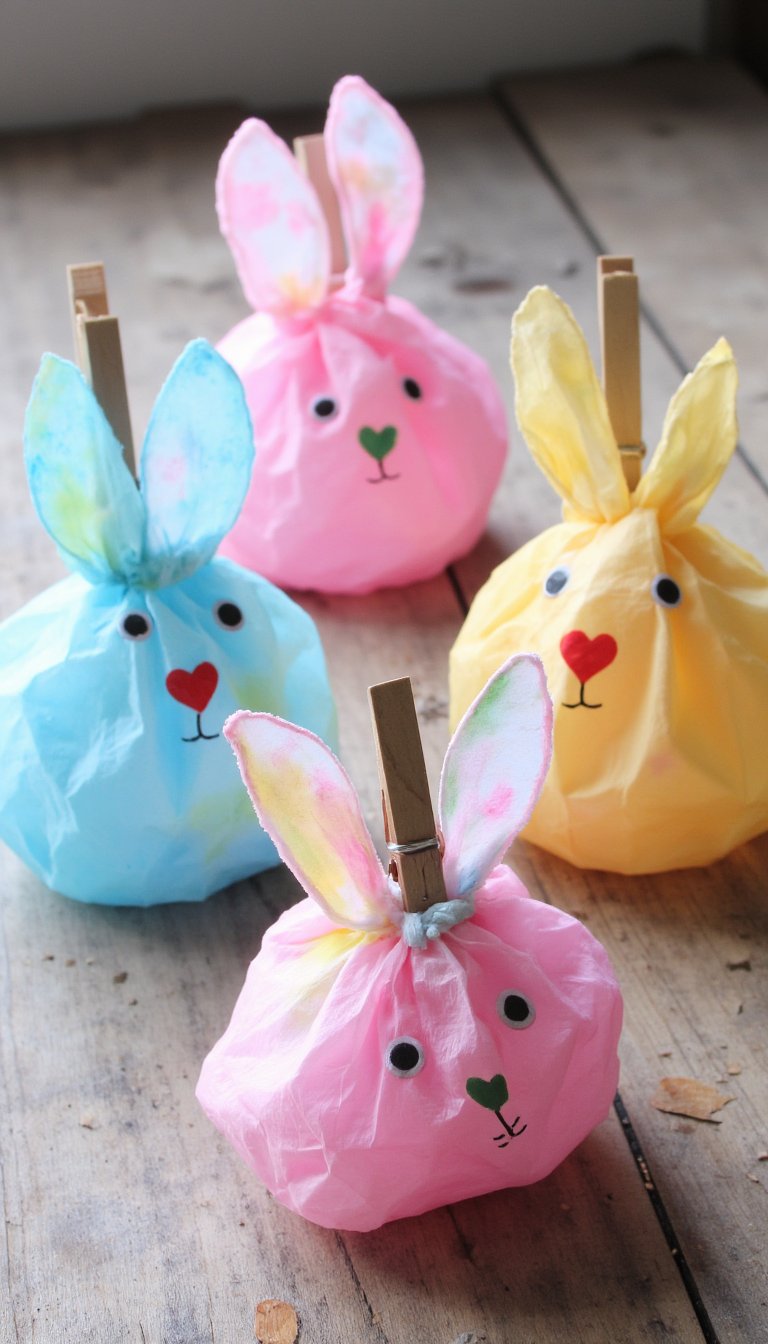
Unleash your inner artist with this beautiful, process-oriented craft. Flatten a few basket-style coffee filters and use watercolor paints or even food coloring to create soft, pastel washes of color. Once dry, fold and clip them with clothespins that you’ve painted or decorated to look like bunny ears and faces. The translucent, colorful “bodies” are stunning when hung in a sunny window. It’s less about perfection and more about the gorgeous, ethereal effect.
5. Bunny Ear Headbands for Everyone
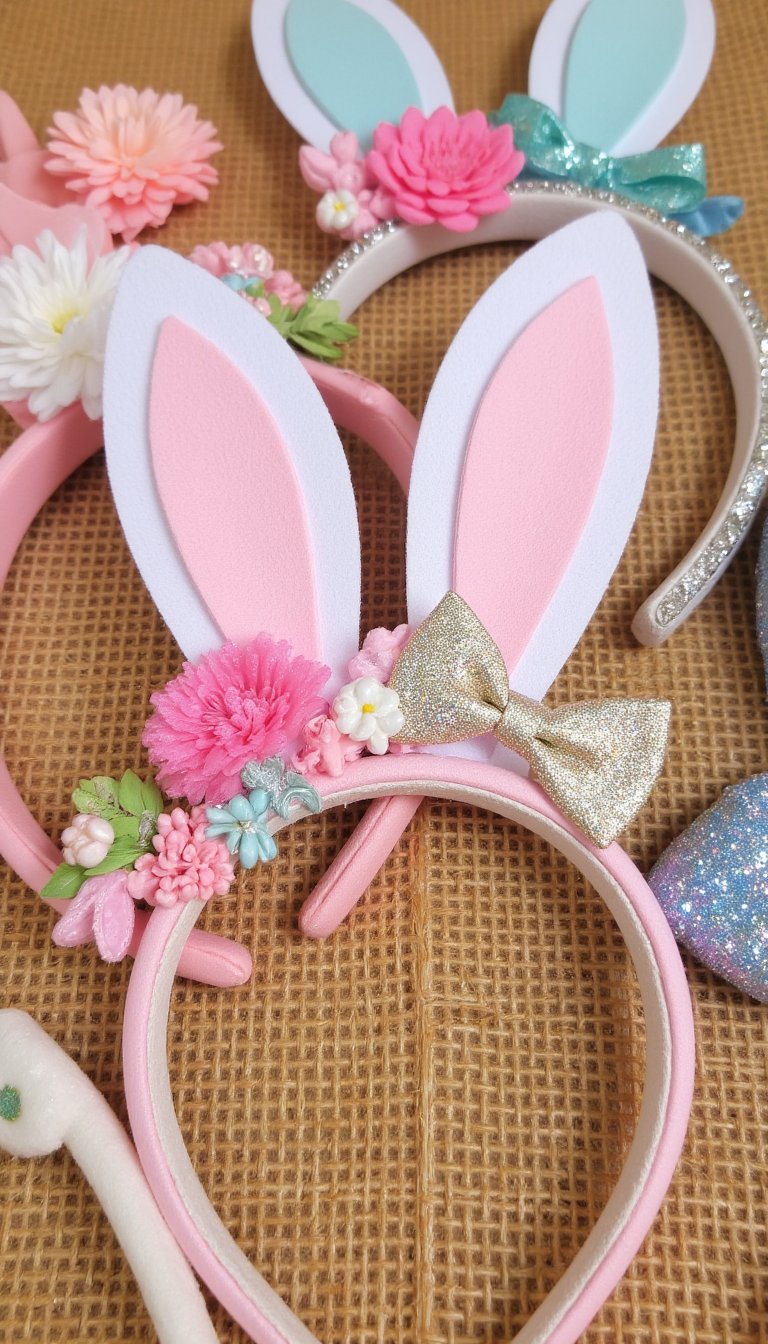
Why should the kids have all the fun? Crafting matching bunny ear headbands is a fantastic family activity. Use plain plastic headbands as a base. For the ears, you can use felt, foam sheets, or even cardboard wrapped in fabric. Get creative with the decor—add glitter, flowers, polka dots, or even little bow ties. Pro tip: Make the ears for little ones out of super soft felt so they’re comfortable for all-day wear during your Easter egg hunt.
6. Rock Painting: Garden Bunny Guardians
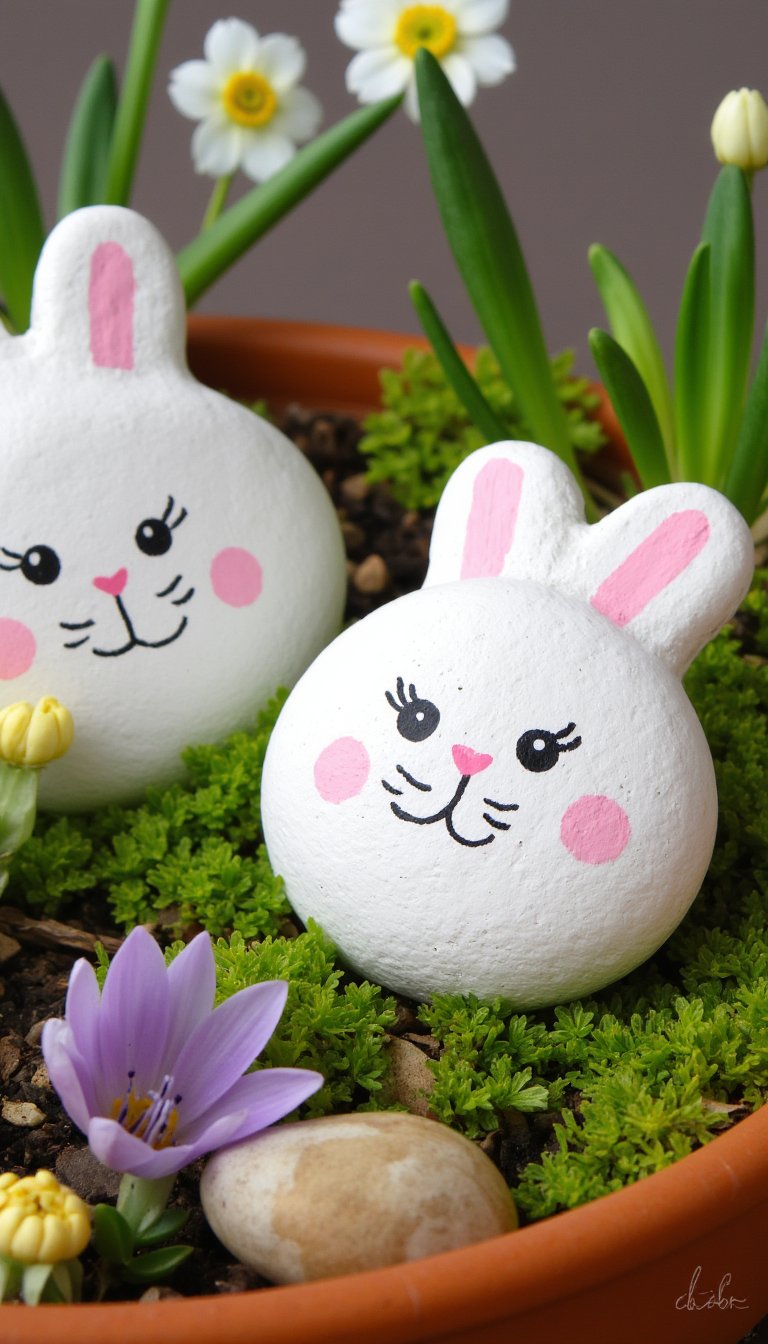
Take your crafting outdoors! Find some smooth, oval-shaped rocks in your yard or at a local park. After a good wash and dry, paint them white and let them dry completely. Then, use acrylic paints or sharpies to add sweet bunny faces, ears, and little details. Seal them with a clear outdoor sealant, and place them in your garden as adorable, weatherproof decorations. They peek out from flower beds and add a touch of whimsy to your spring landscape.
7. Paper Plate Bunny Masks
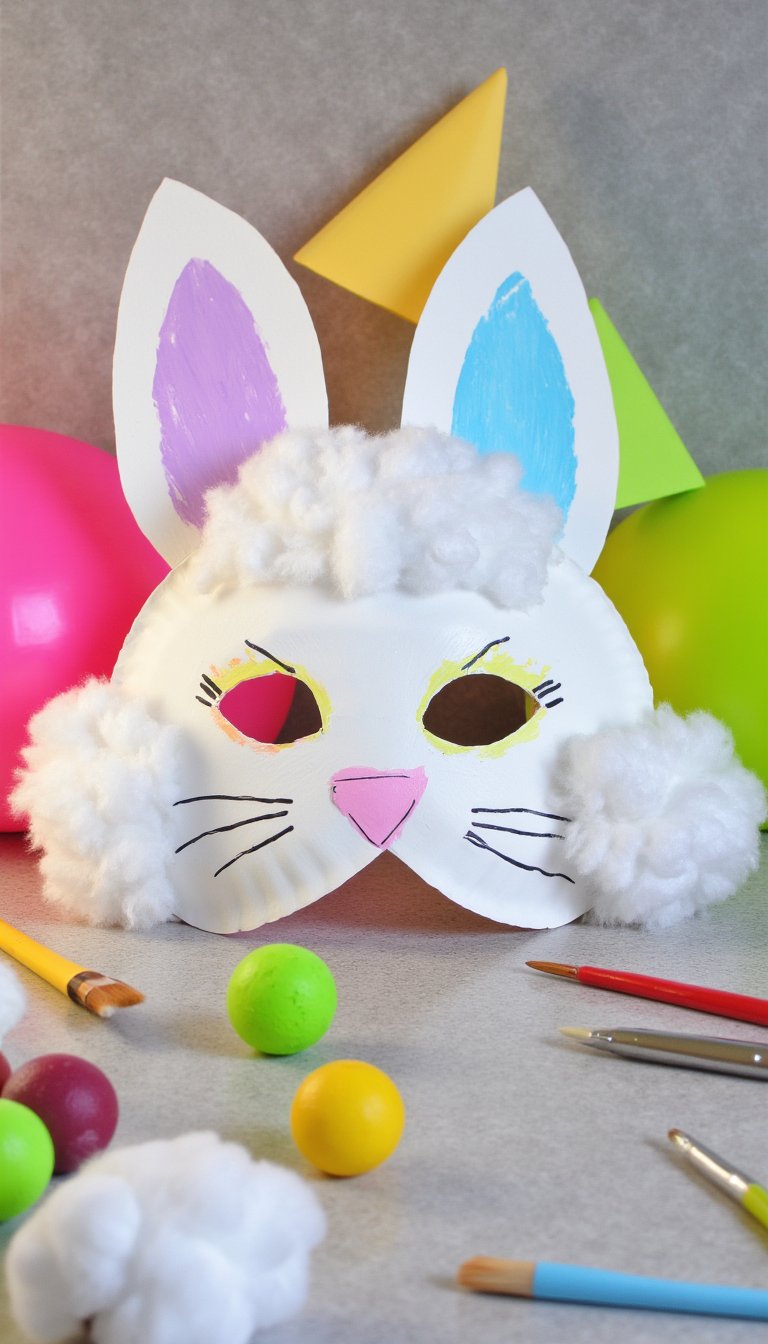
This is the ultimate quick-fix craft for instant imaginative play. Grab a paper plate, cut out eye holes, and let the kids go to town. They can paint the plate, glue on cotton balls for a fuzzy face, and attach giant construction paper ears. Attach a craft stick or elastic string, and voila! You’ve got a mask for a hopping good time. I always have the supplies for this on hand—it’s a lifesaver when you need a fast, engaging activity.
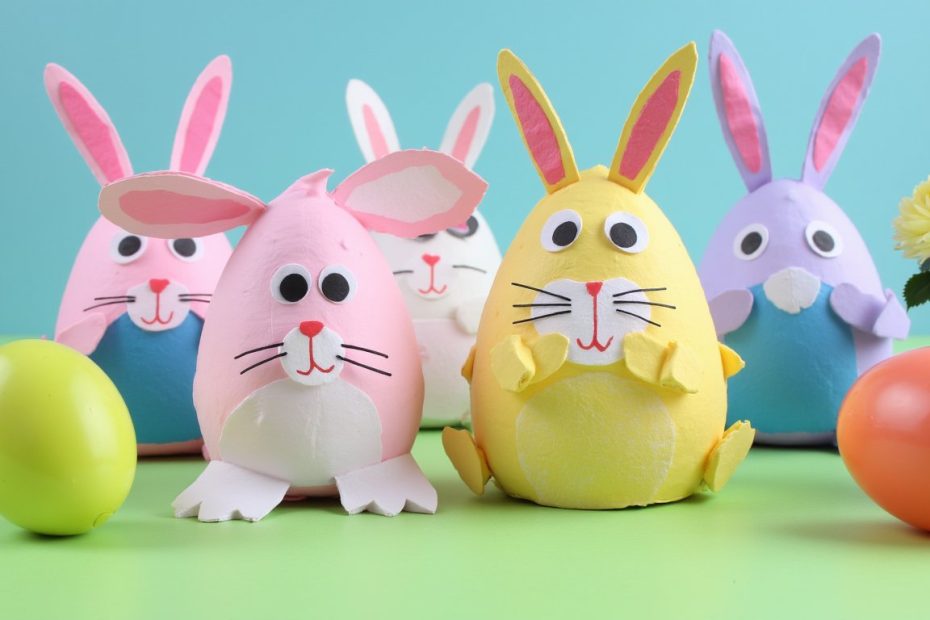
8. Egg Carton Bunnies
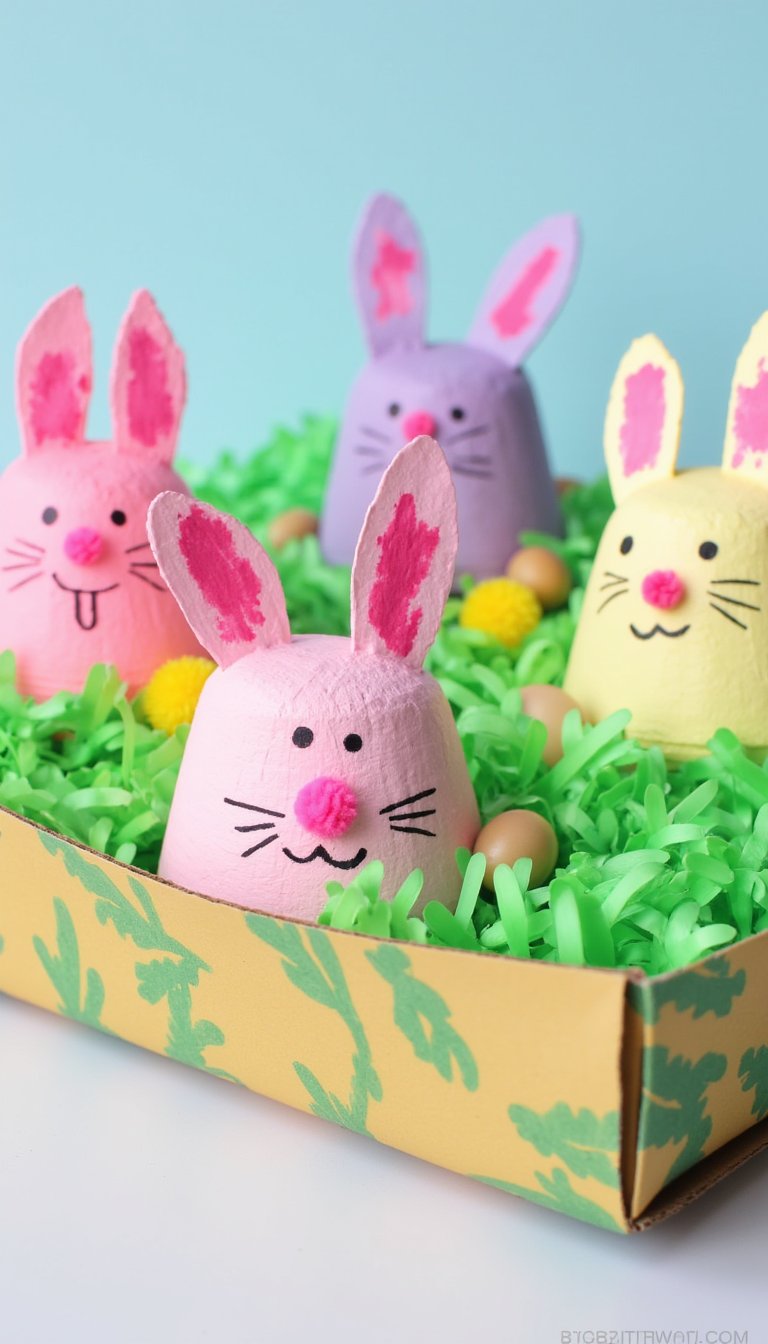
Turn the humble egg carton into a whole family of bunnies! Cut apart the individual cups—these will be the bunny bodies. Use the pointed section of the carton lid to cut out ears. Paint everything, glue the ears on, and add details with markers or small pom-poms. You can even create a whole village by placing them in a decorated shoebox with paper grass. It’s a fantastic lesson in upcycling and creativity.
9. Fingerprint Bunny Cards
Want a craft that doubles as a heartfelt gift? Make fingerprint bunny cards! Dip a fingertip in light gray or white ink and press it onto a folded card to make the bunny’s head. Then, use a pen to draw on ears, whiskers, and feet. Add a tiny pink fingerprint for the nose. Write a message like “Some-BUNNY loves you” inside. Grandparents absolutely melt over these personalized keepsakes, and they’re so easy for even the tiniest crafters.
10. Clay Pot Bunny Planters
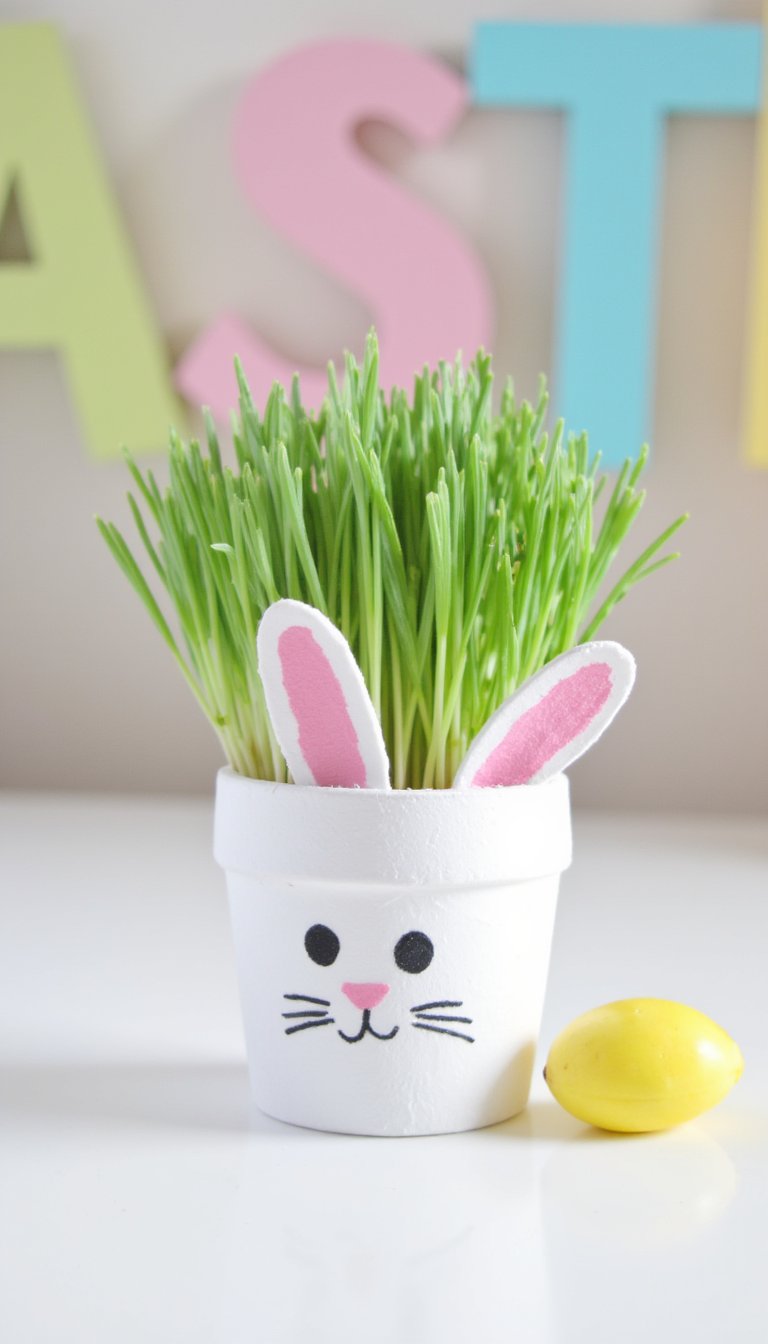
Combine crafting with a bit of gardening for a project that keeps on giving. Take a small terracotta pot and paint it white. Paint on a cute bunny face, and use craft foam or felt to create ears that you can glue to the rim. Plant some wheatgrass or fast-sprouting chia seeds in the top—it’ll look like the bunny is growing a cute green “hairdo.” These make wonderfully sweet teacher gifts or centerpiece favors.
11. Bunny Butt Tissue Box Cover
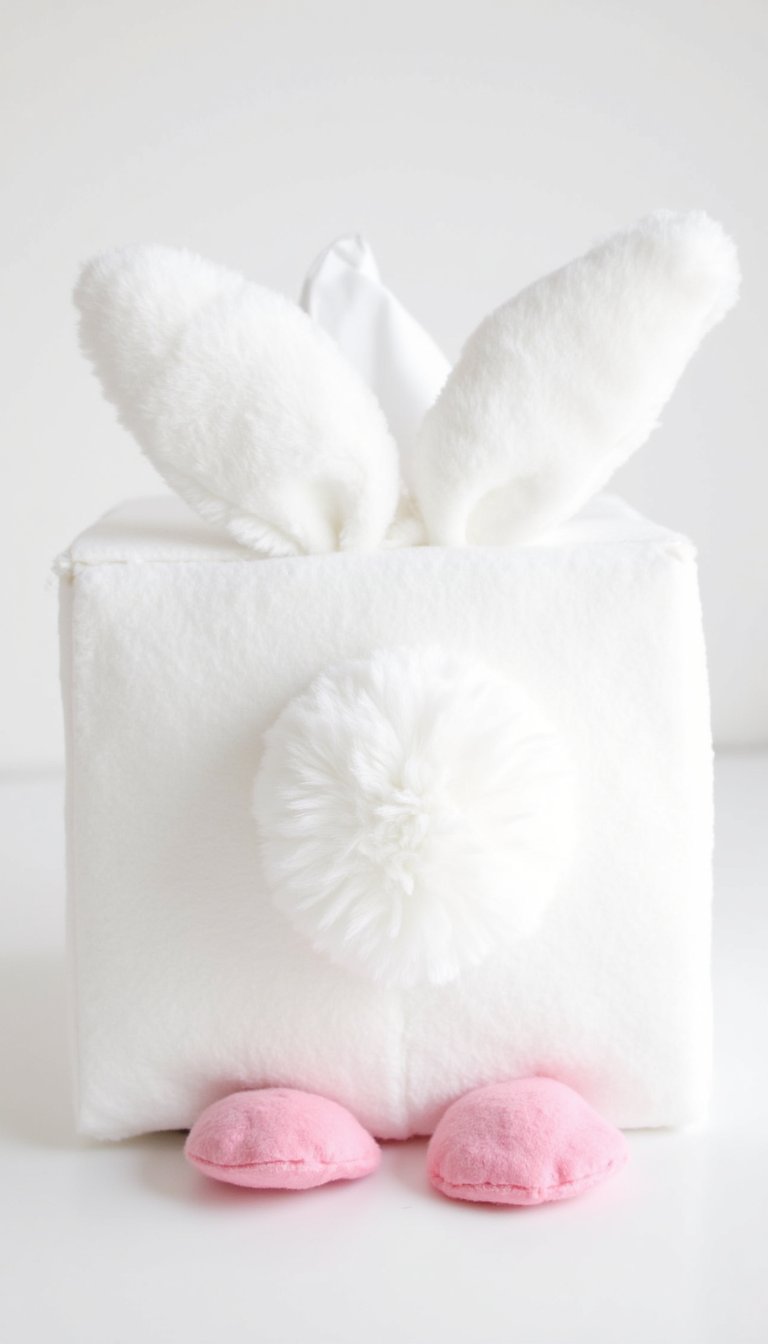
Okay, hear me out—this is as hilarious as it is cute. Cover a standard square tissue box with white felt or fleece. On one side, attach a big, fluffy white pom-pom for the tail and two pink felt feet peeking out from the bottom. It looks like a bunny has buried itself head-first into the box! It’s a guaranteed conversation starter for your bathroom or kitchen counter and a genius way to disguise a plain box of tissues.
12. Popsicle Stick Bunny Puzzle
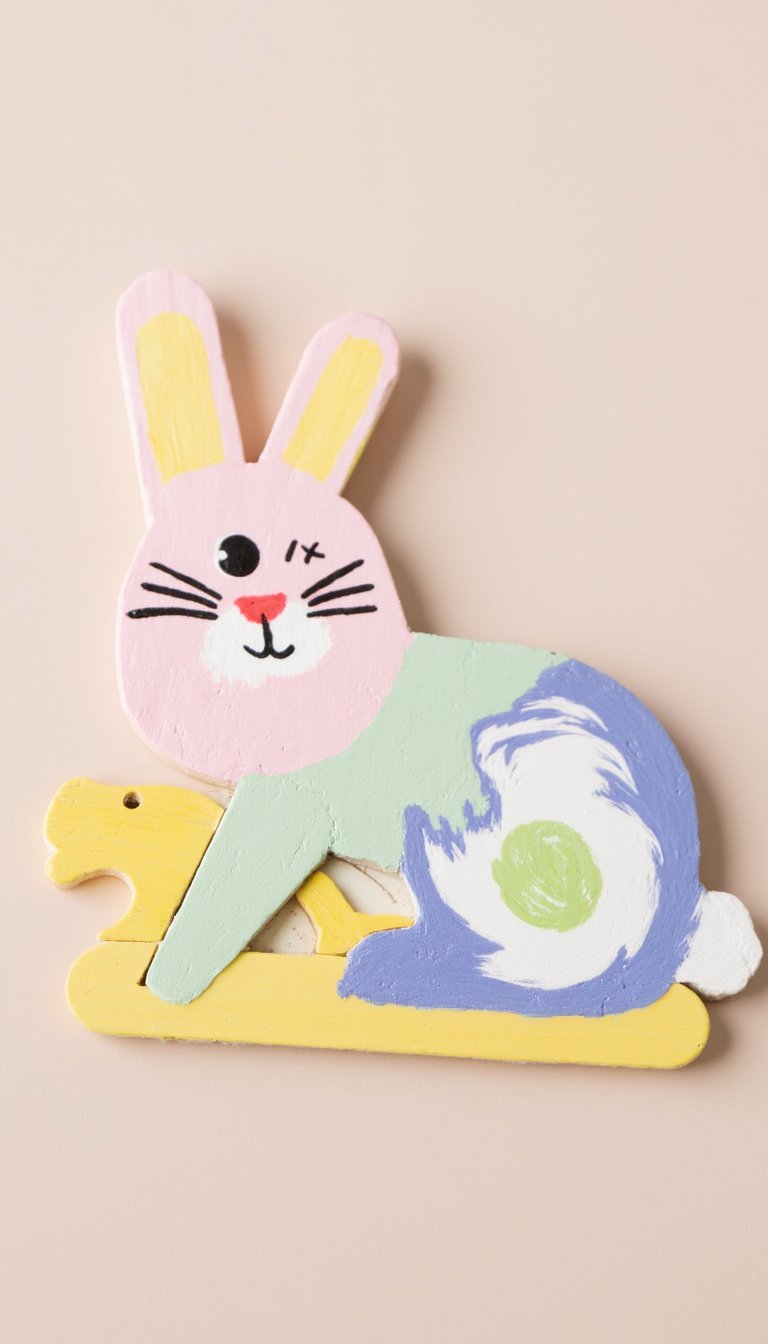
Line up 8-10 wide craft sticks side-by-side on a piece of painter’s tape. Draw or paint a simple bunny picture across all the sticks at once. Let it dry completely, remove the tape, and mix up the sticks! Now you have a DIY puzzle. For younger kids, keep the design very simple; older kids can create more detailed scenes. You can even write numbers or letters on the back for an educational twist.
13. Felt Bunny Finger Puppets
These are insanely cute and perfect for little hands to stage their own bunny adventures. Cut two identical bunny shapes out of felt, sew or hot glue them together around the edges, leaving the bottom open for little fingers. Embroider or glue on tiny faces and ears. Make a whole family in different colors! They’re a quiet, portable craft that sparks endless storytelling.
14. Paper Bag Bunny Puppets
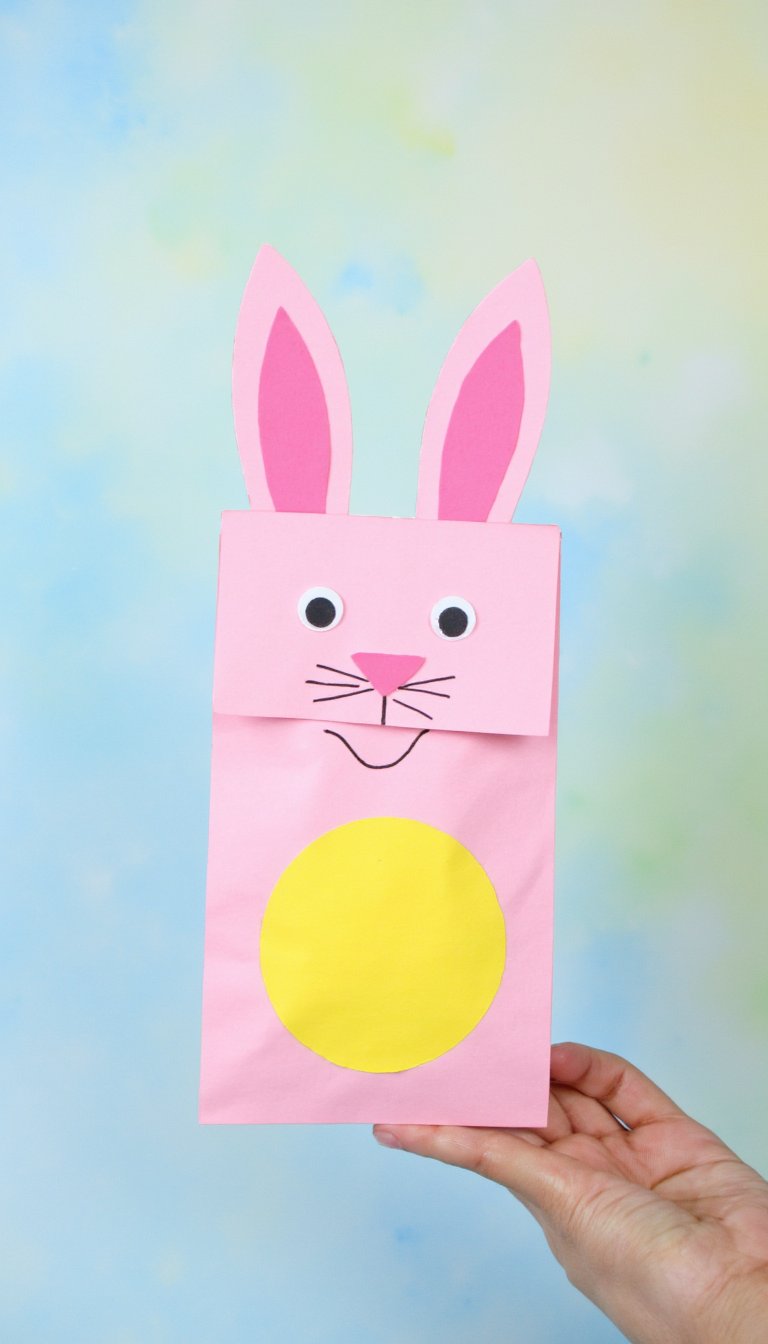
The classic paper bag puppet gets a spring makeover. Use a standard lunch bag, decorate the “flap” that becomes the bottom of the bag as the bunny’s face, and glue on long ears at the top. When you put your hand inside, you can make the bunny talk and move its mouth. It’s a fantastic, low-mess craft for groups and a great prompt for putting on a silly Easter show for the family.
15. Bunny Bookmarks from Clothespins
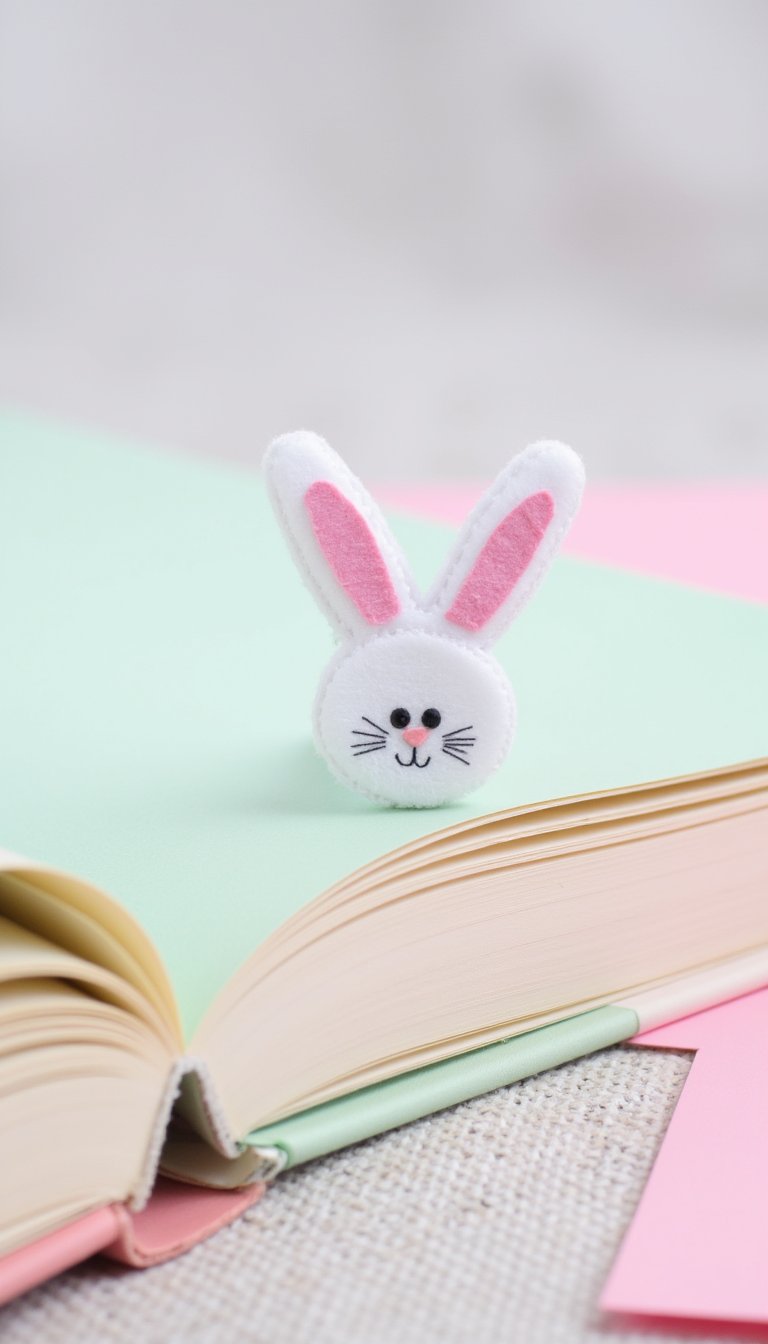
Encourage some spring reading with these clever clothespin bookmarks. Paint a wooden clothespin white. At the top (the pinching end), glue on two white felt ears and a tiny pink inner ear. Draw on a face. The bunny clips right onto the page, with its ears sticking up charmingly. It’s a functional craft that older kids and even adults will appreciate. Make a bunch as sweet, handmade gifts for book lovers.
16. Yarn-Wrapped Bunny Shapes
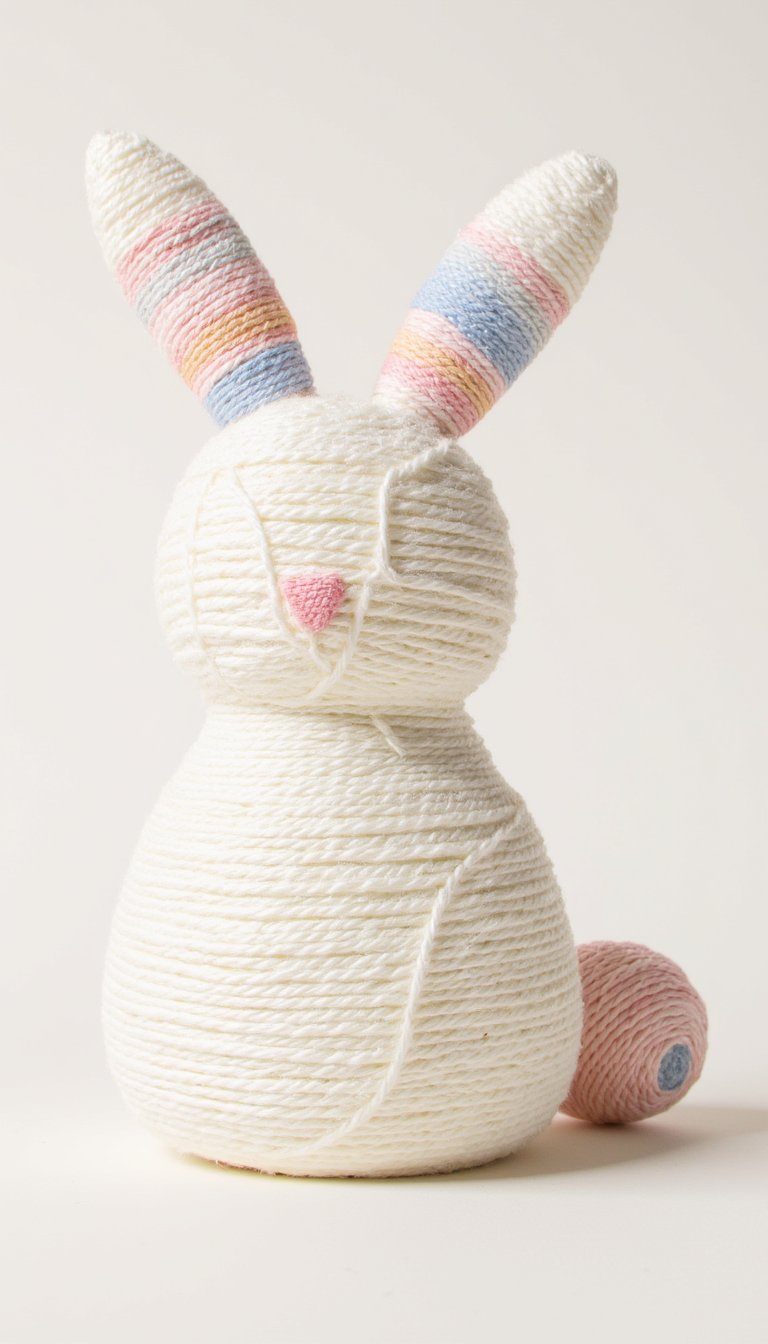
This craft is wonderful for building fine motor skills and the results are so tactile and pretty. Cut bunny silhouettes out of sturdy cardboard. Let kids wrap white or pastel yarn around and around the shape, securing the ends with a dab of glue. They can add a separate yarn-wrapped circle for a tail. The wrapping process is calming and meditative, and you end up with a soft, textile piece of art.
17. Mason Jar Bunny Lanterns
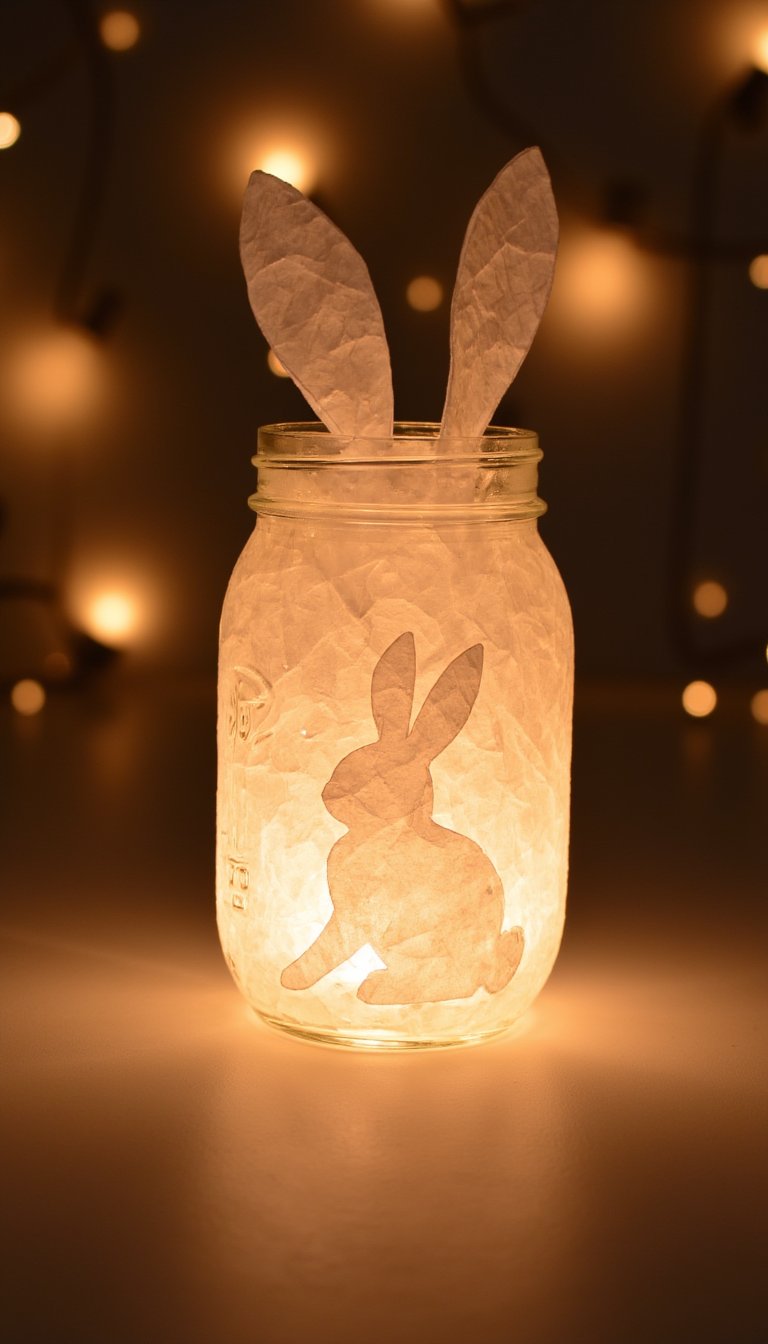
Create a magical glow for your Easter evening. Take a clean mason jar and use double-sided tape to attach bunny silhouettes cut from tissue paper or vellum to the outside. Brush a thin layer of Mod Podge over the entire jar to seal it. Once dry, place a battery-operated tea light inside. The light will shine through, highlighting the bunny shapes with a warm, gentle glow. Perfect for lining a walkway or decorating a dinner table.
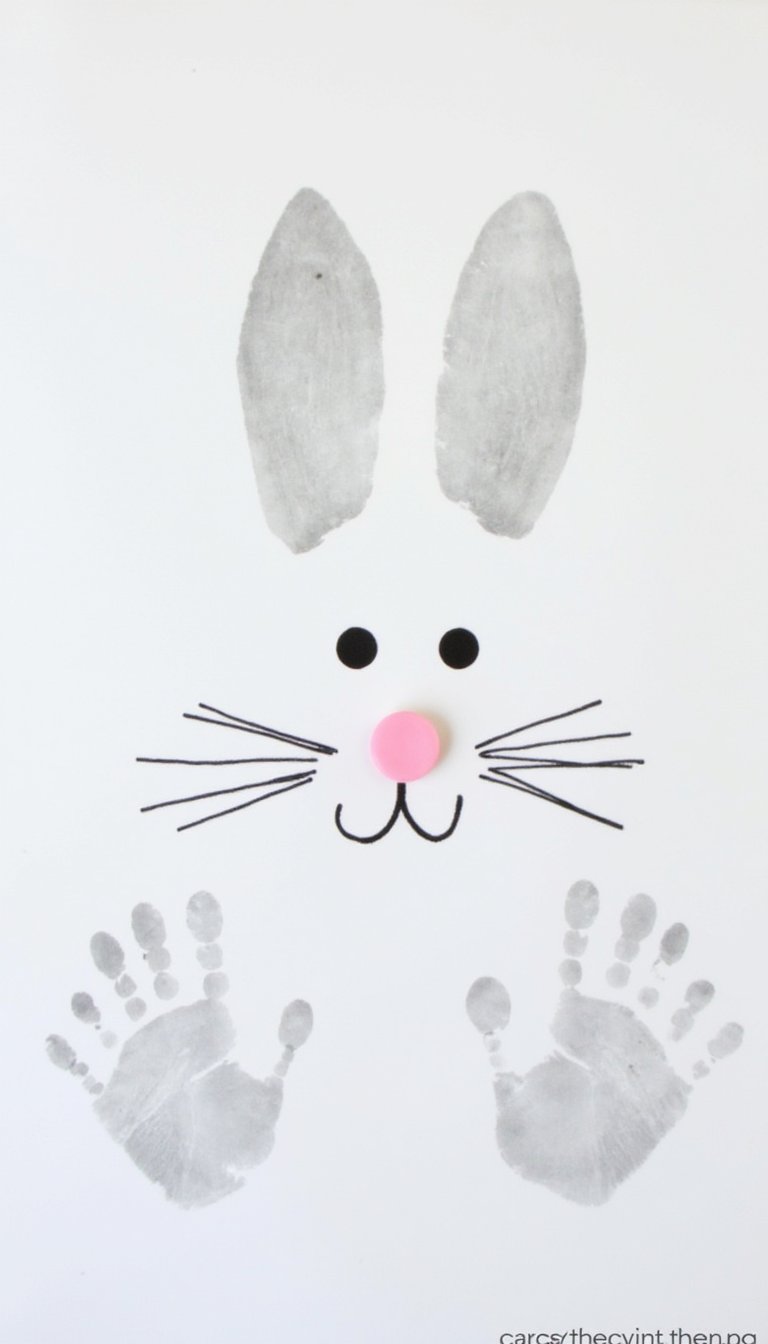
18. Handprint & Footprint Bunny Keepsake
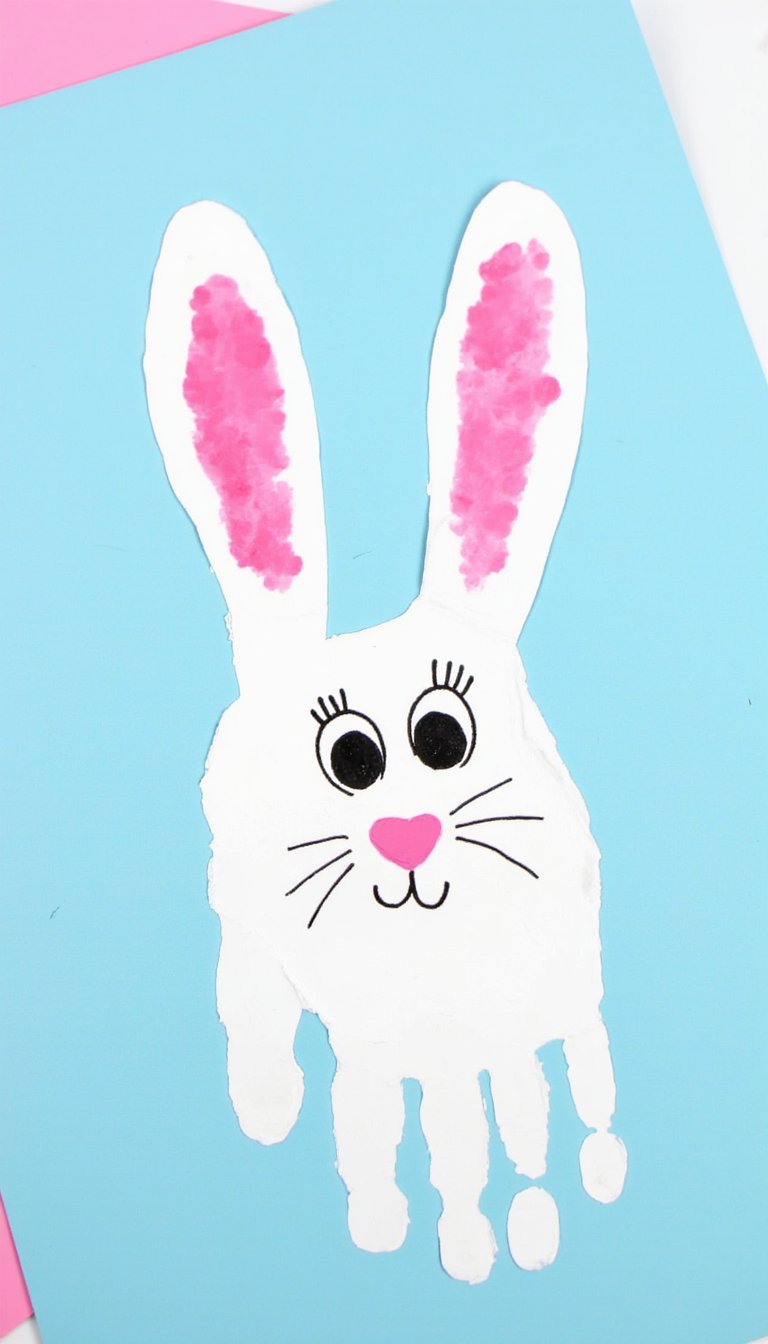
Capture how small those hands and feet are right now with this sentimental craft. Paint the bottom of your child’s foot white and press it onto paper—this is the bunny’s head. Then, paint both their hands white and press them on either side as the ears. Add details to turn the footprint into a face. Date it! It’s more than a craft; it’s a snapshot in time you’ll cherish forever. Get the wipes ready—this one’s messy but worth it.
19. Bunny Bunting from Scrap Fabric
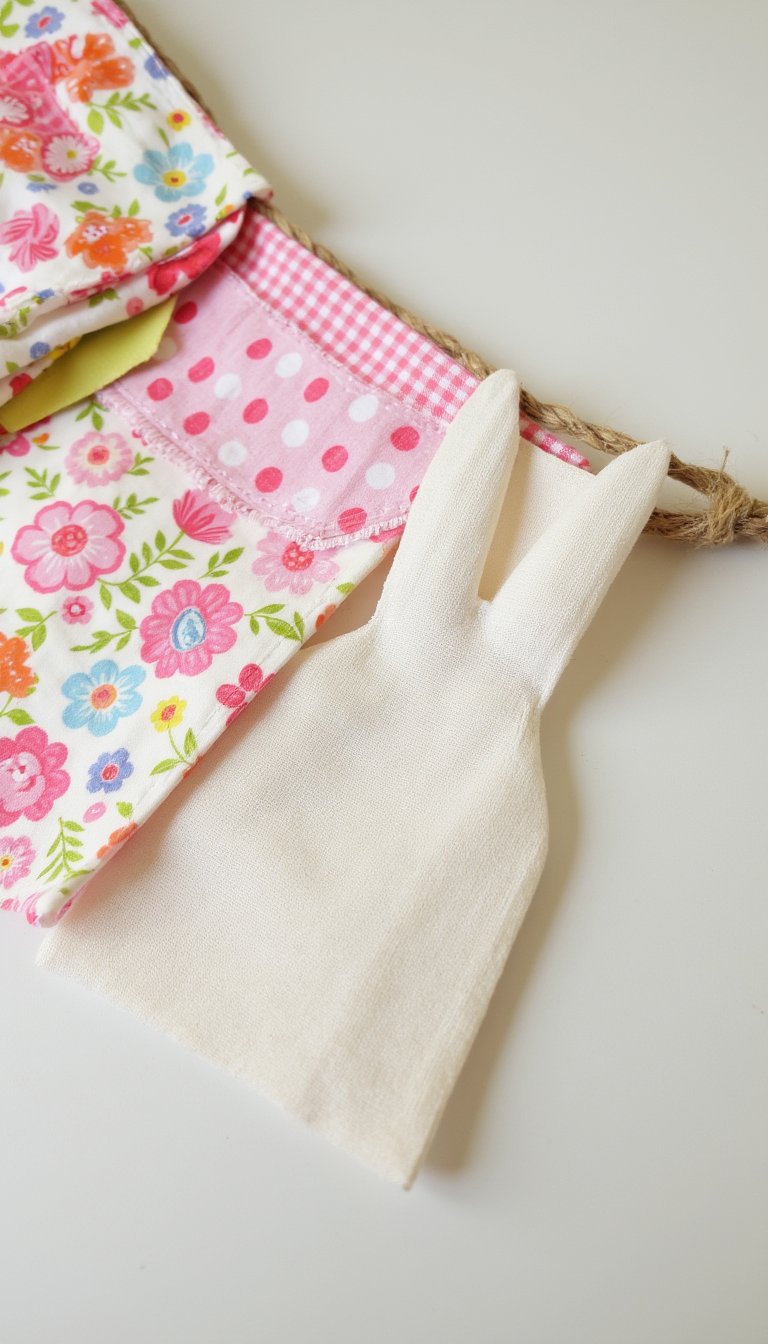
Raid your fabric scrap bin or old clothes for this charming decoration. Cut simple bunny shapes from assorted patterned fabrics (think florals, gingham, and polka dots). Use pinking shears to prevent fraying and give a cute edge. Sandwich a length of twine between two bunny shapes and glue around the edges, leaving the top open for the twine. Hang them in a line for a festive, homespun touch.
20. Pine Cone Bunnies for a Natural Look
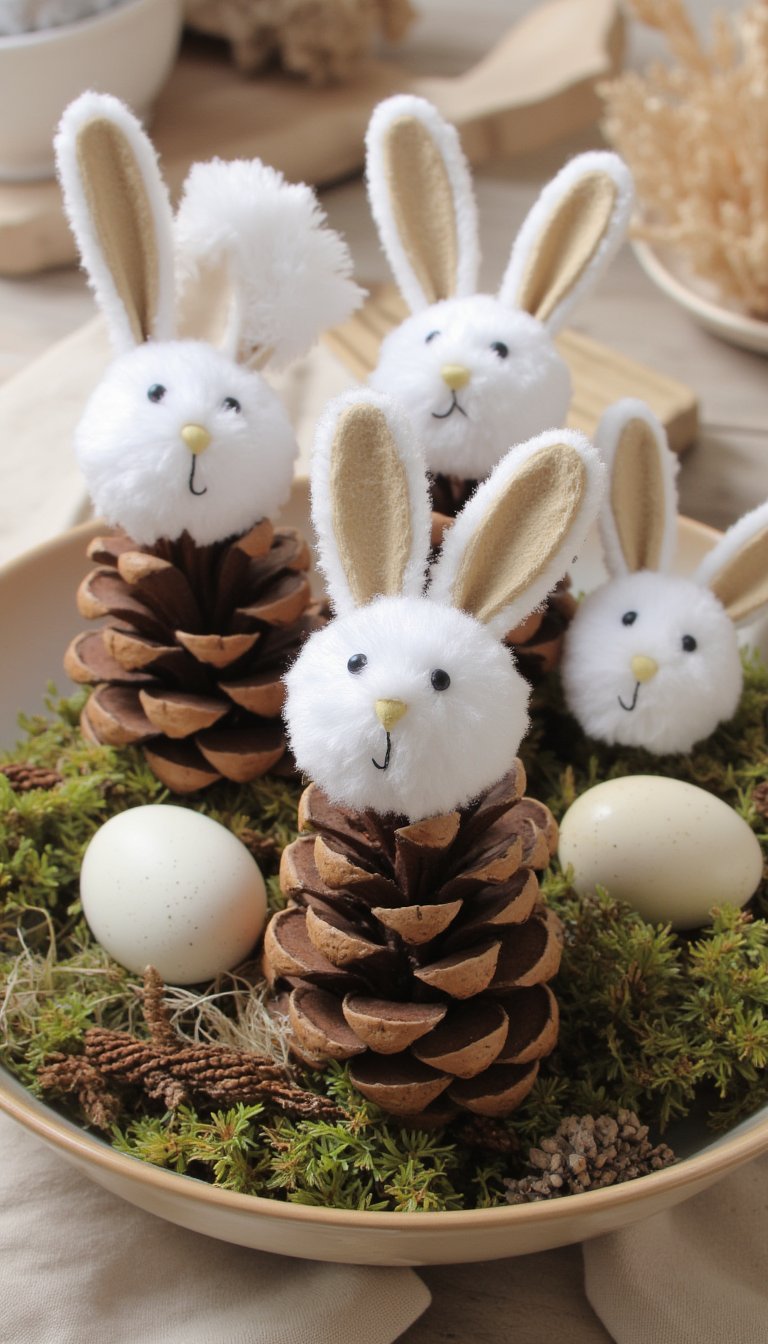
Bring a bit of the forest inside. Gather small, roundish pine cones. Glue a white pom-pom to the top for a head, and attach thin, white felt ears. Glue on tiny bead eyes and a pink nose. The pine cone’s natural texture makes for a wonderfully fuzzy body. These look adorable nestled in a centerpiece bowl with moss and faux eggs, adding a rustic element to your decor.
21. Bubble Wrap Printed Bunny Shirts
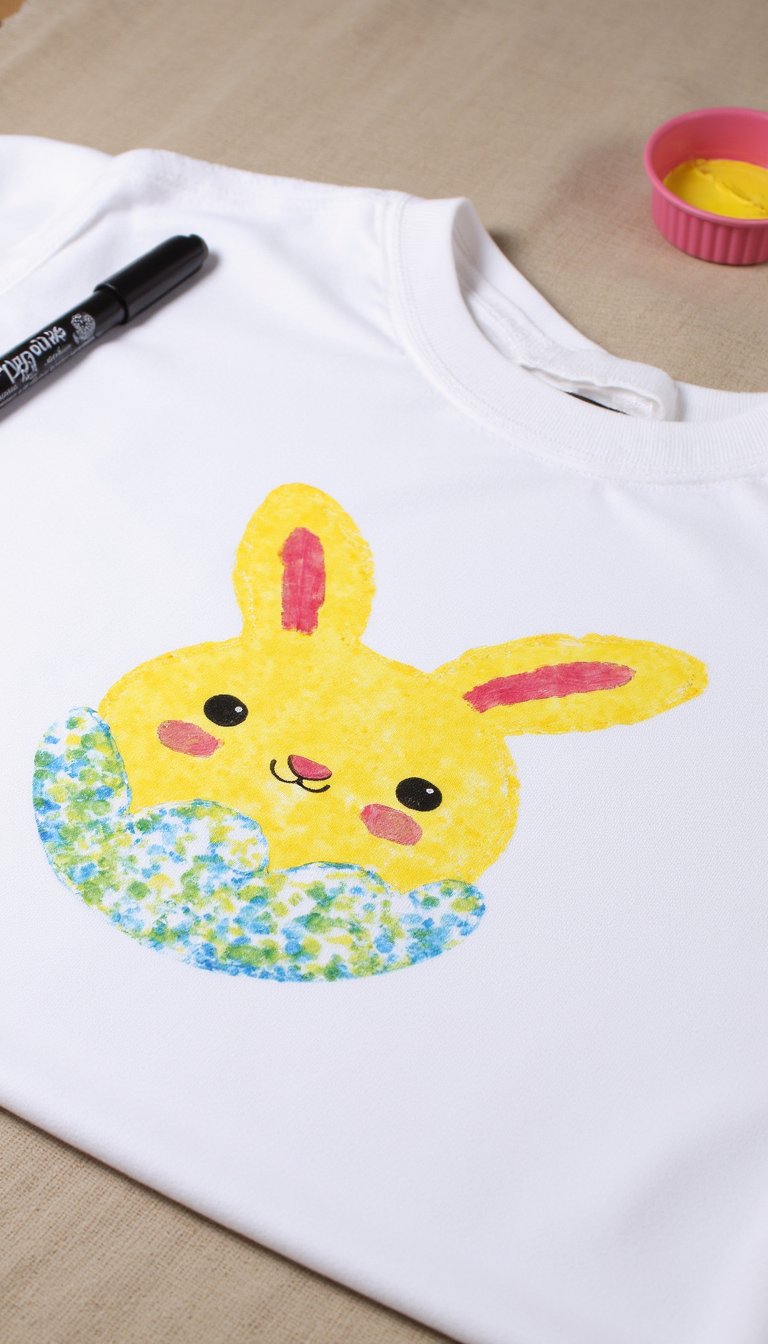
Make wearable art! Cut a piece of bubble wrap into a bunny silhouette and tape it to a cardboard square. Paint the bubble wrap with fabric paint, then firmly press it onto a plain cotton t-shirt or tote bag. The bubble wrap creates a fantastic textured print. Once the paint dries, you can add details with fabric markers. Everyone gets a unique, custom-made Easter outfit!
22. Cupcake Liner Bunny Collage
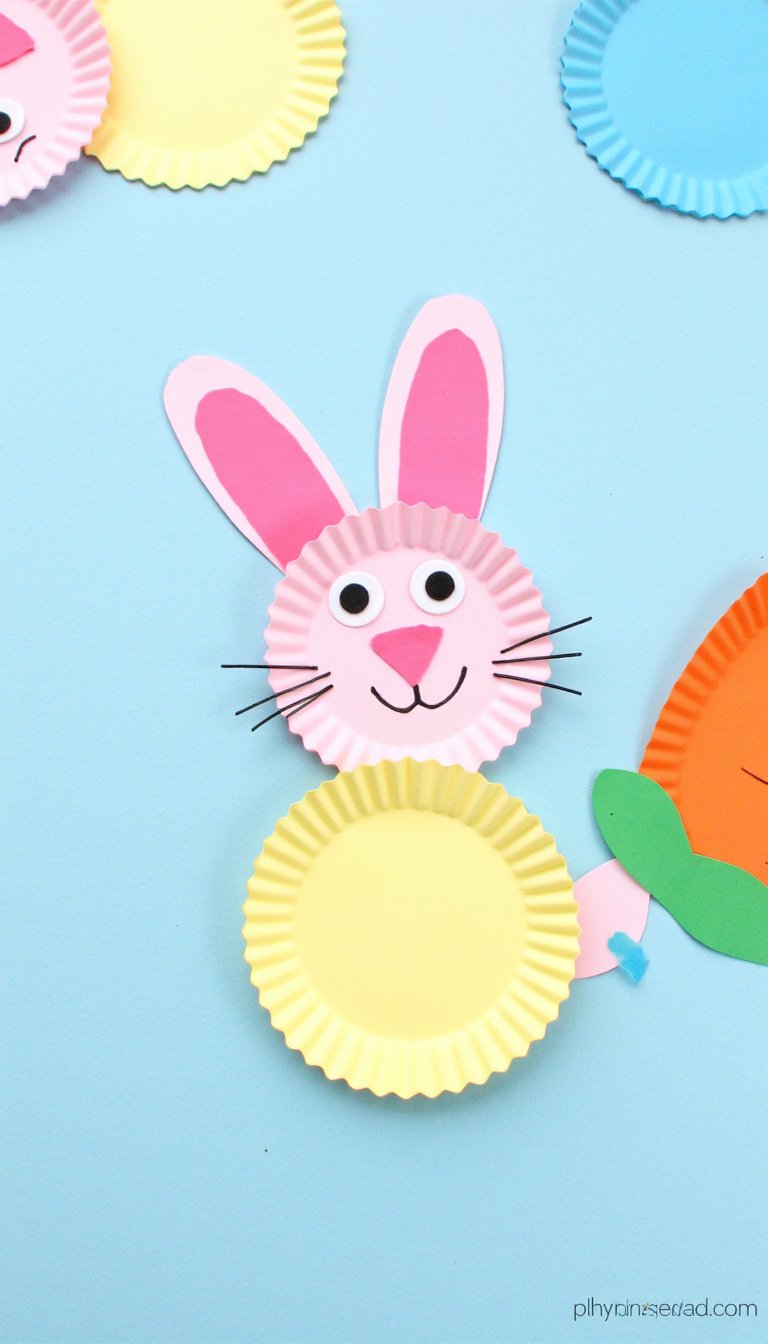
Put those pastel cupcake liners to a new use! Flatten them and glue them in layers to create fluffy bunny bodies and heads on a piece of construction paper. Use whole liners for bodies and cut liners in half for ears. Add drawn-on details and maybe a construction paper carrot. This is an excellent craft for preschoolers, as it focuses on gluing, layering, and shape recognition with super forgiving materials.
23. Q-Tip Painted Bunny Silhouettes
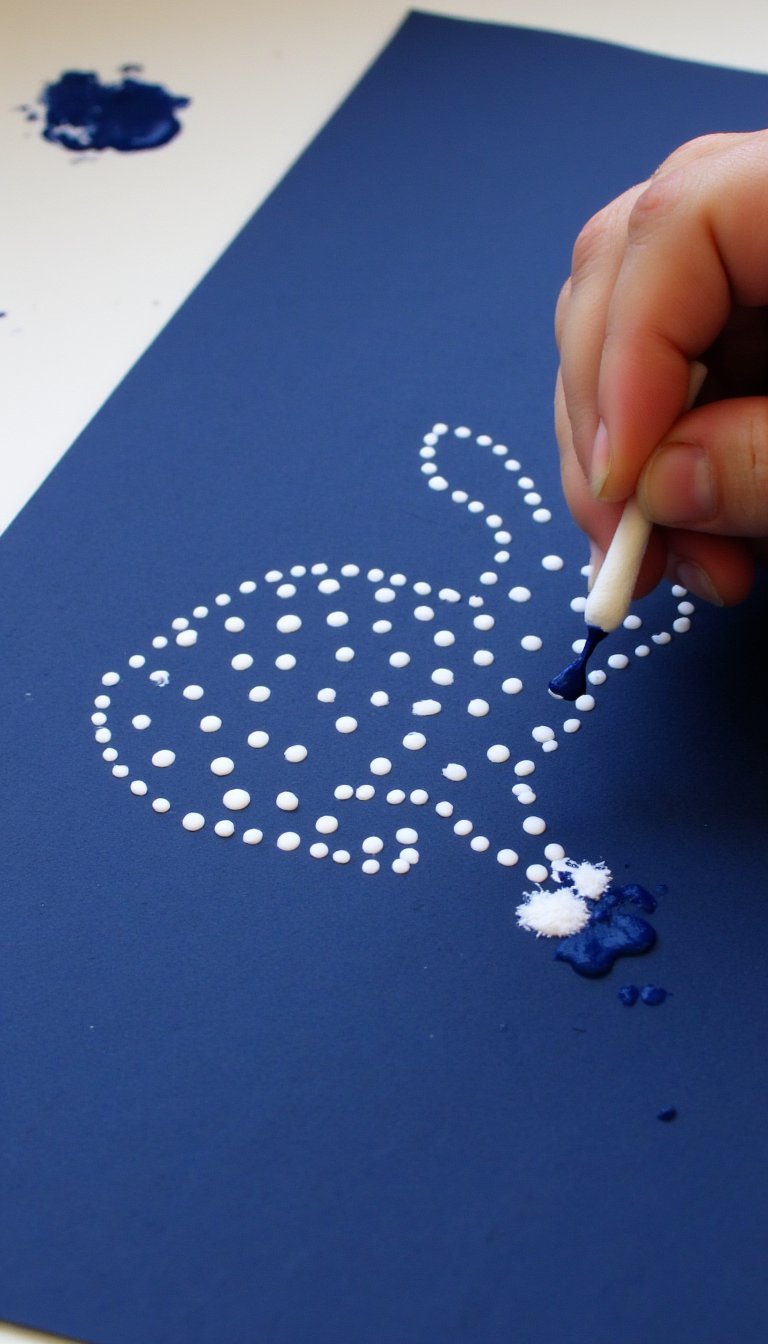
Ditch the paintbrushes for a fun fine-motor challenge. Draw or print a simple bunny outline on heavy paper. Give kids white paint and a handful of cotton swabs. They can use the swabs to dot paint inside the lines, creating a textured, pointillist effect. The technique is easy to control and the final product has a lovely, soft look. It’s a great way to practice staying within the lines without the pressure of a brush.
24. Paper Chain Bunny Family
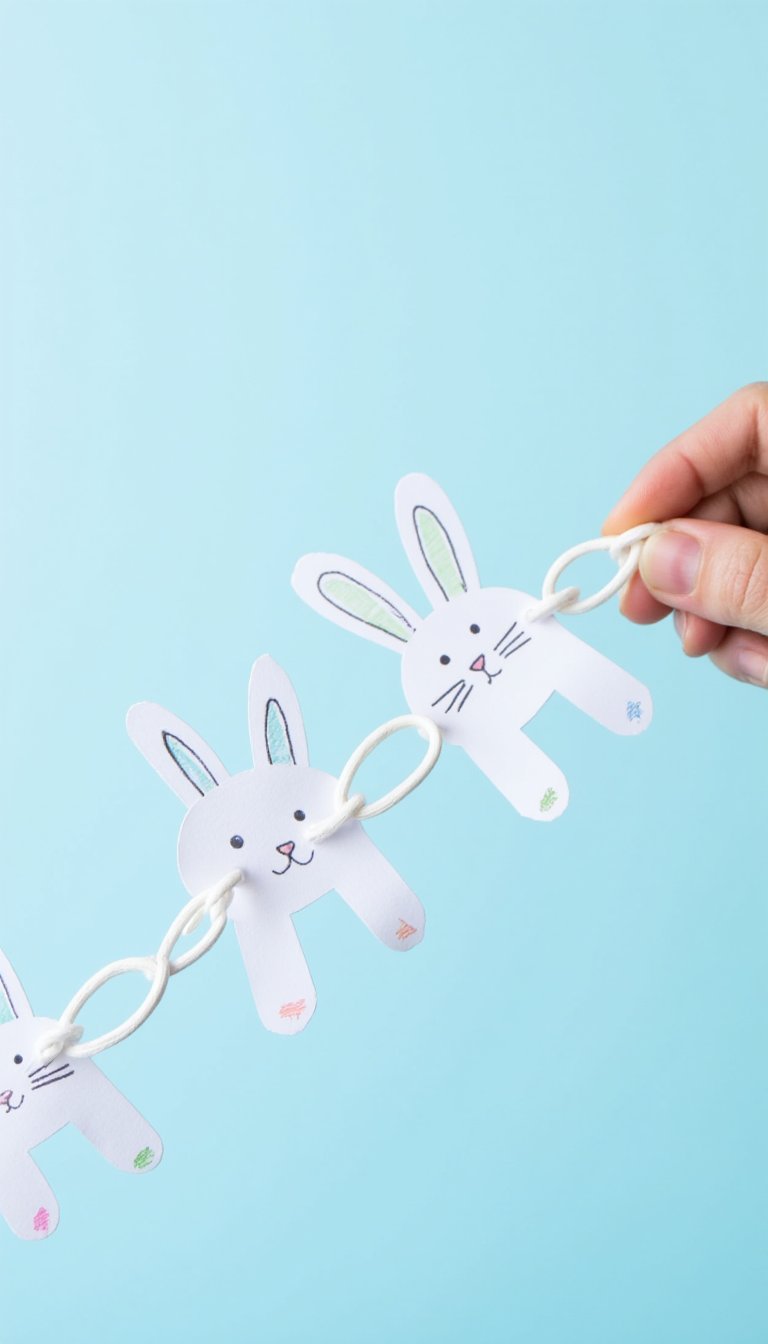
A twist on the classic paper chain! Cut white paper strips, but before you form them into loops, draw a bunny face and ears on one end of each strip. When you link the loops, the bunny heads will dangle charmingly from the chain. Make a long garland or individual chains to represent each family member. It’s decorative, personal, and a sneaky way to practice patterning with different paper colors.
25. Salt Dough Bunny Ornaments
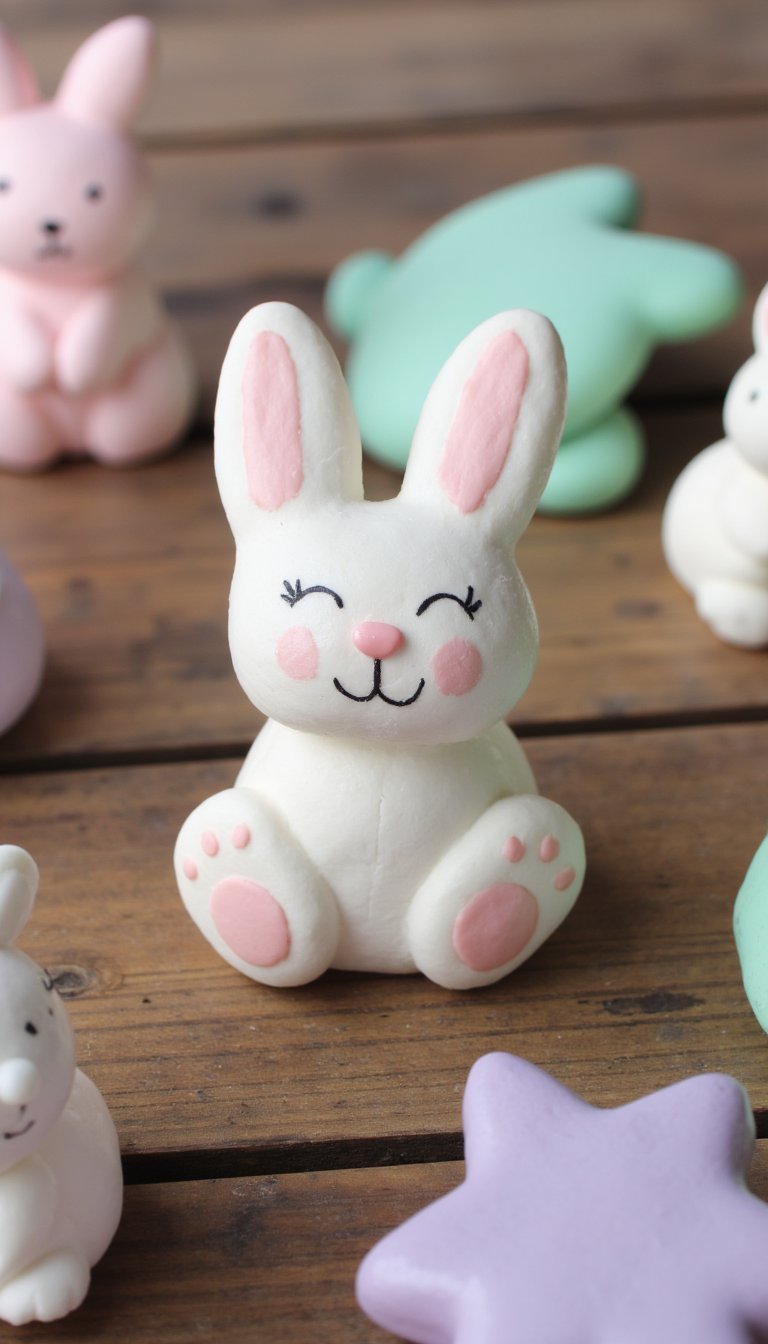
Make durable, homemade ornaments with simple salt dough. Use a bunny-shaped cookie cutter to cut out shapes, and don’t forget to poke a hole at the top for ribbon before baking. Once baked and cooled, paint them with acrylics and seal with a clear varnish. These become treasured decorations you can hang on an “Easter tree” or pack away carefully each year. The dough is also perfect for making bunny-shaped handprints.
26. Sticker-Resist Watercolor Bunnies
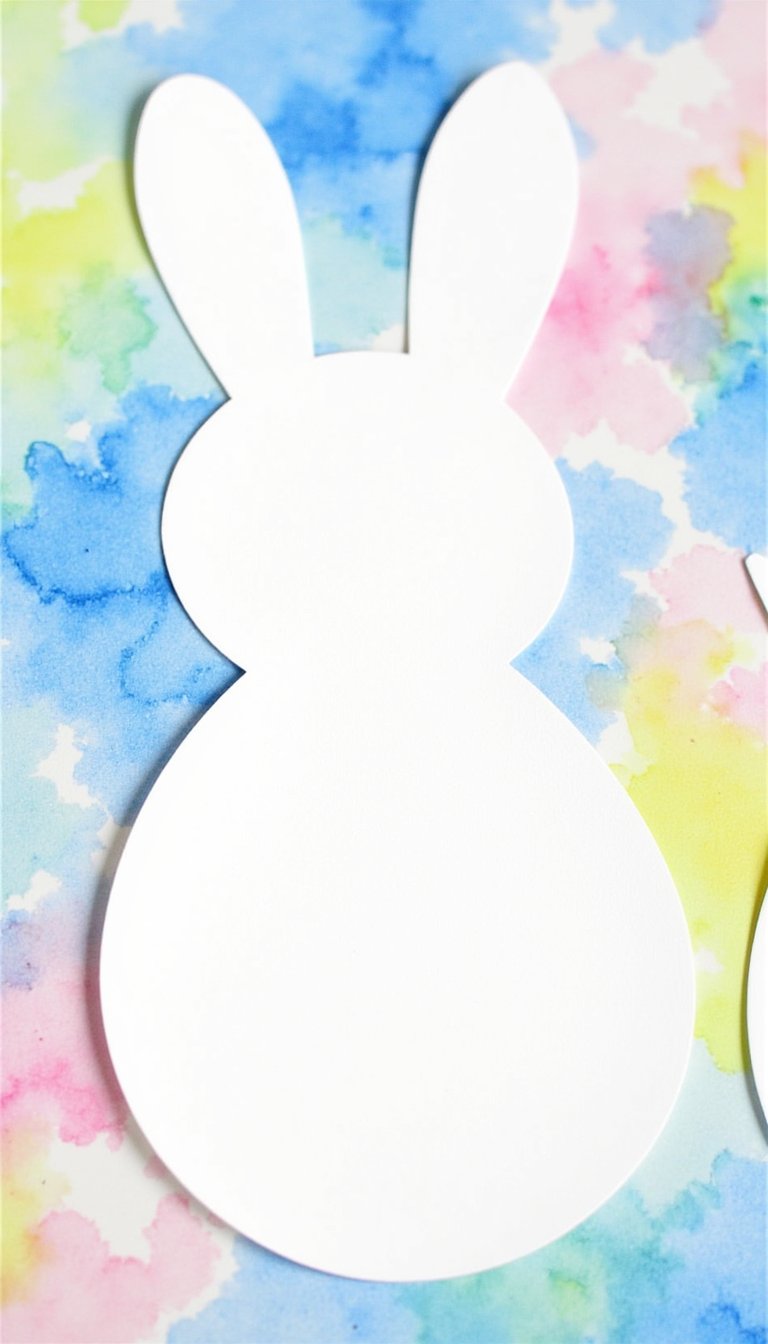
This art technique always feels a bit like magic. Have kids place several small bunny-shaped stickers (or use masking tape cut into shapes) on a piece of watercolor paper. Then, let them paint over the entire page with vibrant watercolors. Once the paint is completely dry, peel off the stickers. The clean, white bunny shapes will remain, popping beautifully against the colorful background. So cool, right?
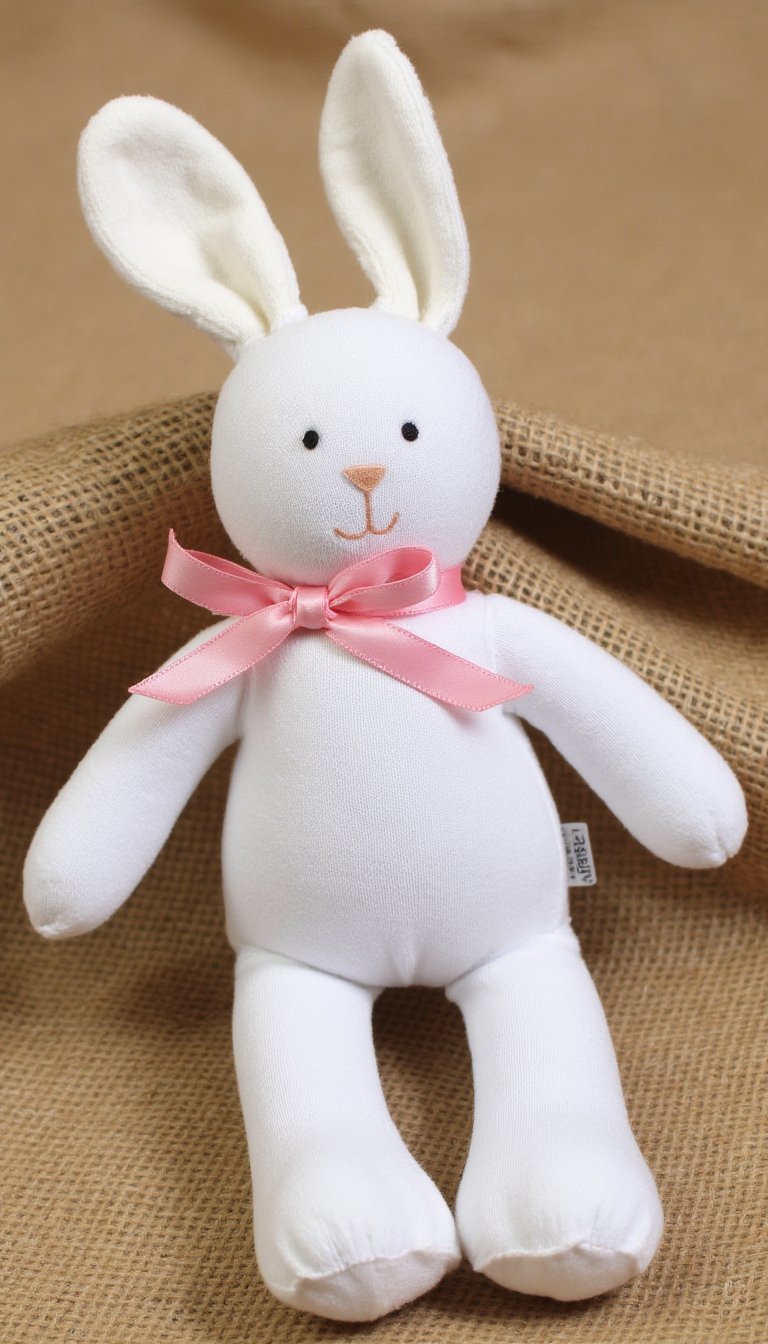
27. Upcycled Sweater Bunny Stuffie
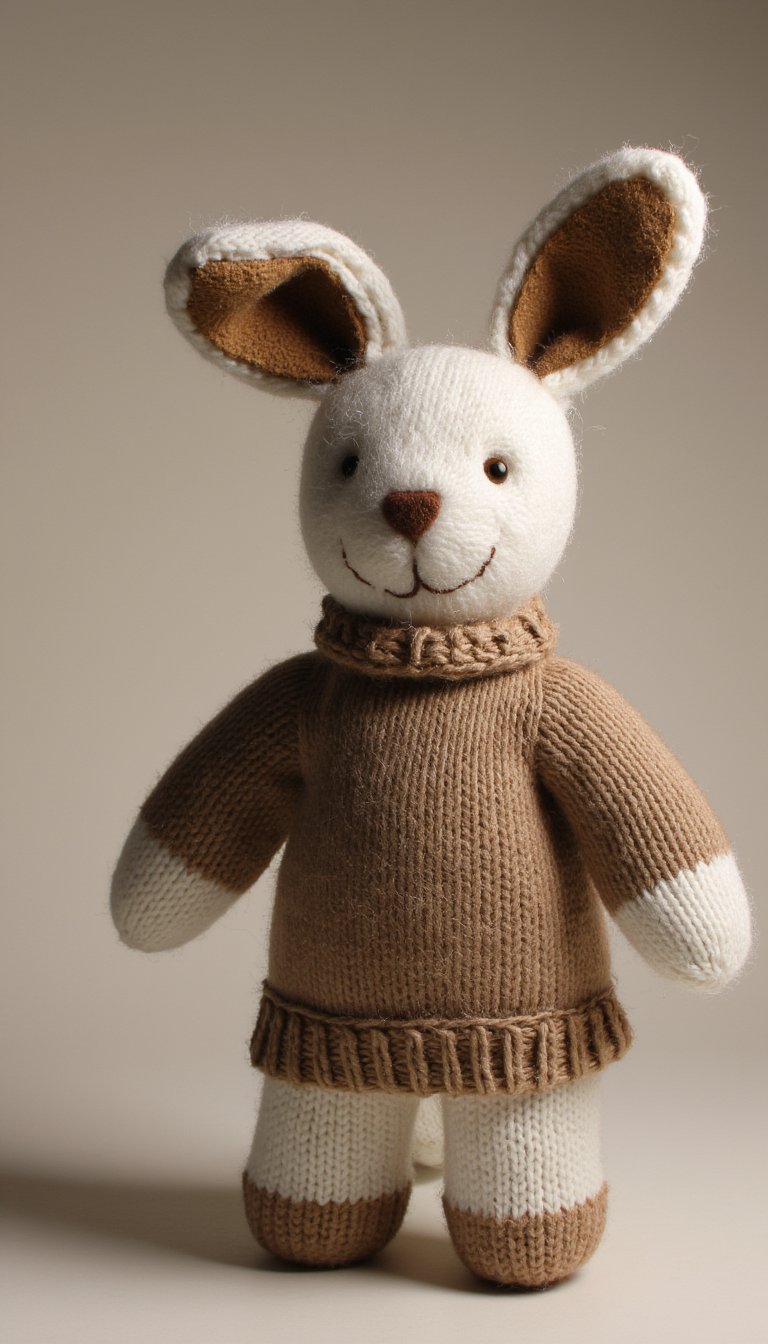
Give an old, felted wool sweater a new purpose. Cut two bunny shapes from the sweater fabric, sew them right-sides together leaving a small gap, turn it right-side out, stuff it, and stitch it closed. The knit texture gives it a cozy, heirloom quality. Add button eyes and embroider a nose. This is a project for older crafters or a dedicated parent, but the result is a timeless, lovable stuffie full of character.
And there you have it—27 ways to welcome the Easter Bunny into your home through the wonderful world of crafting. Whether you spent an afternoon making salt dough heirlooms or five minutes whipping up a paper plate mask, you created something more than just a decoration. You made memories, sparked imagination, and added a personal touch to your holiday. The best part? You don’t need to be a master artist. You just need a little enthusiasm and maybe a glue stick. So pick a few that speak to you, gather your supplies, and have a hoppy, crafty Easter season!