
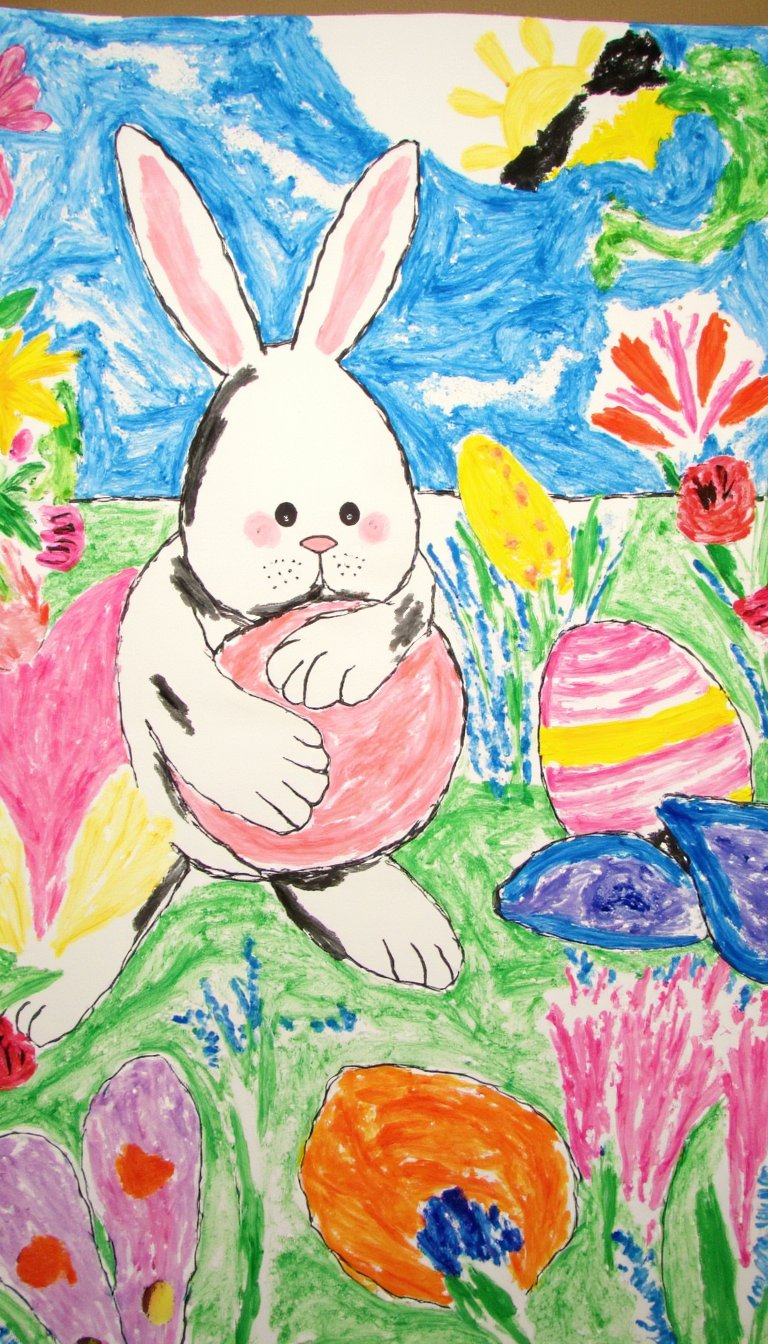
You know that feeling. Easter rolls around, and you’re staring at the same old dye kits and plastic grass, thinking there has to be more. What if this year, you could create something that actually makes your heart sing—something you’d proudly display long after the chocolate bunnies have vanished? Forget the mess and the monotony. We’ve hunted down 29 truly inspiring Easter art ideas that range from quick crafts with kids to stunning pieces that belong in a gallery. Ready to make this holiday unforgettable?
1. Watercolor Resist Easter Eggs

This technique is pure magic for all ages. Use a white crayon or oil pastel to draw intricate patterns, dots, or messages on plain paper eggs. When you brush over them with vibrant watercolors, the wax resists the paint, revealing your secret designs. It’s less messy than real eggs and the results are frame-worthy. Pro tip: Use a light-colored watercolor wash for a beautifully subtle, artistic look.
2. Salt Dough Ornaments

Remember the joy of playdough, but for keepsakes? That’s salt dough. Mix flour, salt, and water, roll it out, and use cookie cutters to create bunnies, eggs, and chicks. Bake them until hard, then let the painting party begin. Punch a hole at the top before baking to thread ribbon through. These make heartfelt gifts for grandparents and become cherished decorations you’ll pull out year after year.
3. Botanical Print Eggs with Natural Dyes
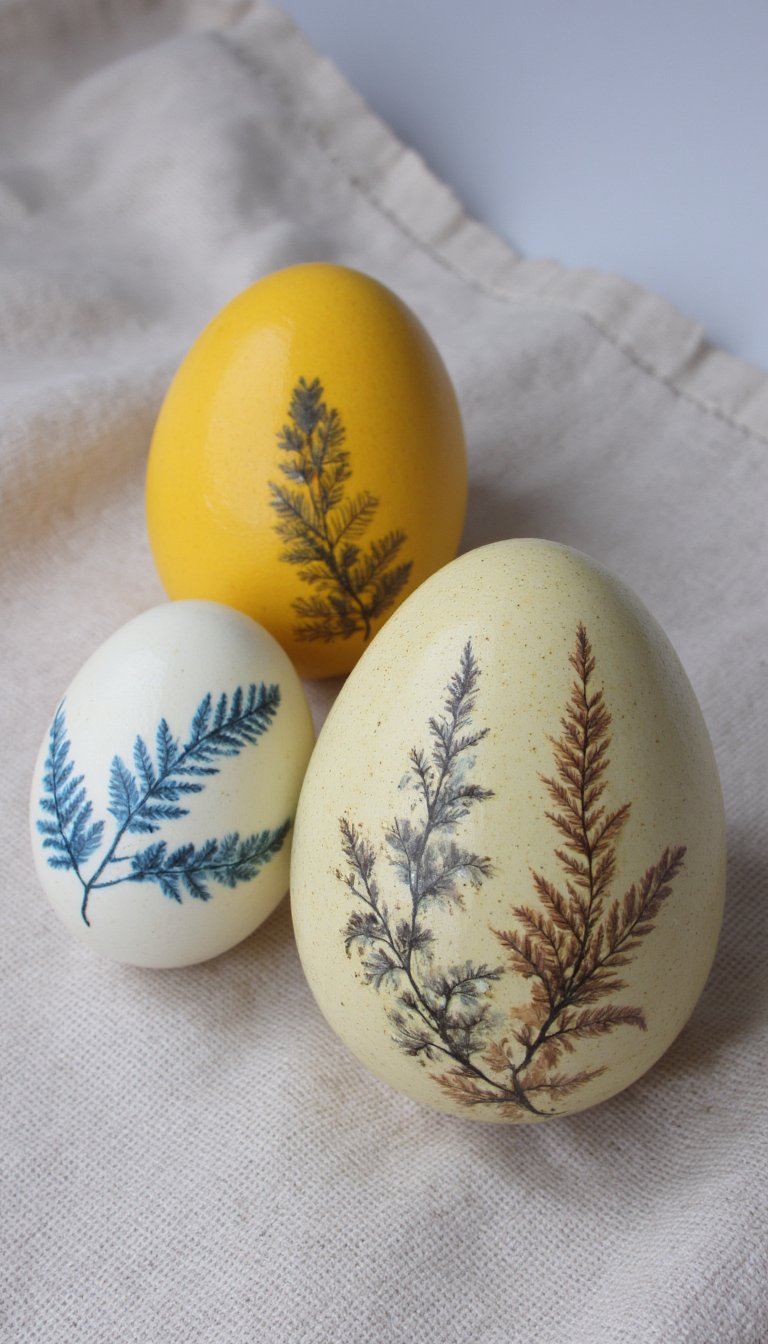
Take your egg decorating to a sophisticated, natural level. Press small leaves, flowers, or ferns against a hard-boiled egg, secure them with a piece of old pantyhose, and then submerge the egg in a dye bath made from onion skins, red cabbage, or turmeric. The result? A stunning botanical print that Mother Nature herself would approve of. It’s a gorgeous lesson in slow, intentional art.
4. Paper Mâché Easter Baskets
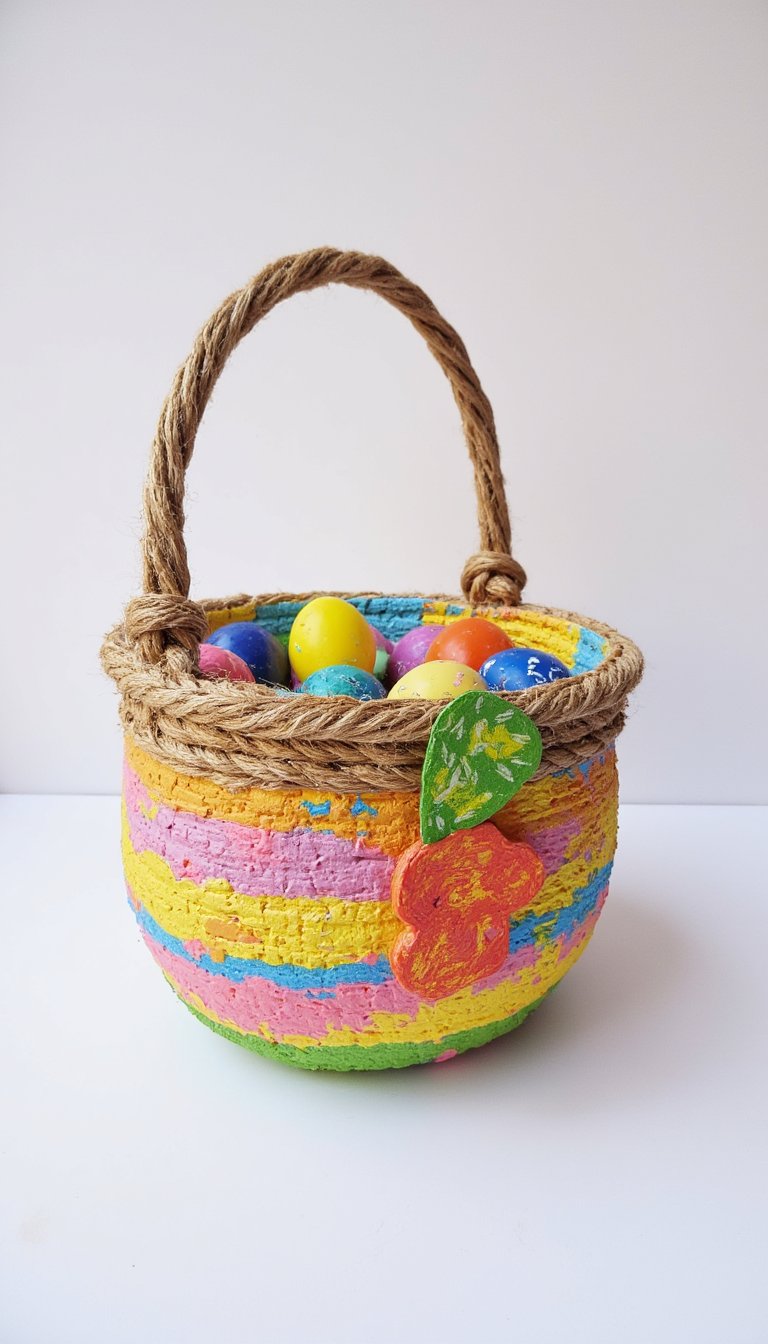
Ditch the store-bought basket and build your own! Inflate a small balloon as your base and layer it with strips of newspaper dipped in a simple flour-and-water paste. Once it’s dry and rock solid, pop the balloon, paint it in wild colors, and add a handle made from braided paper rope. You’ve just created a one-of-a-kind vessel for the Easter egg hunt. Talk about a conversation starter.
5. Pointillism Bunny Canvas

Channel your inner Seurat for this stunning project. Sketch a simple bunny silhouette on a small canvas. Instead of brushing on paint, use the end of a pencil eraser or a cotton swab to dab on hundreds of tiny dots. You can create incredible shading and texture with just dots in different colors. It’s a meditative process that yields a beautifully modern piece of Easter art.
6. Melted Crayon Easter Sun Catchers
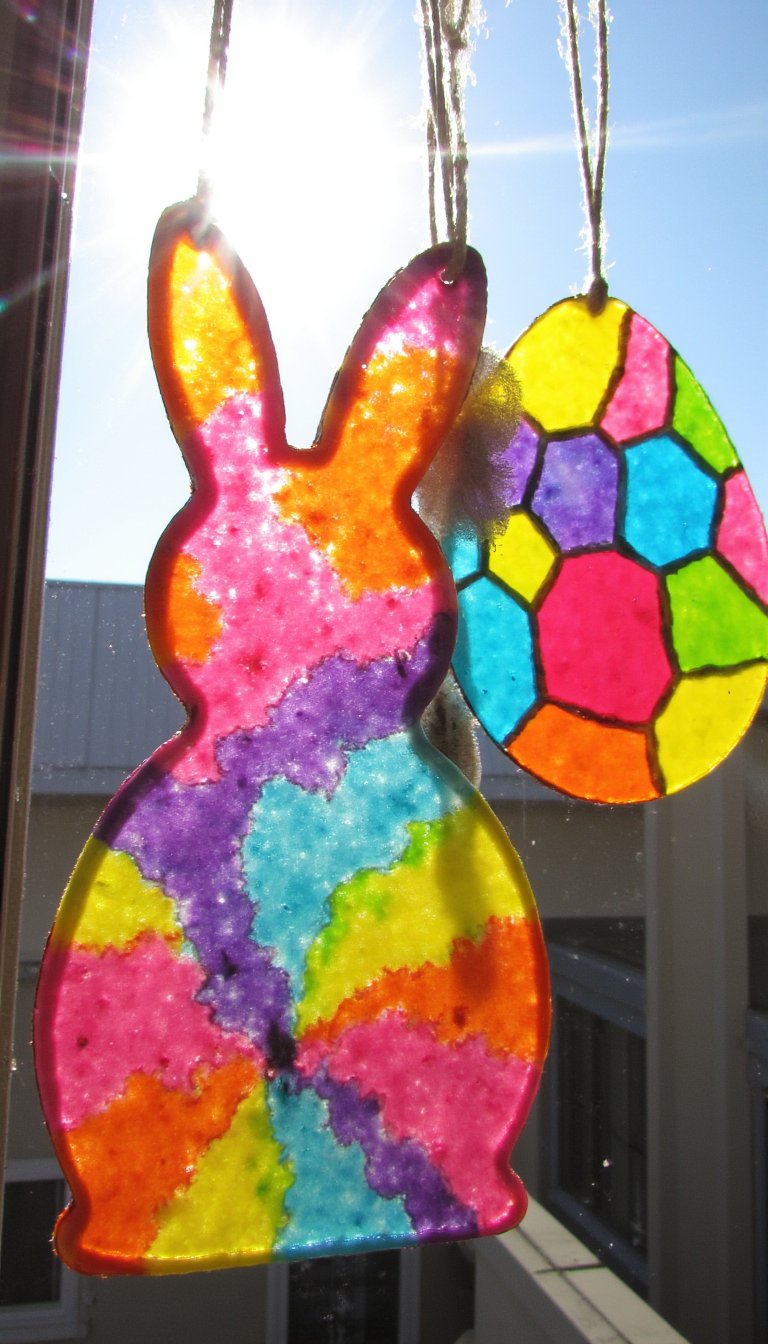
Put those broken crayon stubs to glorious use. Grate or finely chop crayons onto a sheet of wax paper, cover with another sheet, and gently iron on low heat (with a protective cloth in between). Once the wax melts and cools, use Easter-shaped cookie cutters to trace and cut out your designs. Hang them in a sunny window and watch the light blaze through the colorful wax.
7. Thumbprint Chicks & Bunnies
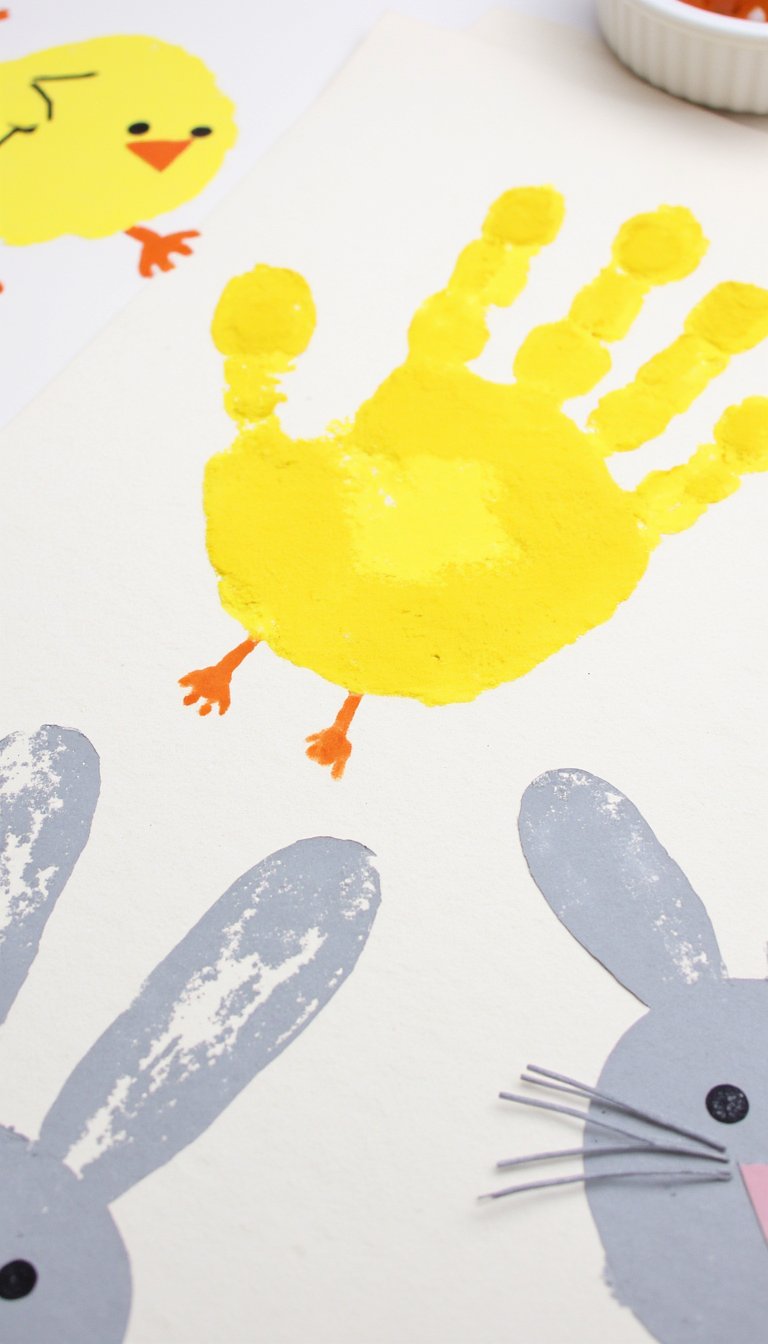
This is the perfect low-mess, high-charm activity for tiny hands. Make a few thumbprints with yellow paint on paper. Once dry, add tiny orange beaks, feet, and wings with a marker to turn them into chicks. Use a lighter paint for bunny thumbprints, adding long ears and fluffy tails. It’s a sweet way to capture the actual size of your child’s thumb for a memory you’ll treasure.
8. Easter Egg Zentangle

Find your zen this Easter. Draw a large egg shape on paper and divide it into sections with light pencil lines. Then, fill each section with different repetitive patterns—dots, lines, swirls, waves. Use only black ink for a striking graphic look, or add pops of pastel color. It’s an incredibly relaxing art form that focuses the mind and produces intricately beautiful results.
9. Yarn-Wrapped Easter Eggs

Grab some chunky yarn and a bit of glue for this tactile craft. Blow out real eggs or use cardboard/foam egg shapes. Coat a section in glue and start wrapping the yarn tightly, changing colors as you please. The texture is amazing, and you can create anything from simple stripes to wild, abstract wraps. These make a fantastic textural centerpiece in a bowl or nest.
10. Painted Rock Garden Critters

Head outside for the first step of this art project: a rock hunt! Find smooth, egg-shaped stones. Wash them, let them dry, and then paint them as little bunnies, chicks, or decorated Easter eggs. Seal them with a clear outdoor varnish and hide them in your garden or along a walkway. They add a permanent, playful touch to your spring landscape.
11. Coffee Filter Tie-Dye Butterflies

This classic kids’ science experiment doubles as gorgeous Easter art. Use droppers to drip liquid watercolor or food coloring onto a flat coffee filter. Watch the colors blend and bloom! Once dry, pinch the center to create butterfly wings, securing it with a pipe cleaner for the body and antennae. Hang a flock of them from the ceiling for a magical, colorful migration.
12. Decoupage Easter Eggs
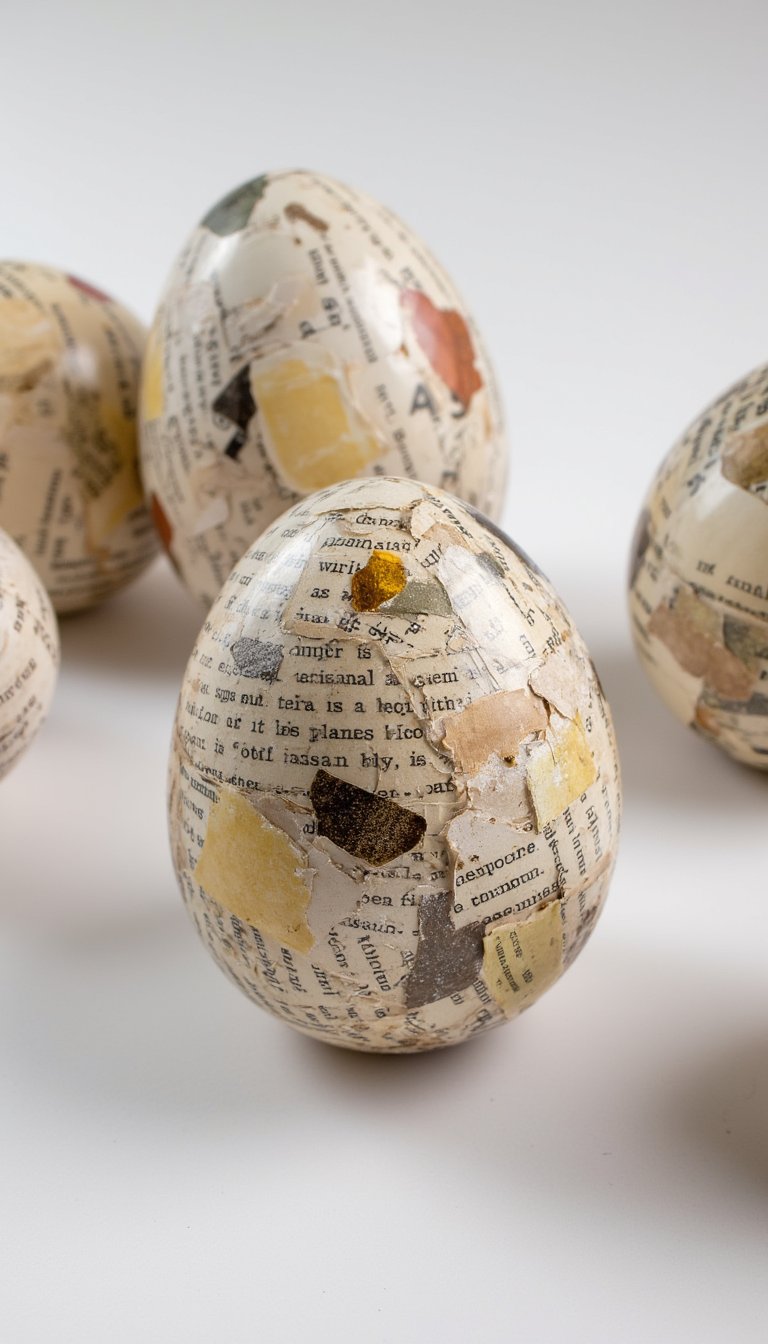
Unleash the power of Mod Podge! Use pretty patterned tissue paper, pages from an old book, or even colorful napkins. Tear or cut the paper into small pieces, brush a layer of decoupage glue on a papier-mâché or plastic egg, and smooth the paper on. Seal with a final top coat. The collage effect is endlessly customizable and looks fantastically artistic.
13. Q-Tip Painted Easter Scenes

Put those cotton swabs to work as tiny, precise paintbrushes. Dip the end of a Q-tip in paint and use it to create fields of flowers, fluffy sheep wool, or speckled Easter eggs. The dotty texture it creates is instantly charming and helps kids (and adults!) focus on detail without needing fine brush control. It’s impressionism for beginners.
14. Sock Bunnies (No Sew!)
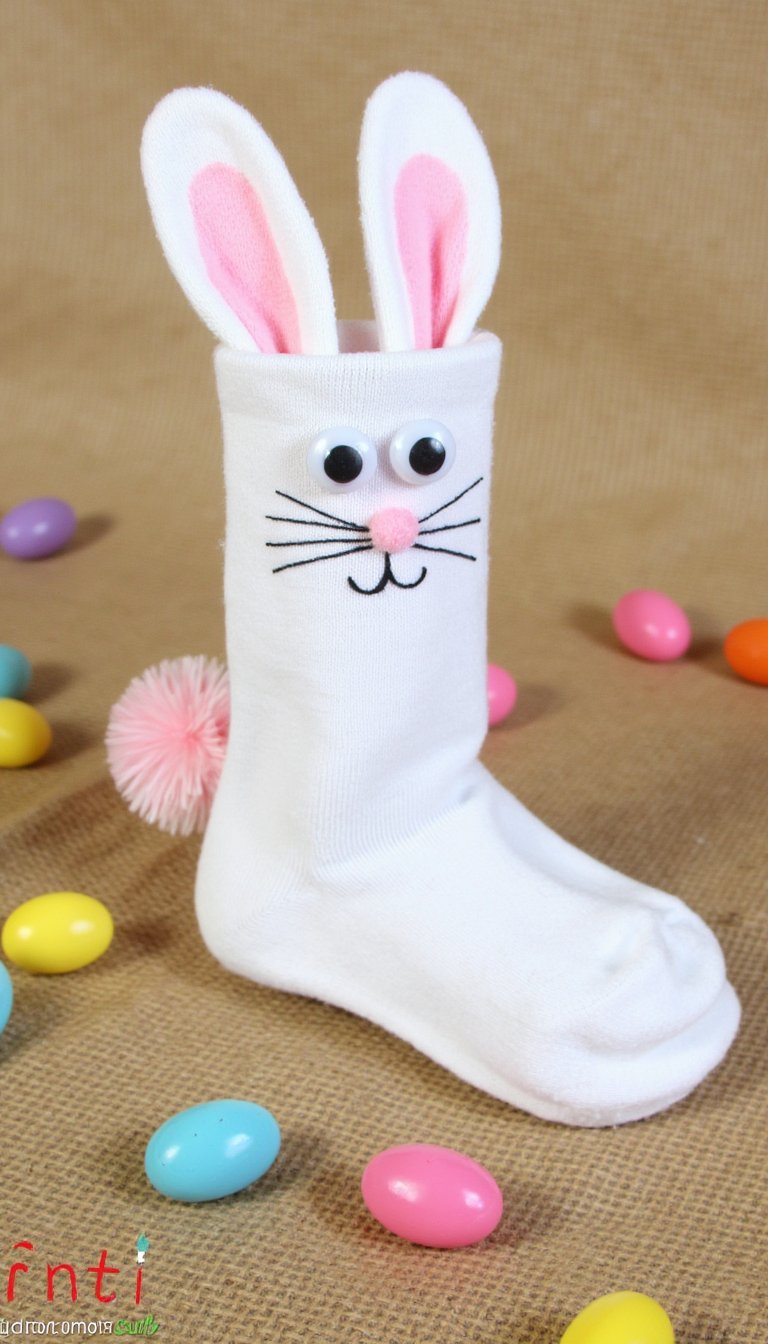
Raid the lonely sock drawer for this adorable upcycle. Fill the toe of a sock with rice or stuffing, tie a rubber band to form the head, and use another to create ears. Add googly eyes, a pom-pom tail, and draw on a face with markers. In minutes, you have a cuddly, quirky bunny friend. This is arguably the cutest of all 29 Easter art projects for quick gratification.
15. Bleeding Tissue Paper Art
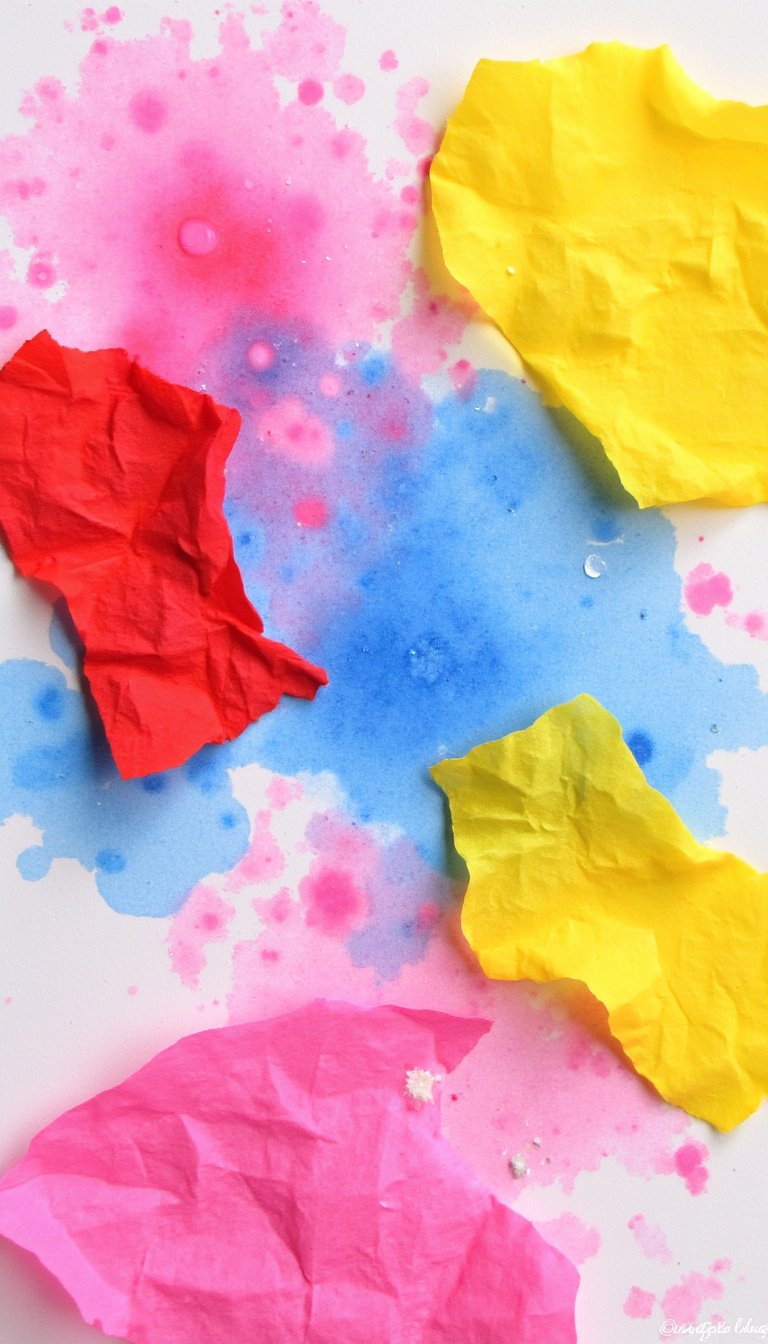
Here’s some color magic. Cut or tear sheets of bleeding tissue paper (the kind that bleeds color when wet) and arrange them on watercolor paper. Use a spray bottle to lightly mist the tissue until the colors start to run. Once dry, peel the tissue paper off to reveal a soft, watercolor-like background. Use this as a sky for an Easter scene or cut it into egg shapes.
16. Easter Egg Geodes
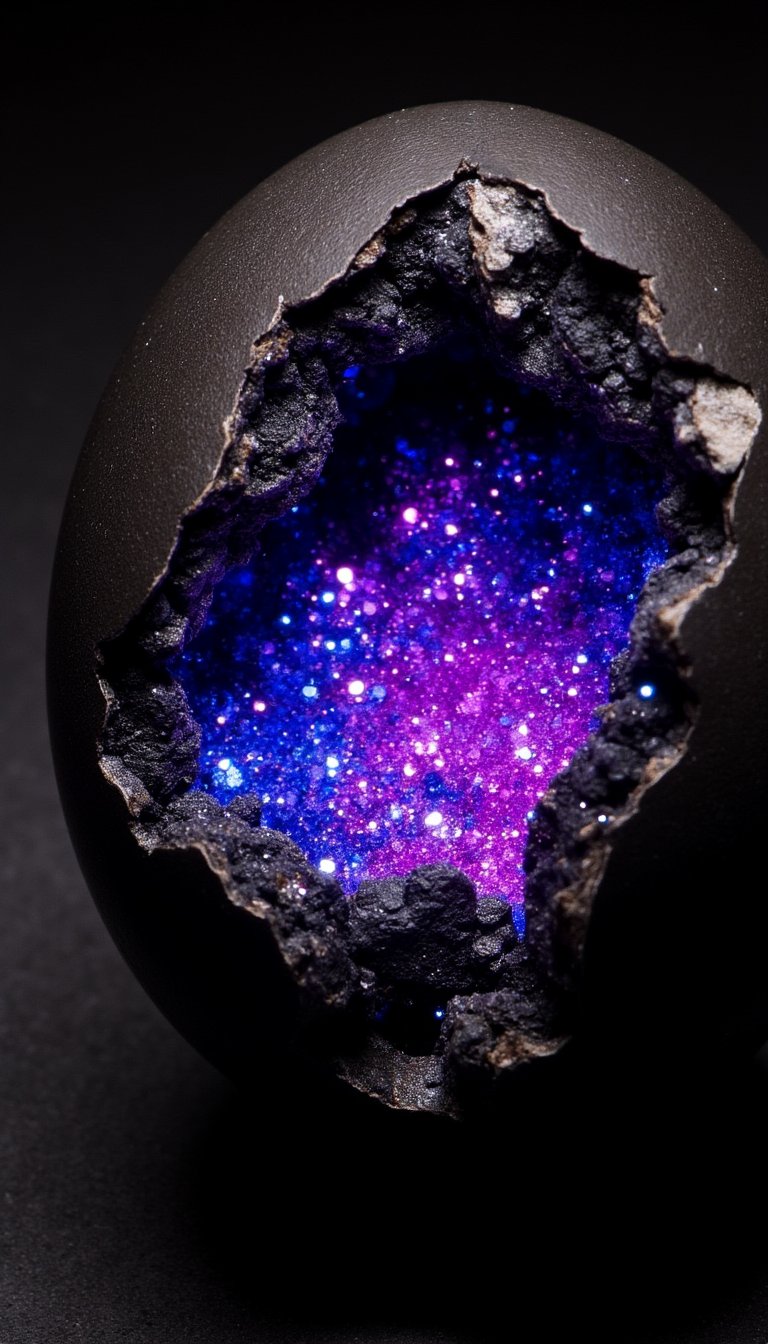
Combine art and a bit of science for show-stopping results. Crack open plastic Easter eggs and use hot glue to build up a rocky, crystalline interior texture on one half. Once the glue cools, paint the “rocks” with black or dark gray. Then, use a mix of glitter glue and coarse salt crystals in vibrant purples, blues, and pinks to create the dazzling geode center. It’s breathtaking.
17. Paper Plate Lacing Bunnies
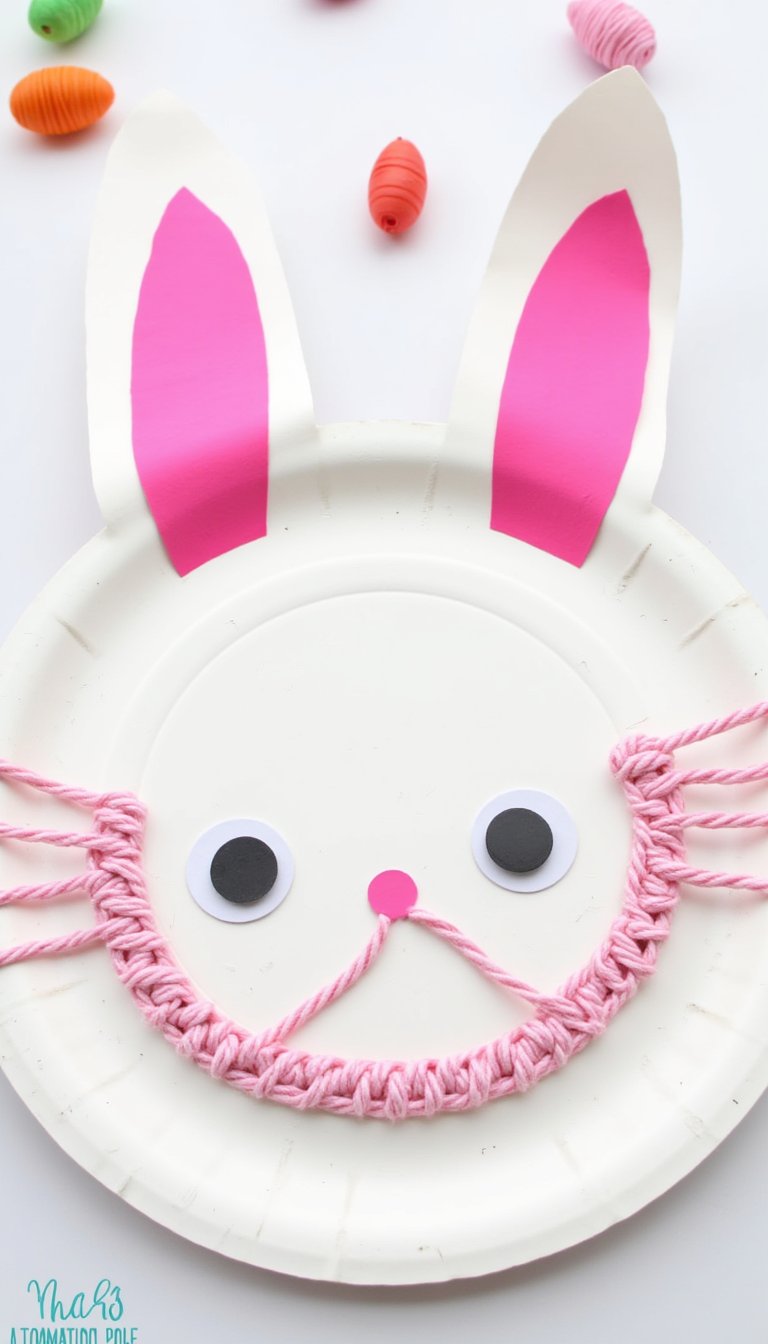
Build fine motor skills with this cute craft. Cut a paper plate into a bunny head shape, punch holes around the edge, and give your child a long piece of yarn with the end taped (to make a “needle”). Let them lace the yarn in and out of the holes. Add construction paper ears, eyes, and whiskers. The lacing creates a wonderful textured border that looks far more complex than it is.
18. Chalk Pastel Easter Landscapes
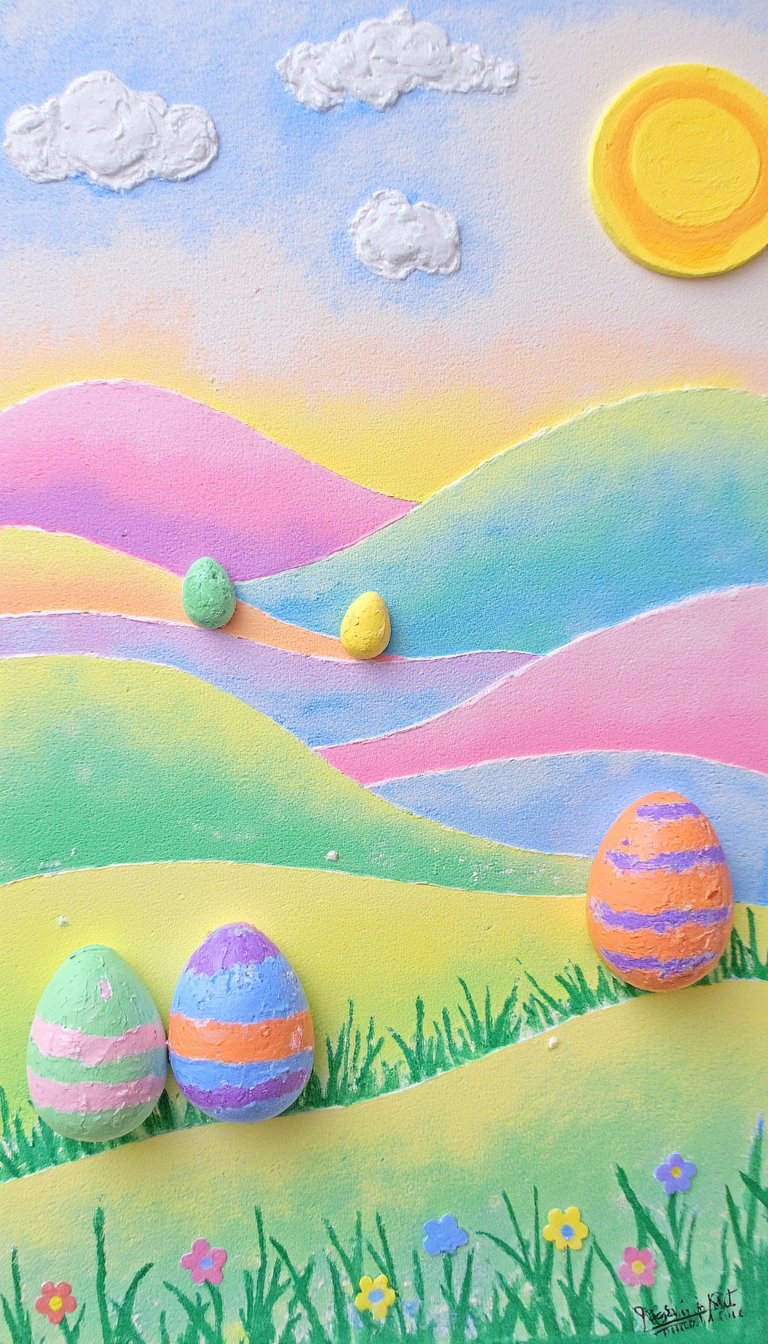
Embrace the blendable, dreamy quality of chalk pastels. Draw a simple spring landscape—rolling hills, a bright sun, a few Easter eggs. Then, use your fingers or a blending stump to smudge the colors together for soft skies and grassy fields. The mess is part of the fun, and the luminous results are straight out of a pastel dream.
19. Pasta Necklace Nests

Take the classic pasta necklace in a new direction. Dye wagon wheel or rotini pasta with vinegar and food coloring, let it dry, then let kids string them onto yarn. Once they have a long string, coil it into a nest shape and glue it onto cardboard. Add a few pom-pom chicks or candy eggs inside. It’s a wearable craft that becomes a decorative piece.
20. Recycled Cardboard Tube Animals
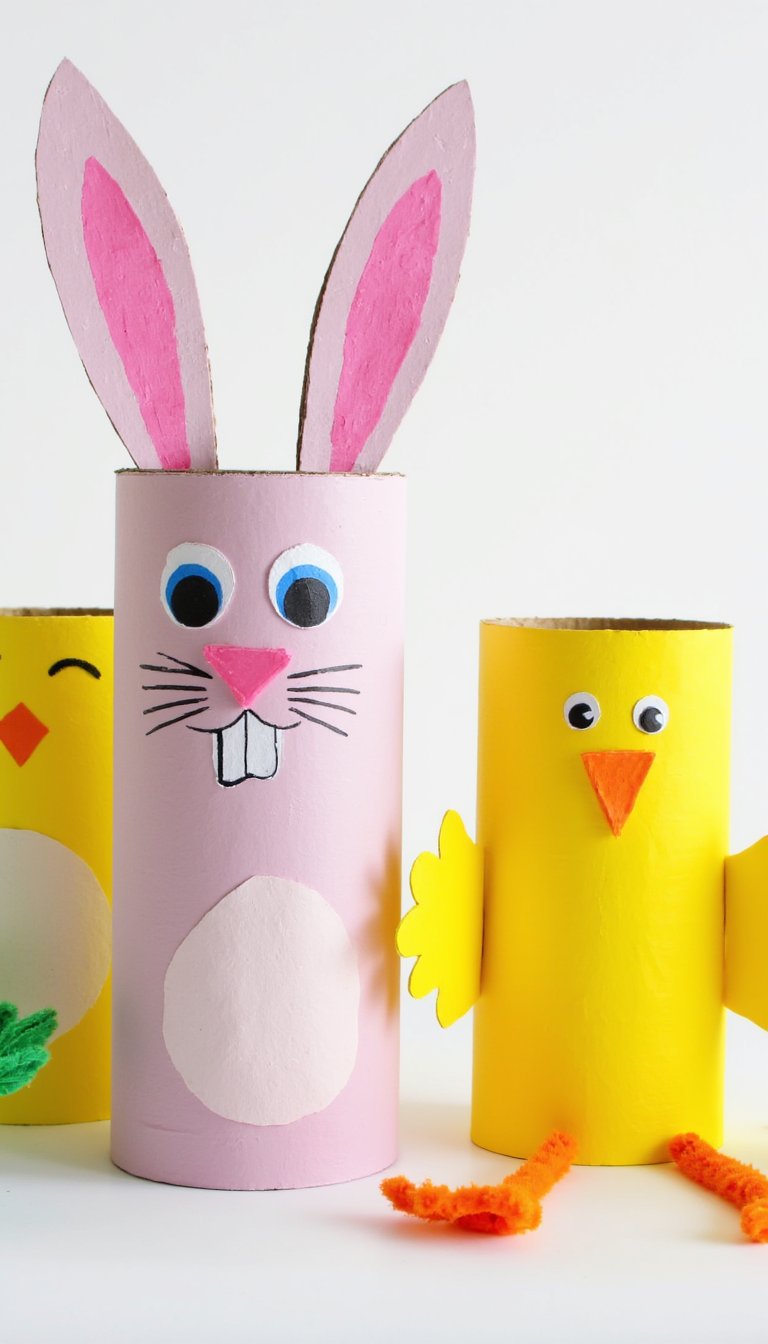
Don’t toss those toilet paper tubes! Flatten the top of a tube and pinch it into bunny ears, or leave it round to make a chick’s body. Paint, add construction paper features, and pipe cleaner tails. You can create an entire spring menagerie. This project wins for best use of materials you already have in the recycling bin.
21. Stained Glass Window Decorations
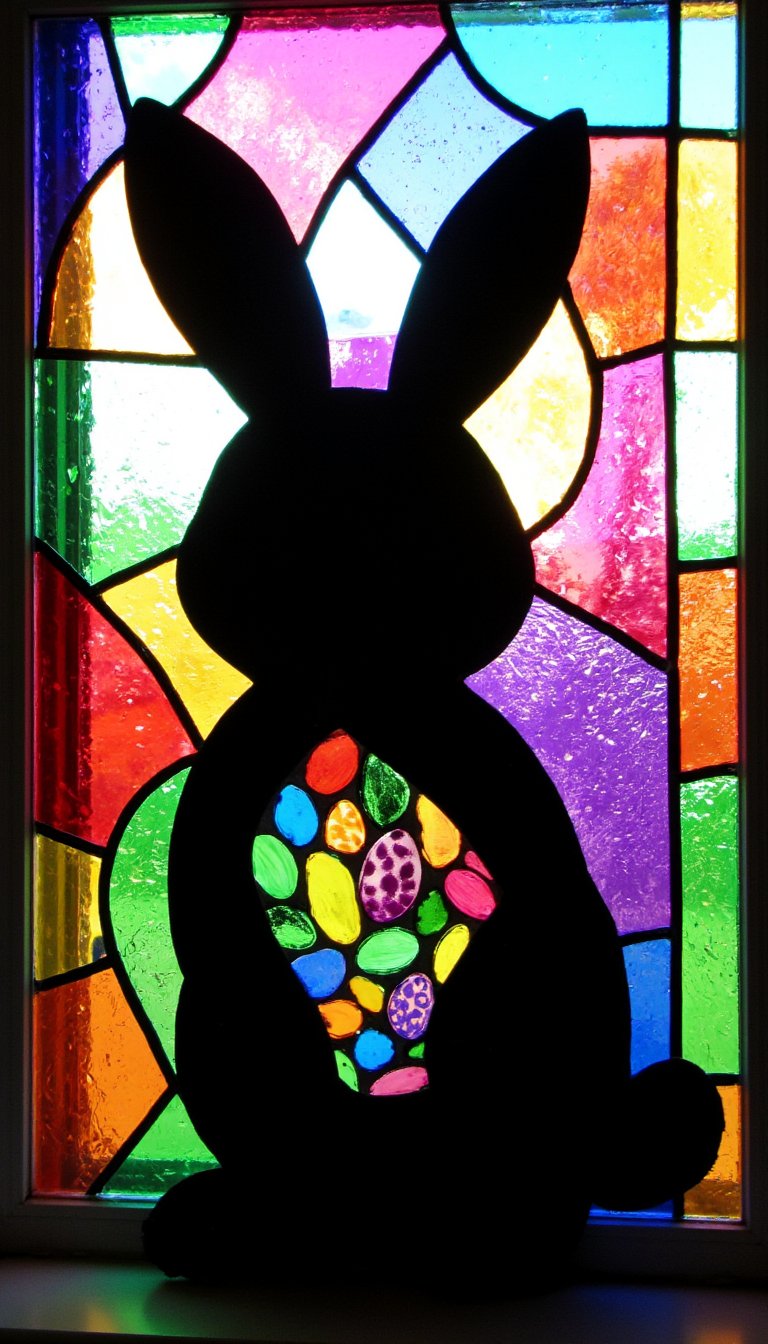
Create the illusion of stained glass with black construction paper and cellophane. Cut an Easter shape (like a cross, egg, or bunny) out of the center of the black paper, leaving a sturdy frame. Tape colorful pieces of cellophane over the open back. Hang it on a sunny window, and voilà—your own brilliant, light-catching masterpiece.
22. Clay Pinch Pot Nests
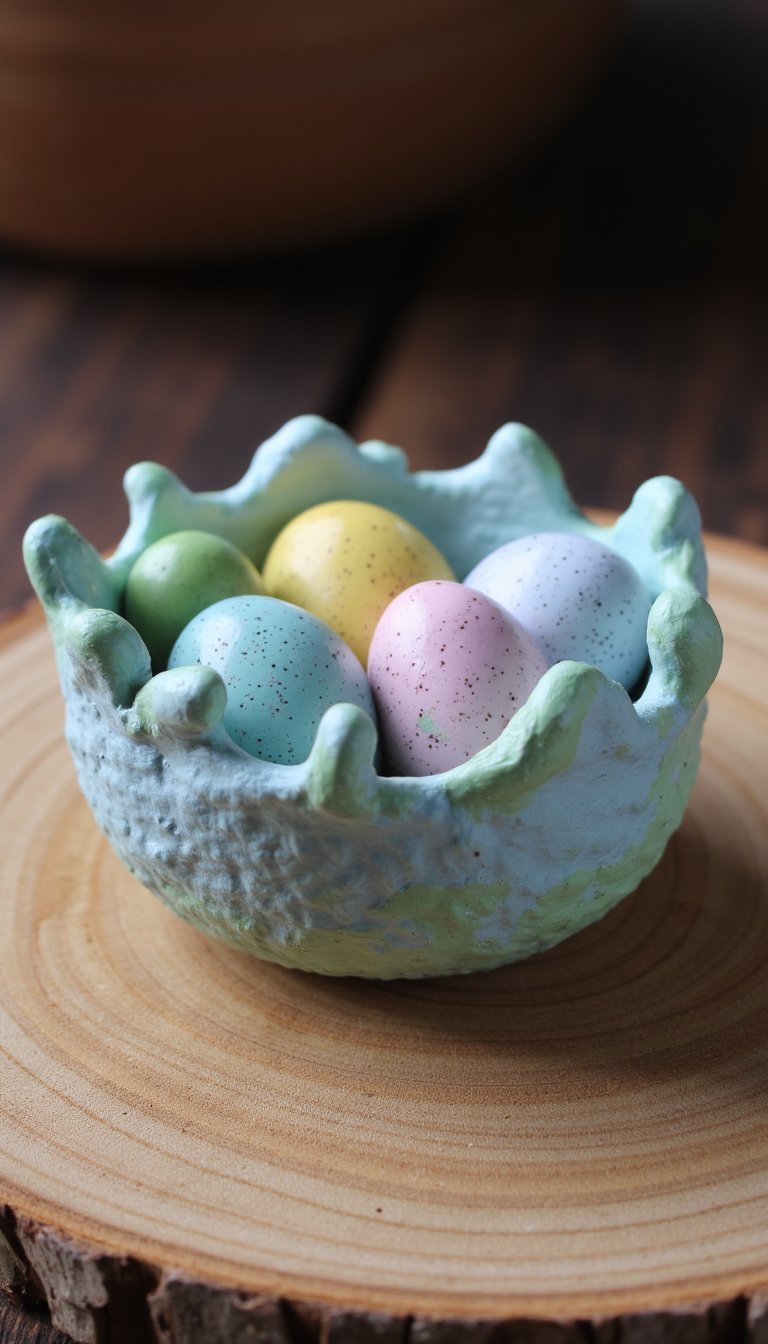
Get your hands dirty with air-dry clay. Form a small ball of clay, push your thumb into the center, and pinch the walls to form a little bowl or nest. Before it dries, texture the outside by pressing a fork or toothpick into it to look like twigs. Paint it after it hardens and fill it with mini eggs. It’s a timeless, sculptural piece of Easter art.
23. Fork-Painted Tulips
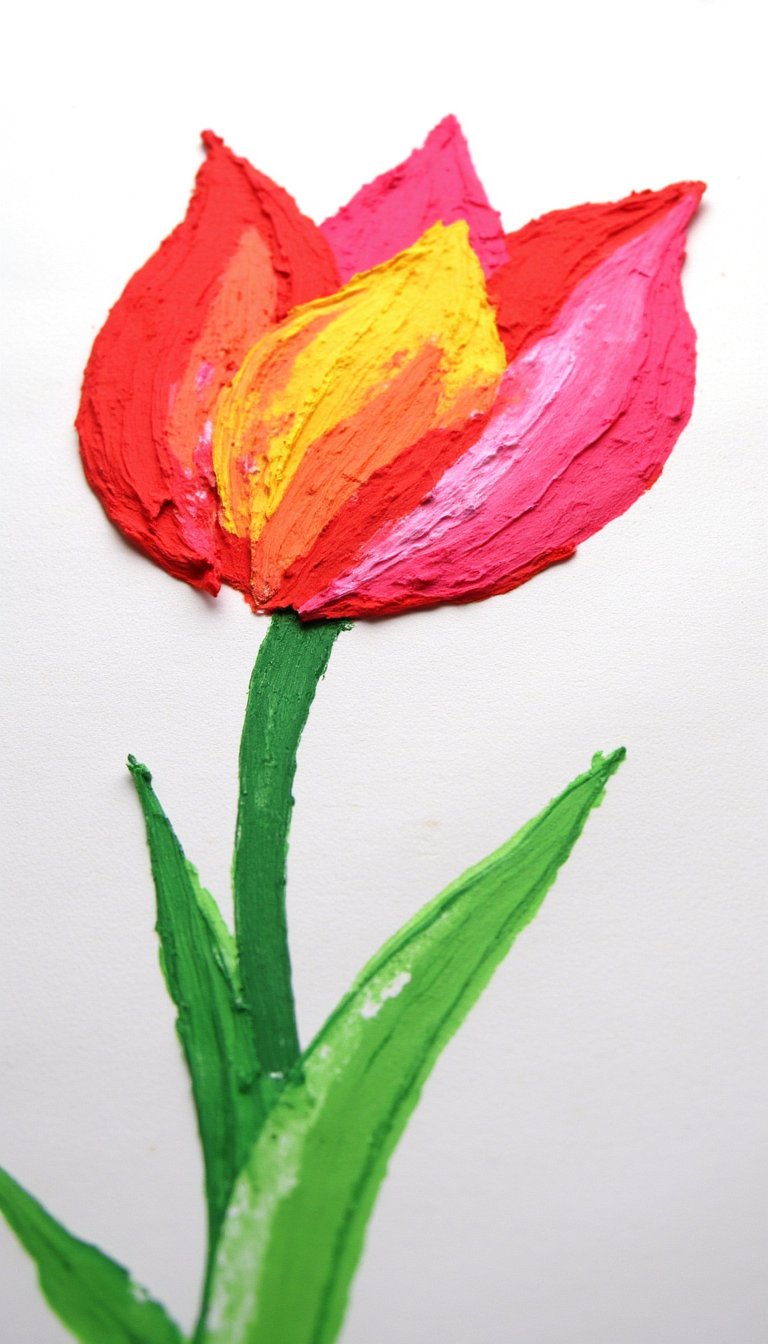
Who needs a brush? Dip the back of a plastic fork into red, pink, or yellow paint and press it onto paper to create perfect, textured tulip petals. Use a green marker or paint to add stems and leaves. It’s impossible to mess up, and the effect is surprisingly elegant. This is a genius hack for creating a whole spring bouquet in minutes.
24. Easter Story Shadow Box

Create a 3D scene in a deep picture frame or a shoebox. Paint a background of a garden or sky. Use cut-out paper figures, small toys, or clay sculptures to create a scene—like the Easter story, an egg hunt, or animals in a meadow. Layer the elements to create depth. This is a beautiful way to tell a visual story and a keepsake that tells a deeper tale.
25. Marbleized Shaving Cream Eggs
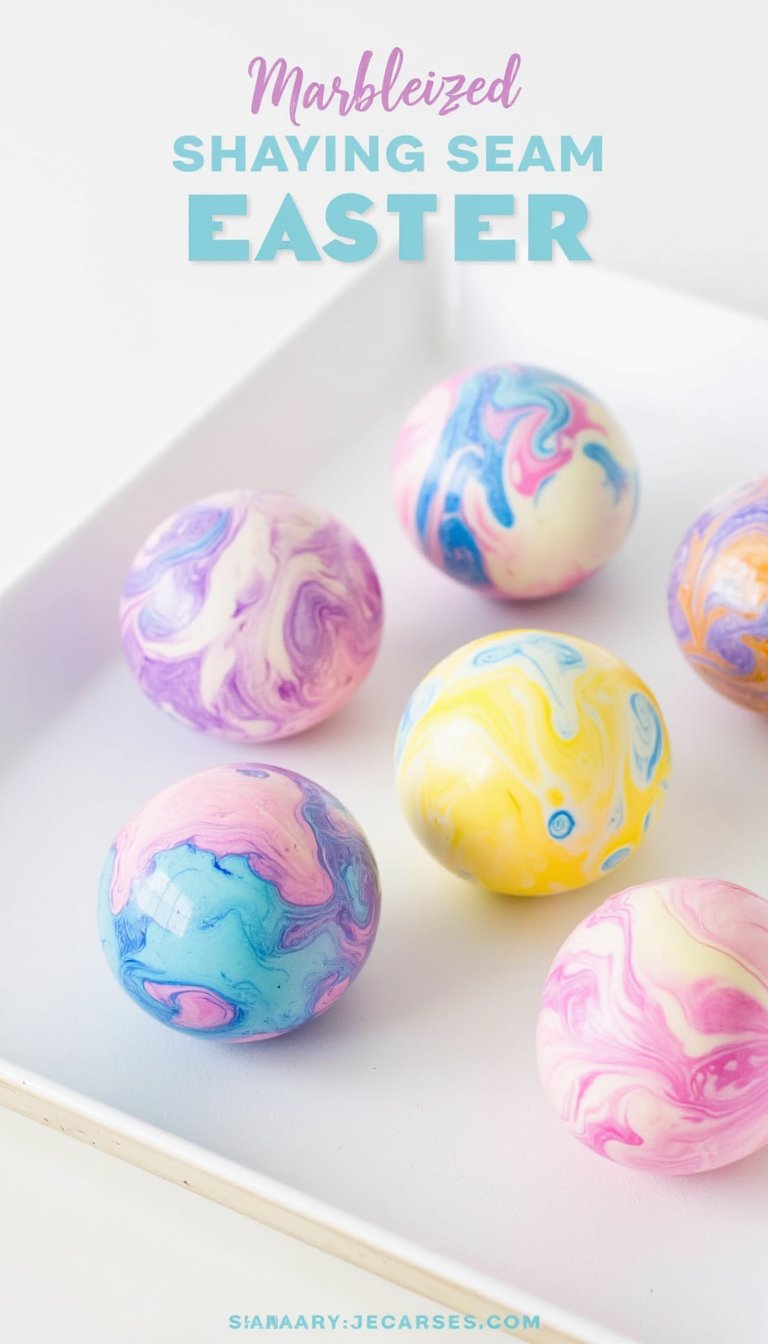
This is the most fun you can have with shaving cream outside the shower. Spray a layer of cream on a tray, drop liquid watercolor or food coloring on top, and swirl it with a stick. Press a paper egg cut-out into the mixture, scrape off the excess cream, and reveal a stunning, unique marble pattern. Every single one is a complete original. Just trust the process!
26. Popsicle Stick Easter Puzzles
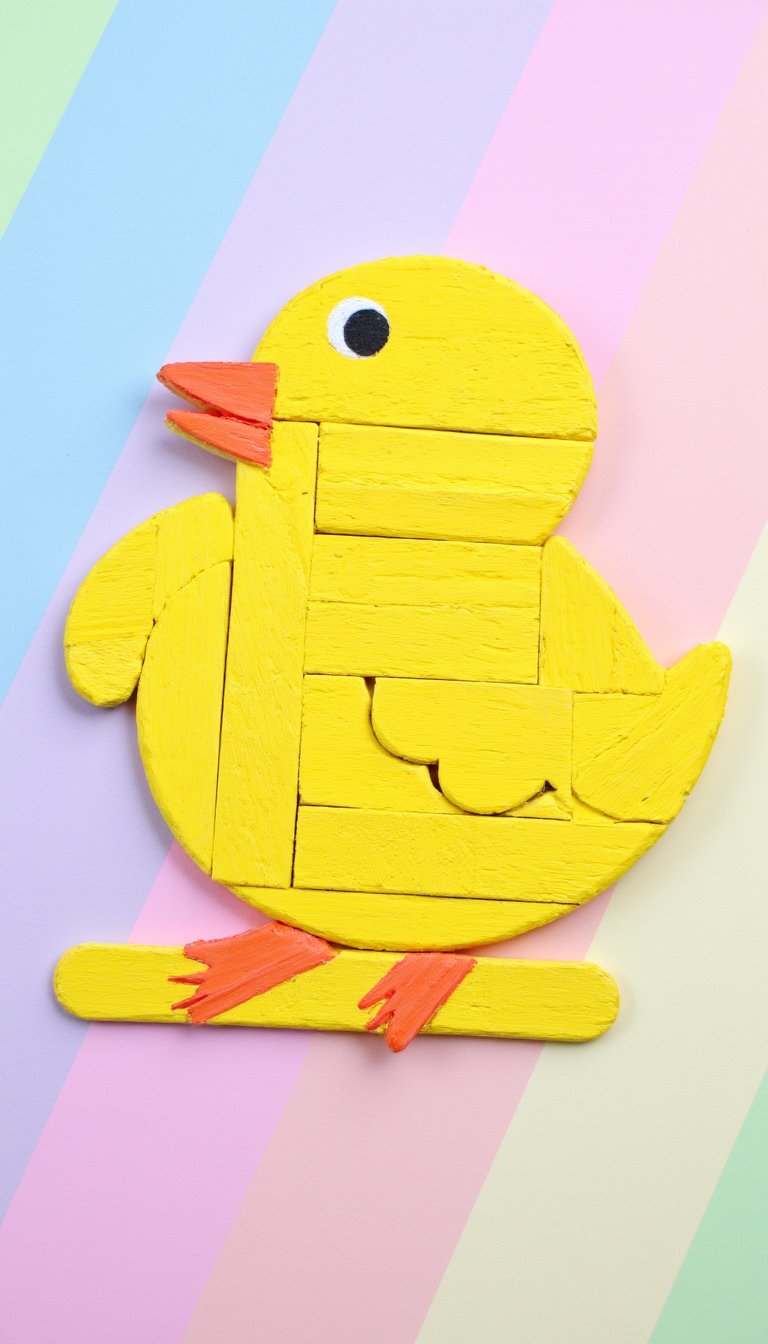
Line up wide popsicle sticks side-by-side on tape. Paint a large Easter image (a chick, a giant egg) across all the sticks. Once dry, remove the tape and mix up the sticks. You’ve created your own custom puzzle! It’s art and a game in one. For an easier version, use stickers to create the image before painting.
27. Bleach Pen Decorated Eggs
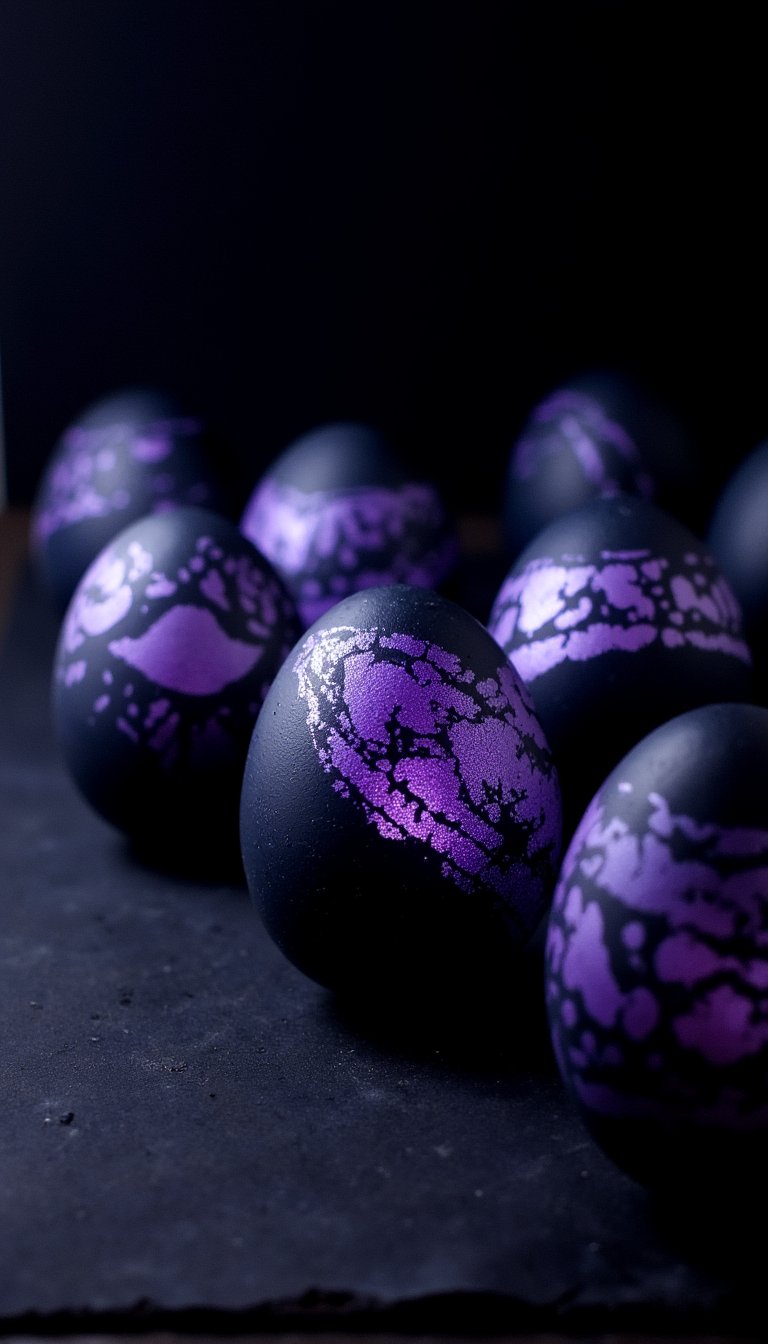
For a dramatic, reverse effect, start with eggs dyed in dark colors (like navy, brown, or purple). Using a bleach pen (in a well-ventilated area!), carefully draw designs onto the eggshell. The bleach will lighten the dye, creating ethereal, glowing patterns. It requires a steady hand but the sophisticated, batik-like results are worth it.
28. Collaborative Easter Mural
Unleash a large-scale creative project for the whole family or classroom. Tape a huge piece of butcher paper to a wall or table. Outline a giant spring scene—a garden, a tree, a basket—and let everyone contribute by painting, coloring, or collaging their section. This Easter art project becomes a celebration of community and shared creativity.
29. “Golden Snitch” Easter Eggs
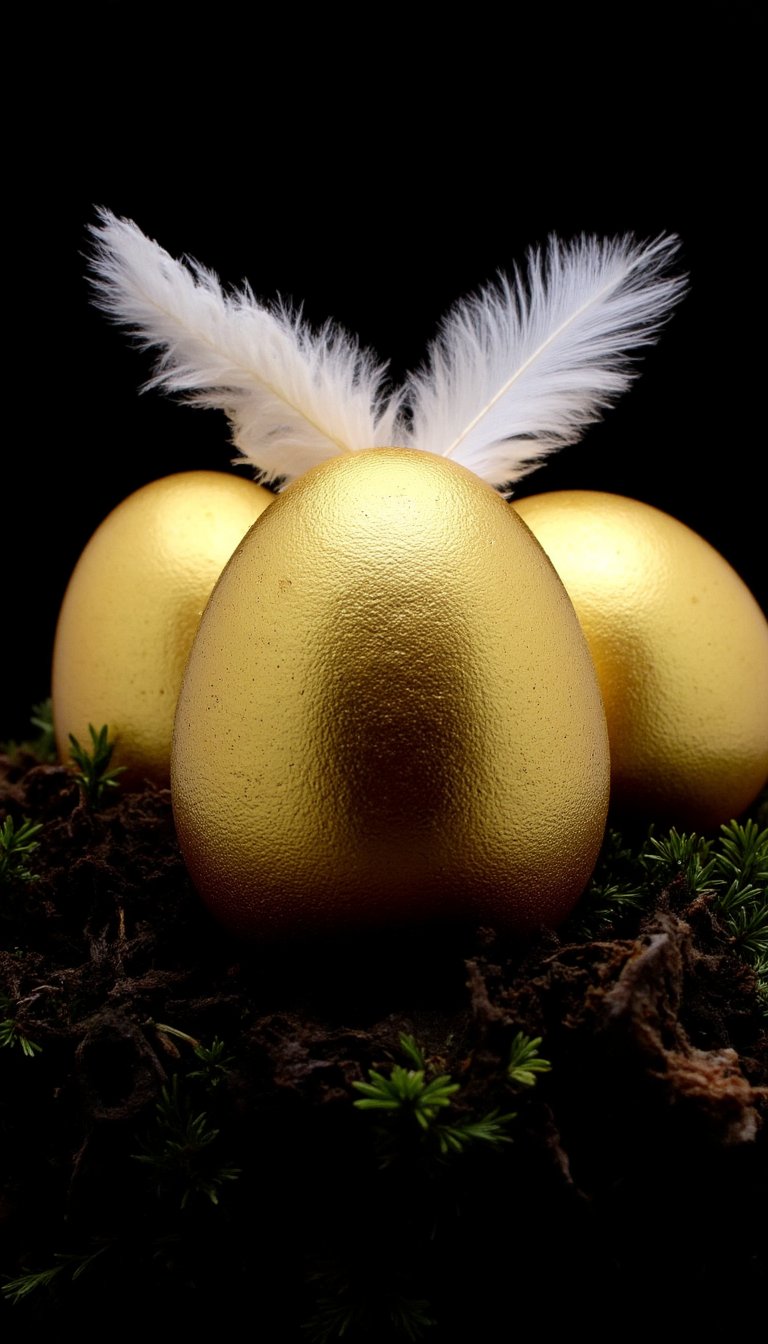
For the pop-culture fans, this one’s a delight. Take plastic Easter eggs and spray-paint them a brilliant metallic gold. Once dry, carefully glue on delicate white feather wings to either side. They become beautiful, symbolic golden eggs that look magical hanging from ribbons or nestled in a bed of dark moss. A truly golden finale to our list of 29 Easter art ideas.
So, there you have it—29 ways to transform this Easter from a simple holiday into a creative spring awakening. Whether you’re after a 5-minute craft with a toddler or an afternoon dedicated to making a masterpiece, the real magic isn’t just in the final product. It’s in the laughter, the focused quiet, the shared “look what I made!” moment. This year, don’t just celebrate Easter. Create it. Your inner creative bunny will thank you. Now, which project are you trying first? 😉