
You do not need a studio or years of art classes to make great decor. When you want to step away from screens and work with your hands, simple raw materials often yield the most satisfying results.
These 29 craft projects require minimal tools and straightforward techniques. Grab some basic supplies, clear a workspace, and start building.
1. Polymer Clay Trinket Dishes
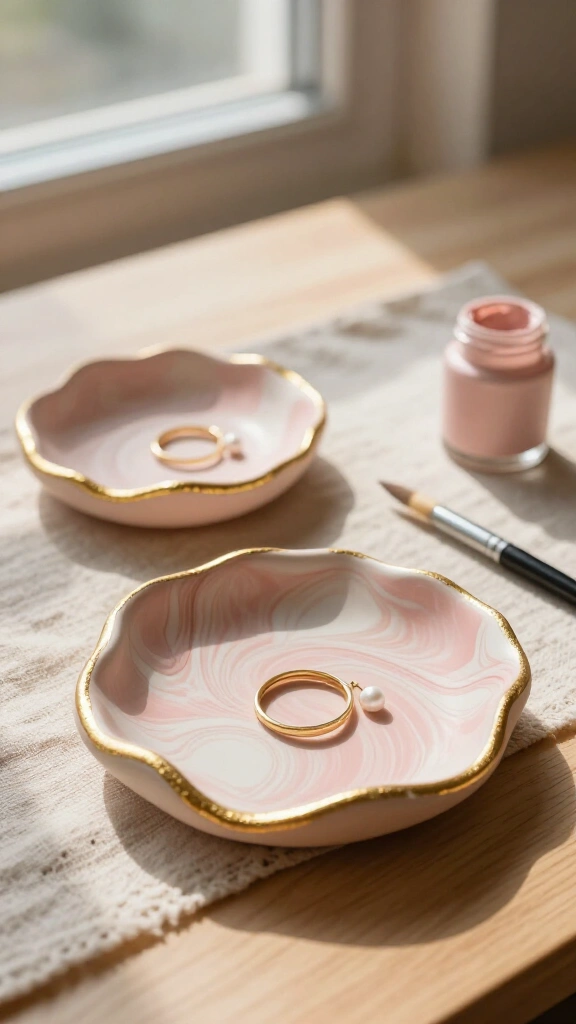
Roll two contrasting polymer clay colors together to form a marble pattern, then press the slab into an oven-safe bowl to shape the dish. Bake it according to the package directions. Once cool, paint metallic gold liquid gilding along the rim for a clean edge that catches the light.
2. Pressed Botanical Floating Frames
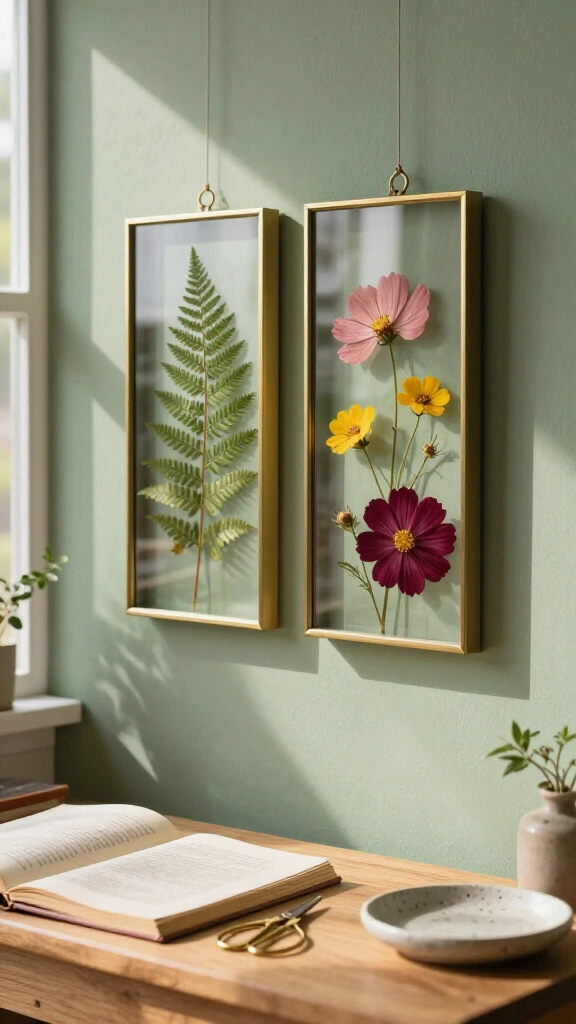
Pick fresh leaves or backyard flowers and press them between the pages of a heavy book for seven days. Position the flattened plants between two panes of glass inside a floating frame. The clear background lets wall color show through while keeping fragile botanicals intact.
3. Modern Macramé Plant Hangers
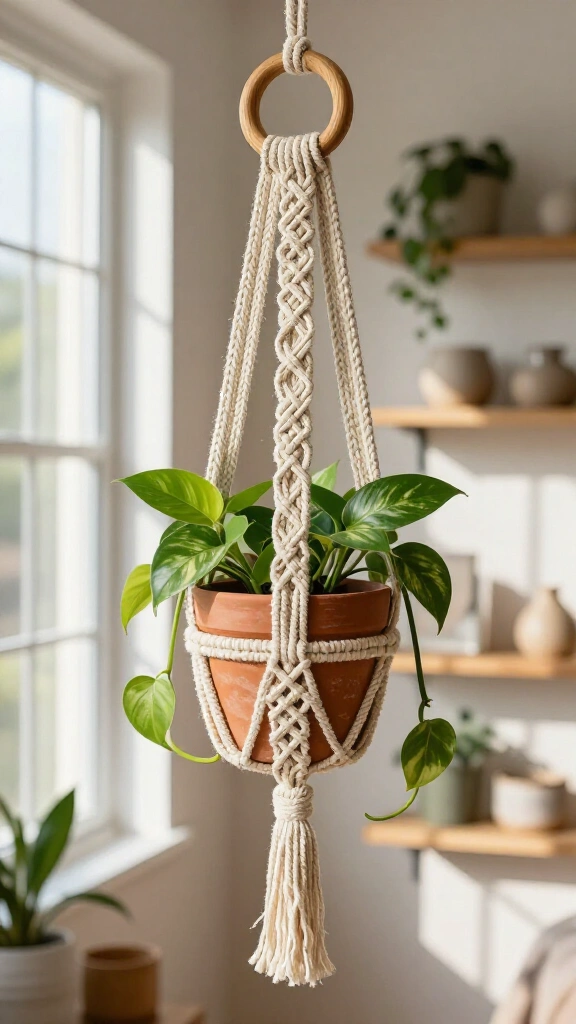
Tie a series of square knots using four-millimeter cotton cord looped through a solid wooden ring. Build a supportive base basket that grips your terracotta pots securely. For more ideas on working with fibers and textiles, explore our guide to creative home crafts.
4. Textured Plaster Canvas Art
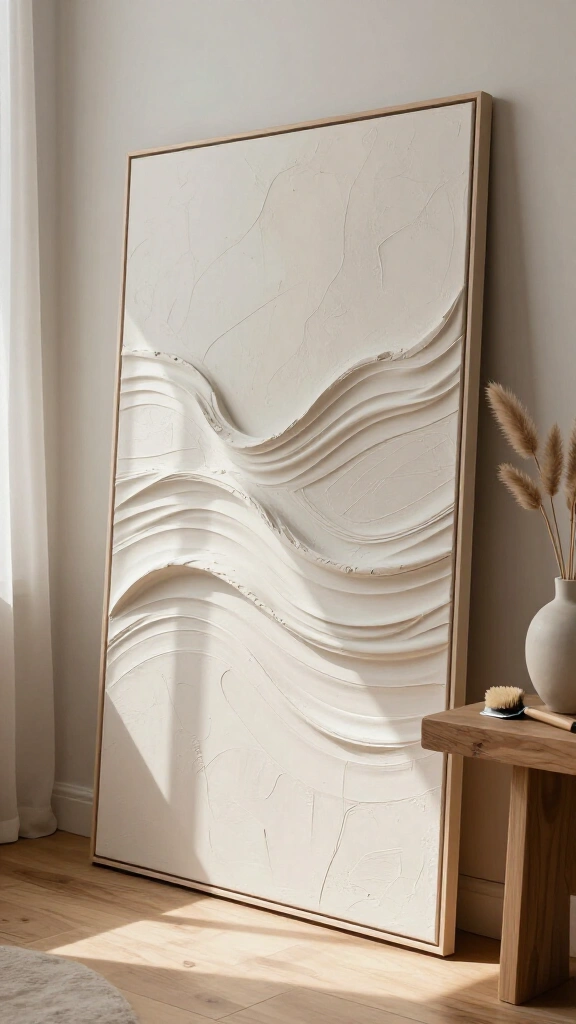
Spread joint compound across a stretched canvas with a notched putty knife. Pull the blade across the wet compound to carve deep arches, straight ridges, or organic waves. Let the plaster cure overnight, then roll on a coat of matte neutral paint to bring out the depth of the ridges.
5. Baking Soda & Acrylic Faux Terracotta Vases
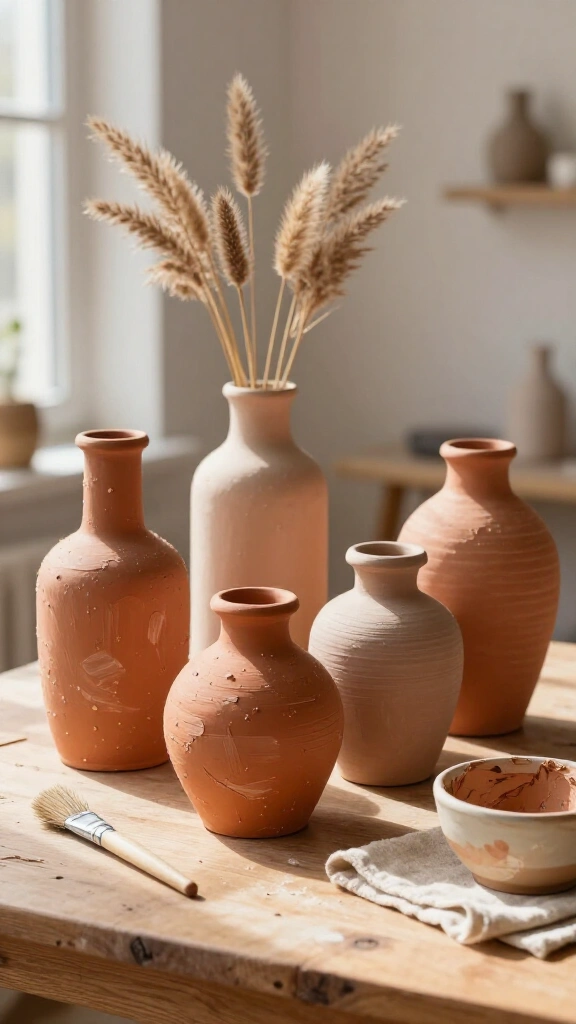
Mix equal parts baking soda and acrylic paint until you create a thick paste. Brush the mixture across plain glass bottles or thrifted ceramic jars in broad, even strokes. The paste dries into a chalky, porous finish that mimics fired earthenware pottery.
6. Hand-Poured Soy Wax Candles
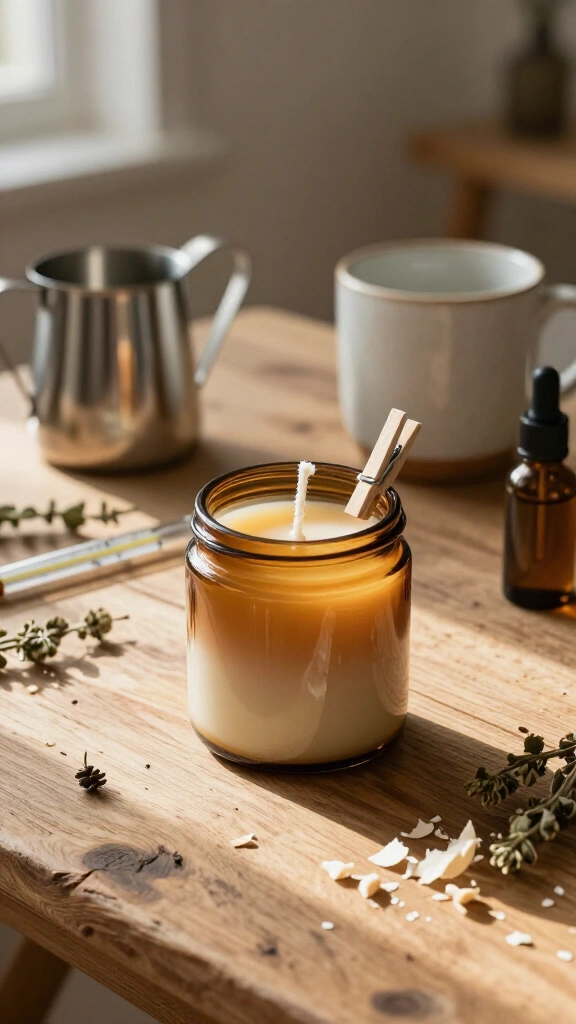
Melt soy wax flakes in a heat-safe pitcher, mix in fragrant essential oils, and pour the liquid wax into glass jars or vintage ceramic mugs. Hold your cotton wick centered with a clothespin while the wax sets. The candle crafters at The Spruce Crafts recommend checking your pour temperature with a thermometer to prevent sinkholes and rough tops.
7. Resin and Dried Flower Coasters
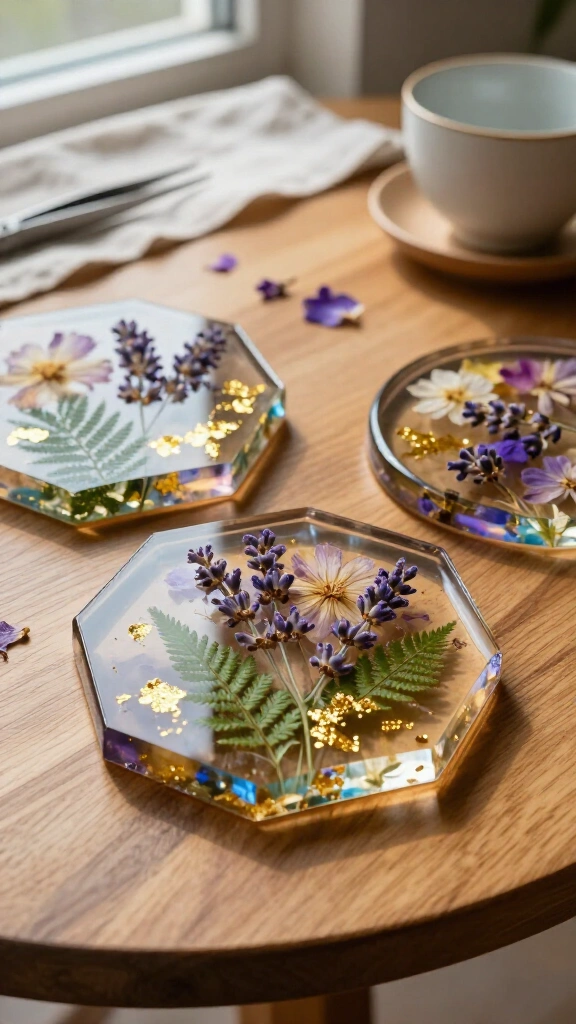
Pour a shallow layer of two-part epoxy resin into silicone coaster molds, then place pressed petals and metallic foil into the wet mixture using tweezers. Let the first layer set for four hours before pouring a crystal-clear topcoat to seal the plants completely. The hard resin shields coffee tables from moisture rings and heat marks.
8. Chunky Arm-Knit Throw Blankets
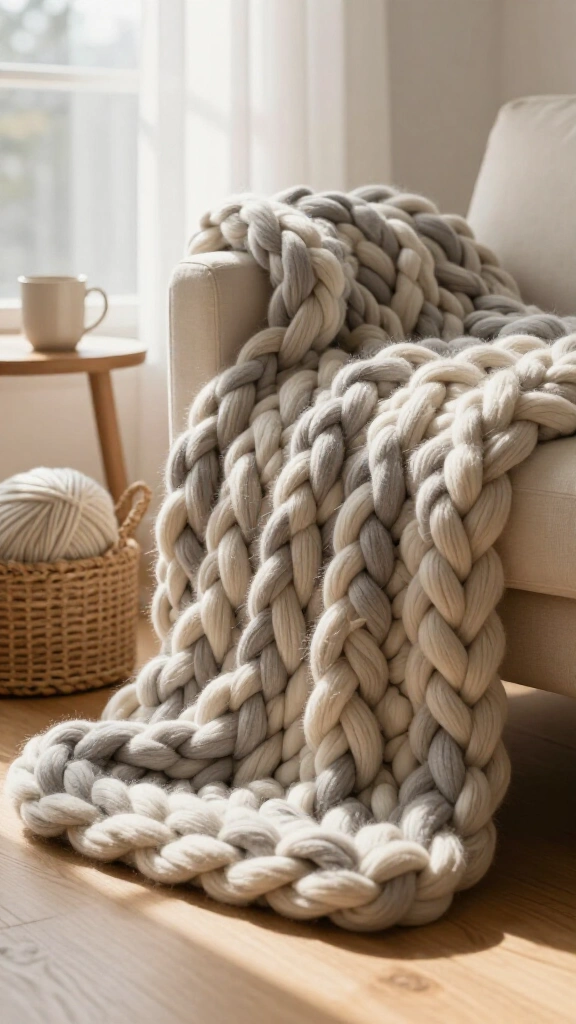
Cast loops of thick chenille or roving yarn directly onto your forearms instead of using traditional needles. Pull new loops through each row with your hands to build a thick, squishy blanket in roughly two hours. The large gauge creates a heavy, warm throw perfect for cold evenings.
9. Decoupage Wooden Serving Trays
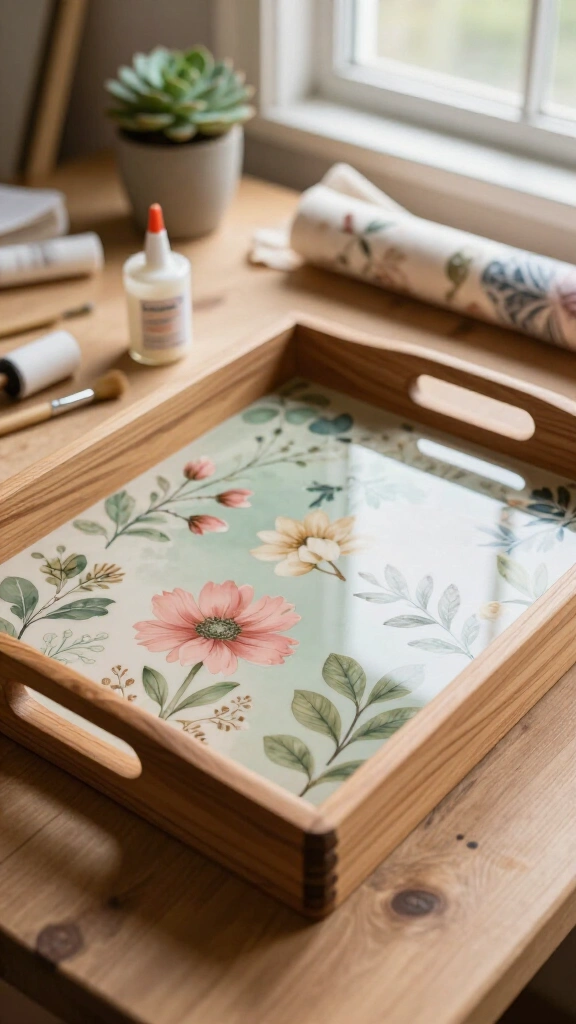
Coat a raw wooden serving tray with craft glue, then lay patterned wallpaper or printable DIY craft paper across the base. Use a brayer roller to press out trapped air pockets and smooth the paper flat. Apply two coats of clear water-resistant polyurethane to shield the paper from spilled drinks.
10. Boho Raffia Sunburst Mirror
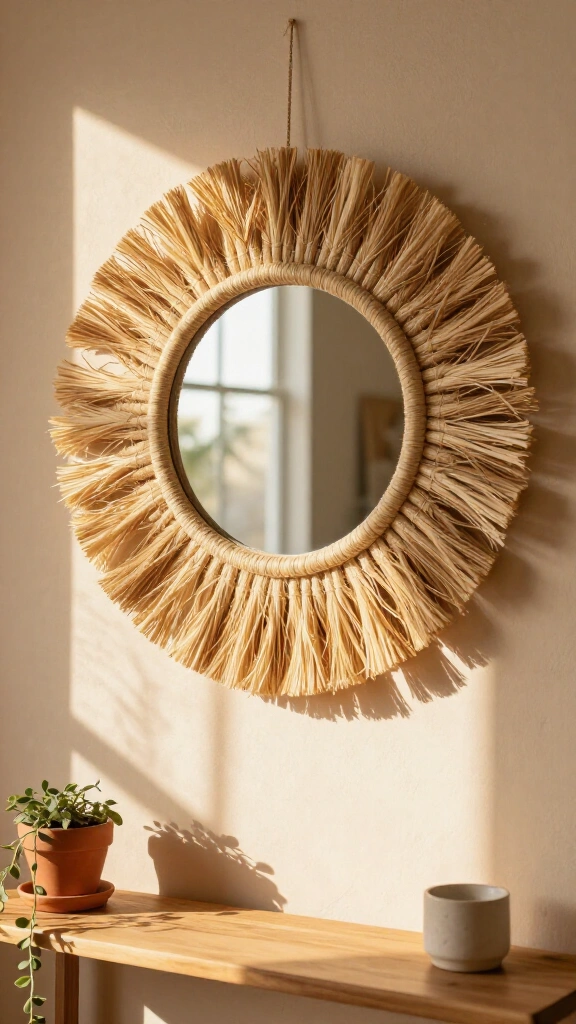
Secure cut strands of natural raffia around a round cardboard backer using hot glue, then glue a round mirror directly in the middle. Comb through the dry raffia strands with your fingers and trim the edges with fabric scissors to create a balanced, neat circular halo.
11. Terrazzo Clay Coasters

Chop baked, colored clay scraps into tiny irregular pieces and scatter them across a rolled slab of soft white clay. Roll your rolling pin over the slab to press the colored bits flush with the surface, then cut out circles with a metal biscuit cutter. Bake the rounds and sand the surfaces wet with fine sandpaper to reveal crisp, flat stone patterns.
12. Punch Needle Embroidered Wall Hangings
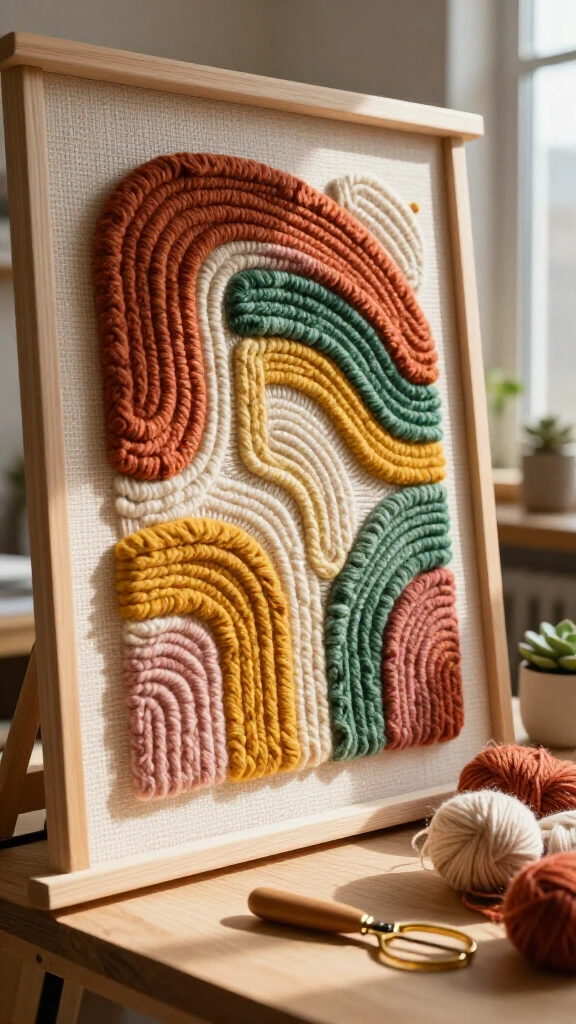
Stretch monk cloth over a wooden frame and push a threaded punch needle through the fabric from the back side. Every push creates a soft loop on the front face of the fabric. Alternate your yarn colors and loop heights to produce thick, dimensional abstract wall art.
13. Marbled Dip-Dyed Planters
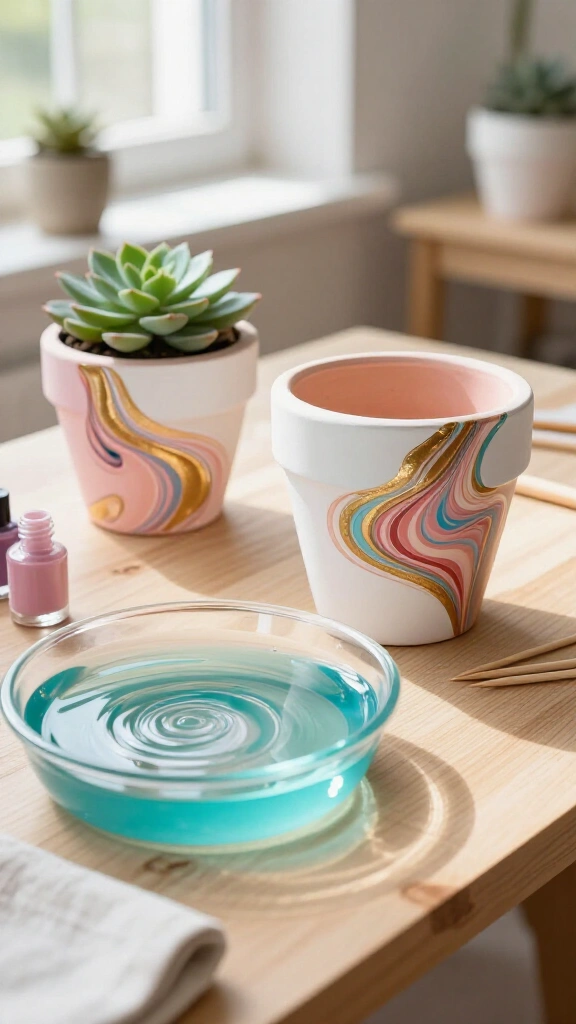
Drip three shades of nail polish onto the surface of a bucket filled with room-temperature water. Swirl the floating pigment gently using a toothpick, then lower a white terracotta pot into the bath at a forty-five-degree angle. Pull the pot straight out to set the marbled pattern onto the clay walls.
14. Air-Dry Clay Incense Holders
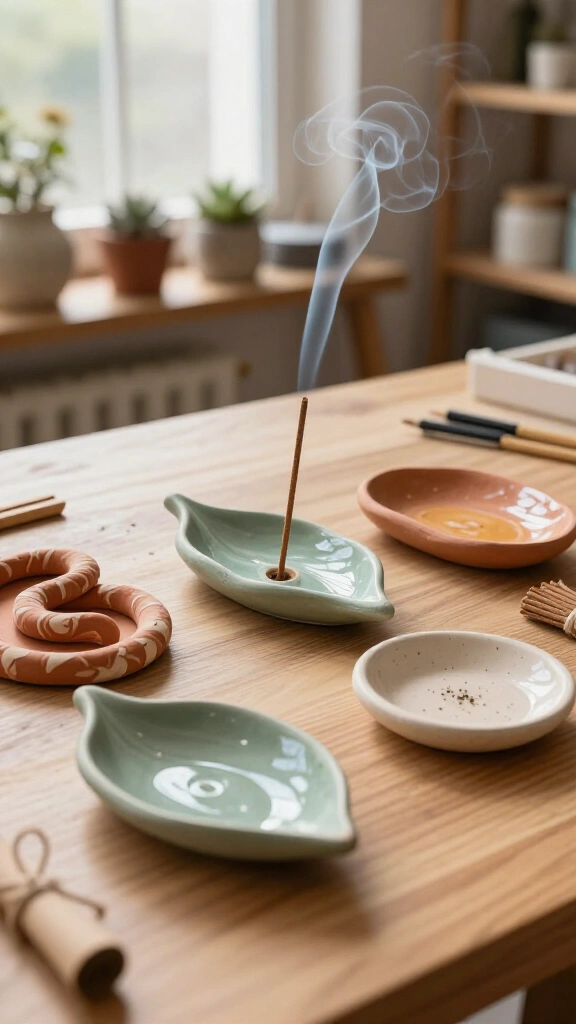
Roll air-dry clay into long coils, snake shapes, or flat geometric dishes. Push a wooden skewer into the wet clay at an angle to create a dedicated hole for incense sticks before setting the piece aside to dry for 48 hours. Paint the cured holder and coat it with clear varnish to catch falling ash safely.
15. Custom Etched Glass Carafes
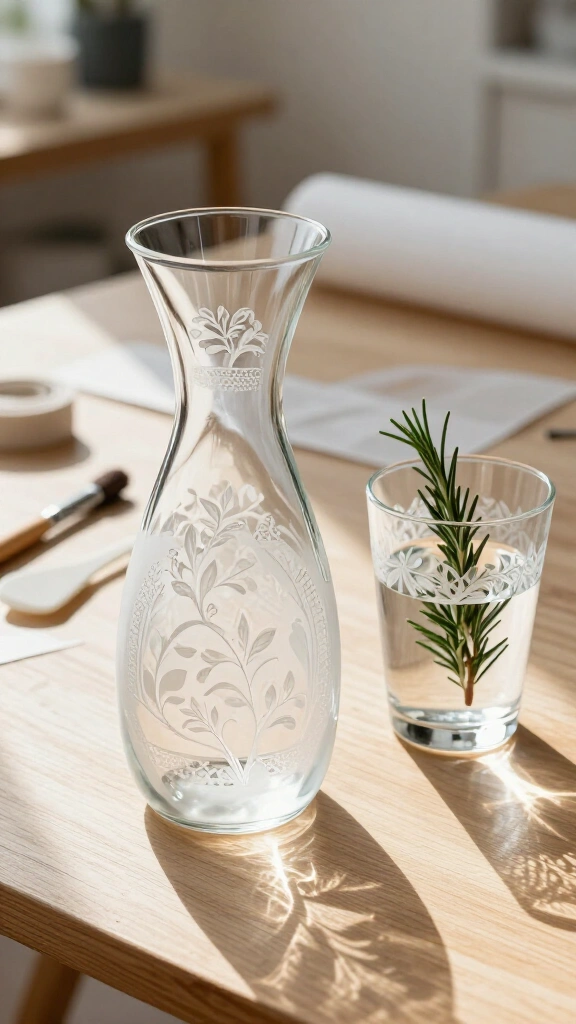
Stick adhesive vinyl stencils onto a clear glass carafe and brush a thick layer of glass etching cream over the exposed cutouts. Let the acidic paste sit for five minutes before washing it off under cold tap water. The cream permanently alters the smooth glass surface, leaving crisp, frosted monograms and border designs.
16. Woven Rattan Cane Storage Baskets
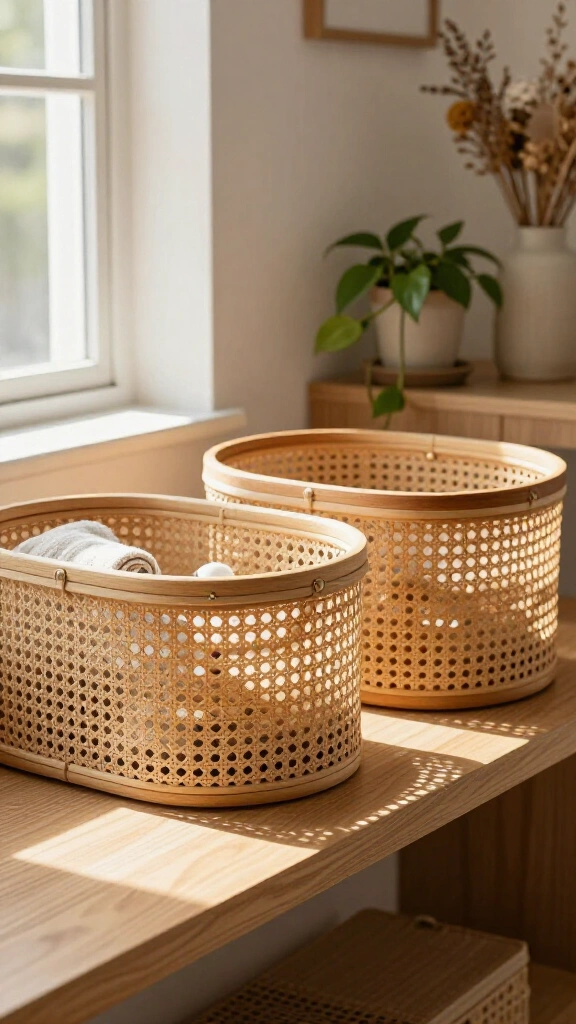
Submerge rolls of rattan cane webbing in warm water for thirty minutes so the stiff fibers soften. Wrap the damp cane around wire baskets or plain wooden boxes, pulling the material taut as you staple or glue the borders. As the cane dries, it shrinks slightly and tightens into a rigid grid that conceals clutter.
17. Botanical Cyanotype Sun Prints

Brush light-sensitive cyanotype solution onto heavyweight watercolor paper in a dim room. Place fresh ferns or pressed flowers directly on the dry paper and set the board outside under direct midday sunlight for three minutes. Wash the exposed paper in cold water to develop a permanent, rich Prussian blue print with crisp white leaf silhouettes.
18. Painted Checkerboard Coasters

Apply narrow painter tape across glazed ceramic tiles to map out an even checkerboard grid. Dab matte multi-surface acrylic paint into the open squares with a dense foam stippler to prevent bleed under the tape lines. Peel the tape while the paint remains slightly wet, then glue soft felt circles underneath each tile corner.
19. Hand-Embroidered Canvas Totes

Draw simple line illustrations onto heavy cotton tote bags using water-soluble fabric pens. Work backstitch and satin stitch outlines through the canvas using stranded cotton embroidery floss. You can expand your needlework with our collection of creative adult craft ideas for more stitch charts and pattern concepts.
20. Organic Paper Mache Accent Bowls
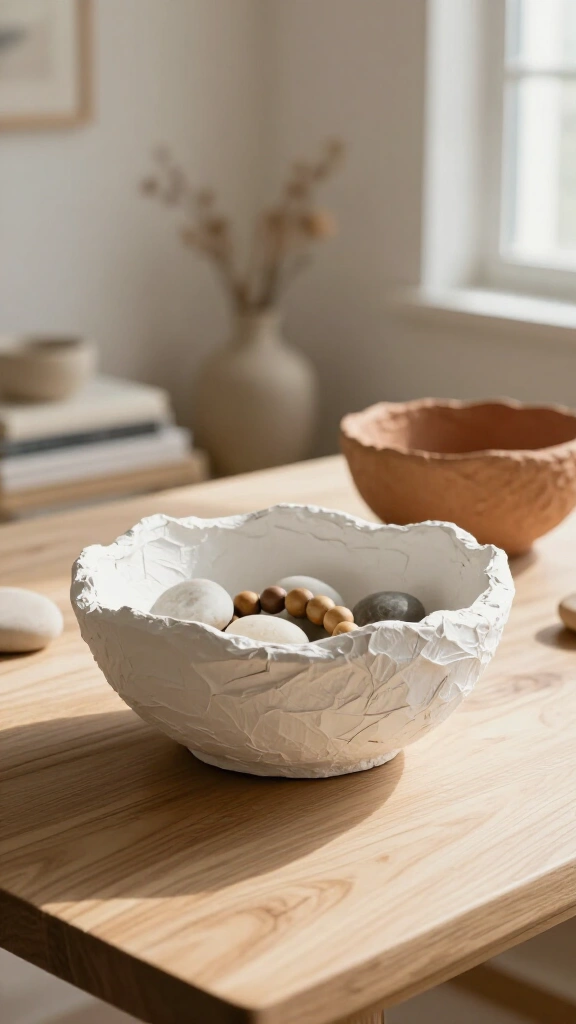
Dip strips of scrap newspaper into a smooth flour and water paste, then press four layers over an inflated balloon. Once the shell dries rock-hard over two days, pop the balloon and trim the rim into an organic, wavy profile. Seal the entire bowl with white gesso and matte acrylic paint for a sculptural tabletop catchall.
21. Typography Concrete Bookends

Mix fast-setting concrete with water and pour the slurry into silicone alphabet molds. Tap the molds against a hard table surface to force trapped air bubbles to the top before letting the blocks cure overnight. The solid concrete letters hold rows of heavy books without tipping.
22. Modern Bead and Tassel Garlands

Thread raw birch beads in alternating sizes onto heavy jute cord. Wrap cotton yarn around a cardboard scrap to make full tassels, then tie one securely to each end of the beaded strand. Drape the garland across fireplace mantels, wooden bowls, or bookshelf ledges.
23. Pressed Flower Resin Bookmarks
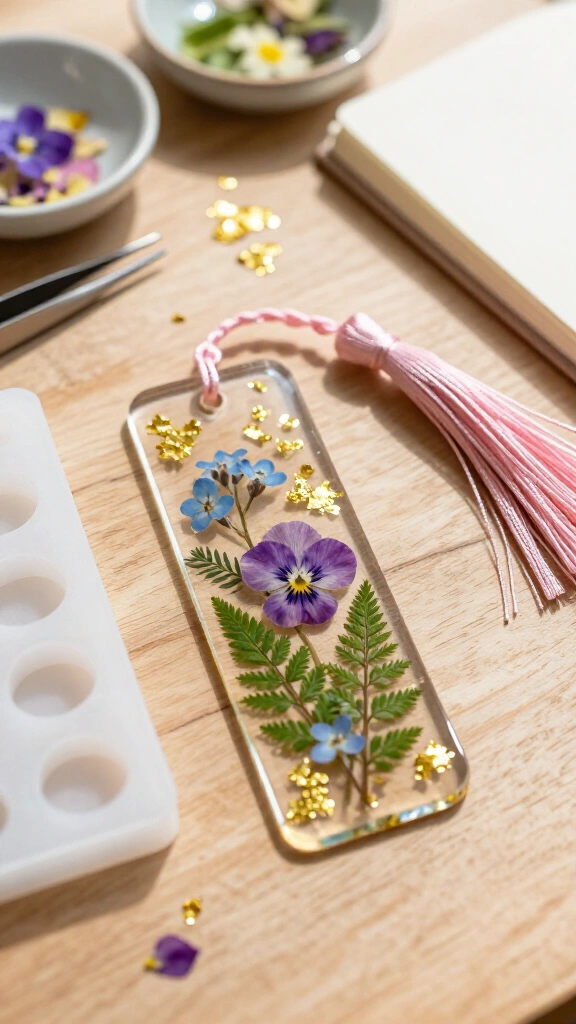
Lay miniature dried flowers and gold leaf flakes into flat rectangular silicone bookmark molds. Pour clear UV or epoxy resin over the arrangement and pop surface bubbles with a quick pass of a craft lighter. Once hardened, punch a hole at the top and loop a rayon tassel through the end.
24. DIY Vintage Matchbox Art
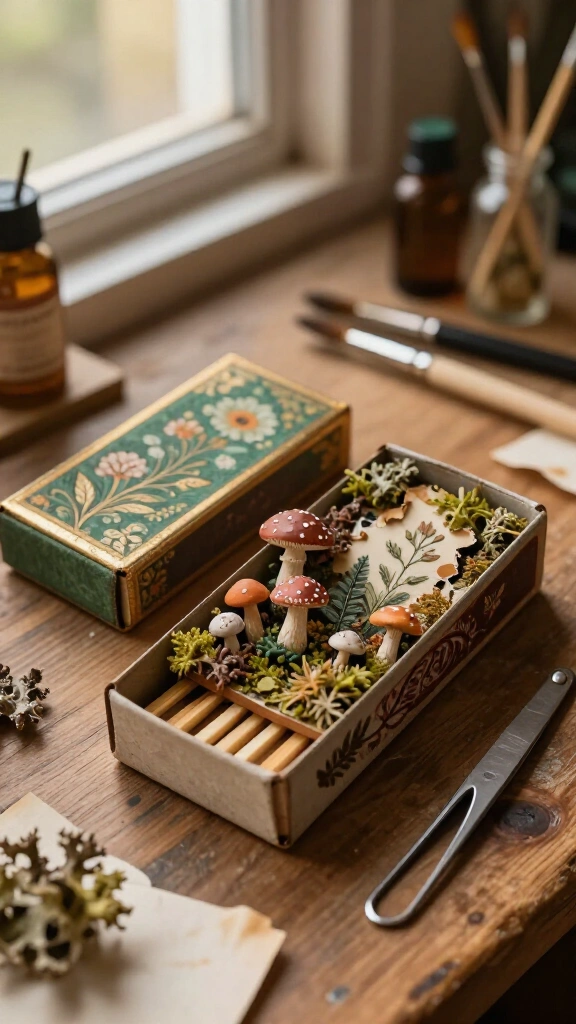
Glue vintage postage stamps or miniature printed illustrations inside empty wooden matchboxes. Build tiny multi-layered scenes using clay figures, scrap paper, and dried moss inside the sliding tray. Paint the exterior sleeve with acrylics to create pocket-sized art pieces.
25. Leather & Wood Hanging Shelves
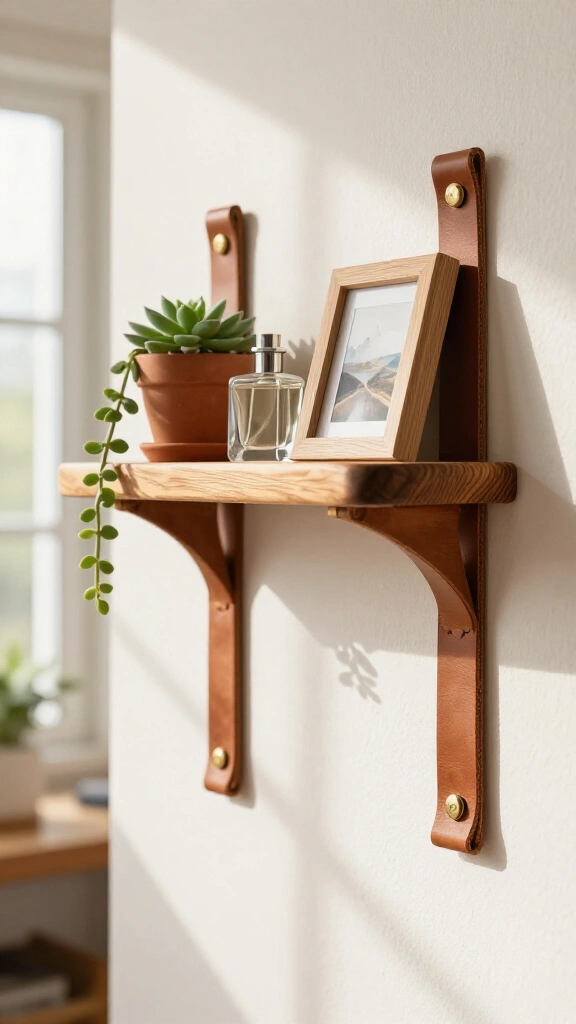
Cut two equal lengths of thick leather strap and punch screw holes near each end. Slide a sanded pine board through the hanging leather loops and drive brass screws through the strap ends into wall anchors. This wall shelf holds small potted plants, perfumes, or framed photos securely.
26. Upcycled Fluted Tin Can Organizers

Slice round wooden craft dowels in half lengthwise and glue them vertically around clean soup cans with wood glue. Sand the top rim smooth, then spray the whole cylinder with matte black or sage spray paint. The finished fluted cups organize pens, paintbrushes, and makeup tools on your desk.
27. Gold Leaf Picture Frames
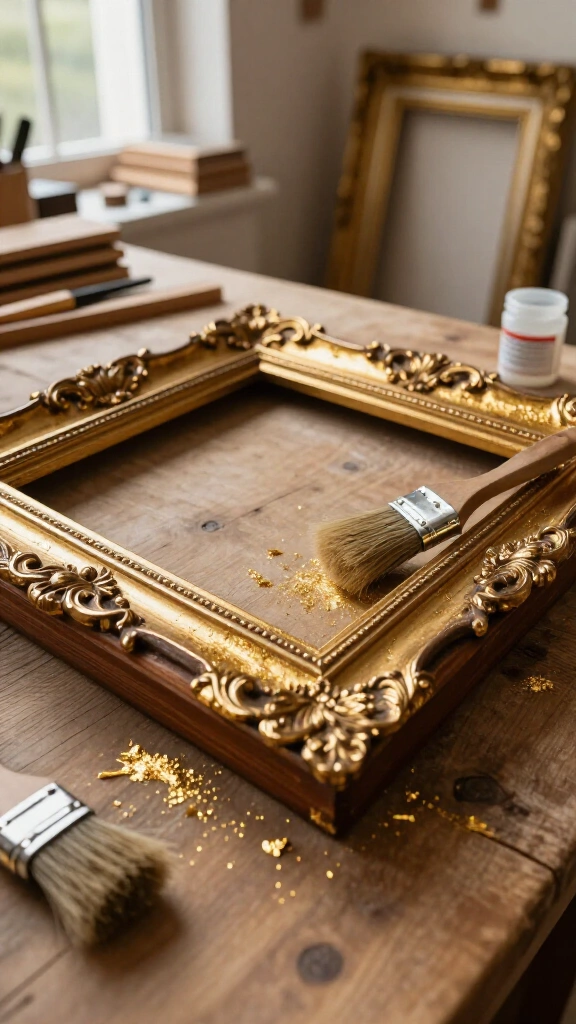
Brush a thin layer of gilding adhesive onto old wooden picture frames and wait twenty minutes for the glue to turn tacky. Lay gold leaf sheets across the frame and burnish them flat with a dry, soft-bristled brush. The metallic leaf settles into wood grain and carvings, giving plain frames an antique look.
28. Aromatic Scented Shower Steamers
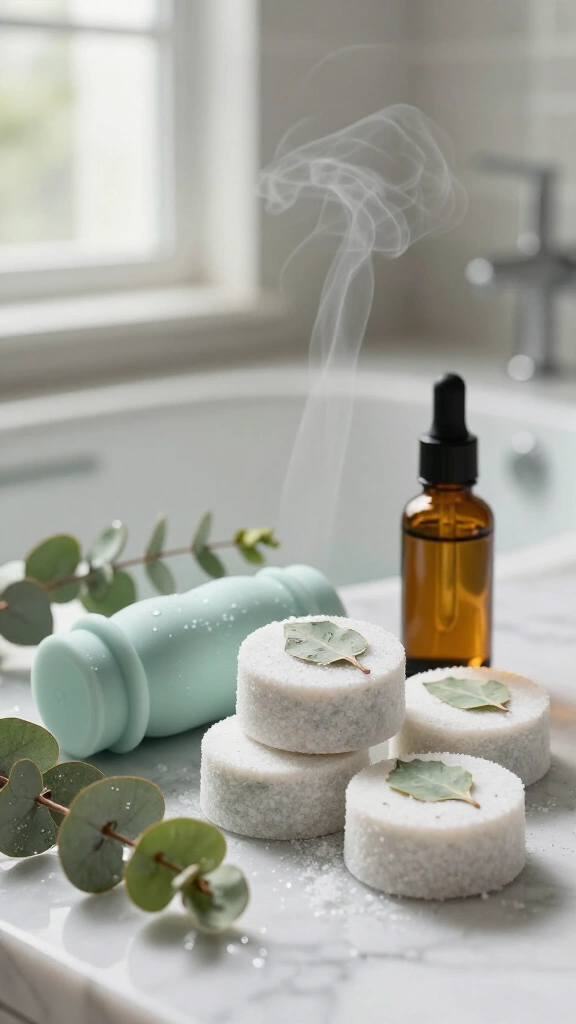
Mix two cups of baking soda, one cup of citric acid, and thirty drops of eucalyptus oil with a light mist of water until the powder holds its shape when squeezed. Pack the blend tightly into silicone muffin molds and let it dry overnight. Place one tablet on your shower floor away from the direct water stream to release eucalyptus vapors while you bathe.
29. Mosaic Tile Trivets
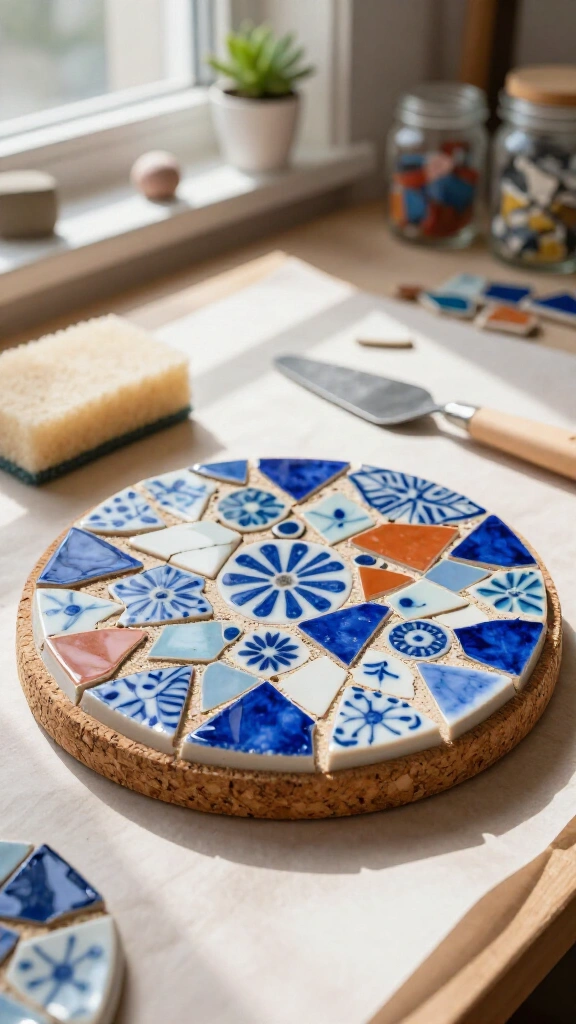
Glue porcelain tile scraps or cracked vintage plate pieces onto round cork bases with waterproof adhesive. Press sanded grout paste into every joint gap and wipe the excess off the tile faces with a moist sponge. The thick, grouted trivets protect dining tables and kitchen counters from hot cookware.
Pro Crafting Tips for Clean Results:
- Prep Your Workspace: Cover tables with heavy butcher paper or silicone craft sheets before opening paints and glues.
- Invest in Quality Tools: Keep your craft blades sharp and store hot glue guns on dedicated heat pads to avoid damaged materials.
- Read Safety Labels: Open windows and run fans whenever you work with epoxy resins, spray paints, or glass etching chemicals.
Ready to Start Your Next DIY Adventure?
Crafting lets you turn raw supplies into practical objects with your own hands. Choose a project from this guide, clear your workspace, and spend an afternoon making something new.