
A fresh block of clay offers endless possibilities, even without a pottery wheel or a studio kiln. With a simple pack of air-dry or polymer clay, you can create practical home goods, jewelry, and gifts in a single afternoon.
Clear off your workspace and grab a rolling pin. This list collects 29 clay crafts easy ideas for creative DIYs so you can start sculpting right away.
1. Marbled Clay Ring Dish

Combine contrasting clay colors to make a catchall vanity tray. Roll thin ropes of white, blush, and gold polymer clay, twist them together, and fold the rope multiple times to mix the colors. Roll the marbled slab flat with an acrylic roller, trim it into a circle with a cookie cutter, and press it into an oven-safe glass bowl to form a curved rim.
Bake the clay according to the directions on Sculpey’s official baking guide. Paint the outer rim with liquid gold leaf for a clean metallic edge.
2. Minimalist Arch Incense Holder
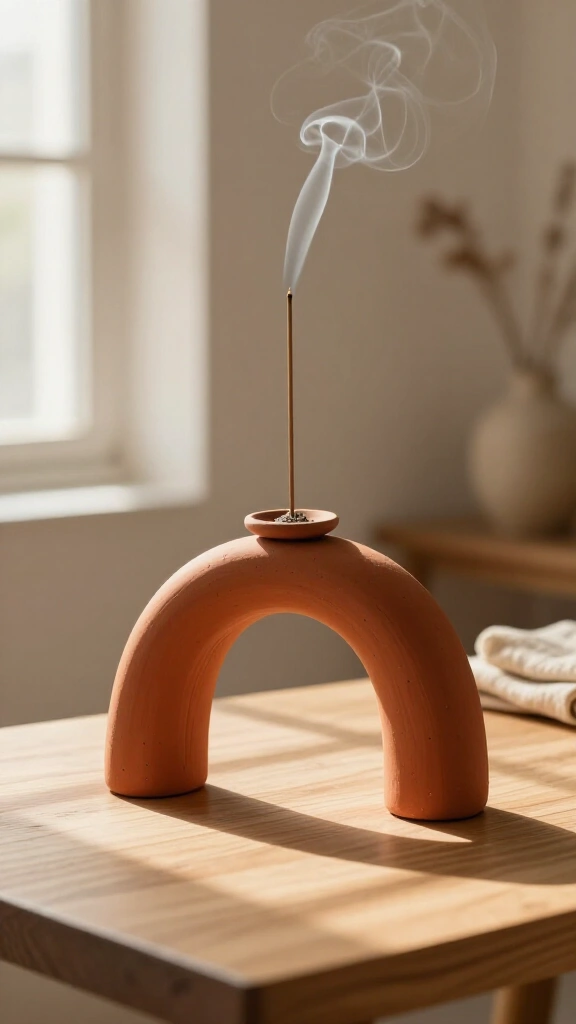
Build an arch incense burner using a thick strip of terracotta clay. Bend the strip into a smooth rainbow arch and pierce a narrow hole through the peak with a bamboo skewer. Angle the hole slightly so the incense stick catches its ash on the tray below.
If you enjoy functional home accents, view our collection of useful clay crafts for more project ideas.
3. Checkerboard Coasters

Checkerboard patterns make durable, modern table coasters. Roll out two contrasting clay slabs (such as sage green and white) and slice them into equal 1-inch squares with a craft blade. Arrange the squares in an alternating grid, roll over them under parchment paper to bond the seams, and trim the outer border square.
Seal your coasters with waterproof resin or polyurethane glaze to protect the surface from hot mugs.
4. Botanical Leaf Imprint Plates
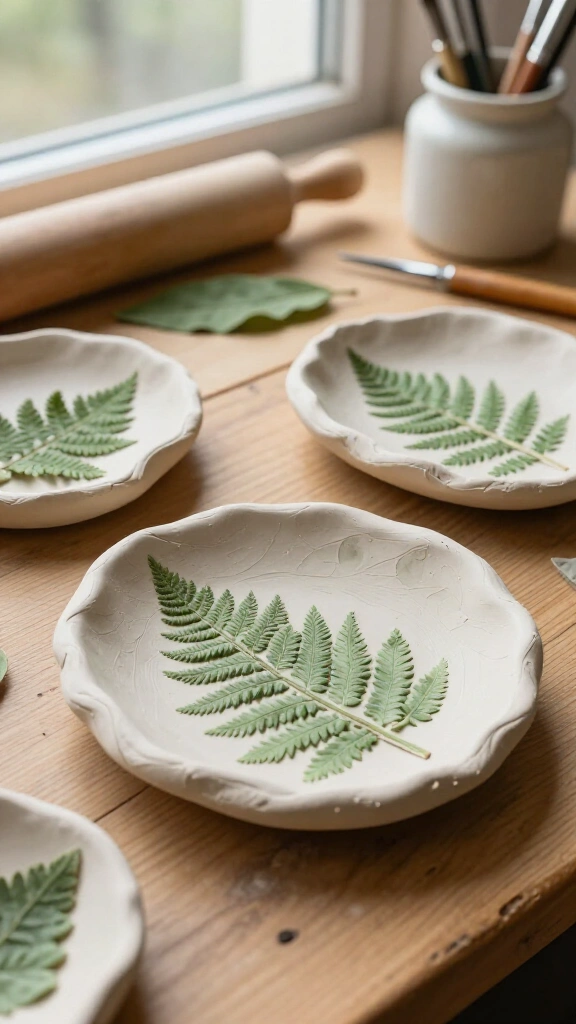
Press garden foliage directly into clay to create textured catchall dishes. Pick fresh leaves with pronounced veins, such as fern or sage, and press them face down into a rolled slab of air-dry clay. Peel the leaf away to reveal the impression.
Cut around the outline with a craft knife and rest the piece inside a shallow bowl while it dries. Paint a light watercolor wash over the dry clay to bring out the leaf details.
5. Abstract Geometric Dangle Earrings
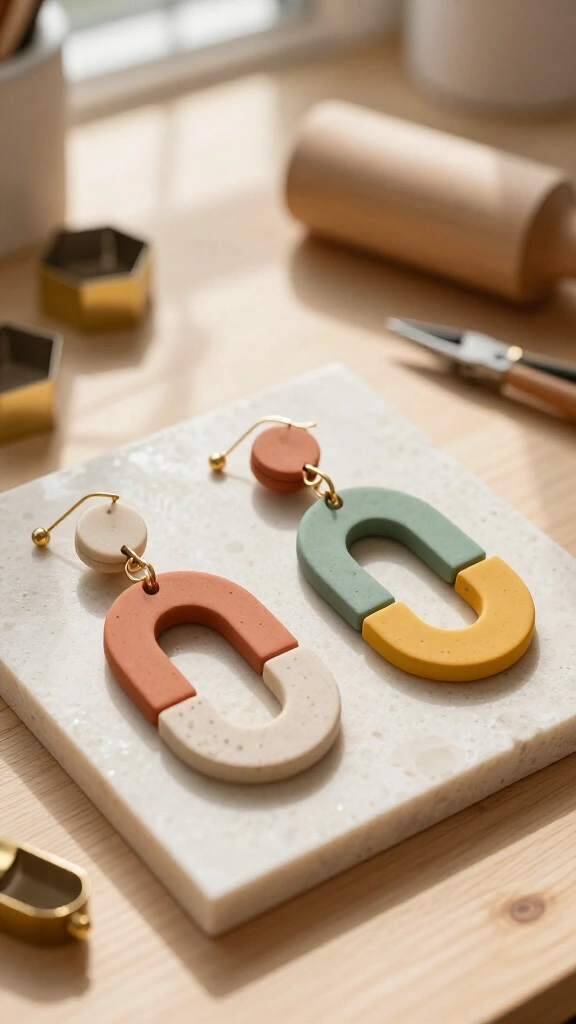
Make your own geometric earrings at home. Cut shapes such as half-moons, arches, and circles from conditioned polymer clay with miniature cutters. Pierce small holes for jump rings before baking the pieces.
Connect the baked pieces with brass jump rings and attach hypoallergenic earring posts. Find more wearable designs in our guide to polymer clay crafts.
6. Pinch Pot Succulent Planters

Shape a simple pinch pot from a ball of air-dry clay roughly the size of a tennis ball. Press your thumb into the center and rotate the ball while pinching the walls into an even thickness. Pierce a quarter-inch drainage hole through the base for plant health.
Attach three small clay balls to the base for tripod legs by scoring and smoothing the joints. After the pot dries completely, apply a coat of acrylic waterproofing sealant to the interior.
7. Textured Garden Plant Markers
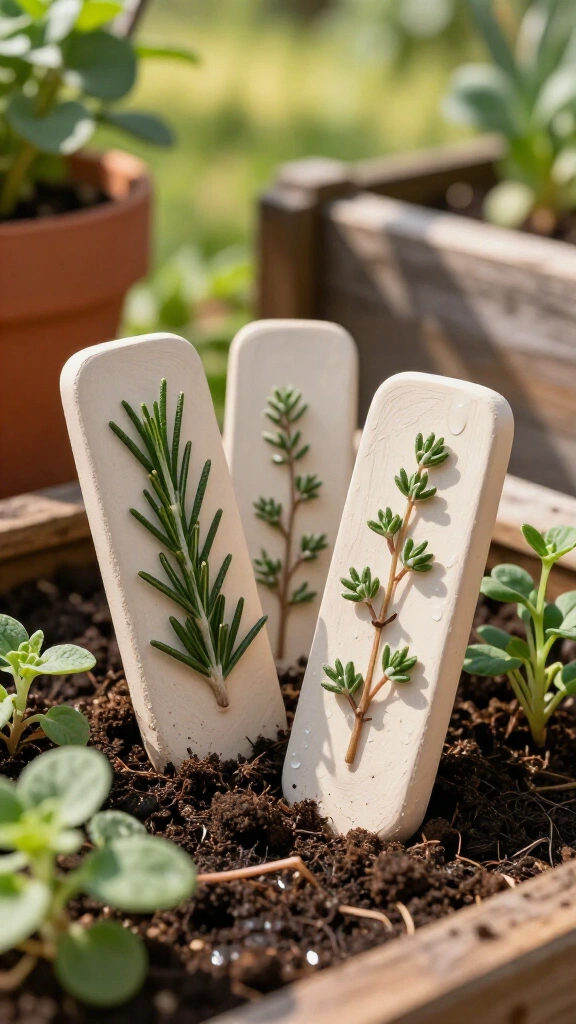
Organize your garden beds with stamped clay stakes. Roll air-dry or polymer clay to a quarter-inch thickness, cut it into pointed stakes, and press plant names into the surface with alphabet stamps. You can also press rosemary or thyme sprigs into the clay beneath the words.
Apply an outdoor varnish over the dry markers to protect the stamped text from rain.
8. Wavy Mirror Frame Accents
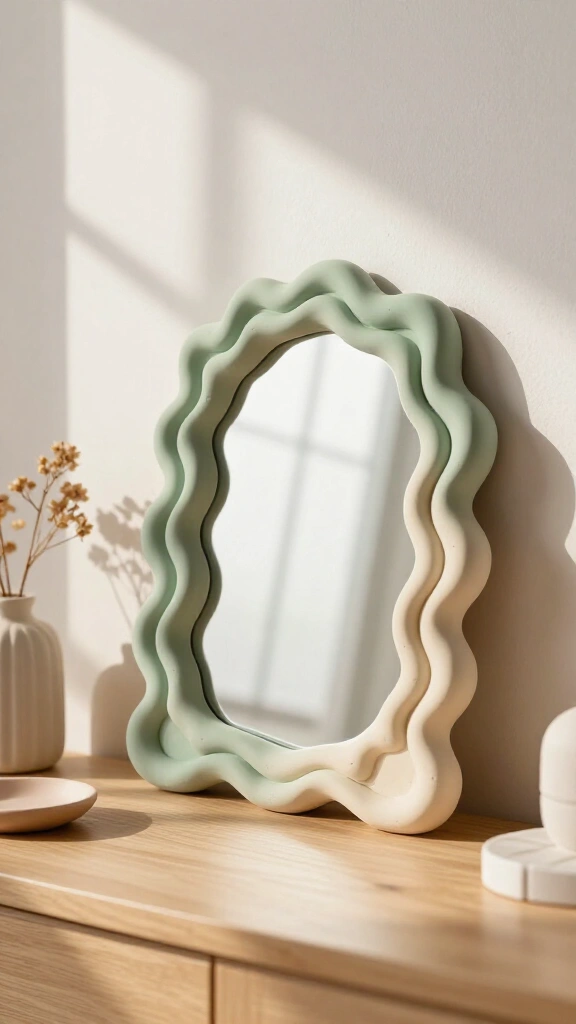
Upgrade a small frameless mirror with a sculpted border. Roll long, uniform coils of polymer clay and shape them into waves around the glass edge. Blend the clay over the back edge of the mirror to hold the glass firmly in place.
Bake the piece flat on a ceramic tile so the reverse side stays smooth for wall mounting.
9. Modern Clay Knot Sculpture
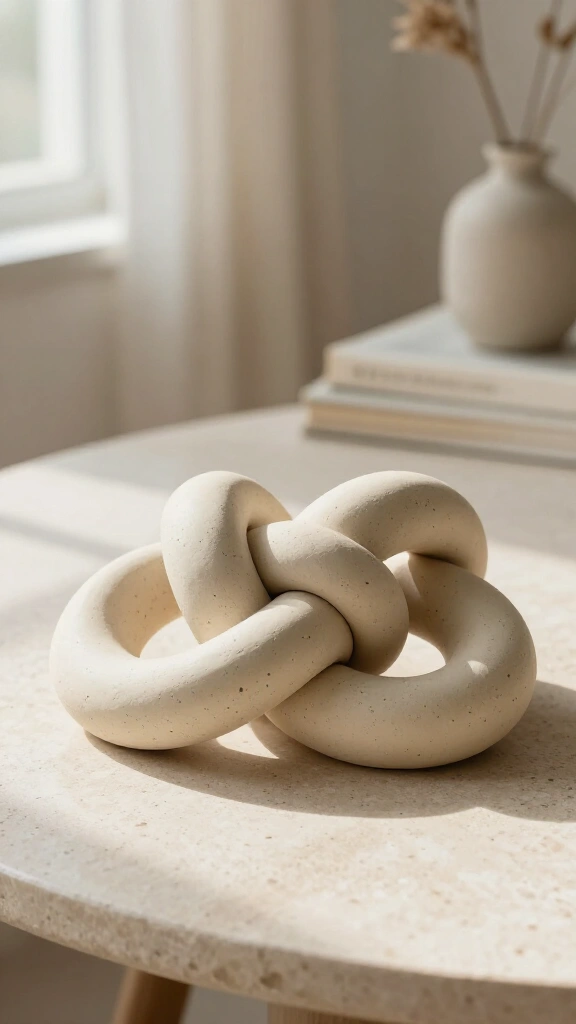
Sculpt a tabletop knot using speckled air-dry clay. Roll two thick coils to equal lengths and loop them together into a loose sailor’s knot, tucking the ends underneath the main shape.
Cover the sculpture with a light cloth while it cures so the clay dries evenly without cracking.
10. Custom Monogram Gift Tags
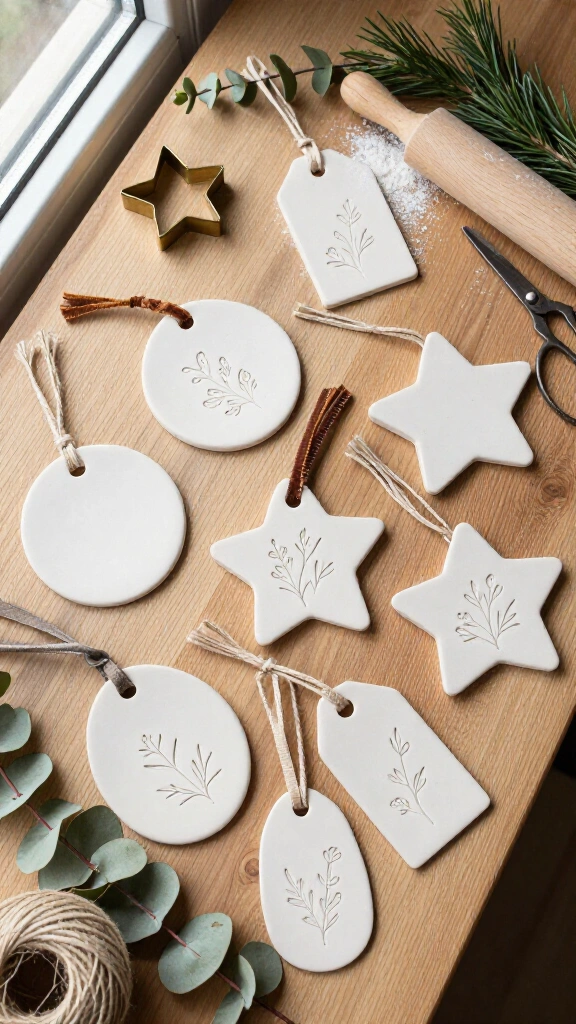
Make reusable gift tags from white air-dry clay. Cut out circles, stars, or simple tags using cookie cutters, then imprint initials or holiday greetings with letter stamps. Punch a hole near the top edge with a drinking straw.
Thread twine or ribbon through the hole once the clay dries.
11. Terrazzo Trinket Tray

Create a faux terrazzo tray with leftover clay scraps. Chop small pieces of colored clay into irregular bits, scatter them over a flat white clay slab, and roll over the surface until the flecks flatten into the base.
Cut an oval out of the slab, curve the rim upward inside a shallow plate, and cure the clay.
12. Cute Animal Desk Buddies
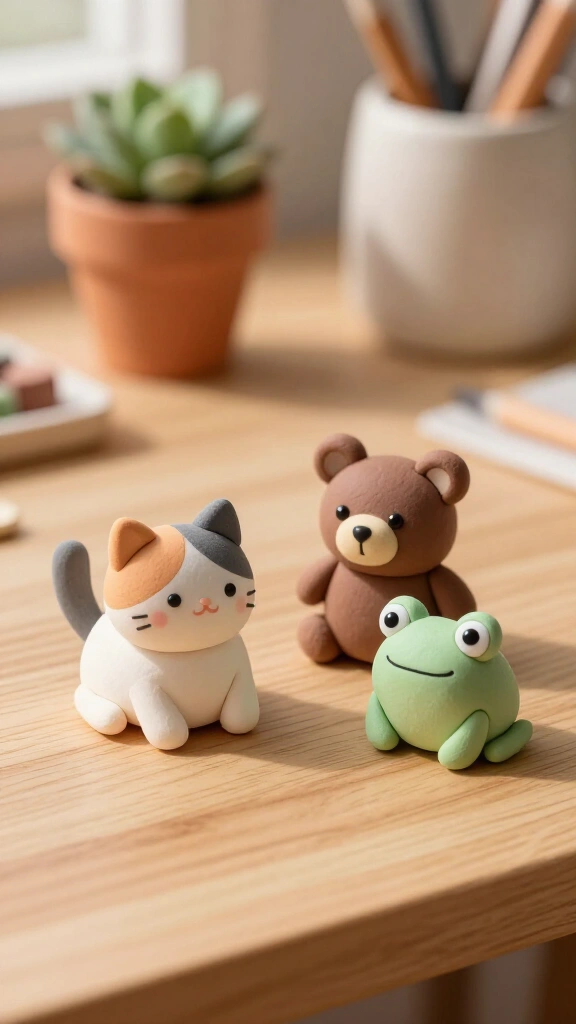
Sculpt small animal desk figurines with colored polymer clay. Roll rounded bodies for cats, bears, or frogs, keeping limbs compact so they do not break off during handling.
Press black seed beads into the clay for eyes before baking, or paint features with acrylic paint after the figures cool.
13. Geometric Photo & Memo Clips

Build desktop photo holders with solid clay bases. Mold clay into cubes, pyramids, or domes with flat bottoms. Bend 18-gauge wire into a spiral clip at one end and push the straight stem directly into the top of the wet clay base.
Keep the base upright while it cures so the wire remains straight.
14. Scalloped Wall Hanging

Assemble a layered wall hanging from flat clay shapes. Cut several half-circles in graduated sizes and punch connecting holes along the top and bottom edges of each tier. Bake the pieces flat between sheets of parchment paper under a ceramic tile to prevent warping.
Join the baked tiers with jump rings and hang a cotton tassel from the lowest piece.
15. Chunky Bead Keychains

Make custom keychains by rolling polymer clay into round, saucer, or faceted beads. Pierce each bead through the center with a metal skewer before baking.
Thread the baked beads onto a leather cord and tie the cord securely to a brass split ring.
16. Clay Rainbow Bookends

Support books with arch bookends. Roll several thick clay coils and nest them together into an arch shape, pressing the seams firmly to remove air pockets. Place small metal washers or clean gravel inside the hollow base to add weight before sealing the bottom.
Find more no-kiln projects in our list of air dry clay crafts for everyday home accents.
17. DIY Essential Oil Diffuser Necklaces

Make porous aromatherapy pendants with unsealed terracotta clay. Cut small geometric shapes from the clay and press shallow patterns across the front. Leave the surface unglazed so the clay absorbs essential oils.
Add a drop or two of lavender or orange oil directly onto the dry pendant as needed.
18. Speckled Farmhouse Egg Cups

Mold a custom egg cup from air-dry clay. Form a thick base, flare the top into a shallow bowl, and check the fit against a fresh egg. Account for a 5 to 10 percent shrinkage rate as air-dry clay cures.
Flick brown paint across the dry clay with a stiff brush to create a stoneware speckle.
19. Clay Mushroom Fairy Ornaments

Sculpt small decorative mushrooms for plant pots. Shape slender stems and top them with domed caps in red and white clay. Insert an eye-pin into the cap before baking if you want to hang the piece.
Insert a toothpick into the bottom of each stem before curing so you can push the finished mushroom into potting soil.
20. Hand-Sculpted Toothbrush Stand

Keep toothbrushes upright with molded clay stands. Shape clay into a wide donut with a central vertical opening that fits your toothbrush handle.
Coat the cured stand with waterproof resin or gloss enamel to resist moisture.
21. Ribbed Fluted Candle Holder
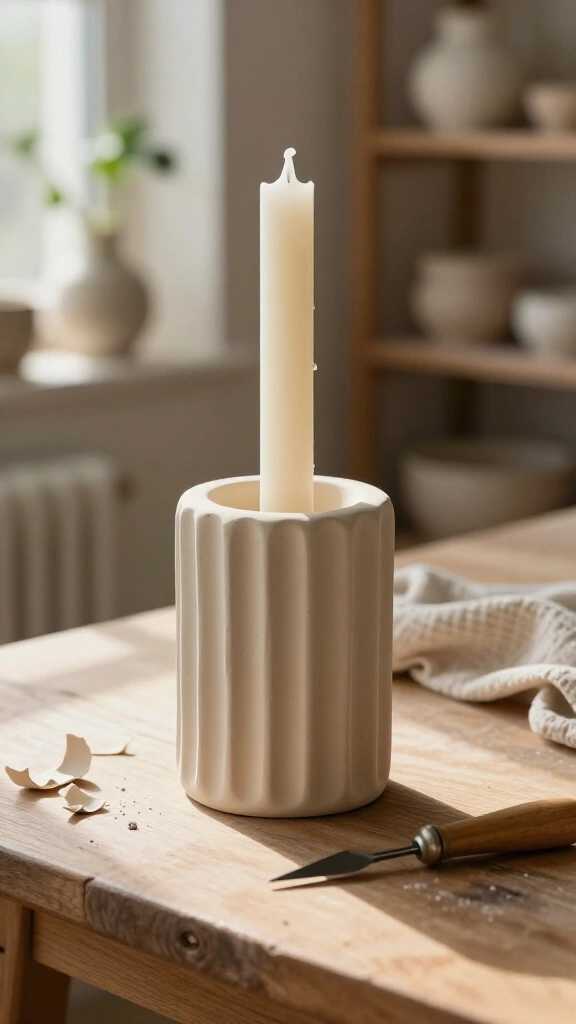
Create a fluted candle stand by carving vertical ridges into a clay cylinder with a ribbon tool. Press a taper candle into the top socket while the clay remains soft to set the correct width.
Remove the candle before baking. Burn candles only in fully cured, fire-safe holders.
22. Alphabet Fridge Magnets
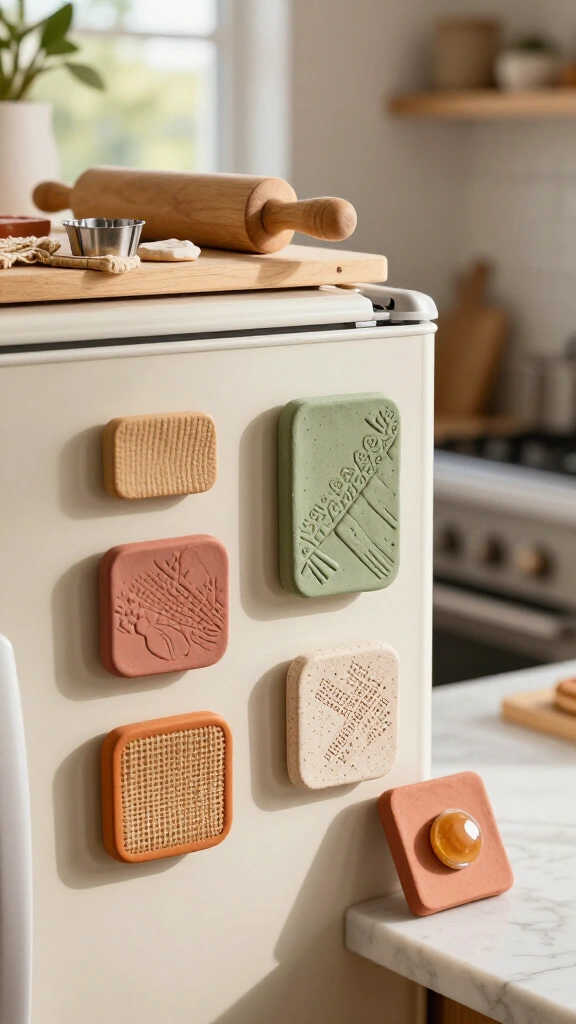
Make typography magnets for your refrigerator. Roll clay to a quarter-inch thickness and cut out letters with small cookie cutters. Press textured fabric onto the clay faces to add surface detail.
Attach neodymium magnets to the back of each letter with epoxy glue, following the steps on This to That adhesive guides.
23. Miniature Match Striker Pots

Pair candles with a small handmade match pot. Mold a thick-walled pinch pot and leave the clay unglazed. Glue a replaceable circle of strike-anywhere match paper to the underside.
Fill the pot with matches to keep them handy by your candles.
24. Floral Barrette Hair Clips

Make floral barrettes by sculpting small petals and arranging them into roses or leaves on a flat clay base. Bake the piece until firm.
Attach the clay base to metal hair clips with jewelry glue.
25. Modern Footed Fruit Bowl
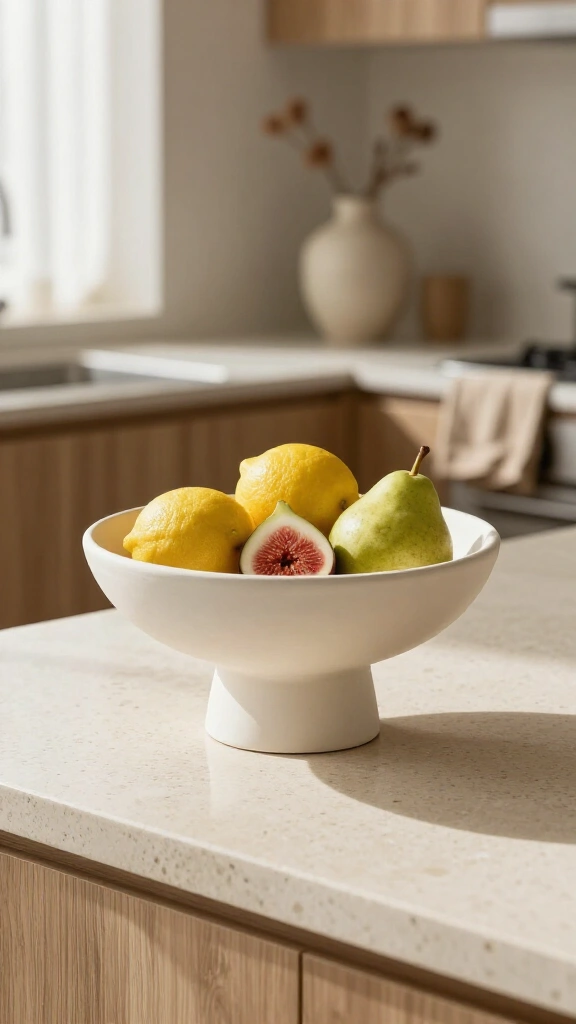
Build a pedestal fruit bowl at home. Form a wide, shallow bowl over the back of an oven-safe glass dish and mold a separate cylinder for the base. Score the contact points, apply clay slip or liquid polymer clay, and join the two pieces before baking.
Smooth the dry surface with 400-grit sandpaper for an even finish.
26. Quirky Bookmark Charms
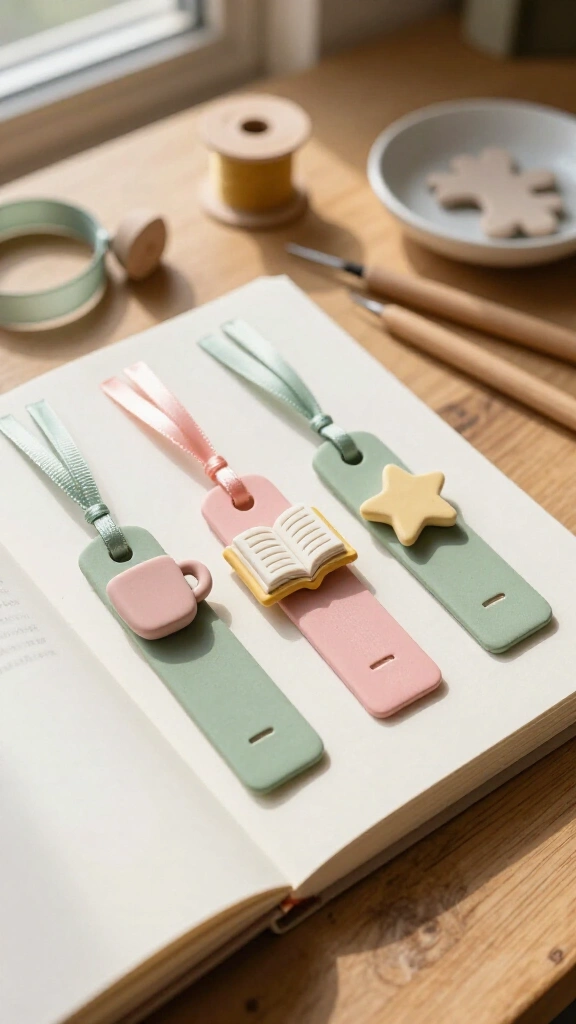
Make ribbon bookmarks with clay charm weights. Sculpt flat icons (such as books, coffee mugs, or stars) and cut a horizontal slot through the middle of each piece. Thread ribbon through the slots and secure the ends with glue.
These work well as simple, handmade gifts for readers.
27. Pierced Tea Light Luminaries

Shape a hollow dome or cylinder from air-dry clay and punch small holes through the sides with brass cutters. Keep the walls thin enough for light to pass through the openings.
Place battery-powered LED tea lights inside the luminary for safe tabletop lighting.
28. Stackable Chunky Finger Rings

Make chunky rings by wrapping conditioned polymer clay around a wooden dowel or metal ring mandrel that matches your ring size. Add details such as glass cabochons, checkerboard patterns, or twisted rope shapes.
Bake the rings on the mandrel so they hold their circular shape.
29. Celestial Moon Phase Wall Mobile
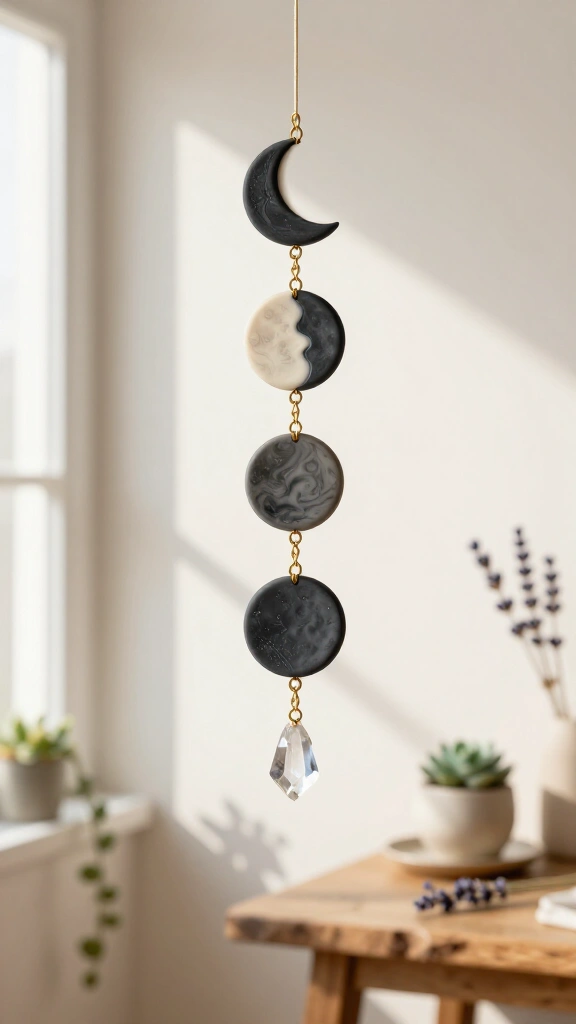
Create a hanging mobile with the phases of the moon. Cut out five shapes (new moon, waxing crescent, half moon, gibbous, and full moon) from black or marbled clay. Punch holes through the top and bottom of each shape before baking.
Link the shapes in order using jewelry wire or metal chain, and hang a crystal point from the bottom.
Pro Tips for Clay Crafting Success
- Condition thoroughly: Knead polymer clay until soft and pliable to prevent brittle finished crafts.
- Control drying speed: Dry air-dry clay slowly away from direct heat or fans to prevent cracks.
- Sand imperfections: Sand rough edges with wet sandpaper under running water for a smooth finish.
- Seal for durability: Coat finished pieces with clear acrylic varnish or UV resin to protect them from moisture.
Ready to Start Sculpting?
Clay crafting offers a practical, low-cost way to make functional decor and jewelry at home. Pick a project from this list, prepare your clay, and start shaping your first piece today.