
There’s something magical about pulling out a box of handmade ornaments each year, isn’t there? The little imperfections, the memories pressed into every detail—they tell your family’s story in a way store-bought baubles never could. If you’ve been itching to add that personal touch to your holiday decor, I’ve got one word for you: clay. And not the fancy, kiln-fired kind. We’re talking about the simple, forgiving, and downright fun world of air dry clay Christmas ornaments. I’ve gathered 19 charming, easy-to-make ideas that will have you feeling like a crafting pro in no time. Ready to get your hands a little dirty?
1. Classic Rustic Stars

You can’t go wrong with a timeless star shape. Roll out your clay and use a cookie cutter for a perfect form every time. Before it dries, press the tip of a knitting needle or a toothpick around the edges to create a charming, stitched-line effect.
Poke a hole for the ribbon at the top, and once it’s dry, you can leave it plain for a minimalist look or give it a light wash of white paint for a frosted finish. These simple clay ornaments look incredible scattered throughout your tree.
2. Whimsical Mushroom Cottage Ornaments

Bring a storybook forest straight to your branches with these adorable mushroom homes. Shape the cap and stem separately, then blend them together gently. Use a pointed tool to etch tiny windows, a door, and even little brick patterns.
After they dry, paint them with bright, fairy-tale colors. A tiny dot of white paint for a doorknob adds so much character. These are the perfect DIY clay ornaments for anyone who loves a touch of fantasy.
3. Personalized Initial Ornaments

Want an ornament that’s truly one-of-a-kind? Create initials for everyone on your list. Roll clay into thick ropes and shape them into letters. You can keep the rustic, hand-formed look or smooth them out for a more modern feel.
For a bit of texture, press dried flowers or small leaves into the surface before the clay sets. This is a fantastic personalized Christmas ornament idea that grandparents will absolutely treasure.
4. Geometric Terracotta Trees

Embrace the natural, earthy tone of terracotta clay by crafting these chic geometric trees. Cut triangle shapes out of rolled clay, then use a ruler and a craft knife to score lines for the “branches.”
The beauty is in the simplicity. A clean, minimalist design like this offers a stylish break from the usual holiday glitz. String a few together on a garland for a stunning mantelpiece display.
5. Textured Impression Leaf Ornaments

Nature provides the best tools. Go for a walk and collect interesting leaves with strong veins. Roll your clay out and firmly press the leaf, vein-side down, into the surface. Carefully peel it away to reveal a perfect, detailed impression.
Cut around the leaf shape, poke a hole, and let it dry. A touch of gold or metallic wax rubbed over the raised veins makes them pop. It’s an effortless way to capture a bit of the outdoors.
6. Quirky Gingerbread People

These aren’t your average gingerbread men. Use a cutter for the basic shape, but then let your personality run wild. Use buttons, beads, or the end of a paintbrush to make funky eyes and buttons.
Give one a little clay scarf or a top hat. After painting, a coat of glossy Mod Podge gives them that perfect, freshly-iced look. They’re full of so much more character than the cookie version, don’t you think?
7. Elegant Porcelain-Look Snowflakes

Who says air dry clay can’t look elegant? Use white clay and a detailed snowflake cutter to create the base. While the clay is still soft, use a toothpick to refine the cuts and make each snowflake unique.
Once bone dry, a single coat of white acrylic paint mixed with a hint of pearlescent medium will give it a beautiful, delicate sheen. These look stunning against a dark green tree.
8. Mini Wreaths with Berries

Create a classic symbol of the season in miniature. Roll several small clay “snakes” and braid them together, then form the braid into a circle. To take it to the next level, add tiny clay berries or holly leaves.
A thin ribbon threaded through the top is the perfect finishing touch. This is one of those easy clay ornaments that looks like you spent hours on it.
9. Nordic-Inspired Reindeer

Channel some Scandinavian simplicity with a sleek reindeer silhouette. Find a stencil online or freehand a simple reindeer profile. Cut it out of rolled clay and use a straw to punch out a perfect circle for an eye.
Paint it a solid, bold color like red or black for maximum impact. The clean lines and solid colors are a hallmark of Nordic style.
10. Celestial Moon Phases

Why should the stars have all the fun? Create a set of moon phase ornaments. From a slender crescent to a full, glorious circle, these are surprisingly easy to shape by hand. Lightly texturize the surface with a crumpled piece of foil to mimic the moon’s craters.
Hang them in order on a single branch for a beautiful, educational, and celestial display. It’s a subtle nod to the long winter nights.
11. Cozy Knit-Sweater Hearts

This idea is pure genius for creating a textured look. After cutting a simple heart shape, press a piece of real knit fabric firmly into the clay. When you peel it back, you’ll have a perfect “cable knit” texture.
Paint it white or cream, and then use a thin wash of brown paint to settle into the grooves, highlighting that beautiful texture. So cozy!
12. Whimsical Animal Faces

From a curious fox to a sleepy bear, animal faces are incredibly charming. Start with a simple circle and then add ears, a snout, and other features by blending small balls of clay onto the base.
Use a toothpick to add details like whiskers and a little smile. These handmade Christmas ornaments are sure to become fast favorites with the kids.
13. Marbled Clay Baubles

Unleash your inner artist with this mesmerizing technique. Take two or three small pieces of different colored clays (or white clay tinted with acrylic paint) and knead them together just *barely* so the colors swirl but don’t fully mix.
Roll this marbled clay out and use round cutters to create one-of-a-kind baubles. No two will ever be the same, which is the best part.
14. Stamped Holiday Messages
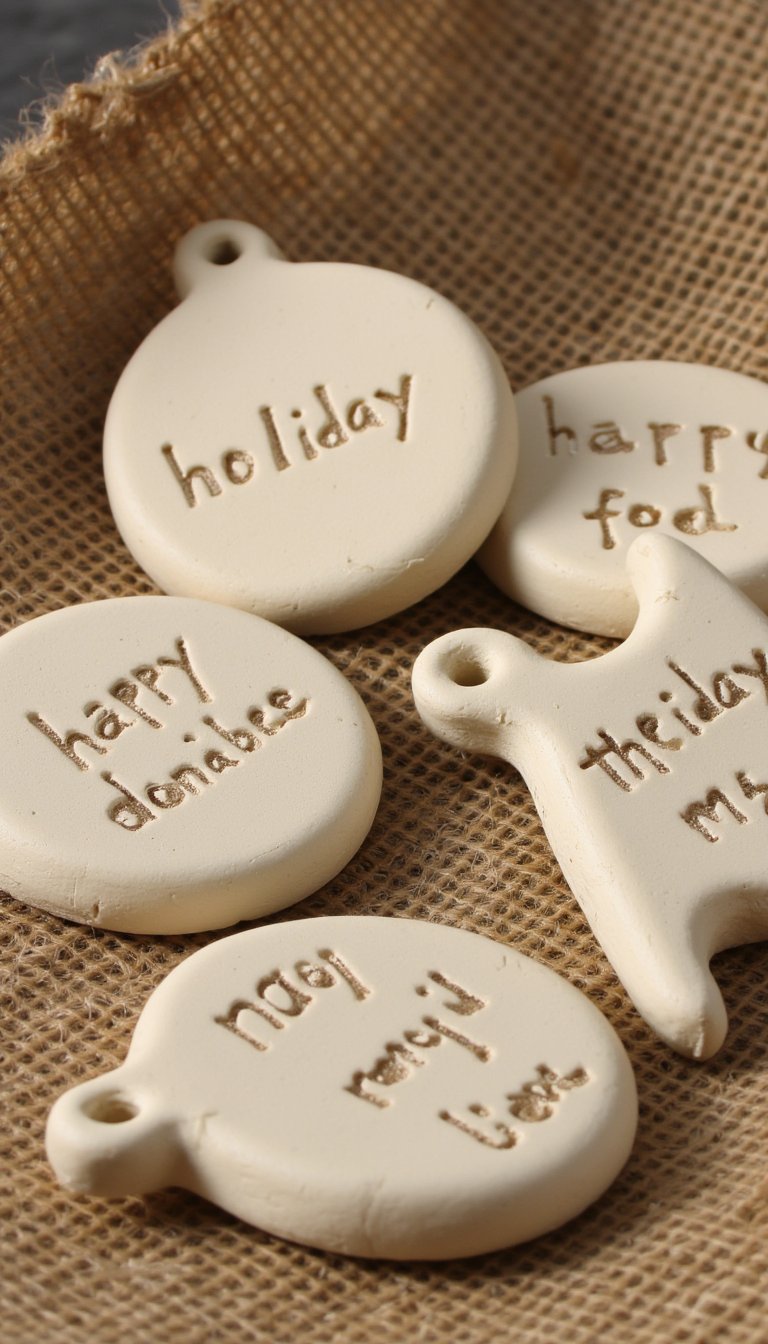
Letter stamps are your best friend for this project. Roll out your clay and cut simple circles or tag shapes. Then, firmly press metal letter stamps into the clay to spell out “JOY,” “NOEL,” or even the year.
You can leave the stamped letters raw or fill them in with a contrasting color of paint after drying. It’s a quick way to create a set of perfectly coordinated ornaments.
15. Miniature Clay Gift Boxes

Create the illusion of tiny, wrapped presents under your tree—hanging from your tree! Form small cubes of clay and let them dry completely. Then, paint them to look like wrapped gifts, complete with painted-on ribbons and bows.
For a 3D effect, you can make a tiny clay bow and attach it to the top with strong glue. It’s a playful and festive addition.
16. Arctic Penguin Pals

How cute is this? Shape a plump, oval body and a round head for your penguin. Flatten two small white circles for the belly and eyes, and a tiny orange triangle for the beak.
Assemble everything while the clay is still soft, and you’ve got an adorable new friend for your tree. You’ll want to make a whole colony.
17. Bohemian Dreamcatcher Ornaments

Create a mini dreamcatcher by forming a clay hoop. Before it dries, press a piece of lace or crochet doily into the center to create a web-like pattern. You can also manually create the “web” with thin coils of clay.
After painting, add tiny clay feathers and beads hanging from the bottom. It’s a boho-chic twist on traditional holiday decor.
18. Shiny Gold-Dipped Bells

Shape a simple bell by starting with a ball of clay and then poking your finger into the bottom to hollow it out. Don’t forget to form a little loop at the top for hanging and a tiny clay ball inside as the clapper.
Once dry, paint the entire bell white or a solid color, and then carefully dip just the bottom edge in metallic gold paint. That “dipped” look is so modern and chic.
19. Memory Keepsake Handprints

This is the ultimate family Christmas ornament. Flatten a piece of clay into a disk and gently press your child’s (or pet’s!) hand or paw into it. Write their name and the year on the back.
It’s more than a decoration; it’s a snapshot in time that you’ll cherish forever. Pro tip: If the clay sticks, dust their hand with a tiny bit of cornstarch first.
See? I told you there was a whole world of possibility with a simple block of clay. From rustic stars to marbled baubles and precious handprints, these 19 air dry clay Christmas ornaments offer something for every style and skill level. The best part is that you don’t need a kiln or any fancy equipment—just your hands, a little creativity, and the willingness to make a beautiful mess. So, what are you waiting for? Gather your supplies, put on some holiday music, and start creating your own set of unforgettable, handmade holiday decorations. Your future self, unpacking these treasures year after year, will thank you for it. Happy crafting!