You’ve seen those beautiful, textured clay pieces all over Instagram and thought, “I could never make that.” I’m here to call your bluff. Forget the intimidating pottery wheel and the kiln that sounds like science fiction. Air dry clay is the ultimate cheat code for creating stunning, tangible art. It’s affordable, mess-free (compared to its traditional cousin), and downright therapeutic. Ready to get your hands a little dusty and your soul a lot satisfied? Let’s explore 15 air dry clay art projects that will transform you from curious crafter to confident creator.
1. The Organic Coiled Bowl

Let’s start with a classic that feels anything but basic. Coiling is one of the oldest pottery techniques, and with air dry clay, it becomes wonderfully accessible. Roll out long, snake-like coils of clay. Then, simply spiral and layer them, smoothing the inside as you go to create a seamless, organic vessel.
The beauty here is in the imperfections. Embrace the rustic, hand-built texture. Once dry, you can leave it raw for a natural look, paint it with muted earth tones, or even seal it with a waterproof sealant to hold dry goods or that collection of sea glass you’ve been hoarding. It’s a functional piece of art that teaches you the feel of the material.
2. Boho-Inspired Textured Wall Hangings

Move over, macramé. Clay wall art is having a major moment. Roll out a slab of clay to about 1/4-inch thickness. This is your canvas. Now, raid your kitchen and junk drawer for texture—lace, a wire cooling rack, leaves, or even the sole of a sneaker can create incredible patterns. Press them gently into the clay.
Cut out simple geometric shapes (circles, arches, or free-form organic blobs) around your textures. Don’t forget to poke a hole at the top for hanging before it dries! The result? A statement piece that adds sophisticated, tactile interest to any blank wall. Pro tip: painting them in a single, bold color (think terracotta, sage, or charcoal) makes the texture pop even more.
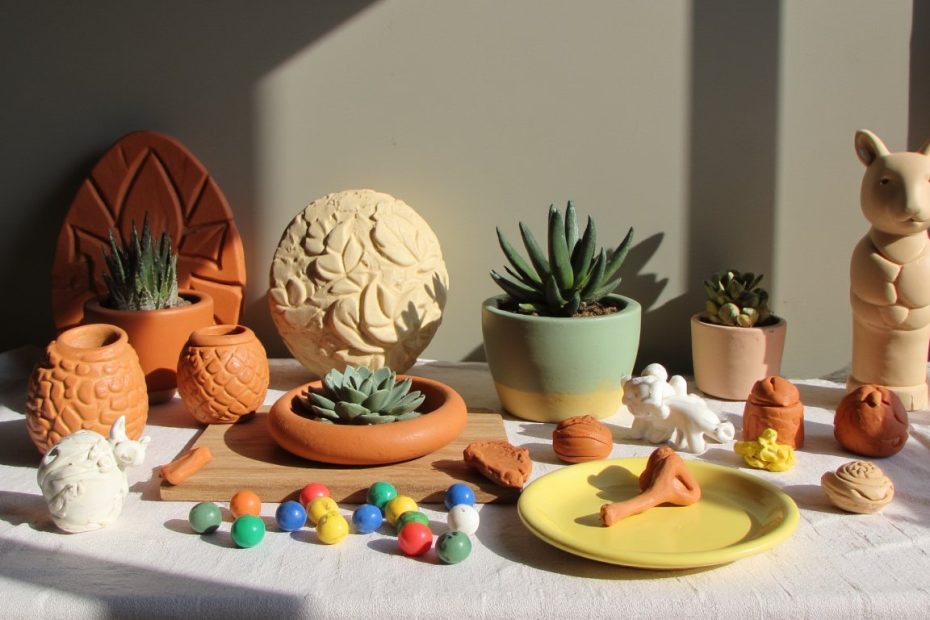
3. Mini Succulent & Cactus Pots
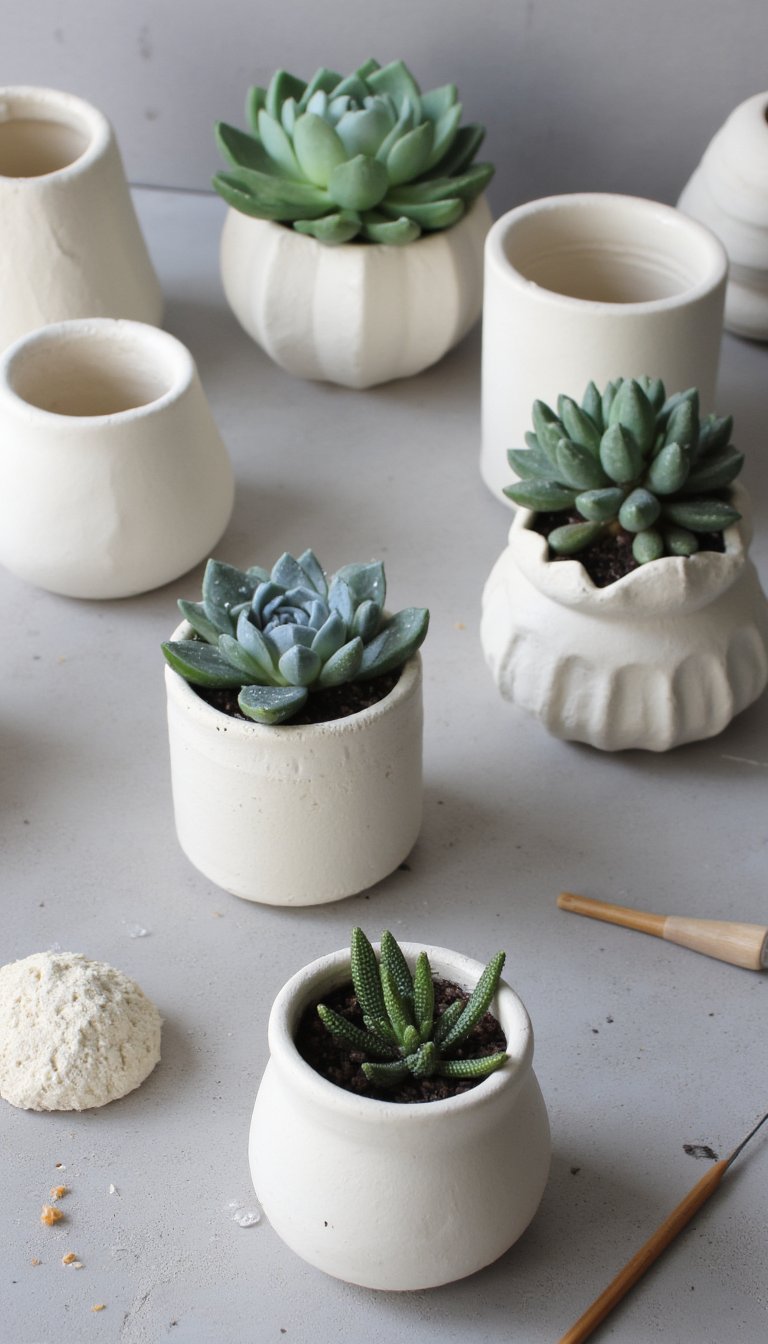
Is it even a craft session if you don’t make something for your plant babies? Hand-building tiny pots is surprisingly simple and addictive. You can pinch small pots into shape with your fingers or wrap clay around a simple form, like a spice jar, to create a perfect cylinder. Let your imagination run wild with the shapes—make little houses, geometric faceted pots, or creatures with the planter as the body.
The crucial step here is drainage. Use a toothpick or skewer to poke a hole in the bottom before the clay sets. These petite pots are perfect for propagating succulents or holding air plants. Just remember, air dry clay isn’t fully waterproof, so use a plastic liner inside or be very careful with watering.
4. Personalized Signature Ring Dishes
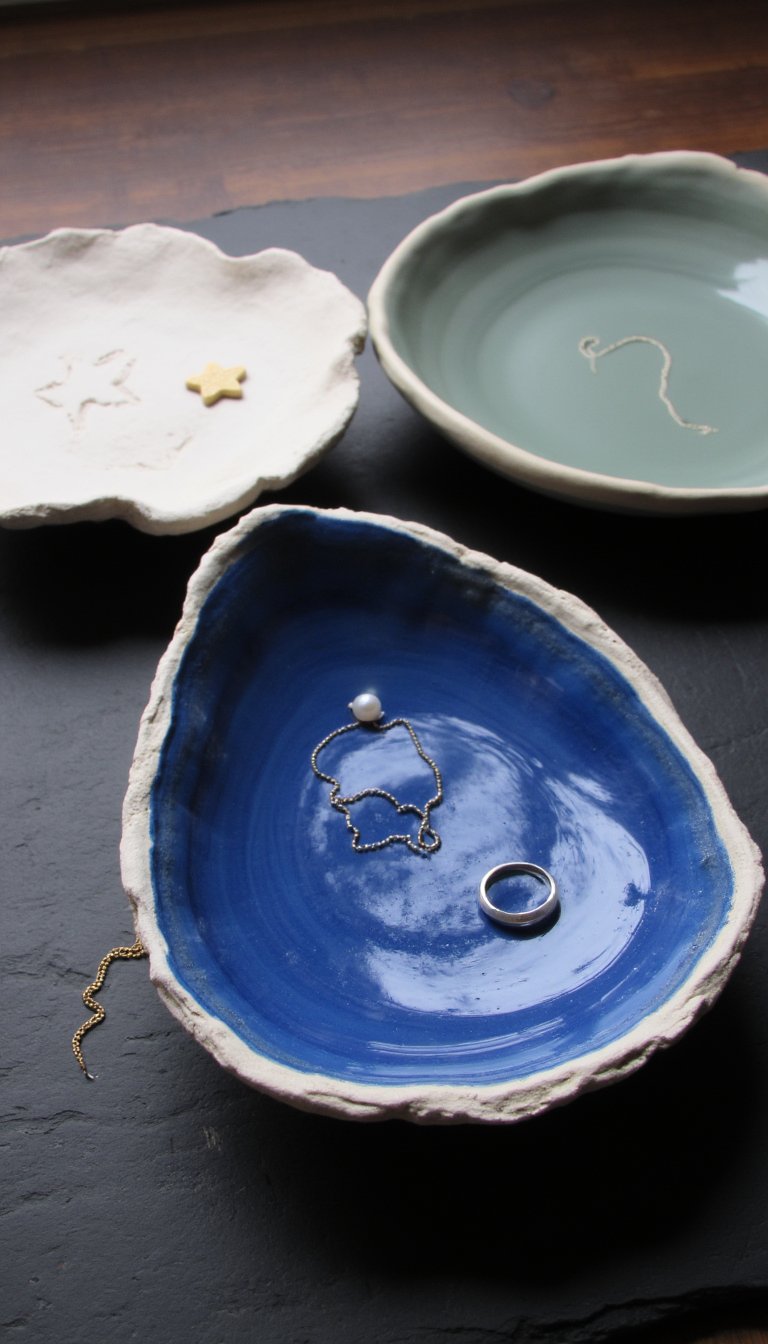
This project is the ultimate quick win and makes for a heartfelt gift. Take a small ball of clay, flatten it into a thick disc, and gently press the center with your thumb or a small bowl to create a shallow dip. Now, for the personal touch: use a toothpick or stamp to imprint a name, initial, or a tiny symbol (a star, a heart, a wave) into the soft clay.
You can keep the edges smooth or make them wavy and irregular. Once painted and sealed with a glossy varnish, this little dish becomes a precious spot to drop your jewelry at the end of the day. Seriously, it beats a random coaster.
5. Whimsical Animal Bookends

Give your shelves some personality and a sense of order. For this, you’ll need a bit more clay and some internal support. Create a simple, solid shape as your base—a cube or a half-sphere works perfectly. Then, sculpt your animal of choice sitting or leaning against it. Think a sleepy fox, a curious cat, or a round, friendly whale.
Use crumpled aluminum foil as an armature inside larger parts to save clay, ensure even drying, and prevent cracking. Keep the design chunky and stylized rather than hyper-realistic for the best (and least frustrating) results. A couple of coats of matte paint will make them look like boutique finds.
6. Modern Napkin Holder with Natural Impressions

Elevate your table setting with a touch of handmade modernism. Create two identical rectangular slabs. On one, press in those beautiful natural textures—a large fern, a piece of bark, or even a citrus slice for a dramatic pattern. This will be the front face.
Attach this textured slab to a plain back slab at a 90-degree angle, using a bit of slip (clay watered down to a paste) to “glue” them together. Add a small flat base for stability. It’s functional, strikingly beautiful, and a fantastic conversation starter at your next dinner party. Who knew napkins could be so chic?
7. Minimalist Dot & Line Earrings

Welcome to the world of lightweight, wearable clay. Roll your clay out very thin (about 1/8 inch) and use a craft blade or small cutter to create tiny geometric shapes: circles, ovals, or slim rectangles. For a dot-and-line design, add a tiny ball of clay to the base shape.
This step is non-negotiable: immediately insert a high-quality eye pin or make a clean hole for jump rings before the clay dries. After painting and sealing, attach earring hooks. You’ll have a unique pair of earrings in under an hour. Make a dozen in different color combos—your accessory game will thank you.
8. Rustic Hanging Plant Propagation Station

Combine your love for plants and organizing with this brilliant project. Create several small vials or test tube holders from clay. Shape a flat back piece with a hook cutout at the top, and attach a ring or loop of clay to hold the glass. You can make a single holder or a cluster of three on one backdrop.
Once secured to the wall, these little holders perfectly display your water-propagating pothos, philodendron, or spider plant babies. It turns a simple science experiment into a stunning living wall feature. See? You’re not just crafting, you’re curating an ecosystem.
9. Custom Embossed Gift Tags & Ornaments
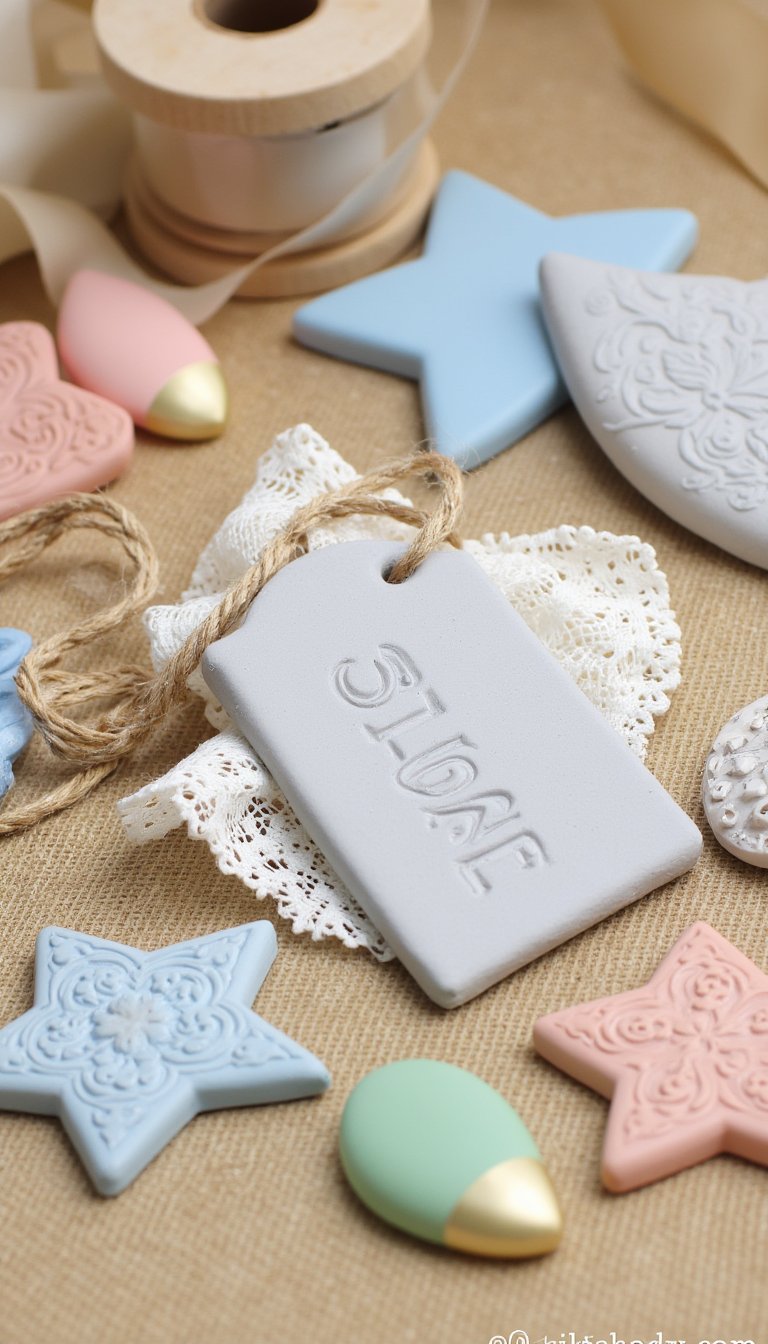
Why buy generic tags when you can make heirlooms? Roll clay thin and cut into classic tag shapes, circles, or even festive shapes like stars and trees. Use alphabet stamps, lace, or textured rolling pins to imprint patterns and the recipient’s name.
Punch a hole at the top, let dry, and paint with delicate washes of color or metallic accents. Thread with twine or ribbon. These instantly elevate any gift, and as ornaments, they become cherished yearly reminders of your creativity. It’s the little details that make gifts memorable, right?
10. A Set of Elegant Pinch Pot Tea Light Holders

Create the ultimate cozy ambiance. Start with a walnut-sized ball of clay. Push your thumb into the center and gently pinch and rotate the walls, thinning them out to form a small cup. Embrace the uneven, organic shape—it’s what gives these holders their charm.
Before drying, use a skewer to poke a few decorative holes or patterns around the sides to let the candlelight dance through. When you place a flickering tea light inside, the light will cast beautiful, moving shadows. Make a set of three in varying heights for a stunning centerpiece.
11. Playful Miniature Food Charms
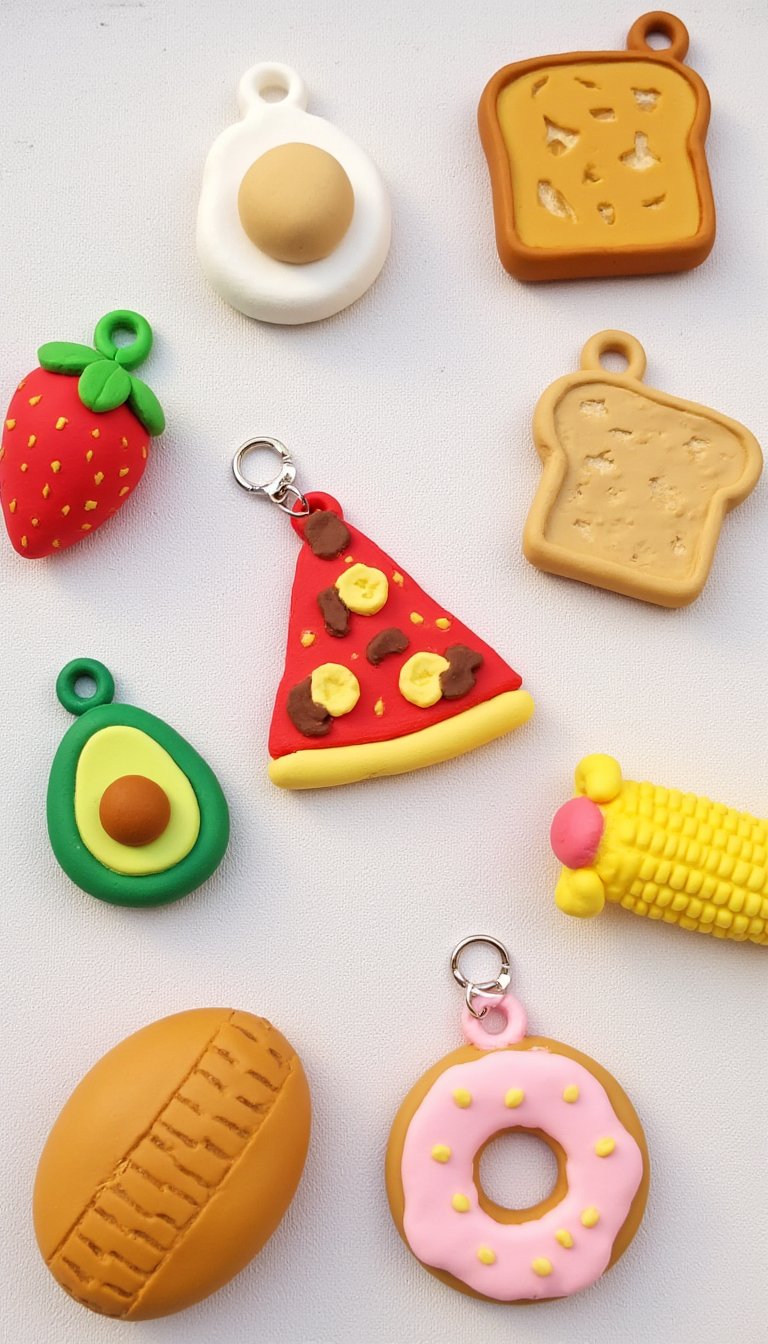
Unleash your inner whimsy (and maybe work up an appetite). This project is all about tiny, detailed fun. Sculpt miniature versions of your favorite foods: a tiny avocado, a cartoonish slice of pizza, a detailed strawberry, or a perfect donut. Use tools like needles and toothpicks to add seeds, sprinkle details, or crust textures.
Attach a small loop of clay before drying so you can turn them into keychains, bag charms, or even quirky jewelry. The level of detail is up to you, but even simple shapes painted well look unbelievably cute. It’s play-doh for grown-ups, with much better results.
12. Abstract Sculptural Desk Object

Not everything needs a function. Sometimes, you just need to make something that pleases your eyes. Let the clay guide you. Build an abstract form by stacking, twisting, and joining simple shapes. Think smooth curves meeting sharp angles, or a series of arches.
This is a pure exercise in form and balance. Once dry, paint it in a monochromatic scheme or with a bold, solid color to highlight its shape. Place it on your desk or bookshelf. It serves no purpose other than to make you happy when you look at it—and honestly, that’s purpose enough.
13. Stamped Coaster Set with Gold Leaf Accent

Protect your surfaces in serious style. Roll out clay and cut into uniform squares or circles. Press a bold, deep-stamped pattern into each one—geometric stamps work beautifully here. Let them dry completely flat to prevent warping.
Here’s the glamorous part: after painting with a base color, use a small brush to apply gold leaf adhesive to the raised, unstamped areas. Carefully apply gold leaf for a luxurious, touchable contrast. Seal with a waterproof, heat-resistant sealant. Voilà—coasters worthy of your fanciest mug.
14. Desktop Organizer: Pen Cup & Tray Combo

Tame the chaos of your workspace with a custom-crafted organizer. Build a simple, sturdy tray by connecting clay slabs into a low-walled rectangle. Then, create a matching pen cup—a simple cylinder or a pinched pot attached to the side of the tray.
You can add internal dividers to the tray for paperclips and thumb drives. Decorate the outside with subtle lines or a singular stamped motif for cohesion. This is a project that feels incredibly satisfying to use every single day. Finally, a home for that pen that actually works.
15. Marbled Clay Bead Statement Necklace

Let’s finish with a showstopper. Take two or three small pieces of clay in contrasting colors (white with terracotta, grey with navy). Knead them together just slightly until you get a marbled, swirly effect. Roll this marbled clay into beads of various sizes and shapes—rounds, barrels, and discs.
String a skewer through each to create the hole, then let them dry. Sand them lightly for a super smooth finish, then seal. String them on a strong cord or chain, alternating with a few wooden beads for texture. You’ll have a one-of-a-kind piece of wearable art that people will constantly ask you about.
So, there you have it—15 air dry clay art projects that prove creativity doesn’t require fancy equipment or a degree in fine arts. All it takes is a block of clay, a few basic tools, and the willingness to experiment. The best part? Each crack, each slightly lopsided coil, and each unique texture is a record of the time you spent making something real with your own hands. Your journey from lump to masterpiece starts now. Grab some clay, make a happy mess, and see where your fingers take you. What will you create first?