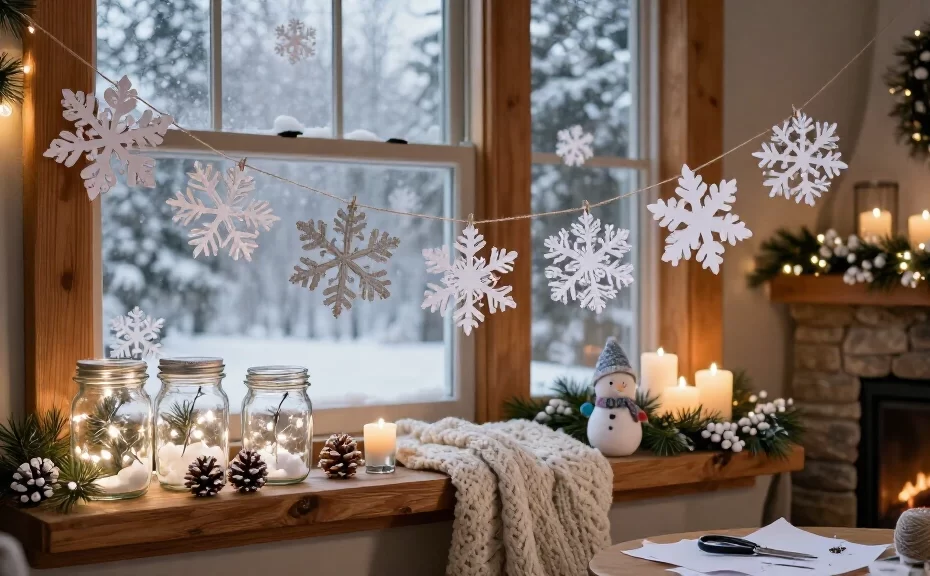
You don’t need a blizzard outside to make your home feel a little snowier. Pull out some paper, pinecones, and jars, and spend an afternoon making winter decorations.
These 14 winter wonderland crafts include easy snowflakes for kids and decorations for the mantel. Choose a favorite, gather your supplies, and bring a fresh snowfall indoors without picking up a shovel.
1. Fold-and-cut paper snowflake garland
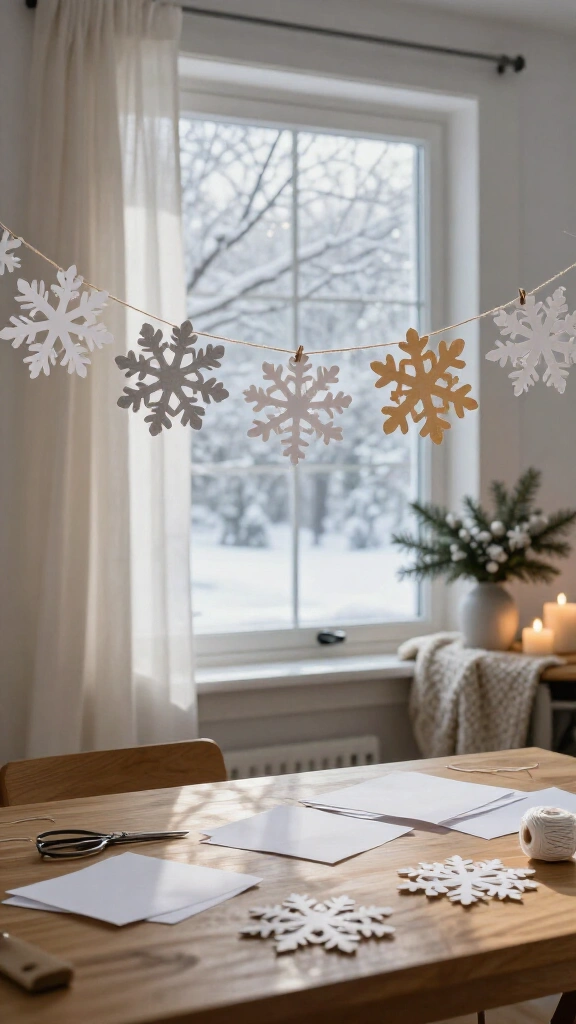
Paper snowflakes bring winter indoors, and you may already have everything you need. Grab white paper, scissors, string, and a hole punch, then clear a spot at the table.
Fold each square of paper diagonally into a triangle, fold it again, and trim small shapes along the folded edges. Open each piece to reveal your design, punch a hole near the top, and thread the snowflakes onto string.
Styling tip: Mix large and small snowflakes, then hang the garland across a window or mantel. Kids can join in with age-appropriate scissors and an adult nearby.
2. Snowy mason jar lanterns
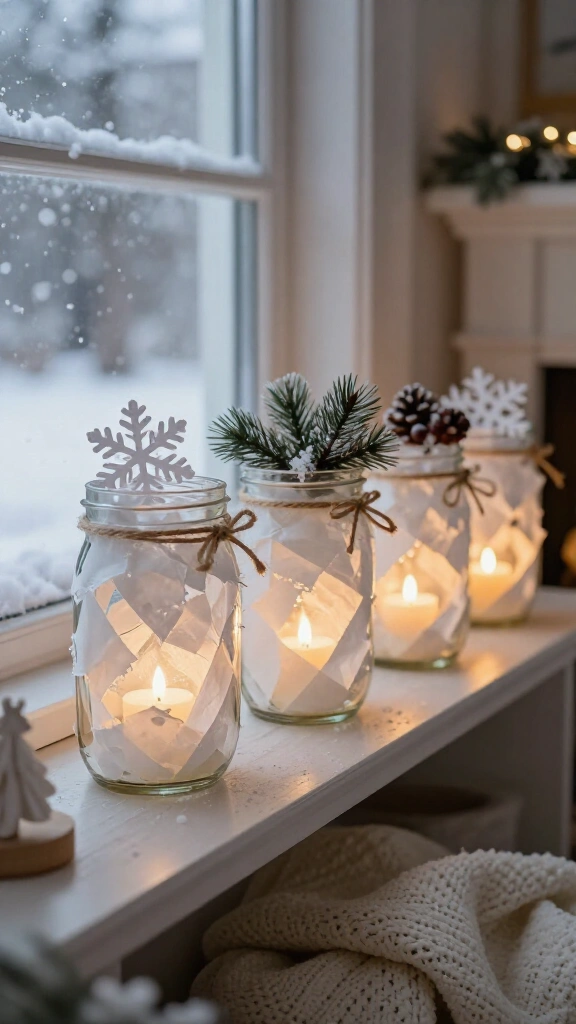
Turn clean glass jars into winter lanterns with white tissue paper, craft glue, and battery-operated LED candles. Tear the tissue into small pieces, brush a thin layer of glue onto each jar, and overlap the pieces around the outside.
Once the glue dries, tie twine around the rim and add a paper snowflake or a sprig of faux greenery. Pop an LED candle inside each jar and arrange the lanterns along a shelf for a soft glow.
Safety first: Choose LED candles rather than open flames around paper and other craft materials. The National Fire Protection Association’s candle safety guidance offers more advice on keeping decorations away from flames.
3. Pinecone snowy forest centerpiece
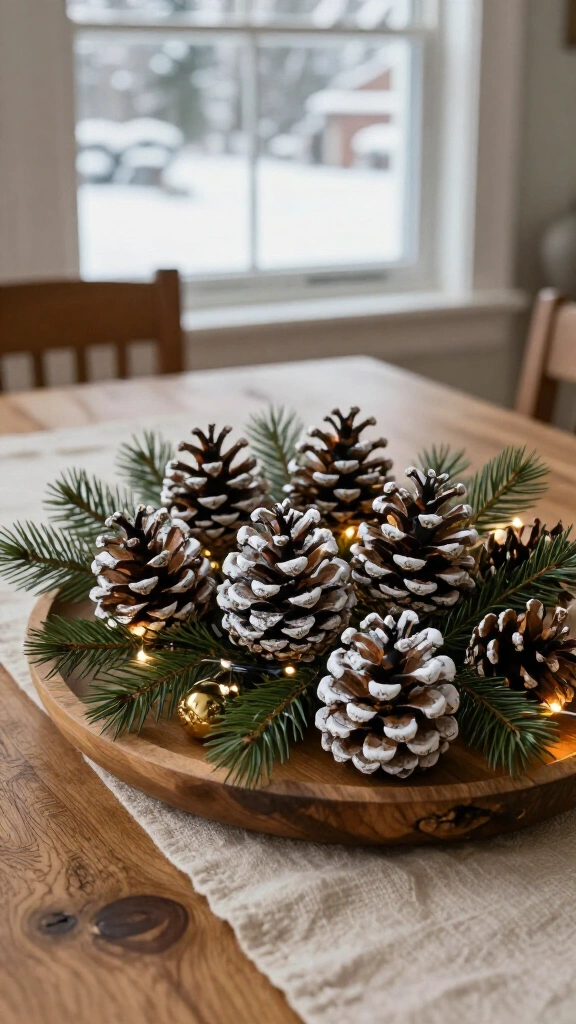
A handful of pinecones can turn your dining table into a miniature winter forest. Start with clean, dry pinecones, a shallow tray, white acrylic paint, and a few evergreen sprigs.
Lightly brush white paint onto the raised edges of each pinecone to imitate fresh snow. Let the paint dry, then cluster the pinecones on the tray with faux greenery, small ornaments, or LED lights.
Leave a little space between the pieces so the arrangement doesn’t look crowded. If you want to reuse materials you already have, the U.S. Environmental Protection Agency’s reuse tips offer ideas for giving everyday items another purpose.
4. Cotton ball snowman wall art
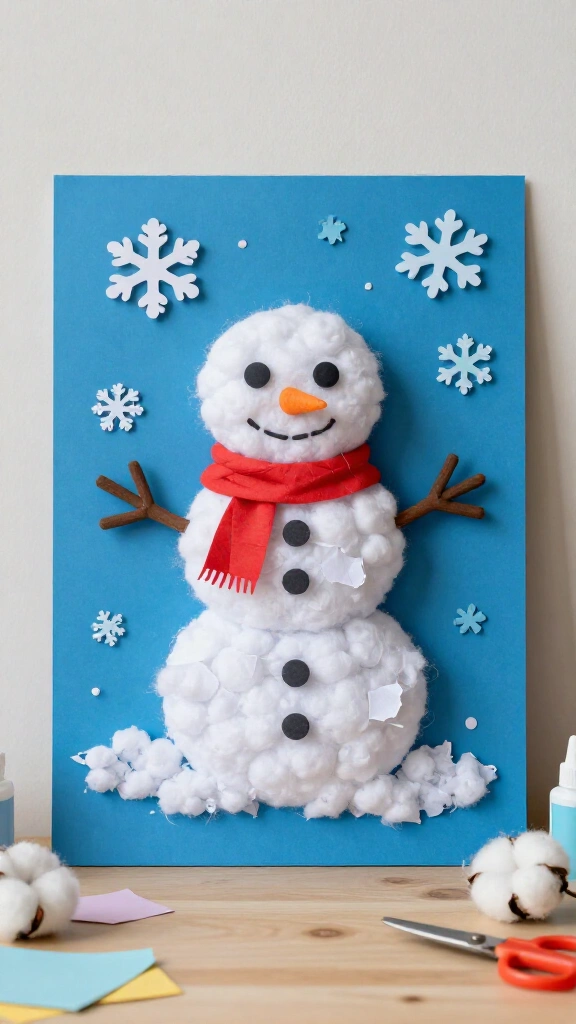
Younger kids can practice arranging and gluing with this fluffy snowman. Gather blue cardstock, cotton balls, craft glue, and scraps of colored paper for the face and scarf.
Draw three circles on the cardstock, then invite kids to glue cotton balls inside the outlines. Add paper eyes, a carrot-shaped nose, and a scarf. Finish the scene with a few torn-paper snowflakes.
Keep small craft pieces away from children who might put them in their mouths, and supervise the project closely. For another activity you can save as a keepsake, explore these handprint crafts for toddlers and preschoolers.
5. Frosted window clings
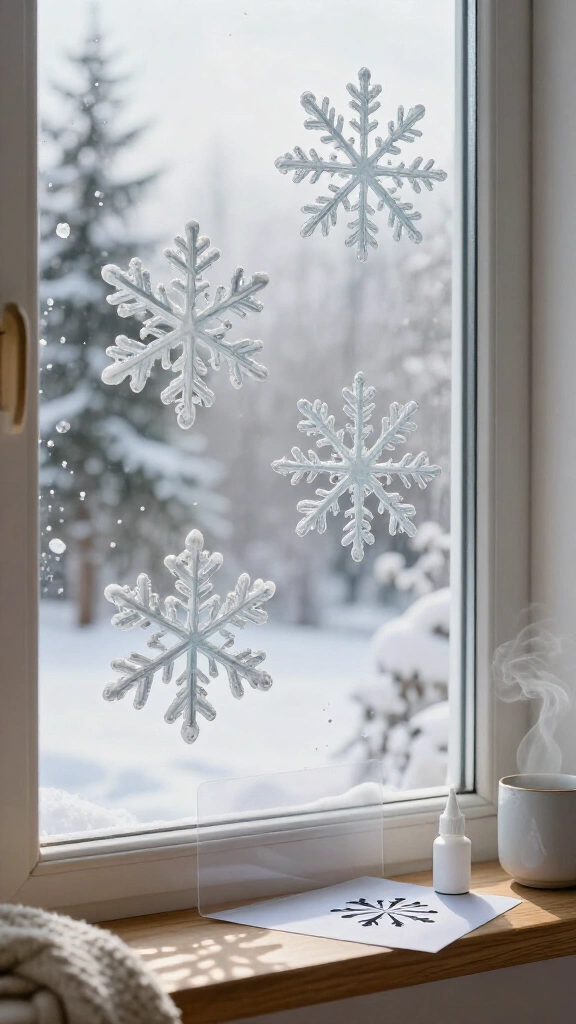
Give your windows a snowy look without making a permanent change. Use a sheet of clear plastic, such as a smooth page protector, and dimensional fabric paint suitable for peelable designs.
Place a simple snowflake template beneath the plastic and trace it with a thick, connected line of paint. Follow the paint manufacturer’s drying instructions, then carefully peel off the design and press it onto a clean window.
Test one cling in an inconspicuous spot first, and check the product directions before using it on any surface. Make several sizes and arrange them in a loose flurry across the window.
6. Miniature winter village from cardboard
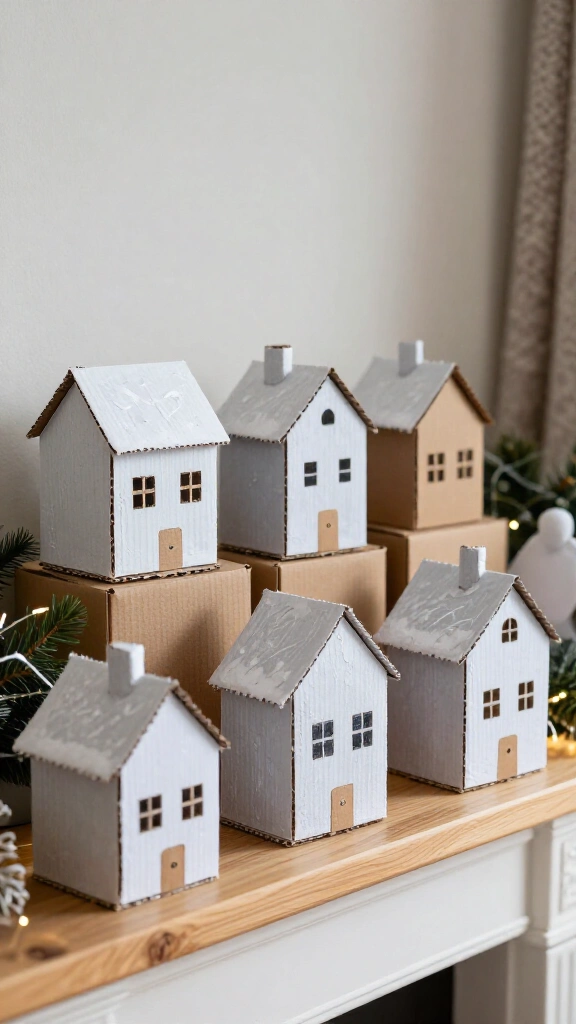
Save a few small cardboard boxes and build a village for your mantel or bookshelf. You’ll need boxes, scissors, white paint, glue, and extra cardboard for pitched roofs.
Cut roof pieces to fit each box and glue them in place, then paint the houses white or pale gray. Draw windows and doors with a dark marker, and brush a little white paint along the roof edges to suggest snow.
Use sturdy boxes behind the display to arrange the houses at different heights. An adult should handle tricky cutting, especially when the cardboard puts up a fight.
7. DIY snow globe without water
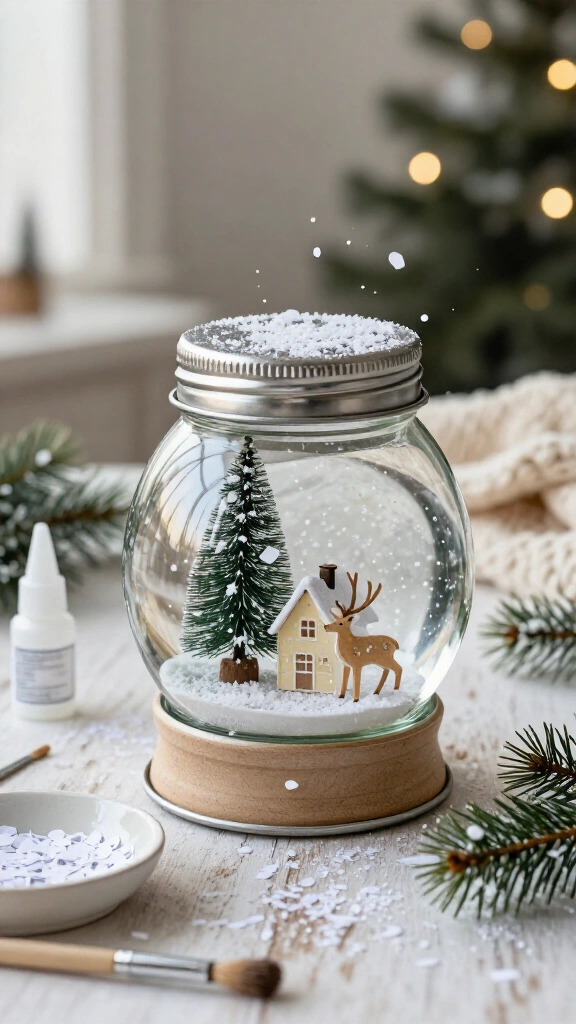
A waterless snow globe gives you a miniature winter scene without the risk of leaks. Choose a clear jar with a lid, a small bottlebrush tree or figurine, craft glue, and a spoonful of white paper confetti.
Glue the tree to the inside of the lid and let it dry according to the glue instructions. Add the confetti to the jar, screw on the lid, and turn the jar upside down to reveal your snowy scene.
Make it personal: Add a tiny paper house or a small animal figurine beside the tree. Treat the finished globe as a decoration rather than a toy, and keep loose pieces away from young children and pets.
8. Coffee filter snowflake window display
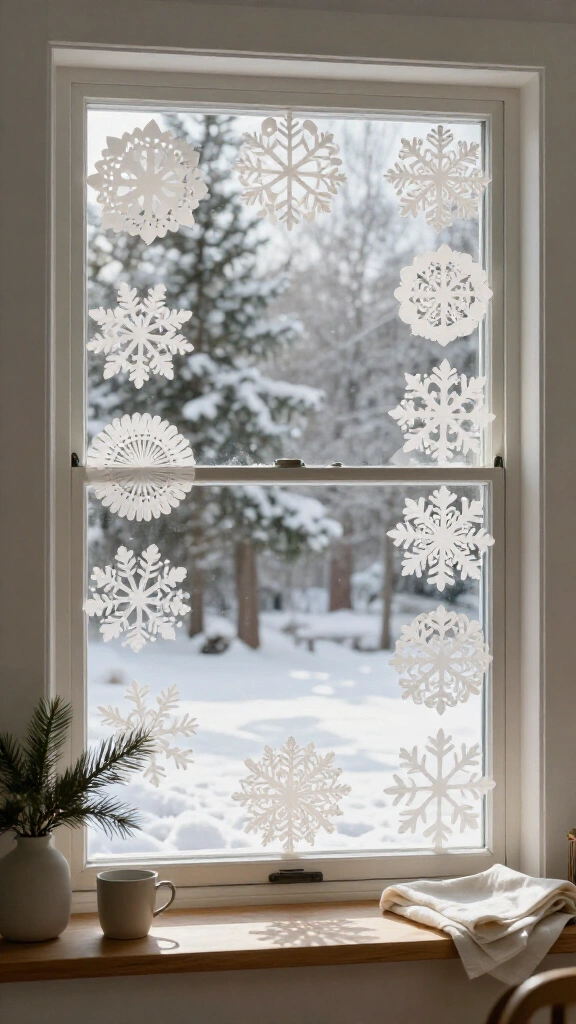
Coffee filters make delicate snowflakes because their thin paper lets light through. You’ll need round white filters, scissors, and removable tape.
Flatten each filter, fold it into a wedge, and snip small triangles or curves along the edges. Unfold your snowflake gently, then tape a collection across a window at different heights.
For a softer look, layer several snowflakes near the corners and leave the center of the window mostly open. Your coffee supplies can do double duty this winter.
9. Salt dough snowflake ornaments

Salt dough ornaments give branches, wreaths, and gift packages a handmade touch. Mix 1 cup of flour, ½ cup of table salt, and about ½ cup of water. Add the water gradually until you have a workable dough.
Roll the dough to roughly ¼ inch thick, cut out snowflakes, and make a hanging hole in each shape with a straw. Place them on a lined baking sheet and bake at 250°F. Check them regularly until they feel hard and dry; thicker ornaments can take several hours.
Let the ornaments cool completely before painting and threading them with ribbon. Important: Salt dough contains enough salt to pose a danger if pets eat it, so keep the dough and finished ornaments out of their reach.
10. Snowy twig arrangement
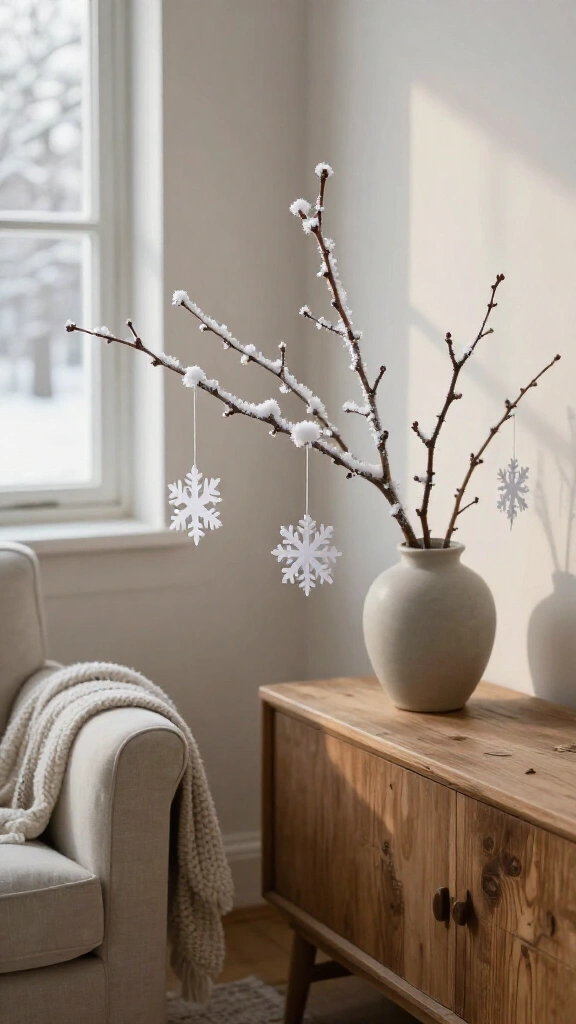
Bring the look of bare winter branches indoors with a simple twig arrangement. Collect a few dry, sturdy twigs, brush off any debris, and place them in a stable vase.
Use a dry brush to add touches of white acrylic paint along the upper edges of the branches. Once the paint dries, hang a few lightweight paper snowflakes or small ornaments from the twigs.
Keep the arrangement away from walkways and curious little hands, since twig ends can poke. If you enjoy decorating with natural materials, these creative DIY garden crafts offer more ideas for another season.
11. Felt penguin shelf decorations
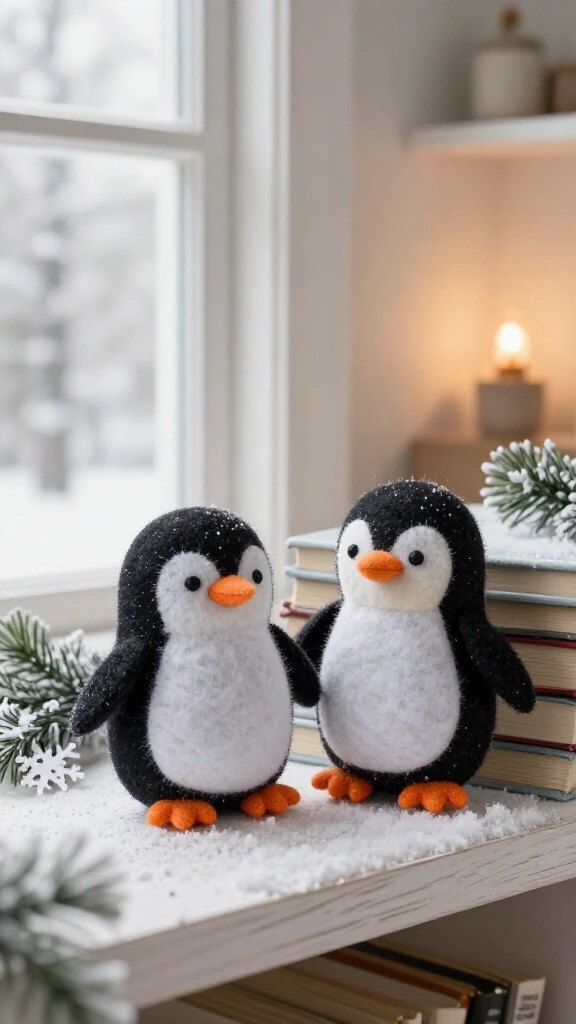
A pair of felt penguins gives a snowy shelf some personality, and you don’t need expert sewing skills to make them. Gather black, white, and orange felt, fabric glue, and a little stuffing or folded fabric scrap.
Cut two matching black oval shapes for each penguin, then glue their edges together while leaving a small opening. Add a little stuffing, close the opening, and glue on a white belly, orange beak, and felt eyes.
Prop your penguins against a stack of books or place them beside a paper snowbank. Cut larger eyes and beaks for a simpler project, and avoid small detachable pieces when young children might reach the display.
12. Snowflake embroidery hoop wreath
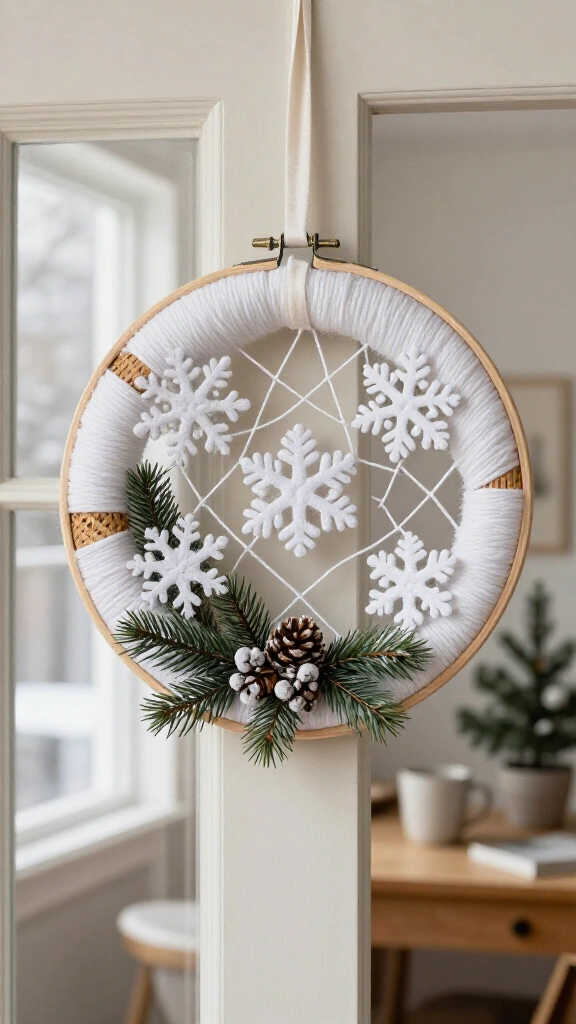
For a simple winter wreath, start with a wooden embroidery hoop, white yarn, and a few paper or felt snowflakes. Wrap the yarn around sections of the hoop, leaving some wood visible for contrast.
Tie several lengths of yarn across the center, then attach snowflakes where the strands intersect. Add a small cluster of faux greenery at the bottom and hang the wreath with a ribbon.
This lightweight wreath works well on an interior door or above a desk. Choose removable hanging hardware that suits your wall, and follow its weight and surface instructions.
13. Glitter-free snowy village road
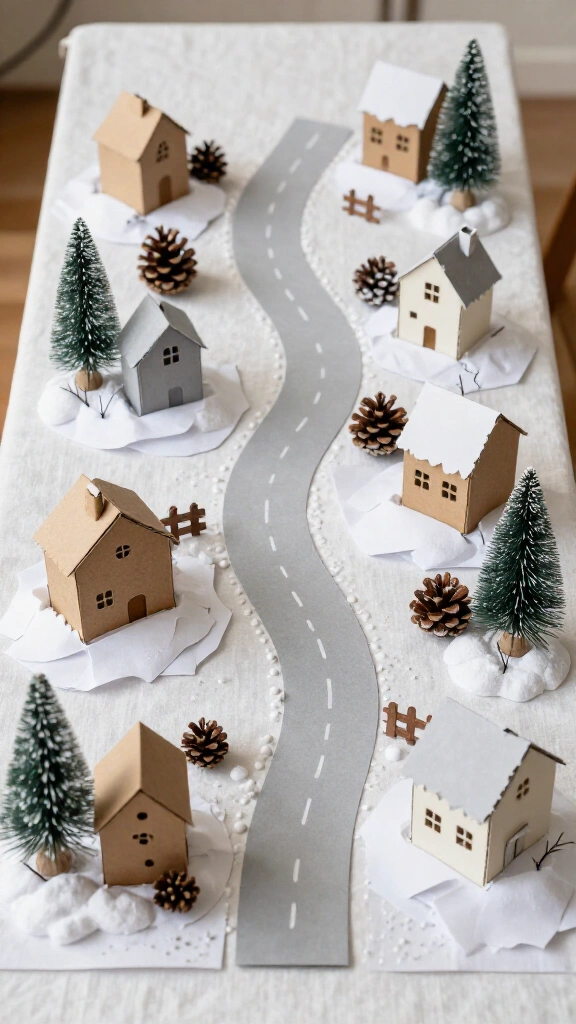
Give your miniature houses a setting with a tabletop snow scene that skips loose glitter. Cut a winding road from gray cardstock and place it on a white fabric runner or a large sheet of white paper.
Arrange cardboard houses, pinecones, and bottlebrush trees along the road. Tear strips of white paper and layer them around the buildings to suggest snowbanks, then draw footprints on the paper with a pencil.
You can rearrange the village whenever you like, and cleanup won’t leave you finding glitter in your socks next July.
14. Cozy winter wonderland terrarium
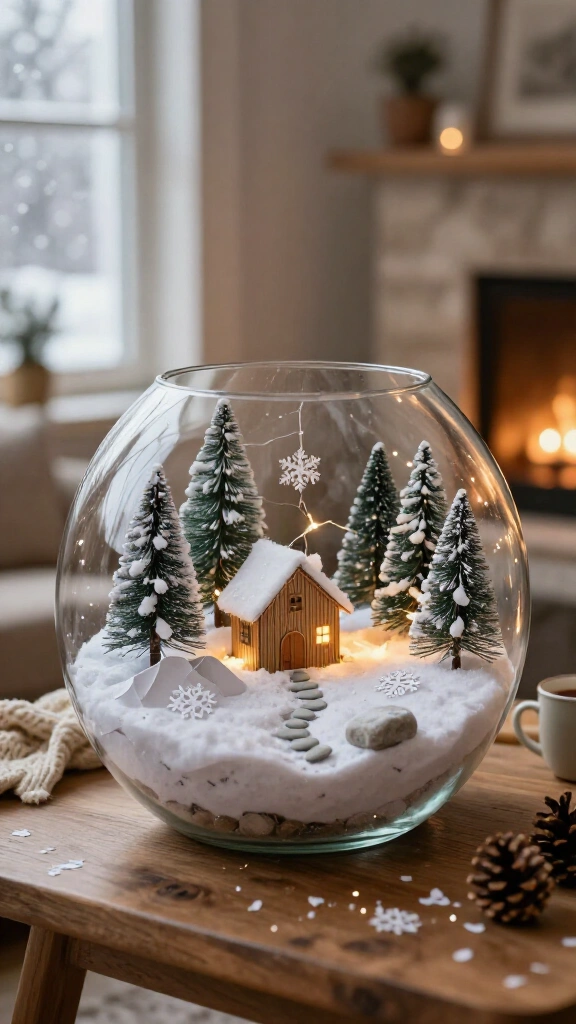
Create a tiny snowy scene inside a wide glass bowl or clear vase. Start with a layer of white felt or crumpled white paper, then add miniature trees, a small cardboard cabin, and a few smooth stones.
Finish with paper snowflakes or a light dusting of white paper confetti. If you add battery-operated lights, choose a strand with a secure battery compartment and keep the container within easy reach.
Keep button batteries and devices that contain them away from children; swallowing a battery can cause serious injuries. Poison Control’s button battery guidance explains what to do in an emergency.
Bring your snowy escape to life
You don’t need expensive supplies or a perfectly styled home to enjoy winter wonderland crafts. A paper snowflake garland, a glowing jar lantern, or a tiny cardboard village can make a corner feel cozier.
Start with materials you already have, choose decorations that suit your household, and add the snowy details you like. You can make your own indoor forecast whenever you please.