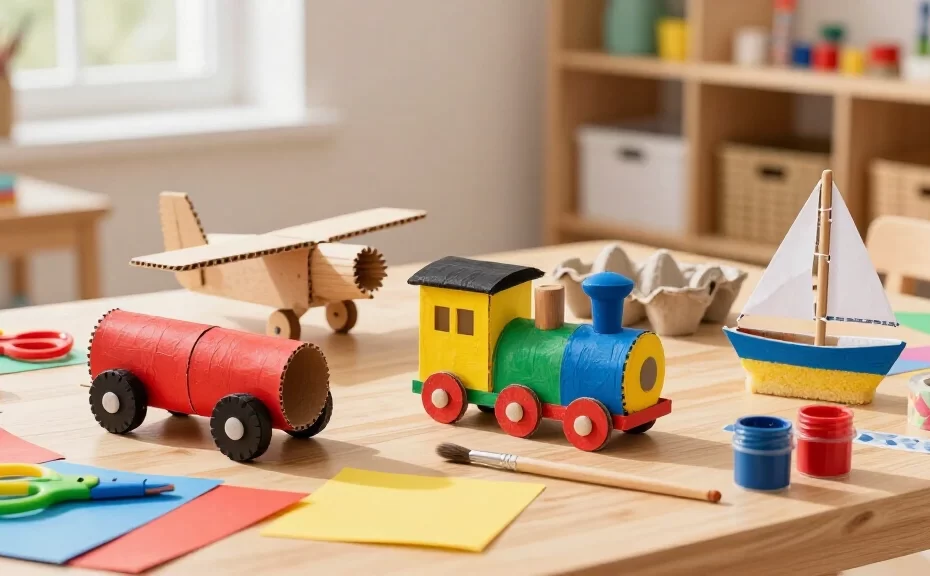
If your recycling bin is overflowing with cardboard boxes, toilet paper tubes, and plastic bottle caps, do not haul them to the curb just yet. You can turn that scrap pile into an afternoon of fast-moving creative play. Most kids naturally love anything that zooms, honks, or flies across the room.
Building toy vehicles helps children develop fine motor control, practice spatial thinking, and burn off energy when weather keeps everyone indoors. Early learning specialists at NAEYC note that hands-on building supports cognitive growth through direct problem solving. Grab some glue and paint: here are 29 easy transportation crafts your kids can build today.
1. Cardboard Tube Race Cars
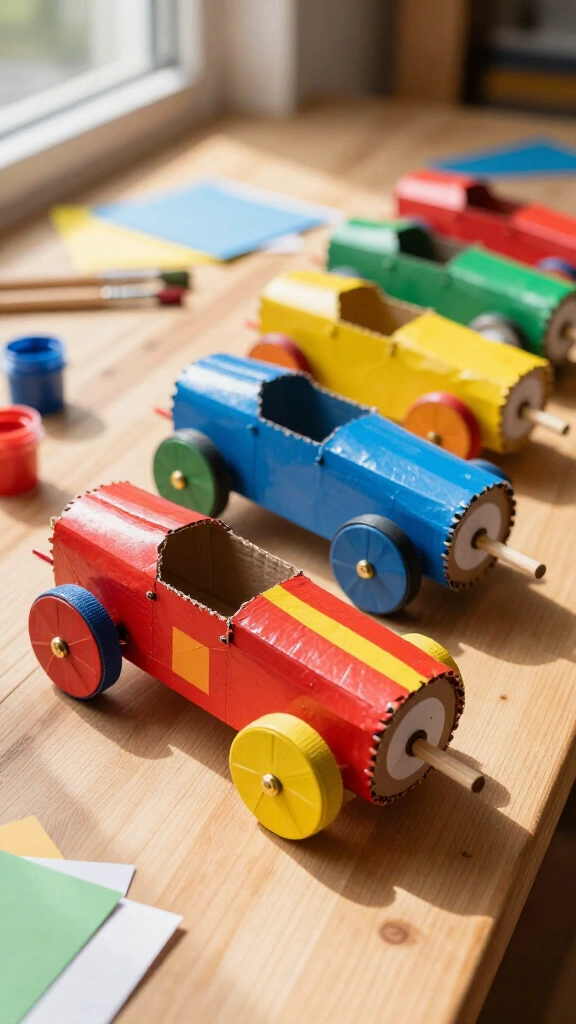
You can turn empty toilet paper tubes into fast little race cars in less than twenty minutes. Let your kids paint the cardboard rolls with bright racing stripes, write numbers on the hoods with a black marker, and attach plastic bottle caps or cardboard discs as wheels using brass paper fasteners.
If you want the cars to roll across the floor, punch small holes through the sides first. Slide a drinking straw or wooden skewer through the tube, then glue the cap wheels onto the axles. Your kids will end up with working toys they put together from scratch.
2. Paper Plate Hot Air Balloons
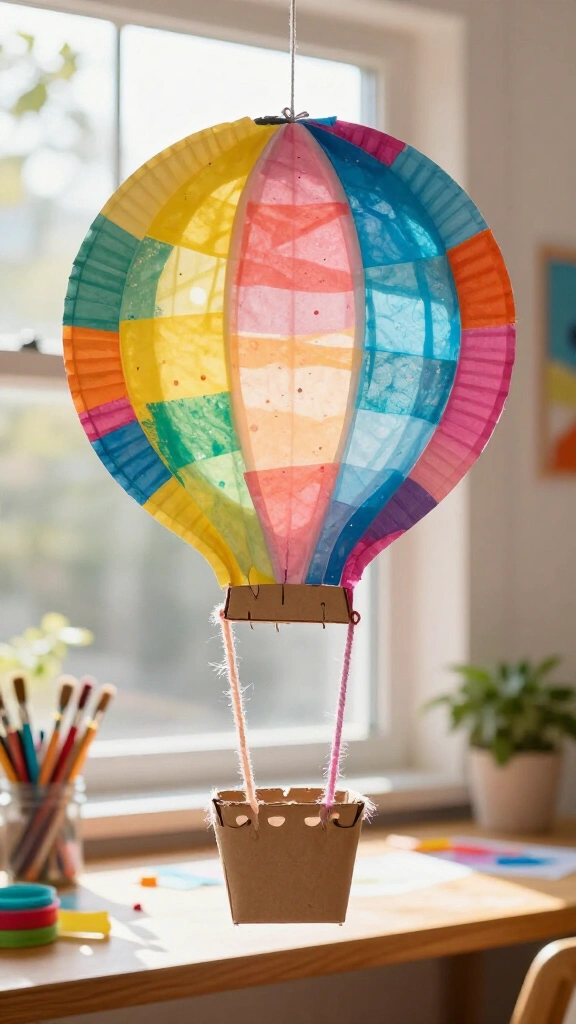
Cut a paper plate in half and let your preschoolers decorate it with bright tissue paper squares, glitter, and tempera paint. Cut a small cardboard square to act as the basket, then link the basket to the balloon using two strips of yarn or ribbon.
These colorful balloons look cheerful when you hang them near a sunny window. If you enjoy bright art projects like this, check out our collection of sunny crafts for preschoolers for more ideas.
3. Egg Carton School Bus
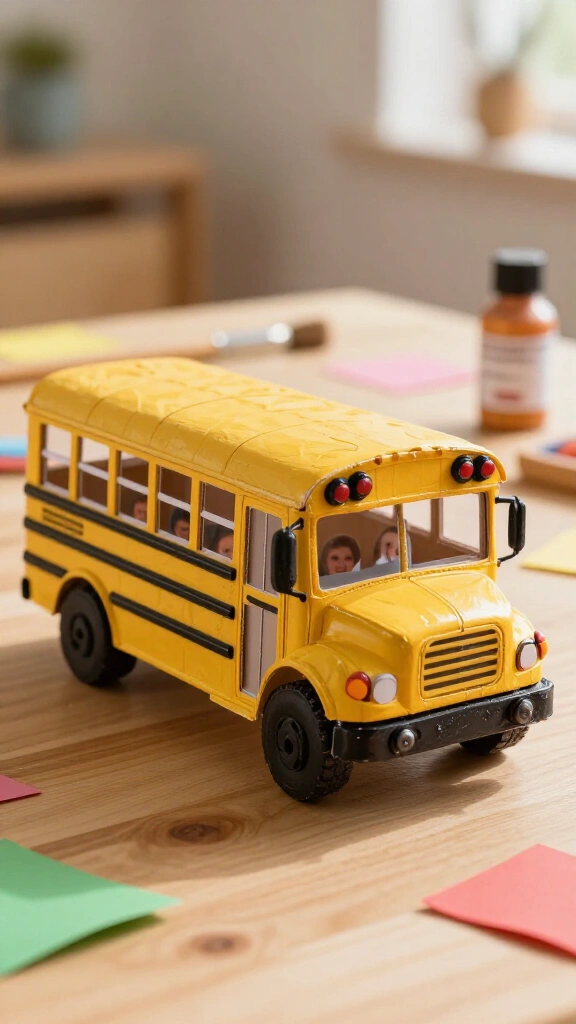
Cut a standard cardboard egg carton in half lengthwise to make the frame for a classic yellow bus. Let your kids paint the outside with bright yellow acrylic paint and set it aside to dry.
Glue black plastic buttons along the bottom edges for wheels. Use a black marker to draw passenger windows and front doors on each side. Kids can also cut tiny pictures of family members or pets out of scrap photos and glue them into the windows.
4. Sponge-Printed Sailboats
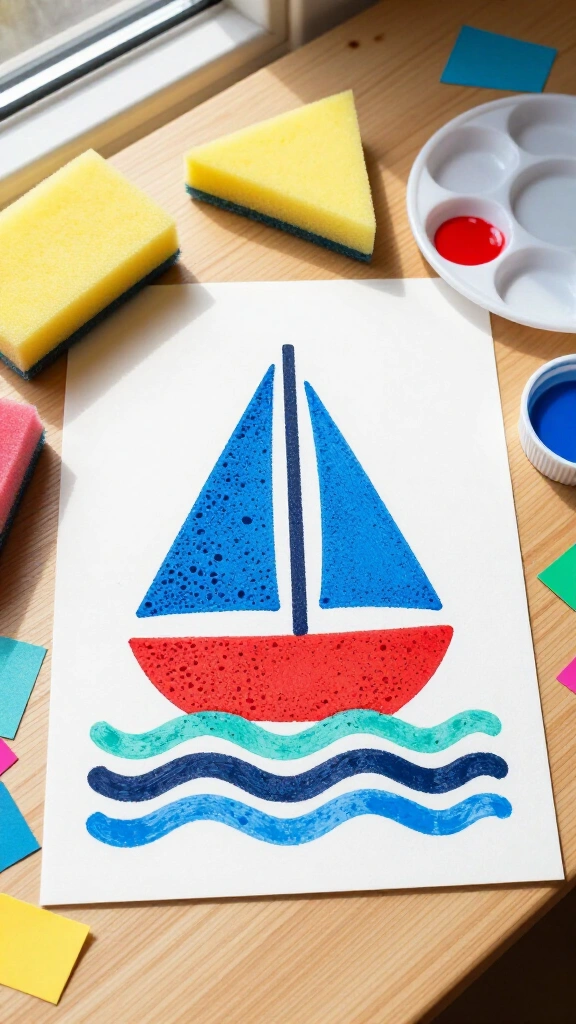
Cut clean kitchen sponges into simple triangles and half-circles. Dip the flat bottom sponge into blue or red paint to stamp the hull onto heavy cardstock, then press a sponge triangle right above it to create the main sail.
This quick stamping activity lets toddlers experiment with shapes and colors while practicing hand-eye coordination. Have them finger-paint wavy blue water along the bottom of the sheet to finish the scene.
5. Popsicle Stick Airplanes

Assemble classic biplanes using three standard craft sticks and a spring-loaded wooden clothespin. Glue two craft sticks across the top and bottom jaws of the clothespin for the main wings, then add a shorter stick at the rear for the tail wing.
Kids can decorate their planes with markers, patterned tape, or acrylic paint. These little planes make great party favors, and you can hang them from the ceiling with clear fishing line to decorate a bedroom.
6. Clothespin Helicopters
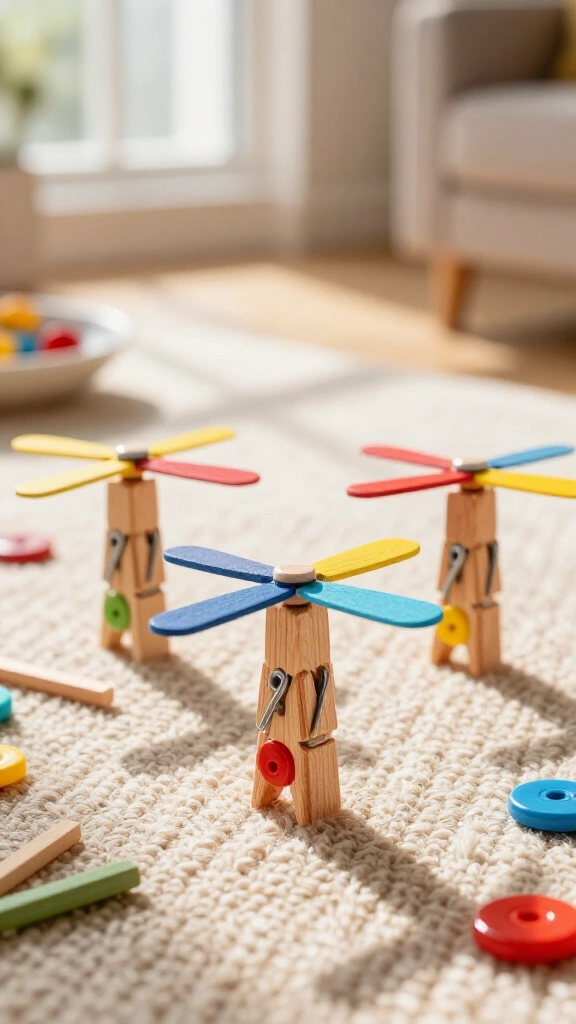
Turn standard wooden clothespins into pocket-sized rescue helicopters. Glue two mini craft sticks in an “X” shape across the top of the clothespin to form the main rotor. Glue a flat plastic button underneath to serve as the landing skid.
Kids can fly these across the living room rug on imaginary rescue runs. Their compact size makes them handy toys to toss in a bag for car trips or restaurants.
7. Recycled Milk Carton Trains
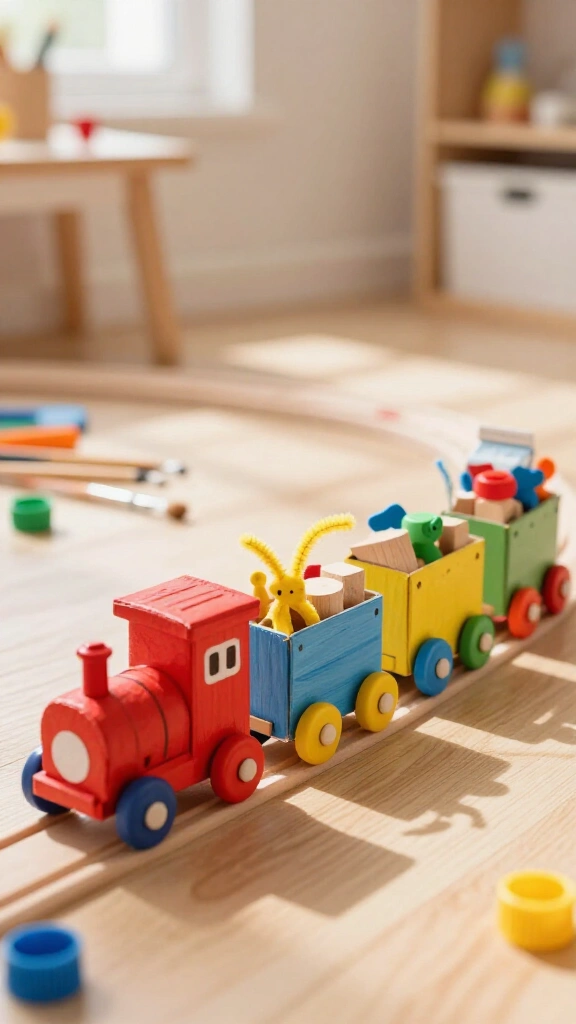
Collect three or four small school milk cartons or juice boxes. Paint each box a distinct color, glue plastic bottle caps along the sides for wheels, and punch small holes in the front and back corners of every car.
Tie the cars together with pipe cleaners or lengths of yarn. Kids can fill the open cars with wooden blocks, small plastic figurines, or snacks as they pull their train around the house.
8. Paper Cup Rockets
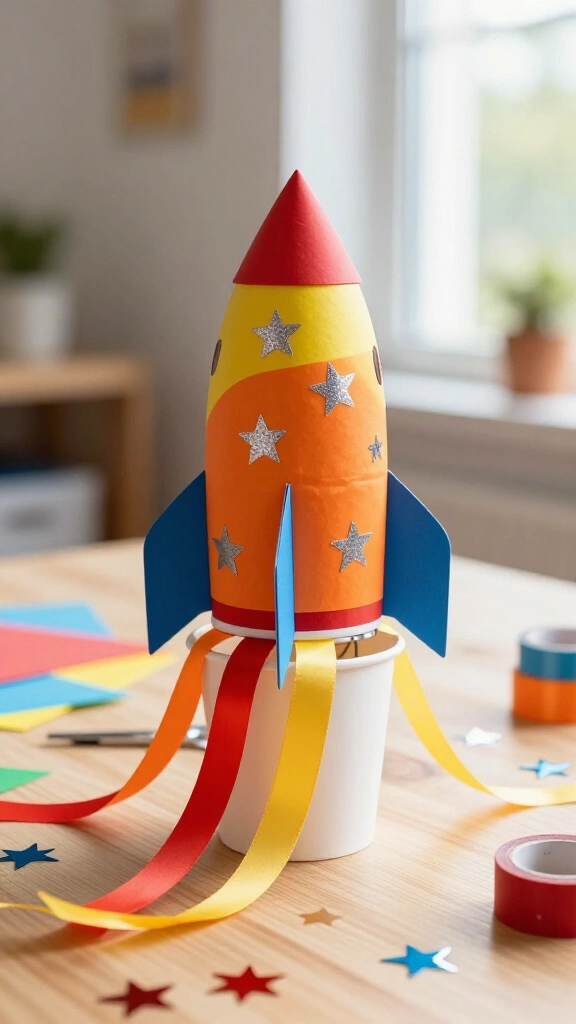
Send a homemade rocket into orbit with a fast STEM project. Turn a paper cup upside down, decorate the outer shell with foil stars and colorful paper fins, and glue red and orange ribbons around the base to mimic flames.
Cut two rubber bands, tape them inside the rim of the rocket cup in a cross pattern, and rest it over a second, plain cup. Push down, let go, and watch your rocket snap upward toward the ceiling. It gives kids a quick physics lesson wrapped in playtime.
9. Handprint Fire Trucks
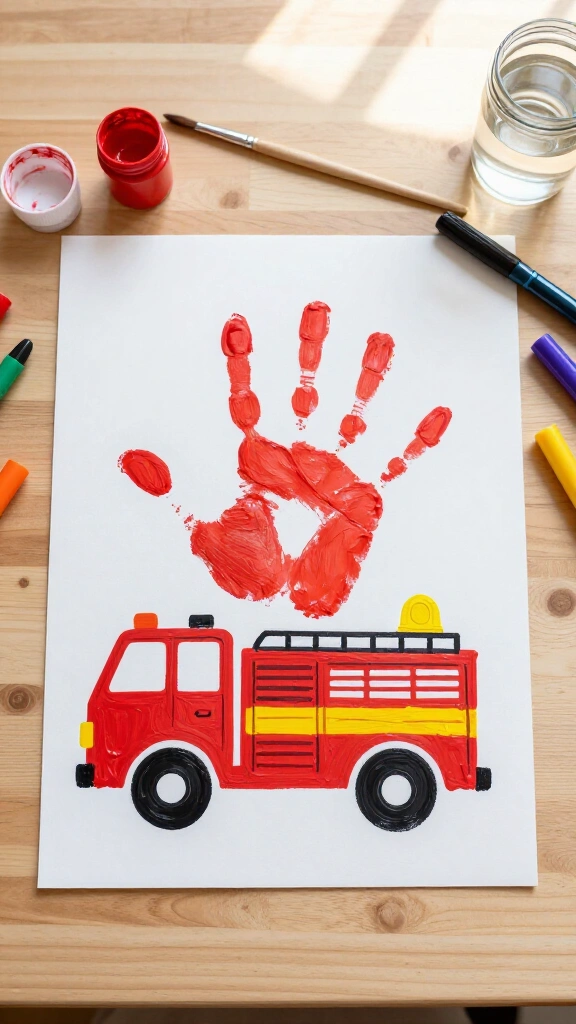
Brush red washable paint over your child’s palm and four fingers, keeping the thumb clean, and press their hand firmly onto white cardstock. The palm print creates the truck cab, while the extended fingers form the back body of the fire engine.
After the paint dries, draw on black wheels, a ladder, and a yellow emergency light with markers. Parents love saving these prints to see how much little hands have grown.
10. Floating Pool Noodle Boats
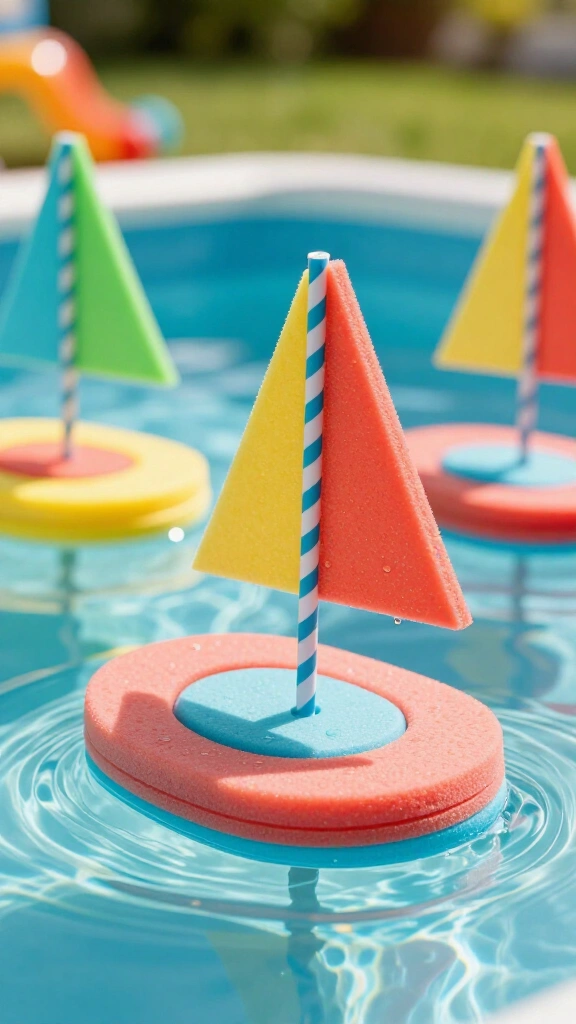
Cut a foam pool noodle into two-inch circular discs. Push a plastic straw or wooden skewer straight into the foam disc to make a mast, then slide a triangle cut from craft foam onto the straw to serve as a waterproof sail.
These lightweight rafts float smoothly in sensory bins, bathtubs, and kiddie pools. If you want more water activities for warm days, explore our summer crafts for toddlers for water-based fun.
11. Footprint Dump Trucks
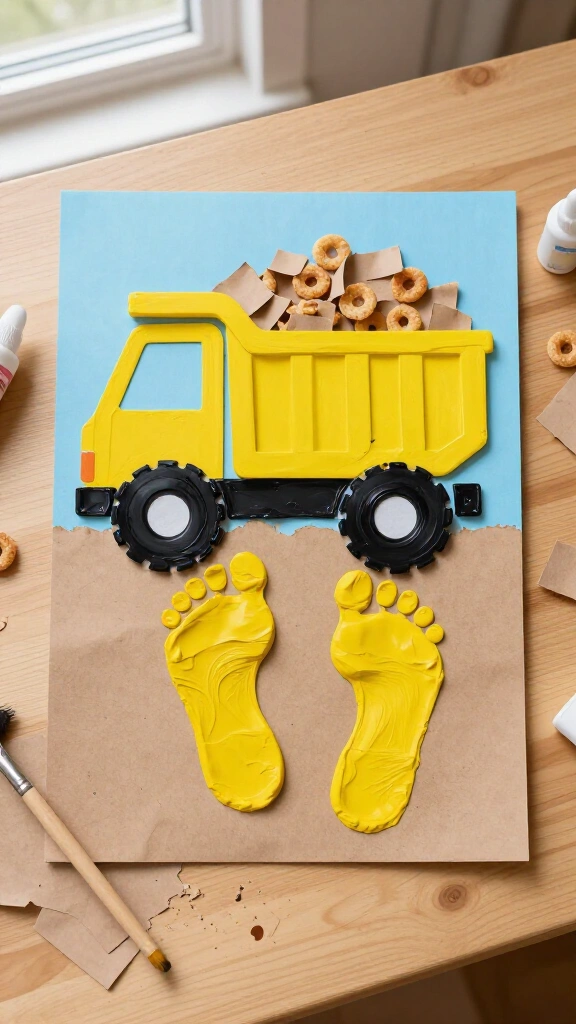
Coat your toddler’s foot in yellow washable paint and press it sideways onto a sturdy sheet of construction paper. The heel creates the truck cab, while the ball of the foot forms the open truck bed.
Paint thick black circles beneath the footprint for rugged tires, then glue torn pieces of brown paper or dry cereal into the truck bed to represent a load of gravel. Toddlers love the sensory feeling of painting with their feet.
12. Mason Jar Lid Traffic Lights

Paint a long rectangle of cardboard solid black. Take three metal mason jar lids or wide plastic caps and paint them red, yellow, and green to match standard road signals.
Glue the colored lids straight down the center of the cardboard base. Use the finished board as a fun visual tool to teach young kids what different road signals mean when you walk or drive around town.
13. Cardboard Box Drive-In Car
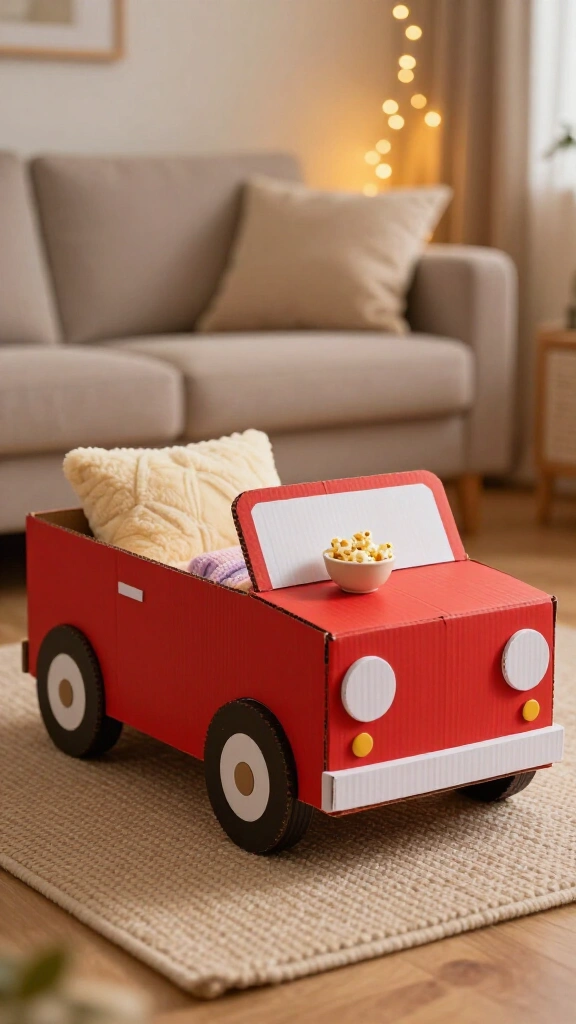
Turn a large shipping carton into a custom car for family movie nights. Fold the top flaps down, paint the exterior in your child’s favorite color, and glue paper plates to the sides for wheels and headlights.
Drop a soft pillow inside, serve a bowl of popcorn, and let your kids sit inside their personal convertibles during screen time. This project keeps little ones entertained for hours of pretend play.
14. Juice Box Submarines

Cover an empty, dry juice box with yellow duct tape or yellow construction paper. Tape a flexible bendy straw to the top edge to create a periscope.
Glue blue paper circles along the sides for portholes and stick a plastic bottle cap on the back for the propeller. Your kids can now guide their homemade sub through living-room floor ocean adventures.
15. Tin Foil River Canoes
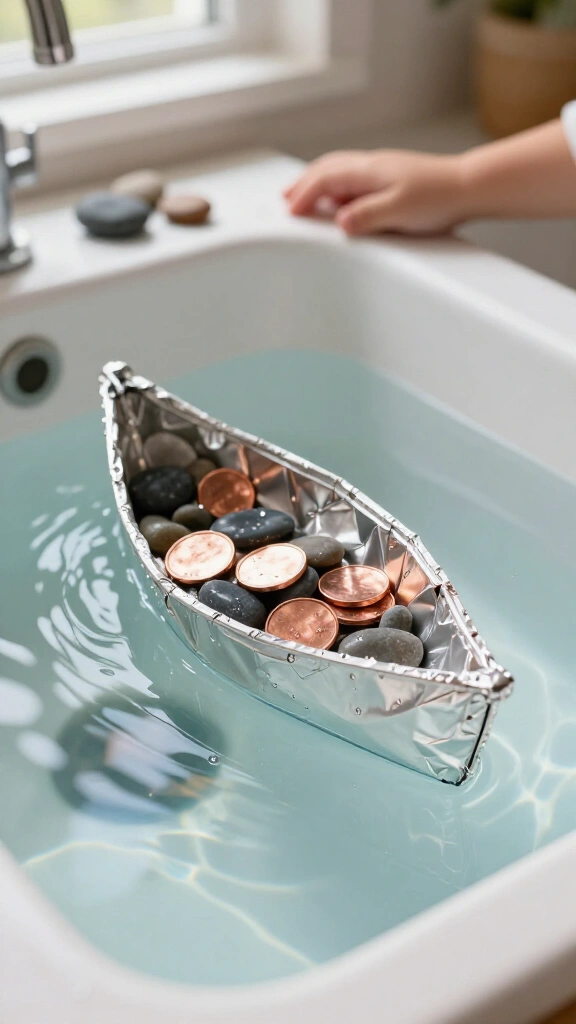
Hand your kids a square sheet of standard aluminum foil and ask them to pinch and fold it into a floating boat shape. This open-ended activity teaches basic lessons in buoyancy and weight distribution.
Float the finished foil canoes in a sink full of water. Have the kids place pennies or small stones inside one at a time to see how much weight their boat can carry before it takes on water.
16. Origami Speedboats

Take a square piece of waxed paper or origami paper. Fold it along basic diagonal lines to shape a sleek, pointed boat with sharp edges.
Kids can set their paper boats in the bathtub or an outdoor puddle and blow through plastic straws to race them across the water. It offers instant, clean entertainment when you need a quick indoor activity.
17. Bubble Wrap Tire Track Prints

Cut small strips of bubble wrap and tape them securely around the wheels of toy trucks or small rolling pins. Dip the textured wheels into washable tempera paint and roll them across a long roll of butcher paper.
The textured patterns leave bold prints that look just like heavy vehicle treads. To find reliable, non-toxic art materials, look through the washable supplies made by Crayola.
18. Cork Sailboats
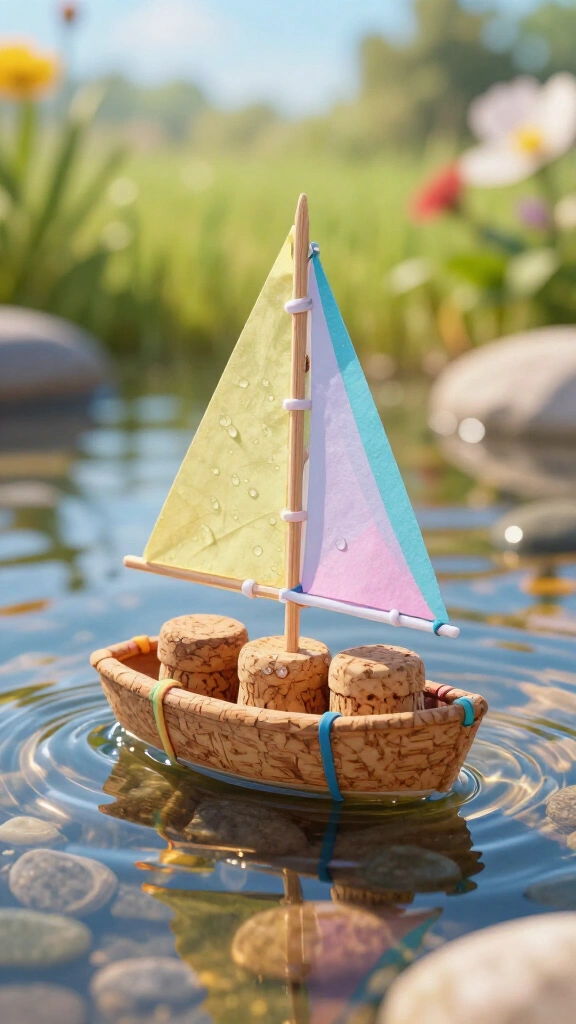
Wrap two small rubber bands around three wine corks to build a buoyant little raft. Push a wooden toothpick into the center cork and thread a small paper triangle onto it as a sail.
Because cork sheds water naturally, these mini boats will float for hours without sinking or turning soggy. They make a great outdoor science craft for warm afternoons.
19. Paper Plate Flying Saucers
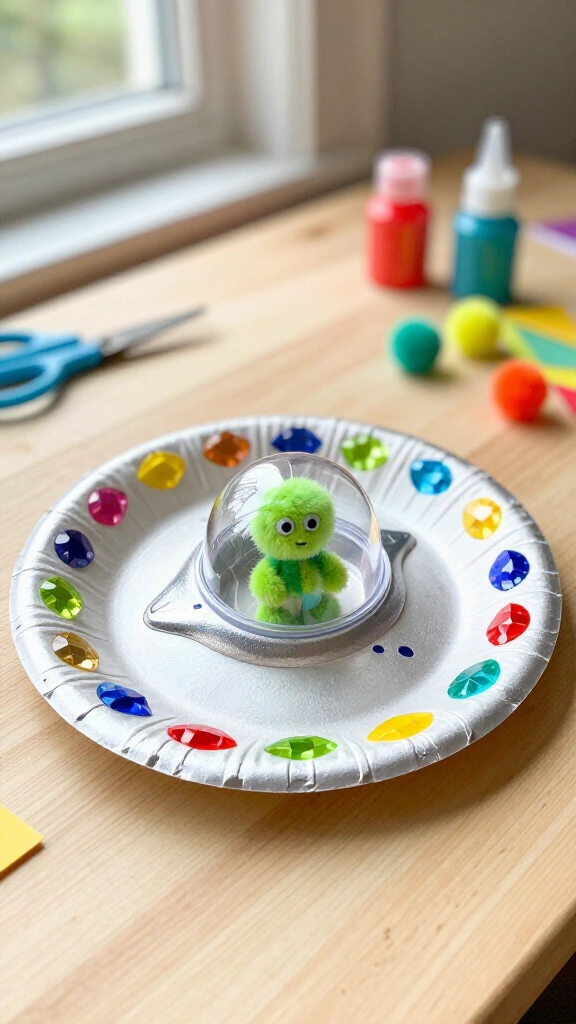
Glue two paper plates together along their rims to make a round saucer body. Paint the plates silver or cover them in aluminum foil for a metallic finish.
Glue a small clear plastic cup upside down in the middle to serve as the cockpit dome, and place a green craft pom-pom inside as the pilot. Add colorful sticker gems around the rim for indicator lights.
20. Styrofoam Gliders
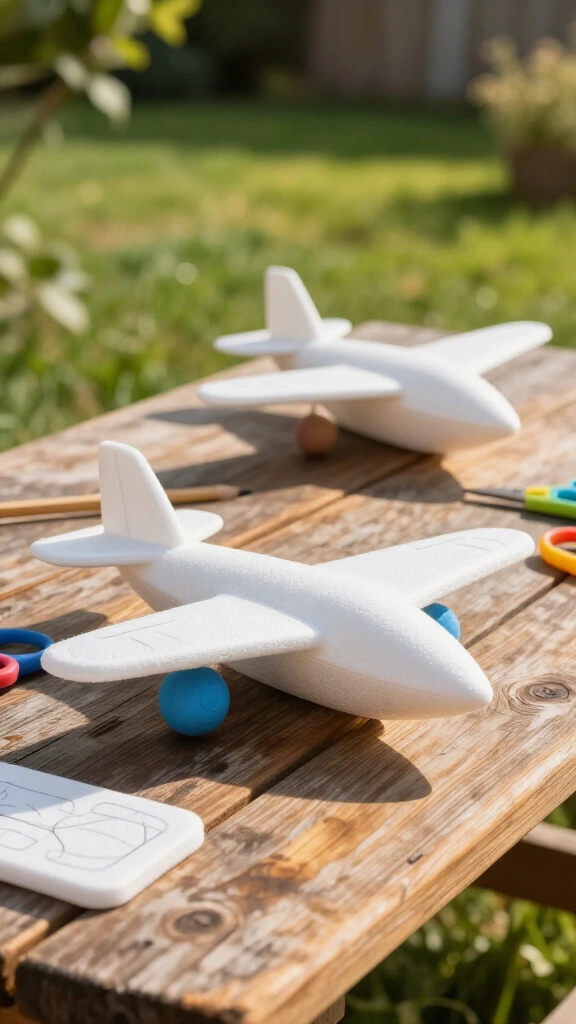
Upcycle clean foam takeout boxes or food trays into lightweight backyard gliders. Draw basic wing and fuselage outlines onto the flat foam panels, cut them out with scissors, and slide the sections together using precut slots.
Stick a tiny piece of clay onto the nose to balance the plane’s weight. Kids can launch their gliders in the backyard and adjust the wings to see which design stays in the air longest.
21. Balloon-Powered LEGO Racers
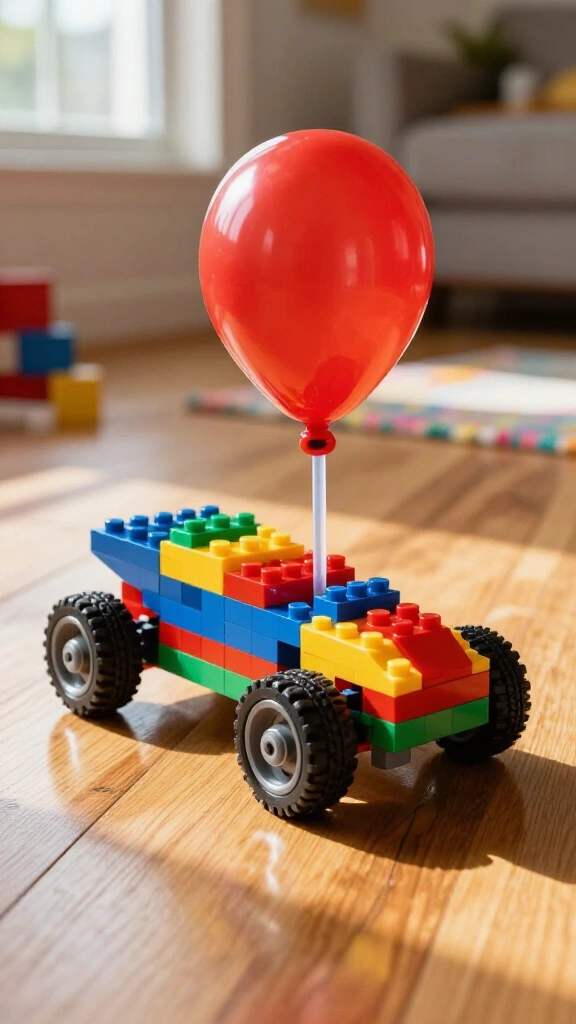
Have your older kids build a sturdy four-wheel chassis out of standard LEGO bricks. Attach a latex balloon to one end of a plastic drinking straw with a small rubber band, then secure the straw tightly into the brick base.
Blow into the straw to inflate the balloon, pinch the opening shut, place the car on a hardwood floor, and release it. The escaping air pushes the racer forward across the room at surprising speed.
22. Button Bicycle Art
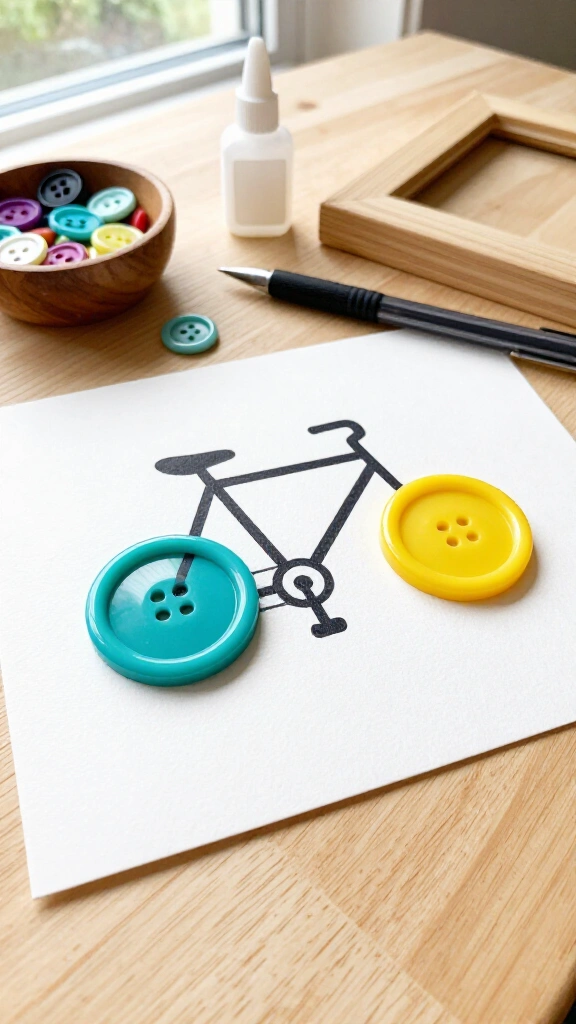
Draw a simple bicycle frame onto a sheet of heavy cardstock using a black fine-point pen. Find two large, colorful buttons from your sewing stash to serve as the wheels.
Glue the buttons in place using craft glue or hot glue. This clean, graphic design looks great in a frame on a bedroom or playroom wall.
23. Cereal Box Monster Trucks
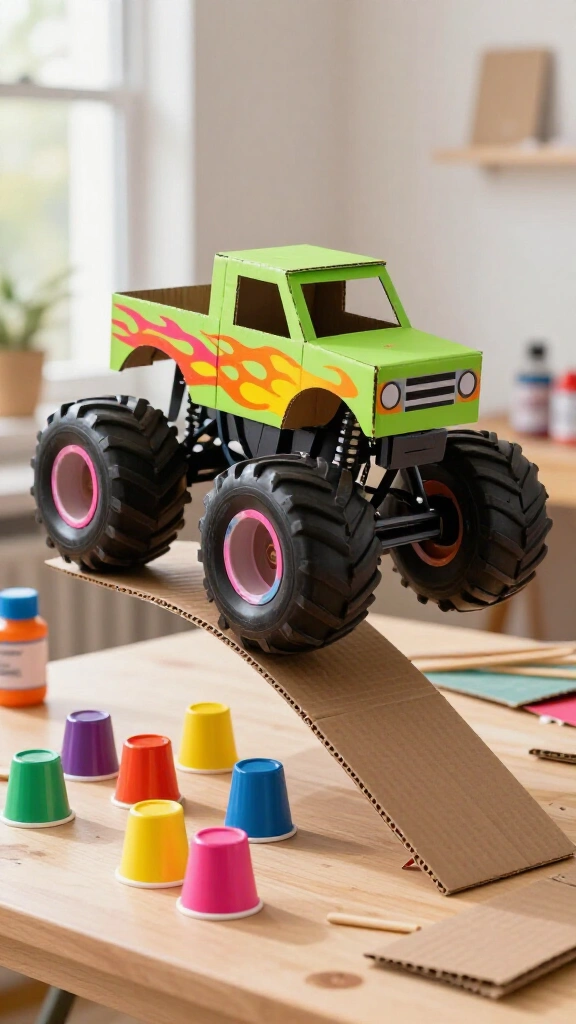
Trim an empty cereal box into the shape of a truck cab and chassis. Paint the cardboard in bold neon colors, draw flame patterns across the sides, and attach large plastic jar lids as oversized tires.
Kids can build cardboard jump ramps and crush small paper cups with their custom trucks. If you want more seasonal classroom inspiration, browse our May crafts for kids.
24. Toilet Paper Roll Steam Trains

Glue a horizontal cardboard tube onto a flat cardboard base. Cut a smaller two-inch section from another roll and glue it upright near the front to form the engine smokestack.
Gently pull apart a cotton ball and glue it into the top of the smokestack so it looks like billows of steam. Paint the entire engine black and add gold or yellow paint trim for a classic vintage finish.
25. Straw-Rocket Launchers
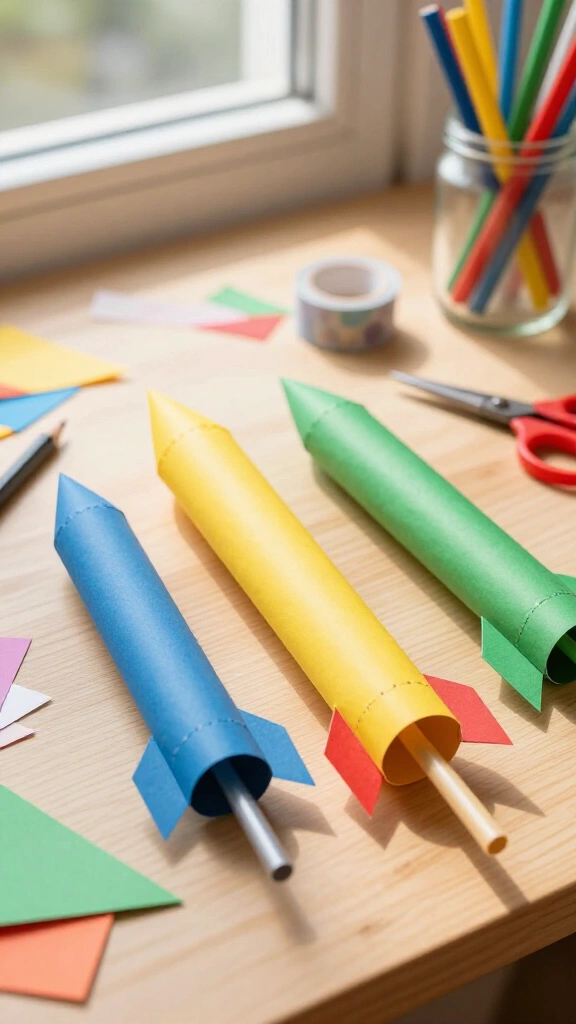
Wrap a small strip of paper snugly around a pencil, tape the long edge closed, and seal the top end with tape to form a closed rocket tube. Tape tiny cardstock fins onto the base.
Slide the rocket tube over a standard drinking straw and blow hard into the straw to shoot the rocket into the air. The team at PBS KIDS for Parents offers helpful resources showing how quick launch games build early curiosity about physics.
26. Walnut Shell Ships
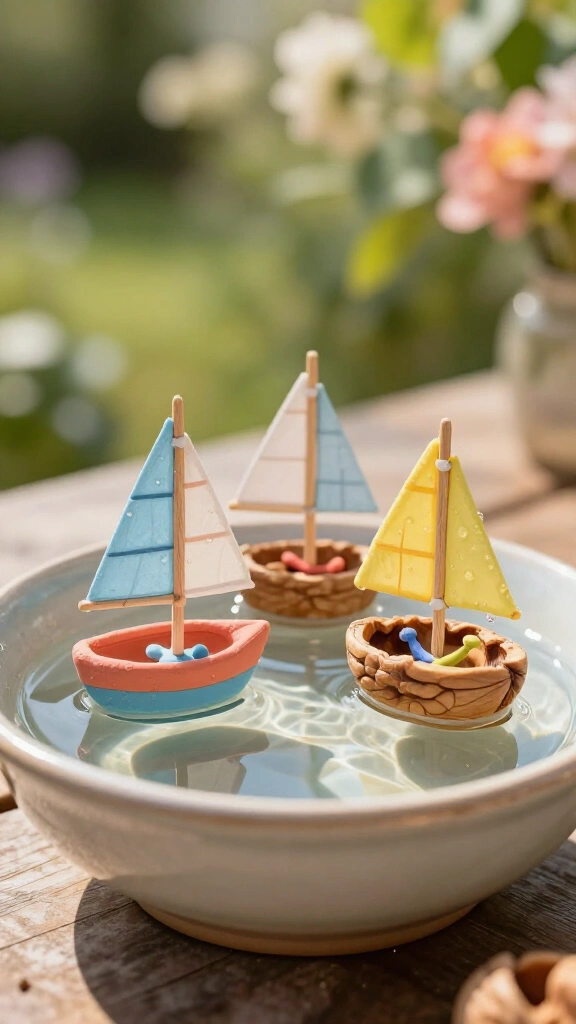
Crack walnuts carefully in half and clean out the shells. Press a small pinch of modeling clay or play dough into the bottom of each half-shell to create an anchor.
Push a wooden toothpick into the clay and add a mini paper sail. Set these small boats in a bowl of water, puddle, or birdbath to watch them bob and drift across the surface.
27. Plastic Bottle Space Shuttles

Turn a clean water bottle into an orbital shuttle. Paint the body white, paint the cap black for the nose cone, and glue cardboard triangle wings to the sides.
Tape strips of red, orange, and yellow tissue paper inside the bottom opening to create engine exhaust flames. Kids can hold the bottle and zoom their rocket through imaginary space missions.
28. Wooden Spoon Airplanes
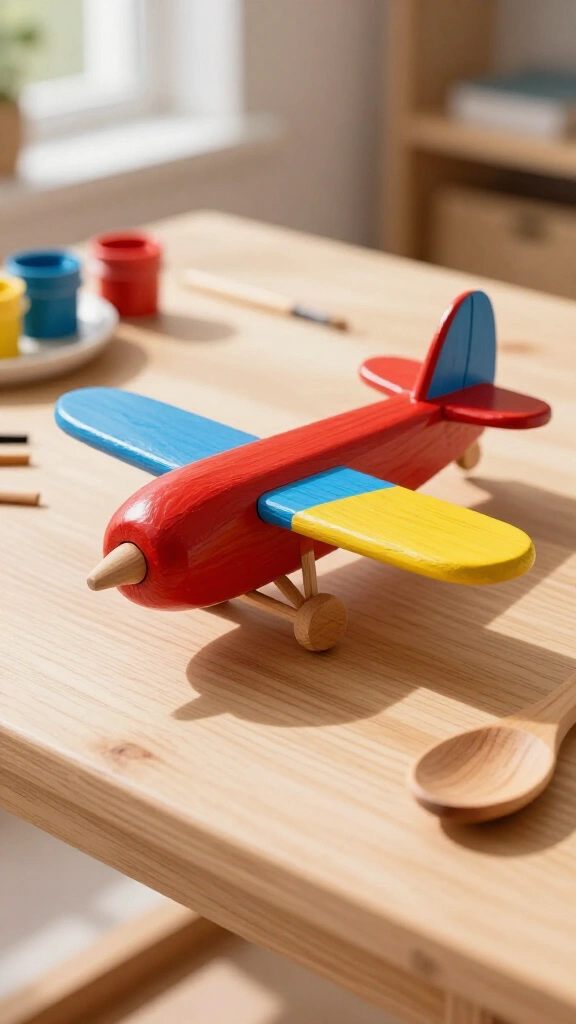
Paint an ordinary wooden cooking spoon in bright red or sky blue. Glue two craft sticks across the handle for the main wings and attach a shorter wooden stick near the back end for the tail.
The wide spoon bowl serves as the rounded nose of the plane. Its long handle gives toddlers a sturdy, comfortable grip as they fly their airplane through the house.
29. Magnetic Car Maze
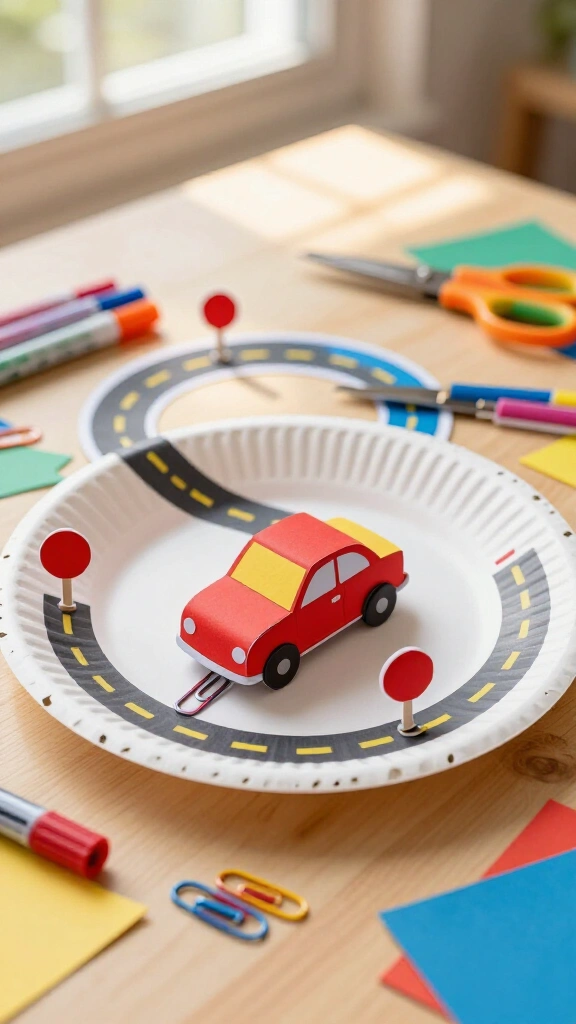
Draw a network of streets, stop signs, and parking stalls onto a sturdy paper plate with markers. Cut out a small paper car and glue a metal paperclip or small steel washer underneath it.
Hold a craft magnet against the underside of the plate and place the paper car on the top surface. Move the magnet around underneath to steer the car along the roads. It gives young kids an exciting, hands-on introduction to magnetism.
Fuel Your Child’s Imagination Today!
You do not need expensive kits or fancy supplies to inspire creative play. With everyday household items like cardboard tubes, paper plates, and plastic lids, your kids can build their own fleet of vehicles. Pick a couple of these projects for your next open afternoon, spread out your supplies, and let your kids start building.