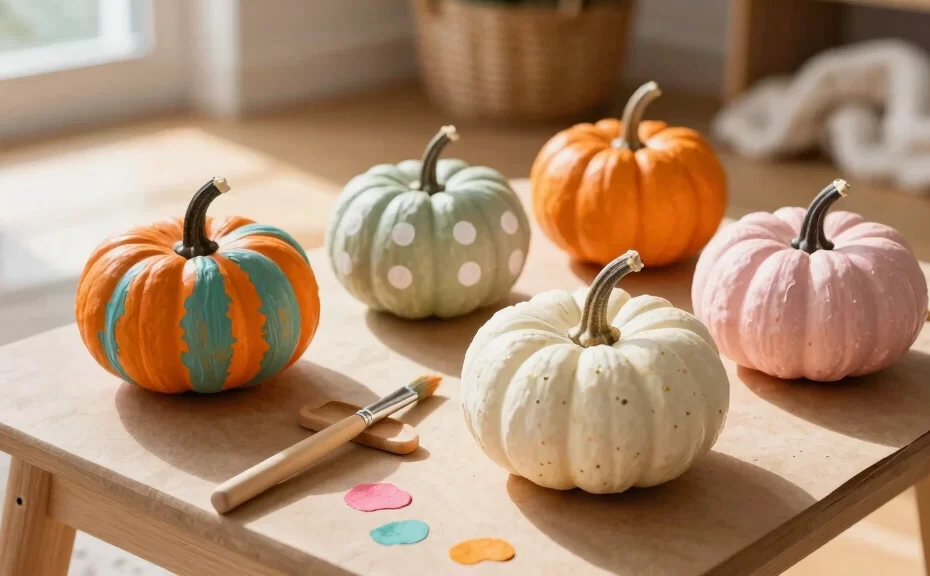
Fall has finally arrived, bringing cooler weather, cozy sweaters, and the undeniable urge to decorate everything with pumpkins. But how do you involve your littlest family members without initiating a total household disaster? Traditional pumpkin carving poses obvious safety risks for tiny hands, and standard paint often leads to colored footprints on your living room rug.
Do not worry, parents! You can still create beautiful autumn memories with your baby or toddler without losing your sanity. We compiled a list of the absolute best, stress-free, and developmentally friendly pumpkin decorating activities for babies. Are you ready to discover how simple and clean holiday crafting can actually be?
1. Mess-Free Ziploc Paint Pumpkin
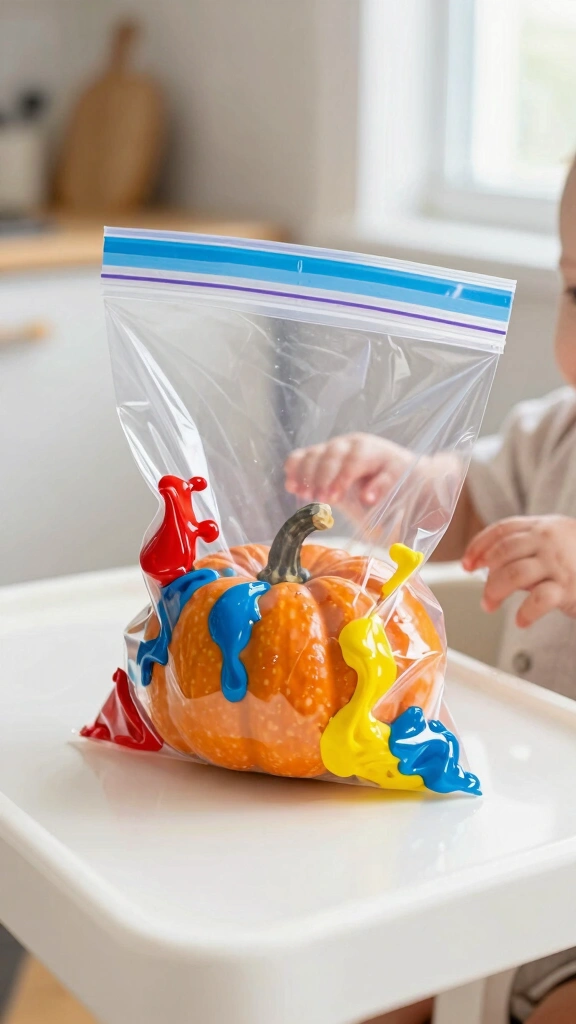
Do you want to avoid mess entirely? This genius method keeps every single drop of paint contained while still giving your baby a wonderful sensory experience. Simply place a small pumpkin inside a gallon-sized Ziploc bag, squeeze in a few dollops of washable baby-safe paint, and seal the bag securely. Pro tip: use heavy-duty packing tape to reinforce the seal just in case your little one gets enthusiastic.
Place the bag on the floor or highchair tray and let your baby squish, pat, and roll the pumpkin around. They will love watching the colors blend and smear across the bumpy surface of the pumpkin. Once they finish playing, carefully remove the pumpkin from the bag using tongs or gloved hands and set it out to dry. You get a beautifully painted pumpkin and zero cleanup time!
Sensory Benefits for Babies
This activity encourages fine motor development and tactile exploration without triggering sensory overload. Babies who dislike the sticky texture of wet paint can still participate fully in the autumn fun.
2. Sweet Baby Handprint Keepsake Pumpkin
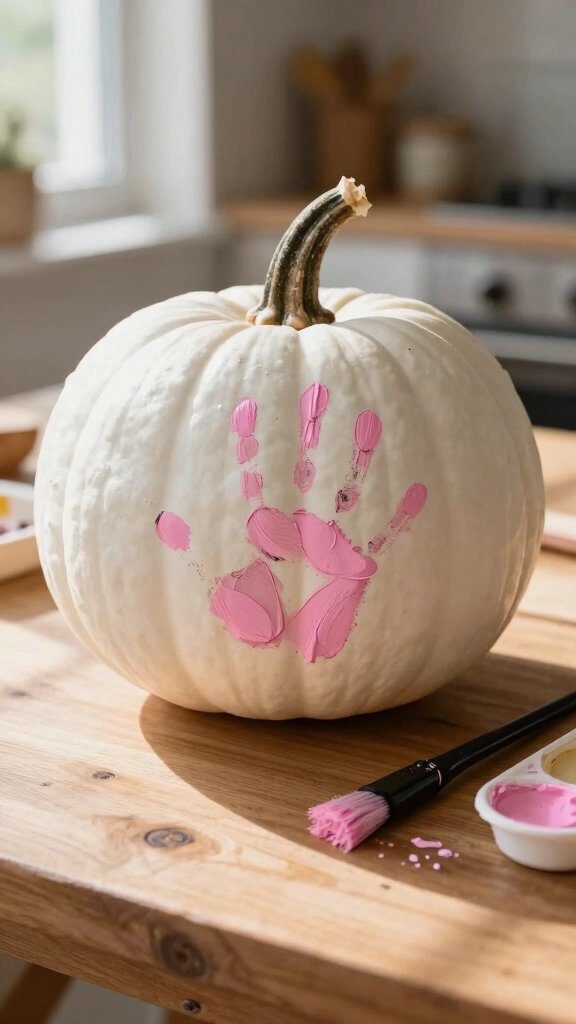
Nothing beats the sentimental value of tiny baby hands captured in paint. For this project, choose a smooth white pumpkin (often called a ghost pumpkin) because the light background makes the colorful handprints stand out beautifully. Coat your baby’s hand in a thin, even layer of non-toxic, washable paint using a foam brush.
Gently but firmly press their hand onto the side of the pumpkin, making sure to spread their tiny fingers. IMO, coordinating this during naptime or right after a feeding yields the cleanest prints. Once the paint dries, use a permanent marker to write your child’s name and the year on the bottom of the pumpkin. You will cherish this sweet keepsake for years to come!
3. Sponge Dabber Pumpkins
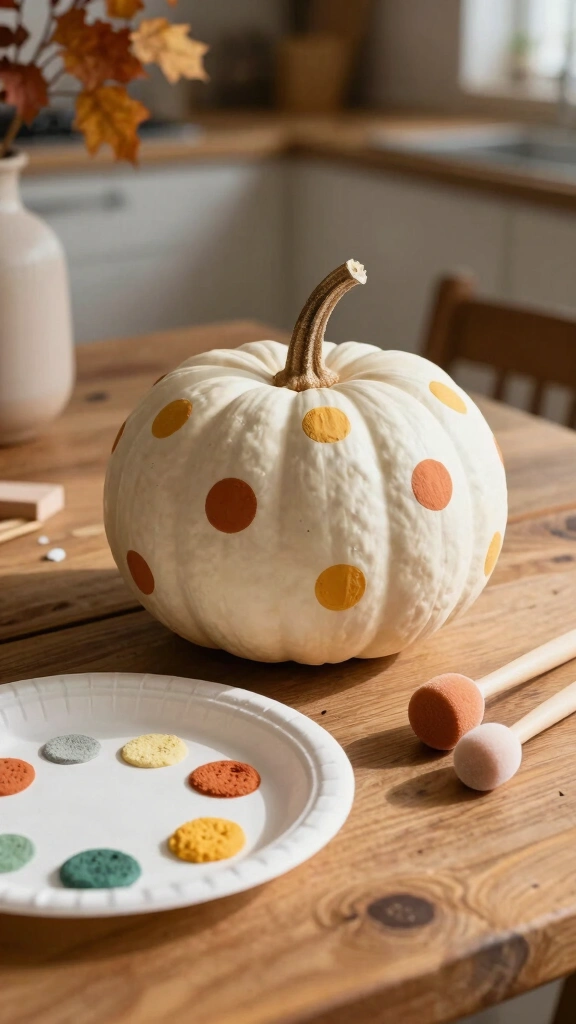
Toddlers and older babies love the satisfying bounce of foam sponge dabbers. These round sponge brushes fit perfectly into small hands and require very little grip strength to use. Pour a few shades of autumnal paint onto a paper plate and show your baby how to dip and press the sponge onto the pumpkin.
This technique creates a cool, modern polka dot pattern that looks surprisingly chic on a front porch. Using sponges prevents the thick, clumpy build-up of paint that takes days to dry. Try using metallic gold paint on a dark orange pumpkin for a gorgeous, contrast-heavy look that adults will love too.
4. Taste-Safe Whipped Cream Swirl Pumpkin
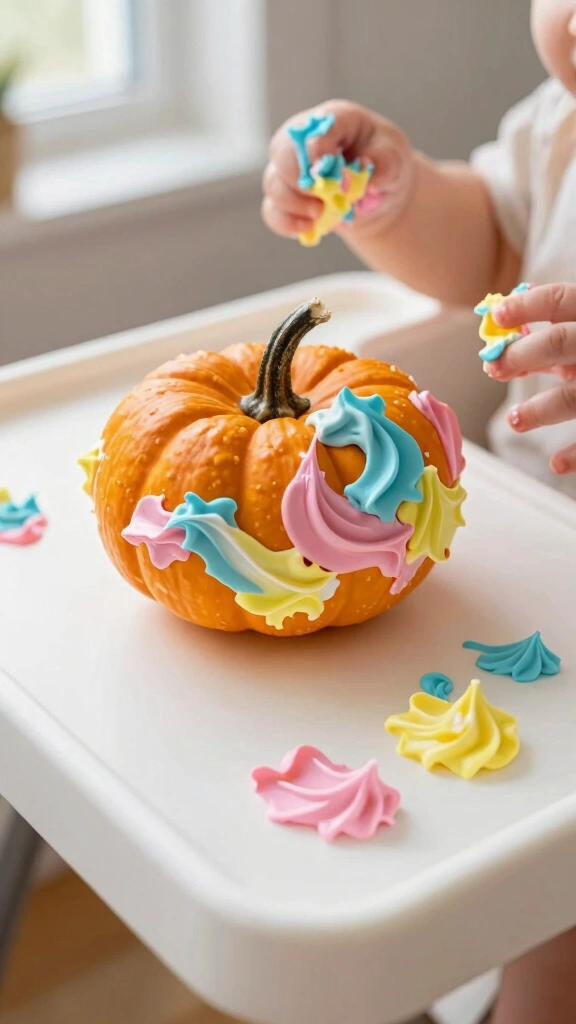
Are you worried about your baby putting paint-covered fingers into their mouth? This taste-safe alternative eliminates that fear completely. Mix food coloring into a bowl of whipped cream or plain Greek yogurt to create vibrant, edible paints. Spread the mixture onto a highchair tray and let your baby smear it directly onto a mini pumpkin.
This activity focuses entirely on the process of creation rather than preserving a permanent product. Since the paint consists of food, you cannot display this pumpkin long-term on your porch. However, the joyful, messy photos you capture during this sensory session will last a lifetime.
Important Safety Reminder
Because this project uses food products, ensure you wash the pumpkin thoroughly immediately after the activity. Leftover whipped cream will attract pests and spoil quickly if left at room temperature.
5. Pom-Pom Painted Pumpkin
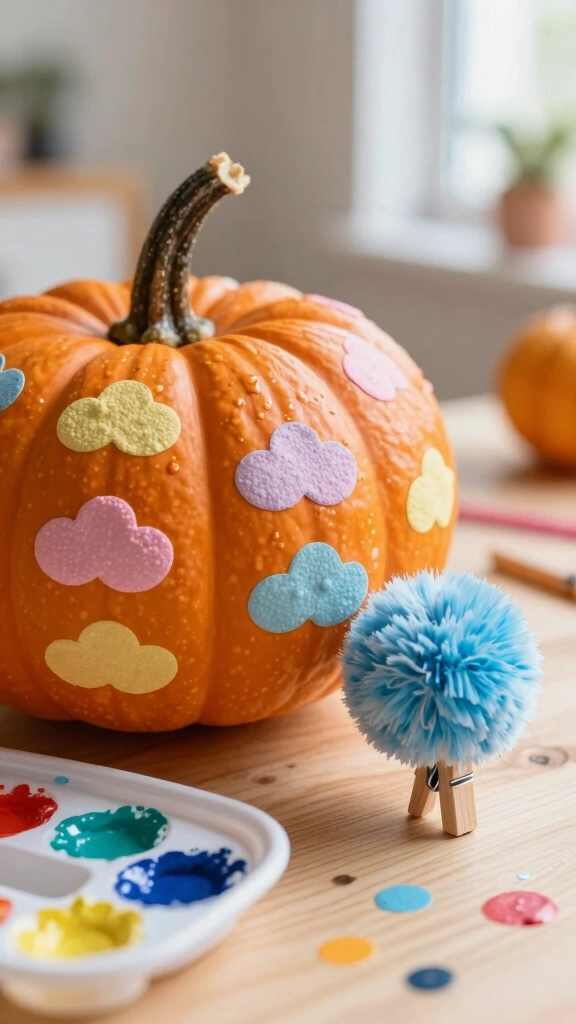
If you want to practice fine motor skills, look no further than this pom-pom painting activity. Pinch a large craft pom-pom with a standard wooden clothespin to create an easy-to-hold paint applicator. Your baby can grasp the clothespin handle and dip the soft pom-pom into shallow paint trays.
Dabbing the fuzzy pom-pom onto the pumpkin leaves behind a unique, textured print that resembles little clouds. It offers a fantastic way to teach cause-and-effect as your baby realizes that pressing down creates a colorful spot. Plus, holding the clothespin helps strengthen the muscles needed for writing later in life.
6. Glow-in-the-Dark Finger Paint Pumpkin
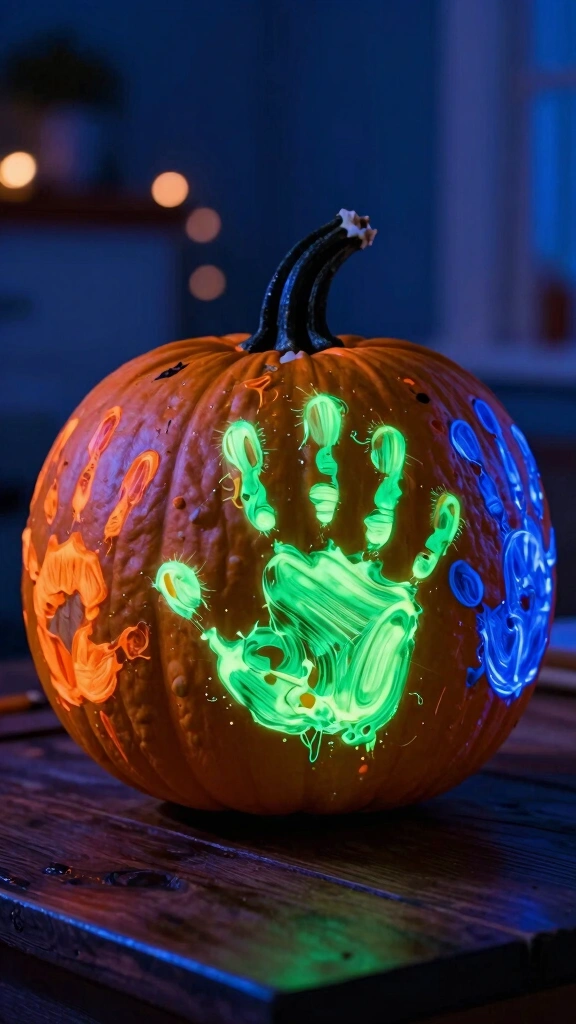
Bring some evening magic to your Halloween crafting with glow-in-the-dark paint. Purchase premium, non-toxic glowing paints and let your baby finger-paint directly onto a medium-sized pumpkin. Ensure they apply the paint in thick layers so the glow effect works properly later on.
Once the paint dries, take the pumpkin into a dark room or bathroom to watch it glow. Your baby will squeal with delight when they see their artwork lighting up the darkness! FYI: exposing the painted pumpkin to bright light for an hour beforehand will maximize the nighttime glow.
7. Bath Tub Paint Pumpkin
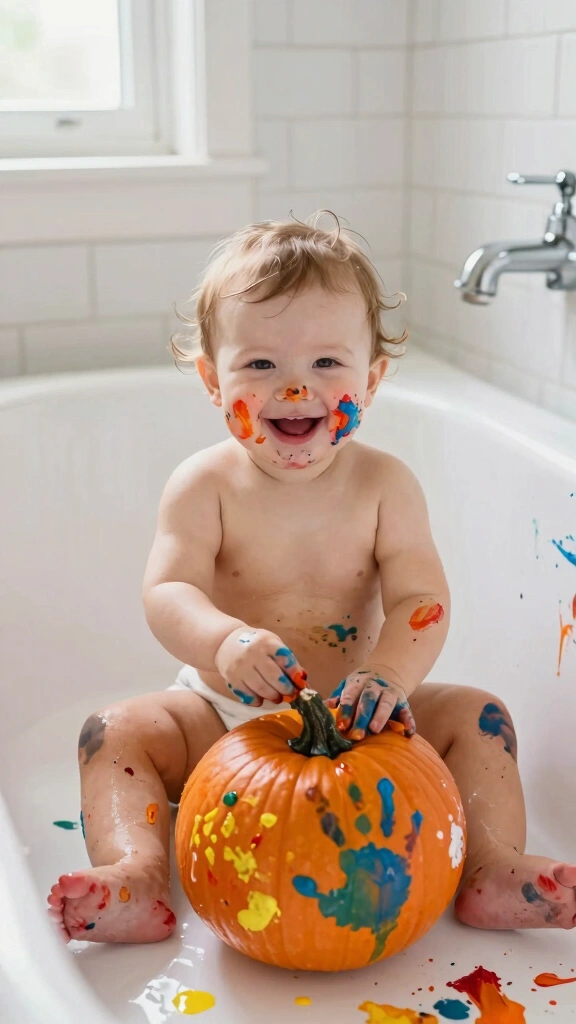
Who says you have to paint at the kitchen table? Strip your baby down to their diaper, place them in an empty bathtub with a pumpkin, and hand them some washable paint. They can paint the pumpkin, themselves, and the tub walls without causing any permanent damage.
When the painting session ends, simply turn on the faucet or showerhead to wash away all the excess paint. You can bathe your baby and clean the workspace simultaneously. This is the ultimate hack for parents who want to encourage creative play but absolute despise clean-up duty.
8. Tape Resist Stripe Pumpkin
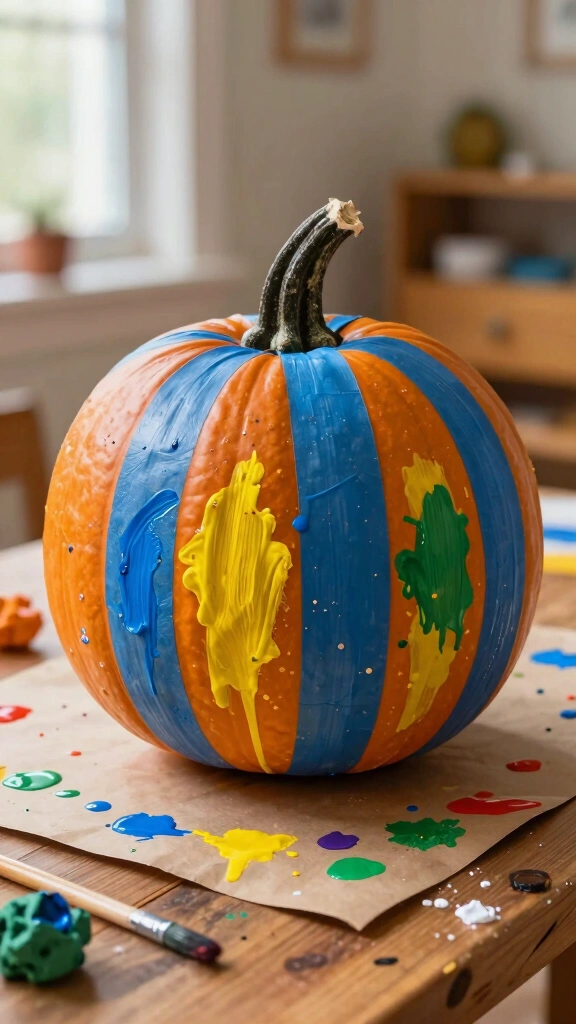
Create a stunning geometric design with this incredibly simple tape-resist method. Before inviting your baby to the craft table, wrap strips of blue painter’s tape around a clean pumpkin. You can create stripes, plaids, or even spell out your baby’s initials.
Next, let your baby paint over the entire pumpkin, tape and all, using their hands or brushes. Do not worry if they cover every single inch in a messy layer of paint. Once the paint dries completely, slowly peel away the painter’s tape to reveal clean, unpainted lines underneath.
9. Bubble Wrap Roll Pumpkin
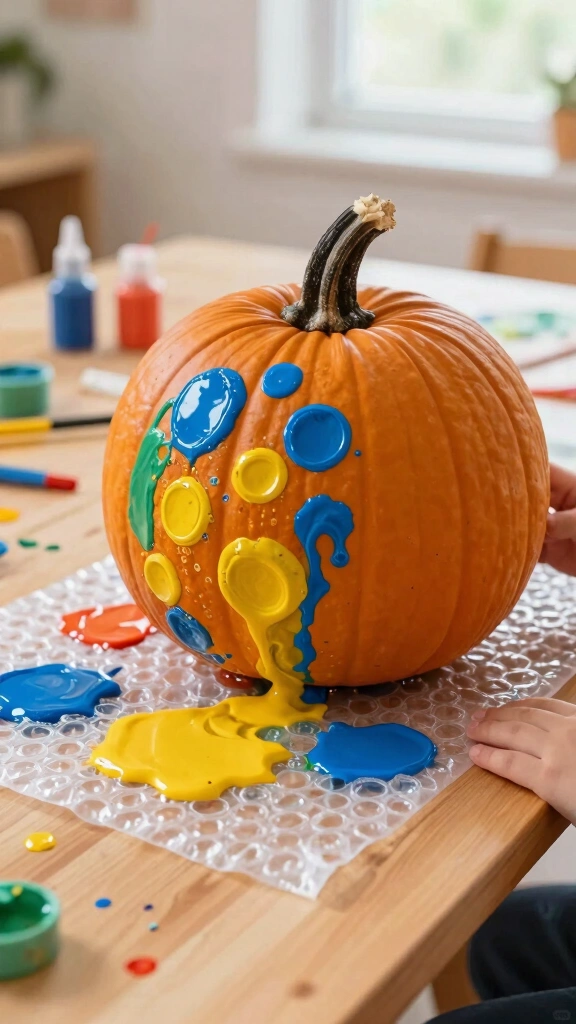
Do you have spare bubble wrap lying around from online deliveries? Put it to good use for this tactile painting project. Tape a sheet of bubble wrap to your workspace table and brush a thin layer of washable paint over the bubbles. Carefully roll a pumpkin across the wet bubble wrap to transfer the pattern.
Alternatively, wrap your baby’s feet in bubble wrap, dip them in paint, and let them kick or step on a large pumpkin. The popping sounds and textured prints provide hours of entertainment for curious babies. It is loud, messy, and absolutely thrilling for young minds.
10. Cotton Swab Pointillism Pumpkin
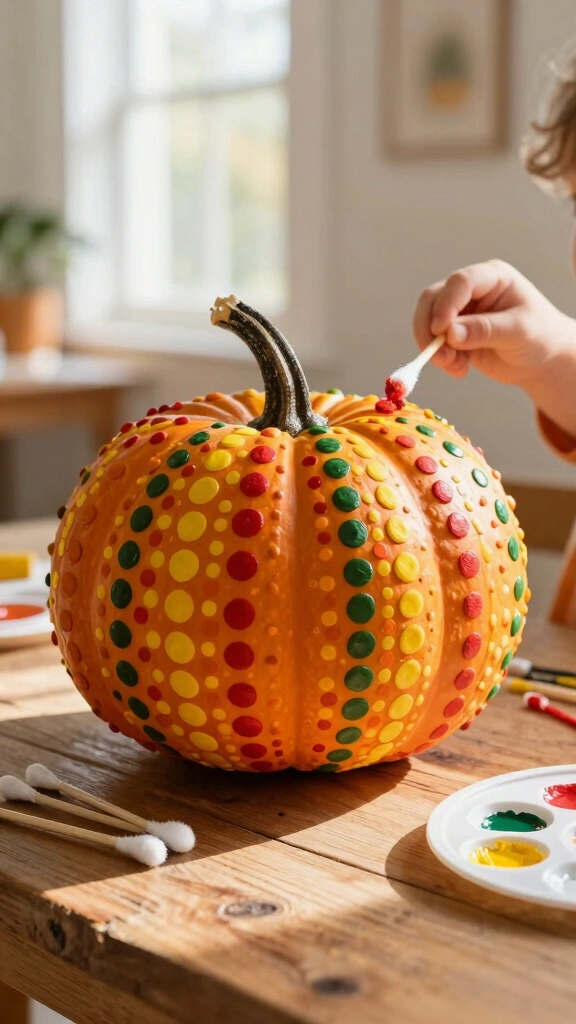
For older babies and toddlers who are developing a pincer grasp, cotton swabs make the perfect miniature paintbrushes. Give your child a bundle of cotton swabs and a palette of autumn colors. Show them how to make tiny dots of paint all over the pumpkin surface.
This method prevents the muddy look that happens when babies mix too many paint colors together on a single surface. The individual dots remain distinct and colorful, resulting in a beautiful, pointillism-style masterpiece. It keeps kids focused and quiet for surprisingly long stretches of time.
11. Squeeze Bottle Drip Pumpkin
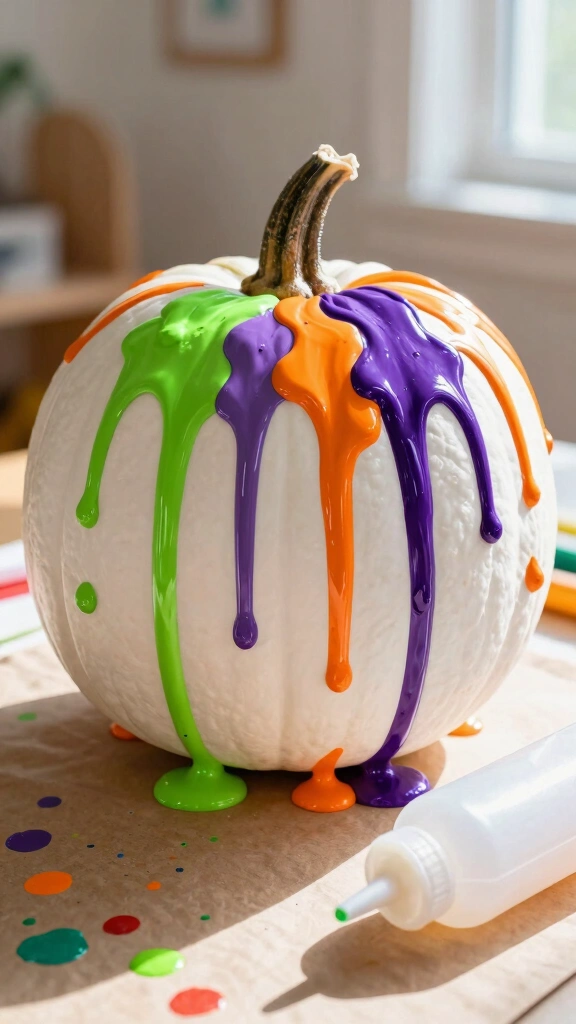
If your child loves cause-and-effect toys, they will adore this drip painting technique. Fill cheap plastic squeeze bottles with slightly watered-down washable paint. Help your baby hold the bottle, aim it at the top of the pumpkin stem, and squeeze.
Watch together as gravity pulls the colorful paint down the ridges of the pumpkin in beautiful, cascading drips. This project works best with high-contrast colors like neon green, purple, and orange on a black or white pumpkin. It is visually stimulating and highly satisfying for young toddlers.
12. Washable Marker Color-In Pumpkin
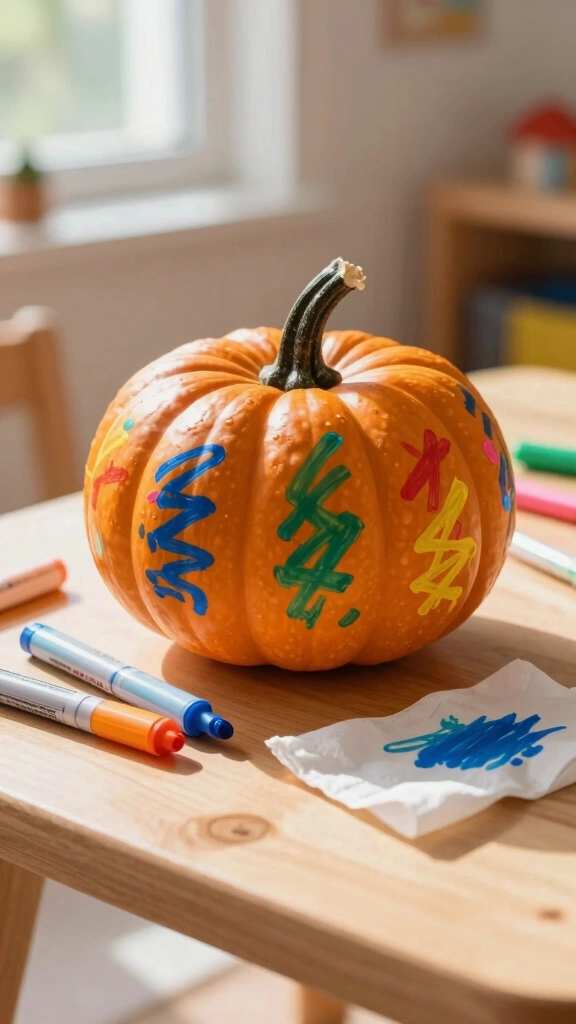
What if you want to skip paint entirely? Washable markers work surprisingly well on the smooth, slick skin of a pumpkin. Give your baby a handful of thick, washable markers and let them scribble to their heart’s content.
The best part about this idea? If your baby makes a mistake or wants to start over, you can wipe the pumpkin clean with a damp baby wipe. This allows for endless drawing sessions on a single pumpkin all season long. It is a fantastic, travel-friendly option for crafting on the go.
13. Fingerprint Polka Dot Pumpkin
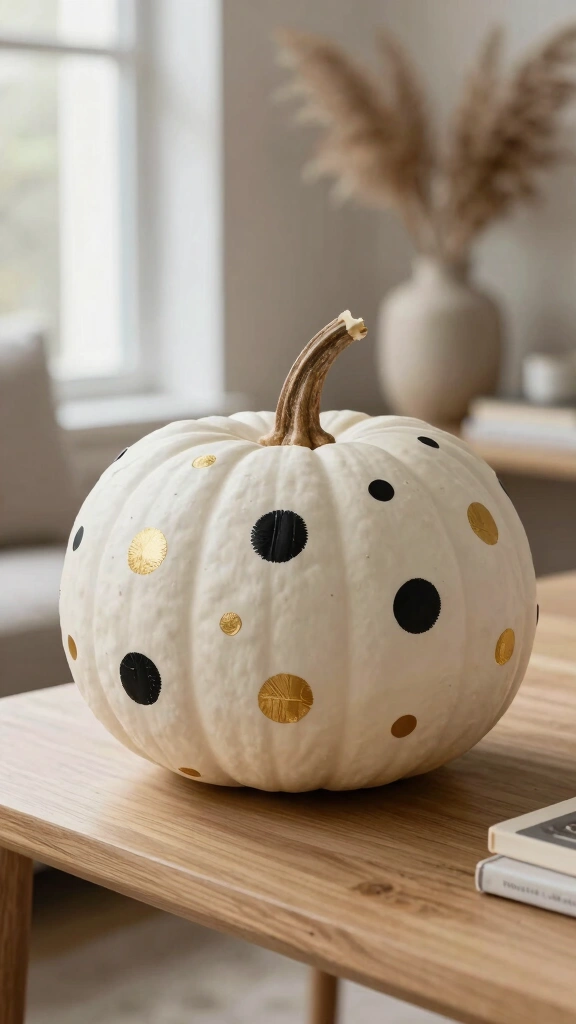
Keep things classic and sweet with a fingerprint polka dot pumpkin. Dip your baby’s pointer finger into white, gold, or black paint, then press it gently onto the pumpkin. Repeat this process around the entire surface to create a lovely, scattered dot pattern.
This project looks incredibly elegant and minimalist, fitting right in with modern home decor. You will love pointing out the tiny whorls and ridges of your baby’s unique fingerprints preserved in the paint. It makes a wonderful gift for grandparents who love handmade seasonal treasures.
Choosing the Right Pumpkin for Baby Painting
- Look for smooth skin: Pumpkins with deep ridges are harder for tiny hands to paint effectively.
- Prioritize stability: Select flat-bottomed pumpkins that will not roll away during painting sessions.
- Sanitize first: Wipe the pumpkin down with a mild vinegar and water solution to remove dirt and bacteria before painting.
Wrapping Up Your Fall Crafting Adventure
Painting pumpkins with your baby is not about creating a picture-perfect piece of art. Instead, focus on the sensory exploration, the laughter, and the shared moments together. Use washable, non-toxic materials, prep your workspace beforehand, and embrace the inevitable mess. Which of these creative ideas will you try with your little one this weekend?