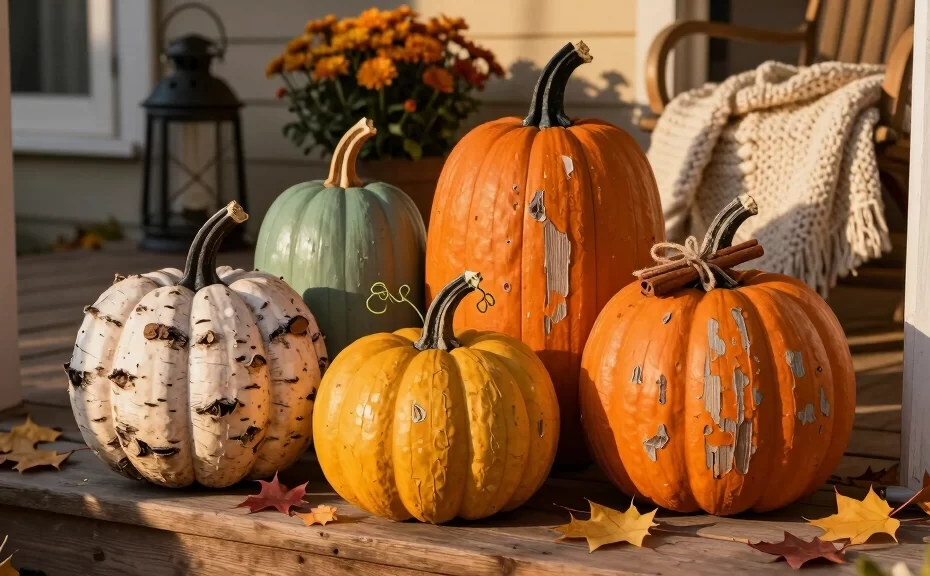
Crisp air, cozy sweaters, and the sweet aroma of cinnamon can only mean one thing. Autumn has finally arrived! If you want to bypass the generic, mass-produced plastic store decor this year, we have the perfect solution for you. Why not roll up your sleeves and craft your own rustic decorations?
Wood crafts offer a timeless, durable, and highly customizable way to dress up your porch or mantel. Do you have some spare timber or scrap wood lying around your garage? You can easily transform those discarded pieces into stunning autumn masterpieces with just a few basic tools.
We gathered a list of the most charming, beginner-friendly, and downright gorgeous wooden pumpkin projects. Grab your safety glasses, dust off your saw, and prepare to elevate your seasonal decor game. Ready to turn some timber into festive treasures?
1. Reclaimed Wood Block Pumpkins
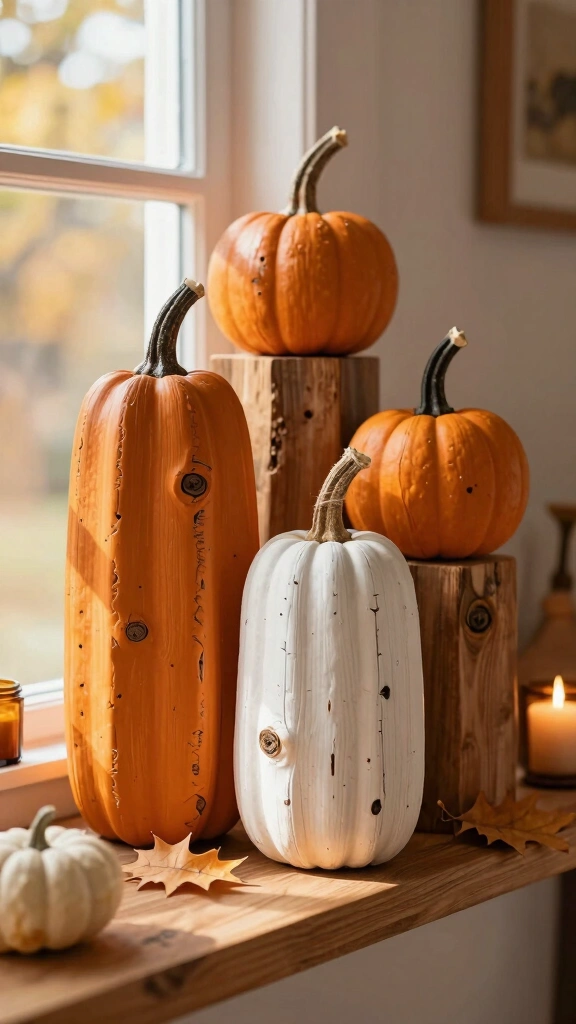
Beginners love this project because it requires zero fancy tools. You just need some leftover 4×4 posts from your last construction project. Simply cut the posts into varying heights to create a visually interesting cluster. Varying the heights of your blocks makes the display look dynamic rather than flat.
Sand the rough edges lightly, but leave some of the natural imperfections to preserve that rustic charm. Coat the blocks in orange acrylic paint, or try a modern white wash for a farmhouse aesthetic. For the finishing touch, drill a small hole in the top and glue a real tree branch inside to serve as the stem. Wrap a piece of twine or burlap ribbon around the base of the stem for extra texture.
Recommended Tools:
- Miter saw or hand saw
- Medium-grit sandpaper
- Hot glue gun
2. Scrap Wood Pumpkin Sign
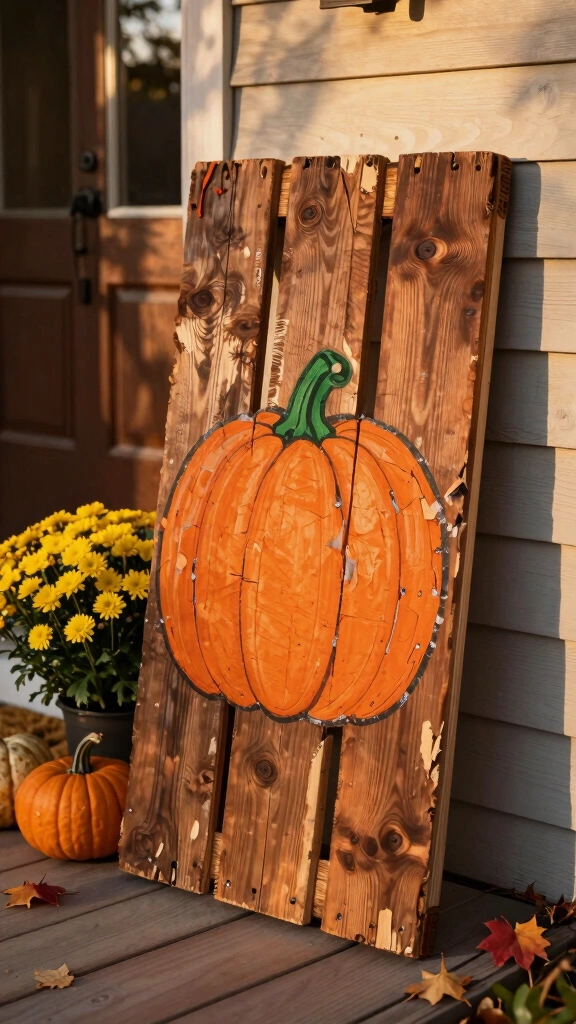
Do you have a pile of random plywood or pallet slats cluttering your workspace? Turn those pieces into a gorgeous welcome sign for your front porch. Lay three or four boards side-by-side and secure them together from the back using two support strips. Paint a bold, cheerful pumpkin shape directly onto the front of your new wooden canvas.
If you lack confidence in your freehand drawing skills, use a stencil or trace a paper cutout. Distress the painted design with a sanding block to give it a weathered, antique appearance. Write a cozy greeting like “Hey There, Pumpkin” or “Welcome” across the center using a black paint pen. Always seal your outdoor signs with a clear polyurethane spray to protect them from autumn rain.
3. Pallet Wood Pumpkin Trio
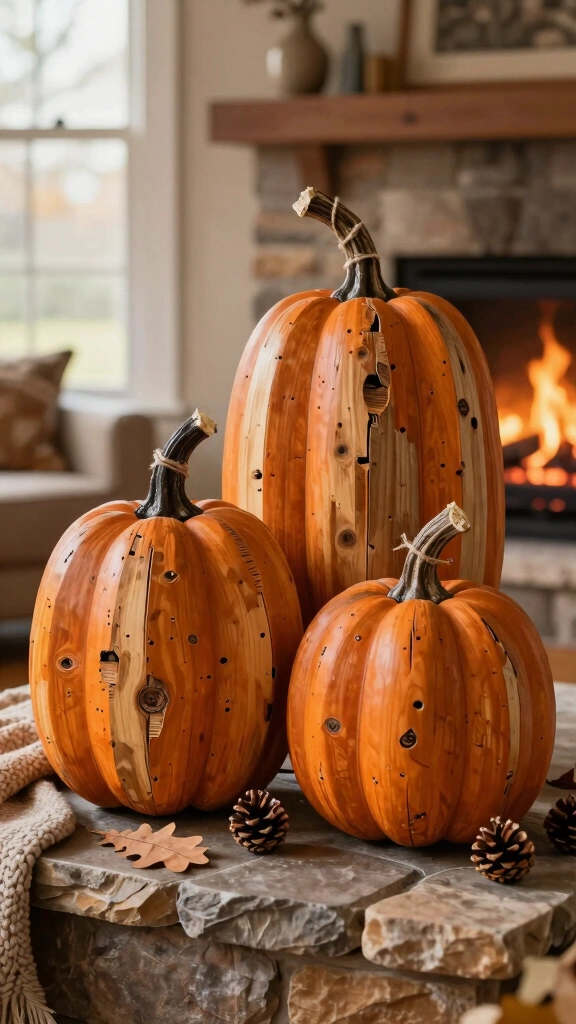
Pallet wood costs next to nothing, and its weathered texture screams rustic charm. To start, assemble your pallet boards and draw three different pumpkin shapes on them. Use a jigsaw to cut out these shapes, focusing on one small, one medium, and one large pumpkin. FYI: Pallet wood splits easily, so take your time and cut slowly!
Once you cut the shapes, apply a rich orange wood stain instead of paint. The stain allows the natural wood grain and knots to show through beautifully. Secure the three pumpkins together in an overlapping cluster using wood glue and screws. Prop this rustic trio next to your front door alongside a few real mums for an instant porch upgrade.
4. Log Slice Painted Pumpkins

If you recently trimmed your trees, you have the perfect materials for this quick craft. Cut a fallen log into round slices about two inches thick. If you do not own a chainsaw, you can easily buy pre-cut wood rounds at your local craft store. Keep the bark intact around the edges to frame your painted design naturally.
Paint the flat face of the wood slice with bright orange, muted sage green, or soft cream. Once the background dries, paint a simple jack-o’-lantern face or a delicate leaf pattern. These mini log pumpkins make excellent coasters, place cards for Thanksgiving dinner, or mantel fillers. Pro tip: apply a coat of Mod Podge to prevent the paint from chipping off the wood over time.
5. Wooden Shingle Pumpkins

Cedar shingles offer a unique, layered texture that mimics the natural ribs of a pumpkin. Cut a basic pumpkin outline out of thin plywood to act as your backing board. Next, use utility shears to cut your cedar shingles into small, overlapping scales. Glue these shingle pieces onto your backing board, starting from the bottom and working your way up.
The overlapping layers create a wonderful 3D effect that catches the light beautifully. Paint the shingles in a soft, antiqued copper color or a warm terracotta shade. Attach a thick piece of rope to the top of the plywood backing to create both a stem and a hanger. Hang this unique piece on your front door as a refreshing alternative to the traditional pinecone wreath.
6. Scroll Saw Cutout Pumpkins

This project allows intermediate woodworkers to show off their cutting skills. Select a soft wood like pine or basswood that measures about one inch thick. Draw a highly detailed pumpkin silhouette, complete with intricate vine swirls and leaf cutouts. Carefully guide your scroll saw along the lines to create a beautiful, lace-like wooden sculpture.
Because the cuts are so intricate, you will want to sand the interior edges with a needle file. Leave the wood completely natural, or apply a light mineral oil to enrich the natural wood tones. Place a battery-operated tea light behind the cutout to cast gorgeous, spooky shadows across your living room wall. NEVER use a real candle with this wooden craft, as it poses a serious fire hazard!
7. Turned Wood Pumpkins
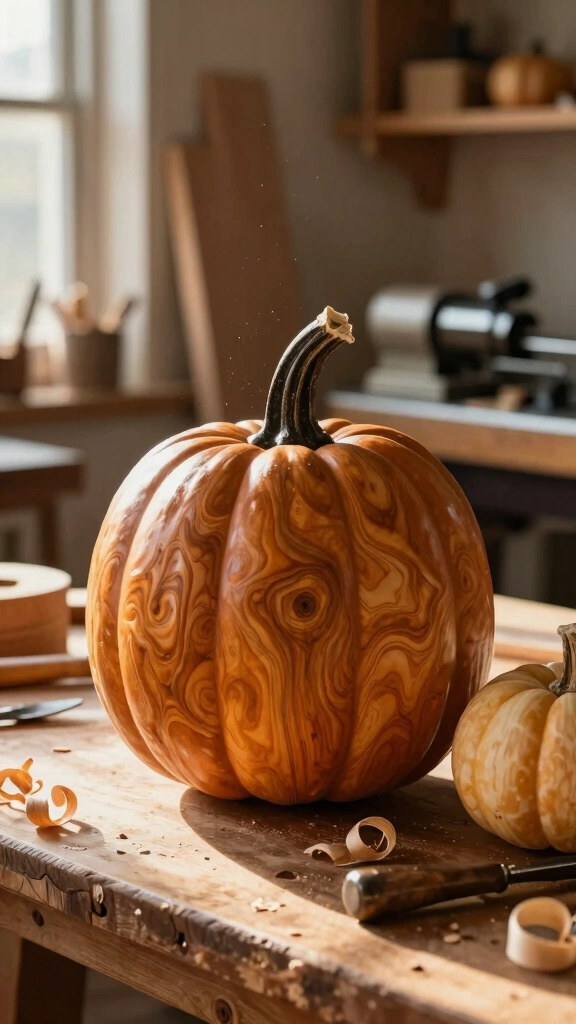
If you own a wood lathe, this project will quickly become your favorite autumn tradition. Mount a thick block of maple, cherry, or walnut wood onto your lathe. Slowly turn the wood block into a smooth, plump sphere with a slightly flattened top and bottom. IMO, nothing beats the silky-smooth feel of professionally turned hardwood.
Use a gouge tool to carve gentle vertical grooves along the sides of the sphere to replicate pumpkin ribs. Turn a small, separate spindle out of a darker wood species to serve as the stem. Glue the stem into a hole drilled at the top of the pumpkin. Polish the entire piece with beeswax to highlight the gorgeous, rich grain patterns of the wood.
8. 3D Plywood Puzzle Pumpkins
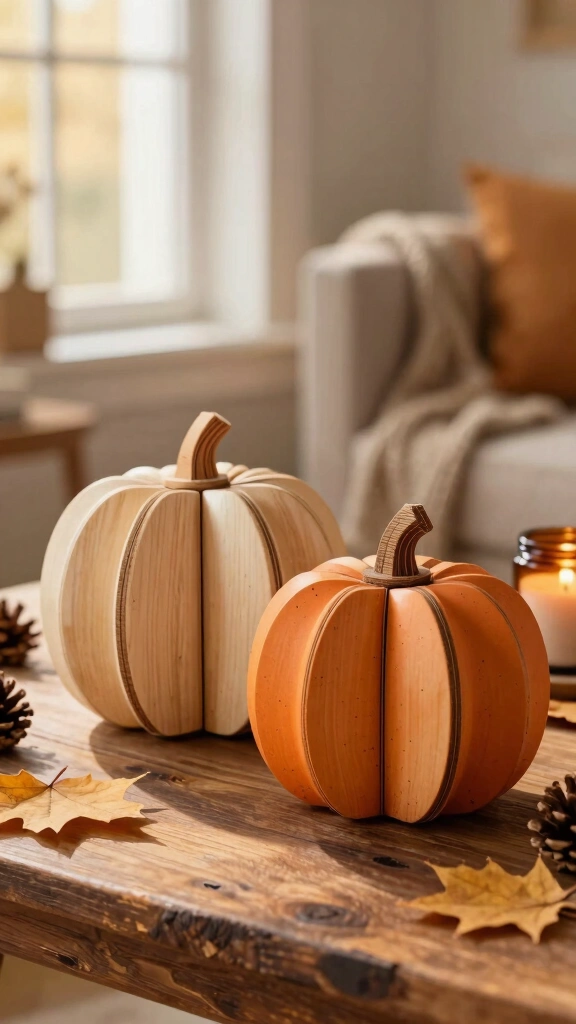
This clever craft involves cutting two identical pumpkin shapes out of quarter-inch plywood. Cut a vertical slot down the top half of the first pumpkin, and up the bottom half of the second pumpkin. These slots must match the thickness of your plywood exactly. Slide the two pieces together at right angles to create a self-standing, three-dimensional decoration.
This interlocking design allows you to disassemble the pumpkin easily for flat storage after the holidays. You can paint each side a different color to match your changing decor themes. Try painting one side with chalkboard paint so your kids can draw their own jack-o’-lantern faces. It combines clean, modern design with interactive, family-friendly fun.
9. Driftwood Pumpkin Wall Art
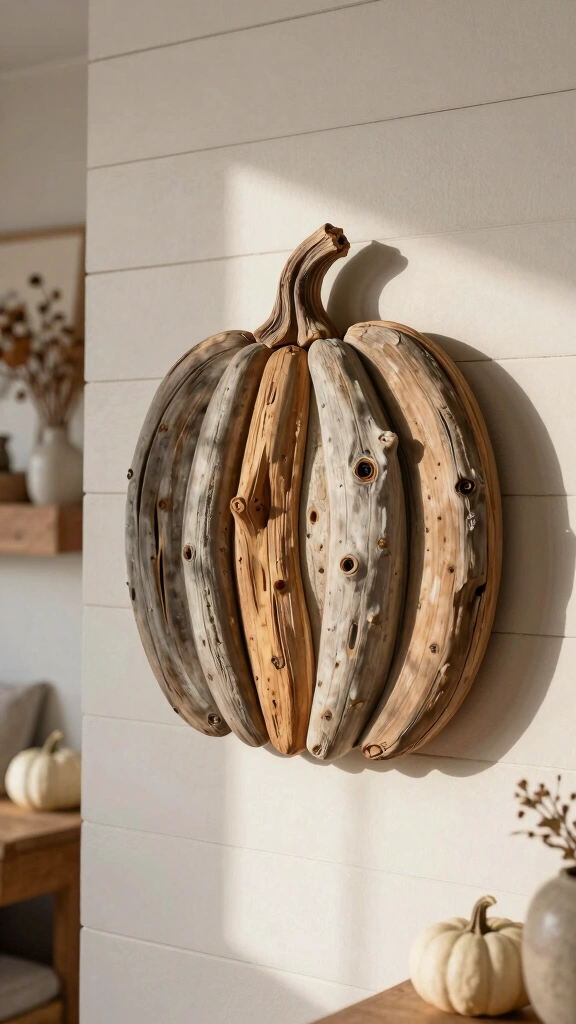
Bring a touch of coastal charm to your autumn decorating with this beach-inspired project. Collect various lengths of weathered driftwood during your next walk along the shoreline. Arrange the driftwood pieces horizontally on a flat surface, sorting them by length to form a circular pumpkin shape. Glue the pieces onto a sturdy piece of backing cardboard or plywood.
The natural gray and tan tones of the driftwood create a soothing, neutral color palette. Add a small, curved piece of driftwood at the top to act as a realistic stem. Tie a bow made of green raffia around the stem to mimic tangled seaweed or pumpkin vines. This craft looks absolutely stunning in coastal-themed homes that prefer subtle, natural holiday decor.
10. Wooden Spindle Pumpkins

Repurposing old architectural salvage is both eco-friendly and stylish. Hunt down some vintage wooden stair spindles or chair legs at a local thrift store or salvage yard. Cut the spindles into pieces ranging from six to ten inches long. Look for spindles with interesting turned details, as these create the most visually appealing crafts.
Glue three spindle pieces together side-by-side to form a chunky, textured pumpkin block. Paint the spindles in various shades of cream, sage, and orange, allowing some of the original wood finish to peek through. Wrap the top of the center spindle with green floral wire to create whimsical, curly pumpkin vines. These look fantastic grouped together on a fireplace hearth or a dining table runner.
11. Tree Branch Pumpkin Bundles

Are you looking for a budget-friendly project that costs absolutely nothing? Gather a bundle of straight twigs and branches from your backyard. Cut the twigs so they are all the exact same length, around eight inches long. Stand the twigs upright and pack them tightly together until you form a thick, round cylinder.
Tie a piece of sturdy wire or thick jute rope tightly around the middle of the bundle to secure it. Push a thicker branch down into the very center of the bundle so it sticks out of the top as a stem. The organic, rustic look of the twigs brings the beauty of the autumn forest directly into your home. Place these bundles on your windowsill or patio steps for a cozy, cabin-like feel.
12. MDF Pumpkin Cutouts with Fabric Overlay
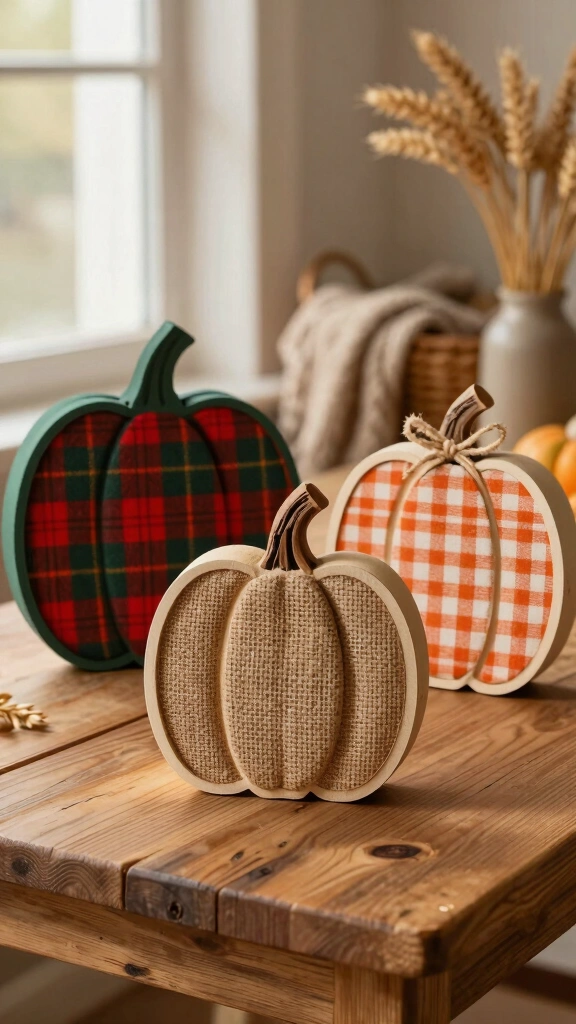
Medium-density fiberboard (MDF) provides a perfectly smooth surface for crafters who love decoupage. Cut a simple pumpkin shape out of a sheet of MDF using a jigsaw. Instead of painting the surface, coat the front of the MDF shape with a generous layer of Mod Podge. Lay a piece of festive flannel, plaid, or burlap fabric over the wet adhesive.
Smooth out any air bubbles with a plastic scraper or an old credit card. Once the glue dries completely, use a sharp utility knife to trim the excess fabric along the wooden edges. This technique allows you to introduce warm, cozy textile patterns into your wooden holiday displays. The fabric overlay adds an unexpected layer of warmth and texture to your mantel.
13. Cedar Plank Pumpkin Planter
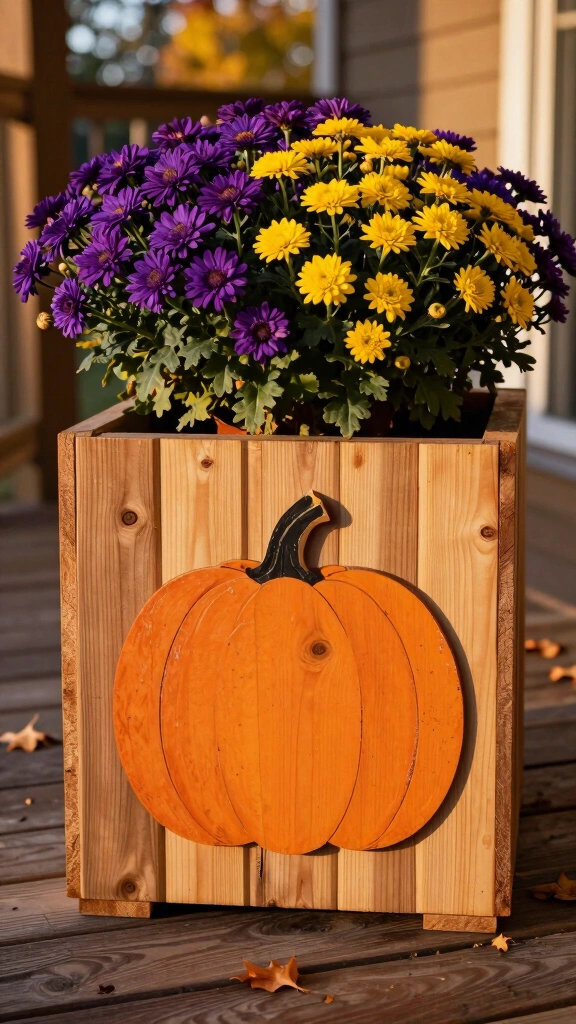
Why not build a piece of autumn decor that also serves a practical purpose? Use rot-resistant cedar planks to construct a simple, square planter box. Cut out a large wooden pumpkin shape and screw it directly to the front face of the planter box. Paint the pumpkin bright orange, but leave the rest of the planter raw wood.
Drop a plastic pot filled with vibrant yellow or purple mums directly into the planter box. The contrast between the colorful flowers and the painted wooden pumpkin creates a stunning focal point. Because cedar resists decay naturally, this planter will last for many autumn seasons to come. Always drill drainage holes in the bottom of your planter to keep your mums healthy.
14. Geometric Scrap Wood Pumpkin
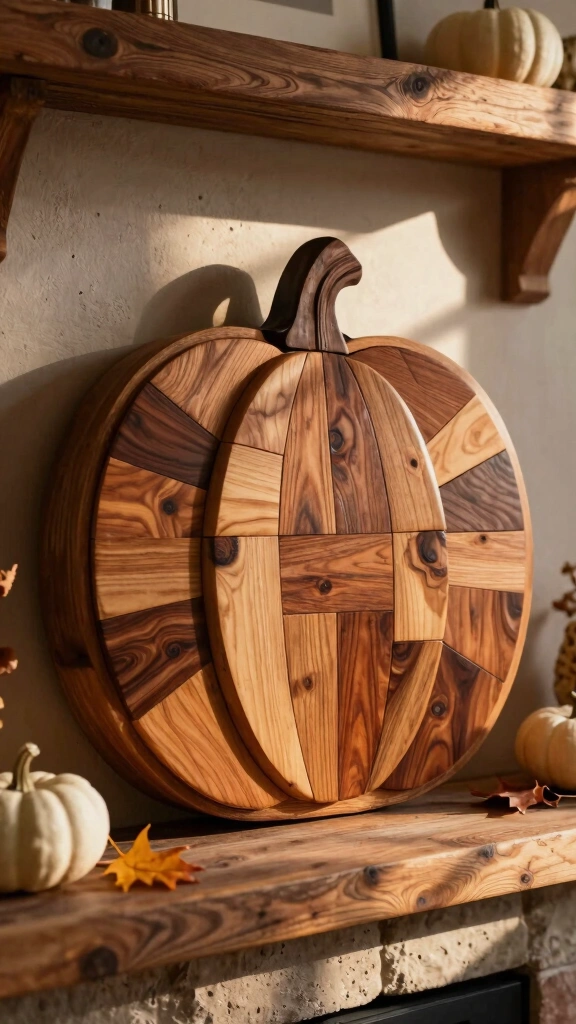
If you prefer clean lines and modern design, this geometric project is perfect for you. Cut scrap wood boards of varying thicknesses and widths into short pieces with angled ends. Arrange these angular pieces like a mosaic puzzle inside a circular wooden frame. Secure all the pieces in place using a strong brad nailer and wood glue.
Stain the individual wooden pieces in contrasting colors, such as dark walnut, oak, and warm amber. The mix of different wood species and grain directions creates an eye-catching, modern mosaic look. This geometric pumpkin acts as a gorgeous piece of abstract art that easily fits into contemporary homes. It proves that holiday decor can be both festive and sophisticated.
Wrapping Up Your Autumn Crafting
Creating your own seasonal decor brings a level of satisfaction that buying store-bought items simply cannot match. Whether you choose to recycle old pallets or turn fresh logs on a lathe, these wooden pumpkin crafts will infuse your home with cozy, rustic charm. Plus, you can reuse these durable wooden pieces year after year!
Which of these projects will you tackle first this weekend? Gather your supplies, clear your workbench, and start creating. Happy crafting, and may your autumn season be filled with warmth, creativity, and plenty of wood shavings!