Let’s be honest, the real pot of gold at the end of the St. Patrick’s Day rainbow isn’t leprechaun treasure—it’s a quiet afternoon after your preschoolers have had a blast creating something magical. You want art that’s simple, fun, and doesn’t require a master’s degree in glitter management. Sound about right? I’ve been there, surrounded by green paint and hopeful little faces. That’s why I’ve gathered this list of 17 preschool St. Patrick’s Day art ideas that focus on the good stuff: creativity, fine motor skills, and a whole lot of “Look what I made!” pride. Get ready to fill your classroom or kitchen table with shamrocks, rainbows, and maybe a little lucky charm.
1. Fork-Painted Shamrocks

Put those plastic forks to work for more than just snack time! This is the ultimate texture art. Simply dip the back of a fork into green paint and press it onto paper in a clover shape (three prints in a circle).
The kids get a kick out of using an unexpected tool, and the resulting shamrocks have a cool, leafy texture. Add a painted stem, and you have an instant, no-mess masterpiece. It’s a perfect activity for discussing the symbol of Ireland while working on those pressing and fine motor skills.
2. Rainbow Cotton Ball Clouds

This project is a sensory dream. Start by having kids glue cotton balls onto blue paper to make a fluffy cloud. Then, using liquid glue, they create arches underneath the cloud.
Here’s the fun part: they press pieces of colored tissue paper, construction paper squares, or even cereal like Fruit Loops onto the glue lines to form the rainbow. The tactile feel of the cotton balls combined with the sorting of colors makes this a winner for preschool St. Patrick’s Day art.
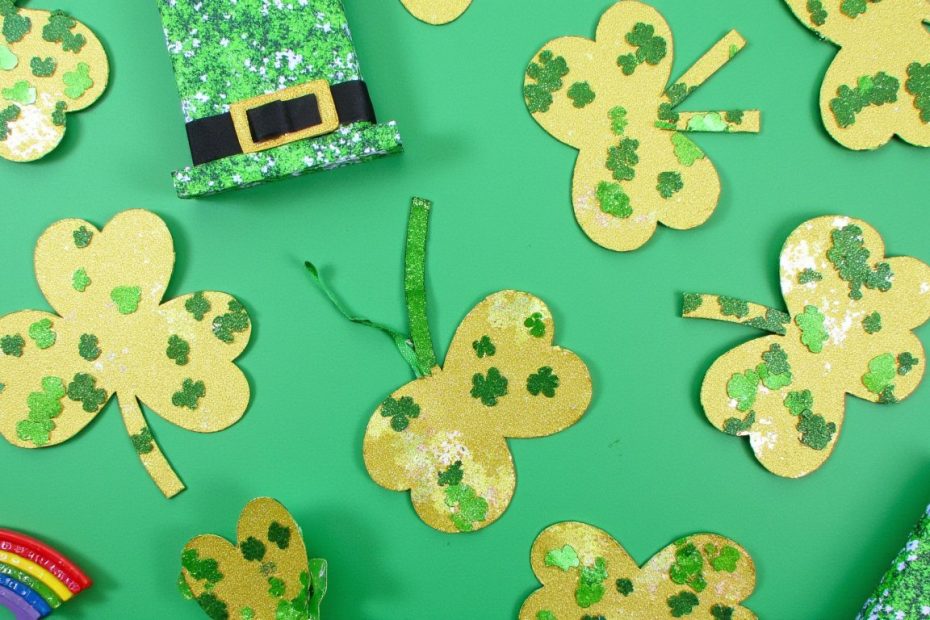
3. Leprechaun Hat Collage

Every little leprechaun needs a hat! Cut out a simple black hat shape and a yellow square for the buckle from construction paper. Now, let the collage magic begin.
Provide green materials for decorating the hat band: ripped tissue paper, green sequins, green yarn, or dot markers. Watching them design their own unique hat is half the fun. This project is fantastic for practicing gluing skills and pattern making.
4. Potato Stamp Shamrocks

Old-school stamping never gets old. Cut a potato in half and carve a simple heart shape into the flat surface (adult job, obviously). Blot it dry, and you have the perfect three-leaf clover stamp.
Kids dip the potato heart into green paint and stamp away to form their shamrocks. It’s wonderfully messy in the best way and introduces them to basic printmaking. Pro tip: use washable paint and smocks—you’ll thank me later.
5. “I Am Lucky” Rainbow Handprint

This one becomes a keepsake. Paint a child’s hand in rainbow stripes (red on the thumb, then orange, yellow, green, blue on the pinky) and carefully press it onto paper, fingers fanned out.
Once dry, add a cloud at the wrist and write “I am lucky because…” around it. Have the child tell you what makes them feel lucky, and you can transcribe their adorable answers. It combines art with social-emotional learning in the sweetest way.
6. Contact Paper Rainbow Sun Catchers

These are magical when hung in a window. Cut a rainbow arch shape out of clear contact paper and tape it, sticky-side-up, to the table. Provide bowls of small, colorful translucent items: tissue paper squares, plastic beads, or sequins.
Kids stick the items onto the contact paper following the rainbow color order. Seal it with another piece of contact paper, trim, and hang. The light shining through is absolutely stunning.
7. Bubble Wrap Printing a Leprechaun’s Beard

Who knew bubble wrap could be so artistic? Cut out a simple leprechaun face from orange or peach paper, leaving a blank space for the beard. Cut a piece of bubble wrap to fit that space.
Let the kids paint the bubble wrap with white or gray paint, then press it onto the face to print a wonderfully textured, curly beard. It’s a hilarious and satisfying process that always gets big laughs.
8. Gold Coin Scavenger Hunt & Rubbings

First, hide paper “gold coins” (circles with a shamrock drawn on them) around the room. After the kids find them, tape a coin under a piece of paper.
Show them how to use the side of an unwrapped green or gold crayon to do a rubbing, magically revealing the coin’s design. It feels like wizardry! This activity blends movement, discovery, and art into one engaging session.
9. Paper Plate Rainbow Weaving

This is a fantastic introduction to weaving. Cut notches around a paper plate and string yarn vertically across it to create the “loom.” Cut rainbow-colored yarn or ribbon into manageable lengths.
Demonstrate how to weave the colors over and under the vertical strings. The over-under pattern is great for cognitive development and hand-eye coordination, and the finished woven rainbow is something they’ll truly cherish.
10. Shamrock Symmetry Painting

Teach a mini science lesson in symmetry through art! Fold a piece of paper in half and draw half a shamrock along the fold. Have the child paint only on one half of the shamrock.
Then, while the paint is still wet, fold the paper and press down. When they open it—voilà!—a symmetrical shamrock appears. Their eyes just light up at the reveal. It’s a simple way to explore math concepts creatively.
11. Cereal Box Leprechaun Traps

This is the ultimate STEAM project. Start with an empty cereal box or tissue box as the trap base. Provide craft sticks, straws, glitter, green paper, and anything shiny to decorate.
The goal is to design a trap to catch a sneaky leprechaun. This project encourages planning, storytelling, and engineering thinking. Will they use a rainbow bridge as a lure? A pot of gold as bait? The possibilities are endless.
12. Marble Painted Green Shamrocks

Controlled chaos at its finest. Place a paper with a large shamrock outline drawn on it inside a shallow box or baking tray. Drop a few dabs of green and yellow paint onto the paper.
Add a few marbles or small balls, and let the kids tilt the box to roll them around through the paint. The marbles create wild, swirly patterns inside the lines. It’s action art that turns out beautifully every time.
13. Sticky Note Mosaic Rainbow

No glue required for this clean, shape-based project. Draw a simple rainbow arc outline on a large paper. Provide 1-inch square sticky notes in all the rainbow colors.
Kids fill in the rainbow bands by sticking the notes within the lines. This activity is amazing for color recognition, spatial reasoning, and it gives little fingers a great workout peeling and sticking. Plus, cleanup is a breeze.
14. Thumbprint Shamrock Field

A sweet and personal art project. Using a green ink pad or washable green paint, have kids make thumbprints all over a piece of paper in clusters of three to form shamrocks.
After the prints dry, they or you can add little stems with a marker. You can turn it into a card or a simple painting. It’s a lovely way to create a whole field of luck, and it documents their tiny fingerprints perfectly.
15. Rainbow Sponge Painting

Grab some kitchen sponges and cut them into small rectangles. Clip each sponge with a clothespin to make a handy handle (this keeps little hands cleaner).
Set out plates with the six rainbow paint colors. Kids can dip and stamp the sponges to create fluffy, textured rainbow arches. The sponge gives a different effect than a brush, and it’s excellent for teaching color order without the stress of perfect lines.
16. “If I Found a Pot of Gold” Drawing

Spark some imagination and early literacy skills. Give each child a paper with a large pot outline drawn at the bottom. Ask them, “What would you do if you found a leprechaun’s pot of gold?”
Have them draw their answer above the pot. Maybe they’d buy a dinosaur, or a castle, or a million ice creams. This preschool St. Patrick’s Day art activity gives you incredible insight into their wonderful little minds and makes for a great story prompt.
17. Melted Crayon Rainbow Rocks

This one requires adult supervision but is totally worth it. Find smooth, flat rocks. Have kids color heavily on them with the pointed end of broken crayons in rainbow stripes.
Place the rocks on a lined baking sheet, and an adult can briefly put them in a warm oven (250°F for a few minutes) until the wax just melts. Once cooled, you have gorgeous, colorful “jewels” to hide in the garden or use as paperweights. It’s a cool way to see how materials can change.
And there you have it—17 preschool St. Patrick’s Day art projects that are more about the experience than Pinterest-perfection. The real magic isn’t in a flawless leprechaun portrait; it’s in the green-painted fingers, the concentrated look during a marble roll, and the proud beam when they show off their work. These ideas mix process art, sensory play, and just the right amount of festive spirit. So grab the green supplies, embrace the creative chaos, and remember: you’re not just making art, you’re making memories (and maybe a little mess, too). Happy creating! 🍀