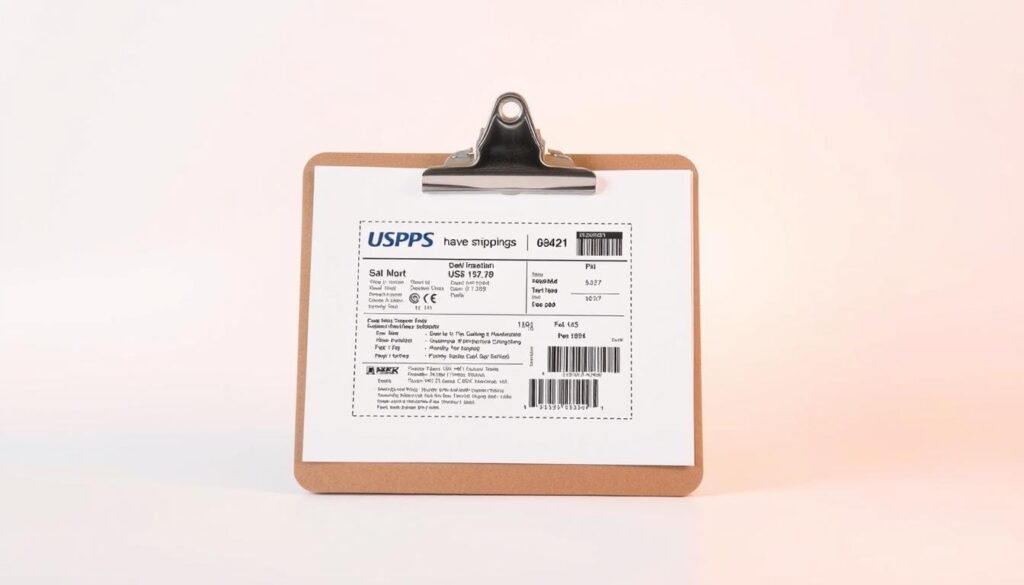
Are you tired of wrestling with shipping labels that look like they’ve been through a paper shredder? What if you could print professional-looking 4×6 USPS shipping labels with ease and confidence?
Navigating the world of how to print 4×6 labels from USPS can feel overwhelming. This guide will change your shipping process. It will help you make crisp, accurate labels that make mailing easier.
Whether you’re a small business owner or ship sometimes, learning to print 4×6 labels usps is key. It saves time, cuts down on mistakes, and makes shipping smoother than ever.
Key Takeaways
- Learn the essential tools for printing perfect USPS shipping labels
- Discover step-by-step techniques for accurate label creation
- Understand common printing challenges and how to overcome them
- Optimize your shipping workflow with professional USPS label printing tutorial
- Save time and reduce shipping errors with expert tips
Understanding 4×6 Label Dimensions
When you make a guide for USPS label printing, knowing the size is key. The 4×6 shipping label is just right for most shipping needs. It’s big enough for important details but not too big.
These labels are 4 inches wide by 6 inches long. This size gives enough room for all the shipping info you need. Knowing this size is the first step in printing USPS 4×6 labels.
- Standard width: 4 inches
- Standard length: 6 inches
- Ideal for most package sizes
- Compatible with most thermal and standard printers
The 4×6 label size fits many shipping needs. It’s great for small or big packages. This size has enough space for:
- Sender address
- Recipient information
- Tracking number
- Postal service barcodes
- Shipping method details
Choosing the right label size makes your shipping look good. It’s clear and professional. It also helps USPS scan it easily. This means fewer mistakes and smoother delivery.
Choosing the Right Printer for 4×6 Labels
Choosing the right printer for USPS shipping labels is key. It affects your shipping work flow a lot. Your choice depends on how much you ship and what you need.
For 4×6 label printing USPS, you have many printer options:
- Direct Thermal Printers
- Dymo LabelWriter
- Zebra Label Printers
- No ink or toner needed
- Inkjet Printers
- Good for many printing tasks
- Less expensive at first
- Needs ink cartridges
- Laser Printers
- Prints fast
- Labels look sharp
- Costs more at first
If you ship a little or not often, a multi-purpose printer might work. But, if you ship a lot, get a dedicated thermal printer like Dymo or Zebra. They save money and time.
Think about these things when picking your label printer:
- How much you print
- What you can spend
- If it works with your labels
- How good the print looks
Pro tip: Try your printer with USPS label stock first. This makes sure it works well before you buy a lot.
Selecting High-Quality Label Paper
Choosing the right label paper is key for making professional and strong shipping labels. It affects print quality, stickiness, and how well your package ships. Using USPS label printing tips helps a lot.
When picking label paper for USPS shipping, think about these important things:
- Label type (roll or sheet)
- Printer compatibility
- Adhesive strength
- Paper durability
Direct thermal labels have big pluses for printing USPS labels. They don’t need ink or toner. This makes them cheap and quick for lots of packages.
| Label Type | Pros | Best For |
|---|---|---|
| Roll Labels | Faster printing, less manual handling | High-volume shipping |
| Sheet Labels | Easy to store, compatible with standard printers | Small businesses, occasional shipping |
Always choose quality and printer compatibility when buying labels. Get labels from trusted sellers that fit your printer needs. This ensures your labels print well and look great.
Using USPS Online Tools for Label Printing
Printing shipping labels is now super easy with USPS online tools. Your guide starts with learning about the digital platforms for 4×6 shipping labels. They make printing fast and simple.
To start your label printing, check out these online tools:
- Click-N-Ship: Great for individual shippers
- USPS.com shipping portal
- Integrated shipping platforms
First, make a free account on USPS.com. It’s easy and helps you create labels. You can add shipping details, choose package types, and print labels at home or work.
Businesses with lots of shipping can use advanced API tools. These tools connect to your systems for easy label printing.
- Instant label generation
- Real-time postage calculations
- Bulk shipping support
Remember to check your shipping address and package details before printing. This helps avoid delays.
USPS online tools are great for everyone. They offer flexible solutions for all your shipping needs.
Setting Up Your Printer for 4×6 Label Printing
Getting your printer ready for 4×6 labels is important. The right setup can make your labels look great or cause problems.
First, get what you need:
- Compatible printer
- USB cable
- Printer driver software
- 4×6 label sheets
For a good usps label printing tutorial, do these steps:
- Download the latest printer drivers from the manufacturer’s website
- Connect your printer using a USB cable
- Install the driver software carefully
- Configure printer settings for 4×6 label dimensions
When setting up your printer, precision is key. Go to your printer settings and pick the 4×6 label size. Make sure your margins are right to avoid cutting off info.
Pro tip: Test print on regular paper first. This way, you can check everything before using expensive labels.
Printing Your 4×6 Labels

Learning how to print USPS labels can make shipping easier. Before you print your 4×6 labels, make sure everything is ready. This way, you get professional-looking labels every time.
First, check all the shipping details before you print. To print USPS 4×6 labels well, follow these steps:
- Open your shipping software or USPS online platform
- Enter recipient address accurately
- Select appropriate shipping service
- Verify package weight and dimensions
- Preview label for accuracy
Setting up your printer right is key to good label printing. Make sure you pick the right paper type and orientation. Pro tip: Always do a test print on regular paper first to confirm alignment and formatting.
For international or special shipments, check extra details needed. Some labels need extra info or special formatting to follow USPS rules.
Printing many labels at once can save time. Most shipping tools let you print several labels together. This cuts down on the work you have to do.
Troubleshooting Common Label Printing Issues
Printing shipping labels USPS can sometimes present unexpected challenges. When you’re working with 4×6 label printing USPS, several common issues might disrupt your shipping workflow.
Printer problems can derail your shipping process quickly. Here are key troubleshooting strategies to keep your label printing smooth:
- Check printer alignment settings for precise 4×6 label positioning
- Verify printer driver compatibility with your current operating system
- Clean print heads to prevent blurry or faded label prints
- Calibrate label feed mechanism for consistent printing
Barcode readability is key for USPS shipping. Weak or distorted barcodes can cause shipping delays. Ensure your printer produces crisp, high-contrast barcodes by:
- Using high-quality label paper
- Maintaining optimal printer settings
- Replacing ink or toner cartridges regularly
- Running printer diagnostic tests
Pro tip: Always print a test label before processing multiple shipments to catch any printing issues early.
| Common Issue | Potential Solution |
|---|---|
| Misaligned Labels | Adjust printer tray settings |
| Faded Barcodes | Clean print heads, replace cartridge |
| Paper Jam | Check label paper quality, clear printer path |
Regular printer maintenance helps prevent most printing shipping labels USPS problems. Keep your equipment clean, updated, and properly configured for consistent, high-quality label production.
Best Practices for Storing and Handling Labels

Storing your USPS shipping labels right is key. It keeps them good to use. Knowing how to keep your labels can save you time and avoid shipping problems.
Temperature and humidity are very important for keeping labels in good shape. The best place to store them is:
- Keep labels in a cool, dry spot
- Avoid direct sunlight and very hot or cold places
- Put them in a sealed box or drawer
- Keep the room temperature between 60-75°F
Here are some tips for handling your labels:
- Always touch labels by their edges
- Keep them flat to stop them from curling
- Use clean, dry hands when you handle them
- Keep labels away from oils, dirt, and moisture
Pro tip: Organize your labels by when you bought them. Use the oldest ones first. Most labels stay good for 12-18 months if stored right.
By following these tips, your shipping labels will stay sharp, easy to read, and ready for your next shipment.
Tracking Your Shipments with USPS
When you print 4×6 labels from USPS, tracking is key. Your label has a special number. This number lets you follow your package from the beginning to the end.
To track your shipments well, follow these steps:
- Find the tracking number on your label
- Go to the USPS official website
- Put the tracking number in the tracking section
- See updates on your package’s location
USPS offers many ways to track your shipments. You can use:
- USPS.com tracking portal
- Mobile USPS app
- Text message updates
- Email alerts
Pro tip: Save your tracking number. Check it often. This helps you know when your package will arrive and solve any shipping problems quickly.
Final Tips for Smooth USPS Label Printing
Printing 4×6 labels USPS needs planning and smart workflow. Make reusable label templates for regular shipments. This saves time on each shipping task.
Link your USPS label printing with e-commerce sites like Shopify or WooCommerce. This makes shipping easier by automating label creation. It cuts down on manual work and mistakes.
Grow your shipping by using bulk printing and good thermal label printers. These tools print lots of labels fast and accurately. Keep your printer software updated and use quality label paper for the best look.
Success in shipping comes from smooth processes and careful details. Use these tips to make label printing quick and efficient. This helps your business grow and keeps customers happy.
