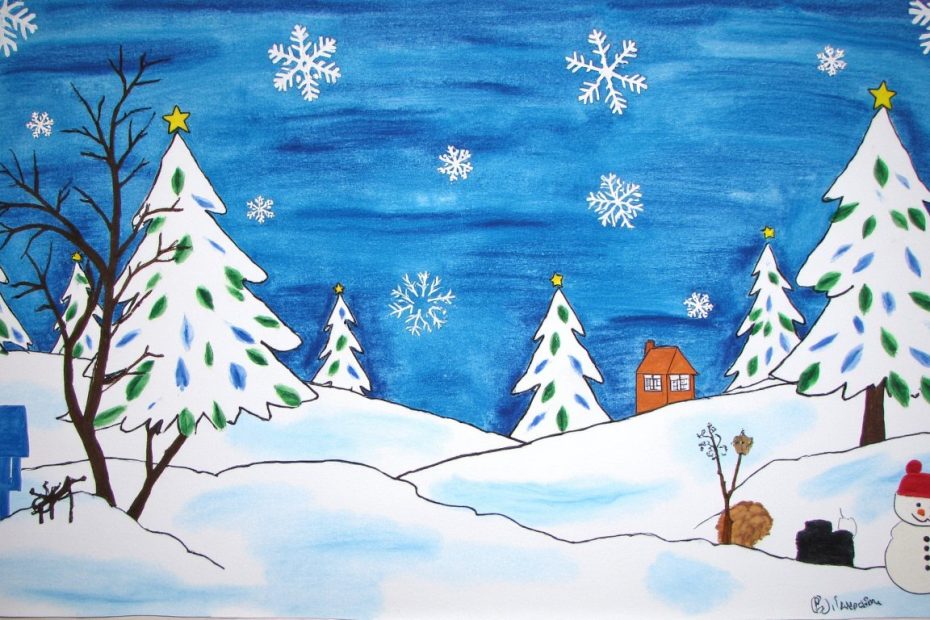
Let’s be honest. Winter afternoons with kids can feel loooong. The initial excitement of snow wears off, the hot chocolate runs out, and you’re left staring at four walls, wondering how to fill the time before dinner. Sound familiar? Well, I’ve been there, and my salvation has always been a well-stocked craft bin. Forget the “I’m bored” chorus. We’re about to turn your kitchen table into a winter wonderland studio with these 26 fantastically fun winter art for kids projects.
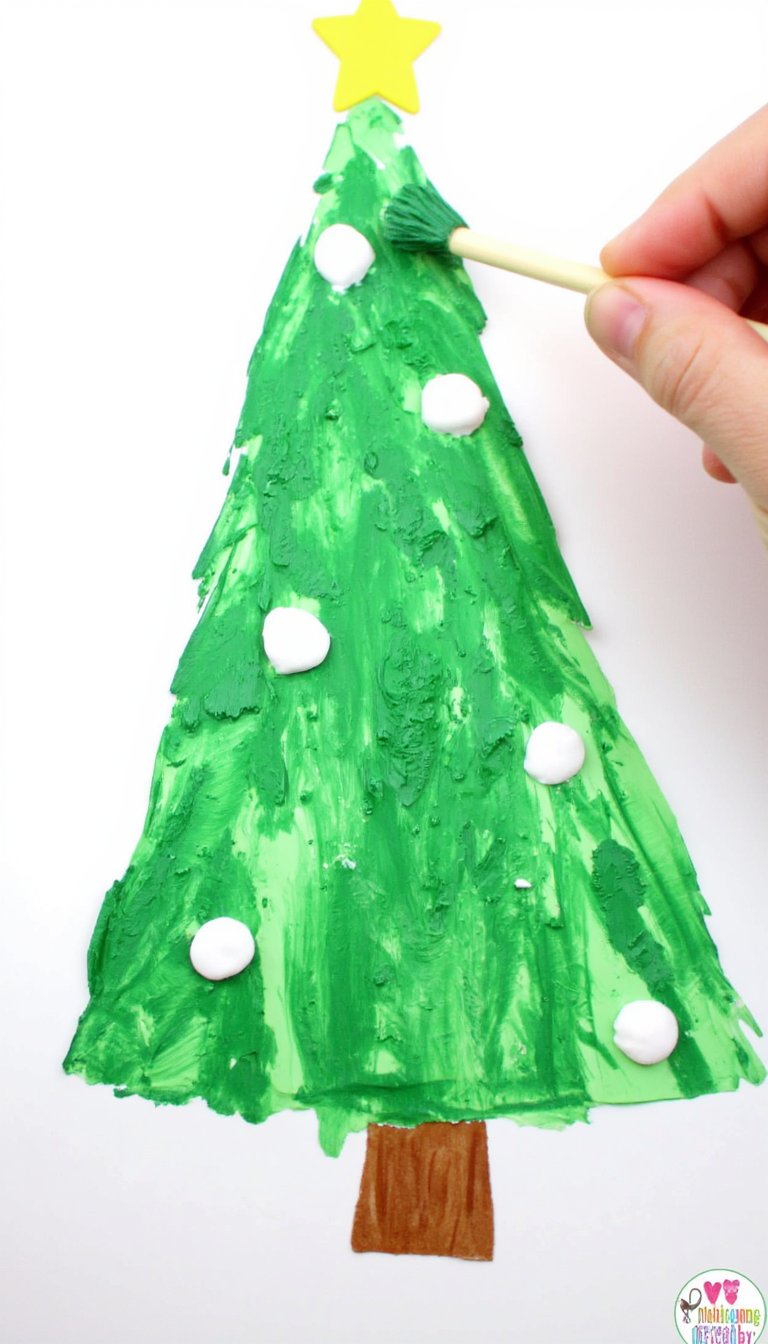
1. Puffy Snowman Paintings
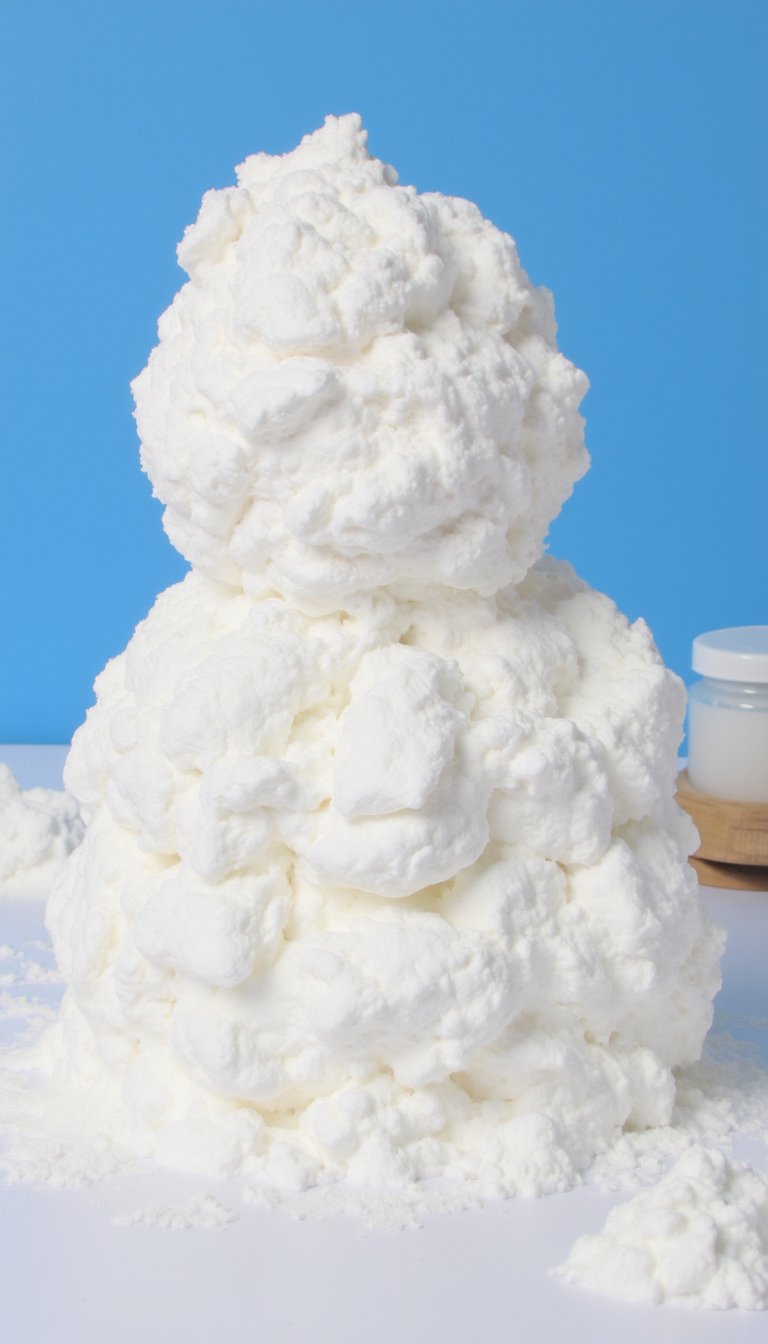
This project adds a fantastic tactile element to painting that kids adore. Mix equal parts white school glue and shaving cream to create a puffy, fluffy paint. Kids can use their fingers or a brush to build glorious, three-dimensional snowmen. The mixture dries with a fun, puffy texture that’s just begging to be touched.
2. Q-Tip Snowflakes
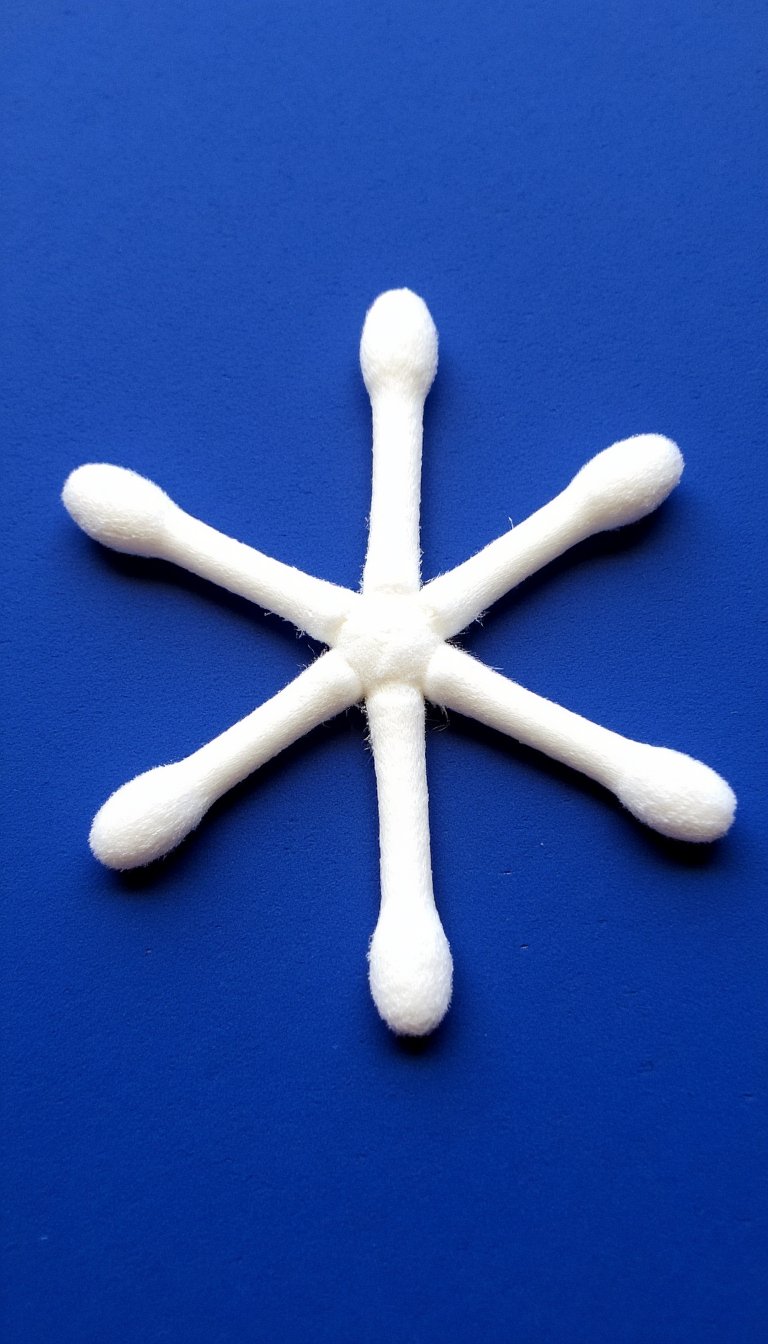
No two snowflakes are alike, and no two Q-tip snowflakes will be either! This is a classic for a reason. Provide kids with blue or black paper, a pot of white glue, and a handful of cotton swabs. They can snip the Q-tips to create different lengths and arrange them into stunning, symmetrical (or not!) snowflake patterns.
3. Salt and Watercolor Snowscapes
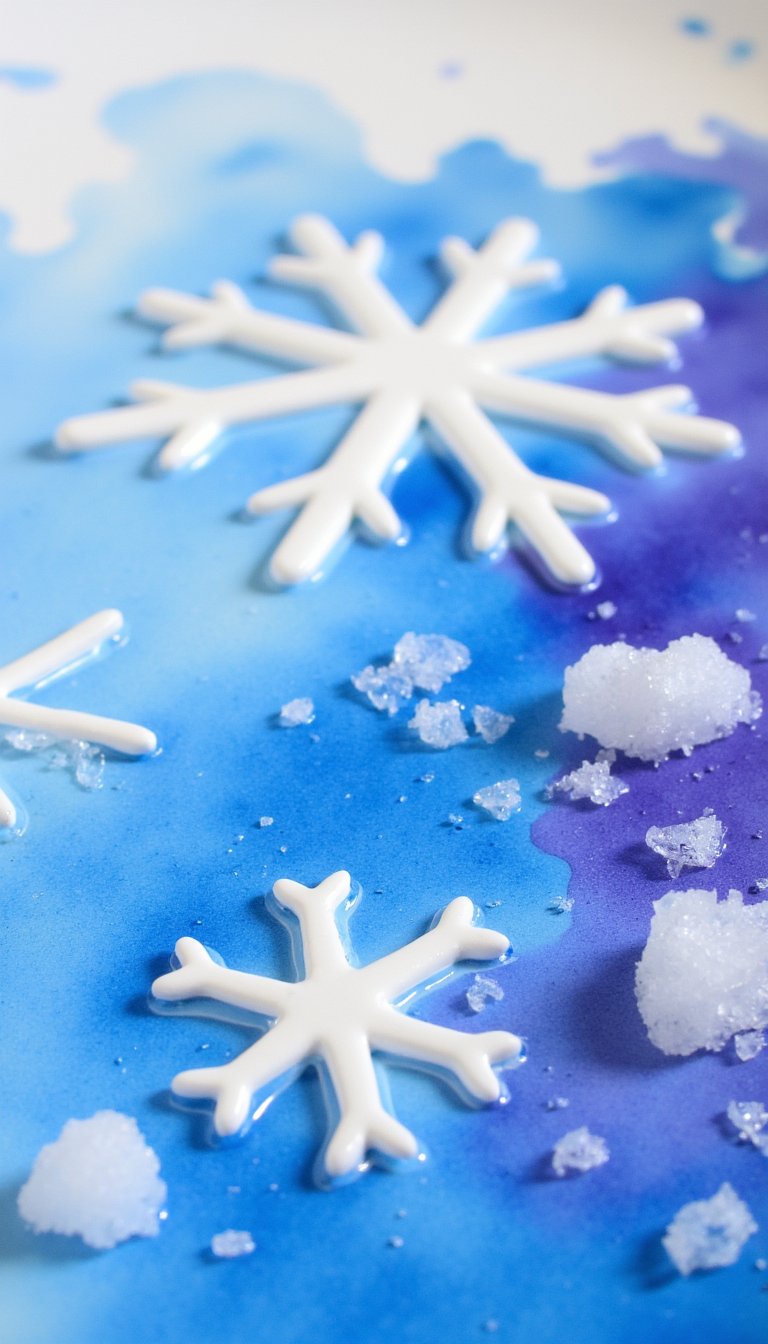
This one feels like magic. Have kids use a white crayon to draw secret snowflakes and swirls on watercolor paper. Then, they paint over it with cool-toned watercolors (blues, purples). The wax resists the paint, revealing their hidden design. While the paint is still wet, sprinkle coarse salt over it and watch as it creates a beautiful, crystalline, icy texture as it dries.
4. Pinecone Winter Owls
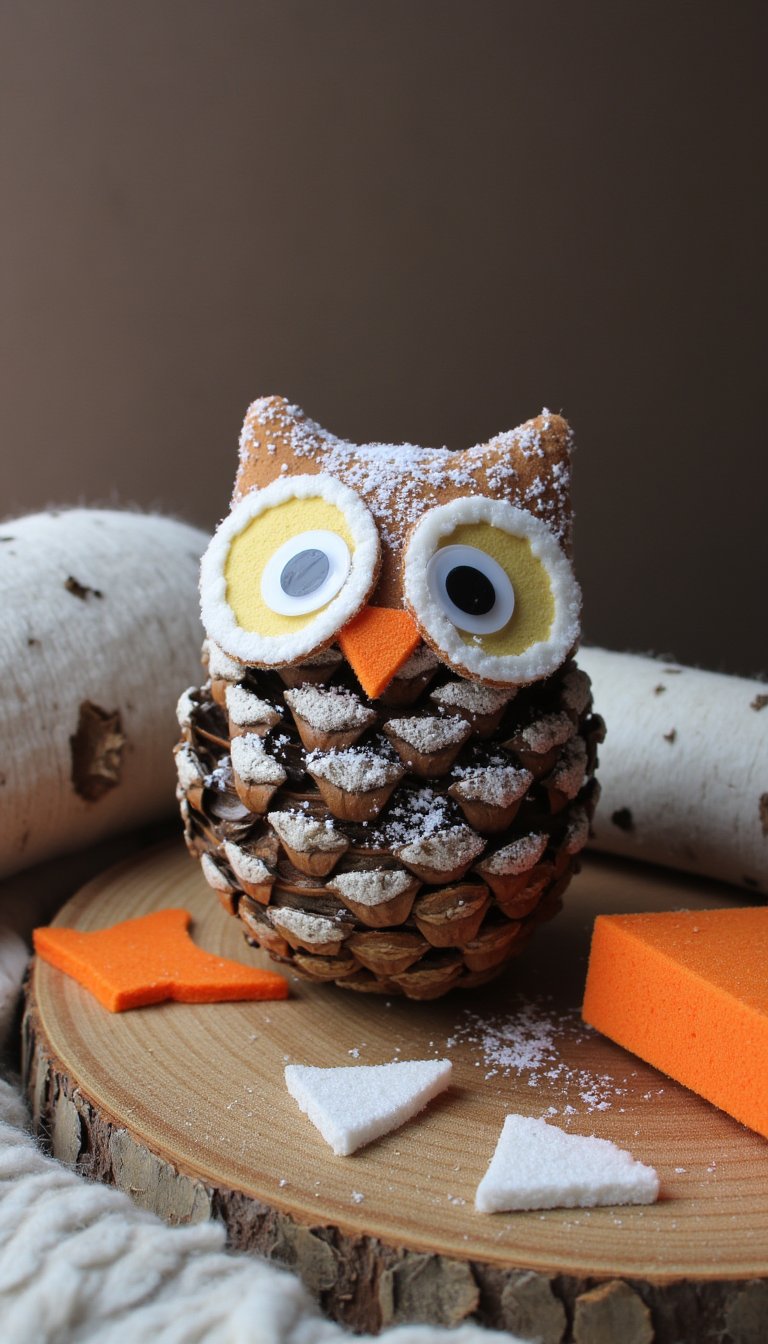
Take your pinecone collection from the fall and give it a wintery twist. Let kids turn pinecones into wise winter owls by gluing on felt scraps for wings, big googly eyes, and a tiny orange foam triangle for a beak. You can even roll the pinecone in white glue and sprinkles for a “frosted” effect. So cute!
5. Bleeding Tissue Paper Northern Lights
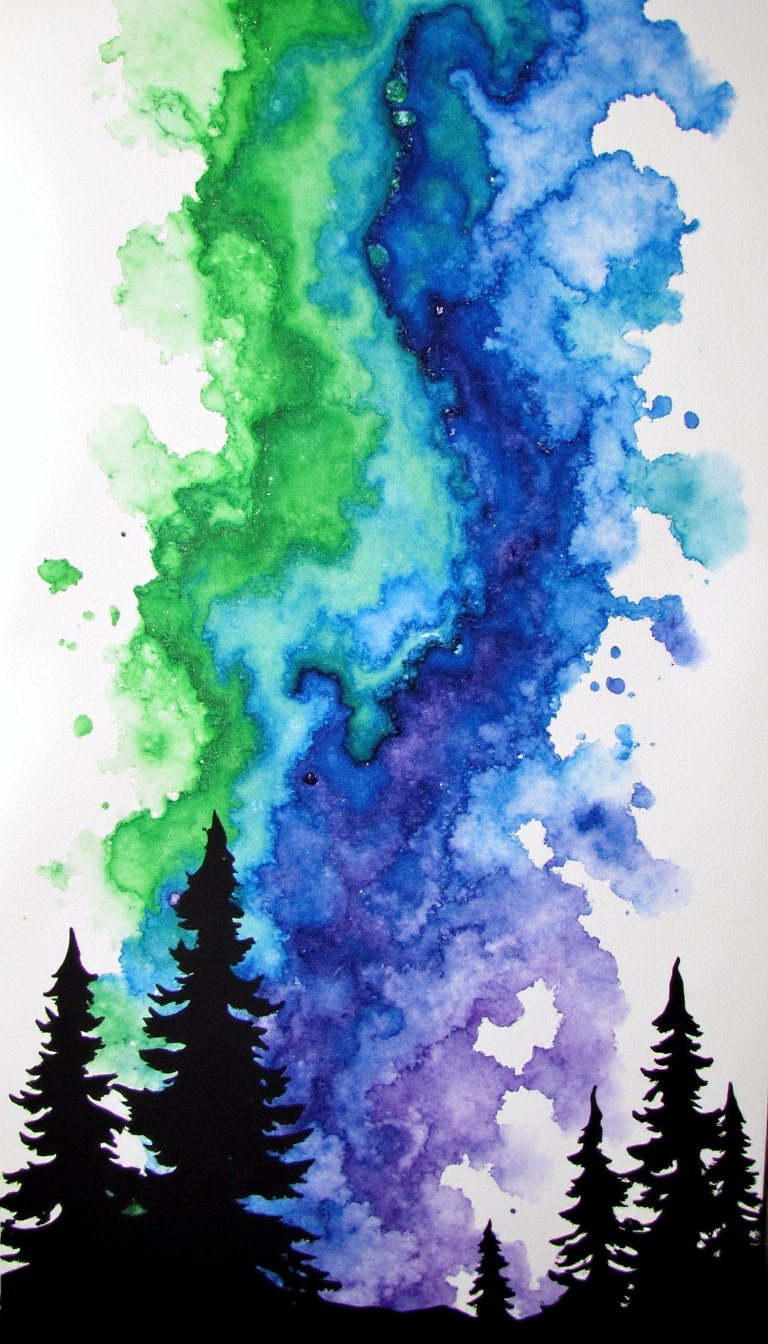
Capture the elusive beauty of the Aurora Borealis with this simple process. Rip or cut “bleeding” tissue paper into wavy strips of green, blue, and purple. Arrange them on white paper and use a paintbrush to lightly dab water over them. The color will bleed onto the paper. Once dry, peel the tissue away to reveal a stunning, ethereal sky. Add a black paper silhouette of trees at the bottom for a perfect finish.
6. Bubble Wrap Printed Penguins
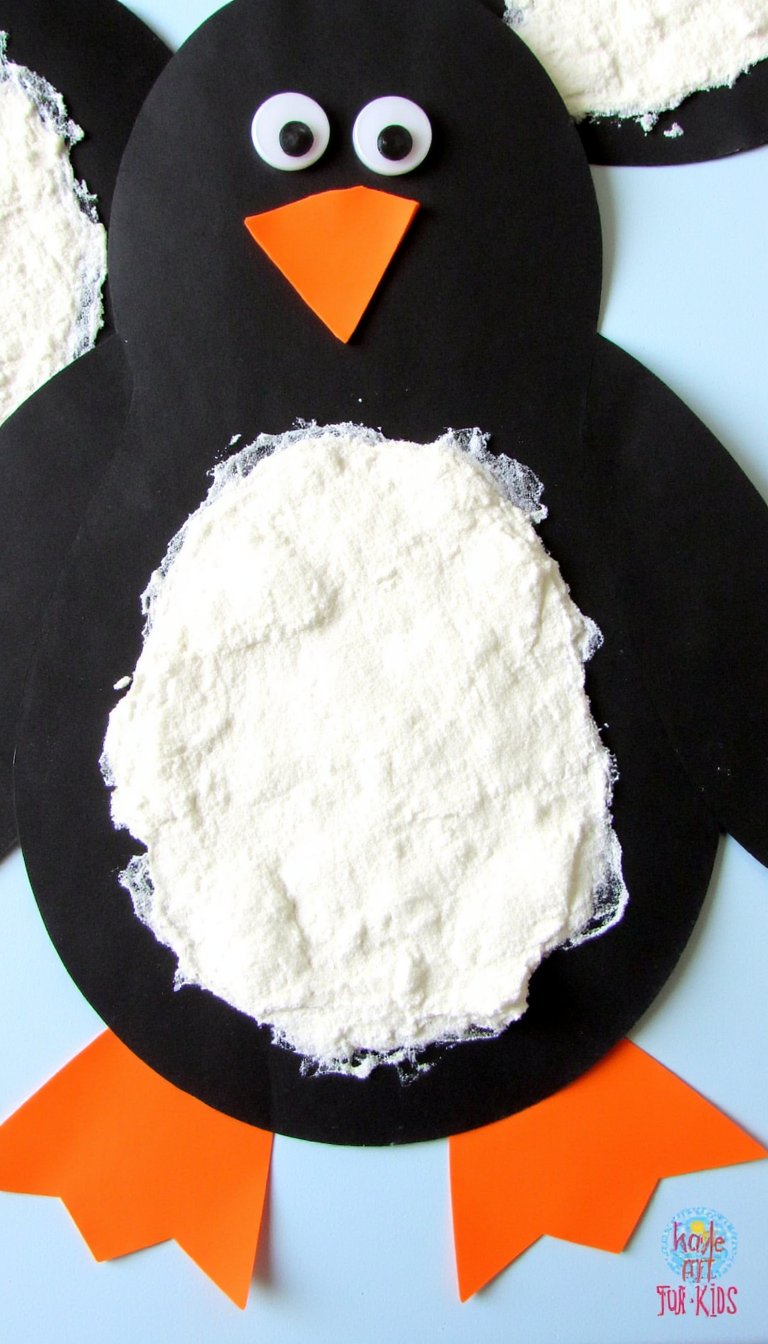
Upcycle your bubble wrap into the perfect penguin belly! Cut a small piece of bubble wrap, paint it white, and stamp it onto black paper to create the penguin’s body. Then, just add details like an orange beak and feet, and googly eyes. It’s a printing project that’s as fun to make as it is to look at.
7. Paper Plate Skating Polar Bears
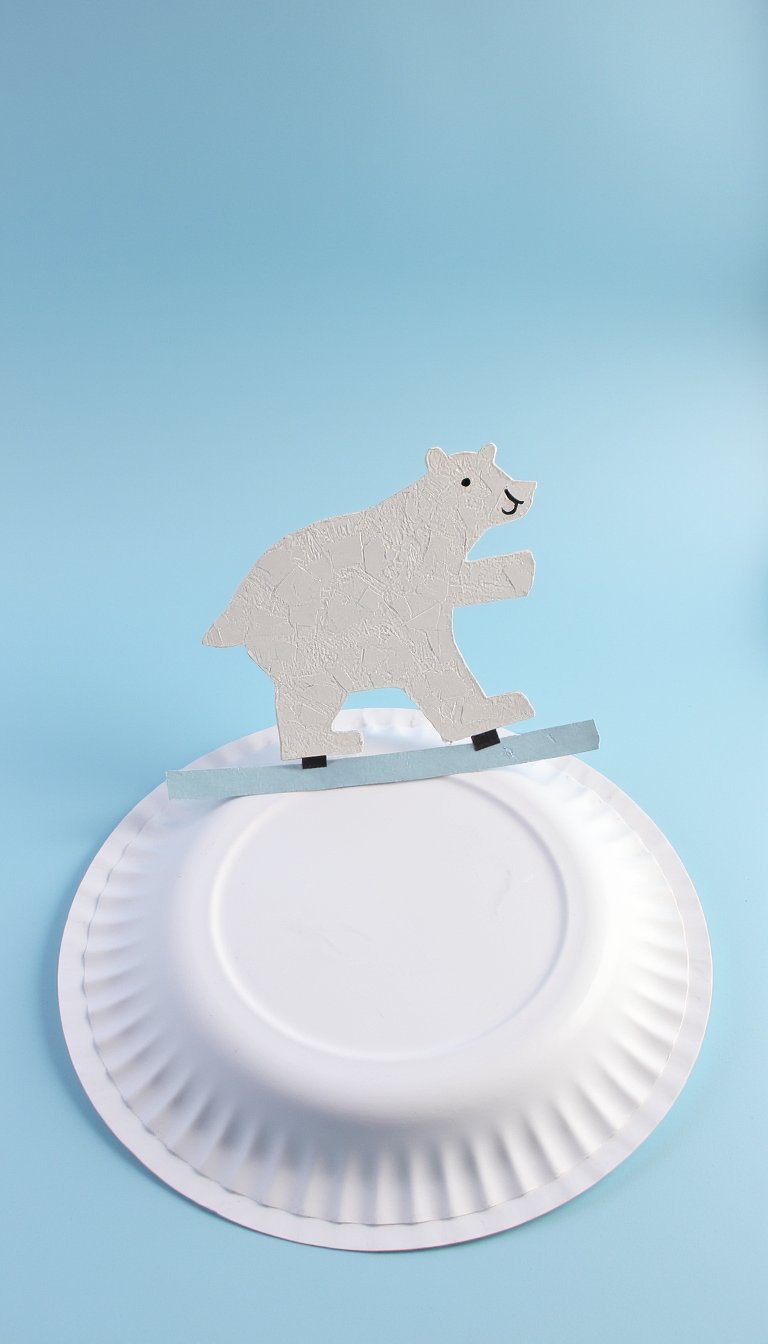
How adorable is this? Cut a paper plate in half to create a “frozen pond.” Then, have kids draw and cut out a simple polar bear shape from white paper. Glue the bear onto the plate so it looks like it’s sliding. You can even tape a string to the back to make it a hanging ornament. Pure, simple joy.
8. Snowy Day Tree Silhouettes
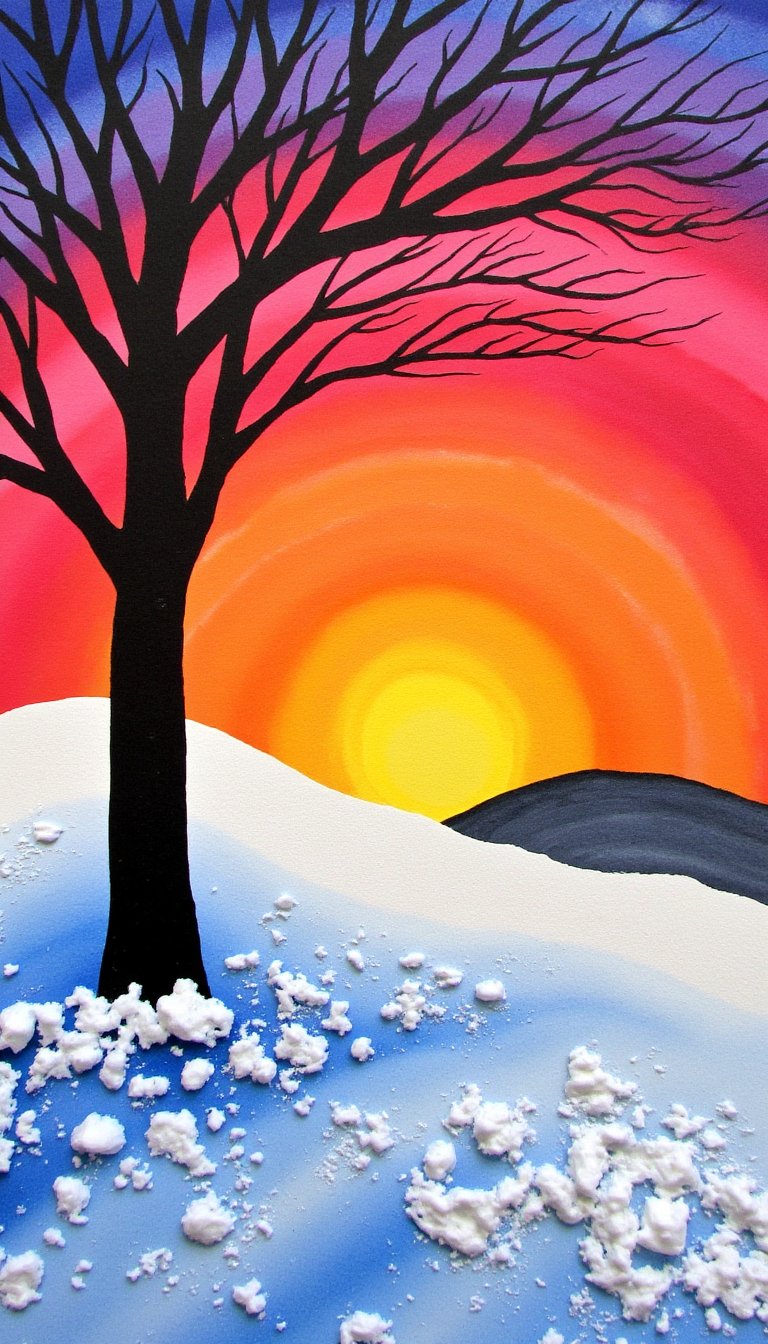
This project teaches a little about contrast and is stunningly effective. Kids paint a sunset background with watercolors on their paper. After it dries, they paint or glue a black tree silhouette in the foreground. The final touch? Use a toothbrush dipped in white paint to flick “snow” over the entire scene. Messy? A little. Worth it? Absolutely.
9. Mitten Symmetry Art
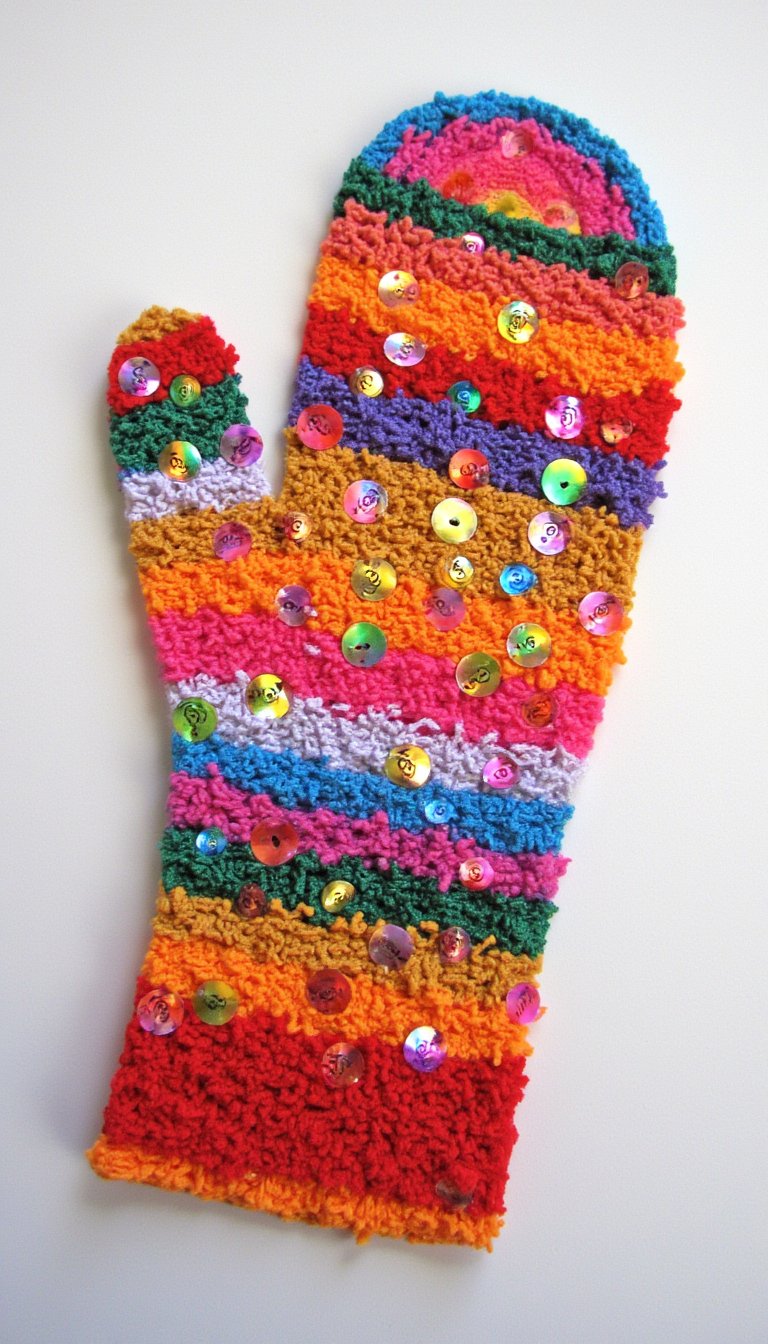
A lesson in symmetry that feels like a party trick. Fold a piece of paper in half and have kids draw half a mitten along the fold. Cut it out, open it up, and voila! A perfectly symmetrical mitten. Now for the fun part: use markers, crayons, sequins, and yarn to decorate their one-of-a-kind winter wear.
10. Marshmallow Stamp Hot Cocoa Mug
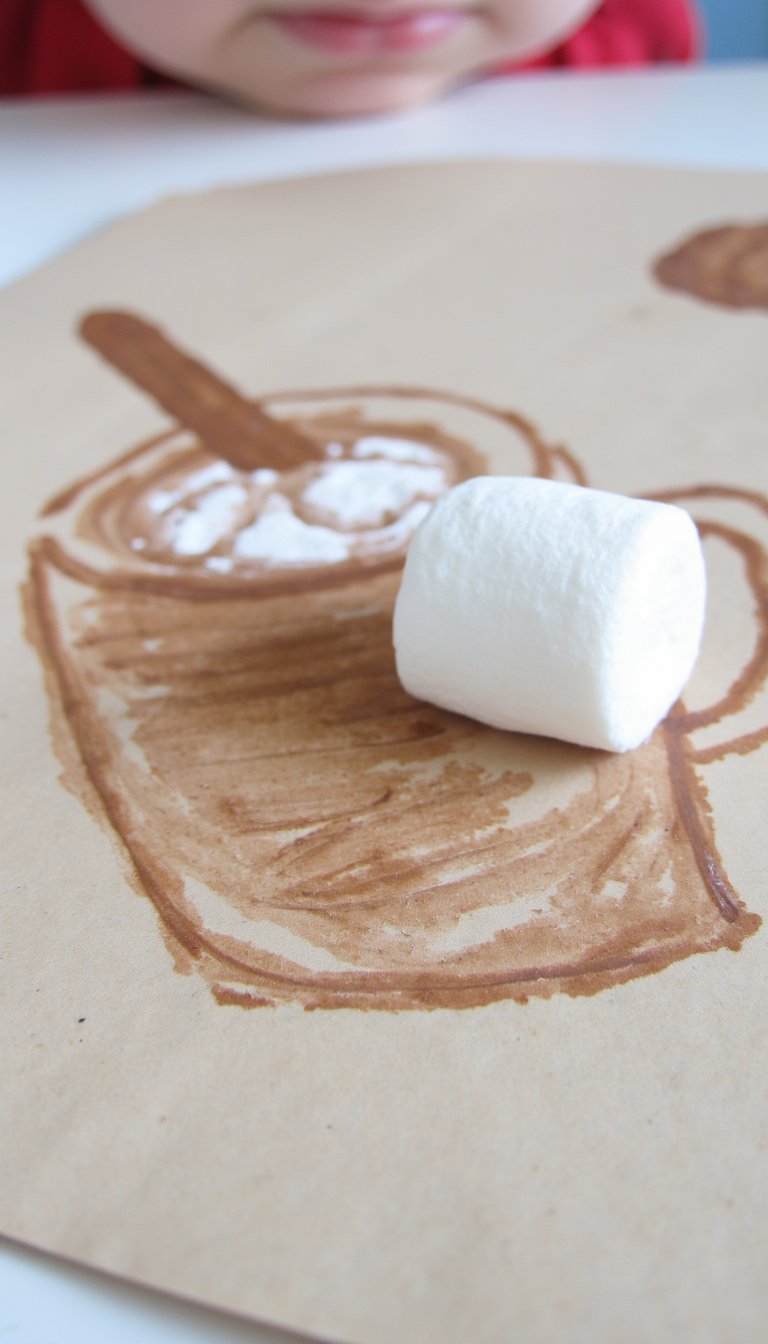
Art you can (almost) eat? Yes, please. Draw a simple mug on a piece of paper. Then, dip the end of a marshmallow into brown paint and stamp it inside the mug to create the “hot chocolate.” You can even use a real mini marshmallow or a dollop of white paint for the whipped cream on top. This is one of those winter art for kids that always brings a smile.
11. Icicle Drip Painting

Embrace the drip! Tape a large piece of paper to an easel or a wall outside (if it’s not too cold). Give kids cups of very runny white and light blue paint. Using a brush, they can load up the top of the paper and watch as the paint drips down to form beautiful, organic icicle shapes. It’s process art at its finest.
12. CD Dream Catcher Snowflakes
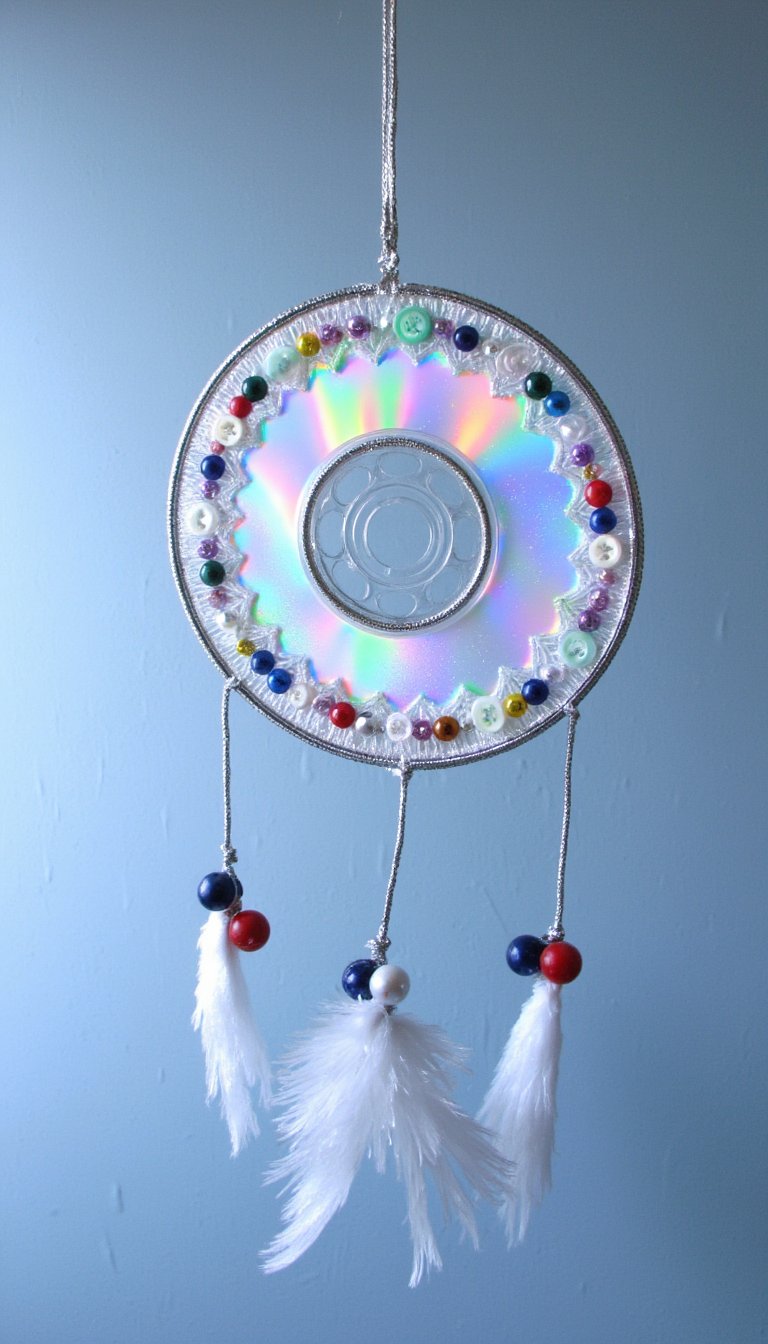
Got any old AOL CDs lying around? Give them a new life! The shiny, iridescent surface of a CD makes a perfect base for a snowflake. Kids can use tacky glue to decorate them with beads, buttons, and silver pipe cleaners. Hang them in a window and they’ll catch the light beautifully.
13. Stained Glass Mittens with Cellophane
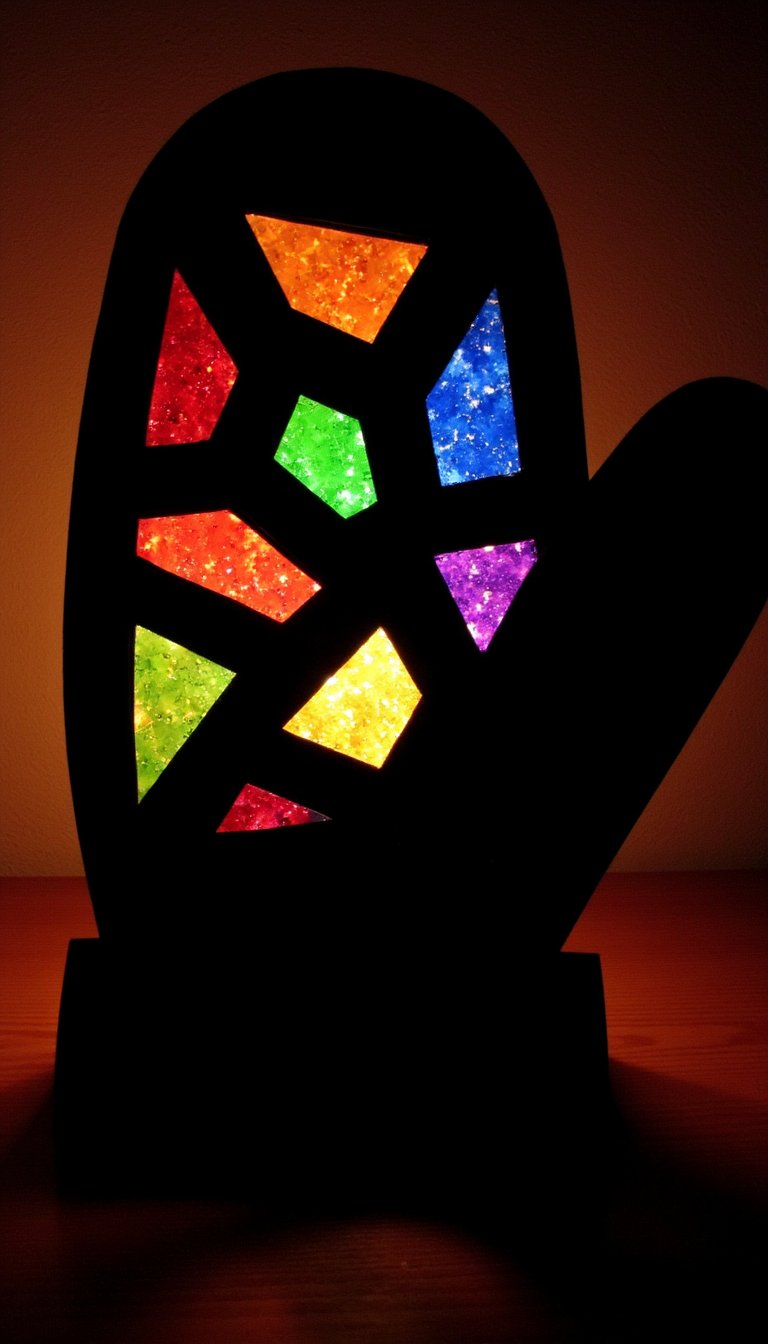
Cut a mitten shape out of black construction paper, but leave a “frame” around the edge. Cut out the center. Then, tape colorful cellophane or tissue paper to the back of the frame. When you hang it on a sunny window, it glows just like a real stained-glass window. A gorgeous way to brighten up a gray day.
14. Epsom Salt Crystal Paintings
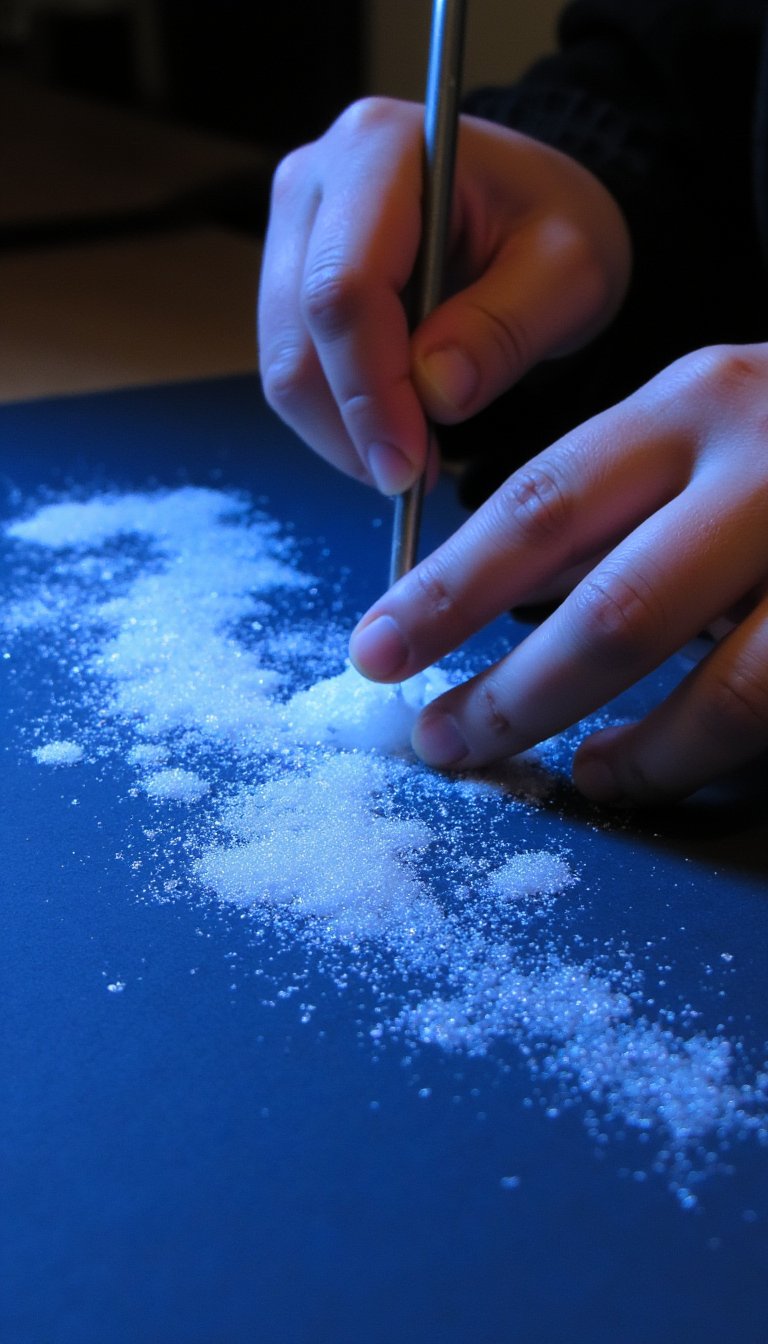
This is a science experiment disguised as art. Dissolve Epsom salts in hot water to create a super-saturated solution. Let kids paint with this solution on dark-colored paper. As the water evaporates, real, shimmering crystals will form on the paper, creating a truly frosty and magical effect.
15. Paper Roll Snowflake Stampers

Don’t throw away those toilet paper rolls! Flatten one end and cut it into a snowflake shape (simple triangles work great). Dip the cut end into paint and stamp it onto paper for an instant, perfectly shaped snowflake. Kids love the stamping action, and you’ll love the easy cleanup.
16. Chalk Pastel Winter Landscapes
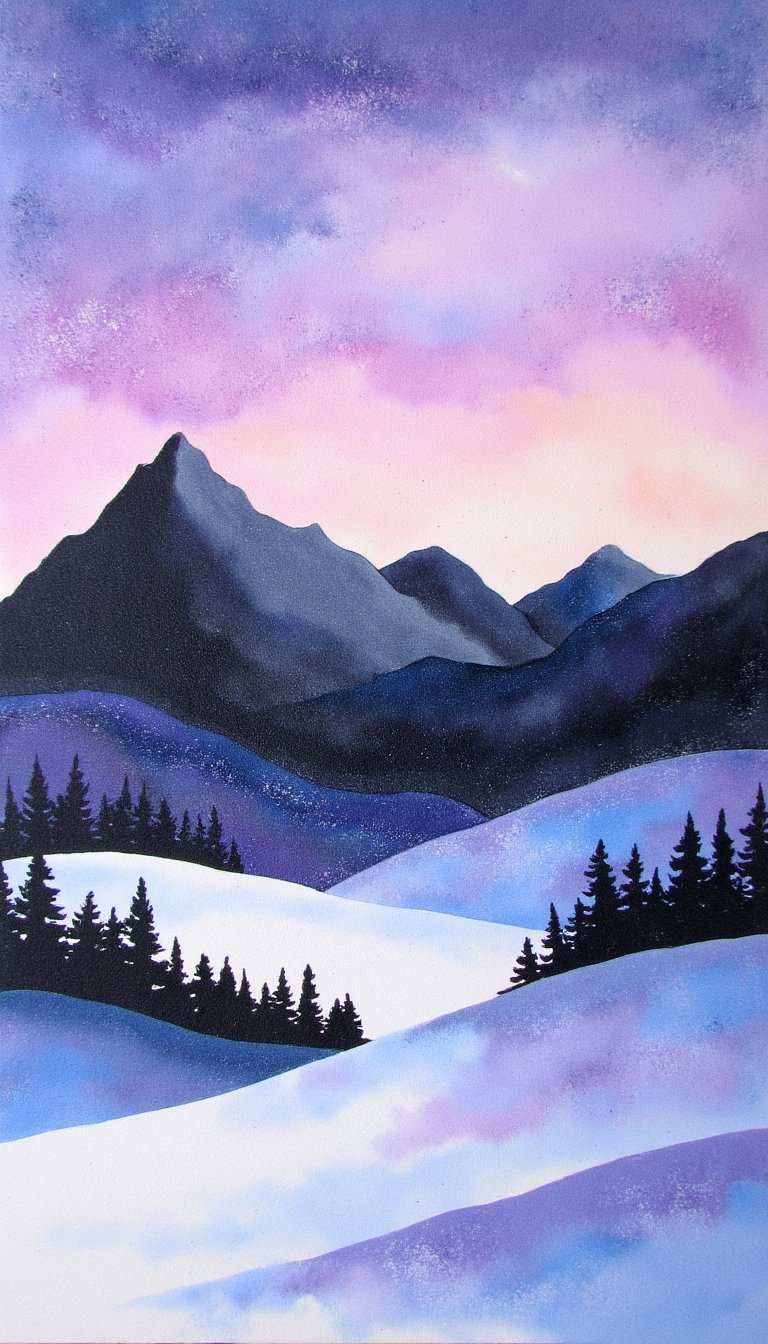
Chalk pastels blend like a dream and create the softest, most beautiful winter skies. Let kids use their fingers to smudge blues, purples, and pinks together on paper. Then, they can add a black paper silhouette of a cityscape or mountains on top. The contrast is dramatic and professional-looking.
17. “Sticky” Wall Snowman

Take a large piece of contact paper and tape it to the wall, sticky-side out. Provide kids with cotton balls, felt scraps, black paper circles, and orange triangles. They can build a giant, no-mess snowman right on the wall, rearranging the pieces as often as they like. It’s fantastic for toddlers and preschoolers.
18. Borax Crystal Snowflakes
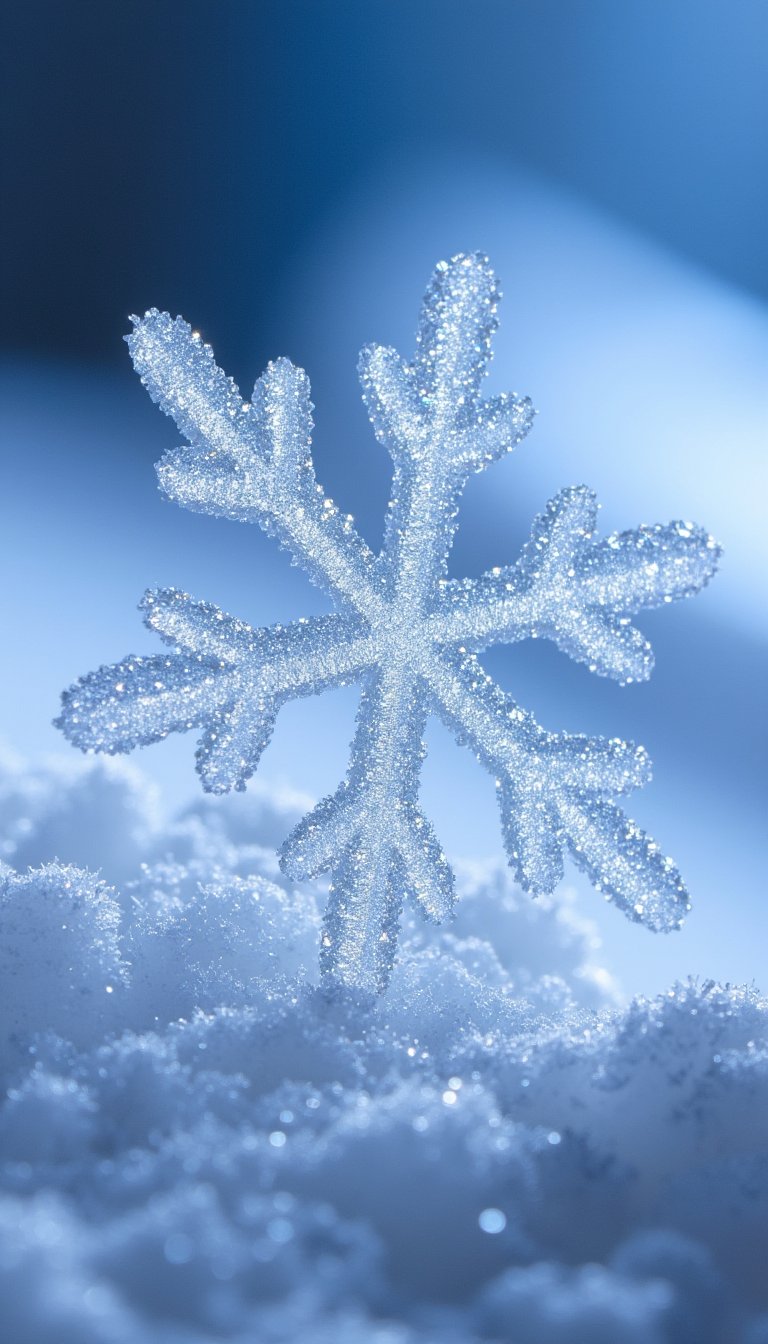
Another science-art crossover that will wow them. Make a snowflake shape from pipe cleaners and suspend it in a jar of hot water saturated with Borax. Leave it overnight, and by morning, the snowflake will be covered in sparkling, geometric crystals. It’s a true winter miracle.
19. Fork-Painted Evergreen Trees
Who needs a brush? Dip the back of a plastic fork into green paint and stamp it onto paper to create perfect, textured tree branches. Layer them to make a whole forest. Then, use a Q-tip to add little dots of white paint for snow. Simple, effective, and oh-so-satisfying.
20. Melted Bead Sun Catchers
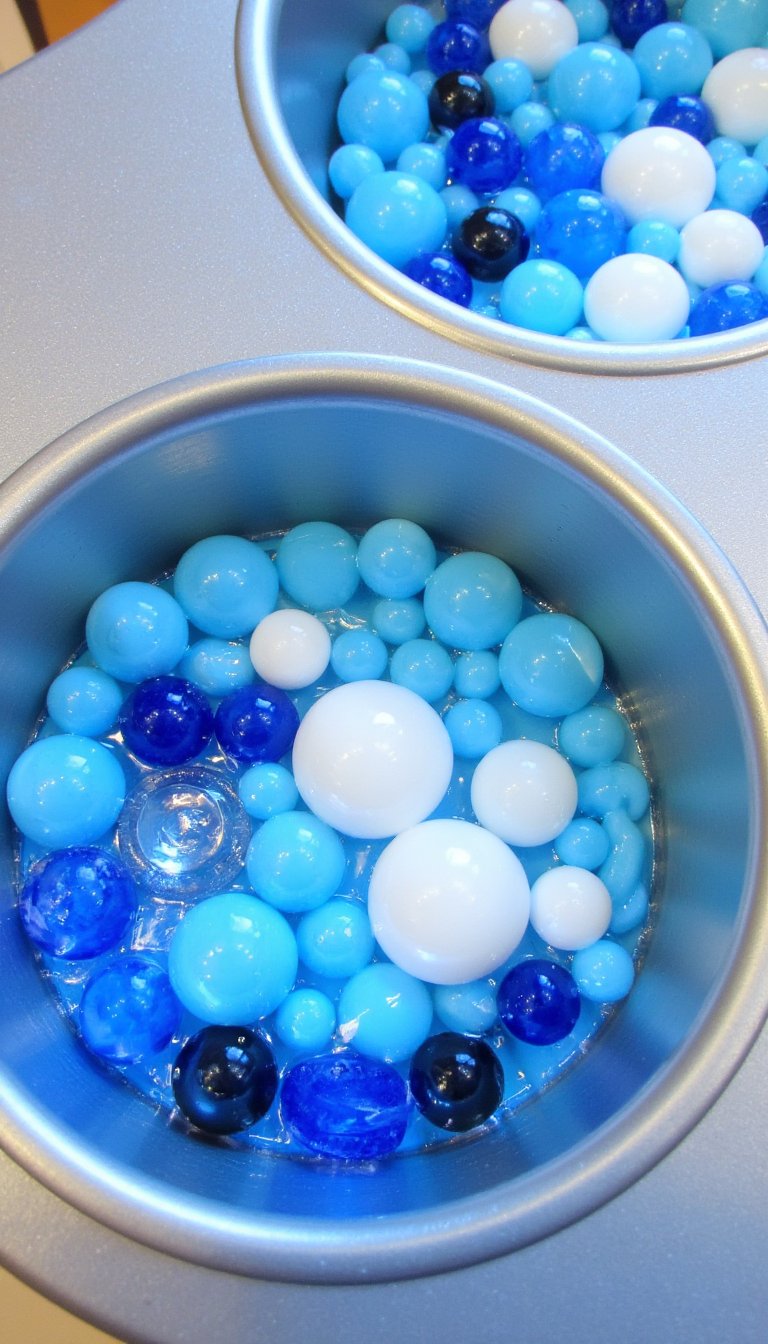
Arrange clear, blue, and white plastic pony beads in a metal or silicone muffin tin or sun catcher mold. An adult can bake them in the oven (according to package directions) until they melt together. Once cooled, you have a gorgeous, durable sun catcher that looks like frozen ice.
21. Snow Globe in a Jar
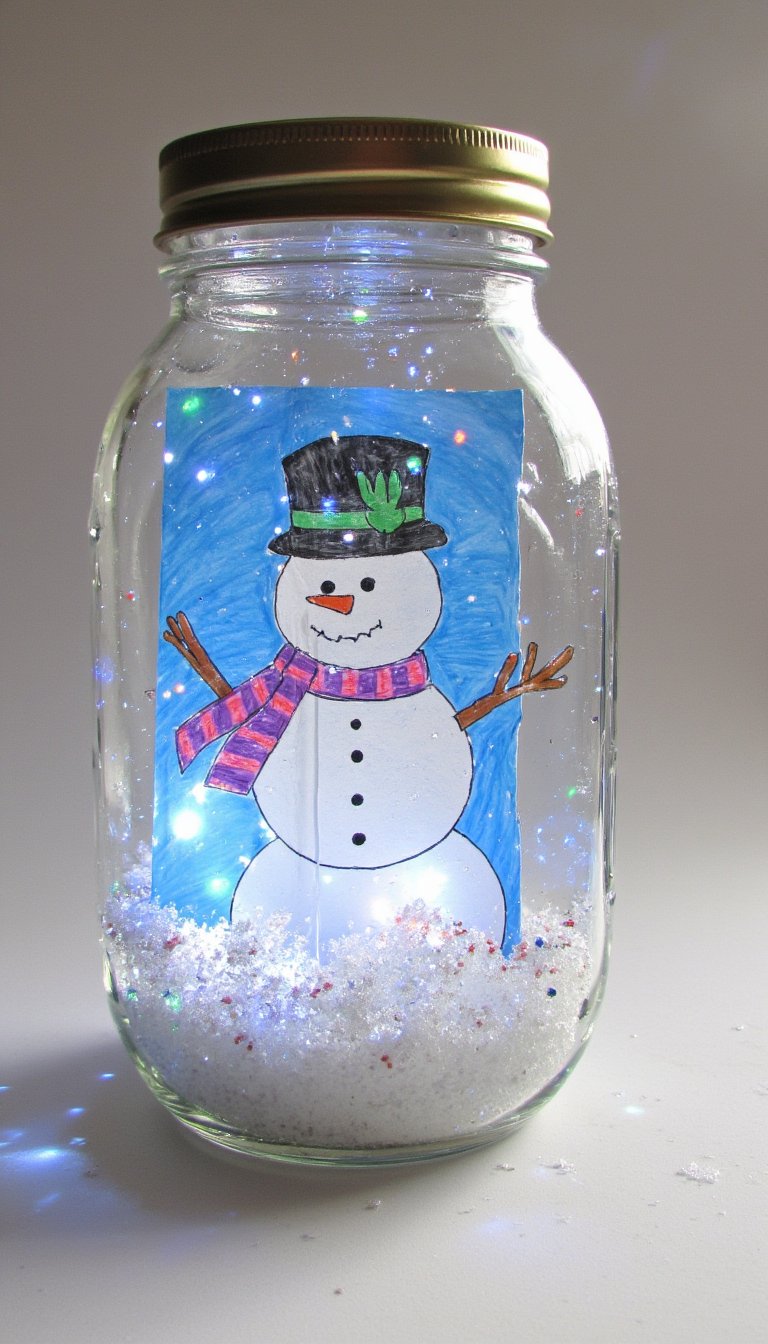
Create a personal winter scene. Have kids draw and laminate a small winter character (a penguin, a snowman). Glue it to the inside of a mason jar lid. Fill the jar with water, a dash of glitter, and a drop of glycerin (to make the glitter fall slowly). Screw the lid on tightly, flip it over, and shake!
22. Crayon Resist Arctic Animals
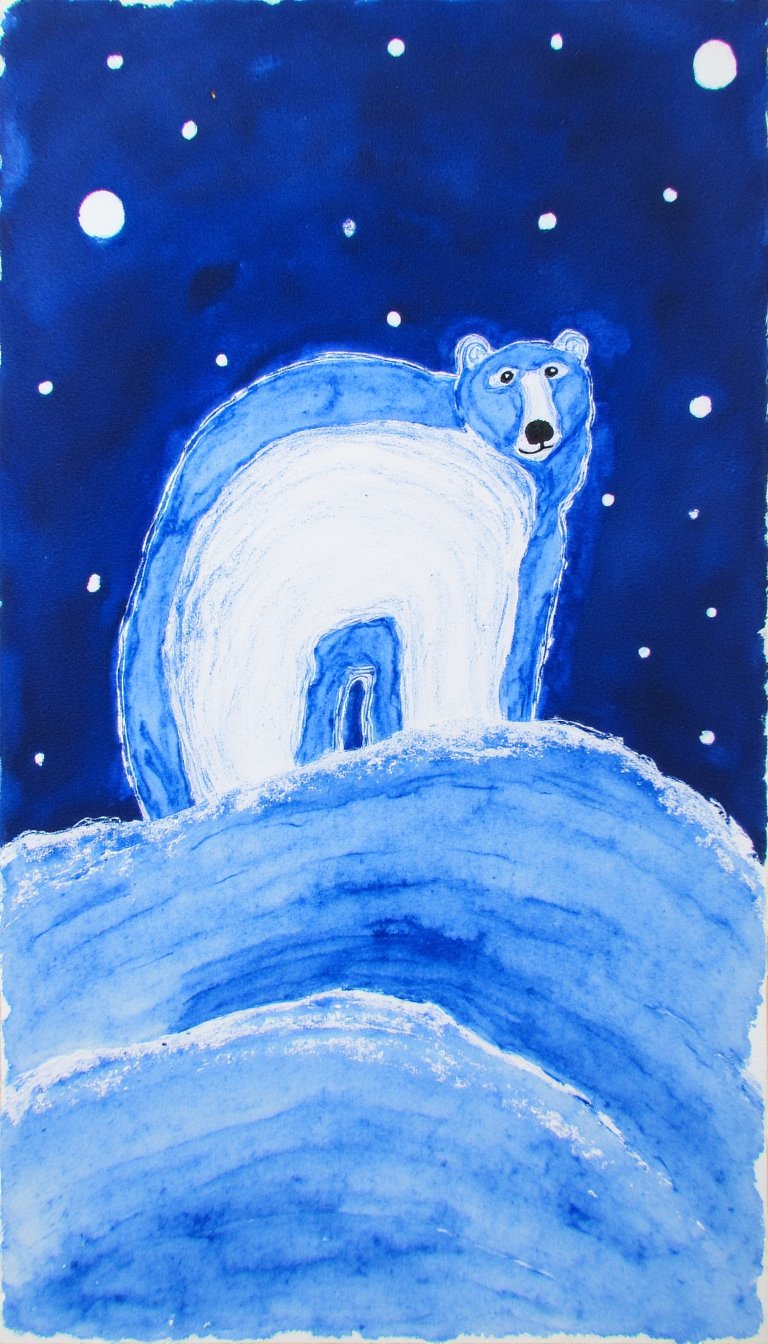
Use a white crayon to firmly draw a polar bear, penguin, or seal on white paper. It will be almost invisible. Then, paint over the entire paper with a dark blue watercolor wash. Like magic, the white crayon resists the paint, and your arctic animal appears out of the “snowstorm.”
23. Yarn-Wrapped Stars
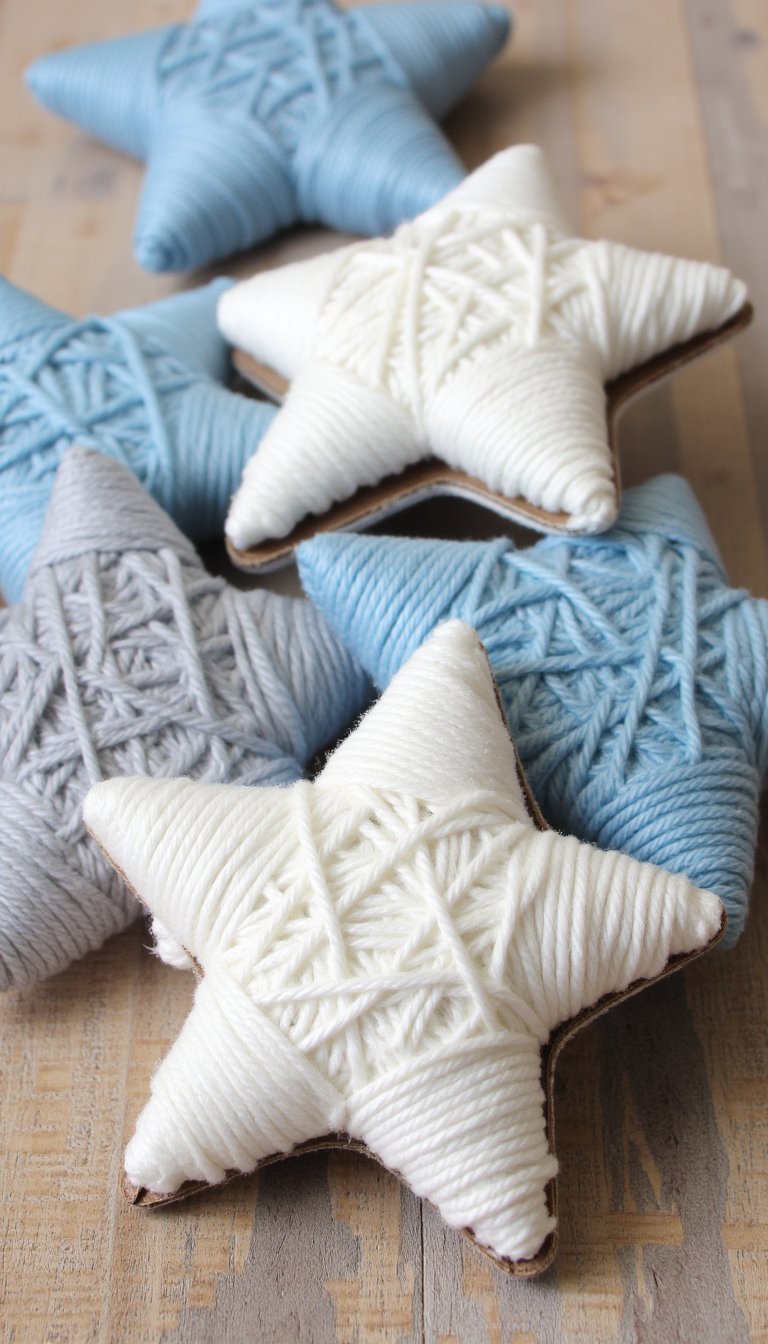
Cut star shapes out of sturdy cardboard. Let kids wrap them in white, silver, and light blue yarn, securing the ends with a dab of glue. These make beautiful, rustic ornaments for the tree or decorations to hang around the house. It’s also a great fine motor skill workout.
24. Popsicle Stick Sleds
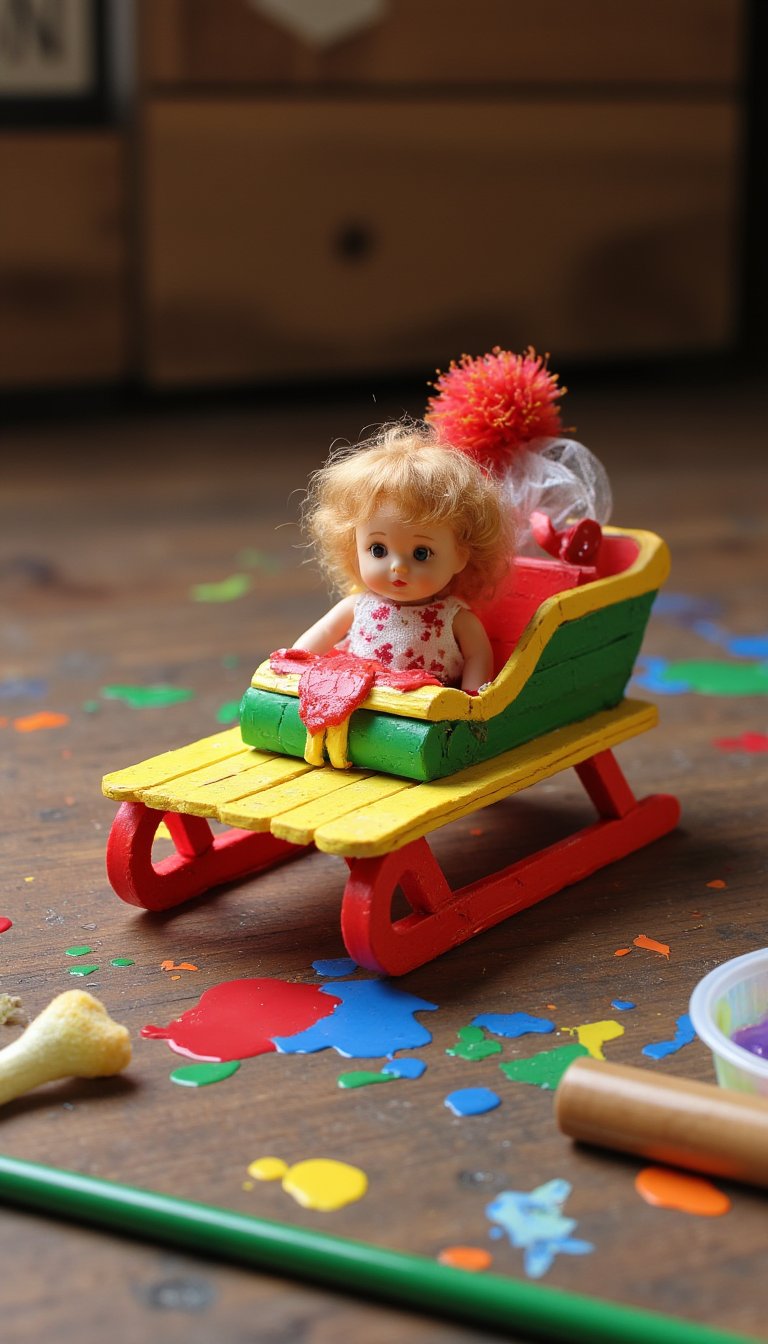
Glue popsicle sticks together to form a simple sled shape. Kids can paint them in bright colors and even add a tiny doll passenger or a jingle bell. It’s a fun, structural craft that encourages imaginative play long after the glue dries.
25. Snowy Sensory Bag
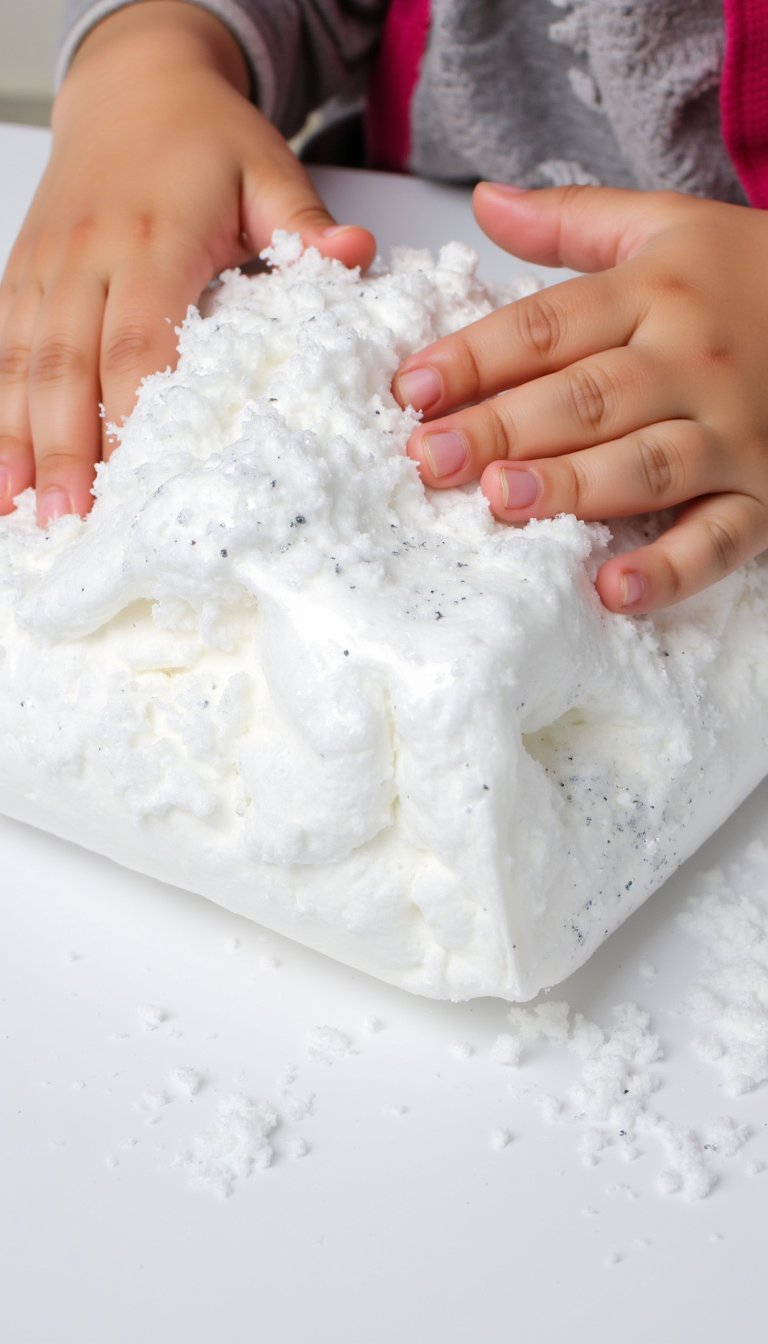
For the littlest artists, this is a mess-free dream. Fill a heavy-duty ziplock bag with white conditioner or hair gel and silver glitter. Seal it tightly with strong tape. Then, let them squish, poke, and “draw” in the “snow” without getting a single speck on their hands.
26. Collaborative Winter Mural
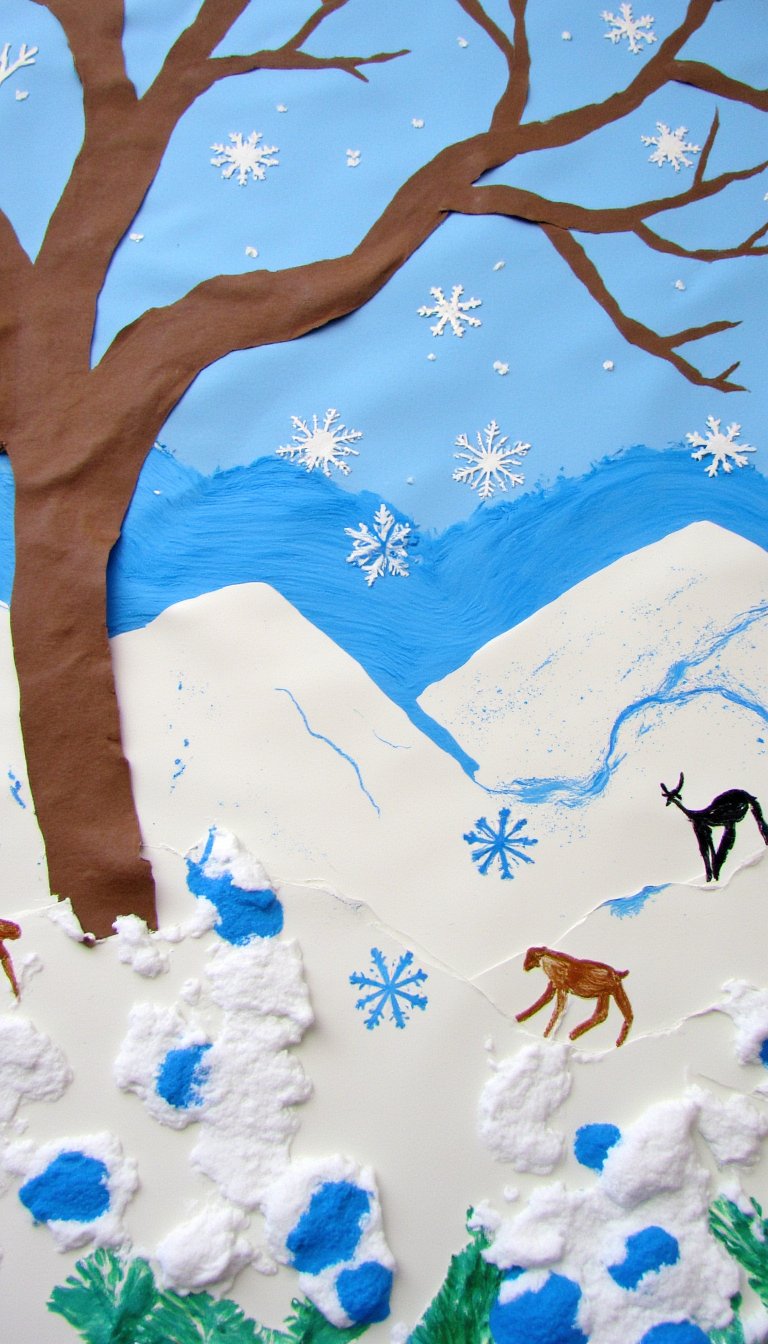
Grab a giant roll of craft paper and tape it to a wall or the floor. Outline a simple winter scene—a few hills, a bare tree. Then, let all the kids (or the whole family!) contribute. One can sponge-paint snow, another can add sticker snowflakes, another can draw animals. It becomes a masterpiece of togetherness, the perfect capstone to your winter art for kids adventure.
And there you have it! Twenty-six creative ways to turn “I’m bored” into “Wow, look what I made!” The best part about these winter art for kids projects? They aren’t about perfection. They’re about the experience—the feel of puffy paint, the magic of a revealing crayon resist, the joy of creating something together. So raid your recycling bin, embrace a little glitter (or don’t, I get it 😉), and make some unforgettable memories this winter. Your kitchen might get messy, but it will be filled with creativity and laughter. Now, which project are you trying first?