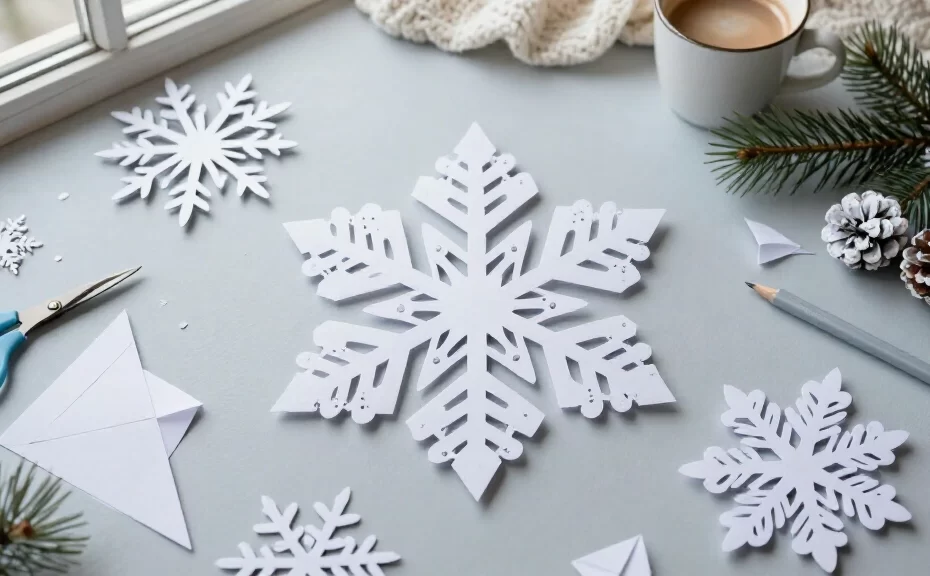
A few folds and cuts can turn a plain sheet of paper into a surprisingly detailed snowflake. You don’t need an art degree, expensive supplies, or an unusually steady hand to make one.
Grab lightweight paper, sharp scissors, a pencil, and a flat surface. These 17 ideas include delicate cutouts and three-dimensional decorations, with practical ways to add detail without making the project frustrating.
1. Start with a classic six-point snowflake
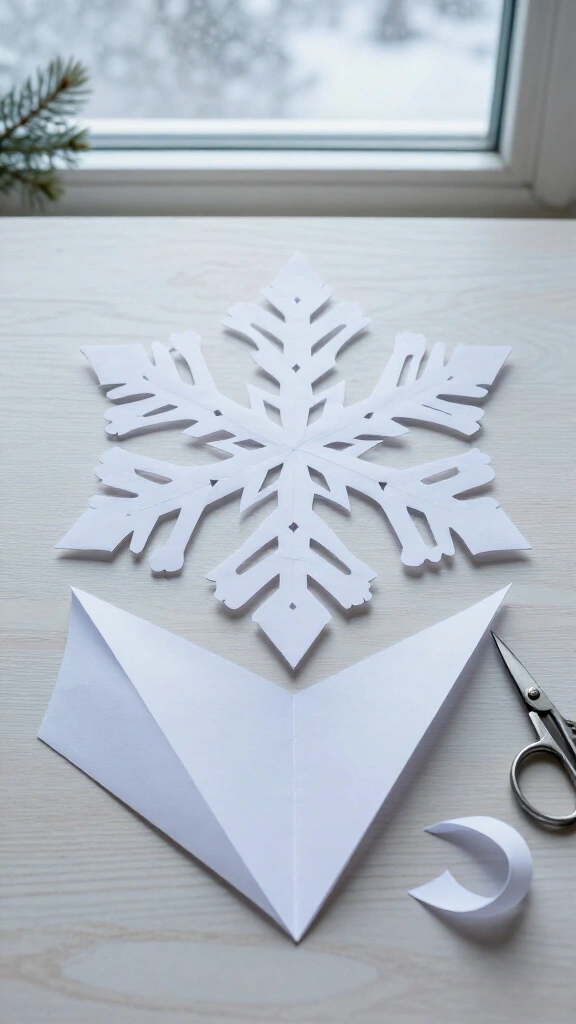
A six-point design gives you the familiar symmetry of a natural snowflake and a reliable starting point for more elaborate patterns. Start with a square of thin paper and fold it diagonally into a triangle. Fold the triangle in half again, then fold it into thirds with the center point at the tip. You’ll have a narrow 30-degree wedge. Trim the uneven top edge.
Cut small triangles and curves along both sides, but leave sections of both folded edges intact so the snowflake stays connected. Unfold it slowly and flatten the creases under a heavy book. If you want a visual refresher, look at these step-by-step paper snowflake patterns before you try the fancier cuts.
2. Cut a delicate lace-inspired snowflake
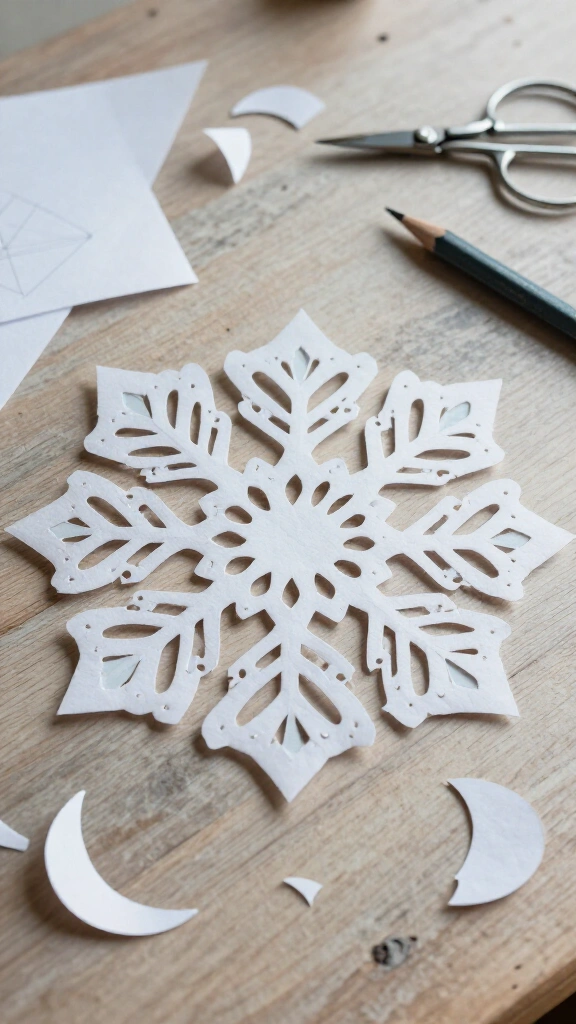
Give your snowflake the look of lace with tiny teardrops, scallops, and narrow triangles. Draw the shapes lightly in pencil first, and leave small bridges of paper between neighboring cutouts. Those little connections hold the design together.
Choose lightweight paper and small, sharp scissors so you can control your cuts through the layers. Alternate a row of tiny notches with a larger curved opening. The finished pattern looks wonderfully fussy, though you’ll use only a handful of simple shapes.
3. Create a fern-frond snowflake
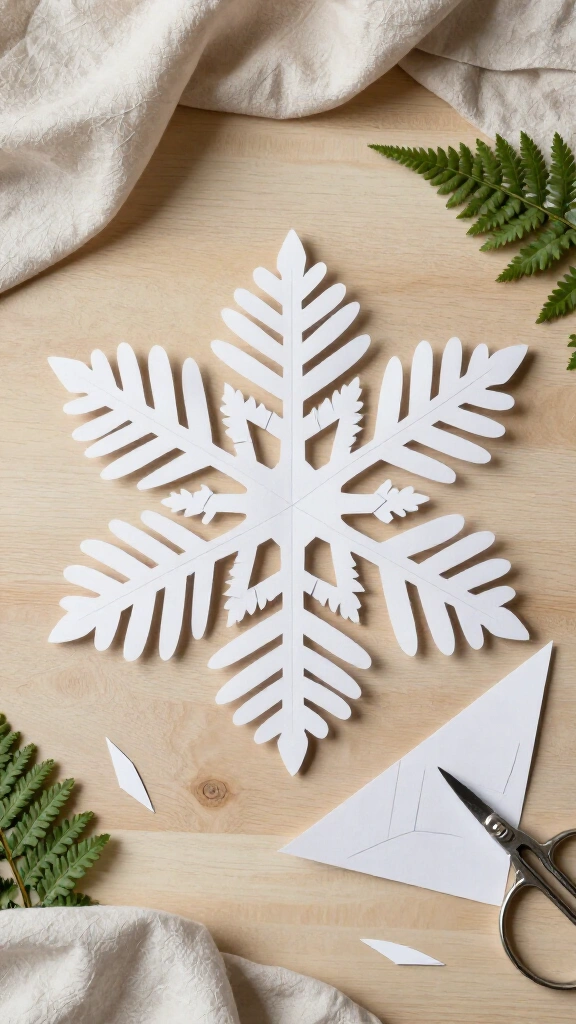
Turn each arm into a miniature fern with a series of angled cuts. On your folded wedge, draw a central stem from the pointed tip toward the outer edge, then add short diagonal lines that angle away from it. Cut along those lines from the outer edges, stopping well before you reach the stem.
Keep the cuts close together near the tip and space them farther apart toward the outside. The gradual change gives each branch a feathery look. If your first fern looks more like a startled pine tree, congratulations: you’ve still made winter decor.
4. Make a snowflake with heart-shaped openings
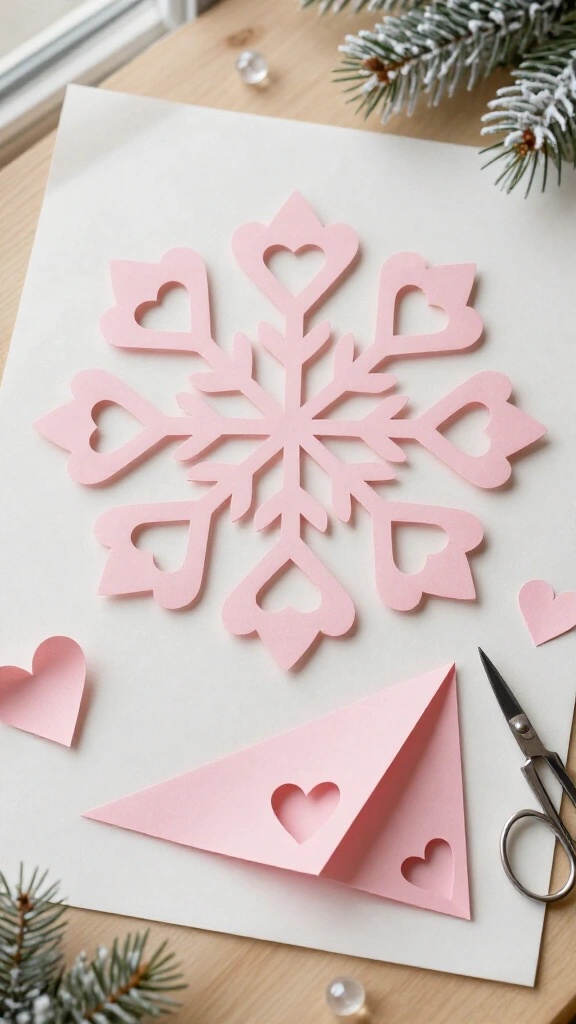
Cut half-heart shapes into the folded edges of your paper wedge for a softer look. Position the center of each heart on a fold, then curve your cut outward and back toward that same edge. When you open the paper, each half becomes a complete heart.
Mix small hearts near the center with larger ones near the tips to create layers. Leave enough paper between the cutouts to prevent tears, especially around the narrow center. Pale pink or red paper makes this pattern work for winter decorating and Valentine’s Day.
5. Design a starburst center
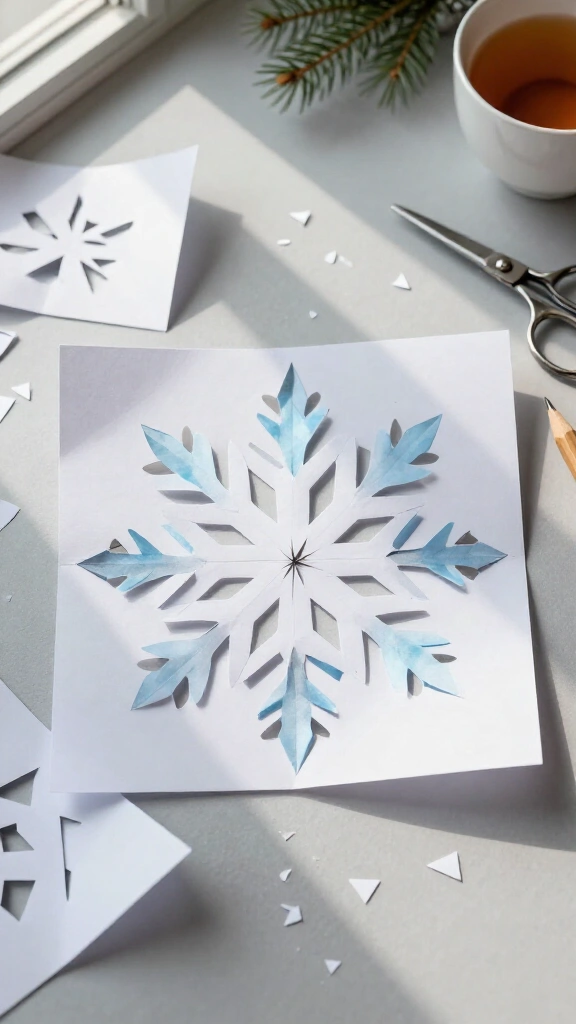
A bold center can dress up even the simplest snowflake arms. Snip a tiny triangle from the pointed tip of your folded wedge. When you unfold the paper, that cut creates a star-like opening in the middle. Start small because you can always refold the paper and enlarge the opening.
Next, cut long, narrow triangles along the sides of the wedge to create rays that point toward the center. Pair those sharp angles with a scalloped outer edge for contrast. Hold the wedge up to a light before cutting if you want a quick reminder of where the layers overlap.
6. Layer two contrasting paper snowflakes
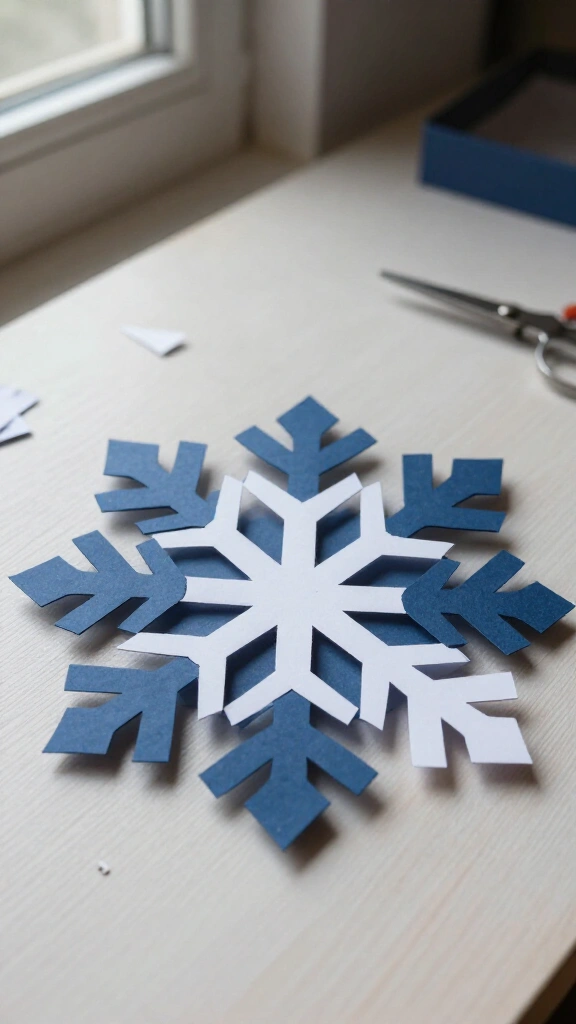
Cut two snowflakes in different sizes, using a detailed pattern for one and a simpler pattern for the other. Choose contrasting colors, such as navy and white or silver and deep green, so each set of cutouts stands out. Rotate the smaller snowflake slightly before you place it on top.
Add a tiny dot of glue at the center and press the layers together. Keep the outer arms free so they cast subtle shadows and add depth. Thin construction paper works for the larger layer, while lighter paper makes the smaller details easier to cut.
7. Try a woodland tree pattern
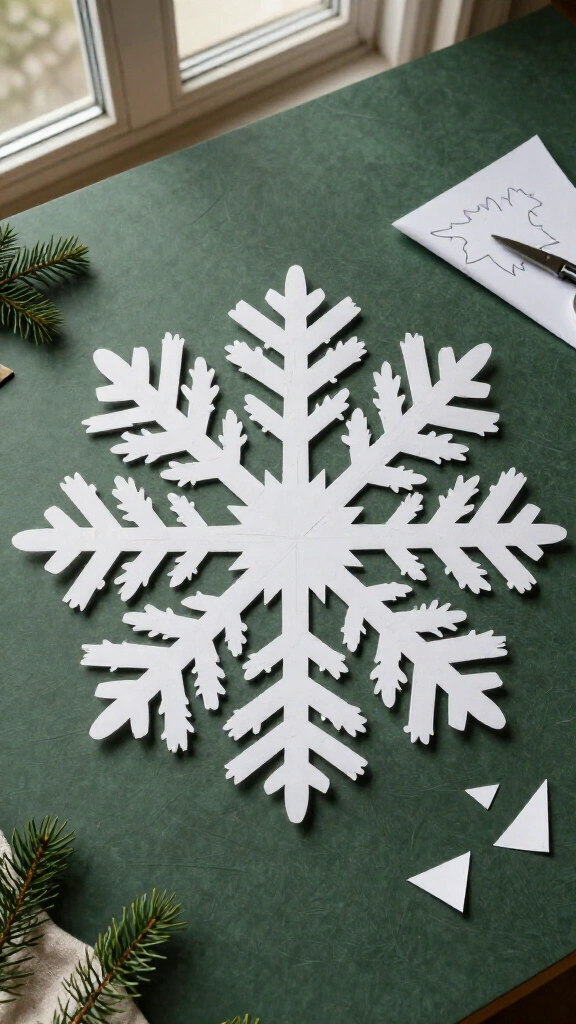
Give a paper snowflake a forest theme with miniature evergreen silhouettes. Draw half of a tree along one folded edge, with the trunk and branch tips touching the edge where necessary. Cut away the surrounding paper while keeping the tree connected to the rest of the wedge.
Repeat the motif at a smaller scale, or add simple triangle cutouts between the trees. Test the idea on scrap paper first: a tree needs a few sturdy attachment points, or it may wander off into your pile of clippings. Dark green paper creates a sharp silhouette against a pale window.
8. Cut a geometric diamond snowflake
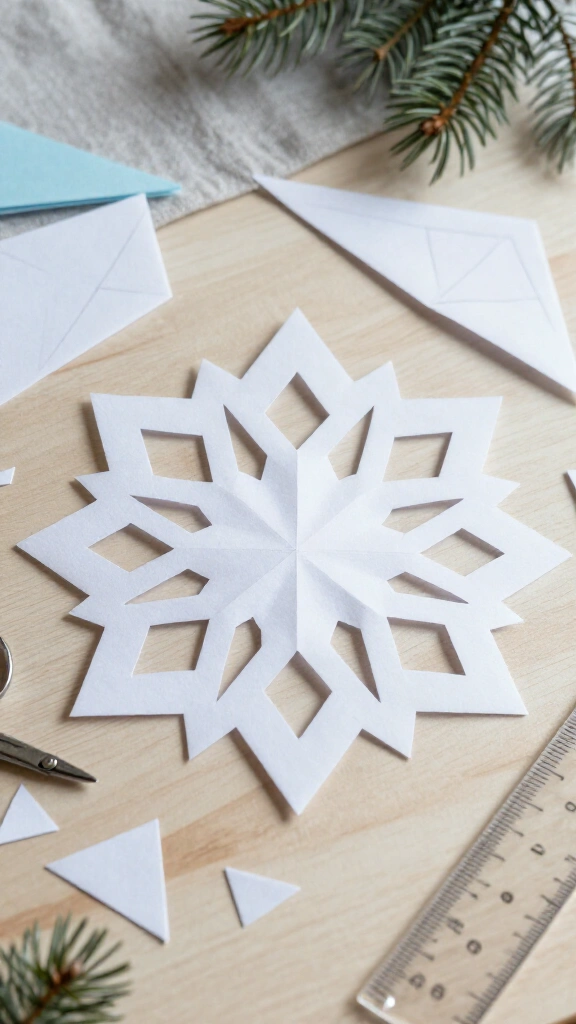
For a crisp pattern, use diamonds, chevrons, and straight-sided triangles instead of curves. Sketch half-diamonds along the folded edges and cut them out carefully. The folds complete each shape when you open the paper. Add a few angled notches to the outer edge to give the arms pointed tips.
Vary the size of your openings rather than packing the wedge with identical cuts. Large diamonds establish the pattern, while smaller notches add detail. A ruler helps you draw clean guides, but slightly uneven lines give the snowflake its own handmade character.
9. Make a snowflake with curled paper tips
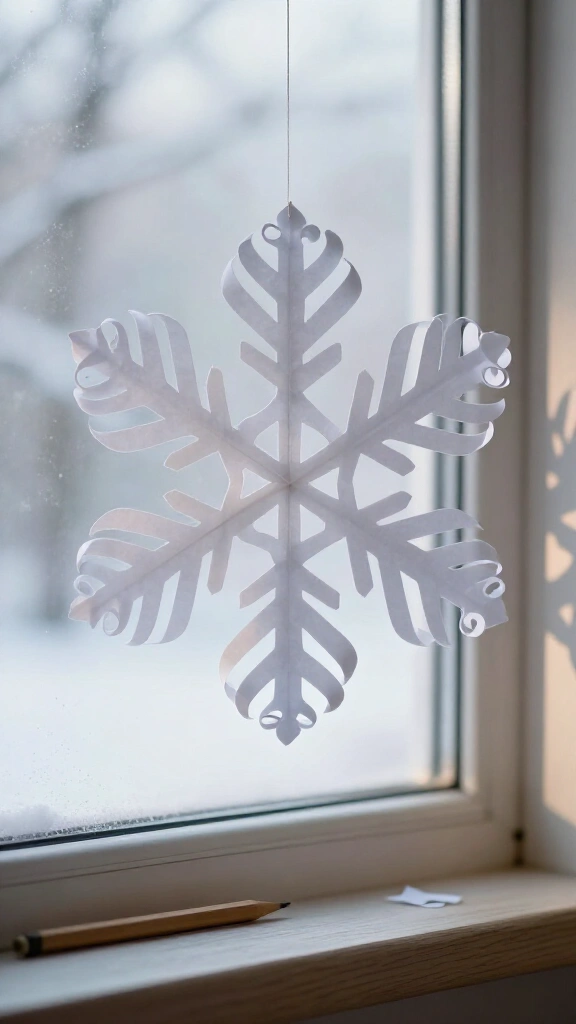
Cut a six-point snowflake with broad, sturdy arms and several slender branches at each tip. After you unfold it, gently wrap the ends of selected branches around a pencil. Release each curl slowly so the paper keeps a soft bend instead of a hard crease.
Alternate curled and flat branches to give the design dimension without crowding it. Lightweight paper curls easily, but very narrow strips can tear, so leave a little extra width on your first attempt. Hang the finished snowflake where a soft draft can make the curled tips move.
10. Use tissue paper for a frosty window effect
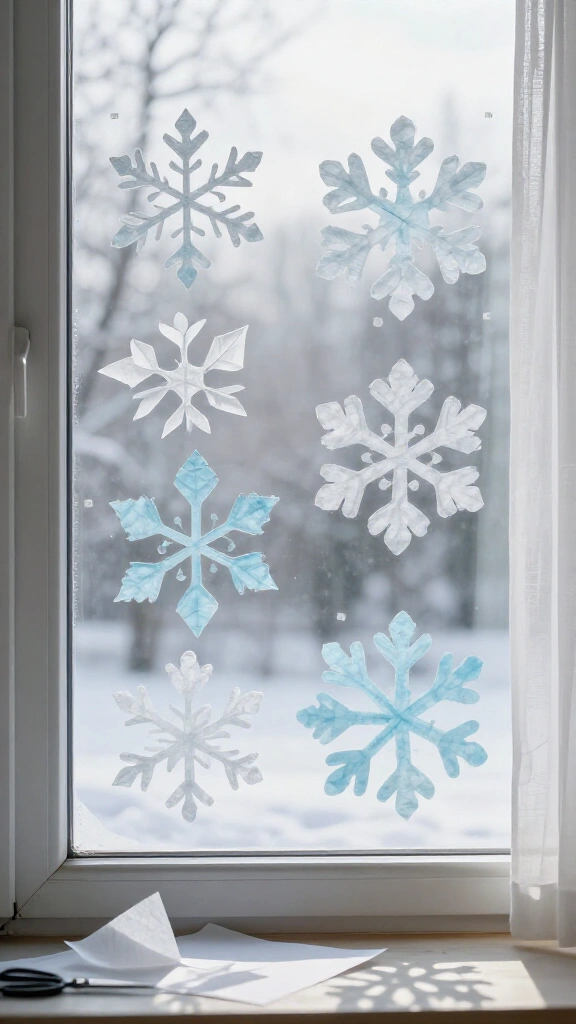
White or pale blue tissue paper lets daylight shine through your snowflake and gives the window a frosted look. Stack two tissue sheets, place a sheet of ordinary paper on top for support, and fold the stack together. Cut a simple design with larger openings, then separate the tissue snowflakes gently.
Use small pieces of removable tape to attach them to a clean window, and check the tape manufacturer’s directions before applying it to delicate surfaces. Tissue tears easily, so skip extremely thin bridges and complicated interior cuts. For more seasonal display ideas, browse these DIY Christmas wall decor ideas.
11. Build a three-dimensional loop snowflake
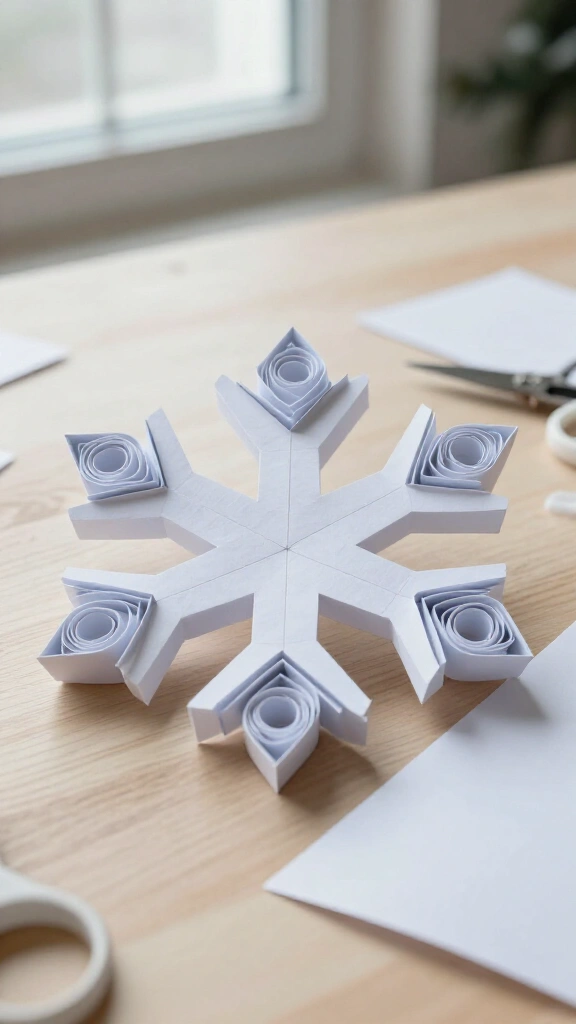
For a snowflake with plenty of dimension, start with six equal paper squares. Fold one square diagonally, then make several parallel cuts from the folded edge toward the open edges, stopping before you cut all the way through. Unfold the square and curl the innermost pair of strips together. Secure their tips with glue or tape.
Flip the piece and join the next pair on the opposite side. Alternate directions until you finish the arm. Repeat with the other squares, then join the six arms at their bases and neighboring sides. For more sculptural options, take a look at these 3D paper snowflake ideas.
12. Add a doily-inspired scalloped edge
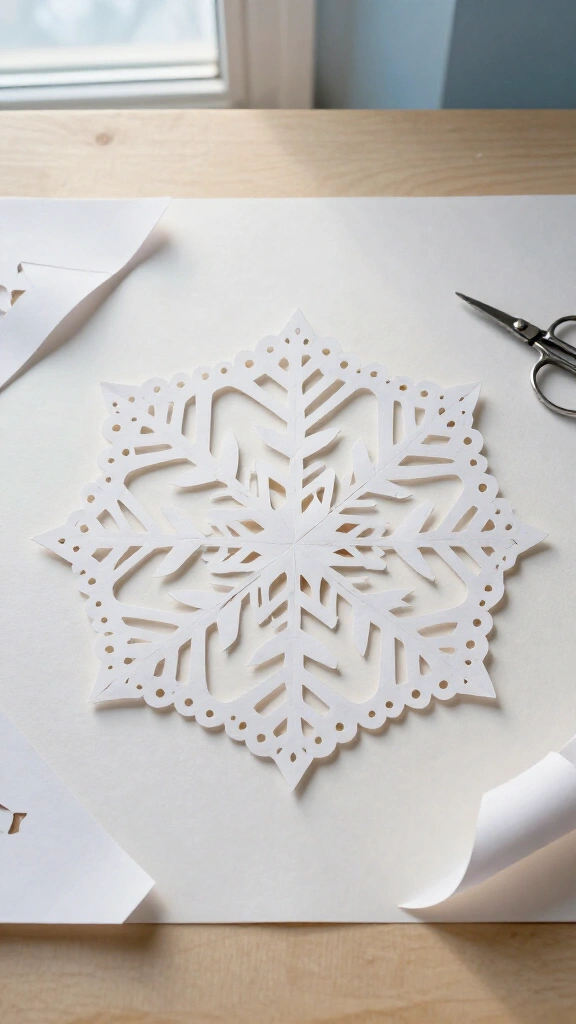
A scalloped border gives a snowflake the look of a tiny paper doily. After you fold your square into a wedge, draw a shallow wave across the wide outer end and cut along it. Add smaller semicircular notches along the sides, leaving clear strips of paper between them.
For extra detail, cut a row of tiny triangles just inside the scalloped border. Open the snowflake carefully and press it flat between clean sheets of paper. White printer paper gives the design a classic look, while cream paper adds a vintage feel.
13. Create a swirling pinwheel snowflake

Give your snowflake a sense of movement by shaping each arm with a gentle curve. Draw a sweeping line from one side of the folded wedge toward the outer edge, then trim around it while you preserve connections along the folds. Add curved notches that follow the same direction as the main line.
Unfold the paper to reveal repeating curves that suggest a pinwheel. The folds create mirror symmetry, so the result won’t look like a true rotating spiral, but the curved arms still suggest movement. Keep the center sturdy and avoid cutting too close to the pointed tip.
14. Make a metallic accent snowflake
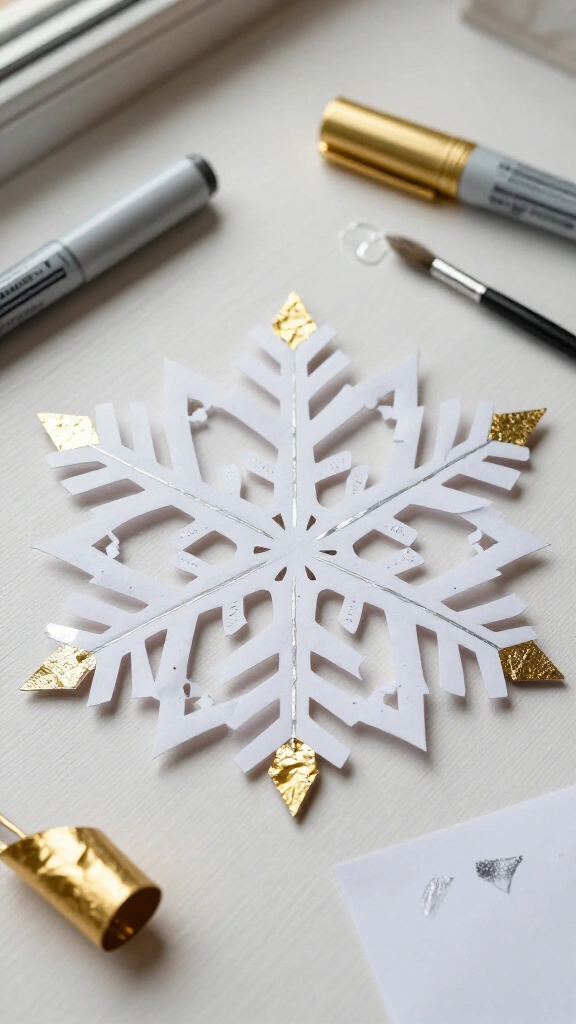
Start with a simple white paper snowflake, then add metallic details after you unfold it. Trace a few edges with a silver or gold paint marker, or brush a small amount of craft glue onto the tips and press them into metallic craft foil according to the product instructions. Focus on a few accents rather than covering every branch.
Let the decoration dry flat before you hang it. Test your marker or glue on a scrap first, since wet products can wrinkle thin paper. For children, choose age-appropriate supplies and supervise their use of scissors and adhesives. HealthyChildren.org offers general safety guidance for families.
15. Cut a snowflake garland
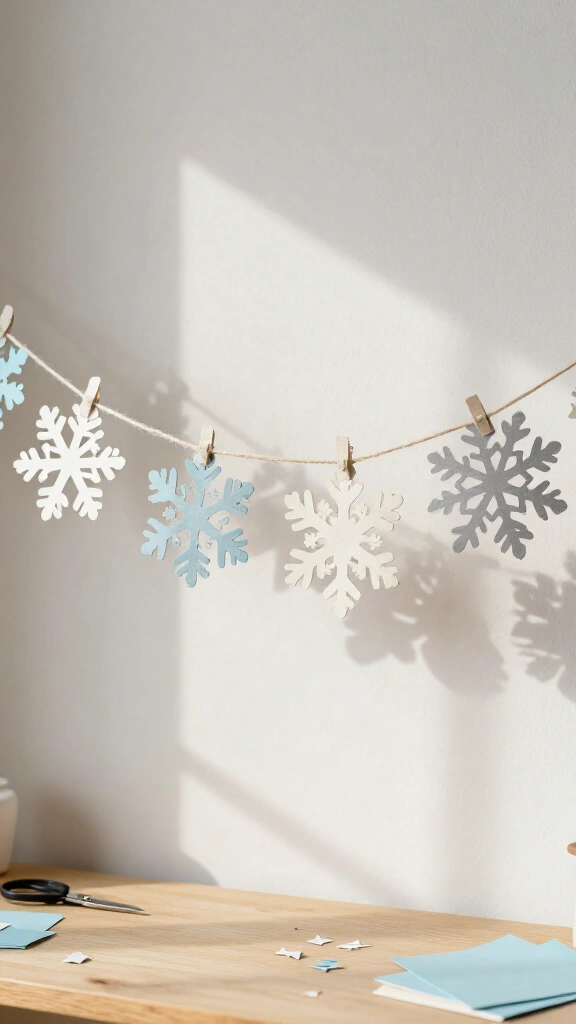
Turn several intricate paper snowflakes into one decoration. Cut five to seven small snowflakes in related colors, then arrange them along a length of string before attaching anything. Mix detailed designs with simpler ones so the garland has variety without looking too busy.
Secure the top point of each snowflake to the string with a small piece of tape or a dot of craft glue. Leave space between the shapes so their edges don’t tangle. For a neat finish, sandwich the string between two matching snowflakes at each position.
16. Design a hidden-shape snowflake
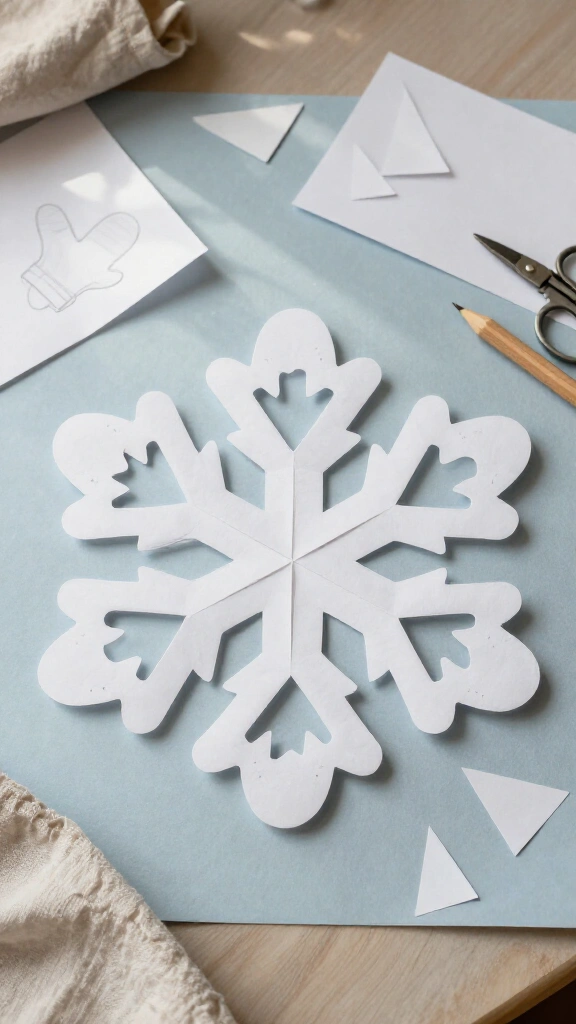
Give your guests something to spot by hiding a simple motif inside the repeating pattern. Try a small mitten, leaf, moon, or bird silhouette along a folded edge, and draw the shape in pencil before cutting. Keep part of the motif connected to the surrounding paper so it doesn’t fall out with the scraps.
Build the rest of the design around that focal shape with uncomplicated triangles and curves. A bold silhouette usually reads better than tiny details once the pattern repeats. If you want to connect the craft to real snowflake science, the National Snow and Ice Data Center explains how snow forms and changes.
17. Combine negative space with fine fringe
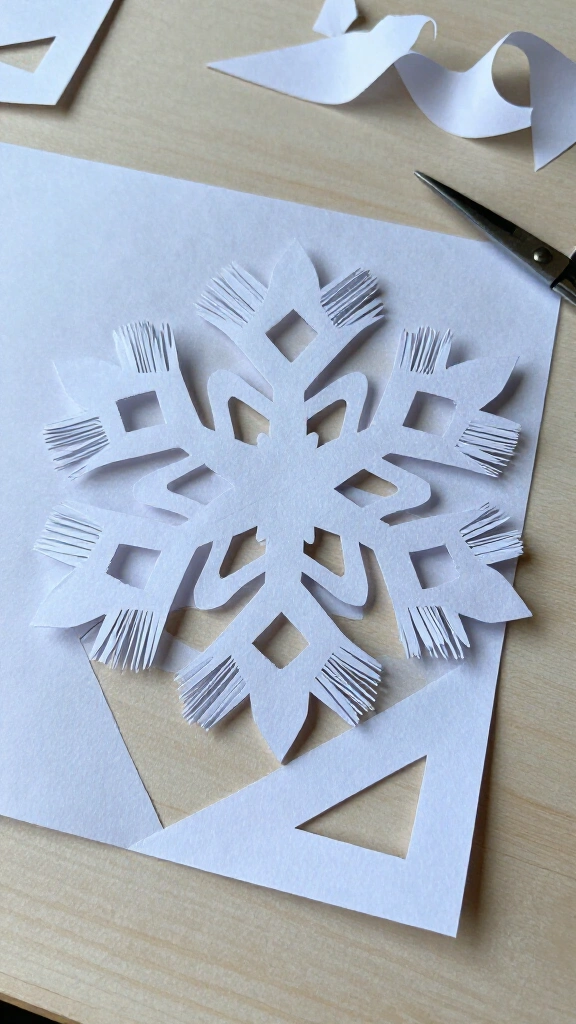
Pair a few large cutouts with a fringe of closely spaced snips for a particularly intricate snowflake. Cut broad teardrops or diamonds into the folded wedge first, leaving strong connections near the center and folds. Then make short, parallel cuts along the outer edge without snipping through the entire section.
Open the snowflake slowly and separate any fringe that catches on neighboring layers. The large openings give the eye somewhere to rest, while the fine cuts give it that how did you make that? finish. Hang it against a contrasting background so people can see every detail.
Turn simple paper into a winter wonderland
You don’t need complicated equipment to make intricate paper snowflakes. Instead, pay attention to thoughtful folding, varied cut sizes, and sturdy connections. Start with a classic six-point wedge, experiment with one new motif at a time, and save your favorite patterns as templates.
Whether you choose a lacy window display or a bold 3D centerpiece, let each snowflake show a little personality. After all, the paper scraps on your table are simply evidence of a very productive snowstorm.