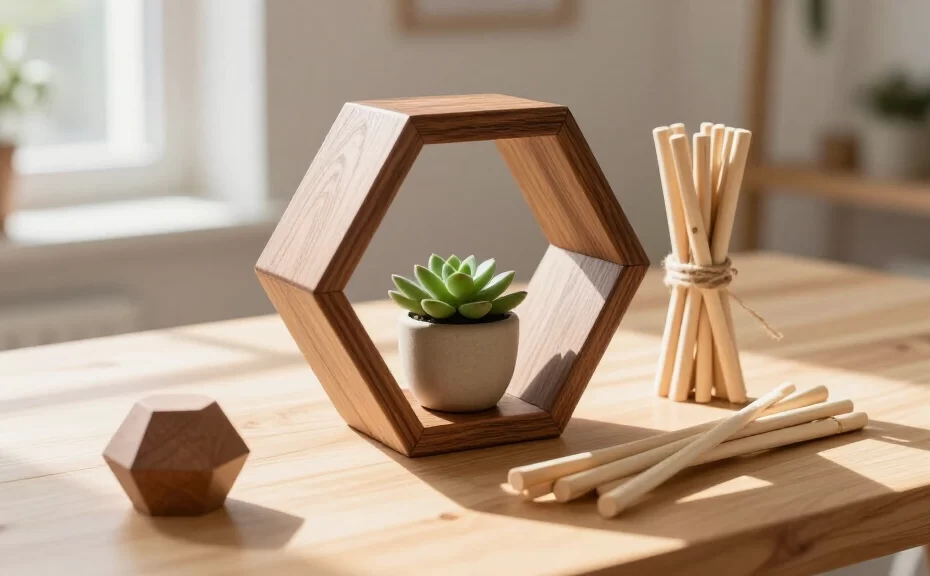
A simple box of wooden craft sticks offers endless project ideas for an afternoon at home. Birch sticks cost very little, hold glue exceptionally well, and work for kids, teens, and adults alike. If you enjoy creative crafts, this collection shows you how to turn plain craft sticks into clean home accents, toys, and practical organizers without spending much money.
1. Geometric Hexagon Wall Shelves
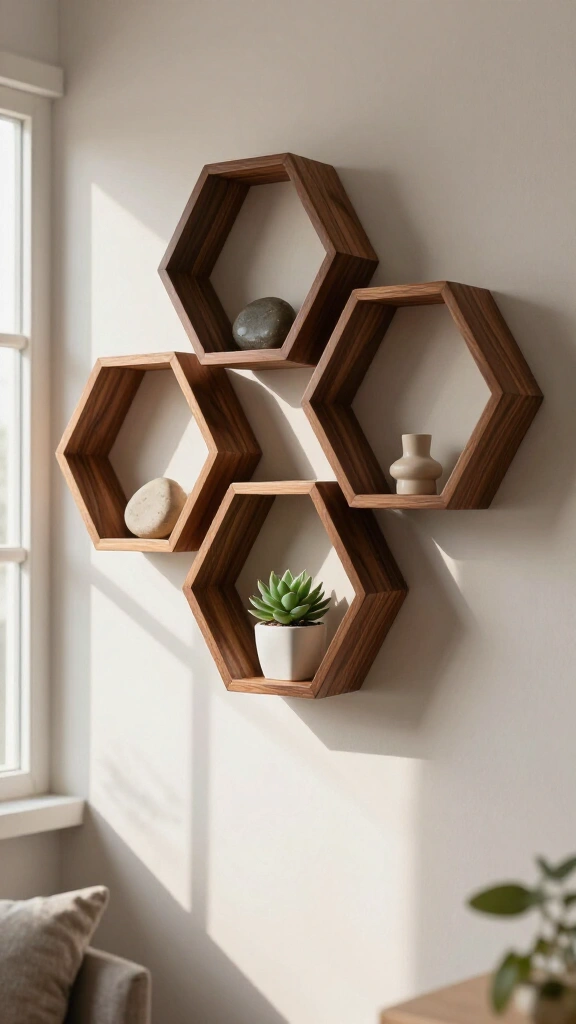
Layer sticks in a six-sided honeycomb pattern to build sturdy floating shelves. Apply a walnut wood stain over the dried glue to create a clean, modern finish. Hang a group of three together on your wall to hold small faux succulents, small rocks, or lightweight knickknacks.
2. Painted Garden Plant Markers

Keep your herb garden organized without buying expensive garden tags. Paint jumbo craft sticks with waterproof acrylics, write plant names with a fine-tip paint pen, and brush on an outdoor clear coat. The sealant protects the wood from morning sprinkler water. Push them straight into pots of basil, rosemary, and parsley to label your herbs.
3. Mini Easel Photo Holders
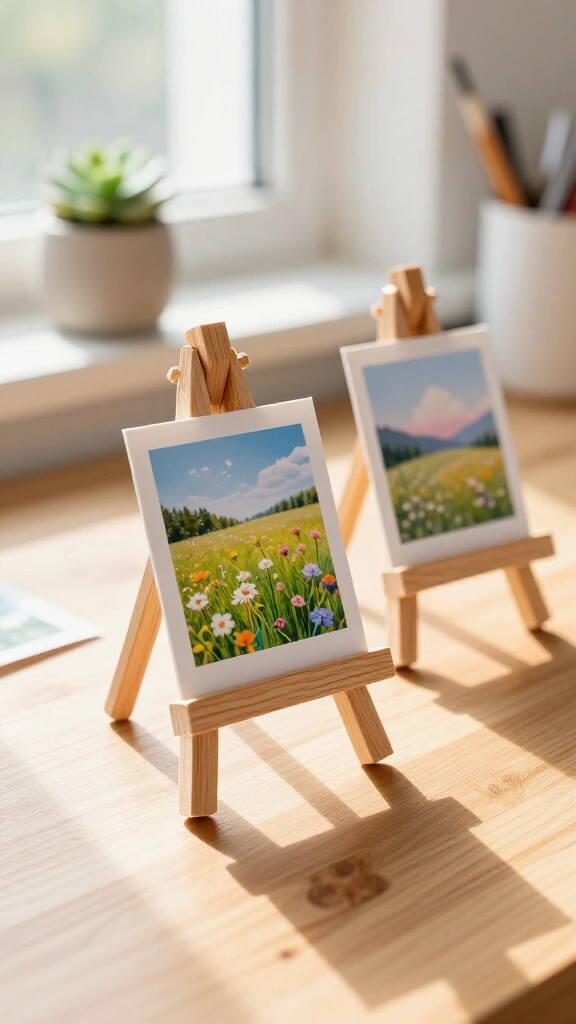
Display small prints and instant photos on handmade tabletop stands. Build an A-frame easel using four standard craft sticks and hot glue. Attach a horizontal crossbar near the base to hold your picture in place. These easels make thoughtful small gifts for relatives and sit neatly on office desks.
4. Hanging Backyard Bird Feeder

Invite wild birds to your yard with a simple feeding platform. Glue down a solid square base of sticks, then stack sticks along the edges log-cabin style to form shallow walls. Tie jute twine through the four corners and fill the tray with sunflower seeds. You can check family craft guides for non-toxic glue options safe for birds and wildlife.
5. Rustic Farmhouse Coasters
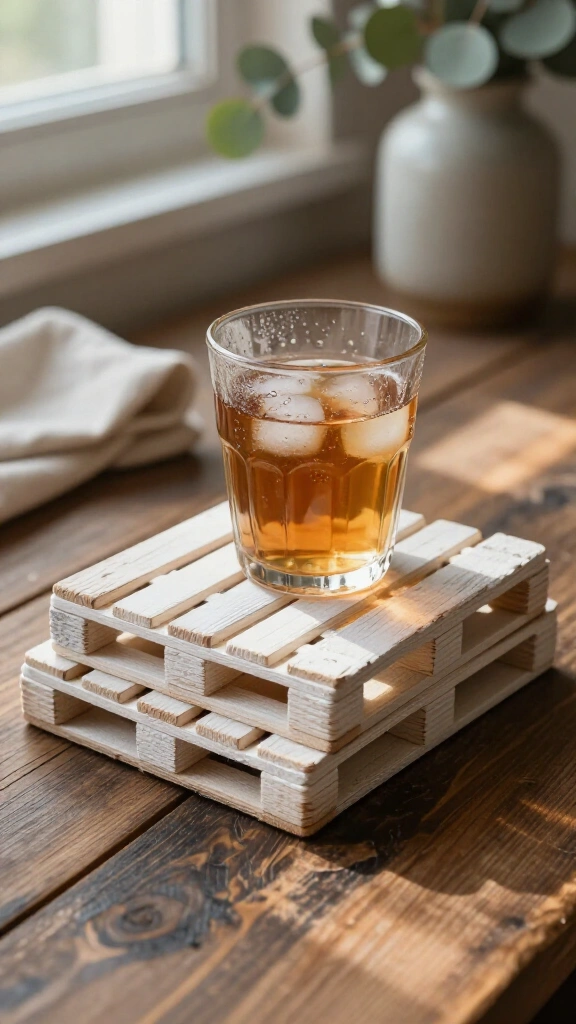
Protect wood tables from drink rings with miniature pallet coasters. Line up five sticks horizontally and glue two support beams across the back. Brush on a thin coat of white paint and wipe some off with a rag to give the wood an aged look. Seal the surface with clear polyurethane to stop moisture from soaking through.
6. Colorful Folding Hand Fan
Stay cool on warm afternoons with a working hand fan. Drill small holes through the bottom ends of eight craft sticks and join them with a brass brad fastener. Glue pleated craft paper or light fabric between the upper sections of the sticks. You can fold the fan shut for storage or spread it open whenever you need a breeze.
7. Fairy Garden Door

Create small decorative doors for baseboards or outdoor trees. Glue craft sticks side by side, trim the top into an arch with heavy shears, and glue a small wooden bead on as a handle. Paint the wood in soft colors and add preserved moss along the edges. Children enjoy setting these against tree roots as part of outdoor play.
8. Desktop Pencil and Pen Organizer
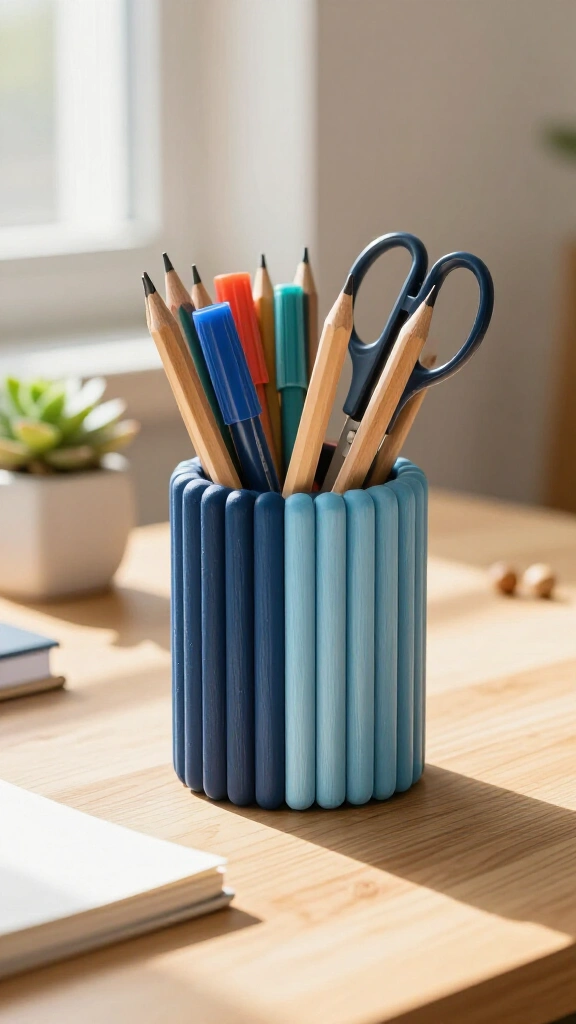
Clear clutter off your desk with a simple pencil holder. Glue colored craft sticks vertically around a clean aluminum can or cardboard shipping tube. You can alternate solid colors or arrange them in a gradient from navy to sky blue. The finished holder keeps pens, scissors, and markers standing upright.
9. Modern Sunburst Wall Mirror
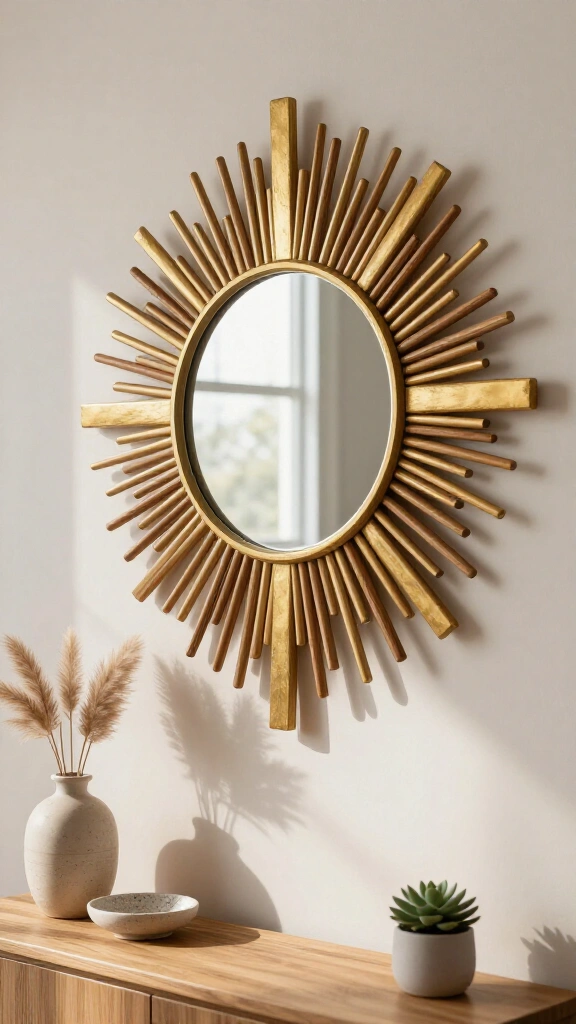
Turn a basic round mirror into a wall accent with mid-century style. Glue standard and mini sticks in an alternating radial pattern behind the outer rim of the mirror. Spray paint the stick frame in gold or matte black. Hang the mirror in an entryway alongside other DIY creative crafts to transform your home.
10. Articulated Wiggling Snake Toy
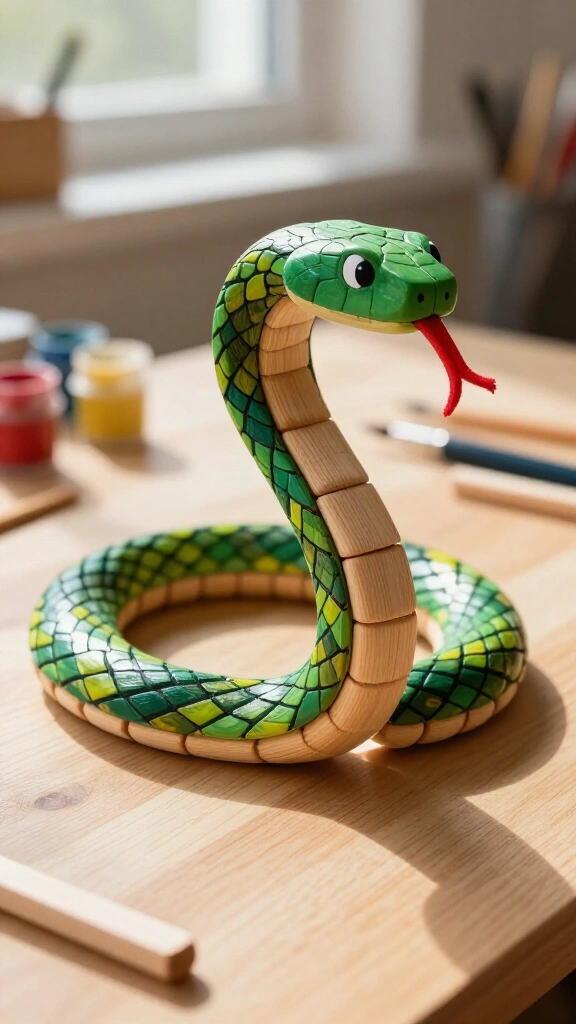
Build a flexible wooden snake that bends and moves between your fingers. Connect individual stick segments with small strips of duct tape or elastic ribbons along the backside. Paint green scales across the front and add craft eyes with a red felt tongue. The articulated joints create a fun fidget toy for kids.
11. DIY Bookmark Characters

Encourage kids to read with custom animal and character bookmarks. Decorate single sticks with acrylic markers, yarn hair, and felt shapes to create animals or storybook figures. Slip them into books to keep your place. They also work well as inexpensive party favors or classroom prizes.
12. Miniature Sled Christmas Ornaments
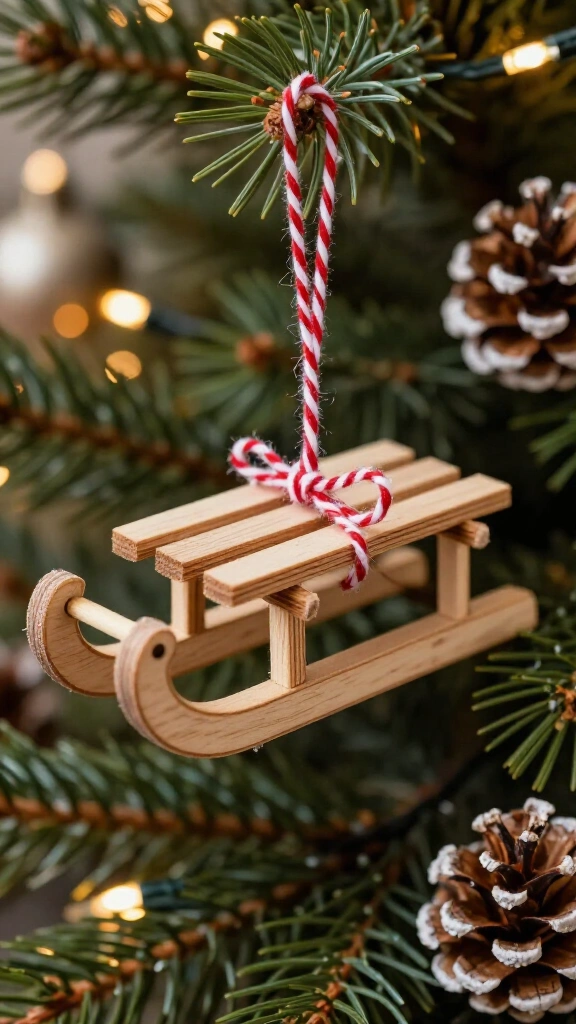
Make classic holiday sled ornaments for your tree. Glue four sticks side by side to create the top platform, then attach two sticks on their thin side edges underneath to form runners. Tie a loop of baker’s twine through the front crossbar for hanging. You can write the year on the underside with a fine marker to keep track of when you made it.
13. Decorative Lantern with Vellum Paper

Build a glowing tabletop lantern for bedrooms or outdoor patios. Glue four square stick frames together and attach translucent vellum or tracing paper behind each opening. Join the four panels into a box and set a battery powered LED tealight inside. Never place open flames or real wax candles inside wooden craft projects.
14. Woven Yarn God’s Eye (Ojo de Dios)
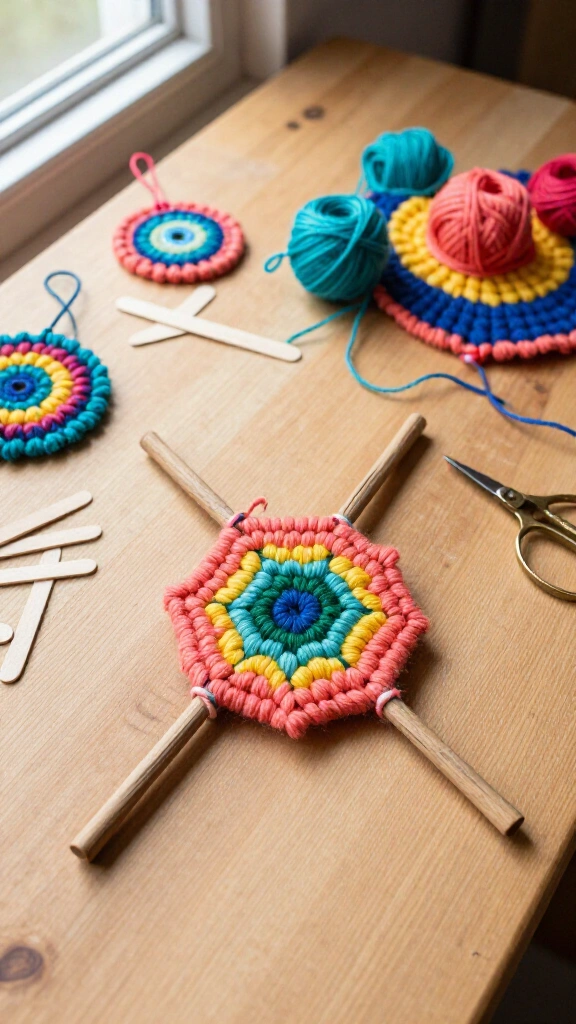
Try this classic woven folk art project using leftover yarn. Cross two craft sticks into an X shape and tie them securely at the center with yarn. Wrap the yarn over and around each wooden arm in a steady clockwise sequence. Switch to new colors every few rows to build neat diamond patterns.
15. Pocket STEM Catapult

Teach simple mechanics with an easy desktop launcher. Bundle seven craft sticks together with rubber bands, then lash a two-stick lever arm across the stack. Glue a clean plastic bottle cap to the top end to hold mini marshmallows or light pom-poms. Parents and teachers can find similar hands-on projects through PBS Kids STEM activities for classroom learning.
16. Personalized Photo Stick Puzzle
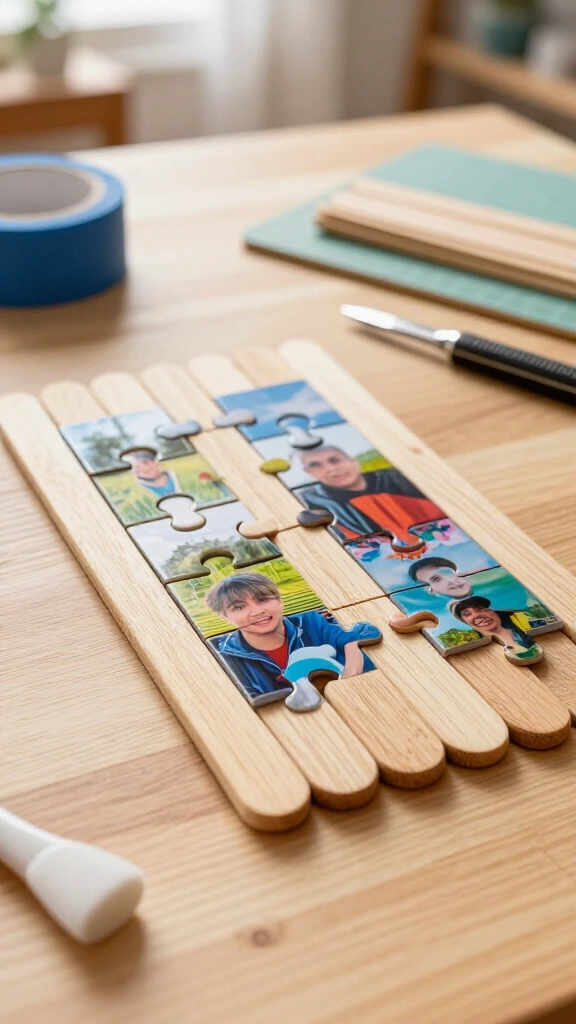
Make a custom picture puzzle using family photos or children’s drawings. Line up ten sticks flat, secure the backside with painter’s tape, and brush Mod Podge over the front to attach the image. Once the glue dries completely, slice along the seam between each stick with a utility blade and peel off the tape. Mix the sticks up and let your child put the picture back in order.
17. Succulent Plant Pot Cover

Conceal plain plastic plant containers using recycled kitchen items. Glue plain craft sticks vertically around an empty yogurt tub or small tin can. Tie a length of jute twine or ribbon around the center to keep everything secure and neat. Place a small succulent inside to sit on your windowsill or desk.
18. Vintage Biplane Model
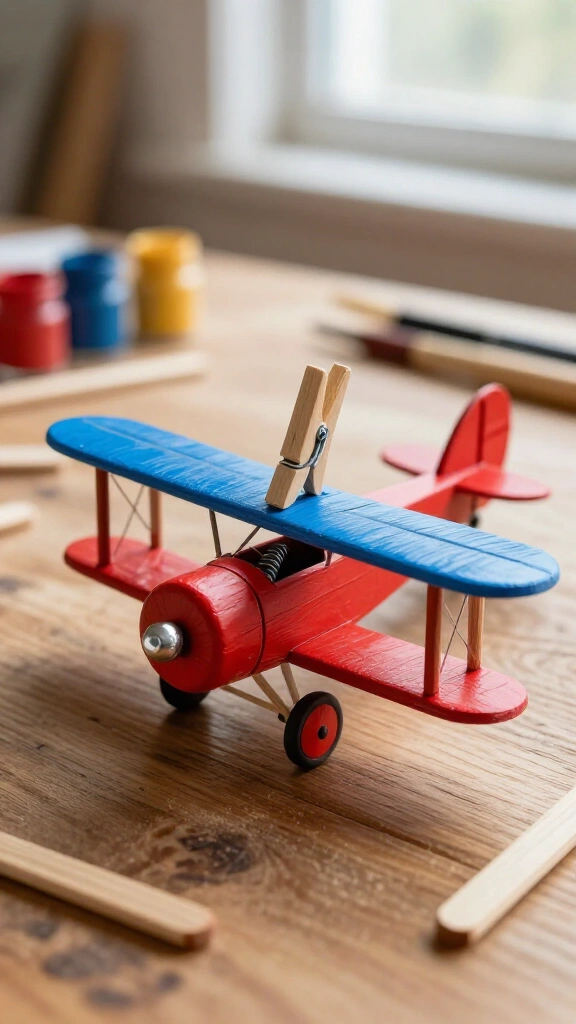
Construct a toy airplane using a wooden spring clothespin and craft sticks. Glue two full sticks horizontally across the top and bottom of the clothespin to create the double wings. Attach a smaller trimmed stick at the back for the tail fin and glue a button up front for the nose. Paint the wood in red, blue, or silver for a classic toy look.
19. Hanging Wind Chime
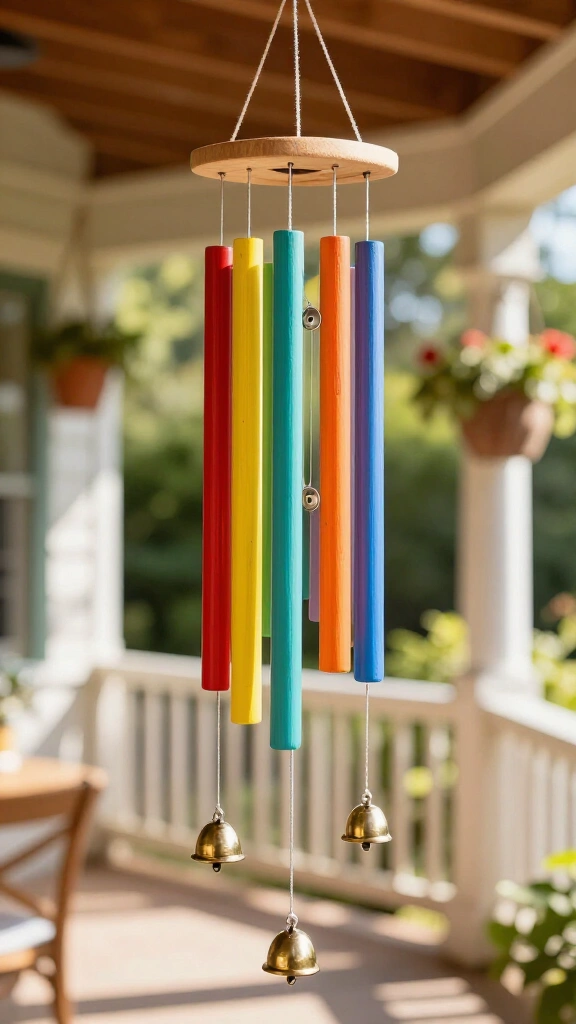
Assemble a light chime for a covered porch or near an open window. Paint eight sticks in different colors, drill small holes through the ends, and tie metal flat washers or small bells to the bottoms using monofilament line. Suspend each piece from a square wooden stick frame so the metal pieces bump together and chime in the wind.
20. Miniature Barn Birdhouse
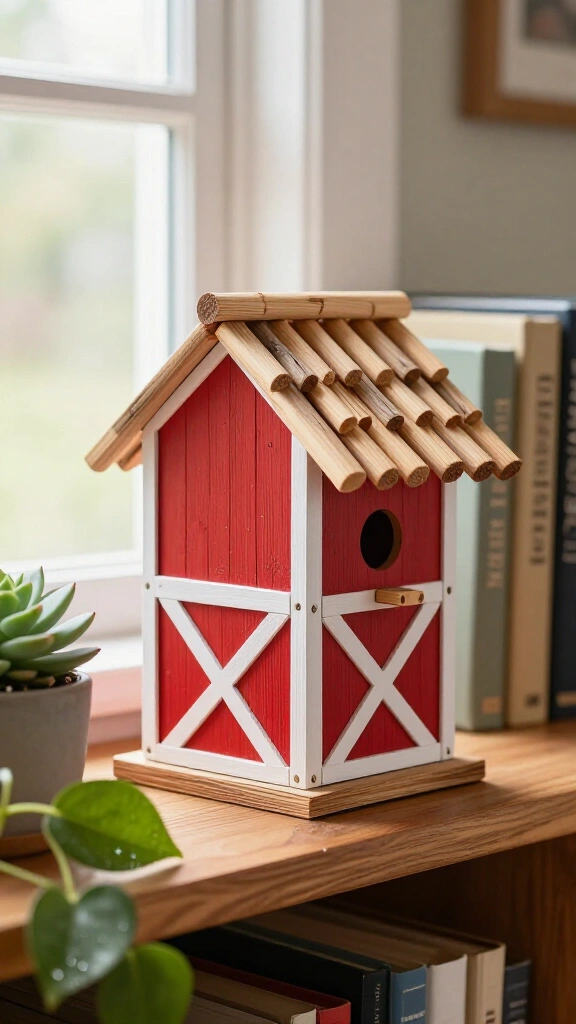
Build a small decorative birdhouse for a bookshelf or mantel. Glue four square walls together, cut a small round hole in the front panel, and attach an A-frame roof across the top. Paint the walls red and add white borders to mimic a classic barn. Place the finished house on a shelf next to house plants.
21. Magnetic Refrigerator Frames
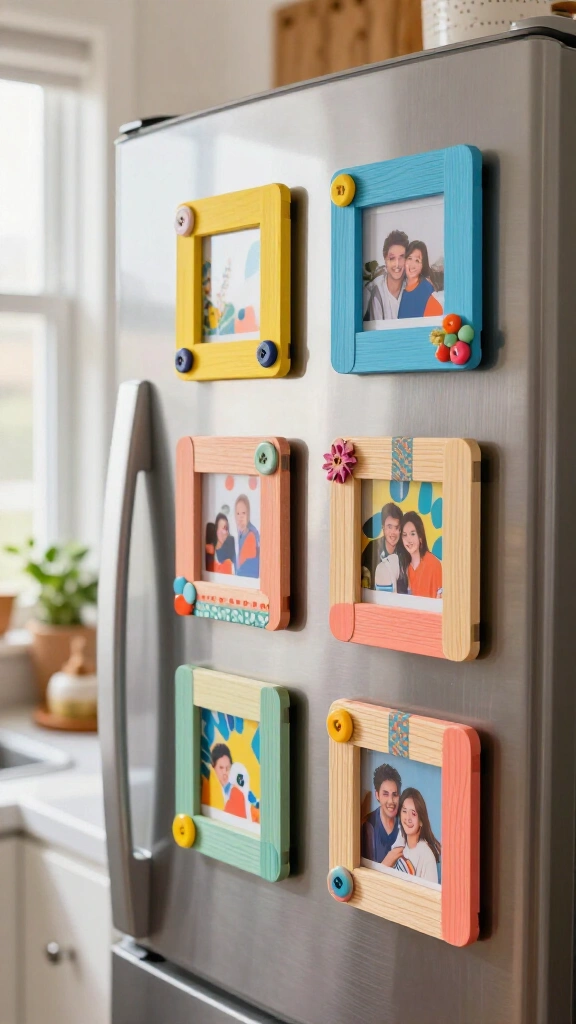
Display school photos and artwork on the fridge with custom magnetic frames. Glue four sticks into a square, add color with paint, buttons, or patterned tape, and stick two strong peel-and-stick magnets to the back. Tape a wallet-sized photo behind the center opening to keep family pictures neat on the refrigerator door.
22. Popsicle Stick Truss Bridge
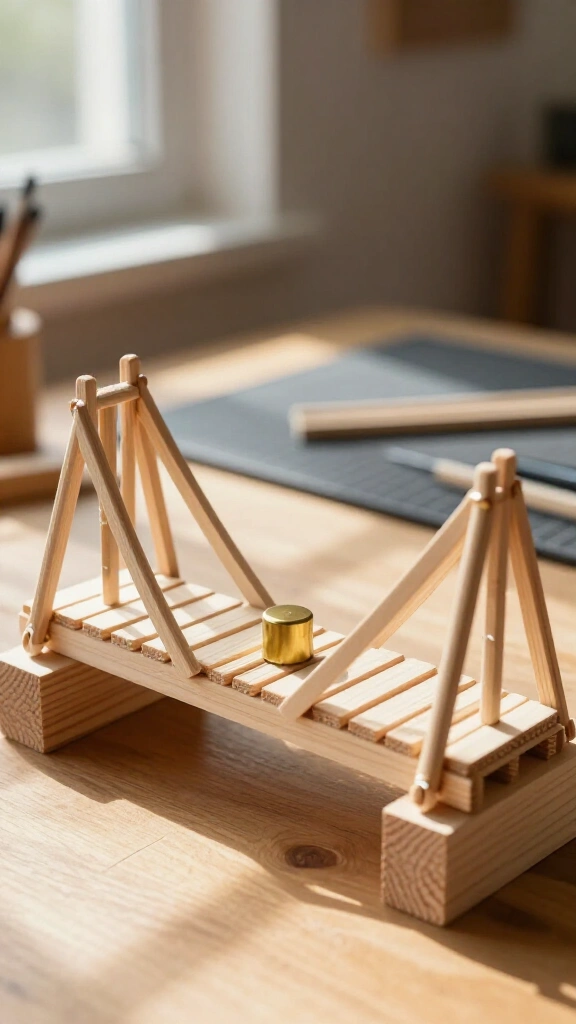
Test simple engineering principles by building a miniature bridge. Form triangular trusses along both side spans and connect them with horizontal floor beams to support the deck. Once the wood glue cures, stack canned foods or small weights on top to see how much weight the structure holds before flexing. This hands-on project gives students practical insight into structural loads.
23. Keepsake Trinket Box with Lid
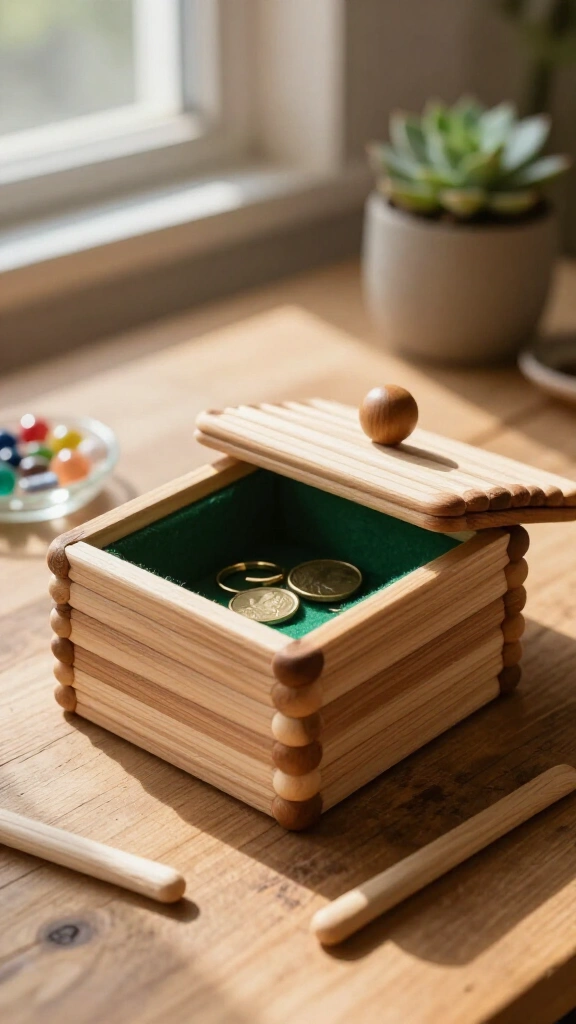
Store rings, coins, or small desk supplies in a stacked wood box. Lay down a solid square floor of sticks, then overlap sticks on alternating corners to build up four hollow walls. Assemble a flat lid and glue a wooden bead to the top for a handle. Line the bottom with a scrap of felt to cushion whatever you store inside.
24. Mini Deck Chair Phone Stand
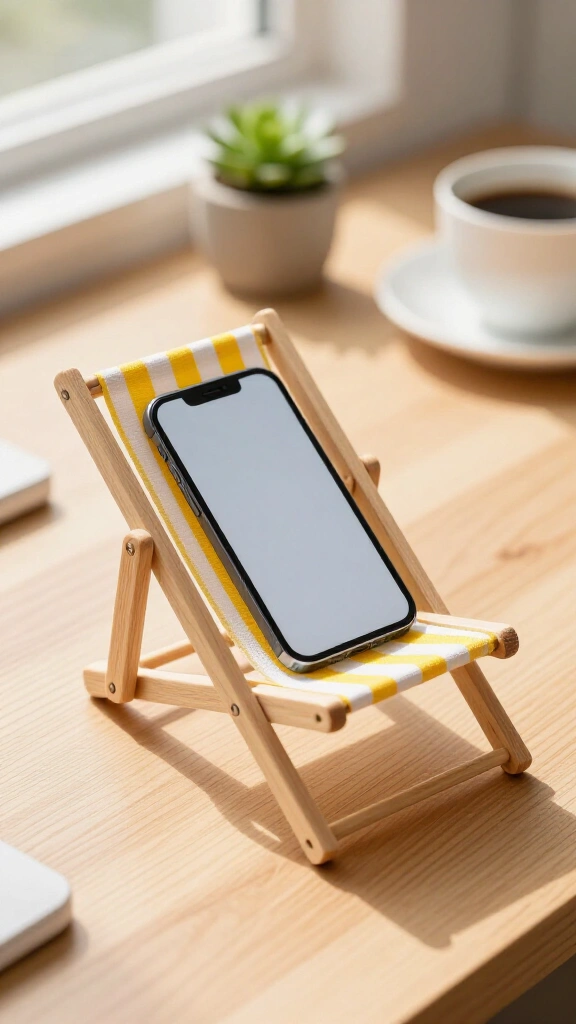
Prop your phone up on your desk with a miniature folding beach chair. Construct two interlocking rectangular frames from craft sticks and stretch a strip of canvas fabric across the seat. The hinged rear support lets you adjust the viewing angle for watching video clips or reading recipes while you cook. The entire frame folds flat when you need to store it.
25. Layered Holiday Starbursts
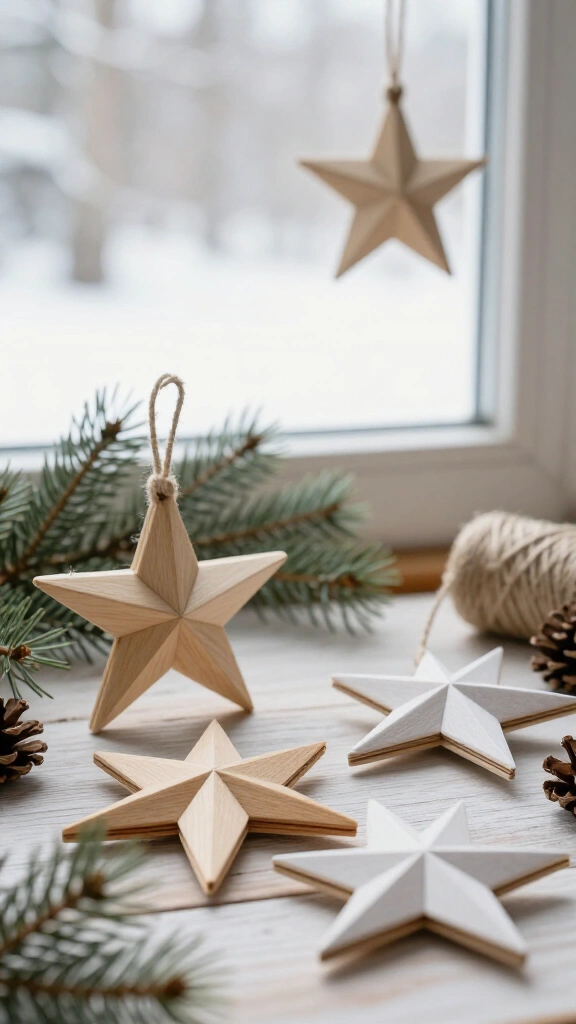
Make geometric stars by layering equilateral triangles. Glue sticks into two separate three-sided triangles, then glue one over the other in reverse orientation to produce a clean six-pointed star. Keep the birch wood bare for a Scandinavian look, or paint the tips white for winter window hangings.
26. Tabletop Marble Maze
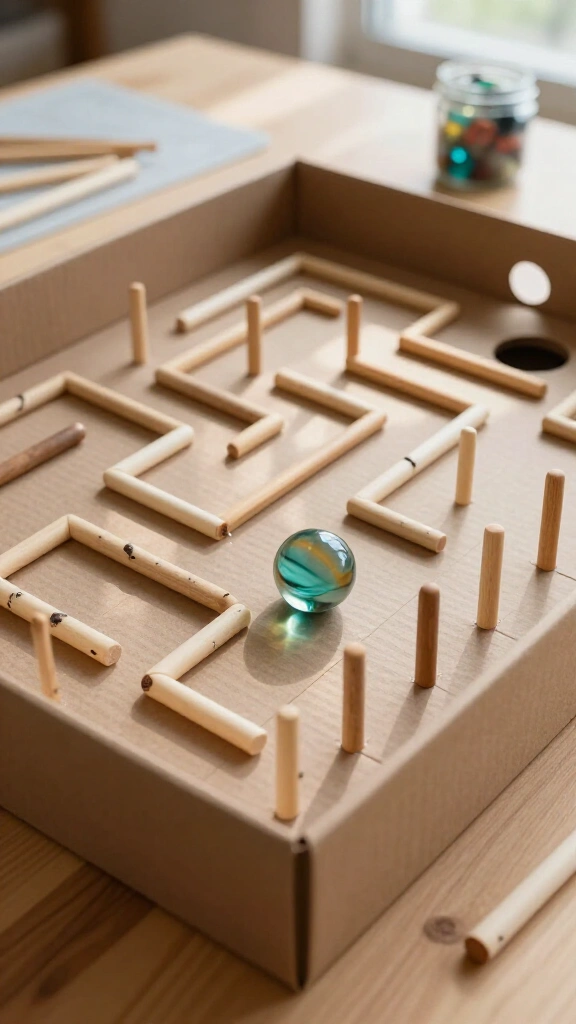
Build an obstacle course inside a shallow cardboard shoebox lid. Stand craft sticks on their narrow edges and glue them down to form pathways, dead ends, and open junctions. Cut a small exit hole at the far corner, drop in a standard marble, and tilt the box by hand to guide the marble through the maze.
27. Tissue Paper Sun Catchers

Mimic stained glass by combining dark craft sticks with translucent tissue paper. Assemble stick frames into diamond or square shapes, then glue overlapping layers of torn colored tissue paper to the back using watered-down craft glue. Hang the completed frames in a sunny window so natural light shines through the colors.
28. Miniature Pallet Trivets
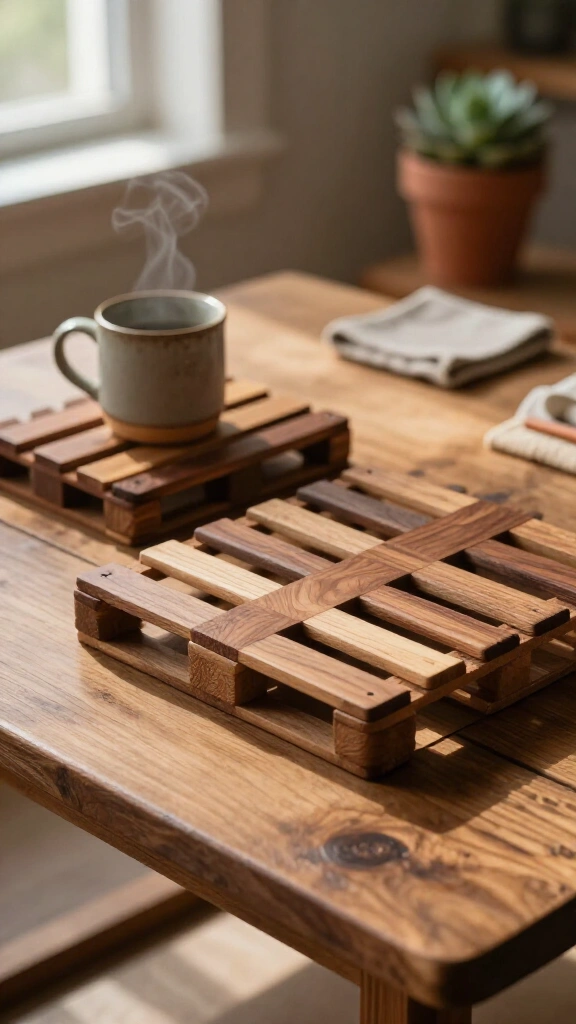
Build miniature industrial pallets to protect surfaces from warm dishes or cups. Glue three thick wooden skewers or sticks on edge for the underlying frame, then lay thin craft sticks evenly across the top and bottom. Sand the edges smooth and apply a walnut stain to mimic aged lumber. These sturdy mini pallets work well on coffee tables and workshop desks.
29. Decorative Woven Flower Basket
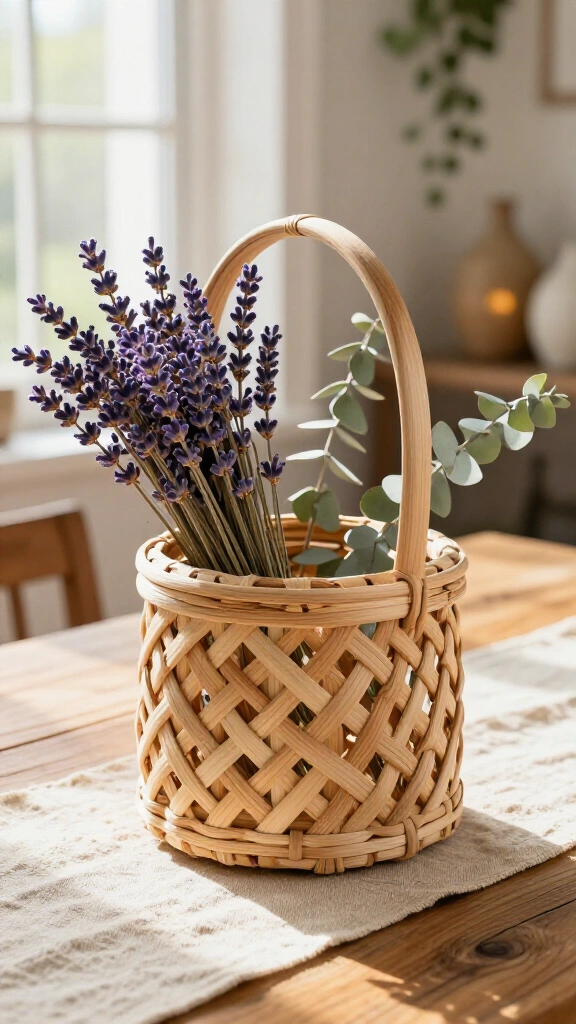
Hold dried flowers or fabric blooms in a tiered wooden basket. Form spiraling walls by rotating each layer of sticks slightly as you glue them upward from a solid base. Bend a soaked craft stick into an arch across the top opening to serve as a handle. Fill the finished basket with dried lavender or eucalyptus for a table display.
Start Crafting Today
You do not need an expensive trip to a craft store to start making things. With a box of wooden sticks and standard glue, you have what you need to build simple organizers, STEM toys, and home decorations. Pick a couple of ideas from this list, clear a workspace on your table, and start assembling your first project.