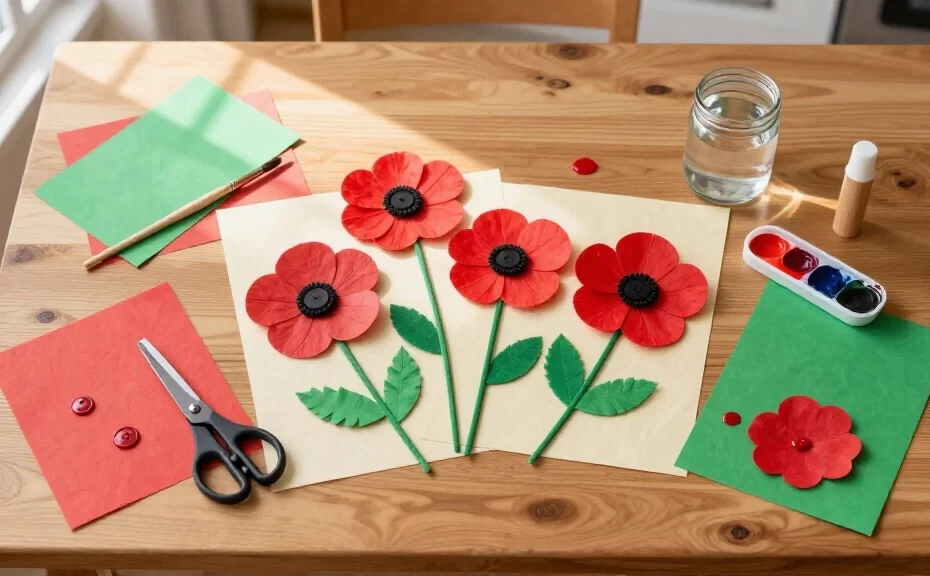
Explaining history to a five-year-old without losing their attention is tricky. I ran into that wall a few autumns ago at a kitchen table covered in red paper scraps. Hands-on projects ended up opening the door.
Teaching kids about November 11th doesn’t take a long history lesson. These 14 easy Remembrance Day crafts for kids to make at home turn simple paper and paint into clear symbols of peace.
You can use these ideas for homeschool lessons or a quiet weekend afternoon. You likely have most of these supplies in your drawers already. Grab some glue sticks, clear off the table, and start making things together.
1. Classic tissue paper poppy
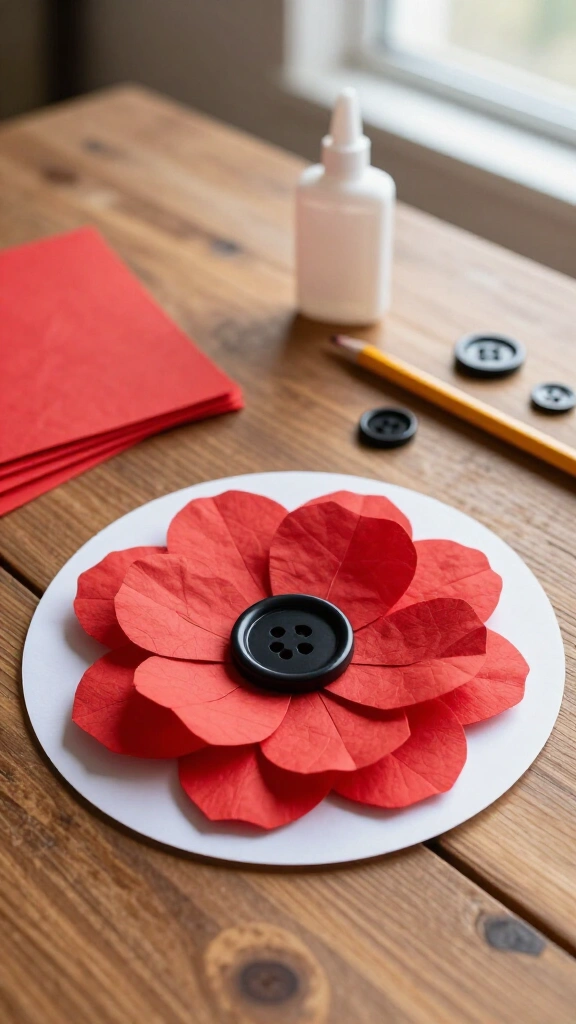
You can never go wrong with tissue paper. Preschoolers get great fine motor practice pressing the thin paper down, and the crinkled edges give the petals a full, ruffled look.
What you will need:
- Red tissue paper cut into 2-inch squares
- Black buttons or black cardstock circles
- Sturdy paper plates or heavy cardstock
- School glue and a pencil with an eraser end
Wrap a tissue paper square over the eraser end of your pencil. Dip the tip in glue, then push it onto your cardstock circle cutout. Fill the whole shape with red squares, then glue a black button right in the middle. If you want to share the history of why people wear red poppies in November, read the background at the Royal British Legion.
2. Paper plate poppy wreath
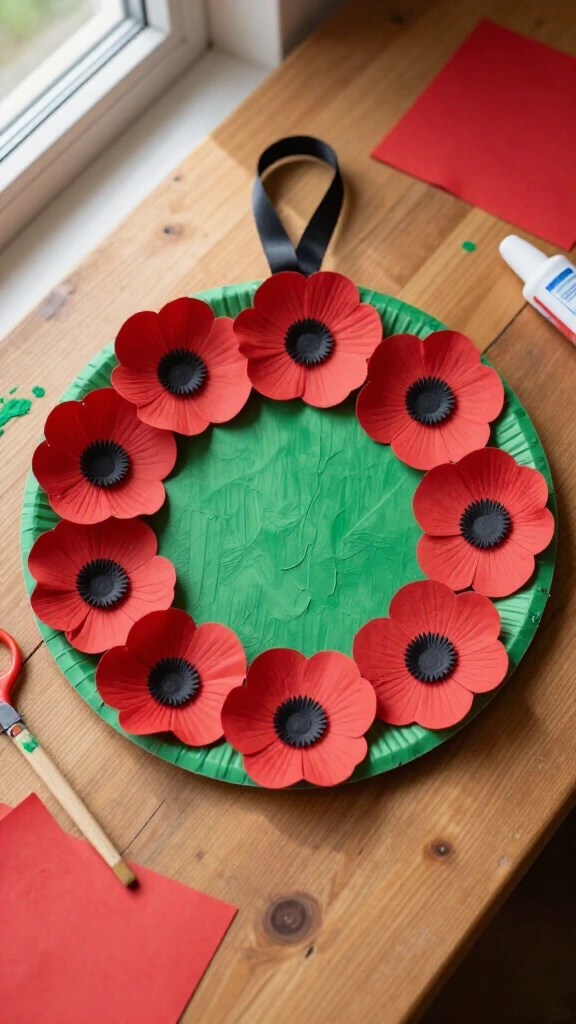
A simple paper plate makes a sturdy base for a door wreath. Kids get to paint the green ring, make the flowers, and arrange them around the frame.
Cut out the center of a paper plate to form a ring. Have your kids paint the ring green with washable poster paint or acrylics. While that dries, help them cut out 6 to 8 red poppies using red paper, coffee filters, or cupcake liners.
Glue the poppies around the painted ring, overlapping the edges so no green plate shows through. Fasten a loop of black ribbon to the top for hanging. If your kids like making decorations, check out our list of easy fall crafts for more projects.
3. Handprint poppy art keepsake
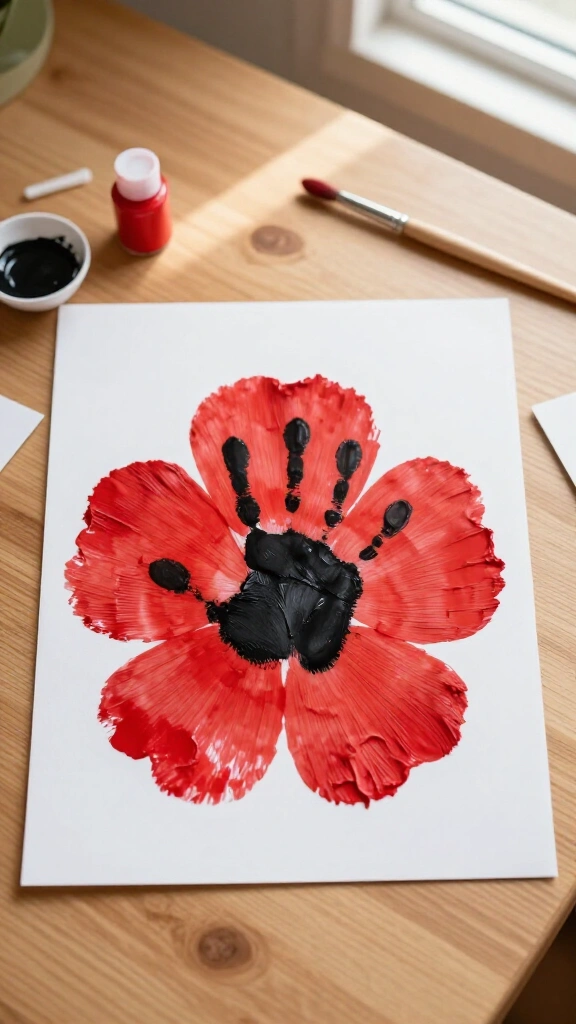
Handprint projects capture a specific moment in time. Four small red prints arrange naturally into the four petals of a poppy.
Coat your child’s palm with red washable paint. Press their hand onto white cardstock four times, turning the paper slightly each time so the palm bases meet in the middle. After the red paint dries, have your child press a thumb covered in black paint right into the middle.
Write the year and a short note like “We Will Remember” at the bottom of the page. If you enjoy paint prints, take a look at our collection of merry bright handprint crafts for the holidays.
4. Egg carton poppy flowers
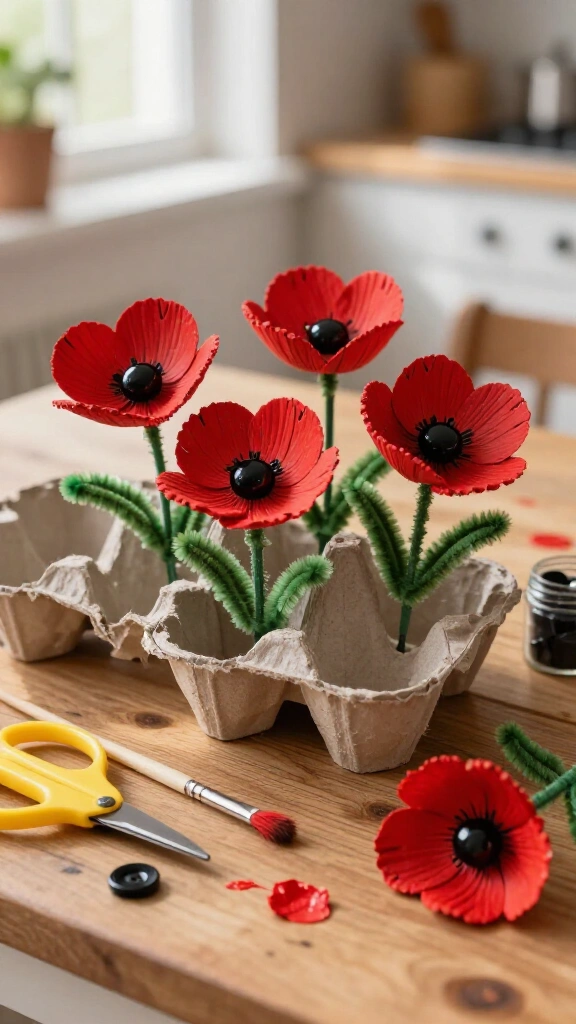
Save your empty cardboard egg cartons instead of tossing them into the recycling bin. The curved shape of each section turns into flower petals with a few quick scissor cuts.
Cut individual cups out of the carton. Trim four small V-shaped notches along the top edge of each cup to separate the four petals. Let your child paint the inside and outside of the cup with red paint.
Once dry, glue a black button in the bottom or poke a green pipe cleaner up through the bottom center for a stem. These hold their shape well and sit upright inside small jars or vases.
5. Coffee filter bleeding poppies
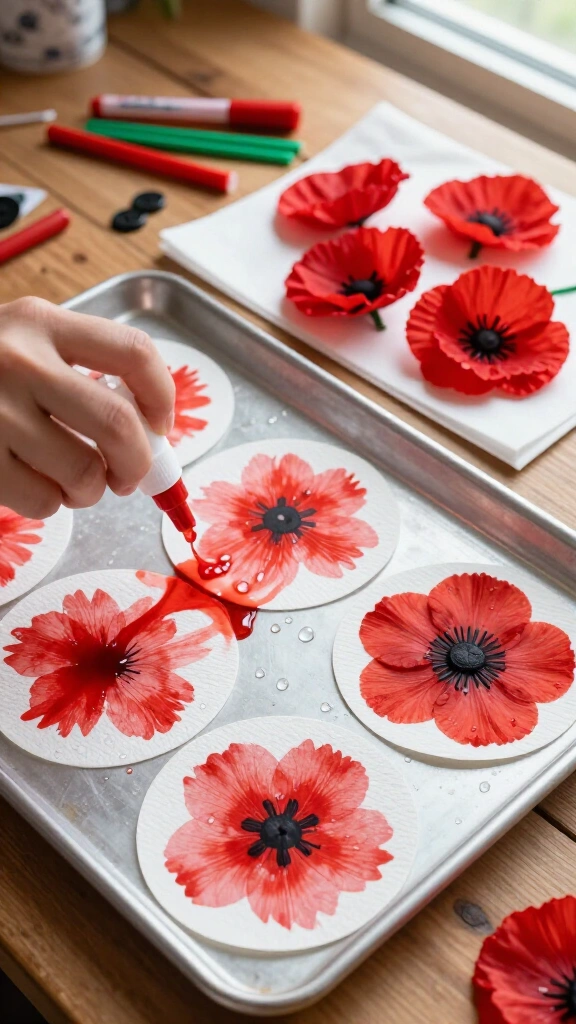
This project combines a quick art activity with a simple water experiment. Coffee filters absorb water quickly, letting marker ink spread out into soft washes of color that catch the light in windows.
Lay white coffee filters flat on a baking sheet. Let your kids scribble across the filters using red washable markers. Spray the paper with water using a spray bottle so the marker lines spread into smooth red patterns.
Move the wet filters onto paper towels until they dry. Pinch the middle of each filter, twist a black pipe cleaner around the pinched point, and flare out the top paper edges. Tape these to a bright window.
6. Plastic bottle bottom poppy stamps
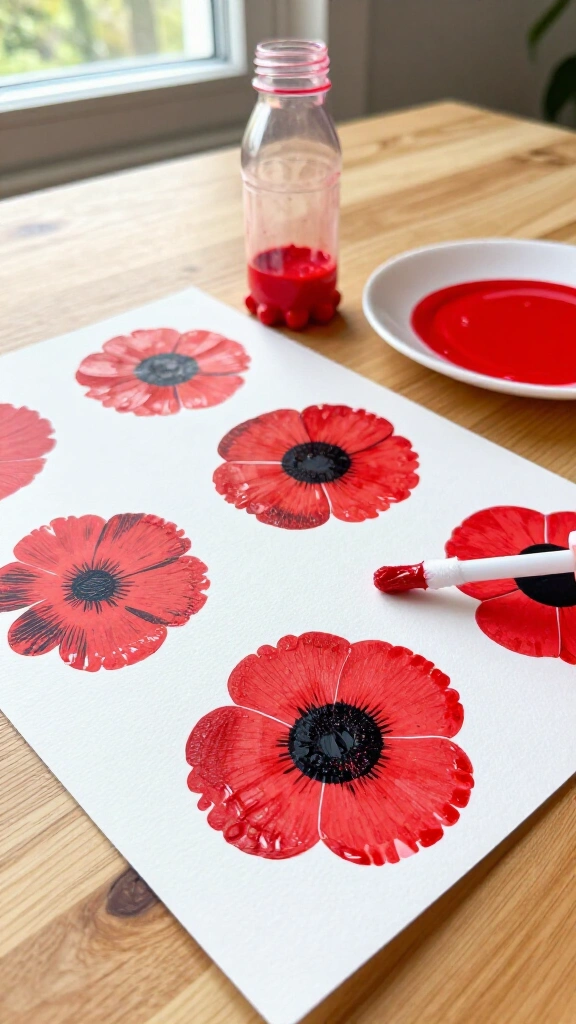
The bumpy bottom of a plastic drink bottle creates a clear flower print when dipped in paint. It saves kids from trying to paint identical petals by hand.
Pour red paint onto a flat plate. Press the bottom of an empty plastic soda bottle into the paint so every raised section catches color. Stamp the bottle onto paper or cardstock.
Lift the bottle straight up to leave a clean petal shape on the page. When the red paint dries, let your kids press a black thumbprint or use a cotton swab in the center. You can find background material for kids through Veterans Affairs Canada to pair with the activity.
7. Felt poppy lapel pin
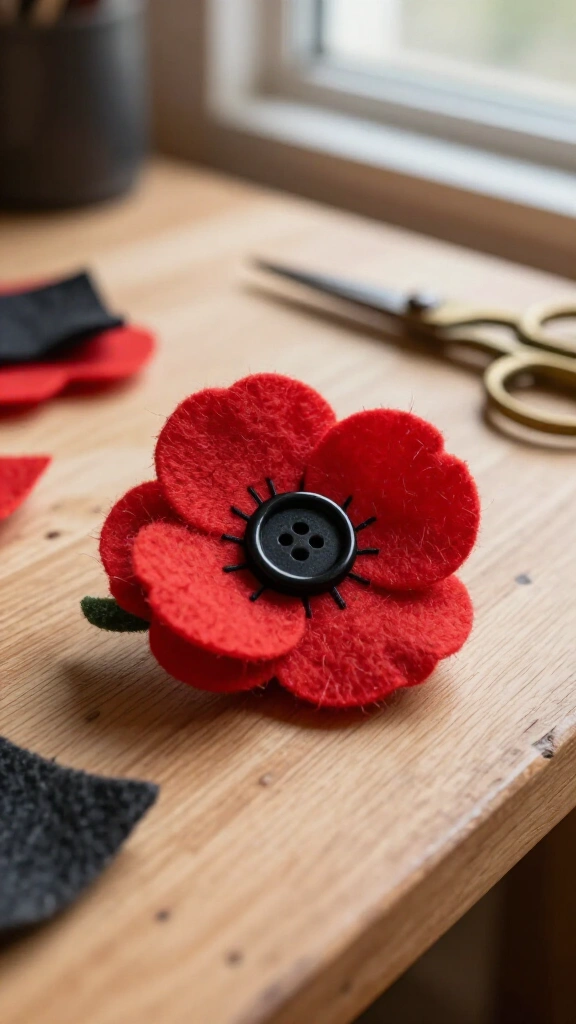
Felt holds up much longer than paper. Older kids can practice basic stitching or work with fabric glue to make a pin for coats, bags, or scarves.
Cut two petal shapes out of stiff red felt, making one slightly larger than the other. Place the smaller piece over the larger piece, rotating it so the petal points stagger. Add a small circle of black felt to the center.
Glue the pieces together with fabric glue, or sew a black button through the middle of all three layers. Glue a safety pin to the back side. Kids can wear their pin to local Remembrance Day events.
8. Air-dry clay poppy bowl
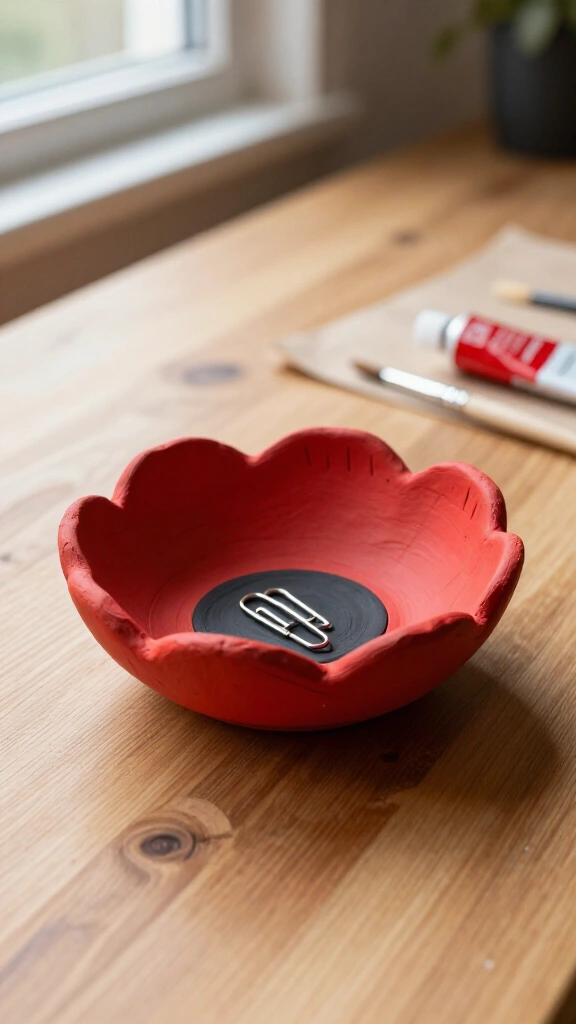
Working with clay strengthens hands and helps kids practice control. Air-dry clay cures without a kiln, so you do not need any special equipment.
Roll out a ball of air-dry clay into a flat circle. Curve the edges upward to form a shallow dish. Use a plastic knife to press light vertical lines around the rim to mark out the petal shapes.
Set the bowl aside to dry for 24 to 48 hours. Paint the entire dish red, then paint the center base black. The finished dish holds small items like paper clips or change.
9. Corner poppy bookmark
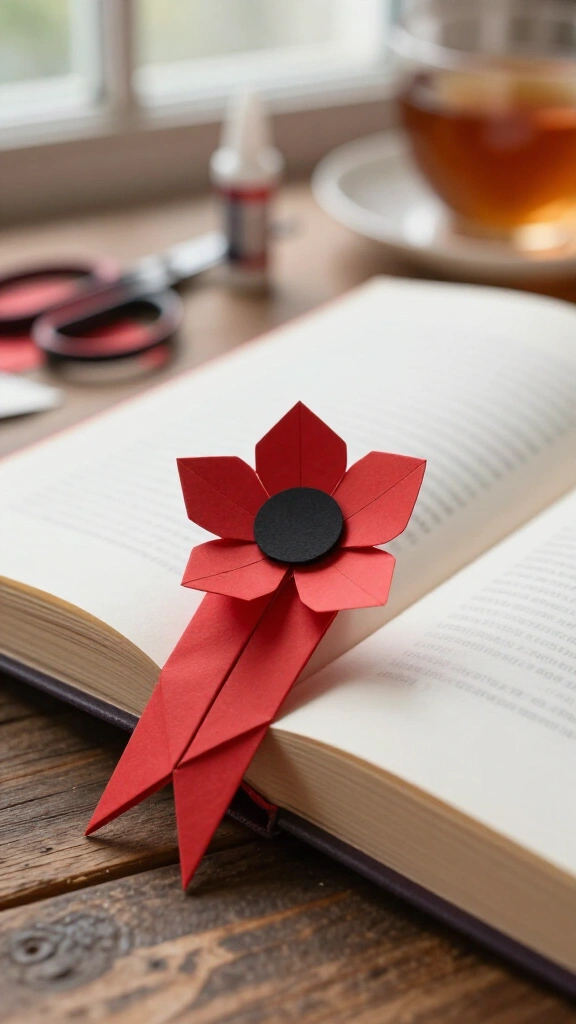
This project pairs well with quiet reading time. An origami corner bookmark slides onto the corner of a page and takes about ten minutes to fold.
Fold a square sheet of red paper into a corner bookmark pocket. Cut two rounded red petals from scrap paper and glue them near the opening. Stick a small black circle in the middle to complete the flower.
Slip the bookmark over the top corner of a page. If you want book recommendations, browse the archives at the Imperial War Museums for age-appropriate history stories.
10. Tissue paper sun catcher
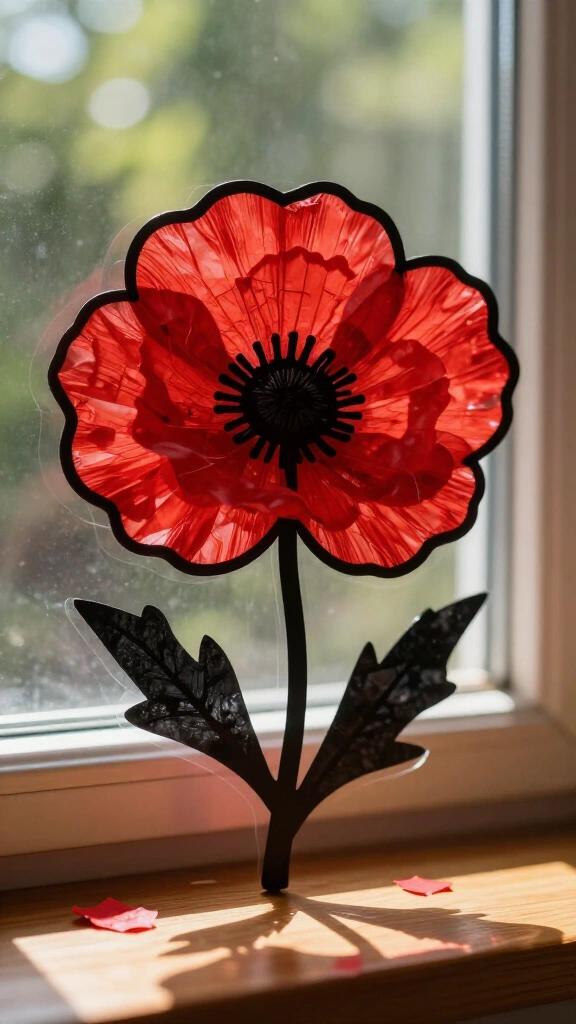
Clear sticky paper lets kids arrange tissue paper without liquid glue. When you hang these on a window, sunlight shines right through the thin paper.
Cut a poppy outline out of black paper. Lay the outline onto a sheet of sticky contact paper. Have your child fill in the empty middle space with small scraps of red and black tissue paper.
Press a second piece of contact paper over the top to seal it. Cut around the outer black border and tape the finished flower to a sunny window. Making three or four together creates a nice window display.
11. Popsicle stick poppy plaque
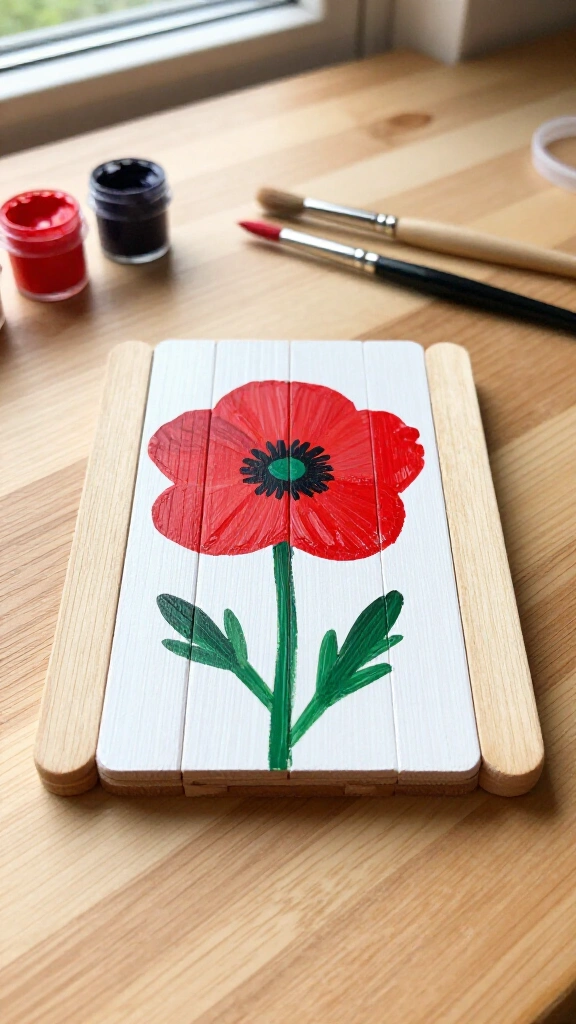
Craft sticks are cheap and sturdy. Glueing them together creates a small wooden surface that works like a canvas panel for acrylic paint.
Line up six wooden craft sticks side by side. Glue two extra sticks diagonally across the back side to hold the panel together. Paint the front surface white so your flower colors stand out clearly.
Once the white base coat dries, paint a red poppy directly onto the slatted wood. If you want more autumn activities, look through our guide to easy Thanksgiving crafts for kids.
12. Painted poppy kindness rocks
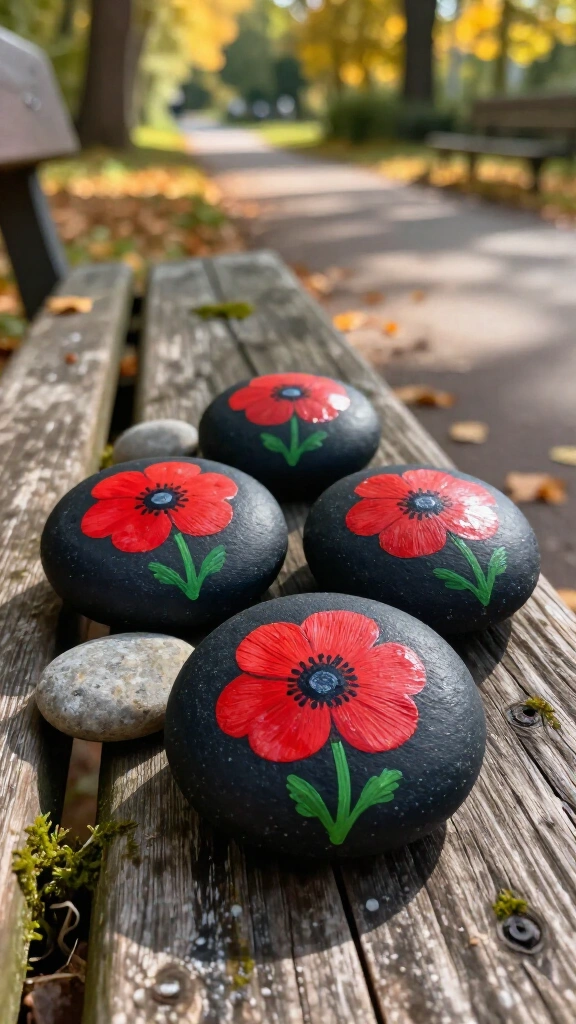
Painting smooth stones lets kids combine an outdoor walk with an art project. You can leave the finished rocks along walking paths for neighbors to find.
Look for smooth, flat rocks in your yard or on a walk. Wash off dirt and let them dry in the sun. Paint the whole rock black or dark gray to give the flower a dark background.
Paint a red poppy on the surface using acrylic paint pens or outdoor paint. Coat the rock with a clear sealant spray so rain will not wash the paint off. Leave your finished stones along local paths or community markers.
13. Button and ribbon remembrance poppy
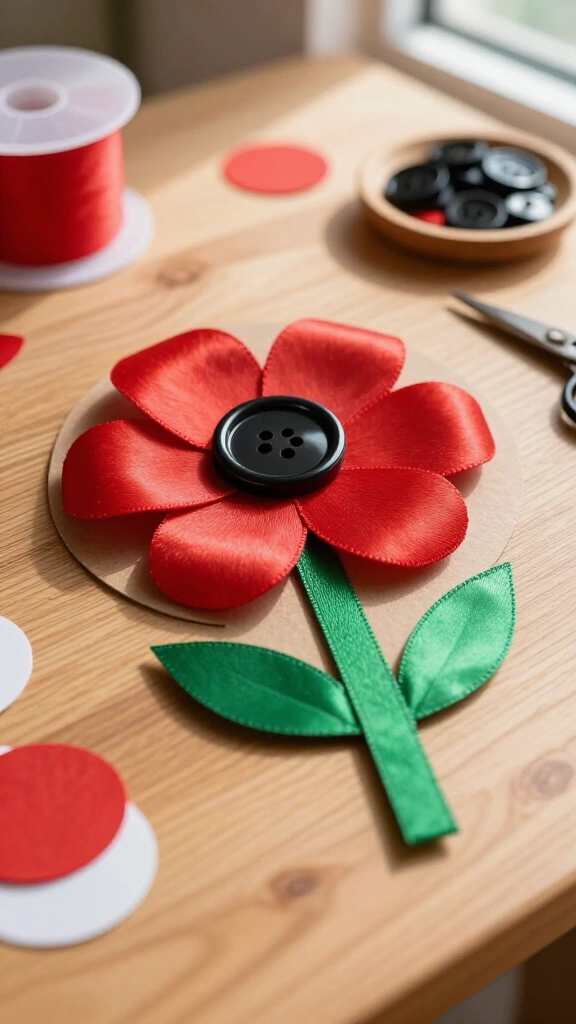
Using ribbon and buttons gives kids different textures to work with. Smooth satin loops make soft petals surrounding a hard button middle.
Cut four 3-inch lengths of wide red ribbon. Fold each strip into a loop and glue the loose ends onto a cardboard circle, placing the loops outward like petals. Glue a black coat button over the center where the ends meet.
Add a green ribbon strip at the bottom for a stem. This craft works well for mixed age groups, since older kids can cut ribbon while younger ones position the button.
14. Cupcake liner poppy flower
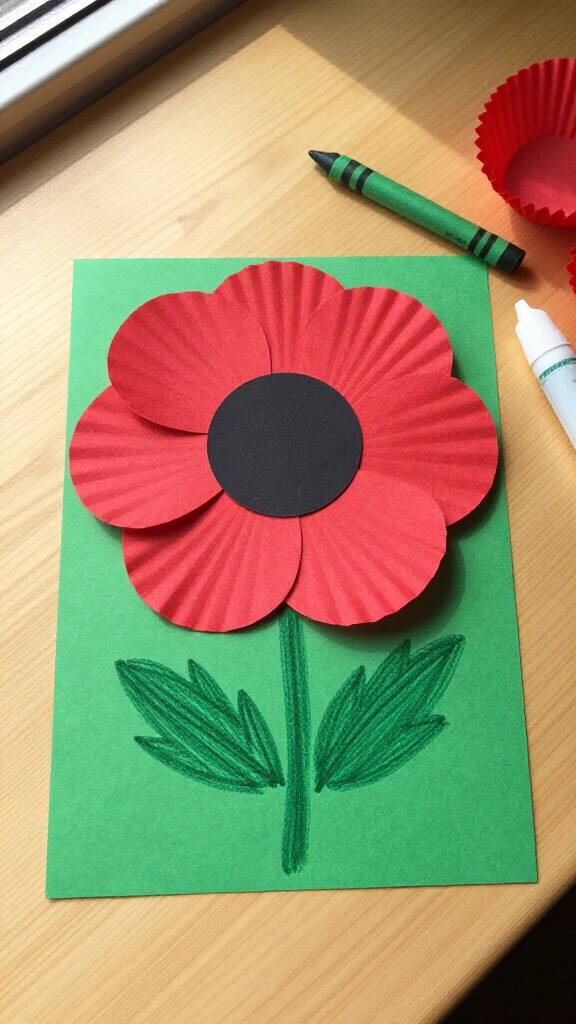
Paper cupcake liners already have ridged edges that look like petals. This project takes very little prep and cleans up fast.
Flatten two red cupcake liners. Place one inside the other, rotating the top liner slightly so the ruffled ridges overlap unevenly. Glue the center of the inner liner down.
Glue a small black cupcake liner or a black paper circle in the middle. Attach the flower head to a sheet of green construction paper and draw a stem with crayons or markers.
Making time for Remembrance Day crafts
Crafting for November 11th gives kids a physical way to connect with a solemn topic. A simple afternoon project can start comfortable conversations about history, sacrifice, and peace without feeling heavy-handed.
You do not need rare supplies or clean lines to make these projects worthwhile. Pick one or two items from this list, clear off the table, and spend an hour making them together. Which project will your family try first this season?