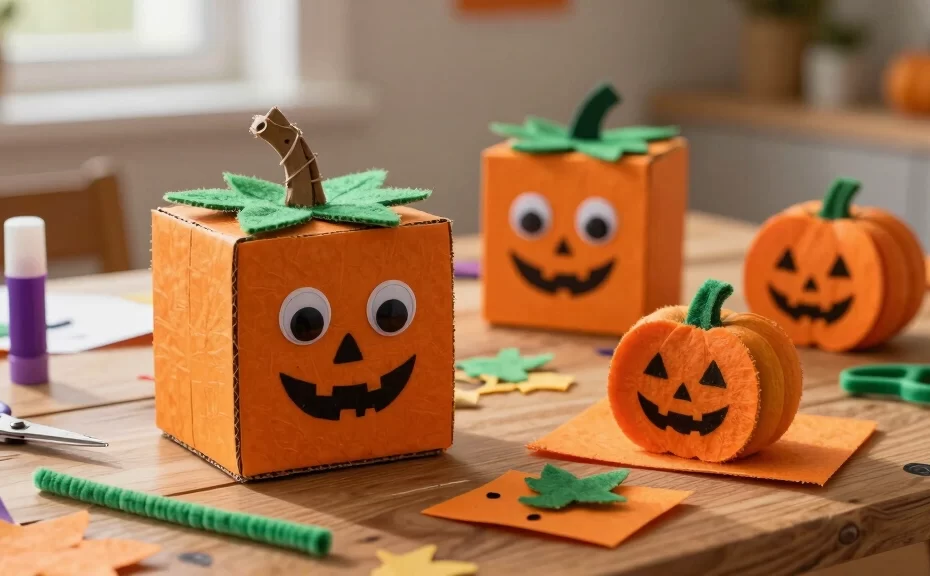
Do you remember the heartwarming tale of Spooky, the odd-shaped pumpkin who couldn’t roll? Halloween approaches quickly, and standard round pumpkins dominate every doorstep. Why not celebrate uniqueness this season? These 14 Spooky the Square Pumpkin craft ideas will spark joy in your home and classroom. Grab your glue sticks, gather the kids, and let’s make some memories!
Crafting helps children develop coordination, patience, and spatial awareness. By focusing on Spooky the Square Pumpkin, you also teach a valuable lesson: being different makes you special. Let’s get crafting! 🎃
1. Popsicle Stick Spooky the Square Pumpkin
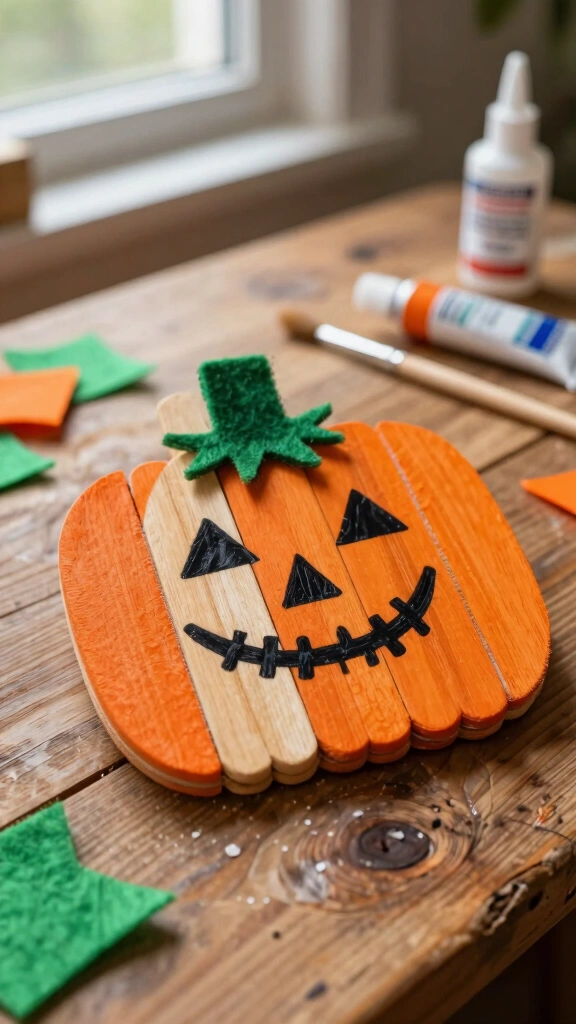
You can create a budget-friendly Spooky using simple wooden popsicle sticks. Crafting with popsicle sticks builds fine motor skills and lets kids practice grid layouts.
Materials & Step-by-Step
- Materials: 8-10 popsicle sticks, orange acrylic paint, green felt, black marker, craft glue.
- Lay four sticks in a square shape and glue the corners to create a sturdy frame.
- Glue additional sticks across the frame to fill the center space.
- Paint the entire wooden square bright orange and let it dry completely.
- Cut a small green rectangle from your felt sheet and glue it to the top for the stem.
- Use the black marker to draw Spooky’s classic anxious, crooked smile.
Pro Tip: Glue a small magnet to the back to display this masterpiece on your refrigerator!
2. Square Pumpkin Tissue Paper Suncatcher
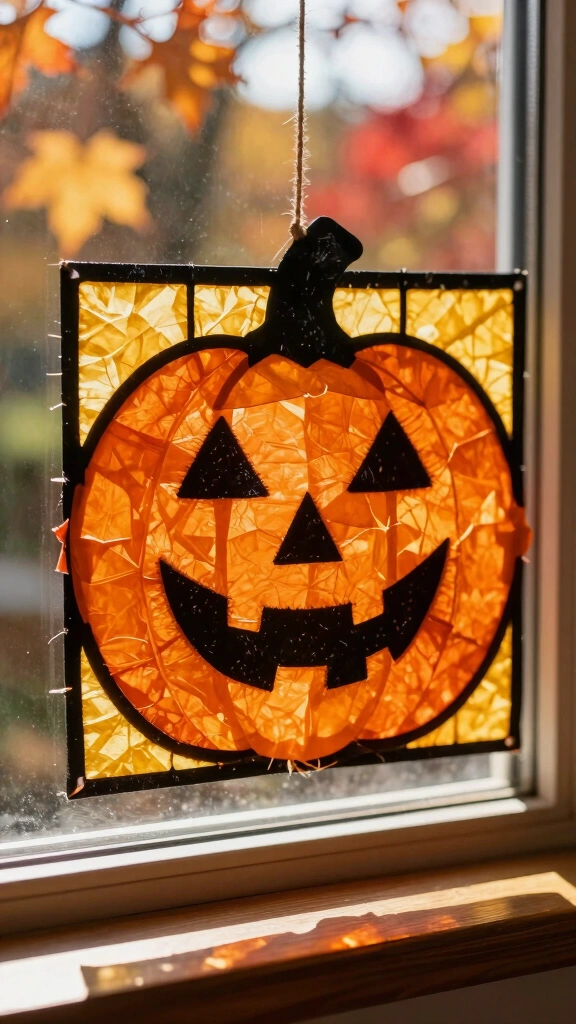
Catch the autumn afternoon sunlight with a beautiful window display. Tissue paper suncatchers look like stained glass but cost pennies to make.
How to Make It
First, cut a square outline from black construction paper to act as your frame. Next, place a sheet of clear contact paper over the frame, sticky side up. Let your kids press small, torn squares of orange tissue paper onto the sticky surface. Once they fill the square, seal the back with another sheet of contact paper. Trim the edges, add a green paper stem, and tape it to a sunny window. IMO, this craft looks best when the sun shines directly through the orange paper.
3. Repurposed Wooden Block Spookies
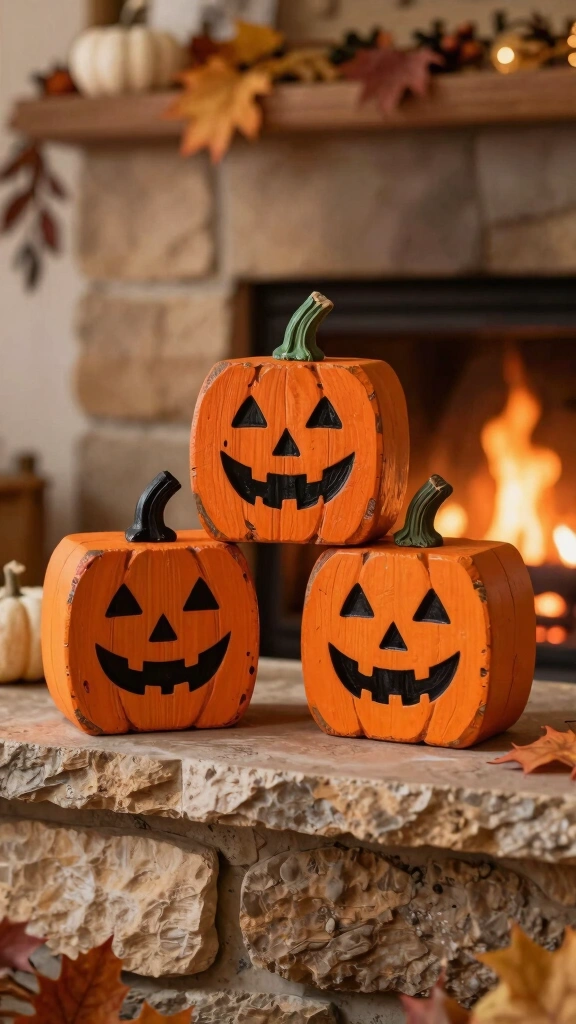
Do you have scrap wood blocks lying around in your garage or toy box? Turn those square blocks into durable Halloween decorations that last for years.
Styling Your Wooden Spooky
Apply a thick coat of orange paint to all sides of the block. Once the paint dries, use acrylic paint pens to draw the facial features. You can paint a small twig green and glue it to the top of the block for an authentic stem. These heavy wooden blocks look fantastic sitting on a fireplace mantel or front porch steps.
FYI: Sand the edges of the wood blocks beforehand to prevent splinters during handling.
4. Upcycled Cereal Box Square Pumpkin
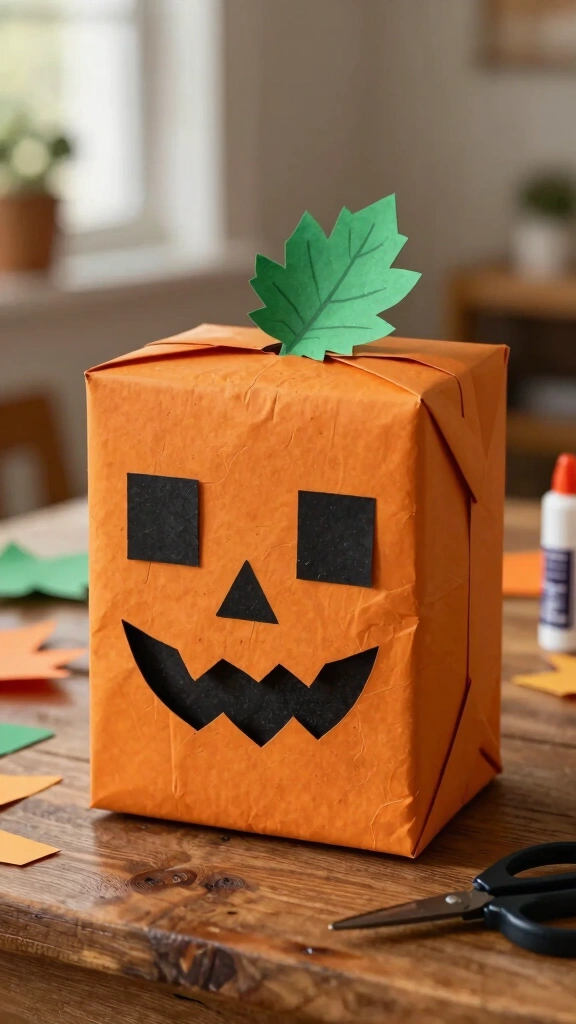
Save those empty cardboard cereal boxes from the recycling bin. This craft teaches children about recycling while encouraging imaginative play.
Assembly Instructions
Wrap the empty cereal box in bright orange construction paper just like a birthday present. Cut out square eyes and a zigzag mouth from black paper, then glue them onto the flat side of the box. Cut a green paper leaf and paste it near the top opening. Because the box stands upright on its own, it makes a perfect centerpiece for your family dinner table.
5. Cozy Felt Spooky Hand Puppet
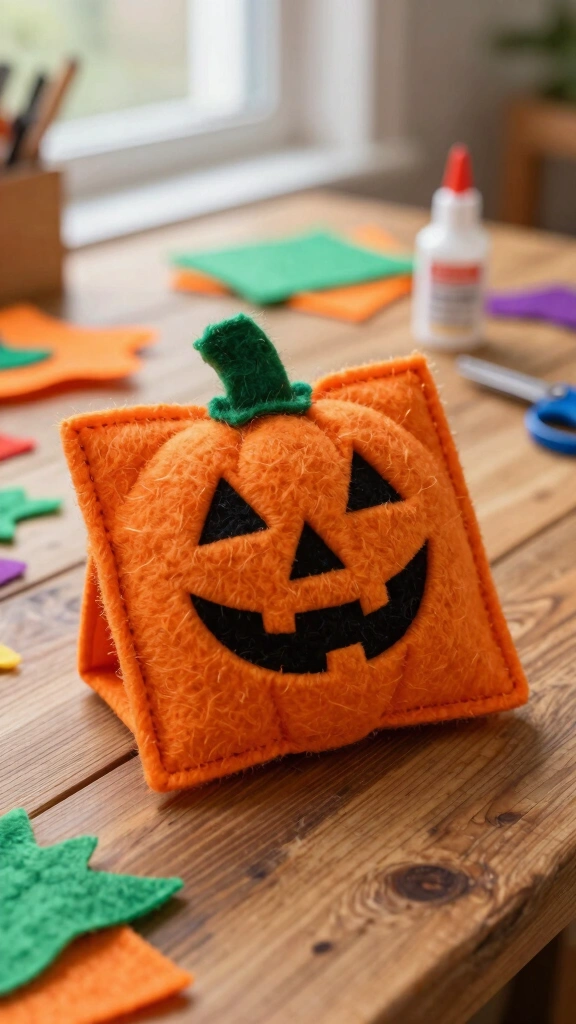
Bring storytime to life with a homemade felt puppet. Felt provides a wonderful tactile experience for toddlers and preschoolers.
Stitching or Gluing Guide
Cut two identical large orange felt squares. Glue three of the outer edges together using fabric glue, leaving the bottom edge completely open for little hands. Cut a green stem and black facial features from felt scraps. Glue these details to the front square. Your kids will happily recreate the entire book plot using their new puppet friend.
6. Glowing Mason Jar Spooky Lanterns
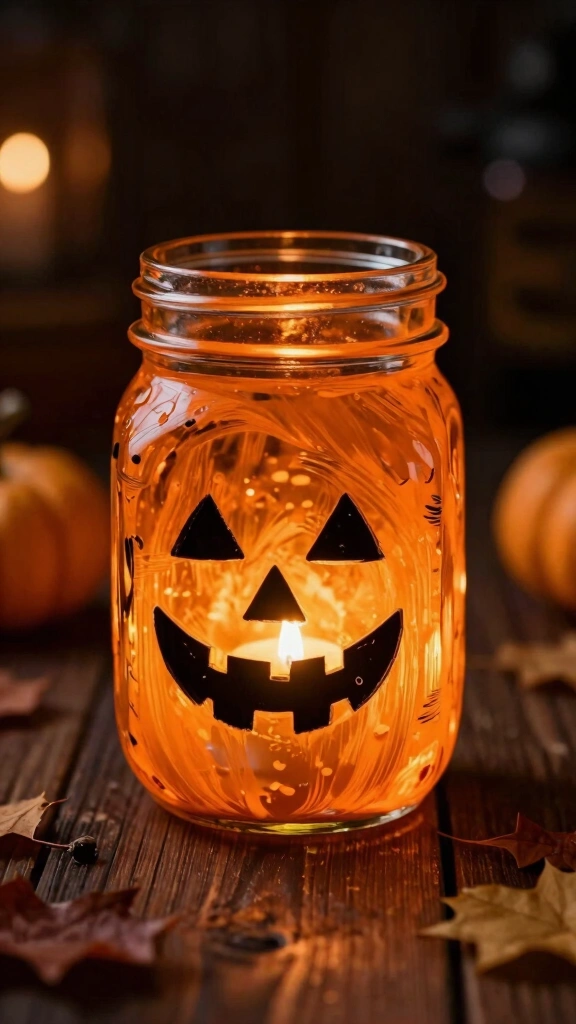
Illuminate your dark Halloween nights with these charming lanterns. Grab a square-sided mason jar to match Spooky’s iconic shape.
Lighting Tips
Paint the outside of the square jar with orange translucent glass paint. Alternatively, you can brush Mod Podge onto the glass and cover it with orange tissue paper. Paint Spooky’s face on one flat side of the jar using a black paint marker. Drop a battery-operated LED tea light inside to watch your square pumpkin glow safely in the dark.
7. Paper Plate Square Pumpkin Craft
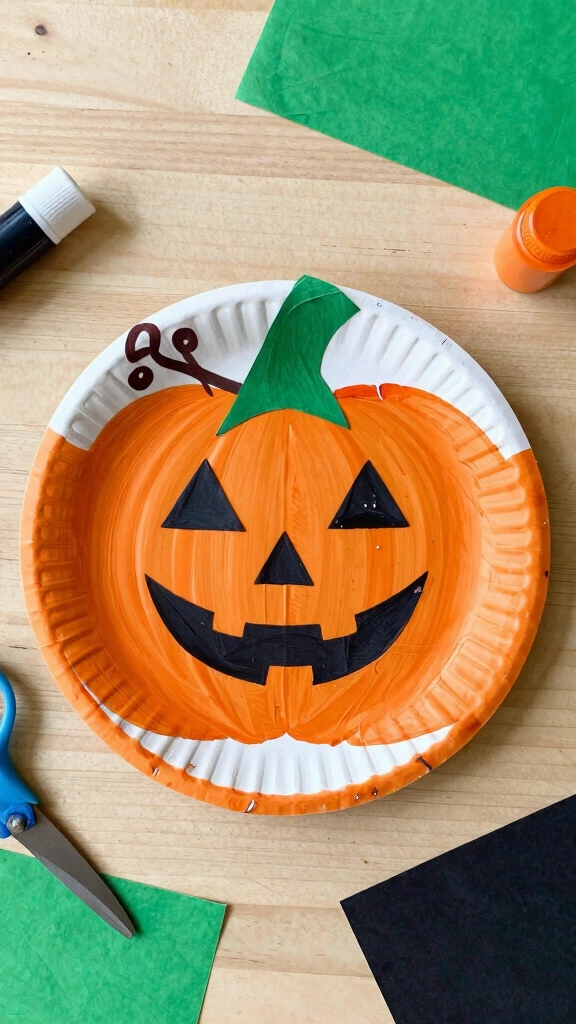
Who says paper plate crafts must stay round? Cut the curved edges off a standard paper plate to instantly create a square canvas.
Easy Fun for Toddlers
Let your little ones paint the flat, squared plate bright orange. While the paint dries, help them cut a green stem and a brown vine from construction paper. Glue these to the top of the plate, then add black construction paper eyes and a mouth. This quick activity works perfectly for large classrooms with limited crafting time.
8. Easy Origami Square Pumpkin
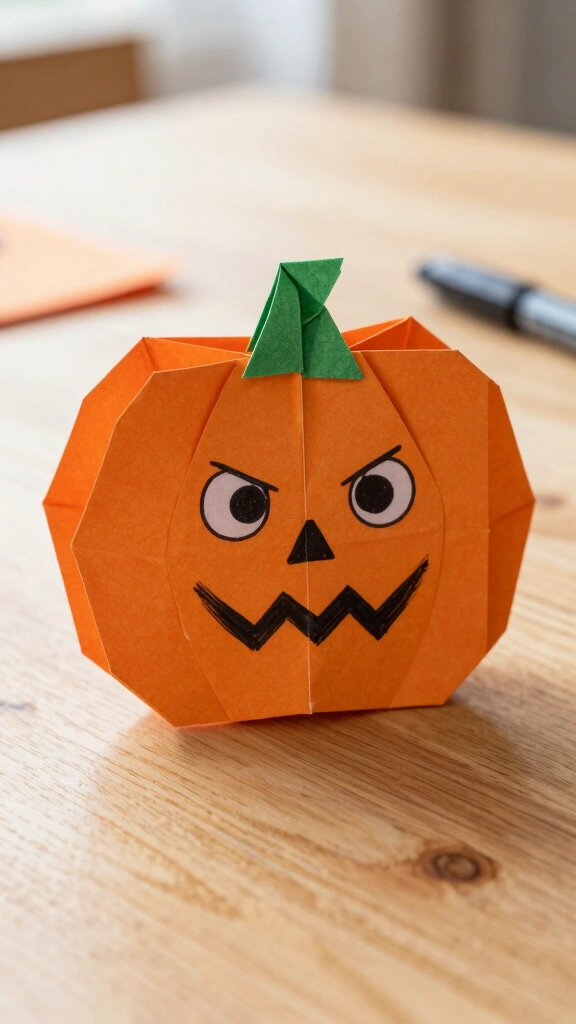
Introduce your older kids to the ancient art of paper folding. Folding paper boosts fine motor skills and teaches geometric concepts.
Folding Steps
Start with a square sheet of orange origami paper. Fold the corners inward to create a sturdy, flat square shape rather than the traditional 3D balloon fold. Draw the expressive, nervous face of Spooky right onto the paper surface. You can tuck a green paper slip into the top fold to serve as the stem.
9. Oven-Bake Clay Square Pumpkins
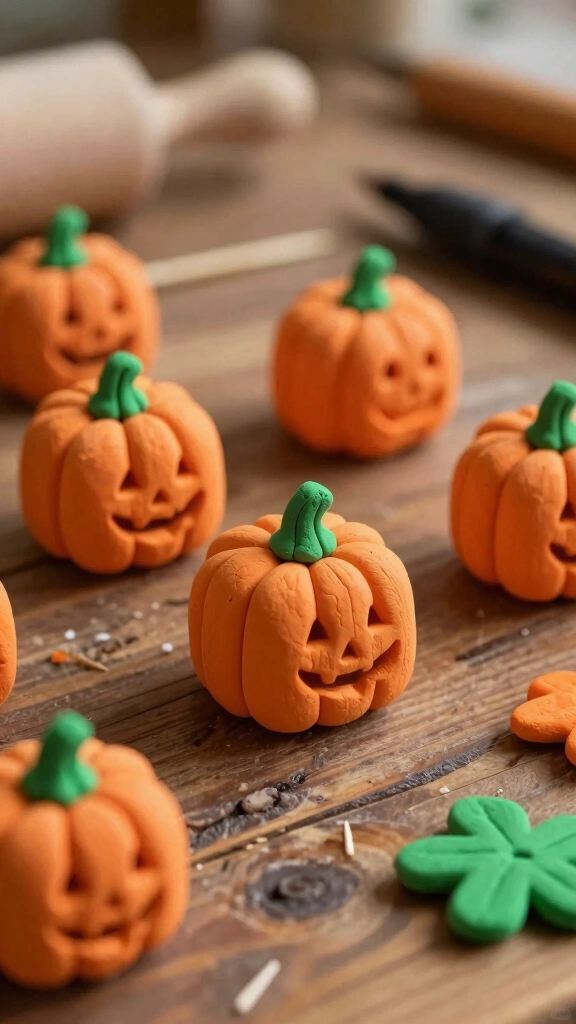
Mold some miniature Spookies using polymer clay. This medium allows you to sculpt fine details like ridges and vines.
Sculpting Tips
Roll orange clay into a ball, then gently press the sides against a flat table to form a cube. Use a toothpick to press vertical lines along the sides, mimicking pumpkin ridges. Roll a tiny piece of green clay into a stem and press it onto the top of the cube. Bake the clay according to the manufacturer’s package instructions, and use a fine-tip permanent marker to draw the face after the clay cools.
10. Cardboard Tube Square Pumpkin
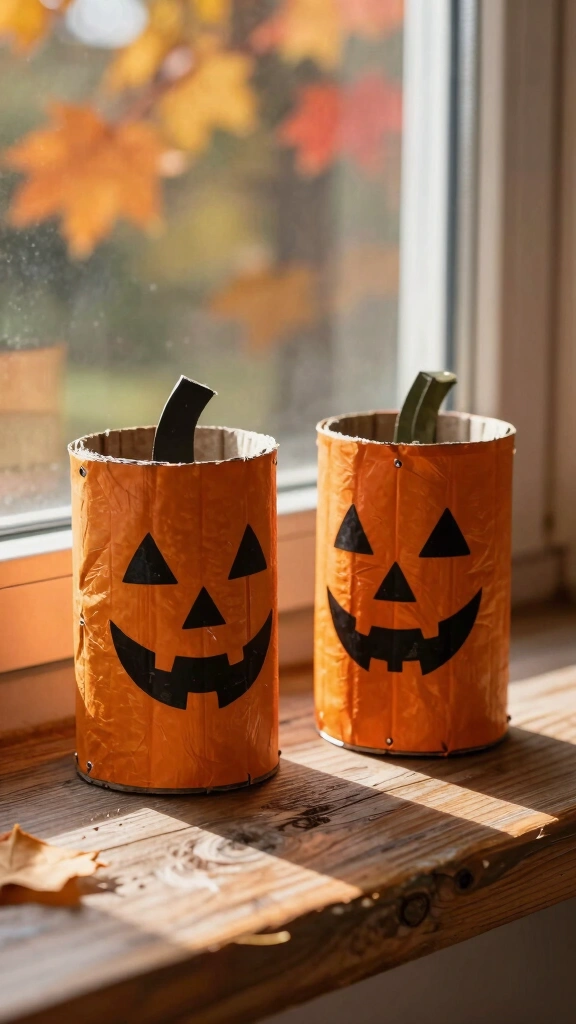
Flatten toilet paper rolls to give them sharp, creased corners. This simple transformation turns a round tube into a square column.
Quick Steps
Press the empty toilet paper roll flat, crease the edges, then unfold it and crease it the other way to form a square box shape. Paint the squashed tube orange. Staple the top and bottom shut to hold the square shape. Add your black paper face details and set them up on your windowsill.
11. Painted Square Rock Keepsakes
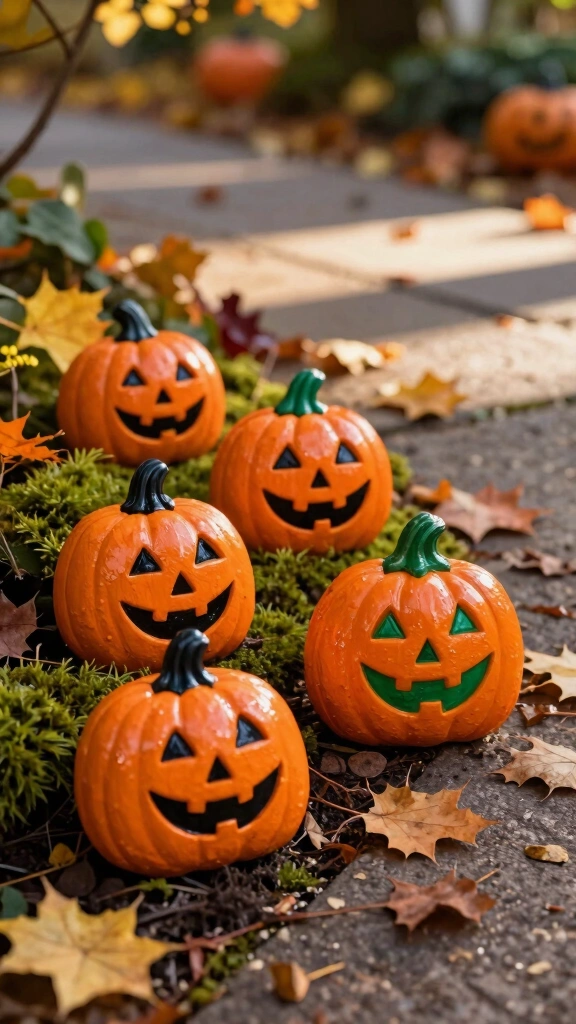
Hunt for flat, square-shaped rocks during your next family nature walk. Finding the perfect stone forms half the fun of this activity.
Rock Painting Rules
Wash the stones thoroughly before applying paint to remove dirt and oils. Paint the entire rock orange and let it dry. Use acrylic paint pens to draw Spooky’s face with precision. Seal the rocks with a clear outdoor sealer and scatter them around your garden path for a pleasant Halloween surprise.
12. Yarn-Wrapped Square Pumpkin
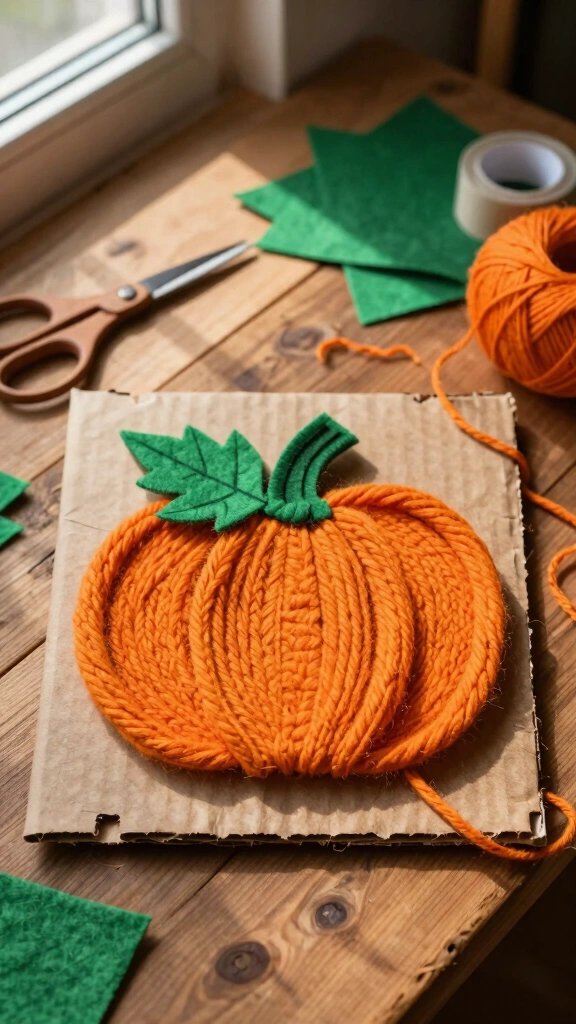
Yarn wrapping offers a fantastic way for children to develop hand-eye coordination. Cut a square shape out of thick cardboard to start.
Wrapping Method
Cut small notches along the edges of the cardboard square to hold the yarn in place. Tape one end of bright orange yarn to the back of the cardboard. Let your child wind the yarn around the square template in different directions until they cover the cardboard. Tuck the end of the yarn securely under the wraps and glue a green felt leaf on top.
13. Spooky the Square Pumpkin Treat Bags
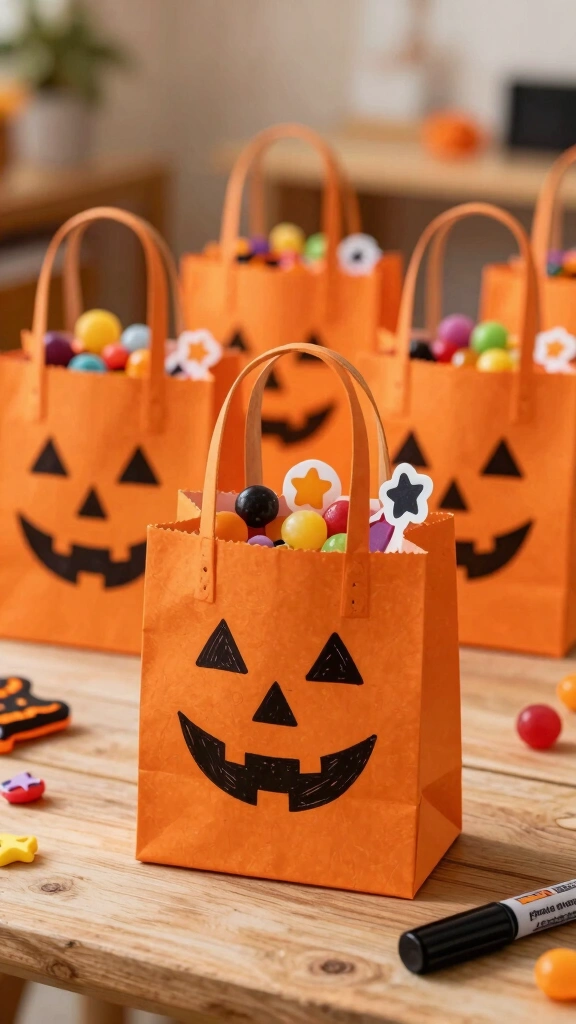
Planning a classroom Halloween party soon? Skip the expensive store-bought bags and make these customized treat holders.
Assembly Instructions
Buy plain orange paper gift bags, which naturally feature a square profile. Draw Spooky’s face on the front of each bag with a bold black marker. Fill these bags with candies, stickers, and mini erasers for the kids. The children will love carrying their treats in these festive bags.
14. 3D Construction Paper Square Pumpkin
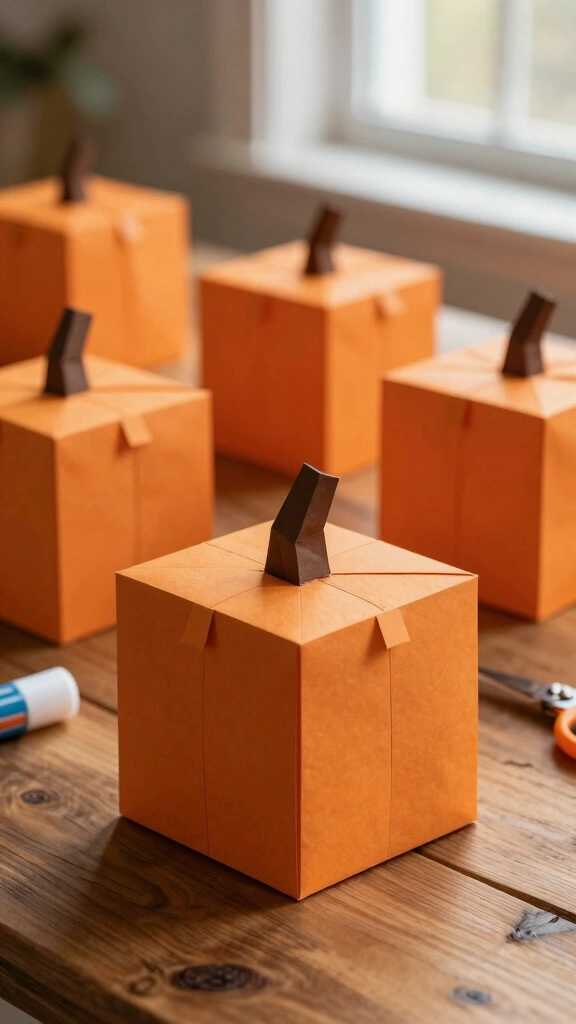
Construct a pop-up paper pumpkin using basic folding techniques. This craft teaches basic engineering skills to young crafters.
Assembly Guide
Cut six equal squares of orange paper. Fold the outer edges of each square inward to create tabs. Glue the tabs together to form a hollow 3D paper cube. Add a little brown paper stem to the top and place these lightweight cubes around your home.
Comparison of Craft Ideas
| Craft Name | Mess Level | Age Group | Key Material |
|---|---|---|---|
| Popsicle Stick Spooky | Medium | Ages 5+ | Popsicle Sticks |
| Tissue Paper Suncatcher | Low | Ages 3+ | Tissue Paper & Contact Paper |
| Mason Jar Lantern | High | Ages 8+ | Glass Jar |
| Yarn-Wrapped Square | Low | Ages 4+ | Yarn & Cardboard |
Wrapping Up Your Spooky Crafts
Crafting brings families together and keeps children engaged during the spooky season. These 14 Spooky the Square Pumpkin craft ideas provide a wonderful starting point for holiday fun. Whether you choose to paint, fold, or wrap, you will create lasting holiday memories. Choose your favorite idea today, gather your supplies, and start crafting!